You guys. I have a something to tell you.
For someone who cooks as much as I do, I don’t love my kitchen. In fact I kind of hate it. The lighting sucks and the cabinets are hung really high. Like inconveniently high. I’m 6 feet tall and the bottom of the cabinets is at nose level for me. It also has a serious lack of storage space, and my guest room is filing up with serving dishes and gadgets like my ice cream maker and slow cooker. But I’ve added shelving and a rolling storage cart, and it functions well enough for me to turn out some pretty delicious things on a regular basis. Mostly I hate my kitchen because it isn’t pretty. It’s outdated and cheap and not at all to my taste.
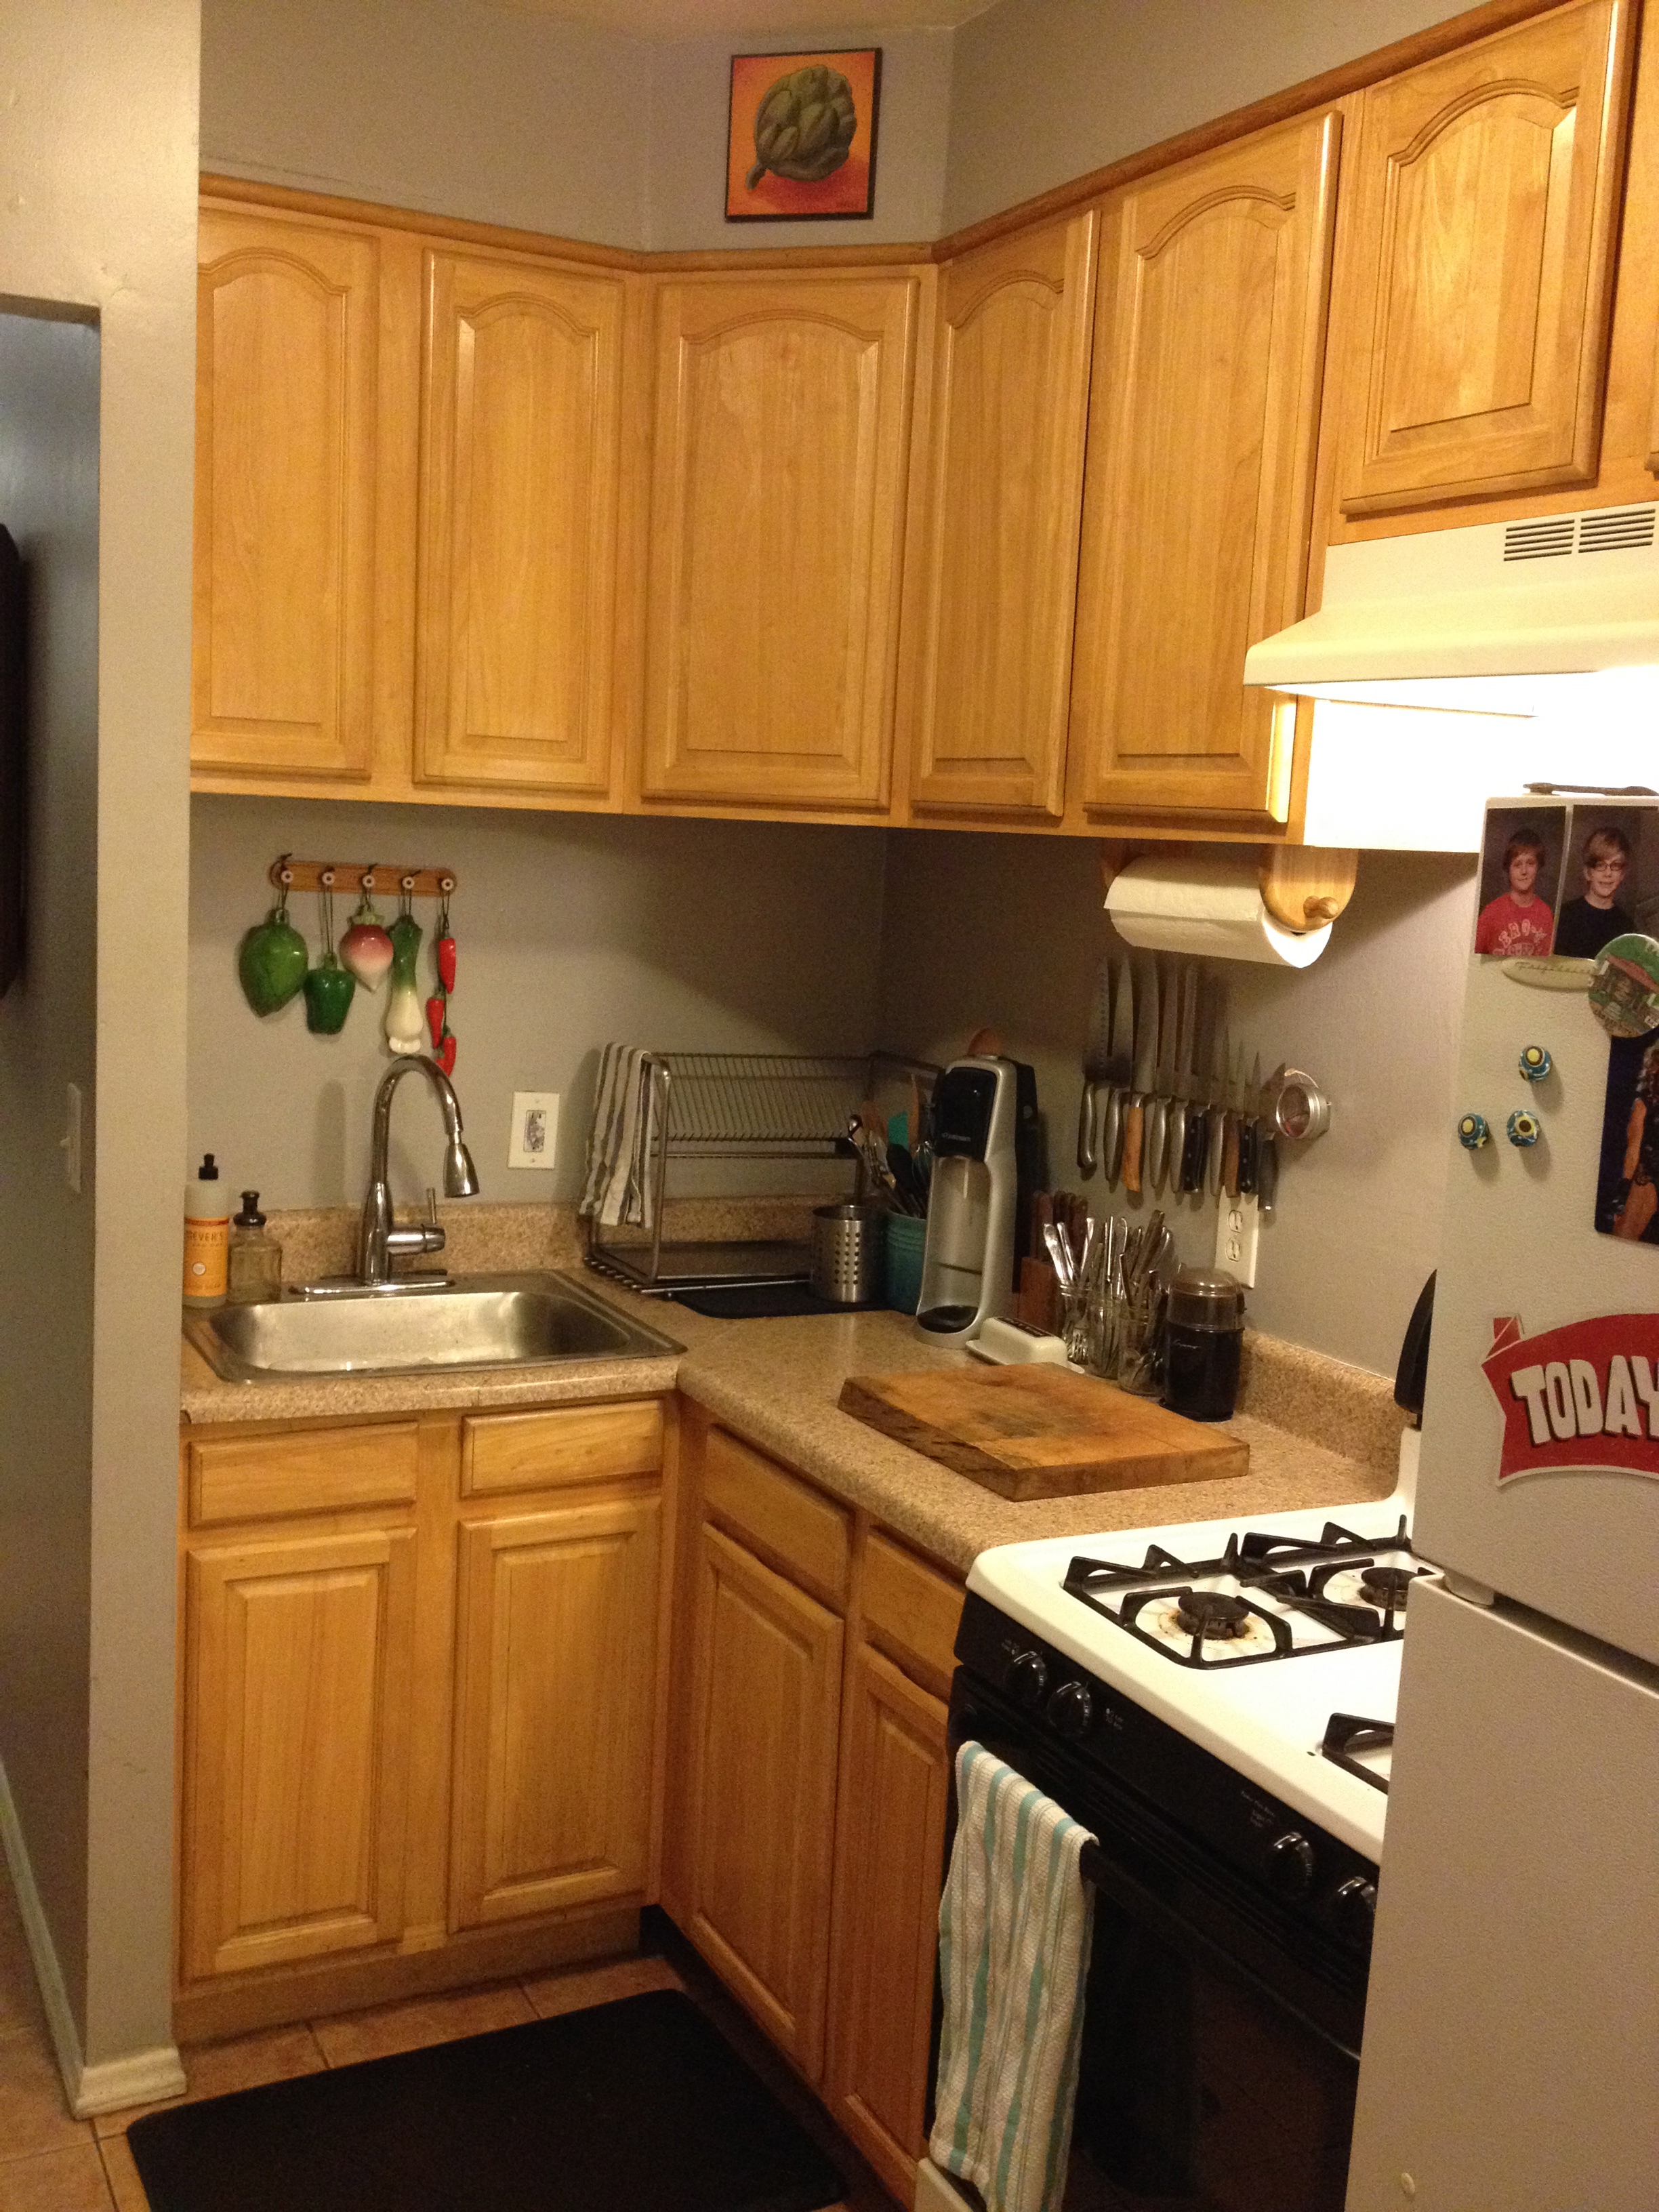
The floors are a pinky orange 90s faux terra cotta, the countertops are a horrible faux granite laminate in a weird speckled yellowy beige color, the stove top is stained from years of use and scuffed from years of cleaning, the refrigerator is right next to the oven and has a big area where the enamel has been scraped off somehow, there are no windows and no natural light, the overhead lighting makes everything look even more yellow, and the cabinets… the cabinets… are… I can’t even say it… honey oak! The horror!
The worst part is that, as a renter, there isn’t much I can do about most of what’s wrong in there. I can deal with the lack of storage. I’ve been living with tiny kitchens since I moved out of my mom’s house. I can deal with the cabinets being hung at an absurd height. I’m tall-ish. But the bad countertops? I can’t replace them. The honey oak cabinets? I know what it would take to paint them, and paint them correctly so they’d look great for years, but I have this strange desire to get my security deposit back someday. Nothing would make me happier than painting the cabinets white and putting in new countertops but that’s a lot of work and a lot of money to put into an apartment that I don’t own.
When we moved in a few years ago we painted the kitchen, and most of the rest of the house, a soft pale grey. I love the clean modern look that the grey gives our apartment, but next to those horrible countertops and cabinets, and with the terrible yellowish lighting, the grey has never looked great on the walls of the backsplash. I’ve been toying with the idea of putting up white subway tile, but I’m not convinced that it would look any less awkward with all the yellow elements in there, and again, it’s a lot of work and money to improve someone else’s property.
Starting this blog and trying to take attractive photos in my unattractive kitchen has lit a fire under me. I just can’t take it anymore. I need to do SOMETHING with the backsplash. Anything. I am fortunate enough to be able to paint in my apartment, so that’s pretty much my only option. So, I’ve been brainstorming. And thinking. And rethinking. And laying awake at night. Thinking. And then doing some soul searching.

I tried to think of colors that would compliment all the yellow happening in there. If that’s possible? Red’s really not my thing. I’m more into cooler colors. Blues and greens. Something about the idea of a brightly colored “feature wall” as a backsplash kept me up at night. I hate the phrase “pop of color” and that’s where my head kept going. Like it would look like I was trying too hard to look fun and quirky… But if not a solid color, what? I thought about a patterned paint treatment using stencils or something to look like wallpaper, but it just didn’t seem right to me either. Then, finally it came to me!
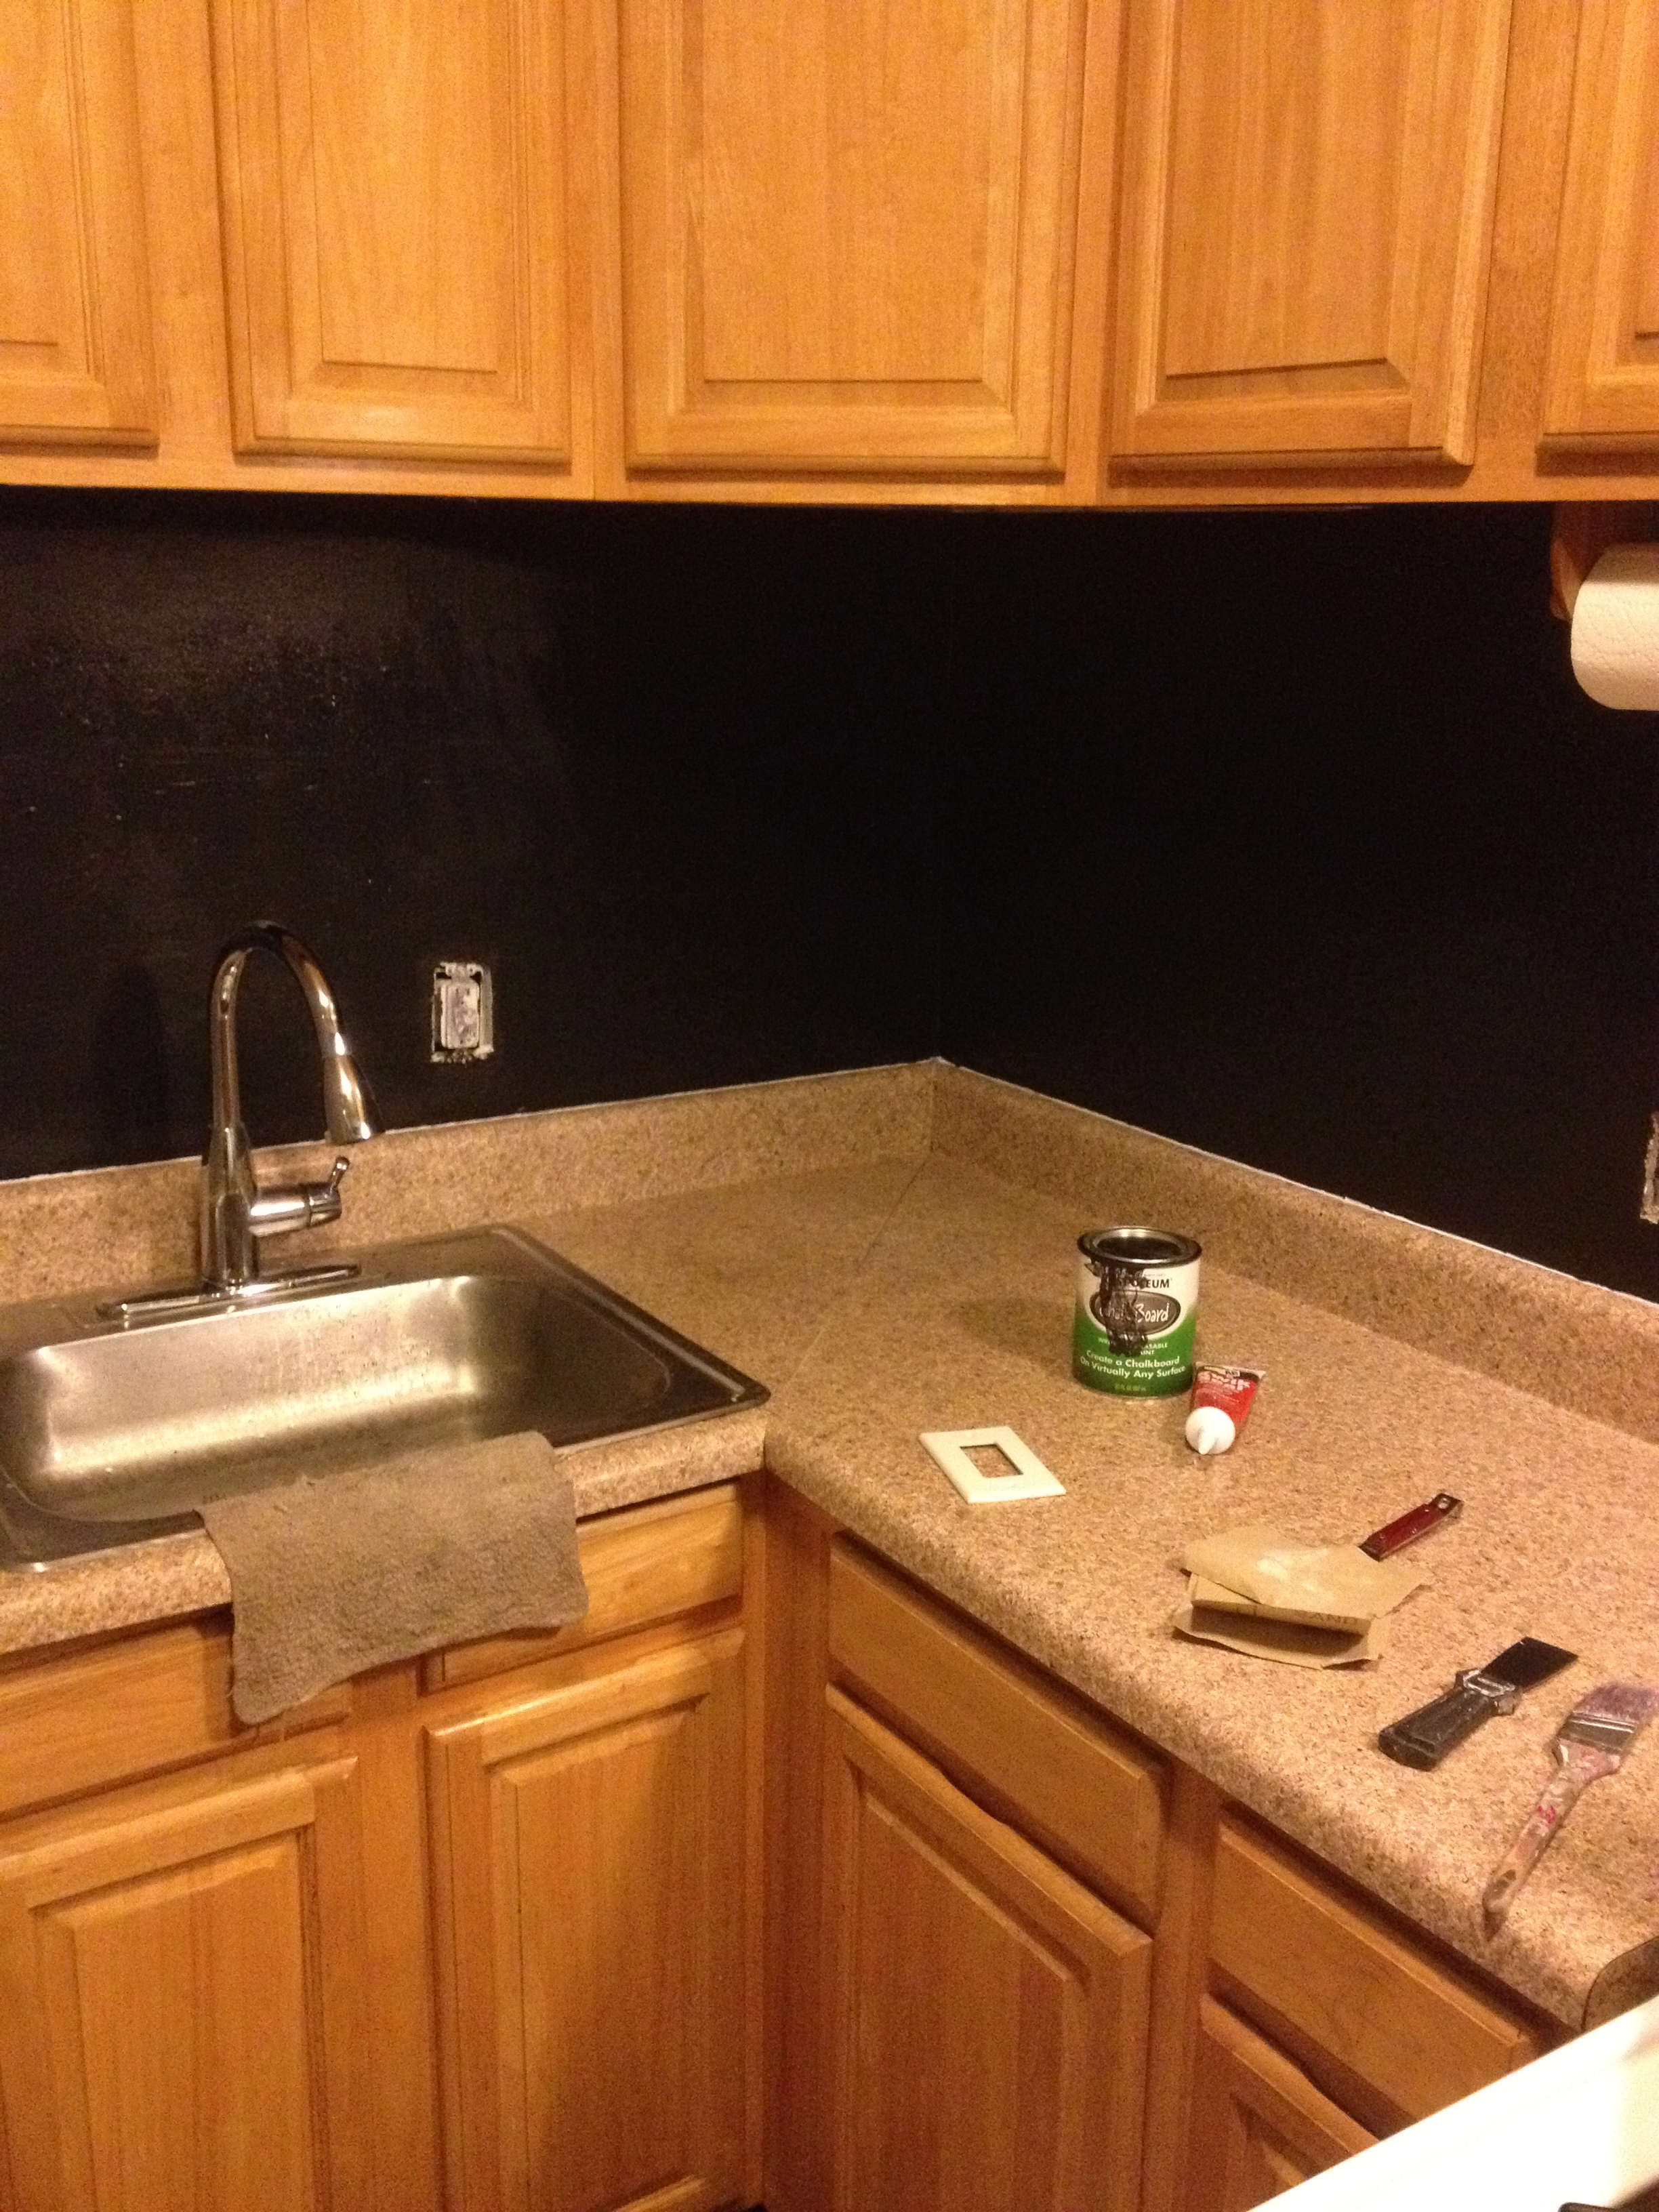
Chalkboard paint!

I actually already had a can on hand from a project I did a few months ago. The counters have some black in them so I thought the black walls would compliment rather than clash with them. There’s already a real blackboard hanging on the opposite wall in the kitchen, so I thought the backsplash could look kind of cool with that. Maybe? If I still felt like a pattern would help break up all that black, I could draw one on! And hey, if I hated it, I’d be no worse off than when I started, and would just need to paint over it! I keep saying this, but I’m pretty sure I’m a genius.
Russell left on Friday to visit his sister in L.A. for her birthday. Hi Shannon! Happy birthday! So I set to work.
First I cleared off the counters and removed everything from the walls. Then I scrubbed the walls with hot soapy water. It’s gross the amount of stuff that can go unnoticed on your kitchen walls when you live with bad lighting for a few years. Next I filled any holes with spackle, let it dry, and sanded it smooth. I also lightly sanded the rest of the walls so the paint would really have something to grab on to. I even went ahead and scraped off the failing caulk where the counters met the wall.
Then I got to business. I’ve done a lot of improvements to this apartment over the years so I already had most of what I needed on hand. The paint, brush, roller, tape, spackle, sandpaper, etc. was all in my guest room, patiently waiting to be useful. I thought about painting the adjoining area behind the refrigerator, which I’d painted grey when we moved in, but I decided that no one would see it and that if I didn’t like it, it would be a lot more work to cover it up later. So, using a level as a straight edge, I put a line of painters tape down the wall starting at the outer edge of the hood vent, going all the way down the wall right behind the fridge. I cut in the edges all the way around the project area, then used a roller to fill in the rest.
I thought about painting the outlet covers to match because I was afraid the contrast of white covers against black walls would look weird, but I decided against it. I knew I didn’t want to paint over the outlets themselves, so even if I painted the covers there would still be white outlets inside them. I feel like painted outlets and covers usually make a paint job look sloppy, like the painter was too lazy to take the plates off before they set to work.
The one thing I ended up needing to buy for this project was a tube of caulk. The old caulk was really poorly done, and was so old that it was peeling away anyway. So I scraped it off before I started painting and once the first coat had dried for an hour I piped one thin bead all the way along the gap where the counters meet the wall. If you’ve not done this before, it’s really not difficult. Try your best to pipe a thin even bead, and with a wet finger smooth the line and wipe away any excess as you go. I made sure to buy paintable white caulk, and when I was cutting in I was able to paint a nice smooth line.

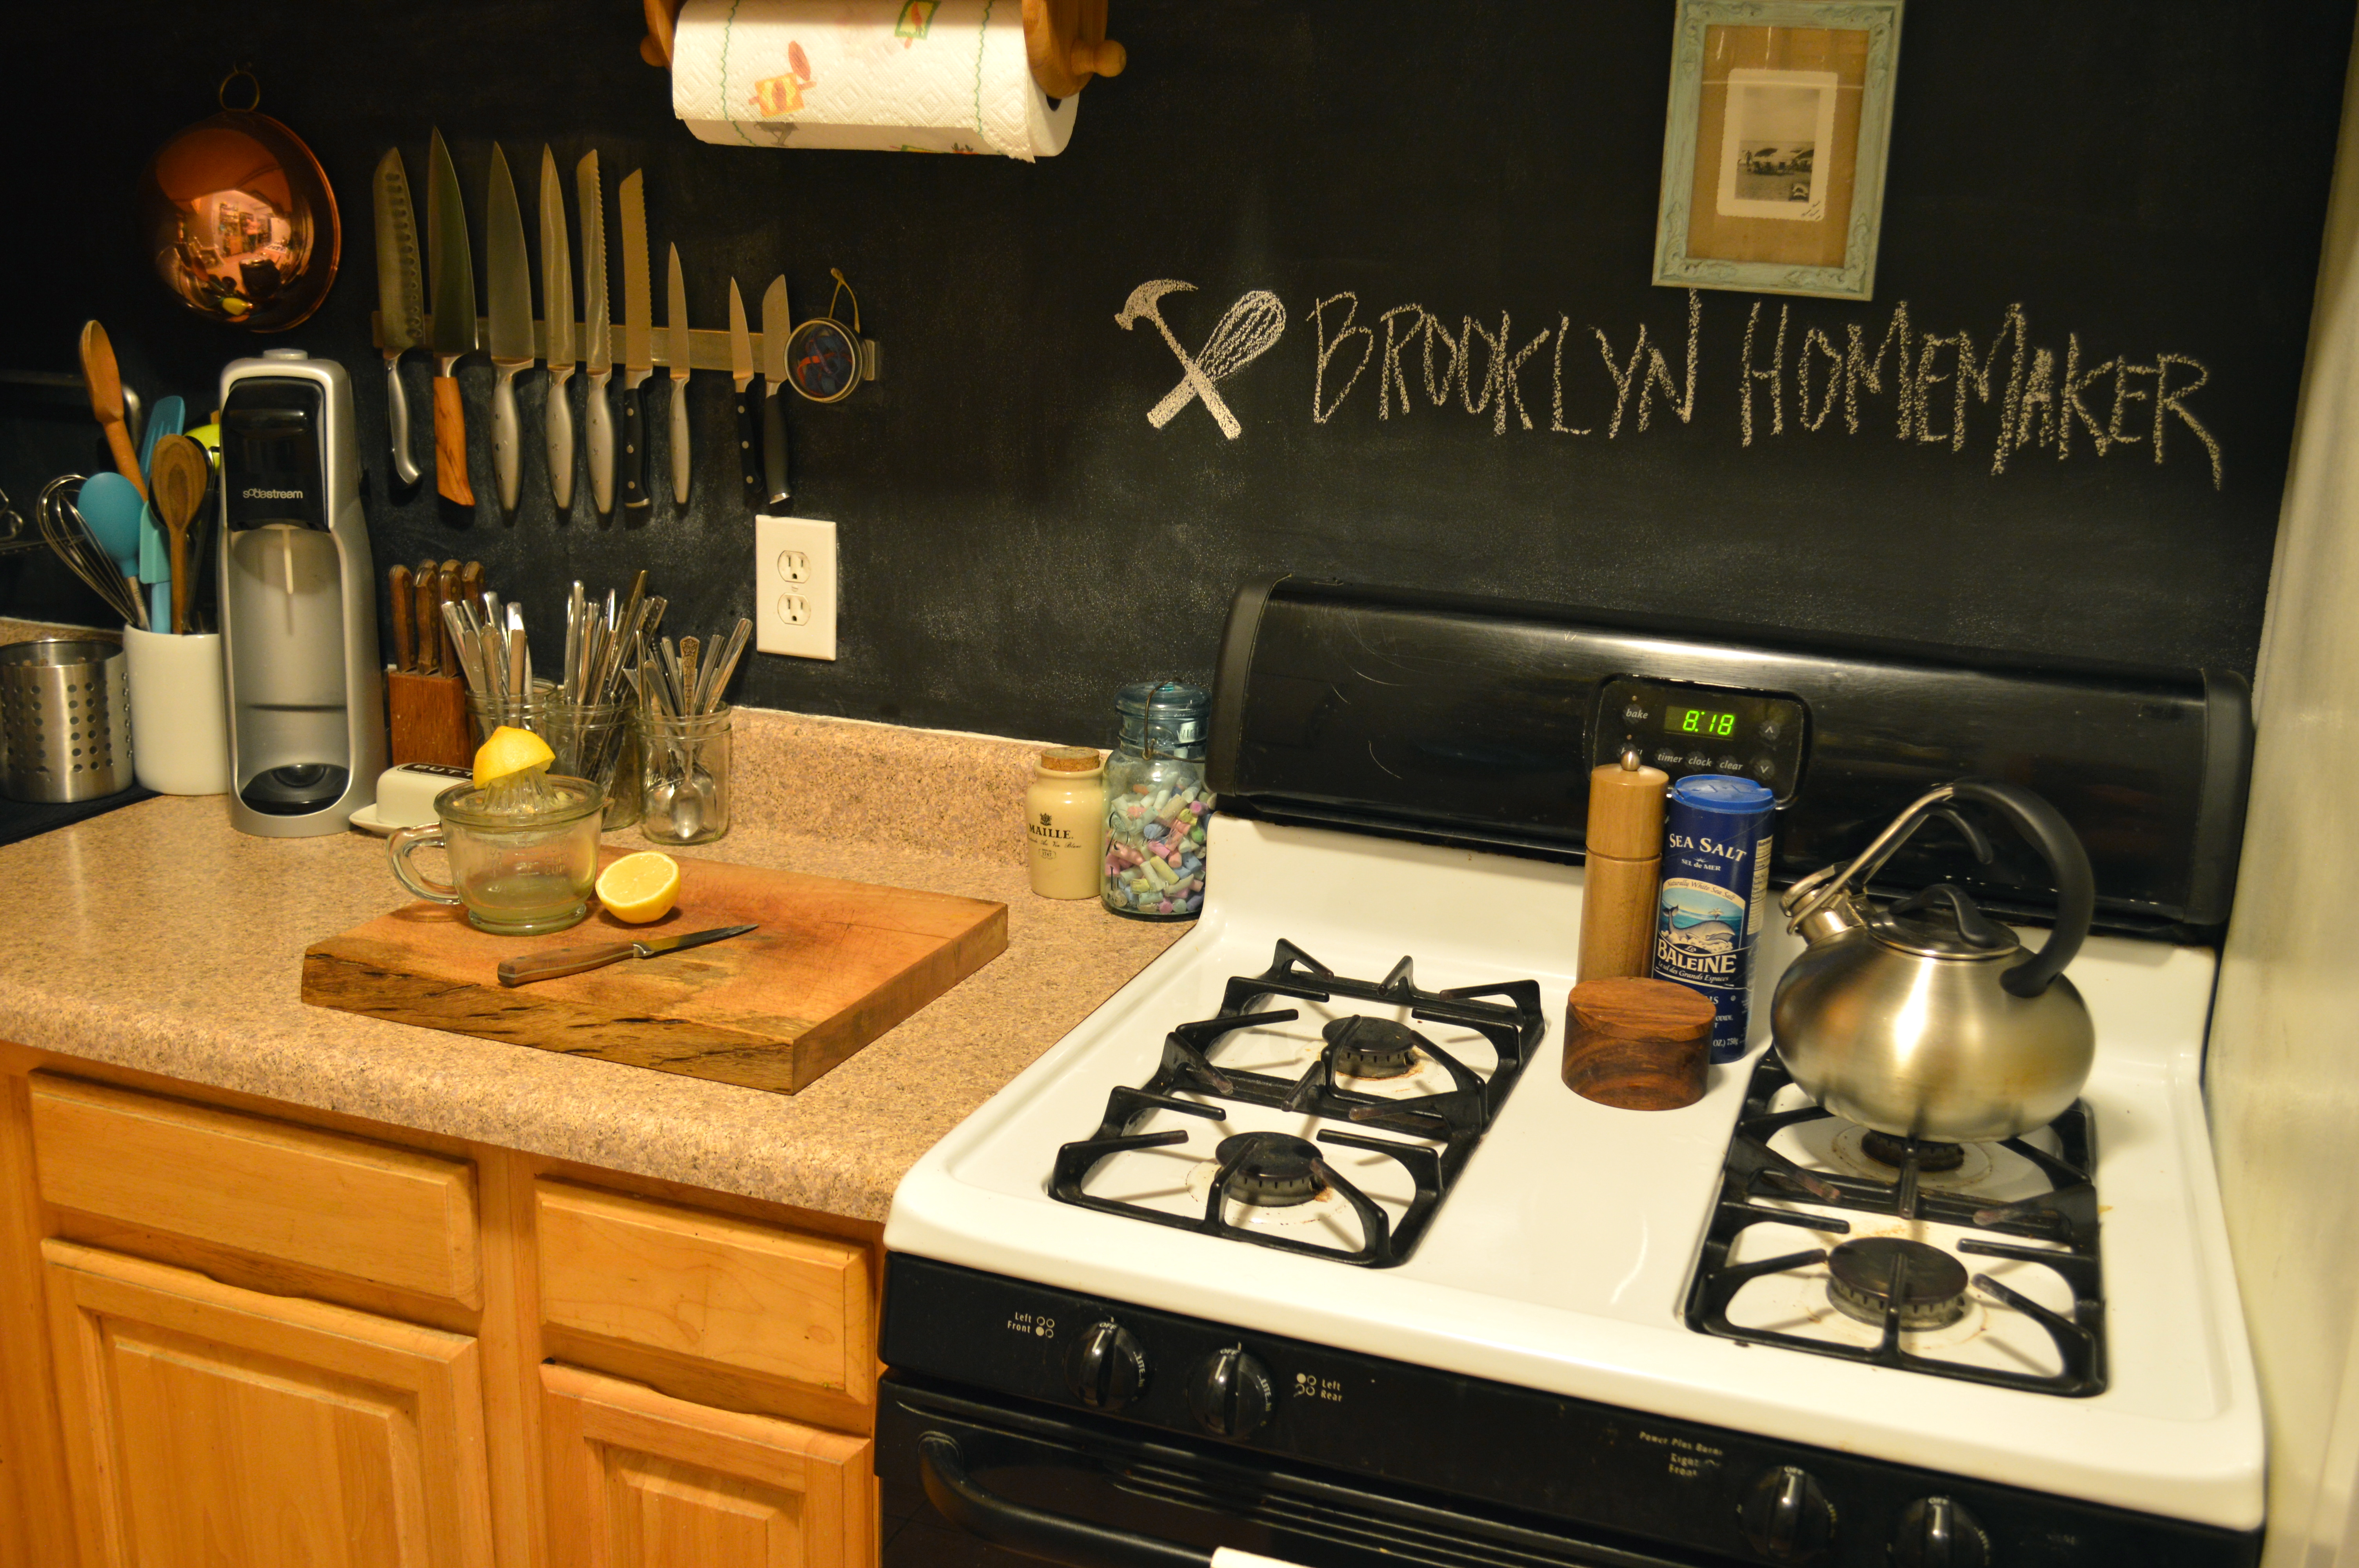
According to the directions on the can, you’re supposed to let chalkboard paint set for a few days before using it. Then you condition the surface by rubbing the whole thing with white chalk and wiping it off with a dry cloth or eraser. This creates a fine layer of chalk dust over the whole surface that makes it easier to erase in the future. It makes the surface a dusty charcoal grey color instead of the deep black it is when you first paint it, but I think it looks great in our kitchen. For the first week you’re not supposed to wipe it down with anything wet or damp, but after that you can clean the surface with a damp cloth as needed.


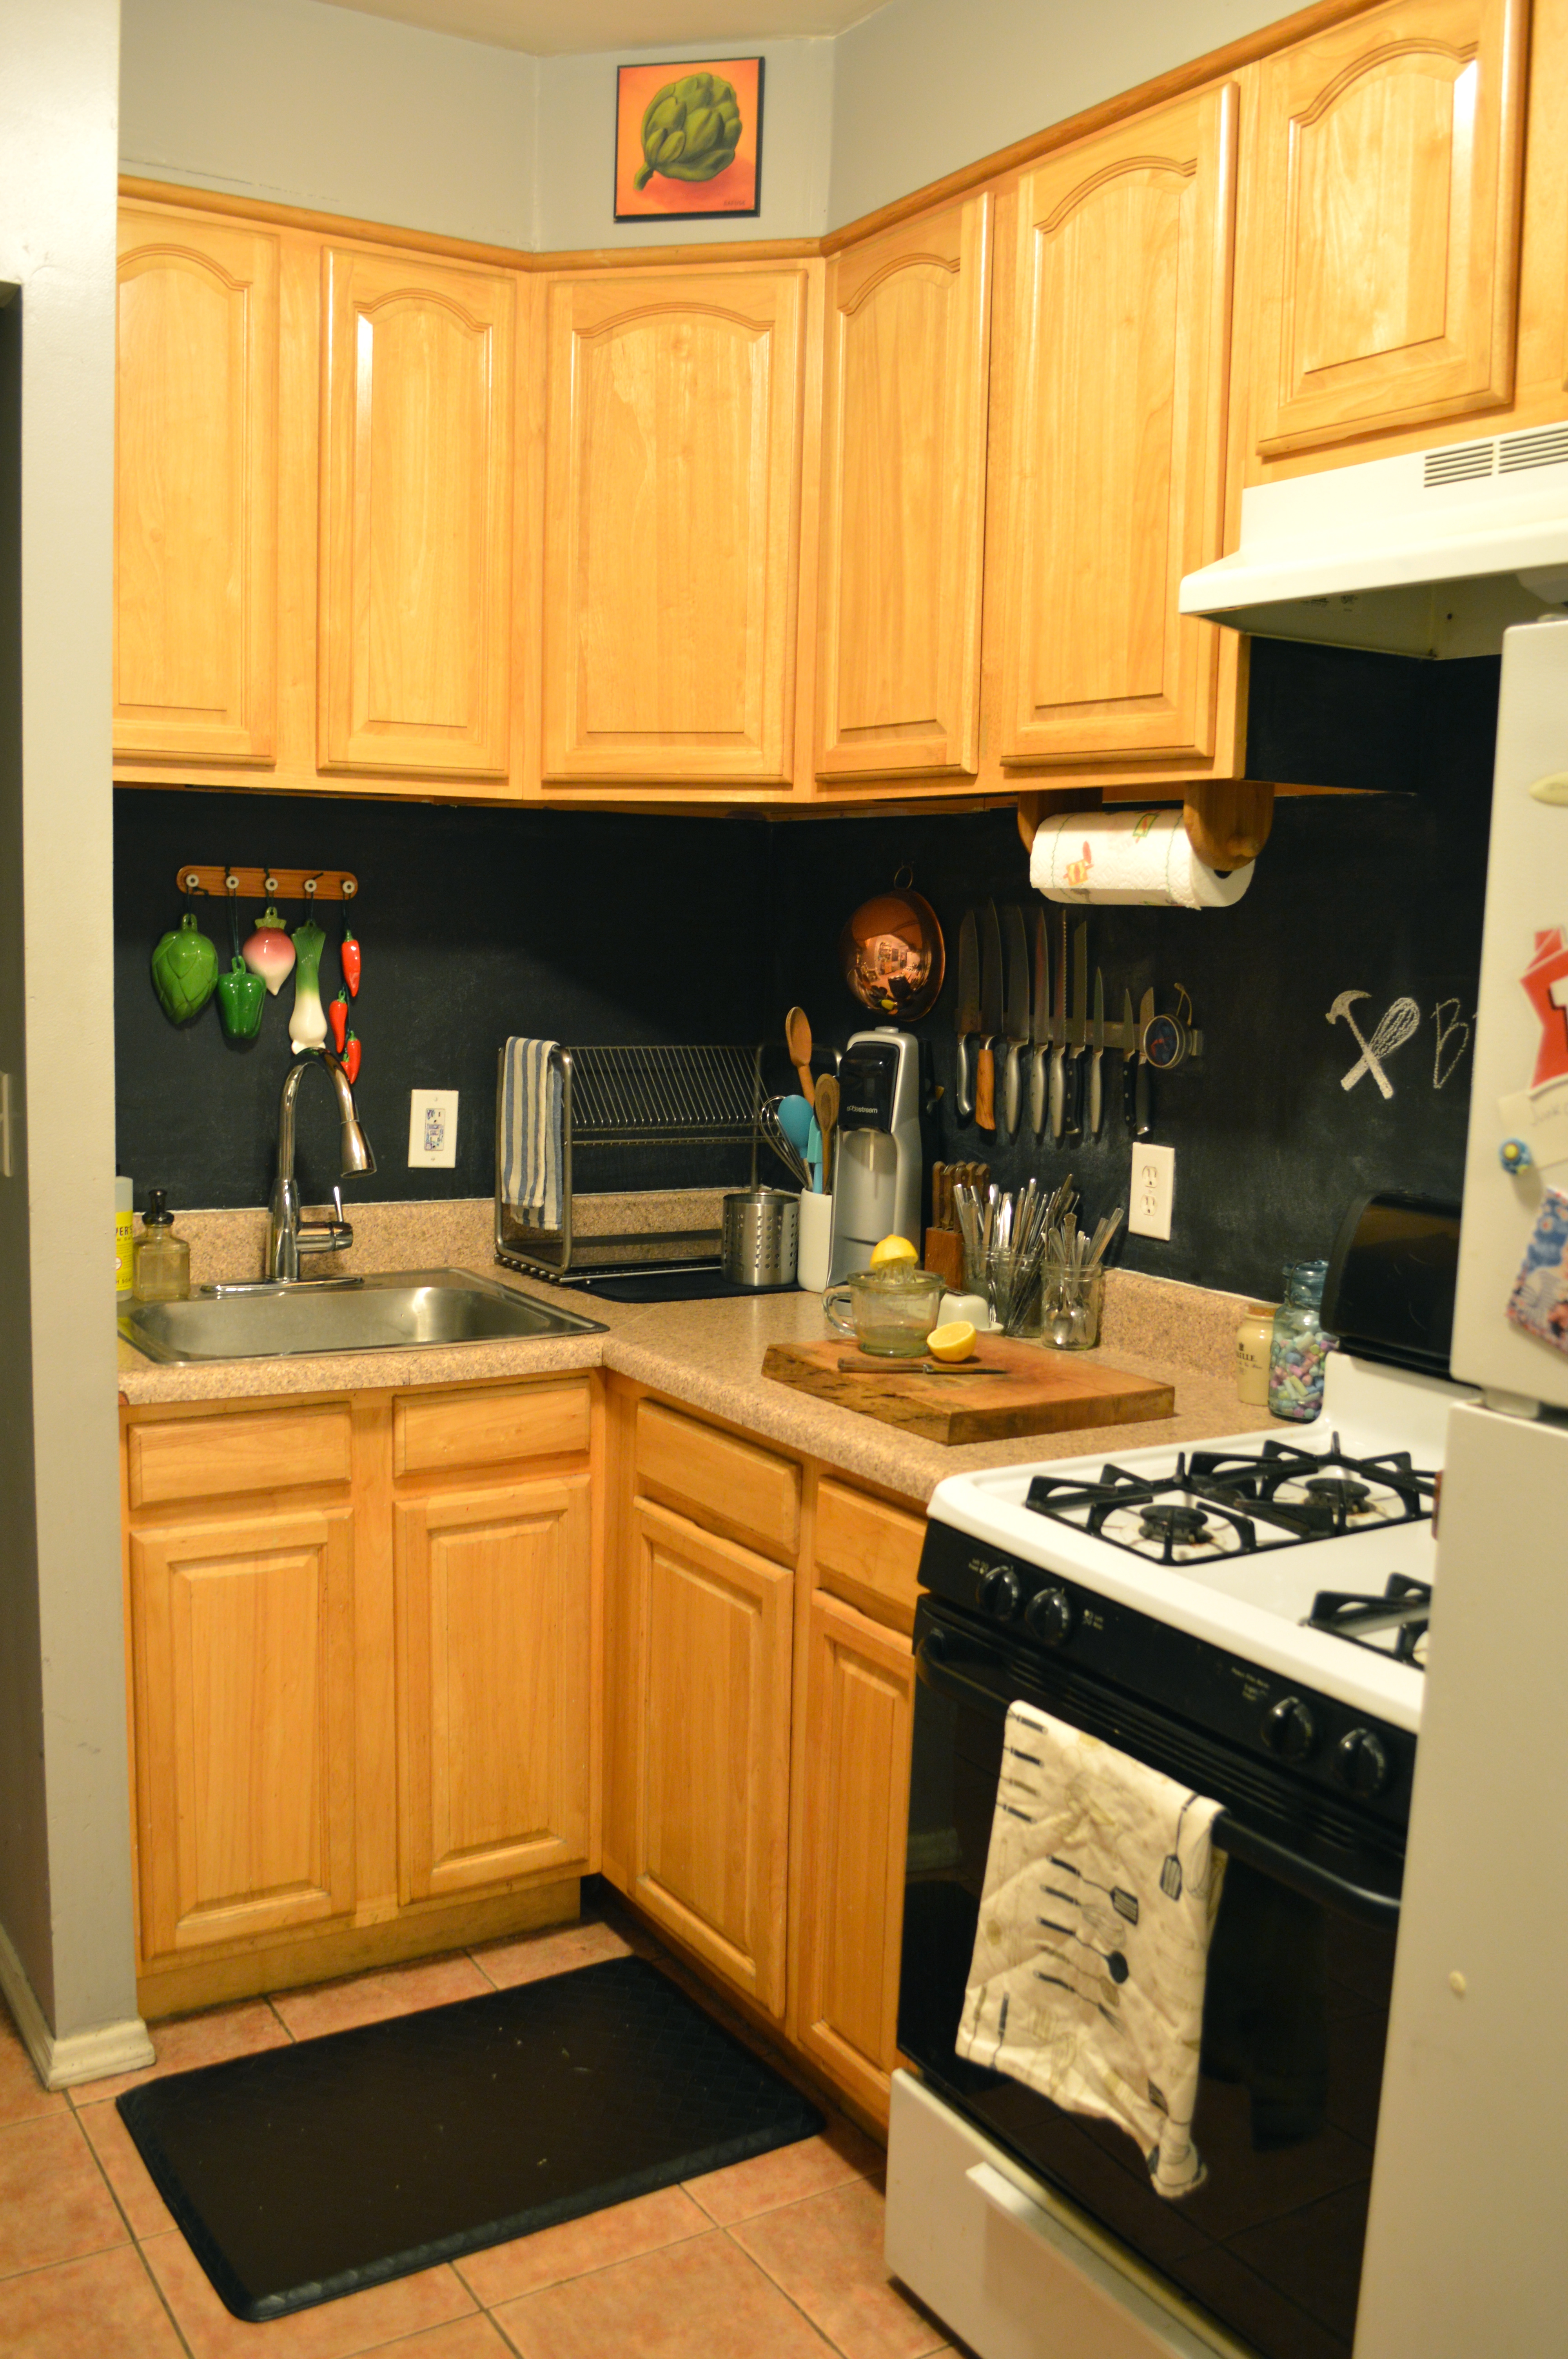
I think it looks amazing and I could not be happier with the results. I was nervous that I wouldn’t like it, but as soon as I had everything back in place I felt happier with the look of the kitchen, and once I started cooking in there I felt like my food looked more attractive against the darker color. This was not a difficult project at all and I think the end product is better than I imagined!

What do you think?
And I know. I really need a real camera. I’m working on it.
UPDATE 1/23/14: Since I have a real camera now, I updated some of the “after” photos. You’re welcome.

will you wrote love notes to russell for the mornings? or “don’t forget to take out the garbage!”? or is this going to be more Gandhi quotes. or WILL IT BE BLANK??
LikeLike
I will be doing math equations.
LikeLike
This really made your kitchen very modern looking. I love it! Great idea!
LikeLike
Found you via The Kitchn – glad I clicked through – great job on that wall!
LikeLike
Thank you! Glad you like it!
LikeLike
You might consider painting a patch with magnetized paints so you can stick up recipes, etc. This looks so great!
LikeLike
Good idea thank you!
LikeLike
hi, I was wondering where you got the dish rack? tnx!
LikeLike
It’s from Ikea. It’s not available online, only in store, but you can see it here
LikeLike