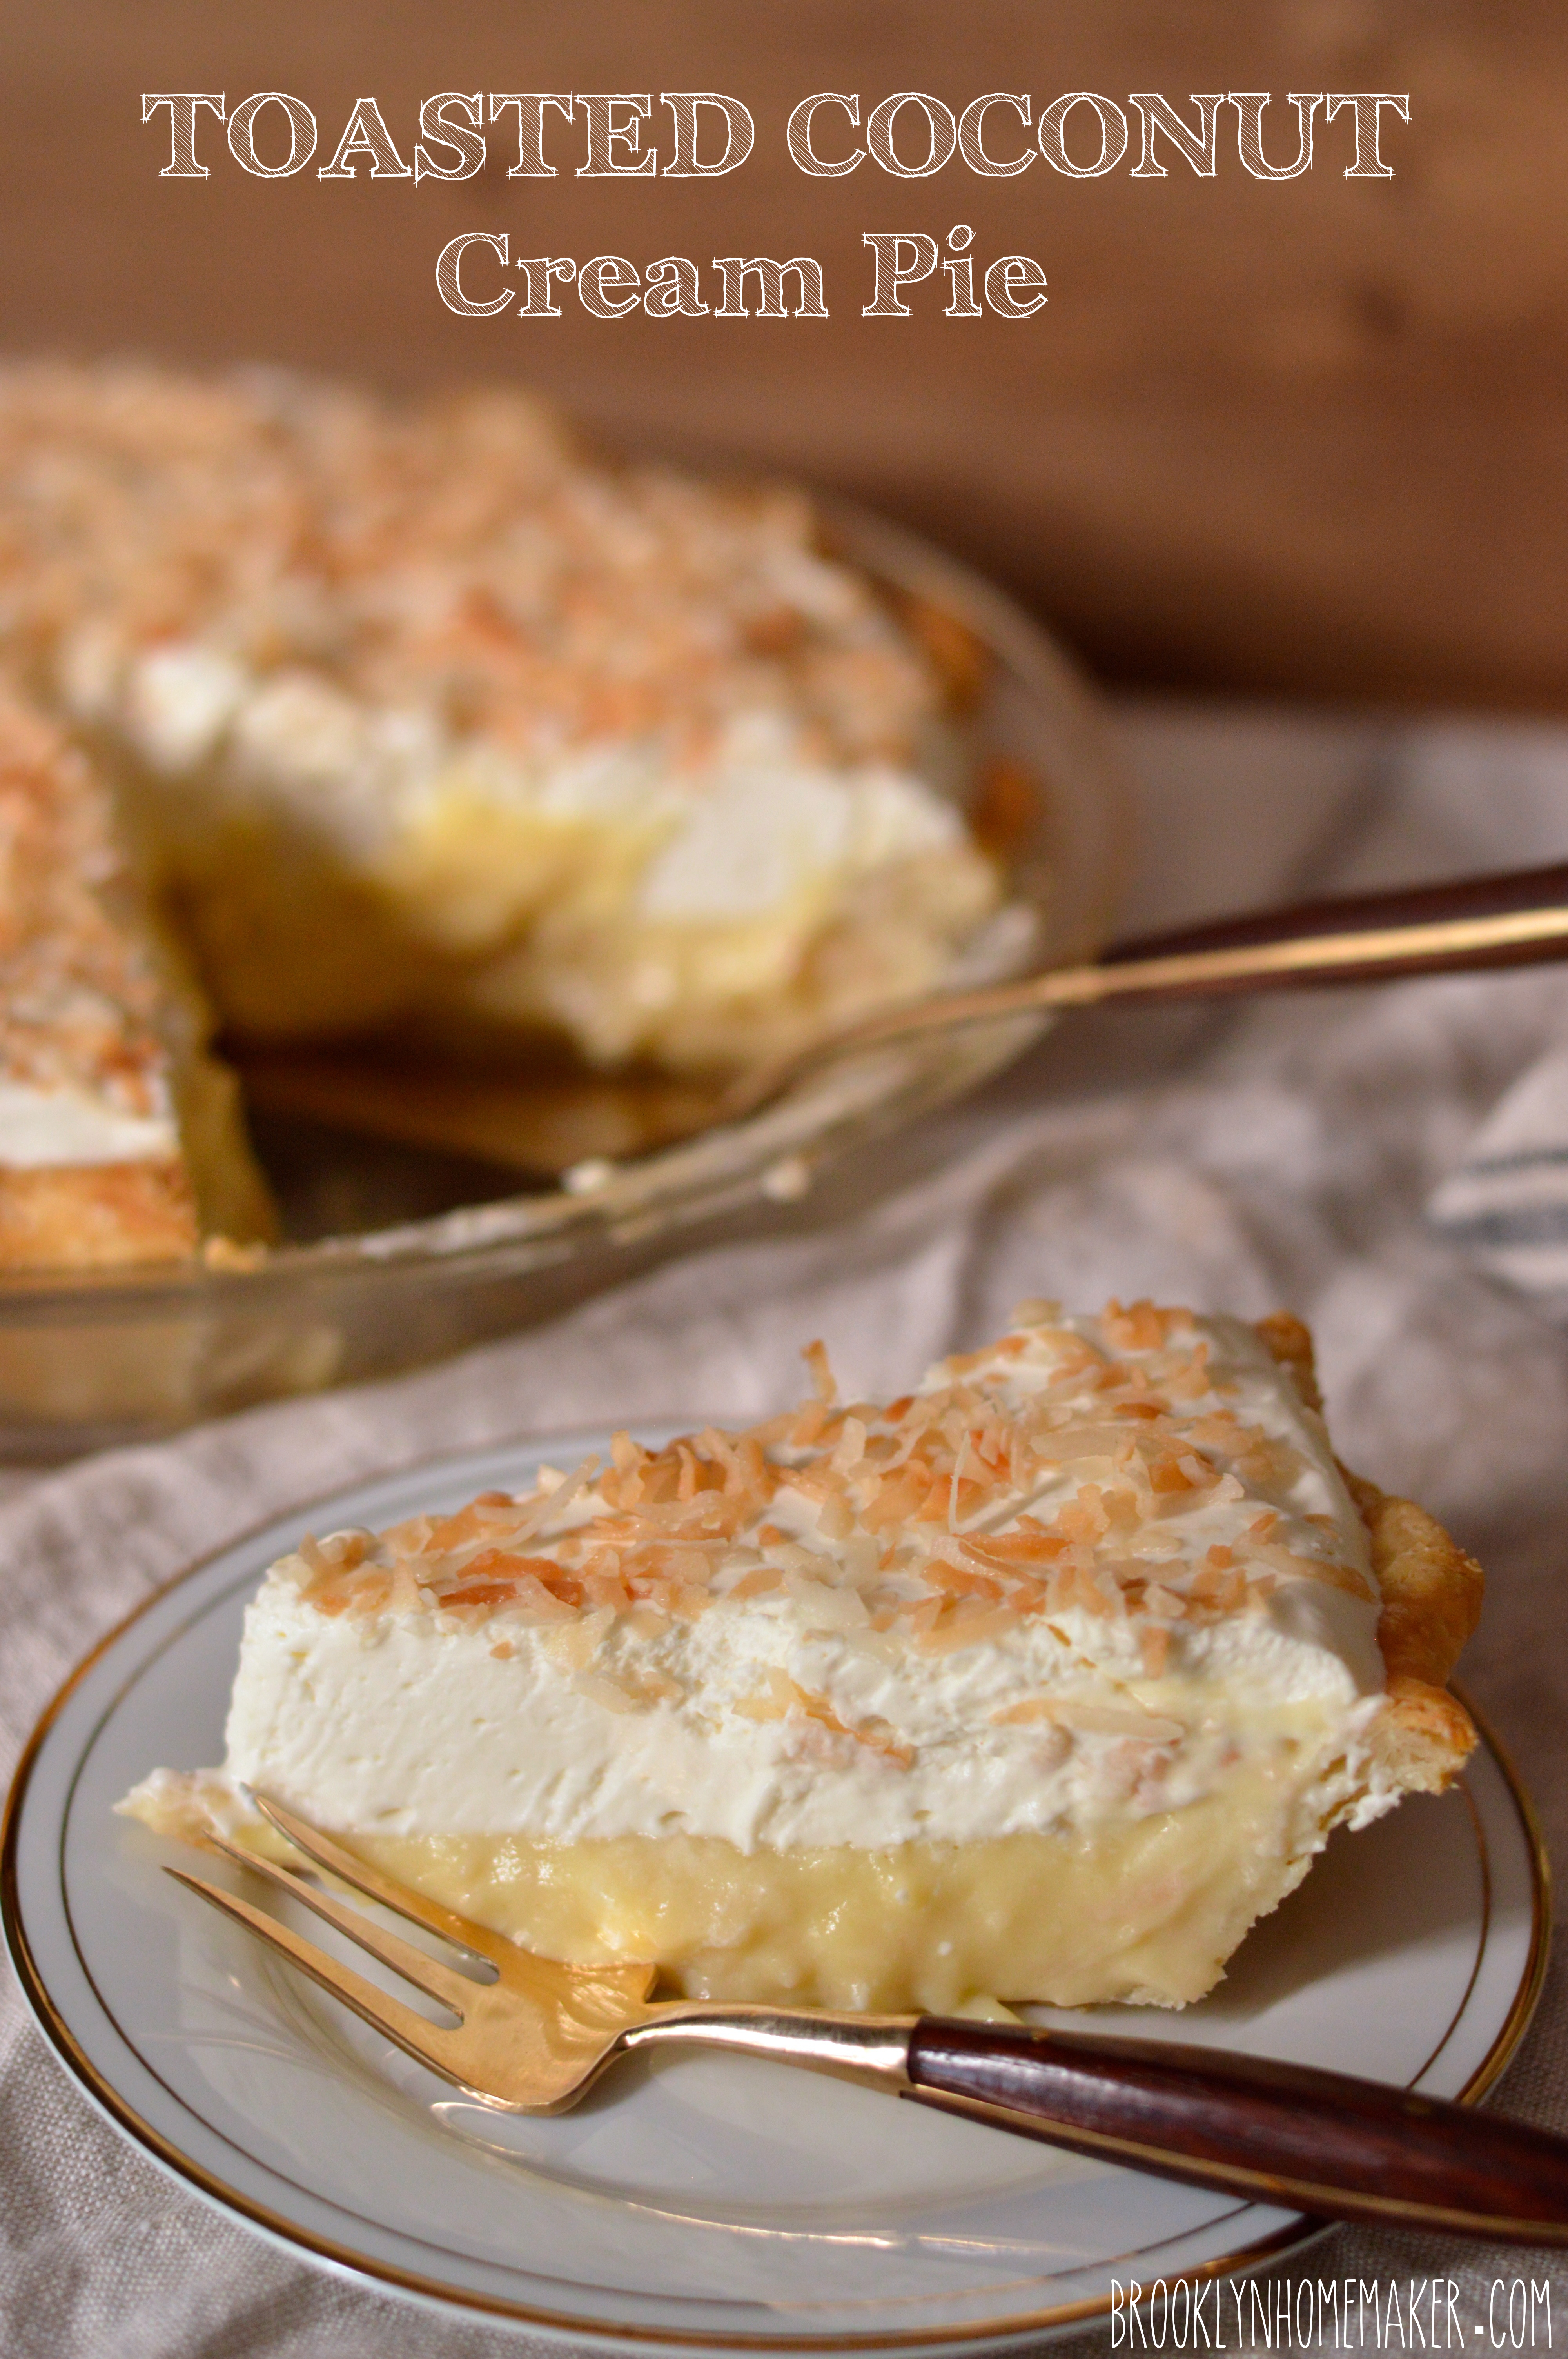
Suddenly, one morning last week, I woke up with a hankering for coconut cream pie.
Don’t ask me why. Just don’t, okay. I honestly couldn’t tell you.
I mean, I’ve always considered pie one of my favorite food groups, but double-crusted fruit pies have always been much more my style than cream pies.
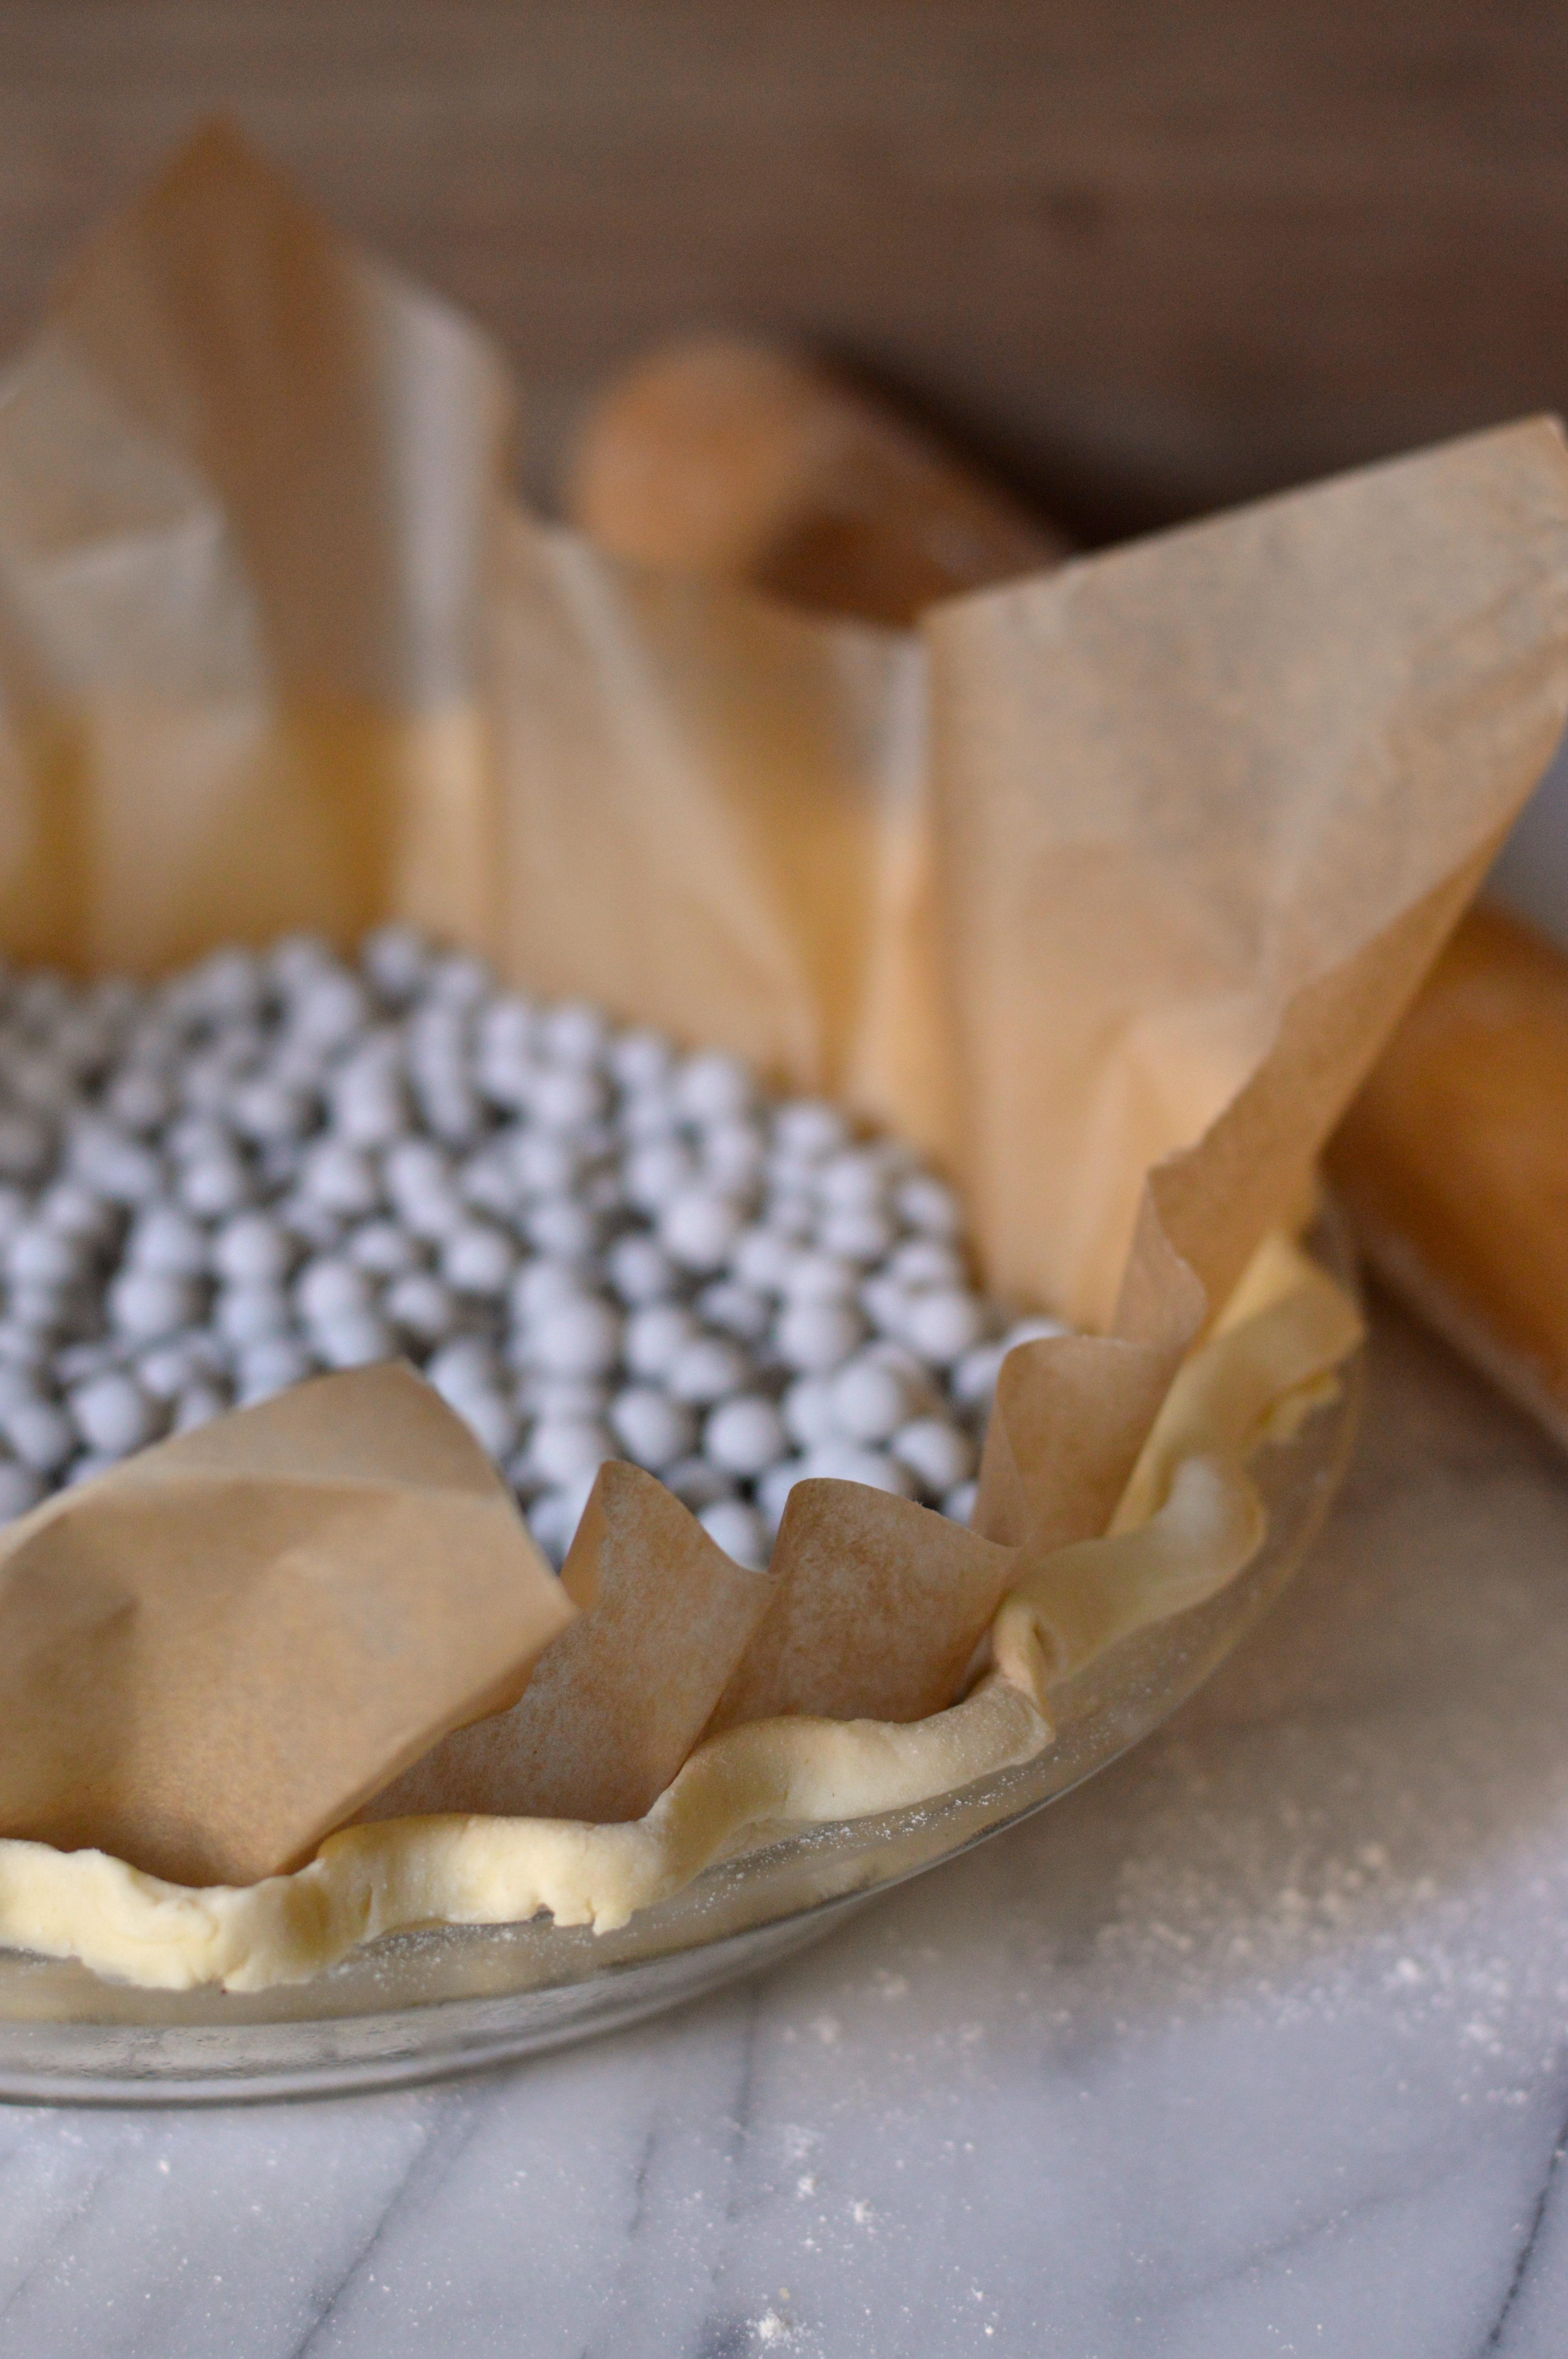
Perhaps one reason I prefer fruit pies is that the crust and the filling cook all at once, rather than baking the crust separately from what’s going into it. I’ve never been a fan of blind baking pie shells, and have had more than my fair share of sadness and anger and tantrums over blind baking disasters. You name it, it’s happened to me. I’ve had aluminum foil stick to the crust and tear it in half when removed, I’ve had crusts bake with a giant humped bubble in the center because there weren’t enough weights to keep it flat, and I’ve even had the crust shrink and slip down the edges of the pan leaving me little more than a half inch mound to contain my filling.
My love for sweet potato and pumpkin pies at Thanksgiving was my incentive to try try again, and I’ve finally gotten the technique down. Sort of. If you’re new to blind baking, check out this great tutorial from thekitchn for more detail. In my experience, the key points to keep in mind are as follows:
A) Use parchment paper, not foil, and you won’t have to worry about it sticking to the crust.
2) Chill (or better yet, freeze) your crust for a bit before baking and it won’t shrink as much.
3) Fill the parchment-lined pie crust with plenty of weights or beans, you don’t want to skimp.

When I woke up with my coconut cream craving I knew I could handle the blind baking. What I wasn’t expecting was how much more time goes in to a cream pie than a fruit pie. I mean, the recipe is not at all difficult, but I won’t lie to you; This pie is kind of involved. You’re making a crust, and a filling, and a topping; all of which need to be prepared separately, combined, and chilled before eating.
But then there’s the eating. The sweet, creamy, coconutty wonderful eating.

All this pie making, and pie eating, got me thinking about where the idea of coconut cream pie came from. Who on earth got the idea of putting coconut into a pudding, then putting that pudding into a pie shell, then topping that pudding filled pie shell with whipped cream?

As it turns out, the coconut cream pie has been around for over a century.
Back in the late 1800s Europeans and Americans were really in to their imported tropical fruit like pineapples and bananas, but the coconut hadn’t yet taken off. This was mostly because they were hard to transport without spoiling, and because people didn’t really know what to do with them once they had them in their kitchens. Everyting started to change when a French company based in Ceylon (now Sri Lanka) started shredding coconut meat and drying it for easier shipping, thereby making coconut accessible to European chefs and home cooks.
Shortly after gaining popularity in Europe, coconut took the United States by storm when a Philadelphia flour miller received a shipment of coconuts as payment of a debt from a Cuban businessman. In 1895 he set up a factory for shredding and drying his coconut meat and singlehandedly put coconut into the hands of American homemakers and commercial bakers and candy makers.
Recipes for coconut cream pie start showing up in cookbooks almost immediately, and by the early 1900’s coconut custard and coconut cream pie was everywhere.
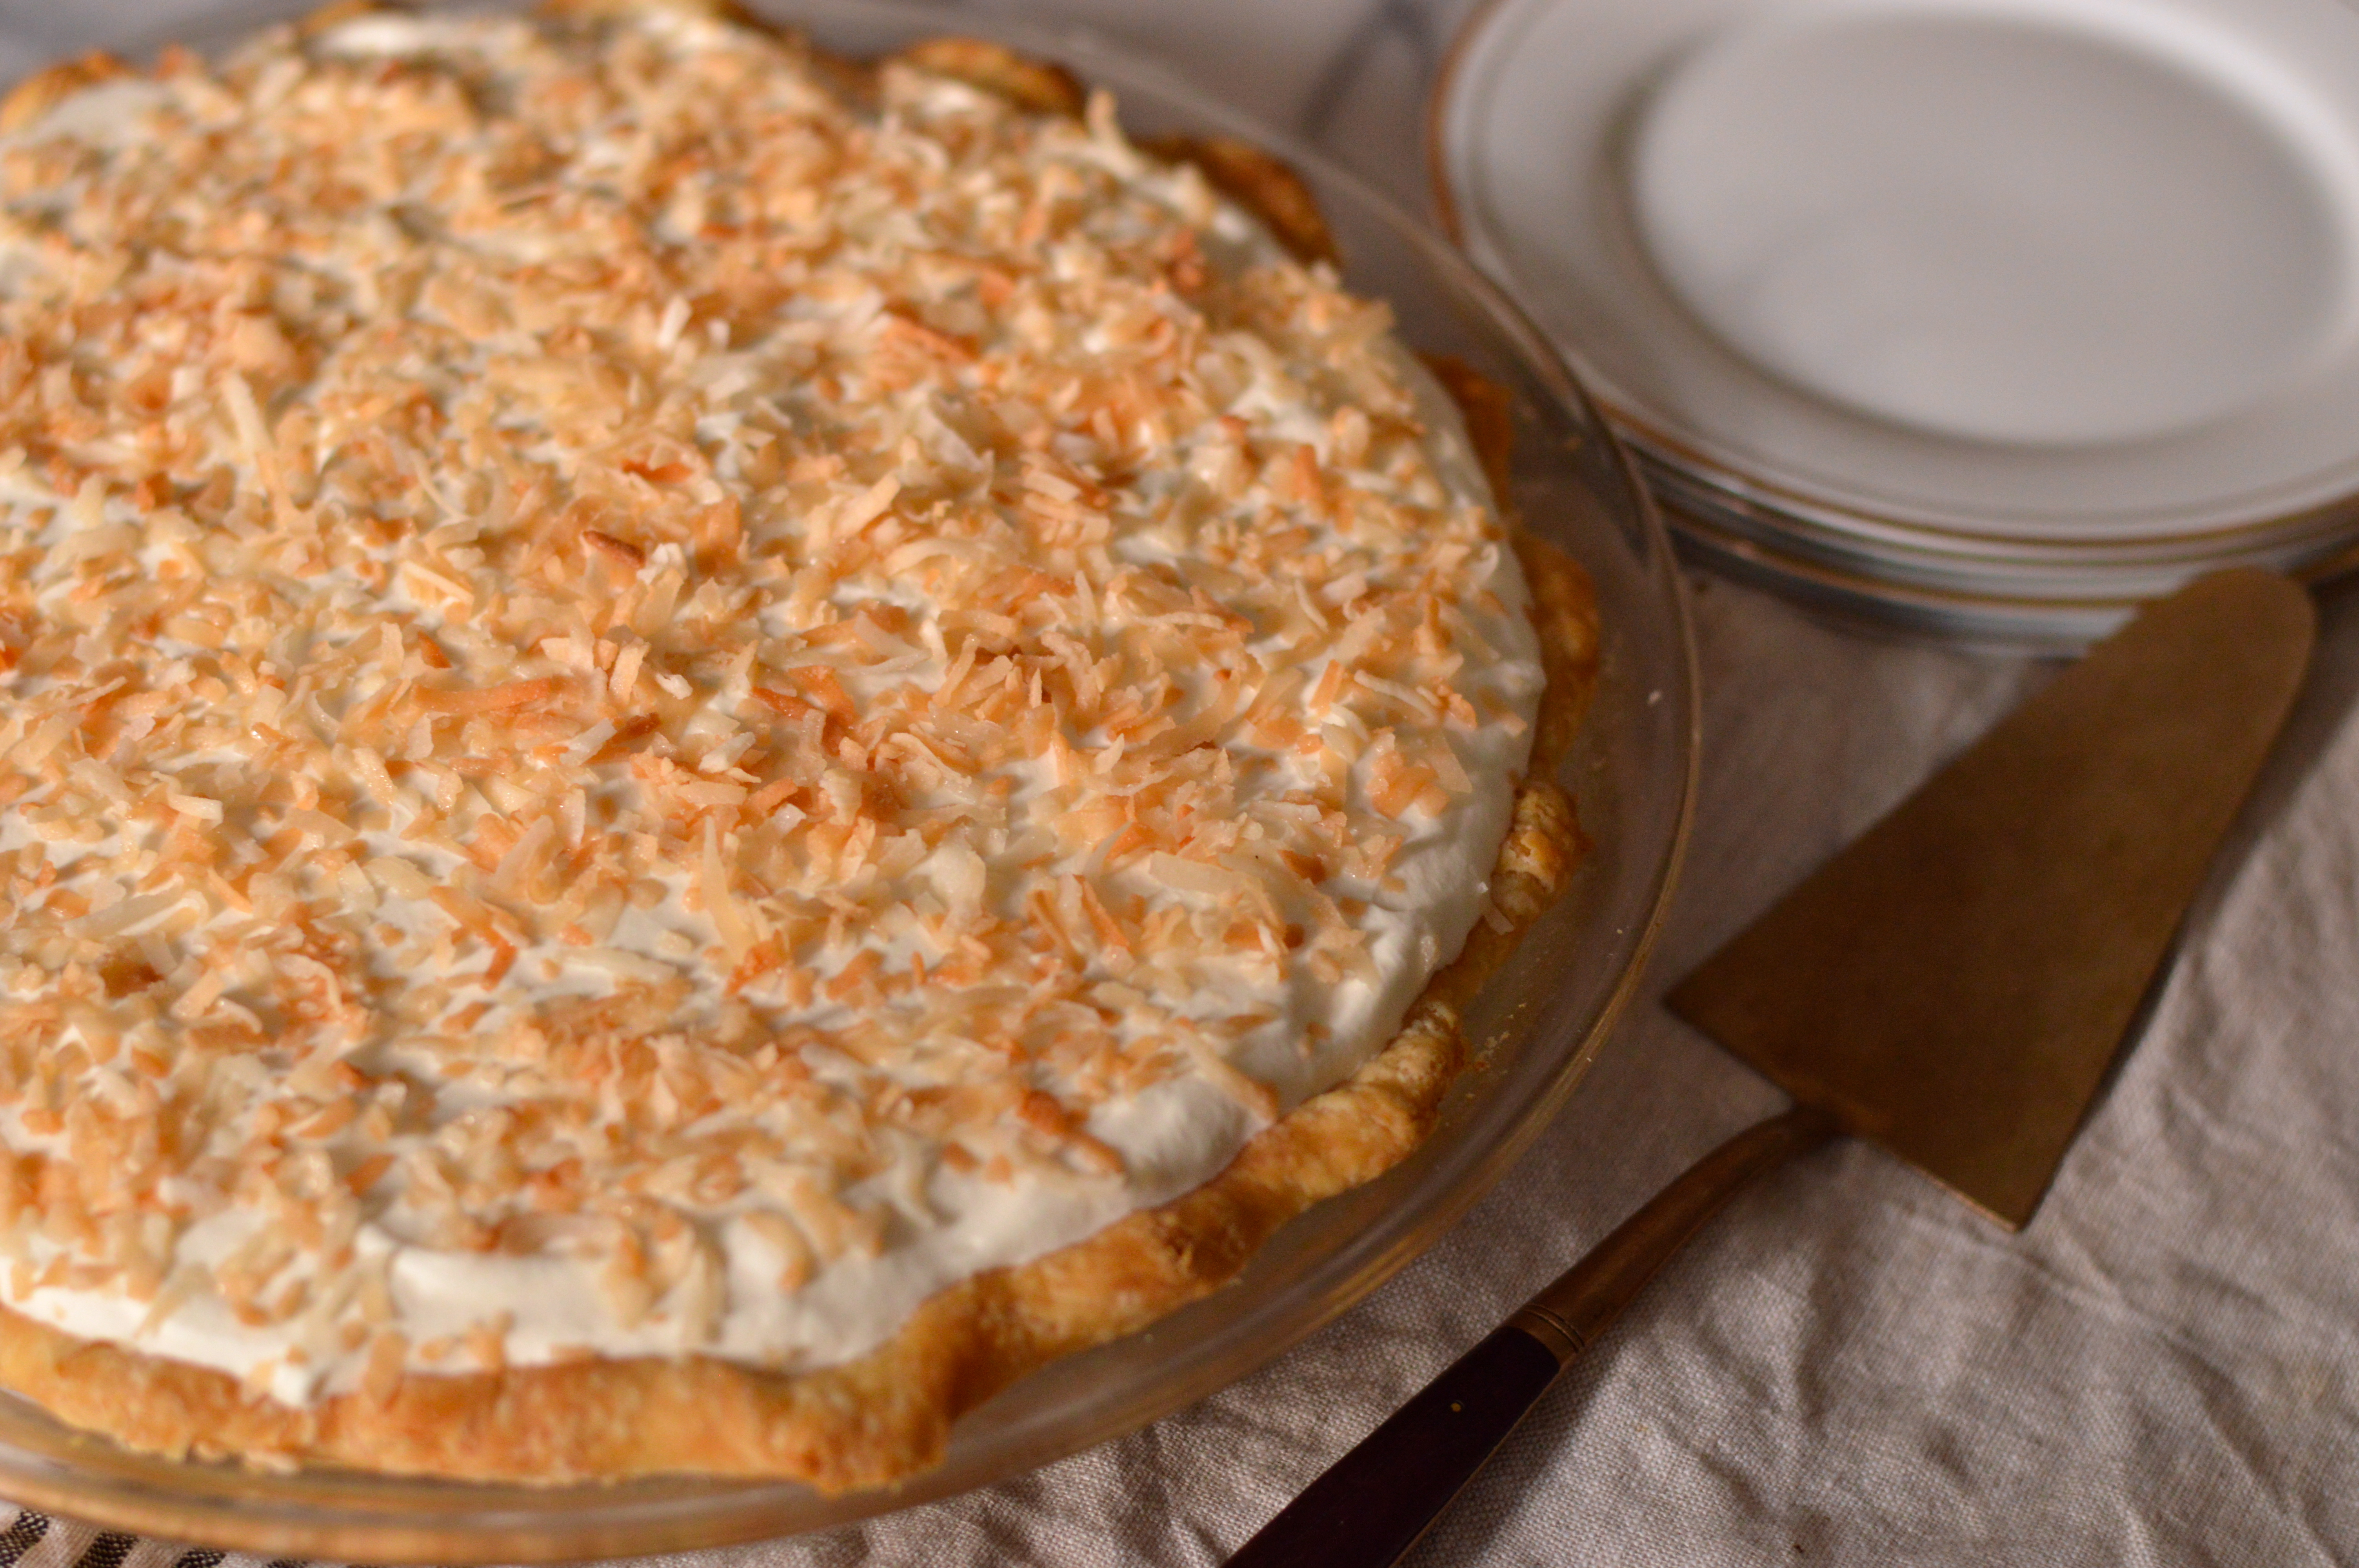
And it’s no wonder. This pie is really something. As much as I still think baked fruit pies are more my thing, this pie is worth all the time and separate steps. The crust is flaky and tender and crisp, and since it’s made with butter instead of shortening, it’s got a great flavor as well as texture. The coconut pudding filling is rich and custardy and creamy and thick, studded with plenty of super flavorful toasted coconut. The whipped cream is just barely sweetened, and laced with just a hint of rum to take that tropical coconut to another place. The whipped cream is also stabilized with a tiny bit of gelatin, just to make sure it doesn’t turn into a runny puddle if you don’t serve every last slice right away.
If you’re a fan of cream pies, or a fan of coconut, this recipe is one to dog-ear.

Toasted Coconut Cream Pie
Pie crust:
1 1/2 cups flour
1/2 teaspoon salt
2 teaspoons sugar
1 stick (8 tablespoons) unsalted butter
1/2 cup ice cold water
Coconut Cream Filling:
1 ½ cup unsweetened shredded coconut
1 (14-ounce) can coconut milk, well stirred (not cream of coconut)
1 cup whole milk
2/3 cup granulated sugar
¼ teaspoon salt
5 egg yolks
¼ cup cornstarch
1½ teaspoons vanilla extract
2 tablespoons unsalted butter, cut into pieces
Stabilized Whipped Cream:
1 1/2 teaspoons unflavored gelatin
6 tablespoons ice cold water
1½ cups heavy cream, chilled
1/3 cup confectioners (powdered) sugar
1 tablespoon dark rum (optional)
1 teaspoon vanilla extract (if not using rum, add another teaspoon)
Make the pie crust:
Stir or whisk together flour, sugar, & salt in a medium bowl. If you have time, toss the bowl in the freezer for a 15 or 20 minutes. Cube the butter, add it to the chilled flour, and cut it in with a pastry blender, until it looks like coarse pea sized chunks. You can also do this by pulsing in a food processor. If you took very long to cut the butter in, you can toss the bowl back in the freezer for another 15 minutes, but if the butter is still firm and cold, don’t bother.
Start mixing in the water and stirring and tossing with a fork to distribute and combine. Try starting with about 1/4 cup, mix together, and add about a tablespoon or two at a time, until it starts to come together. The less water you use the better and flakier the crust will be, but you don’t want to use so little that it won’t hold together. If you can press it together with your hands and it mostly stays in a ball, with a few little bits crumbling out, you’re good to go.
Form the dough into to a ball and wrap it tightly in plastic wrap. Try to handle it as little as possible so as not to warm or melt the butter. Press or pat the covered ball of dough into a thick disk and refrigerate for at least two hours (or up to a few days)
Preheat oven to 425 degrees.
On a well floured surface with a floured rolling pie, roll the dough out in a disk that’s about 2 inches wider than your pie plate. Transfer to the plate, center the crust (do not stretch it out or it’ll shrink when baked) and trim the edge so there’s about half an inch to an inch of overhang. Fold the overhang under itself right at the edge of the pie plate, and crimp the crust with a decorative edge.
To blind bake the pie crust, cut a large square of parchment paper and line the crust with it. Fill the paper with pie weights, dried beans, or pennies to weight down the crust or it’ll bubble up when baked. Bake for about 15 minutes, or until the edges of the crust are beginning to turn golden brown. Remove the pie plate from the oven, and lift the weight filled parchment out of the pie crust. Return it to the oven for another 5 minutes or so, or until the center of the crust looks dry and cooked through. Set the crust aside to cool.
For more information on blind baking a pie crust, check out this detailed tutorial from TheKitchn.
Make the filling:
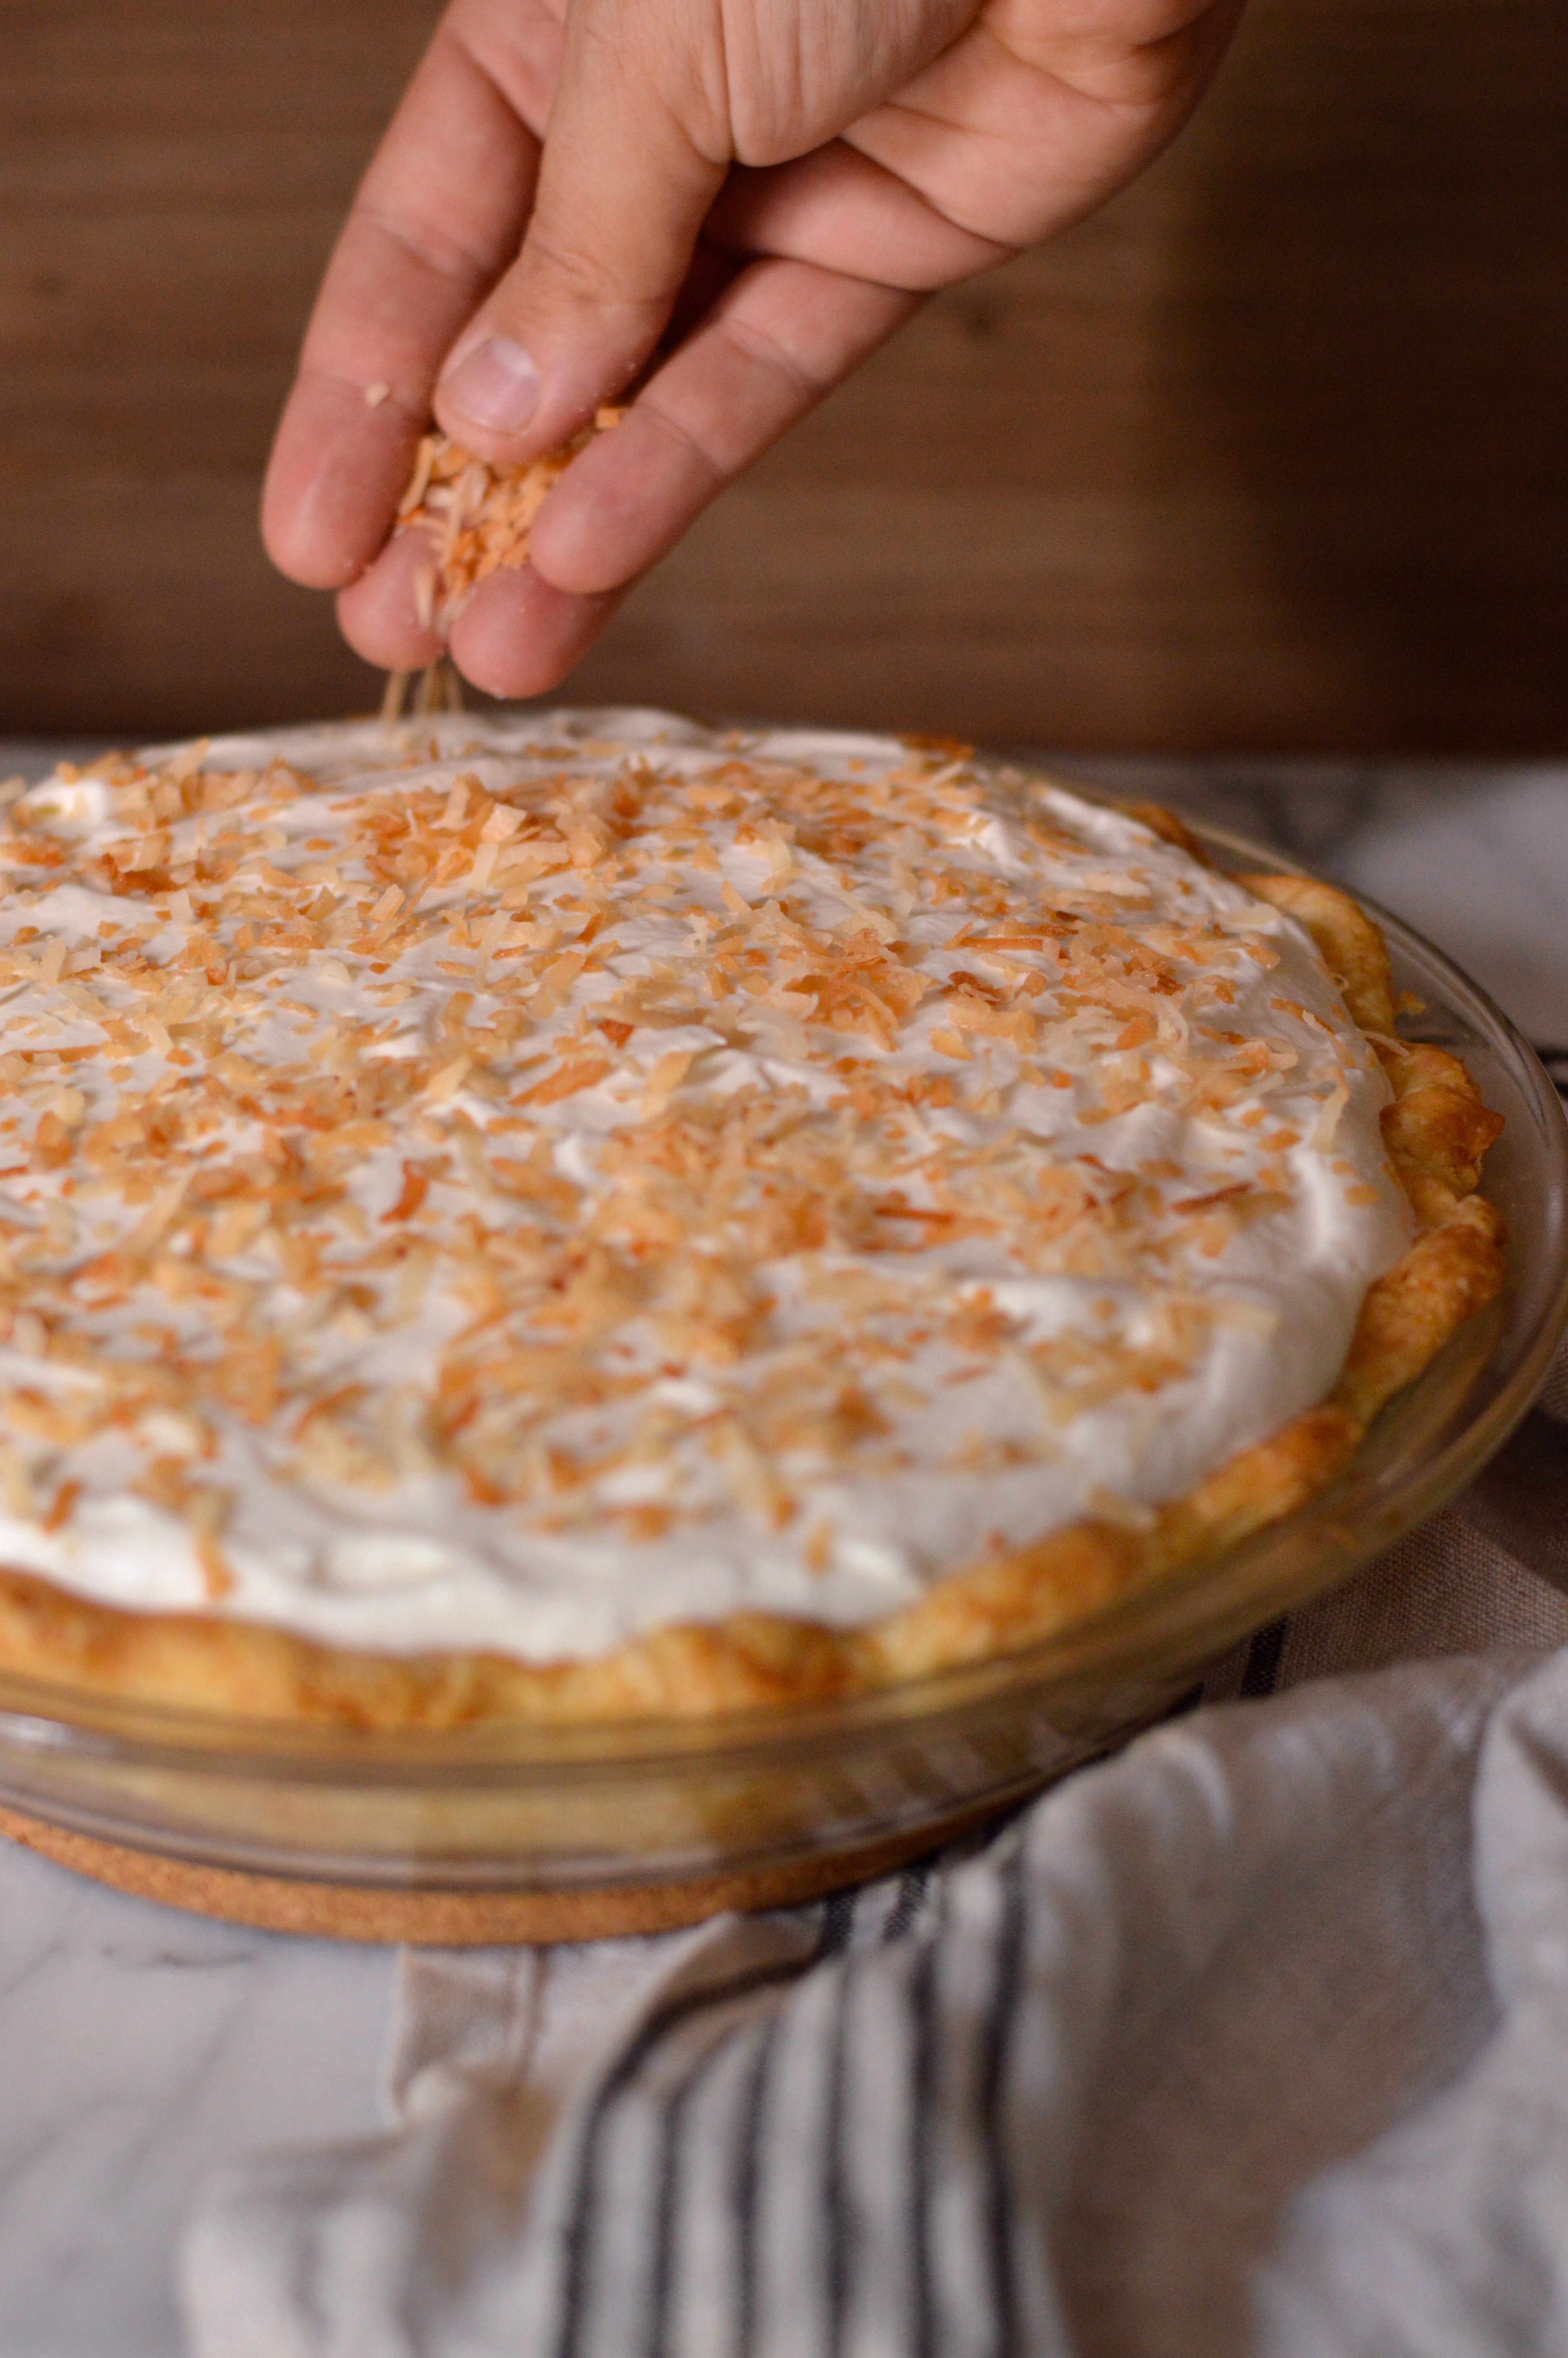
Turn the oven down to 325. Spread the coconut in an even layer on a parchment lined baking sheet, and toast until golden brown, about 9 minutes, stirring every couple of minutes. When cool enough to handle, reserve 1/2 cup for garnishing the finished pie.
Bring the coconut milk, whole milk, 1 cup loosely packed toasted coconut, 1/3 cup of the sugar, and the salt to a simmer in a medium saucepan over medium-high heat, stirring occasionally with a wooden spoon to dissolve the sugar. When the mixture reaches a simmer, whisk the egg yolks in a medium bowl to break them up, then whisk in the remaining 1/3 cup sugar and cornstarch until well combined and no lumps remain. Gradually whisk the simmering liquid into the yolk mixture to temper it, then return the mixture to the saucepan, scraping the bowl with a rubber spatula. Bring the mixture to a simmer over medium heat, whisking constantly, and let thicken at a low simmer for about 3 to 5 minutes.
Off the heat, whisk in the vanilla and butter. Pour the filling into the cooled crust, press a sheet of plastic wrap directly on the surface of the filling and refrigerate until the filling is cold and firm, at least 2 to 3 hours.
Make the stabilized whipped cream:
In a small pan, combine gelatin and cold water and let stand until thick.
Place over low heat, stirring constantly, just until the gelatin dissolves. Remove from heat and let cool for just a few minutes. (do not allow it to set).
Whip the cream with the confectioner’s sugar, until slightly thick. While slowly beating, add the gelatin to whipping cream.
Whip at high speed until stiff. Add the rum and vanilla, and whip for 1 minute more.
Spread or pipe the whipped cream over the chilled filling. Sprinkle the reserved 1/2 cup toasted coconut over the whipped cream and return the pie to the refrigerator for at least 1 hour more for the whipped cream to set. Cover with plastic wrap after the first hour, if not serving at that moment. Leftovers should be wrapped in plastic too, and stored in the refrigerator.

You made one heck’va numero uno coconut cream pie. I love how you stabilized the whipped cream. The piece came out perfectly. Very rich ingredients. I love that pie! And I know it would love me too. Ha
LikeLiked by 1 person
Thanks Carol! It definitely would love you right back!
LikeLike
This pie looks amazing, Tux!! I have only ever made one apple/blueberry pie. Pie is not a big thing in Germany really, even though I have no clue why not. Pie is amazing and I’m also more into fruit pies. However, this really looks like it’s worth a try… :)
LikeLiked by 1 person
This pie looks so beautiful!
LikeLiked by 1 person
Thank you!
LikeLike