Remember when I asked what you thought about me sharing more home apartment improvement projects here along with my recipes?
Remember when I said I couldn’t wait to get started giving my kitchen a facelift and that I would hopefully be back in a week or two with some progress and updates? Yeah. Well. It’s officially been over a month since that happened, but in that month A LOT has happened in my ugly duckling little kitchen.
Oh, and remember when I said I’d most likely kick off the whole project by changing out the shelving with something bigger and… flatter? Well that didn’t exactly work out the way I’d planned either.

After reading all the comments and encouragement on that post I was brimming with confidence and enthusiasm and eager to get started. Unfortunately, I was also really confused about what to do and how to do it. While the whole reason I wrote that post was to ask for advice and ideas, the advice I received was so varied that I started second guessing myself. Originally I wanted to paint the cabinets white, change out the shelves, buy a base cabinet and find a countertop for it, and possibly tile the backsplash. While I thought changing the shelving would be the quickest, cheapest, and easiest way to get the project started, I ended up tripping up when faced with all the options for shelving materials and bracket options. When it came to the decision to paint the cabinets, a few readers said they’d had bad luck with painted cabinets chipping and wearing badly, and another (hey Julie!) sung the praises of gel stain. After much hemming and hawing I ordered a small electric sander online and Russell and I were off to the hardware store for some sandpaper and gel stain. We figured that we’d try staining them, and that if we weren’t happy with the results we could always go back and paint them white.
What I (foolishly) didn’t realize was that gel stain comes in a very limited selection of colors, most of them very dark. I wanted to rid my kitchen of the horrible yellow oak, but since the kitchen is pretty tiny and never sees a single beam of natural light, I also didn’t want to go too dark for fear of making the space feel claustrophobic and depressing. Since we were already at the hardware store and I was still riding the comment-driven enthusiasm high, I decided to make a last minute change to the plan and go with regular wood stain in medium walnut tone. Not using gel stain though, meant that the cabinets would need to be completely stripped and sanded before the stain could go on, so we added some “odorless” natural citrus based stripper to our list of supplies.
On my next day off I set to work with high hopes and a heart full of foolhardy hubris.
By about 1 pm I was cursing, crying, and having a completely adult and totally mature temper tantrum.
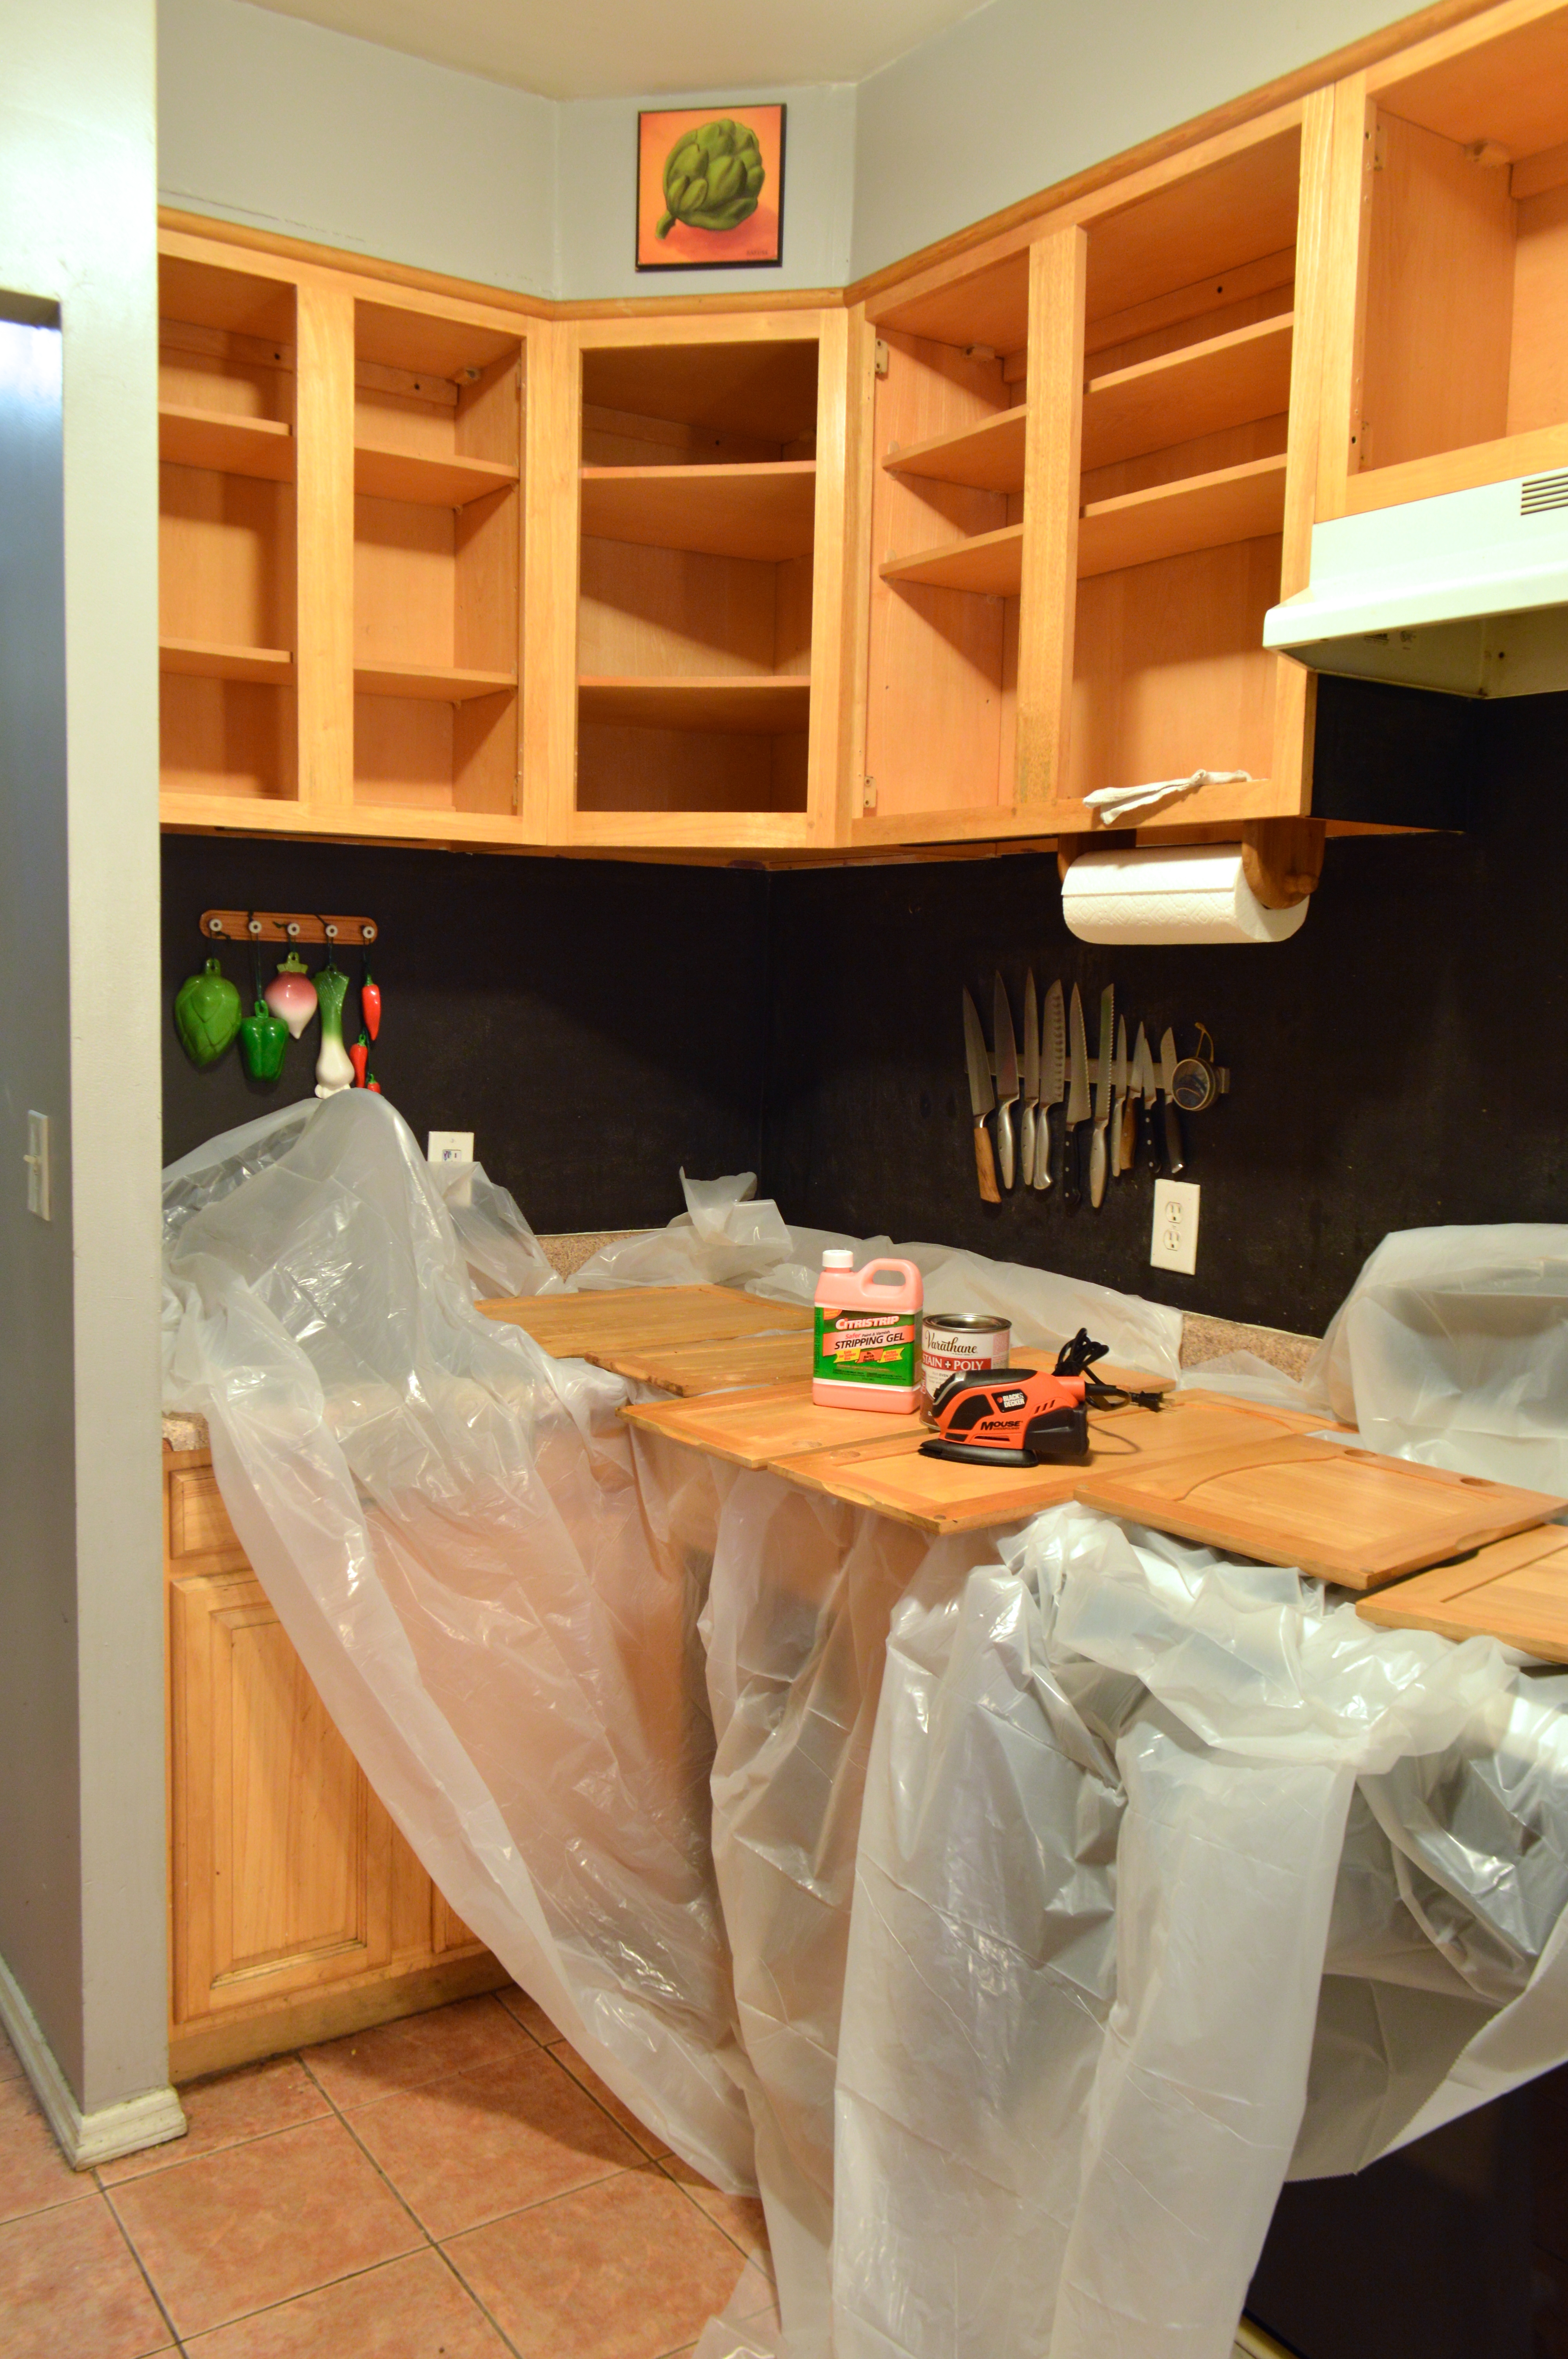
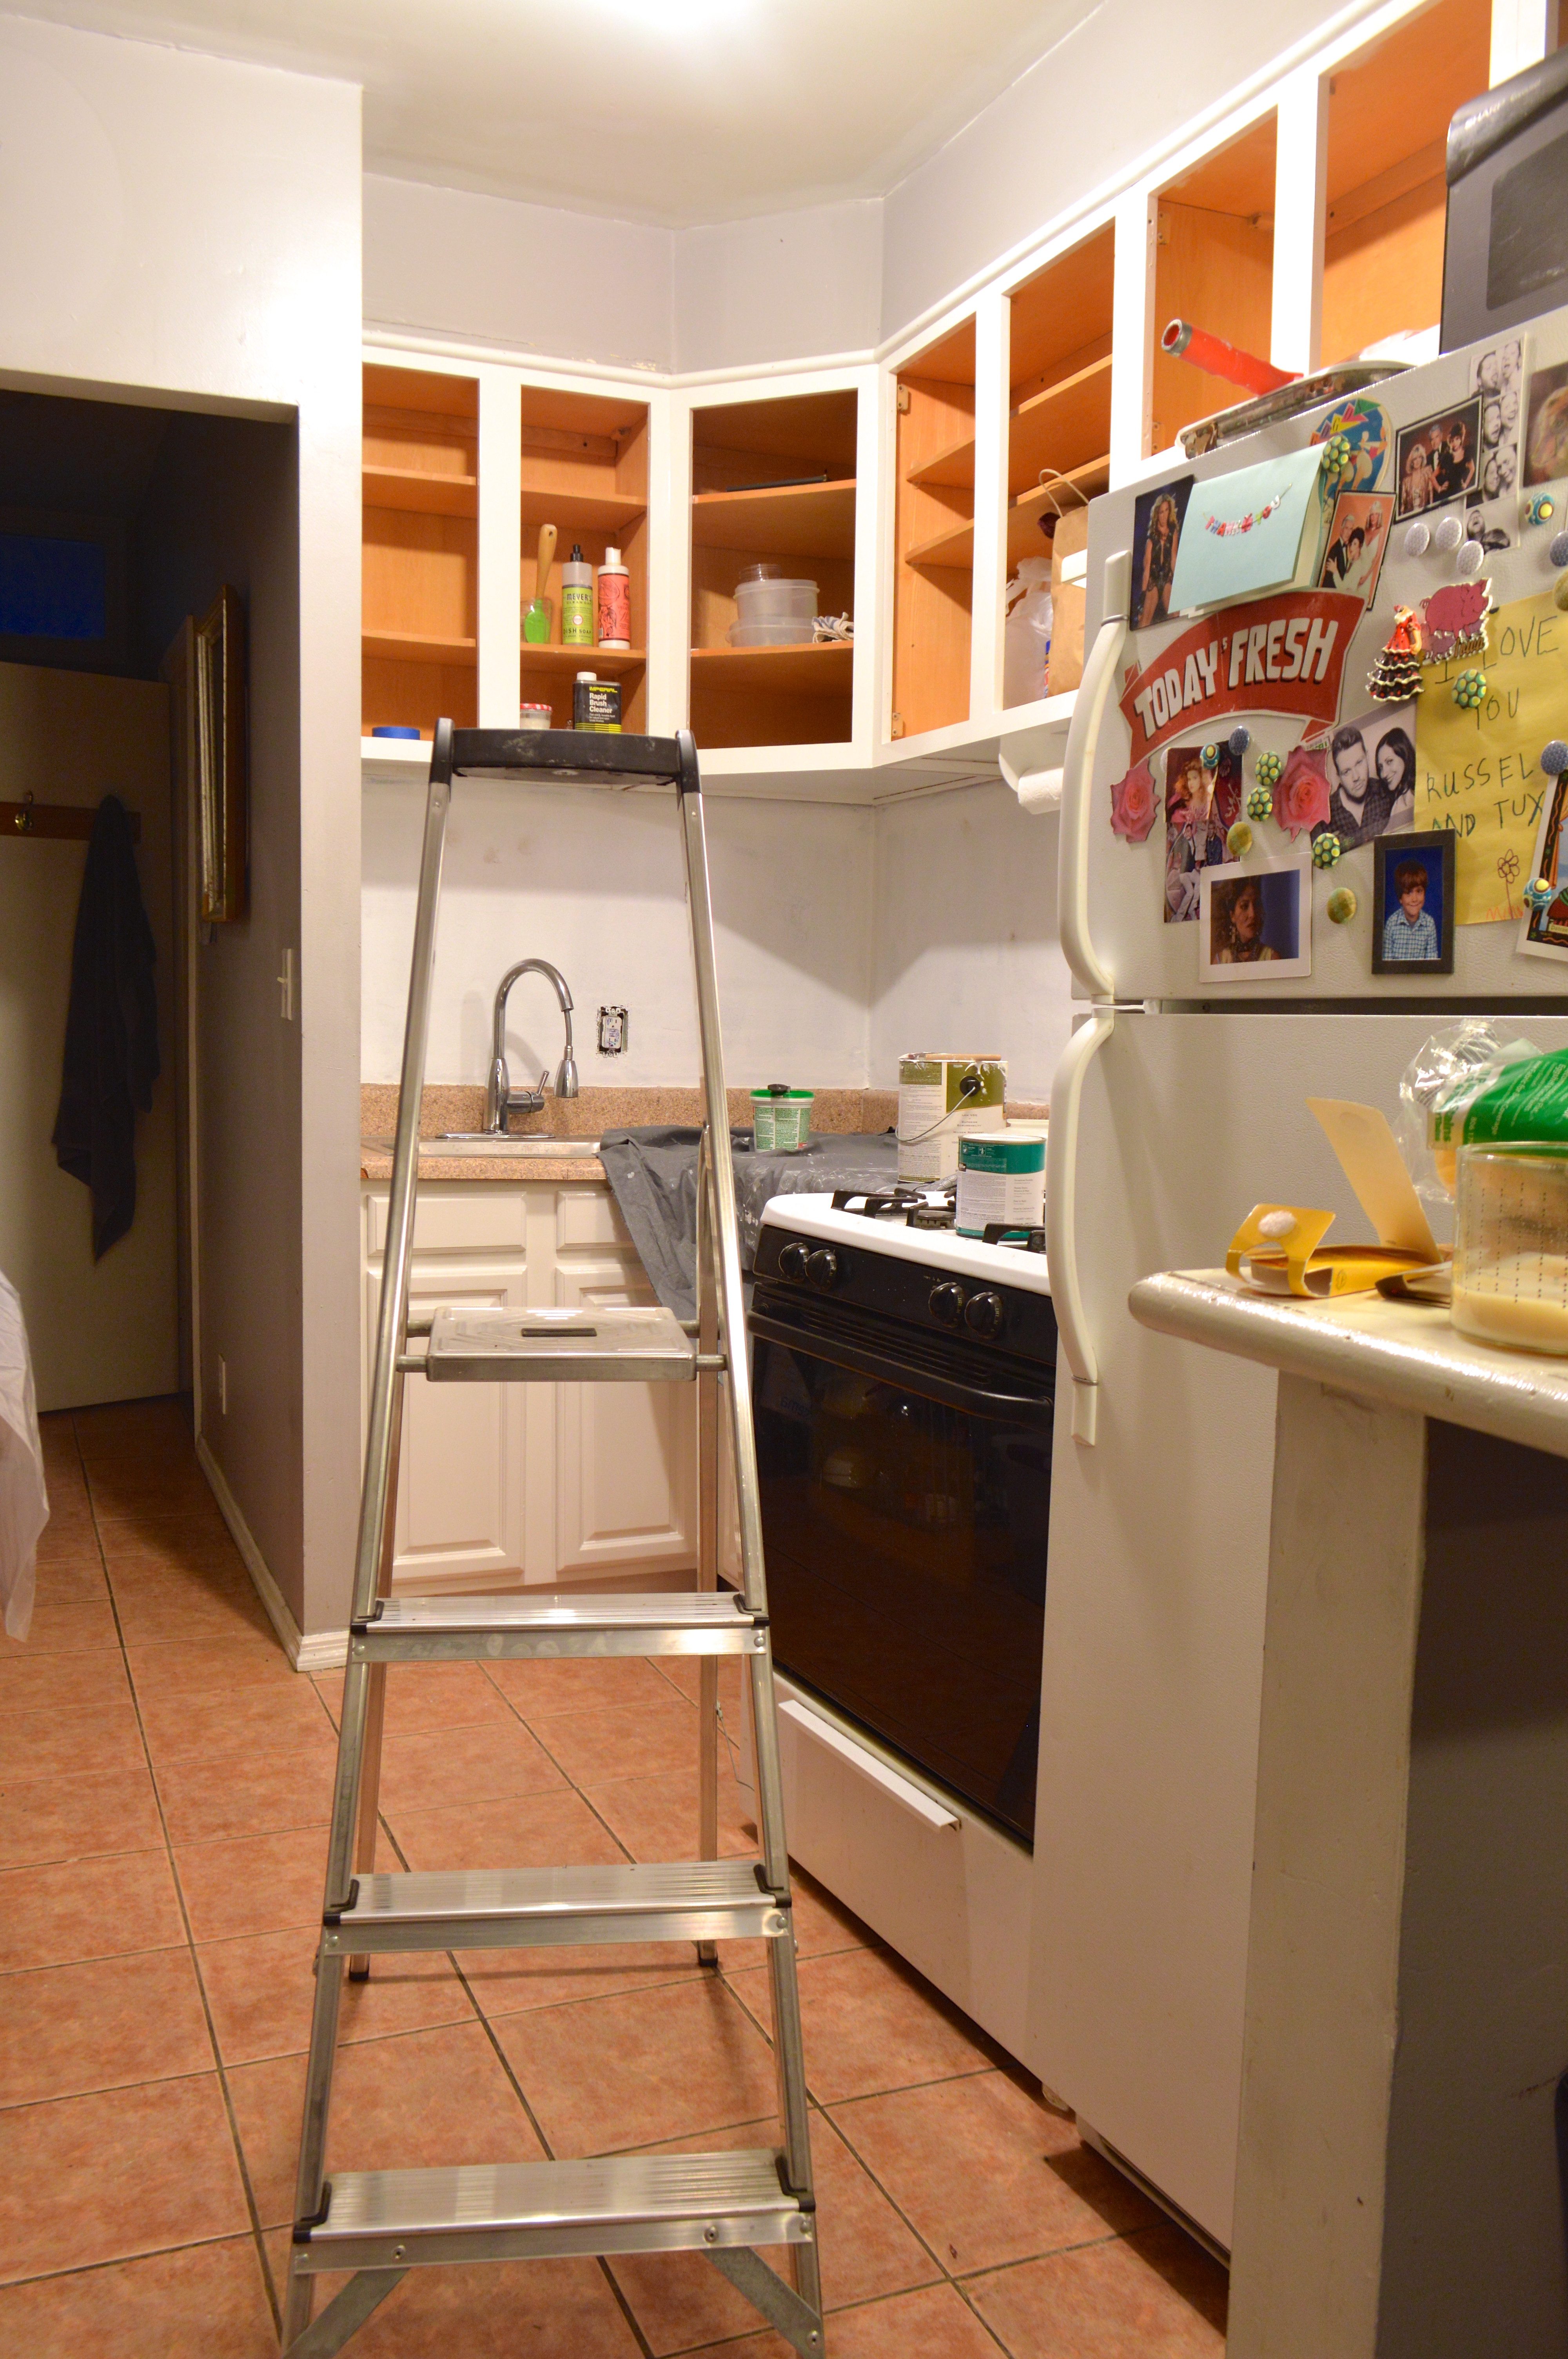
I started by cleaning and removing all the doors from my cabinets, removing all the hardware from the doors, emptying and cleaning out all of the cabinet boxes, and covering my counters with a plastic drop cloth. Since my counter space is limited, I could only start with a few doors at a time, so I got to work brushing the “natural” stipper on the first few doors and waiting for it to do it’s “magic”.
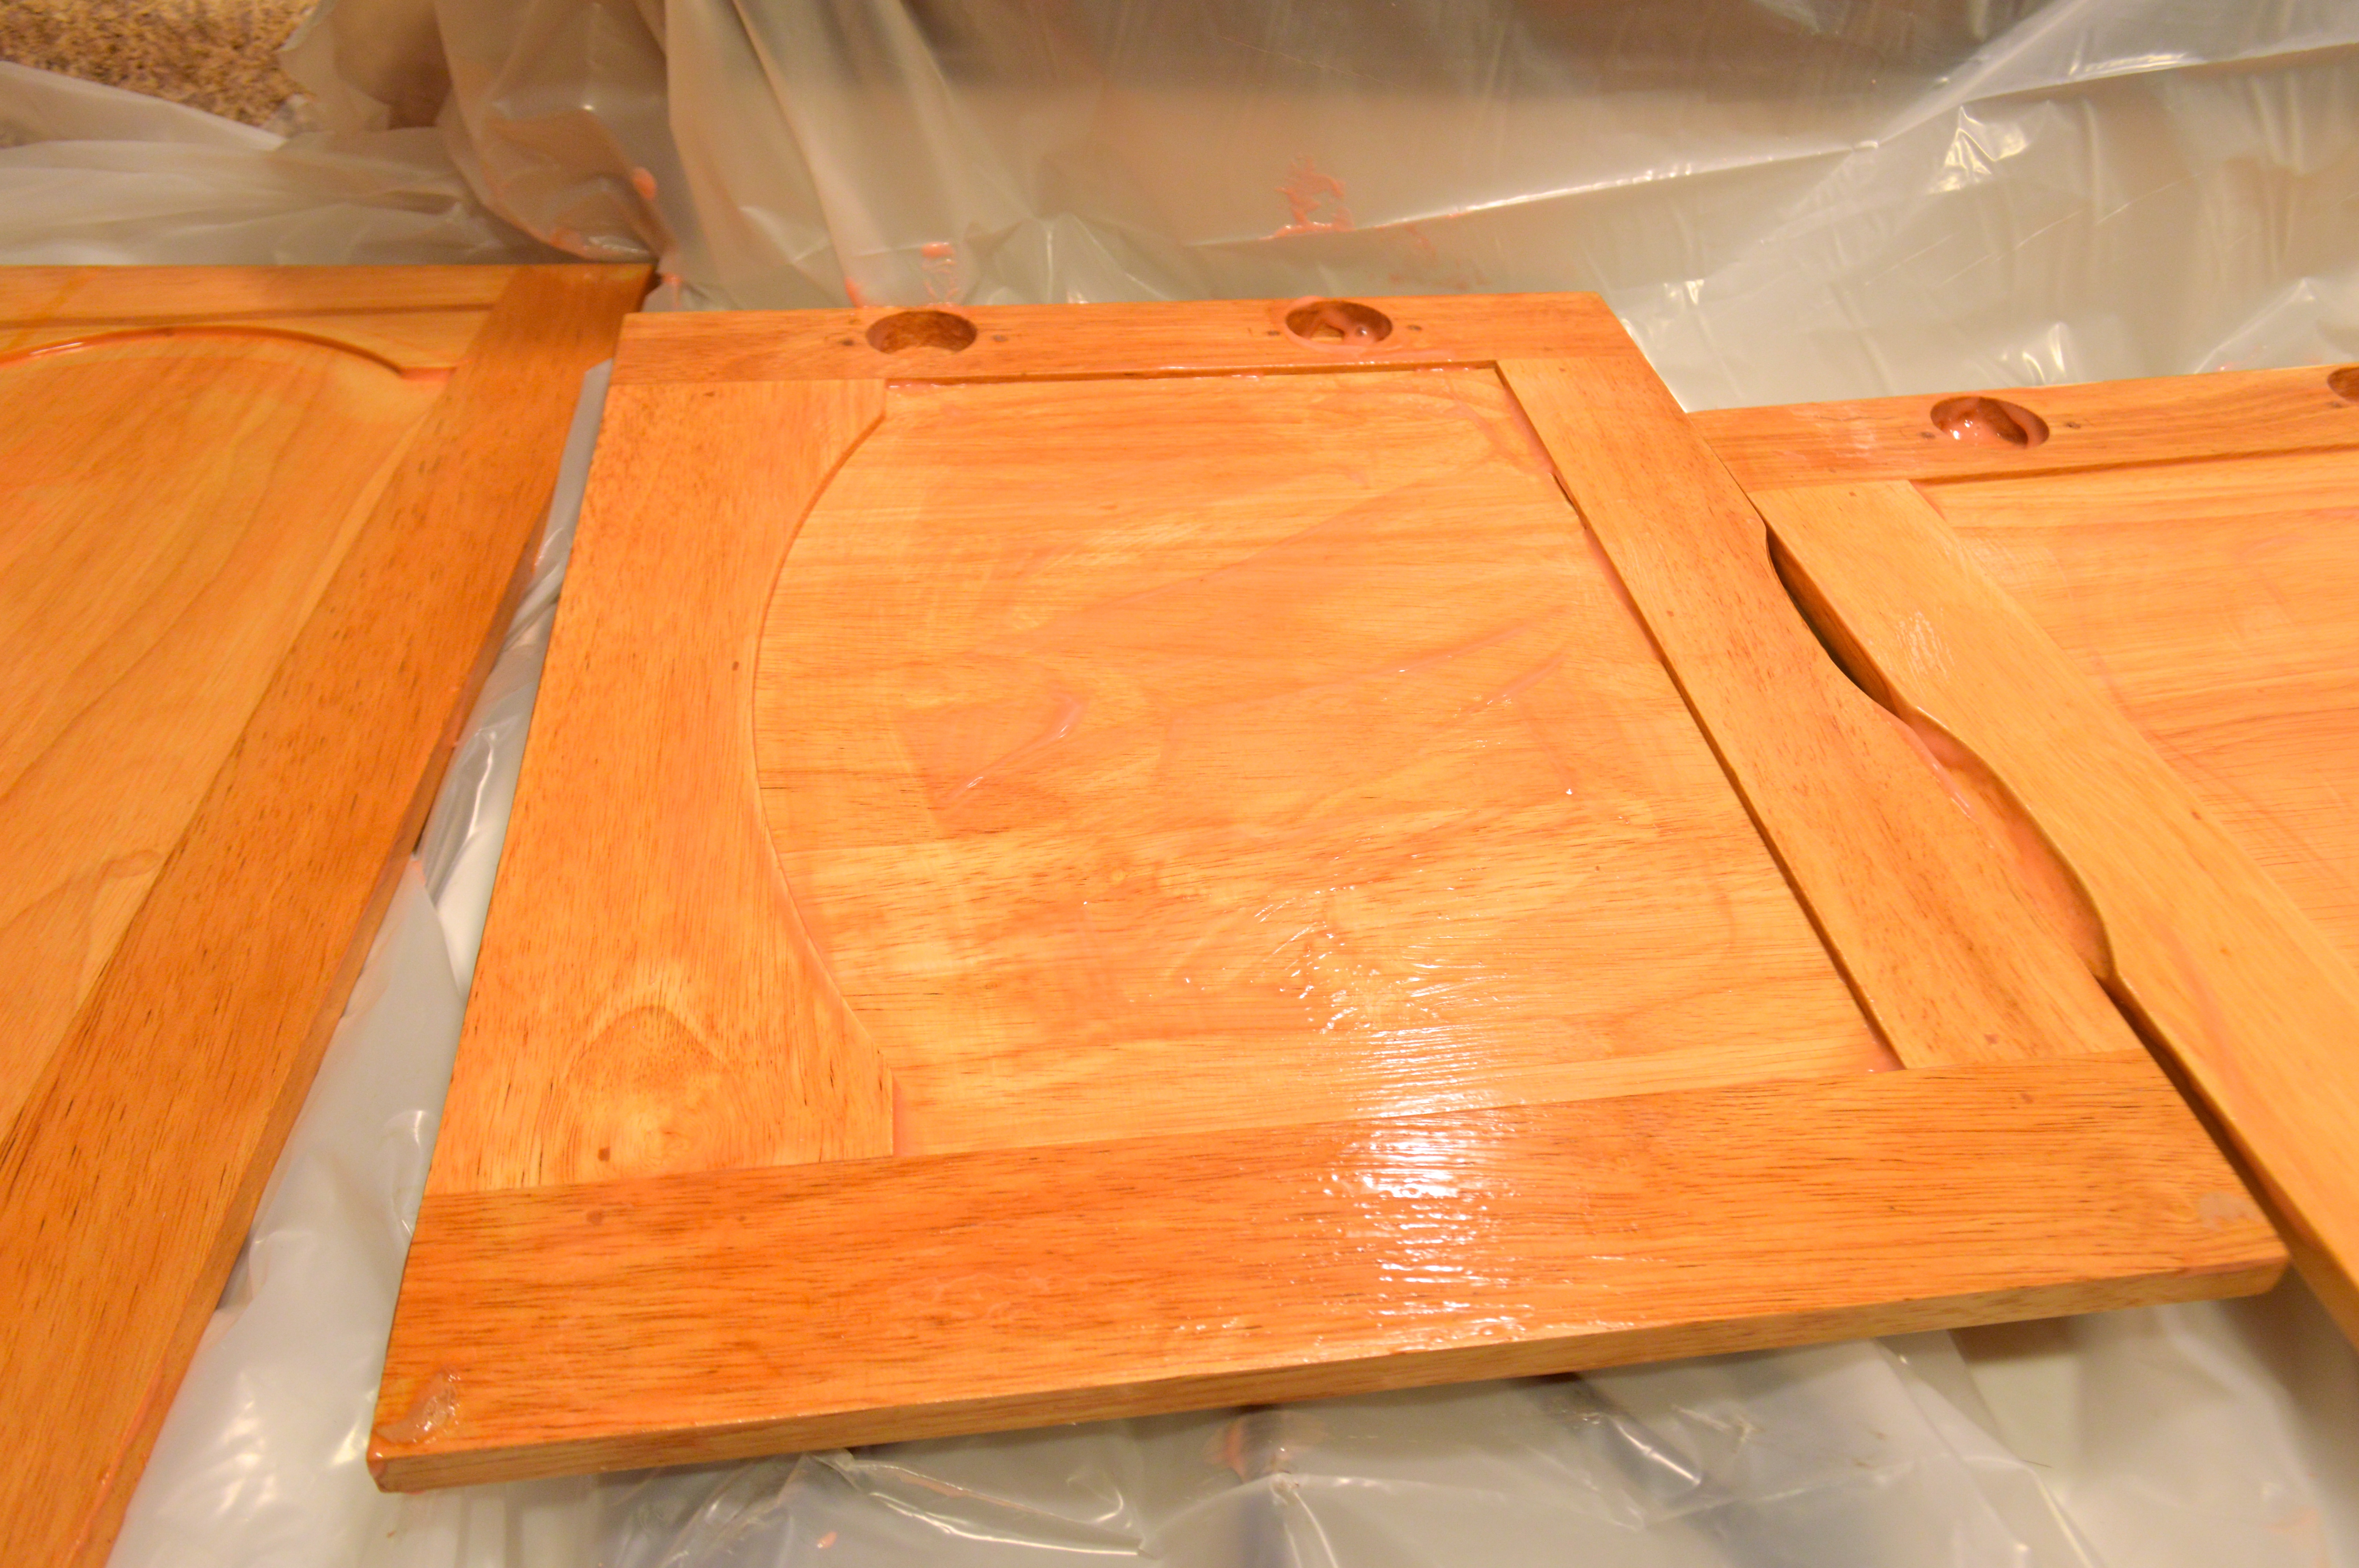
In my excitement at the hardware store I somehow neglected to notice where it said that a stripper remover would be needed to take the stripper off of detailed woodwork that couldn’t easily be scraped. When I went to scrape the stuff off the doors, I quickly realized that it was nearly impossible to get the stripper off of any surface that wasn’t completely flat. Maybe I’m missing something, but what’s the point of a stripper if you need stripper stripper to remove it? I also don’t think it did a very good job of evenly and efficiently removing all of the old stain and poly anyway, though honestly that may have been my fault somehow.
I was super frustrated by the stripper but I wanted to keep things moving forward and stay calm and positive so I went to get out my new sander. More bad news. As it turns out, the sander I bought requires proprietary velcro-backed sanding pads and isn’t compatible with just any sheets of sandpaper (like the sheets I bought for instance). Silly me for thinking my sander would use sandpaper. Of course the sander only came with one velcro pad, which lasted all of three minutes on one of my cabinet doors.
Another deep breath. Another “calm down, it’ll be okay” moment.
I took a few minutes to chill out and went back in to see what the stain would look like on the one cabinet that I’d been able to semi-successfully strip/sand. On the back side of the door I brushed some stain on a small section and noticed two things. A) Even though I thought I’d gotten all of the old stain and poly off, the stain wouldn’t soak in in some places, and B) I hated the god damned color.
Aaaand that’s when I had my full grown adult temper tantrum.
Even the dogs were judging me.
I decided it was time to eat lunch and regroup.
Just when I was about to throw in the towel and admit defeat, I remembered that I had a can of adhesive spray-mount in a drawer somewhere. I wasn’t sure if it’d work, but I had to sand my cabinets somehow and didn’t have anything to lose. I cut a few pieces of sandpaper into the same shape as the now dull and useless velcro pad, and sprayed the back of the cutouts with spray-mount. I pressed the new sandpaper onto the used pad and fired up the sander. To my shock and great relief, the sandpaper stayed put and totally did the trick. Angels sang as fairies flittered about my kitchen and there may have been a unicorn.

I still wasn’t completely sure what I was going to do, but with my cabinets half stripped I knew I just had to keep moving forward so I just kept sanding and hoped I’d have a plan by the time I finished.
With all the doors and boxes sanded up real good, off I went again to the hardware store, this time for paint, primer, brushes, and paint thinner. I already suspected that oil based paint was probably a better, more durable way to go than latex, but I made sure to confirm that with the man at the hardware store and was finally able to feel like I knew what I was doing again.
Now, I’m not going to go into all the details of the exact technique I used to paint the cabinets because (as I think we’ve already established) I’m no expert, and I’m sure there are already plenty of places on the internets with better tutorials than I can provide.
What I will say though is this: If you want your paint to look professional and last years, it’s important that you use a primer before painting to make sure that the old stain doesn’t bleed through and the new paint completely adheres to the surface and doesn’t chip or crack in the future. Sand well before starting, and lightly sand after each coat dries. Oh, and don’t put the paint on too thick or it could look gloppy and drip easily.

I applied my paint with brushes, and while I do think a paint sprayer probably would have given me an even more smooth and professional look, I’m actually really happy with my results. To make sure there weren’t drips I tried to keep doors flat as possible and did a few thin coats. I started with the lower doors laid out on the counters, and since each side of the doors needed to dry before they could be flipped to paint the other side, the whole thing took several days. Paint, dry, flip, paint, dry, flip. Meanwhile my pantry was in grocery bags on the living room floor, and the upper doors hadn’t even been touched.
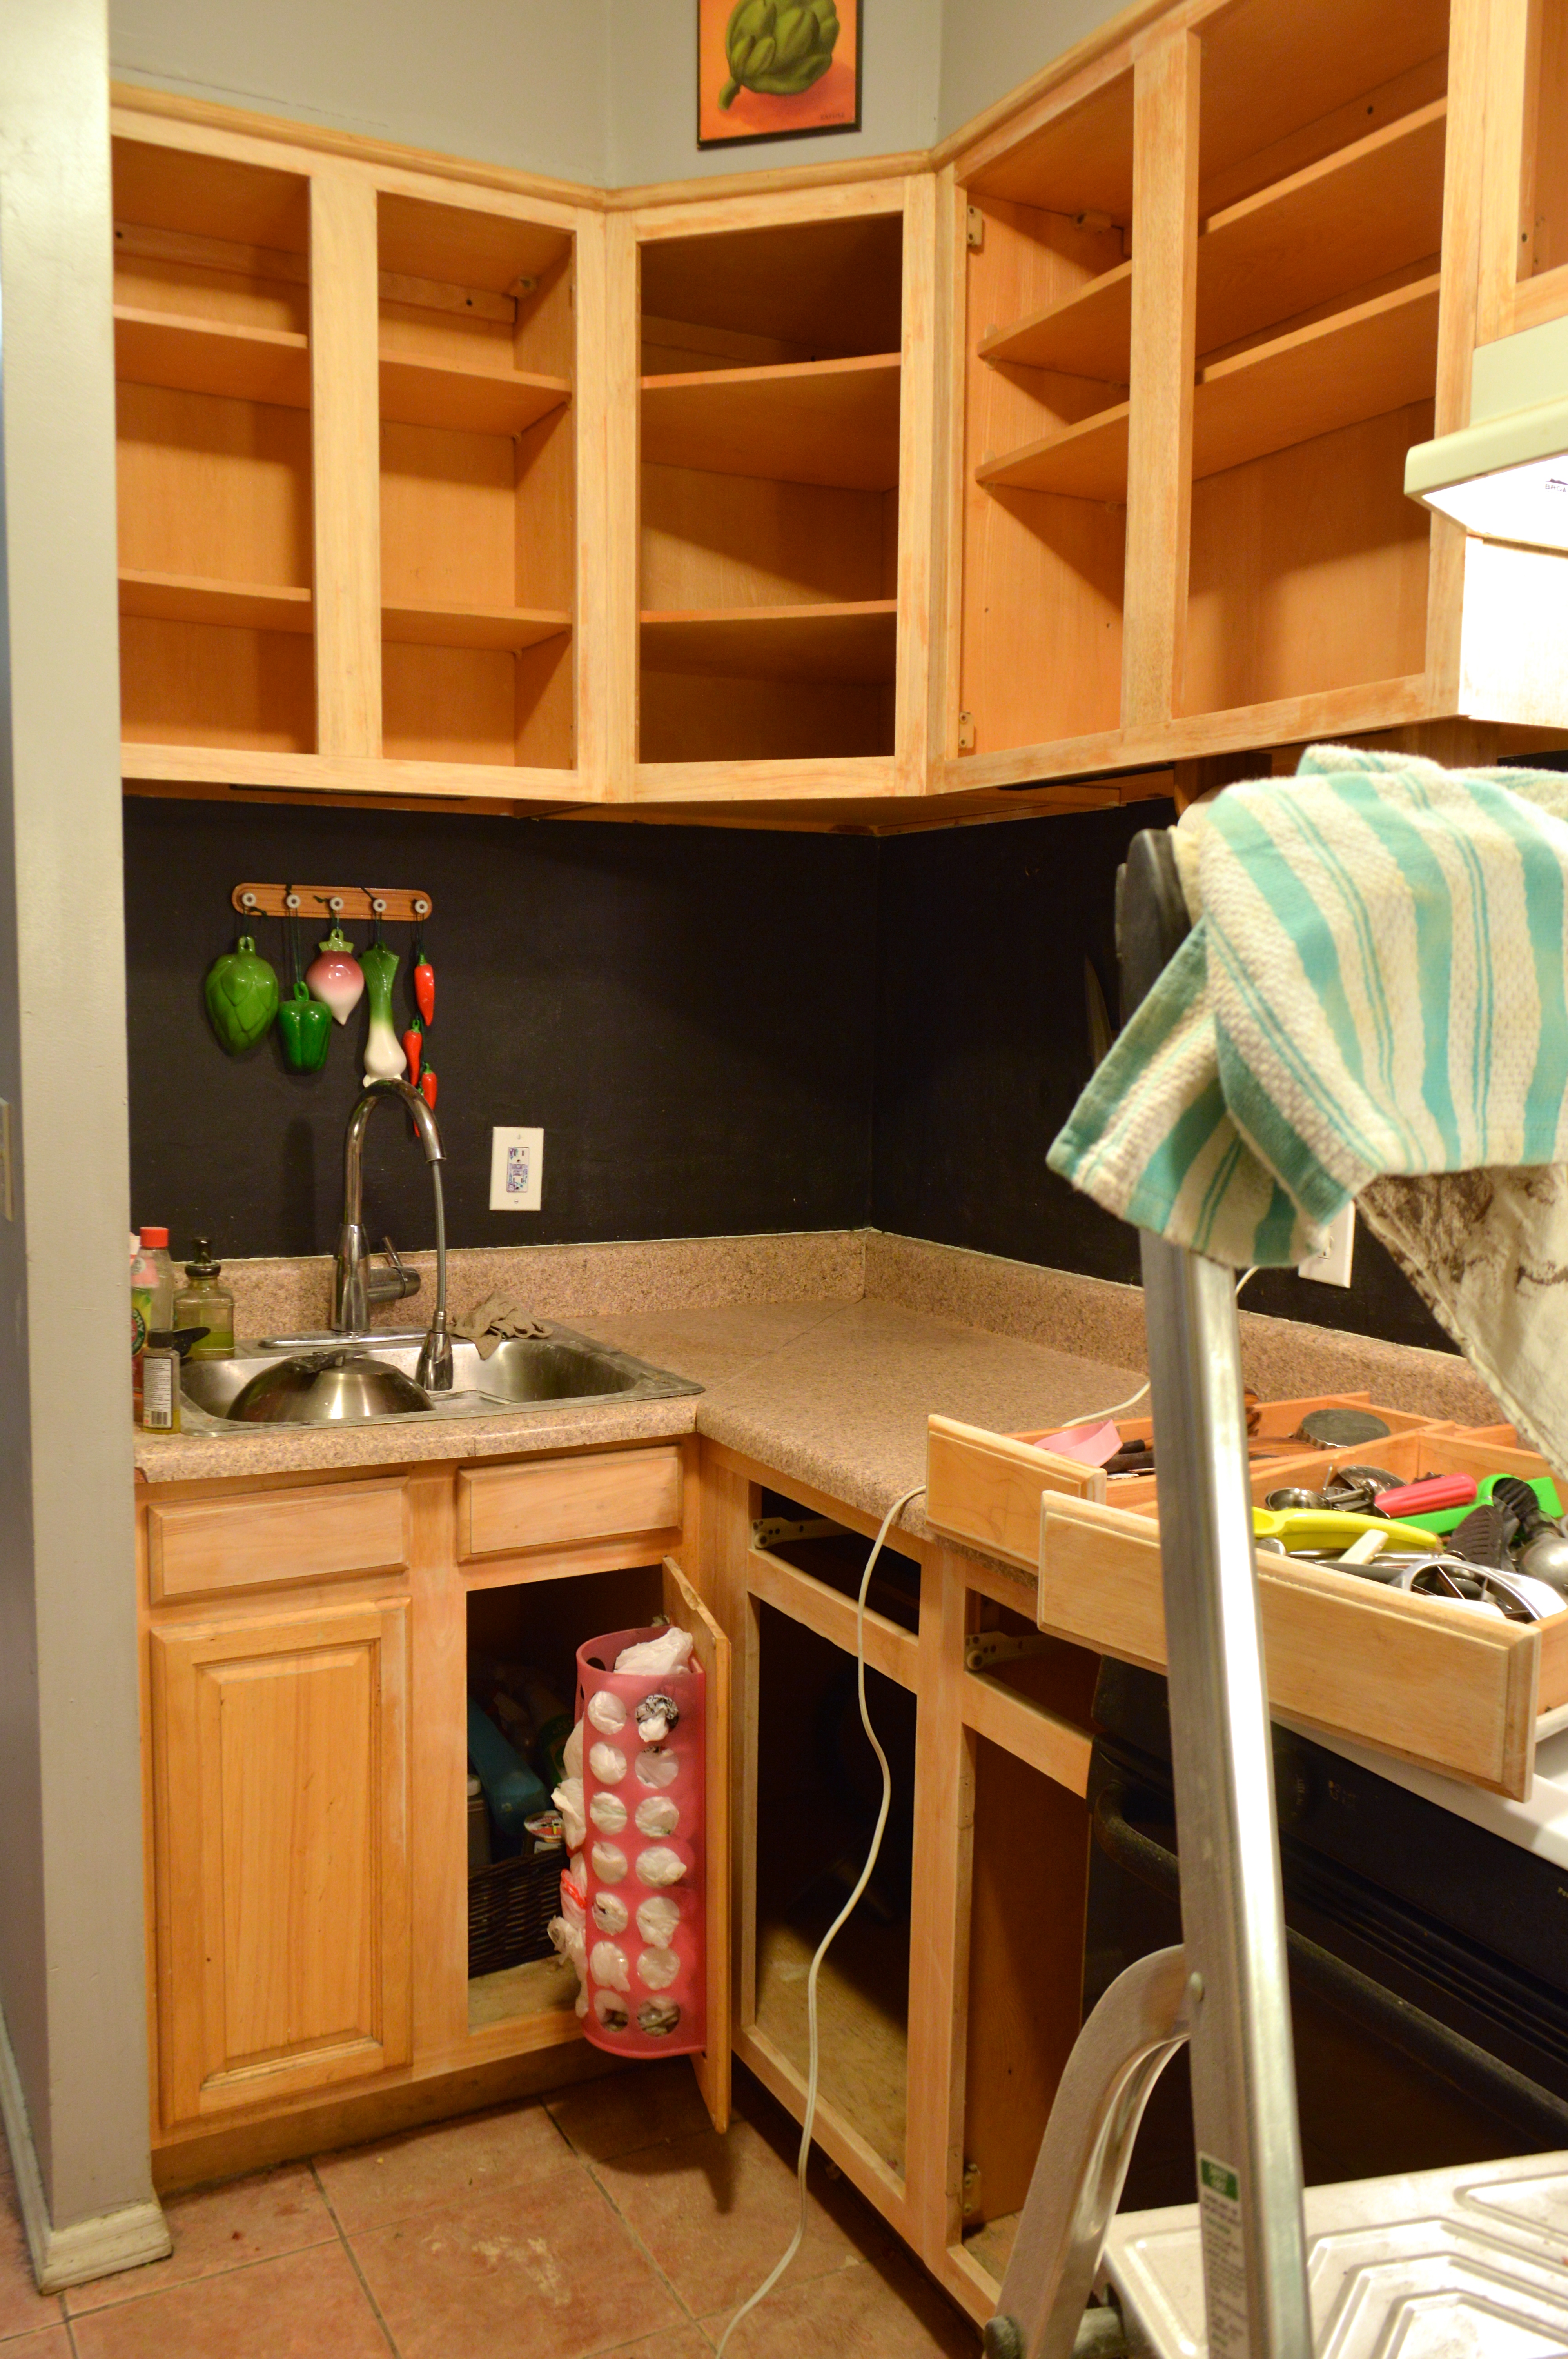
Once the cabinet boxes and lower doors were done, I was ready to get my kitchen back into a state of semi-normalcy so I put everything back into my doorless cabinets. Then I decided to move the next phase of the project into my guest room (for lack of any other space to work in). I stripped the bed down to the sheets, covered it with a thick plastic drop cloth, and used disposable cups to lift the doors up off the bed so the paint could dry more evenly.

I should mention that this is not a job that should be done indoors in the winter. I tried to keep all of my windows open for as long as I could stand, but we’ve been having lots of fun single-digit temperature days here in Brooklyn so that presented it’s own special challenges. If you can do this kind of thing in a garage or a room with big windows and doors that can be opened completely, do that.
I am not that smart, and now thanks to the help of lots of paint fumes, I’m even more not that smart.
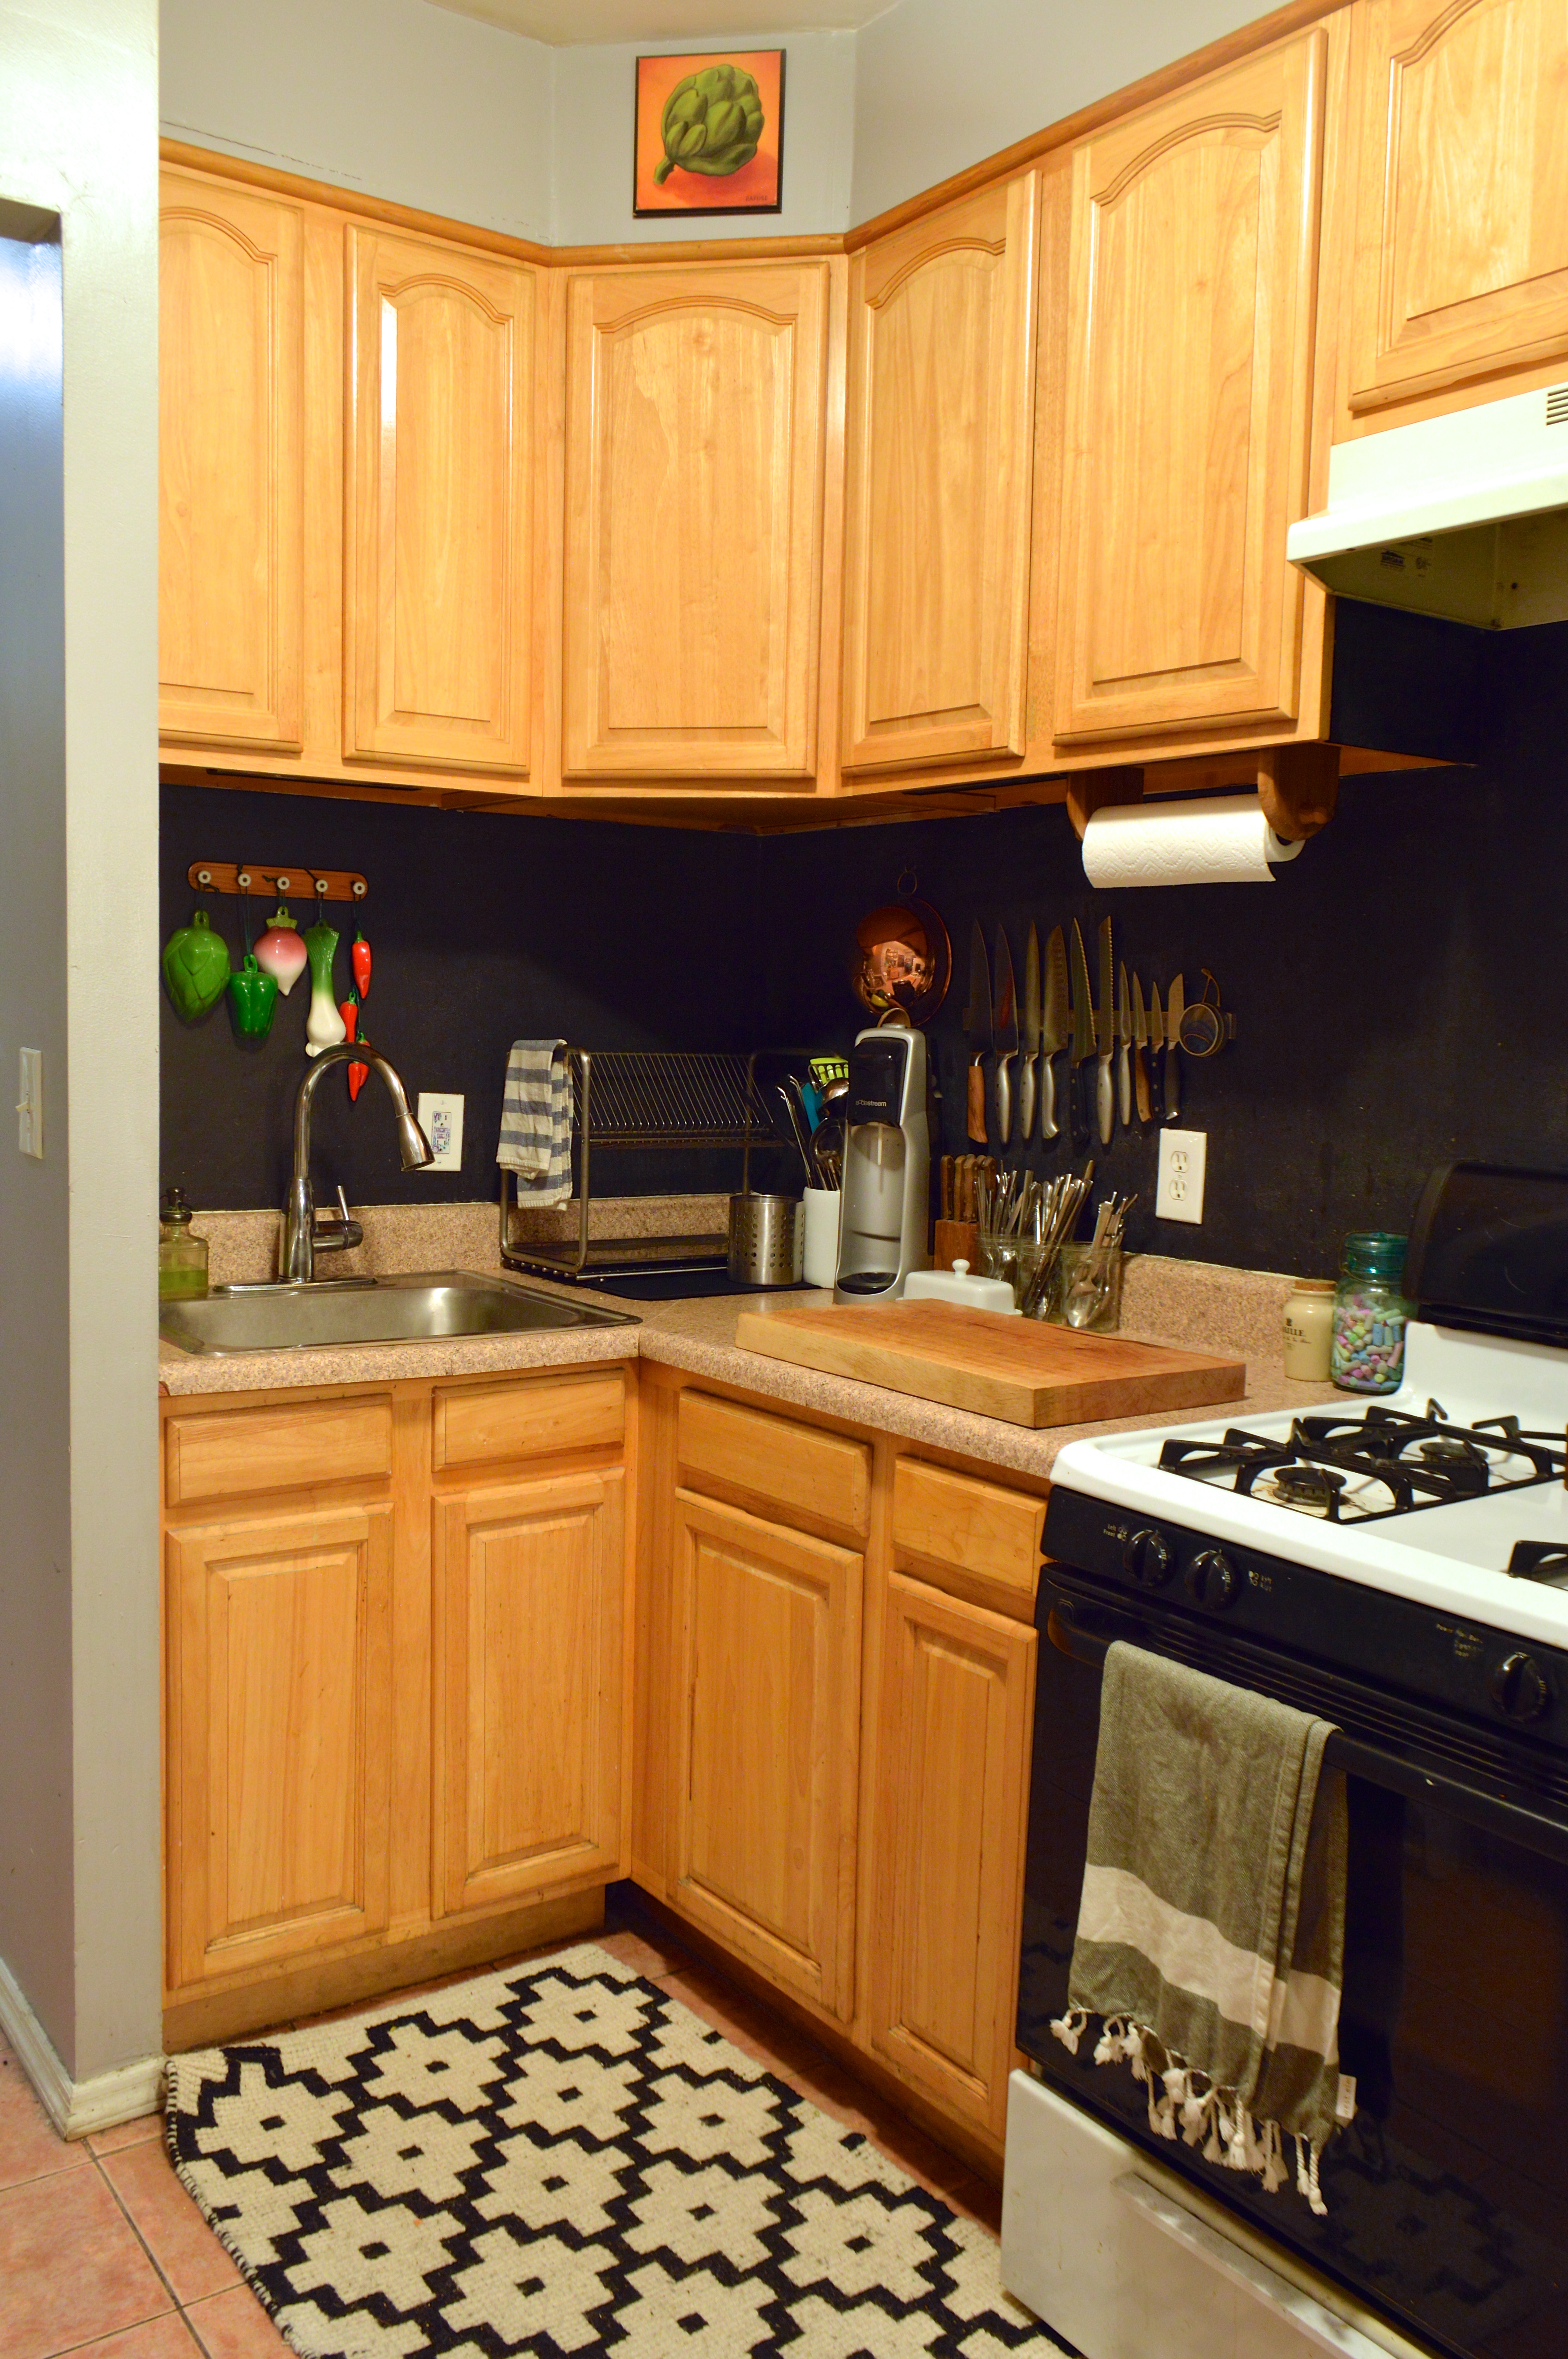
Back in the kitchen, I’d set my sites on the backsplash. As much as I loved the look of the chalkboard paint in the kitchen, I have to admit that it was kind of hard to keep clean, and I felt like I should change it while the kitchen was already torn apart. While we still may eventually tile the backsplash, our budget is already tapped out by everything else we’ve done, so tiling will have to wait if it happens at all. Since that particular wall surface sees so many spills and splashes I decided to go with an easy-to-clean semi-gloss paint. So, in the midst of all this chaos we were off to the hardware store yet again to choose a paint color for the backsplash.
We stared at a few of those paint color sample strips for a couple days before deciding on a pale pistachio/mint green. Those little strips of color just aren’t big enough to help you make a really well informed decision though, so if you can afford it, buy the little sample jars of tinted paint and try test patches.
When the color first went on the walls we both kind of hated it and I thought I’d screwed everything up yet again. I was really hoping for a mature pale green/grey but when it first went up it was reading more as “gender neutral nursery” or “baby’s first backsplash”. It was much more minty and much less grey than I had in mind, and I was totally bummed.

Now that the kitchen is coming back together though, and we have art hung and things on the counter to break up all that solid color, we’re both feeling much better about it and I think it’s growing on us both. If I had to do it over again I’d choose a shade with a bit more grey in it, but I don’t think it’s worth repainting (not yet anyway) for such a small and subtle difference in color.
So, now that I’ve written one bajillion words on almost nothing, I’m sorry but that’s where we have to leave off for today. While I do have much more to share, I’m still not entirely finished so you’ll just have to wait to see the final results. I’m sorry to do you like that, I know you’re ready for the big reveal after all that drama, but in the words of some wise grandmother somewhere, “Good things come to those who wait”.
See you real soon y’all!

WOW it looks awesome! The lighter colors totally work, great job!
xoxo, Sam
http://www.diyjustcuz.com
LikeLiked by 1 person
Thank you! I can’t wait to show the big reveal!
LikeLiked by 1 person
Looks good already! Can’t wait to see finished result! :)
LikeLiked by 1 person
Thanks! I can’t wait to show it off!
LikeLike
Wow, it looks great and so bright and clean! I love the transformation already. Sorry but I laughed at your cabinet challenges, I can so relate and I always hate paint when it first goes down. Looking forward to the next installment!
LikeLiked by 1 person
Thank you! Even in these photos it looks so much better! Just wait till you see the end result!
LikeLike
Don’t you just hate learning things the hard way. It seemed like every project we did to our townhouse took at least 19 trips to the hardware store. Your kitchen is coming together. What a difference the lighter color is gong to make. Gives the illusion of a larger space!
LikeLiked by 1 person
I do this to myself every time I take on a new project- I just get so excited about the end result that I make silly mistakes when I’m doing the actual work!
LikeLiked by 1 person
Guess i don’t have to tell ya to keep your eye on the prize…lol! Good luck!!
LikeLiked by 1 person
What a great story. I was with you all the way. Can’t tell you how many similar things I’ve had to learn the hard way. My lesson learned from all those is that a project will always grow to be at least three or four times longer, more expensive, and multiple trips to the store as I expected.
You are making great strides. I like the colors. It will brighten up the kitchen gloriously.
I can’t wait to see the final reveal. btw…it is ok to have a big adult hissie fit now and then. Afterward, deep breathing and move on.
LikeLiked by 1 person
Haha! Thanks Jim! I just keep telling myself that this will be practice for when/if we ever buy our own house
LikeLiked by 1 person
Well…Tux you did something right you went with WHITE!!!!!!! YAY! Cheryl
LikeLiked by 1 person
Thanks Cheryl!
LikeLiked by 1 person
You betcha! Anxious for the total reveal you and Russell decided on!
LikeLiked by 1 person
Oh wow – I’m amazed painting the cabinets white made the space look larger! I liked the chalkboard look, glad you said how hard it is to keep clean – toss that idea out for a color choice if/when I’m ready to paint my egg-shell walls. Wish I were brave enough to taken on what you have. Personally, I think you’re doing a great job of NOT going completely insane. I might have taken a bulldozer to the project a long time ago, stood in the rubble and wondered where my french press landed.
LikeLiked by 1 person
Thank you so much! I’m doing my best to keep my sanity, but standing amidst the rubble with french press in hand sounds like something I was pretty close to on that first day!
LikeLiked by 1 person
Oh Hello there! I totally liked this post. I am going to (taking a deep breath before speaking) remodel my kitchen this spring and it is a DIY project. GASP! My husband is worried, has developed worry lines on his face and is begging me to let him hire a professional. BUT I am having none of that. High 5 ;) I will keep glued to your posts about remodel! Good Luck!
LikeLiked by 1 person
Wow!!! How exciting! I keep telling myself that this little facelift is practice for when I have a home of my own that needs a much larger scale remodel. I love a good DIY project! Brace yourself for some headache and heartaches, and make sure you have some extra money squirreled away because the budget never seems to want to behave! But, boy is it fun to do, and satisfying when you’re done! I hope it goes well!
LikeLike