chicken

homemade chicken pot pie with buttermilk biscuit crust, revisited

Sooooo… This recipe may look strangely familiar.

homemade chicken pot pie with buttermilk biscuit crust | Brooklyn Homemaker

Back when I first started blogging and didn’t yet have a camera, I was using my iPhone to capture images of the meals and treats I was creating. At the time, I was doing my best to take “artistic” and “attractive” photos, but truth be told I’d never used a real camera and didn’t have a freaking clue what I was doing.

Looking back, those photos were pretty terrible.

homemade chicken pot pie with buttermilk biscuit crust | Brooklyn Homemaker

I mean, everyone’s gotta start somewhere, and I think it’s actually really nice to have a reference to show how far I’ve come in such a short time. It wasn’t until late November that I got my Nikon DSLR, and even then I was completely clueless for the first few months. I know that I still have a lot to learn, but I can confidently say that in less than a year I’ve already taught myself a lot about lighting and white balance and shutter speeds and aperture and fixed lenses. I won’t even get into food styling skills and my growing hoard collection of props and surfaces and backdrops.

homemade chicken pot pie with buttermilk biscuit crust | Brooklyn Homemaker

Anyway, I’m glad that I started blogging before I got my camera, because it gave me a chance to find my voice when it comes to my writing, and to figure out what direction I wanted to take things. I have no plans to remove any of those first few posts, but there are a few recipes from the beginning that I’d like to revisit. Some of them are too important to me to leave them in the past, represented only by embarrassing photos and awkward writing.

homemade chicken pot pie with buttermilk biscuit crust | Brooklyn Homemaker

This is one of those recipes. If you’re interested, you can find the original post here.

homemade chicken pot pie with buttermilk biscuit crust | Brooklyn Homemaker

When I was growing up we ate dinner at my grandmother’s house a lot, and much of my taste in food and cooking comes from her. Of all the amazing meals she has in her repertoire, this has always been my favorite. Her biscuit-topped chicken pot pie was so frequently requested by myself and my sister in our youth that it had to be reserved for birthdays and special occasions.

When I was old enough to start cooking my own meals, this was one of the first recipes I was determined to master. Later in life I started experimenting and toying with Grandma’s recipe, and the way I make it today is actually quite different from the way she does. Chicken bouillon cubes have been replaced with homemade chicken stock, canned vegetables scrapped and swapped for fresh, and real buttermilk biscuits take the place of Grandma’s biscuick topping. I believe her recipe originally came from a woman’s magazine with a focus on convenience food, but times and tastes change, and I prefer this fresher, less processed, more modern interpretation.

homemade chicken pot pie with buttermilk biscuit crust | Brooklyn Homemaker

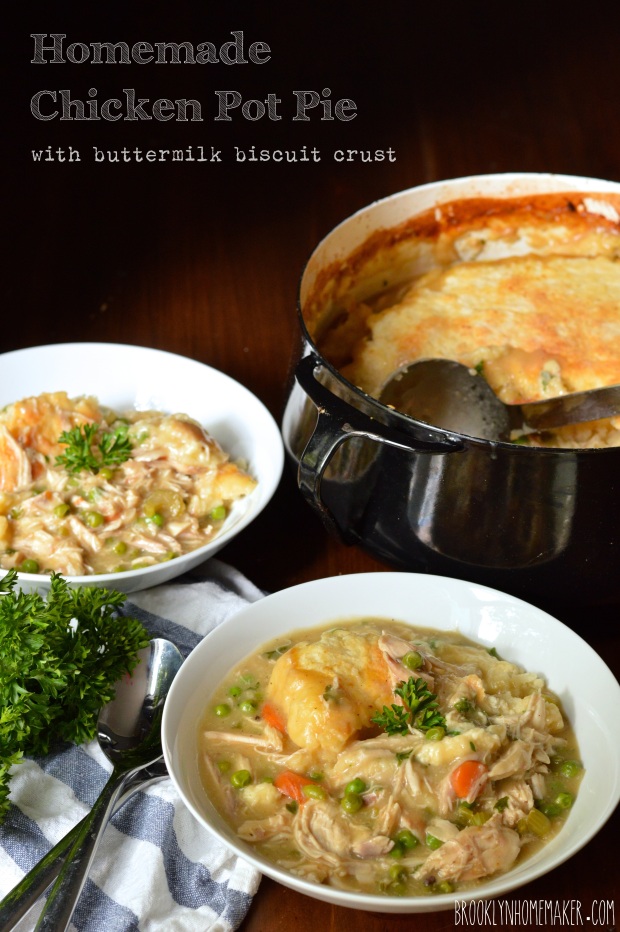
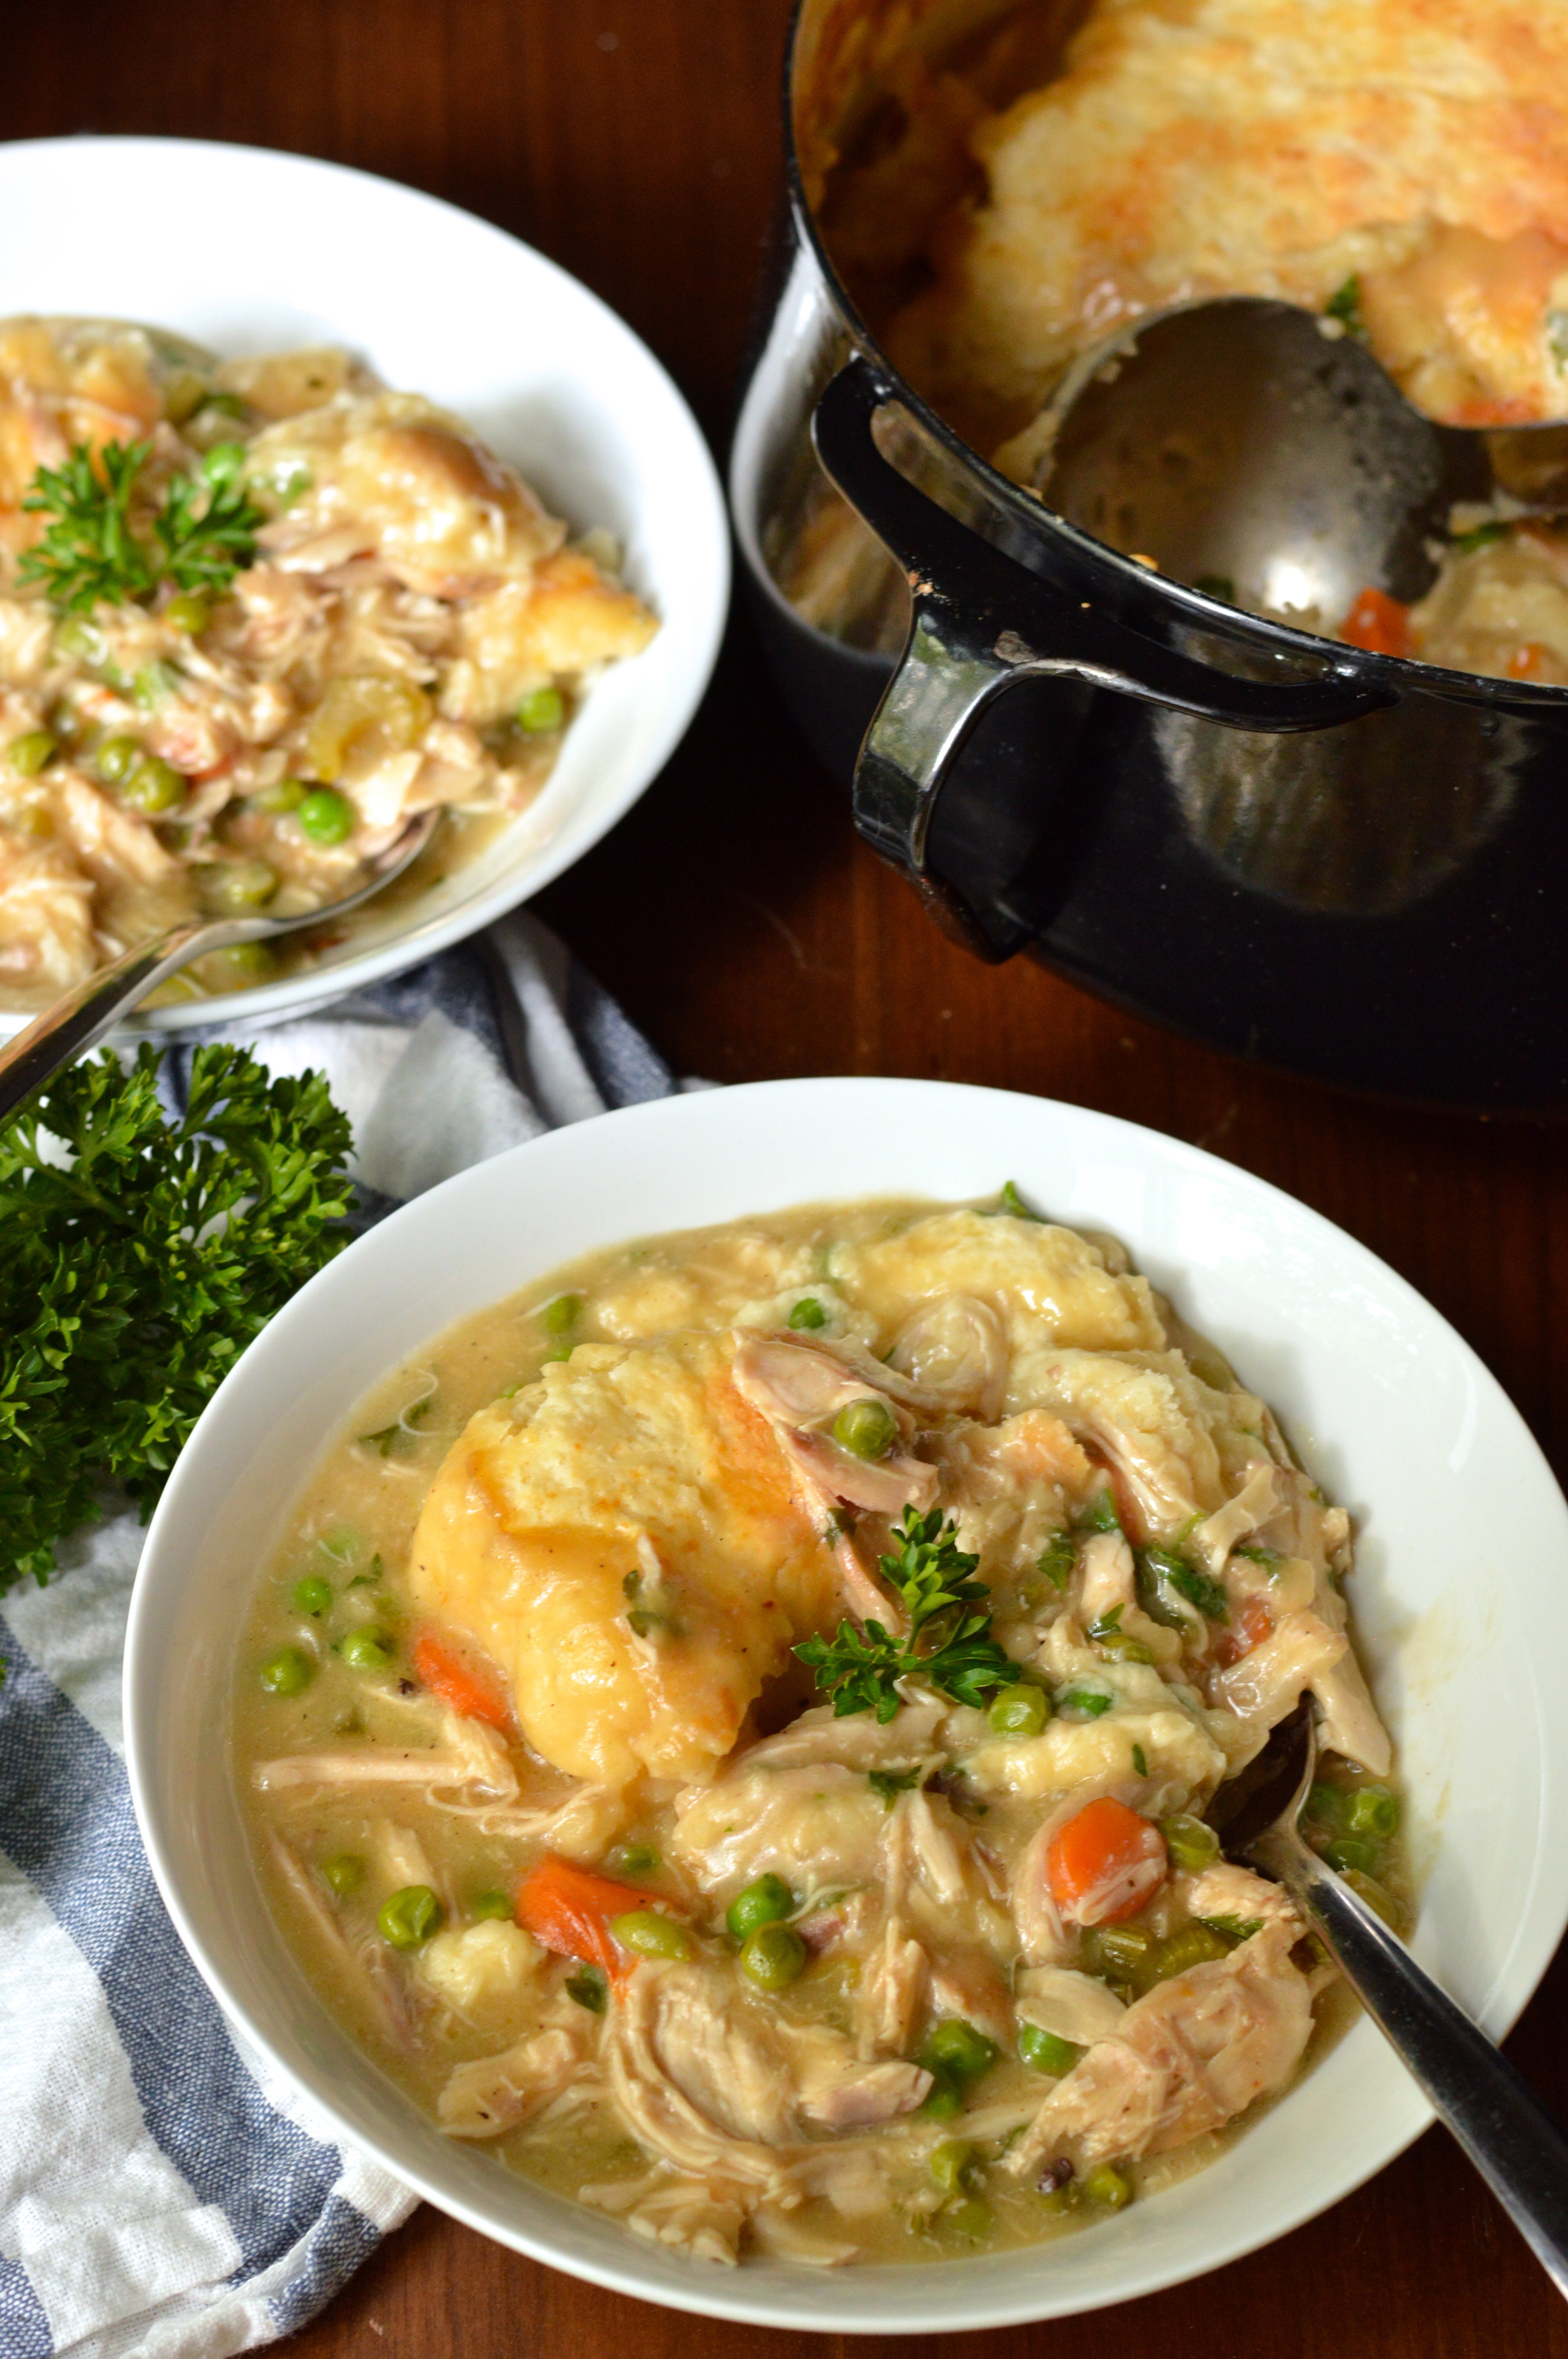
In any event, this pot pie is every bit as warm and homey as Grandma’s version. This is comfort food at its finest. Tender shredded chicken and fresh vegetables in a thick creamy gravy made from homemade stock with plenty of herbs, all topped with a pillowy island of tender buttermilk biscuit and baked until bubbly and golden. If it weren’t such an event to prepare, I would probably eat this several times a week. I guess it’ll still have to be reserved for special occasions, and that’s probably a good thing.

homemade chicken pot pie with buttermilk biscuit crust | Brooklyn Homemaker

Chicken Pot Pie with Buttermilk Biscuit Crust

filling:
4-5 lbs of chicken pieces, skin-on, bone-in. *see note
salt & pepper to taste
2 tablespoon olive oil, divided
2 bay leaves
Generous handful of poultry herbs like parsley, sage, & thyme (optional) **see note
2 onions, 1 small, 1 large
4 carrots
4 celery stalks
8 tablespoons butter (1 stick)
3/4 cup flour
1 1/2 cups frozen peas
1/4 cup finely chopped parsely

biscuit crust:
1 1/2 cups flour
2 teaspoons baking powder
1/2 teaspoon salt
2 teaspoons sugar
1/2 teaspoon cream of tartar
6 tablespoons butter, cubed
1/2 cup + 2 tablespoons buttermilk

Make the filling:
Generously season your chicken with salt and pepper. In a large (at least 6 qt) heavy stockpot or dutch oven, heat 1 tablespoon olive oil over medium high heat. Add your chicken pieces and brown for about 5 minutes on each side. This doesn’t have to be perfect, it’s just to add flavor, but you can do this in stages if everything won’t fit. Roughly chop 1 small onion (skin on), 2 carrots, & 2 celery stalks (leaves on). Add to pot along with bay leaves and poultry herbs, stems and all (if using). Top with 8 cups of water, and cover the pot. Turn the heat down to medium and bring to a boil. Once the pot reaches a boil, turn the heat down to a low simmer and let it bubble slow and low for an hour to an hour and a half.

Remove pot from heat and let cool for 20 minutes or until you’re comfortable handling it. Using a large colander fitted inside a larger bowl, strain out the stock. If necessary, you can use a strainer or sieve to skim the stock for anything that got through the colander. Measure out 6 cups of stock and keep any remaining for another use. Cover and set aside.

Let the chicken pieces cool for about 30 minutes or until you can handle them. Remove the bones and skin from the chicken and discard along with boiled veggies & herbs. Pull the chicken meat into bite sized shreds and be careful to find and remove any remaining small bones. Place the pulled chicken in a bowl, cover and set aside.

Wipe your pot clean. You don’t have to wash it, just make sure there’s nothing in there you don’t want in the finished meal. Dice the large onion, and cut your remaining carrots and celery into small pieces.  Heat the remaining tablespoon of oil over medium high heat and add your chopped vegetables. Season with salt & pepper and cook until onions and celery are translucent and carrots are completely tender. Transfer to the bowl with the pulled chicken.

Back in your pot, melt the butter (you could also use some chicken fat skimmed from your stock) and whisk in flour. Cook until the flour just barely starts to brown. Slowly whisk in about half a cup of stock, making sure there are no lumps of roux. Repeat two or three times more before adding remaining stock.  Whisk out any lumps and bring to a boil, whisking regularly. When the gravy is well thickened, remove from heat, taste and adjust your seasoning if necessary. Add the chicken, cooked vegetables, frozen peas, & chopped parsley. Set aside. If the pot you’re using is oven safe you can bake your pot pie in it, or you can transfer to an oven safe bowl for a nicer presentation.

Make the biscuit crust:
Preheat oven to 450 degrees.
If you want to serve extra biscuits on the side, double (or triple) this biscuit recipe.
In a large bowl sift together flour, baking powder, sugar, salt & cream of tartar. Using a pastry blender, cut the butter into the flour until it resembles coarse pea-sized crumbs. Form a well in the center of the bowl and in buttermilk. Use a fork to stir until just moistened. Do not over mix.

Turn the dough out onto a floured work surface and knead lightly 5 or 6 times, or until it just holds together. Pat or lightly roll dough out to 1/2 of an inch. Form a circle about the size of a your pot or bowl.  If you want to make extra dough, roll that out and cut biscuits using a water glass or biscuit cutter. Carefully transfer your biscuit round to the top of your filling and score it with an X in the center using a sharp knife. Bake for 25-30 minutes or until the crust is golden and the filling is bubbling. Extra biscuits should be rolled to 3/4 of an inch and baked on a parchment-lined sheet pan for 10 to 12 minutes or until golden.

Remove from oven and allow it to cool for 15 minutes before serving. Serve with a nice chunk of crust.

Notes:

*You can use whatever parts you like best, but I think an entire chicken, cut up into pieces, is perfect. If you like all white meat, use all breasts. If you can’t find an entire chicken cut up and don’t want to get into butchering, I think a mix of breasts and thighs has the best flavor.

**I used a variety of herbs because I had them in my garden, but you could just use one or two types or skip them altogether.

chicken BLT caesar salad

There’s just something about a Caesar salad.

chicken BLT Caesar salad | Brooklyn Homemaker

I don’t know what is, but every once in a while, I just need one. At this point, Caesars are so ubiquitous as to be kind of boring and cliche, but every so often you just have to have one. I can’t even really explain their appeal. They’re not the most interesting salad in the world, containing little more than lettuce, croutons, and dressing; and if they’re bad they’re usually baaaaadddd. It’s not hard to get them right though. When you get the dressing right, and the lettuce is super crisp and fresh, and the croutons are homemade, a Caesar salad is just so damned satisfying

chicken BLT Caesar salad | Brooklyn Homemaker

I think their simplicity might be what makes them so enticing, but it can also be their downfall. A salad made with sad flabby wilted lettuce, with sweet gloppy bottled dressing, and oily mouth-slicing craggy croutons has nothing to redeem it, and can put someone off Caesar salads for life. When they’re done well though, with crisp fresh lettuce, good croutons, creamy cheesy garlicy dressing. Yes. Just yes.

chicken BLT Caesar salad | Brooklyn Homemaker

Anyway, most people, when they’re trying to take this salad from light meal or side to filling and satisfying sustenance, tend to add sliced chicken breast. I am one of those people. Whether I’m out to lunch or trying to come up with a quick dinner, a good Caesar with chicken is always a welcome option.

chicken BLT Caesar salad | Brooklyn Homemaker

This time around though, I thought it might be fun to jazz things up a little. Russell and I tend to eat this salad once a month or more, so I was looking for a quick addition or change that would have a big impact. It’s easy to get tired of eating the same old thing, so it’s great to find simple and easy ways to add a little interest to something you make well and often. In this “BLT” interpretation, the addition of crispy bacon adds a nice saltiness and richness to make it feel like a truly substantial meal, and the sun-dried tomatoes add a nice concentrated sweet summery-ness that you wouldn’t necessarily expect to find in a Caesar. To dress my Caesars up a little, I also like to use a vegetable peeler to add some shaved parmesan.

chicken BLT Caesar salad | Brooklyn Homemaker

You can definitely use bottled dressing at home to make things a little easier on yourself, but to be honest, I have yet to find a bottled dressing out there that I like. I’ve tried though. Lord how I’ve tried. It definitely is nice to just reach for the bottle (of dressing, not booze, though that’s nice too) when you get home from a long day and you just want to throw something together. My problem with the bulk of bottled Caesar dressings though, is that they’re usually way too sweet. I think that lemon juice adds plenty of sweetness to Caesar dressing, and even think that too much lemon can go too sweet, so the fact that most bottled dressings have added sugar or corn syrup is bewildering to me. The nice thing about this dressing recipe is that it doesn’t take too long to pull together, and that it makes more than you need and keeps well in the refrigerator.

I totally acknowledge that this is definitely not a traditional, old school homemade caesar with raw eggs and whole anchovies, and I’m sure some people out there in the world will be furious with me for trying to “pass off” this recipe as a Caesar. Thing is, using mayonnaise and anchovy paste instead makes things waaaaay quicker and easier, and gives the dressing staying power, without compromising on flavor.

chicken BLT Caesar salad | Brooklyn Homemaker

This dressing has a nice creamy texture, but the addition of olive oil thins it out so that it’s not too gloppy or heavy. The cheese is nice and salty and forward, and the garlic gives a nice fresh bite. The amount of lemon juice here adds a nice fresh bright sweetness and acidity without going too sweet or blatantly citrusy. The anchovy paste adds a great depth and brininess without having to bust out the food processor to puree whole anchovies yourself. Anchovy paste, by the way, can usually be found in the same aisle in the grocery store as canned tuna fish. All in all, it’s pretty damned good, and if you have some in the fridge you can throw together a caesar salad in a snap, and dress it up however you like.

chicken BLT Caesar salad | Brooklyn Homemaker

Chicken BLT Caesar Salad

dressing adapted from Once Upon a Chef

Caesar Dressing:
3 or 4 garlic cloves, minced or crushed
1 teaspoon anchovy paste
2 tablespoons freshly squeezed lemon juice, from one lemon
1 teaspoon Dijon mustard
1 teaspoon Worcestershire sauce
1/4 cup extra virgin olive oil
1 cup mayonnaise
1/2 cup freshly grated Parmigiano-Reggiano
1/4 teaspoon salt
1/4 teaspoon freshly ground black pepper

Salad:
2 small (1 large) head crisp romaine lettuce
1 small to medium loaf of italian bread
2 tablespoons of olive oil
salt and pepper to taste
3 to 4 strips of thick cut bacon
2 skinless boneless chicken breasts
1/4 cup sun-dried tomatoes, roughly chopped and loosely packed
1/4 cup parmesan shavings (or grated parmesan)

Dressing: In a medium bowl, whisk together the garlic, anchovy paste, lemon juice, olive oil, Dijon mustard and Worcestershire sauce. Add the mayonnaise, Parmigiano-Reggiano, salt and pepper and whisk until well combined. Taste and adjust to your liking. Refrigerate until ready for use.
This will make more dressing than you’ll need for one night of salads, but it stores well, refrigerated, for a few weeks.

Croutons: Preheat oven to 350. Cut the crust off the loaf of bread using a sharp bread knife. It’s okay if some is still on, but you want to get a good bit of it off. Then cut the bread into 1-inch cubes, trying not to smoosh the bread too much. You want about 3 or 4 cups of loosely packed bread cubes. Toss in olive oil, salt and pepper, and arrange in a single layer on a baking sheet. Bake until crispy and just beginning to brown, about 10 or 15 minutes, checking them often. Set aside.

Salad: Slice your head of romaine into bite-sized stirps, and wash and dry using a salad spinner or kitchen towels. Set aside. In a heavy skillet over medium-high heat, brown and crisp bacon to your liking, and drain on paper towels. Crumble once cool. Sear chicken breasts in same skillet over high heat. Sear on both sides for about 5 or 6 minutes per side, or until cooked through. You can use bacon grease to cook the chicken, or you can drain it off, wipe out the pan, and add an additional tablespoon of olive oil.
Let chicken breasts rest for 5 minutes before slicing into thin strips with a sharp knife.

Assemble the salad; you can either toss the lettuce, croutons, bacon, chicken, and tomatoes all together in a big bowl, OR you can just combine the lettuce and croutons together and arrange the other ingredients on top of the plated salad after dressing. Either way, toss the salad with about 1/3 cup of dressing with salad tongs or two large spoons. If you like a creamier, more dressed salad, you can add more dressing, 2 tablespoons to 1/4 cup at a time, but this dressing is very flavorful so I’d suggest tasting the dressed salad before deciding.

soba noodle and chicken salad with spicy peanut dressing

Okay Summer. I guess you’re here to stay.

soba noodle and chicken salad with spicy peanut dressing | Brooklyn Homemaker

I don’t know what it is about warm weather, but it makes me crave cold peanutty noodles. At least the fact that it’s hot out means that I have plenty of fresh summer veggies at my disposal. Filled with all that produce, this salad really is the perfect thing for a hot muggy day. Can you think of anything you’d rather eat in this weather than something that’s filling without being heavy, and cold and refreshing but also savory and flavorful at the same time?

No. You can’t.

soba noodle and chicken salad with spicy peanut dressing | Brooklyn Homemaker

I usually make this once or twice every summer and that’s all I need to pacify my craving. The recipe makes enough that Russell and I both get to bring the leftovers for lunch, and if we don’t go crazy on the portions, we might even have something left to snack on the day after that.

soba noodle and chicken salad with spicy peanut dressing | Brooklyn Homemaker

I’ve made this enough times now that I’ve been able to get the dressing and everything just the way I like it. I’ve tried a few different recipes and some of them were too sweet, others too salty, others waaaay too complicated. Each time I’ve fiddled and futzed and streamlined the recipe to make it as simple and delicious as can be.

soba noodle and chicken salad with spicy peanut dressing | Brooklyn Homemaker

The only slightly time consuming part of this is cooking, cooling, and pulling the chicken. If you wanted to speed things up, and avoid turning on the oven for a day, you could plan ahead to cook extra chicken the night before, or use leftover chicken from yesterday’s roast. You could even leave it out or substitute it for another vegetable. A rotisserie chicken could work too, but I worry that all that seasoning might be too strongly flavored and could compete and clash with the flavors in the dressing. Maybe not though?

soba noodle and chicken salad with spicy peanut dressing | Brooklyn Homemaker

If everything you put into the salad is relatively cool or cold, you can definitely eat it right away without needing to refrigerate it, and since the veggies go in raw and the peanuts and soba noodles are done in just a few minutes, this really is quick and easy to throw together if your chicken is cooked ahead.

soba noodle and chicken salad with spicy peanut dressing | Brooklyn Homemaker

To some, the ingredient list here might seem a bit daunting, but please don’t be scared. The dressing is so distinctive and flavorful that you’ll be glad you took the time to go out and find fish sauce and sesame oil. If you’re like me, you probably already have these things in your fridge anyway, but if you don’t, you can find them in most grocery stores pretty easily these days. Then you’ll have them and can start experimenting with all kinds of new recipes to add to your repertoire.

Once you get everything together, making the dressing is as easy as throwing everything in a bowl and whisking it. If you’re not a fan of heat and spice, you could reduce or even skip the sriracha, but I think it really adds something wonderful to this cold dish.

If you’re not familiar with Soba noodles, they’re a Japanese buckwheat noodle that’s usually cut so thin that it cooks in 5 minutes or less. They’re subtly nutty, and hold their texture in broth or dressing, so they lend themselves perfectly to both cold salads and hot soups. They’re often gluten free too, but some companies add wheat so be careful to read the label if that’s important to you. If you can’t find them you could also use regular thin spaghetti, or even spiral sliced zucchini noodles like the ones I made here.

soba noodle and chicken salad with spicy peanut dressing | Brooklyn Homemaker

This salad is totally perfect for summer weather, whether it’s sunny and mild, or too hot and sticky to leave the house. It’s especially great to take with you for lunch if sitting in front the A/C in your underpants all day isn’t an option.

The dressing is thick, creamy, and perfectly peanutty with a nice sesame backbone, a little sweet acidity from the lime, a bit of saltiness from the soy and fish sauce, and just a touch of heat from the sriracha. Not only is this salad packed with flavor, it also has a great variety of textures to keep every bite fresh and interesting. There are crunchy toasted peanuts, crisp snow peas and peppers, tender noodles and chicken, and a dreamy creamy dressing to tie it all together.

soba noodle and chicken salad with spicy peanut dressing | Brooklyn Homemaker

Soba Noodle and Chicken Salad with Spicy Peanut Dressing

2 chicken breasts, skin-on & bone-in
1 tablespoon olive oil
salt and pepper
9.5 oz soba noodles
3 carrots, very finely julienned with a julienne peeler, mandolin, or spiral slicer
1 red bell pepper, cut into very thin strips
1/3 lb snow peas, hard stem-ends removed
1/2 cup unsalted peanuts (extra for plating if desired)
lime wedges and torn basil or cilantro for plating, if desired

Peanut dressing:
zest and juice of 1 lime
1 tablespoon finely grated fresh ginger
1/2 cup smooth natural (unsweetened) peanut butter
4 tablespoons soy sauce
3 tablespoons olive oil
2 tablespoon sriracha chili sauce
2 tablespoon sesame oil
1 tablespoon fish sauce
1 tablespoon honey (if using sweetened peanut butter, use 1 teaspoon honey instead)

Preheat oven to 375. Place chicken breasts on a parchment lined baking sheet, rub with olive oil, and season with salt and pepper to taste. Bake for 35-40 minutes or until cooked through. Remove from oven and cool. Once cooled, remove skin and pull meat from bone. Shred chicken into bite sized pieces. Set aside.
In a heavy skillet on high heat, toast peanuts for about 5 minutes. Cool, roughly chop and set aside.
Cook soba noodles according to package directions. Rinse in cold water, drain, and place in a large bowl. Add prepared carrots, pepper, and snow peas, as well as cooled pulled chicken and peanuts. (If desired, reserve some peanuts for serving)
To prepare dressing, place all remaining ingredients in a bowl and whisk until well combined. Pour over salad and toss toss toss until everything is well dressed and evenly distributed through salad. If desired, top with a few reserved roasted peanuts, a lime wedge, and some torn basil or cilantro.

thai coconut green curry chicken thighs

Can you believe that summer is almost here?

thai coconut green curry chicken thighs | Brooklyn Homemaker

Warm sunny days put me in the mood for light meals filled with fresh vegetables, bright flavors, & spice and heat.

thai coconut green curry chicken thighs | Brooklyn Homemaker

On a recent sunny day, I sent Russell to the store to grab me some chicken thighs for what’s turned out to be my favorite meal of the summer so far, my grilled lemon herb chicken thighs. I know that it’s not officially summer just yet, but soon the mosquitos and humidity will make our little yarden a lot less fun, so we’re taking advantage as much as possible right now. Anyway, he accidentally came back with skinless boneless thighs and had to turn back for something that would hold up a little better on the grill.

thai coconut green curry chicken thighs | Brooklyn Homemaker

Not one to waste anything, especially anything edible, I decided to put those skinless boneless thighs to good use a day or two later. I went through the fridge and cupboards to see what I could come up with, and quickly had a plan hatching. I had a can of coconut milk in the house, along with some carrots, limes, and ginger; so I knew what I had to do.

 thai coconut green curry chicken thighs | Brooklyn Homemaker

These chicken thighs would lend themselves perfectly to a quick and easy Thai curry. I even had half a jar of Thai green curry paste and a bottle of fish sauce in the fridge, and a bright green basil plant growing out back. All I would need to grab from the store was some red bell peppers and a bag of white rice.

thai coconut green curry chicken thighs | Brooklyn Homemaker

This dish comes together really quickly once you get everything prepped and ready to go. I think it’s nice to chop all the vegetables into long thin strips so they cook really quickly. Even the chicken thighs get sliced into thin strips for quick cooking. Once you get the chicken and the vegetables cut, the lime zested and juiced, and the ginger grated; this meal comes together in about half an hour. If you put the rice on to cook while the curry thickens, you’ll be ready to go in no time. The only thing I wouldn’t do too far in advance is slice the basil, which starts to brown once it’s cut.

thai coconut green curry chicken thighs | Brooklyn Homemaker

This dish is perfect for warm weather. It’s bright, tangy and just a tiny bit sweet from the lime juice, with some nice subtle spice from the curry and ginger. The chicken is perfectly tender and flavorful, the veggies add freshness and bite, and the coconut milk brings the whole thing together giving the curry some rich creaminess while keeping it light and bright. Great now I’m drooling. Good thing there’s some leftovers in the fridge!

thai coconut green curry chicken thighs | Brooklyn Homemaker

Thai Coconut Green Curry Chicken Thighs

  • Servings: about 4 to 6-ish
  • Print
1 lb boneless skinless chicken thighs, cut into bite sized strips or chunks
1 tablespoon fish sauce
3 tablespoons Thai green curry paste
1 tablespoon coconut oil or vegetable oil
salt to taste
1 14 oz can coconut milk
1 tablespoon of freshly grated ginger (from a 1″ by 2″ peeled chunk)
zest and juice of 1 lime
3 large carrots, cut into thin strips
2 red bell peppers, cut into thin strips
1 medium onions, cut into thin strips
generous handful basil leaves, washed

In a small bowl combine chicken, fish sauce, and green curry. Stir to coat. Preheat a skillet over medium high heat, add oil and spread chicken thighs in an even layer. Season with salt to taste, and cook for 5 minutes stirring infrequently. Add coconut milk, lime zest and juice, and grated ginger. Stir to combine, and bring to a simmer. Simmer for 10 minutes, add the carrots, peppers and onion, and simmer 10 minutes more. Meanwhile, cut the basil into a chiffonade (stack the leaves, roll them up like a cigar, and cut into paper thin strips). Add about 3/4 of the basil and simmer 5 minutes more.

Serve over white rice and top with remaining basil.