Main Dishes

New Years Day Brunch

Happy 2014! I hope everyone had an amazing New Year’s!

new year's day brunch | vegetarian collard greens and black eyed peas | Brooklyn Homemaker

In New York City people tend to make a BIG deal of New Year’s Eve. Since the town we call home sets the precedent for what a New Year’s celebration is supposed to be, New Yorkers tend to go big. Usually a little too big.

Russell and I however usually stay home, cook a big meal, and watch Dick Clark’s New Year’s Rockin’ Eve. I proposed on New Year’s Eve a few years ago, so we tend to think of that night as a night for each other. A night to be alone together. Rather than go out and party like lunatics, we prefer to stay at home with each other and our pups. Our little family is a motley crew but we’re happy being with each other.

This year however a good friend invited us to a party directly across the street from our apartment, so we decided we should probably put some pants on and go be social. Of course, like the rest of New York, we let the mood of the evening get the best of us and we got carried away. We had an amazing evening having a blast with our friends and we’re so glad we went, but considering out plans for the next morning, maybe we should have stuck with tradition and stayed home. We had a little bit of a hard time getting moving the next morning, but in the end we pulled it together and had a pretty wonderful New Year’s day too.

new year's day brunch | vegetarian collard greens and black eyed peas | Brooklyn Homemaker new year's day brunch | vegetarian collard greens and black eyed peas | Brooklyn Homemakernew year's day brunch | Brooklyn Homemaker new year's day brunch | vegetarian collard greens and black eyed peas | Brooklyn Homemaker

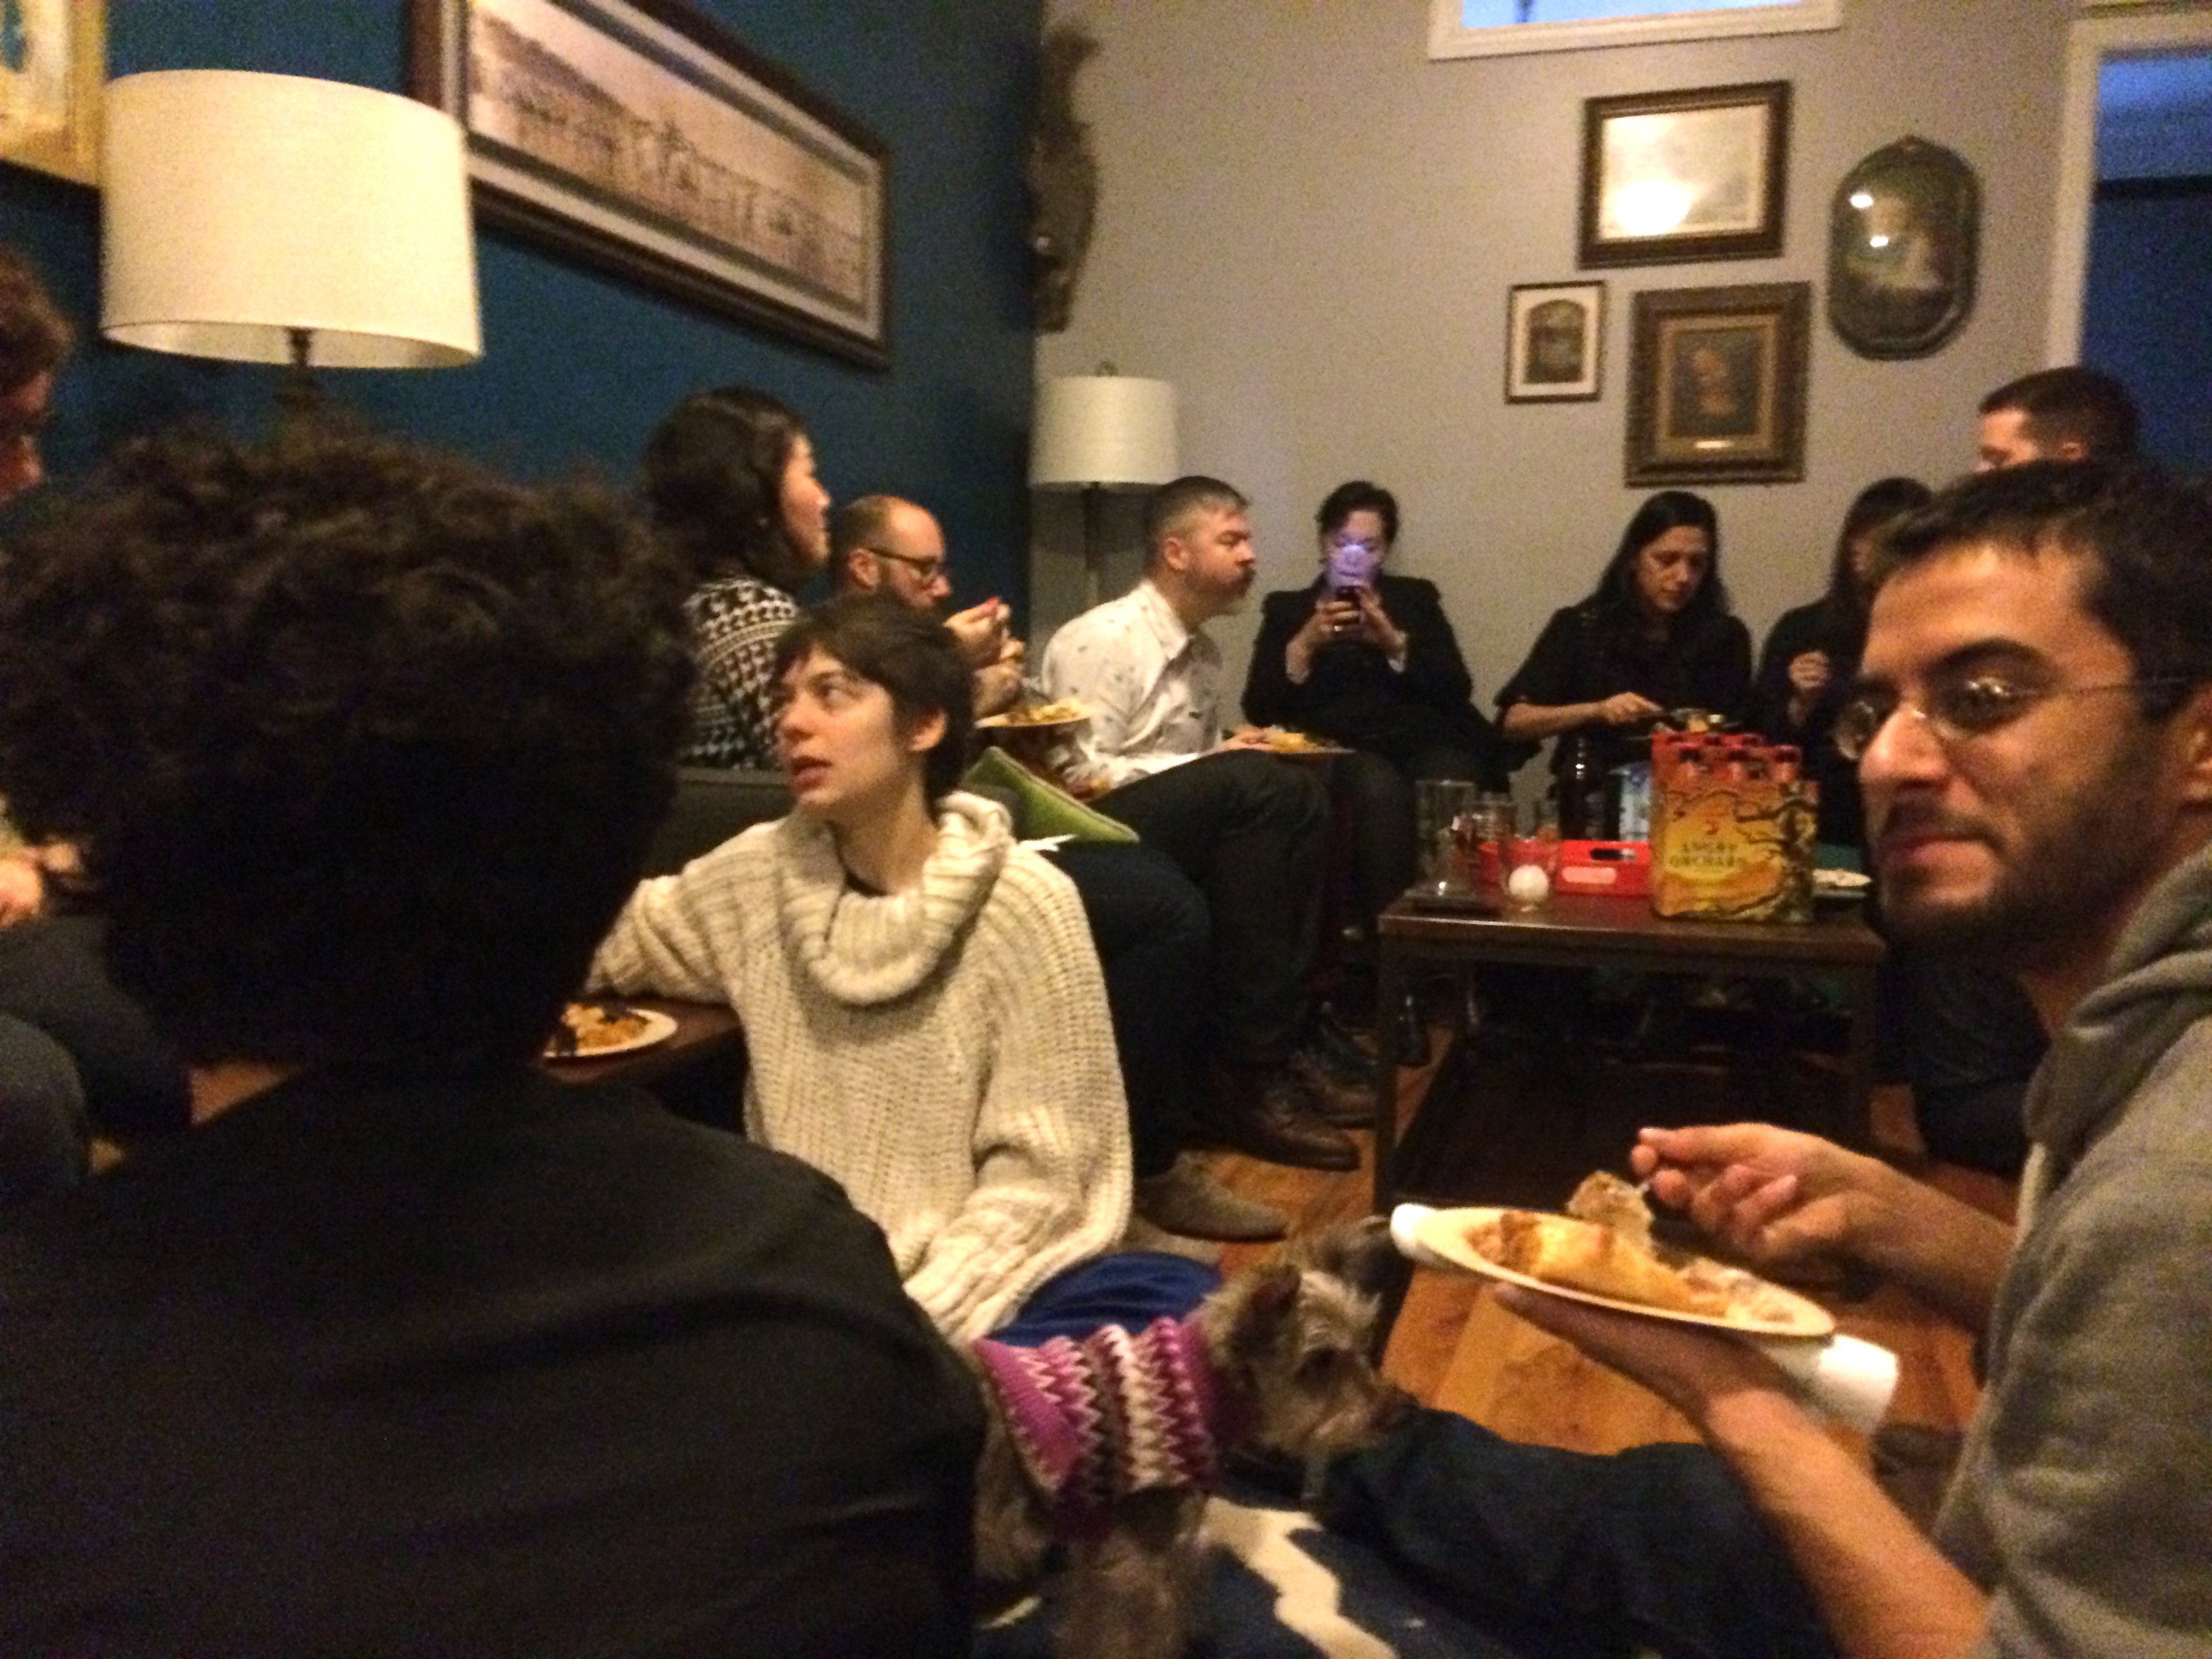
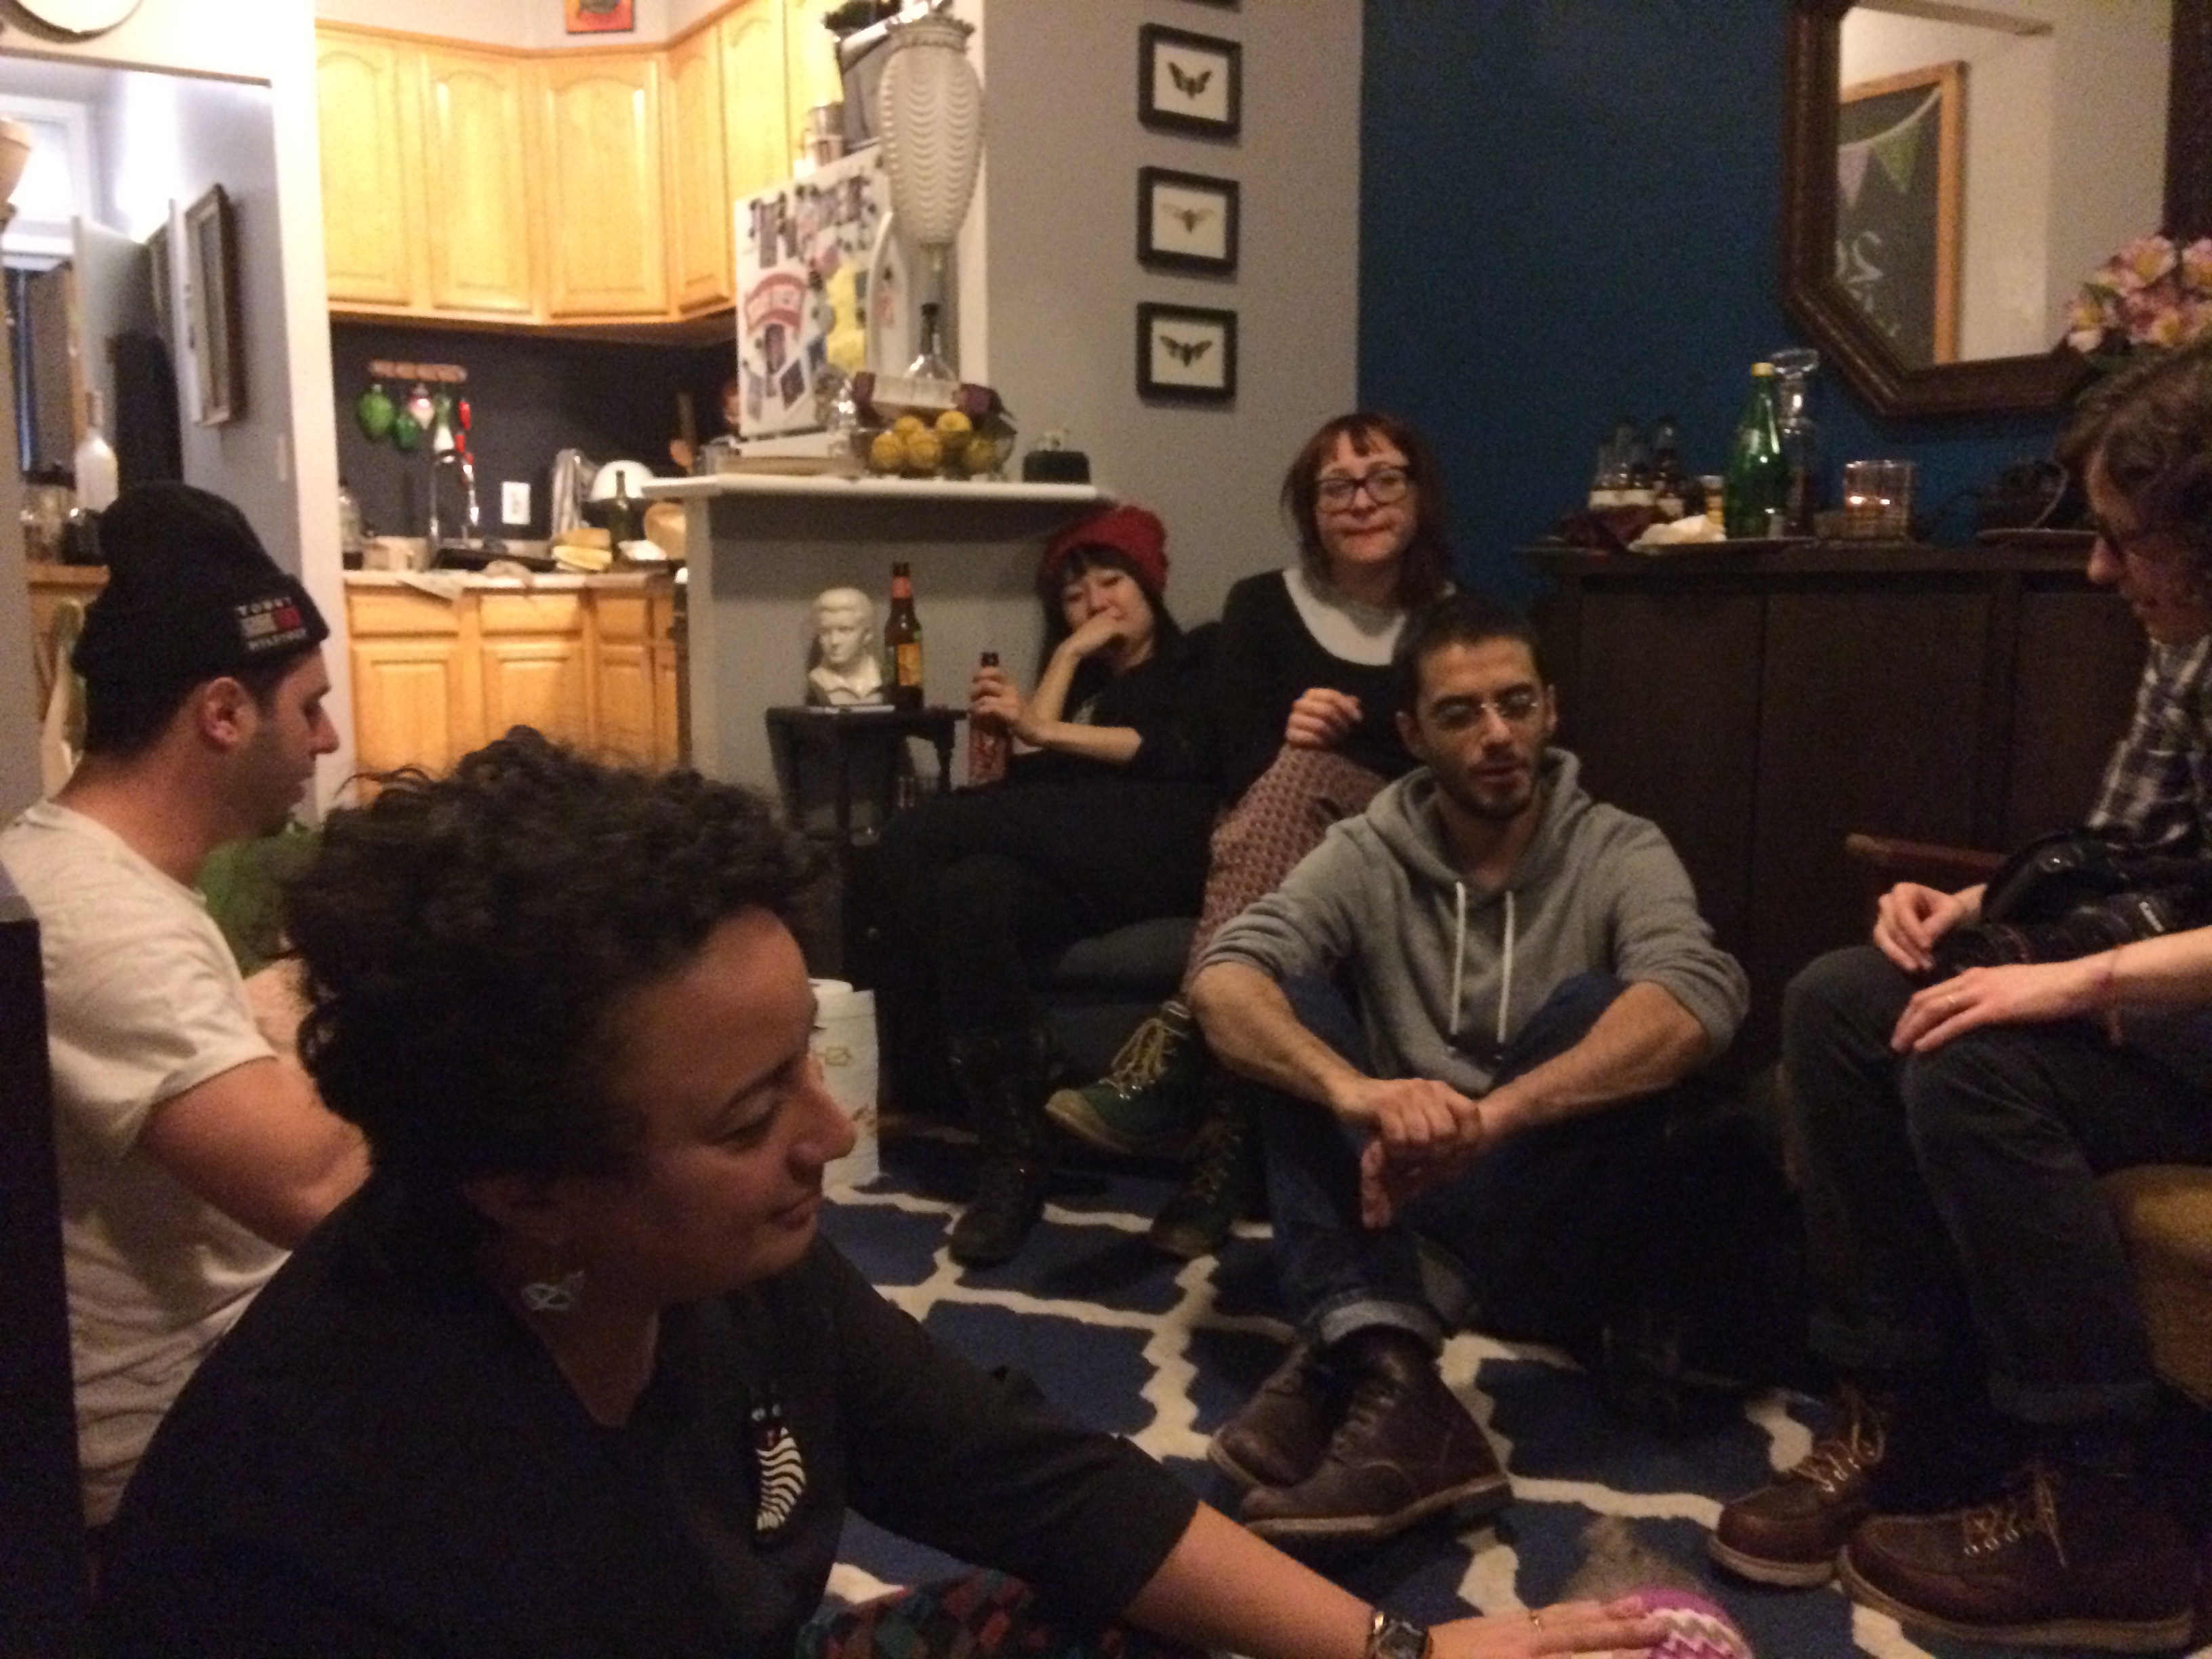
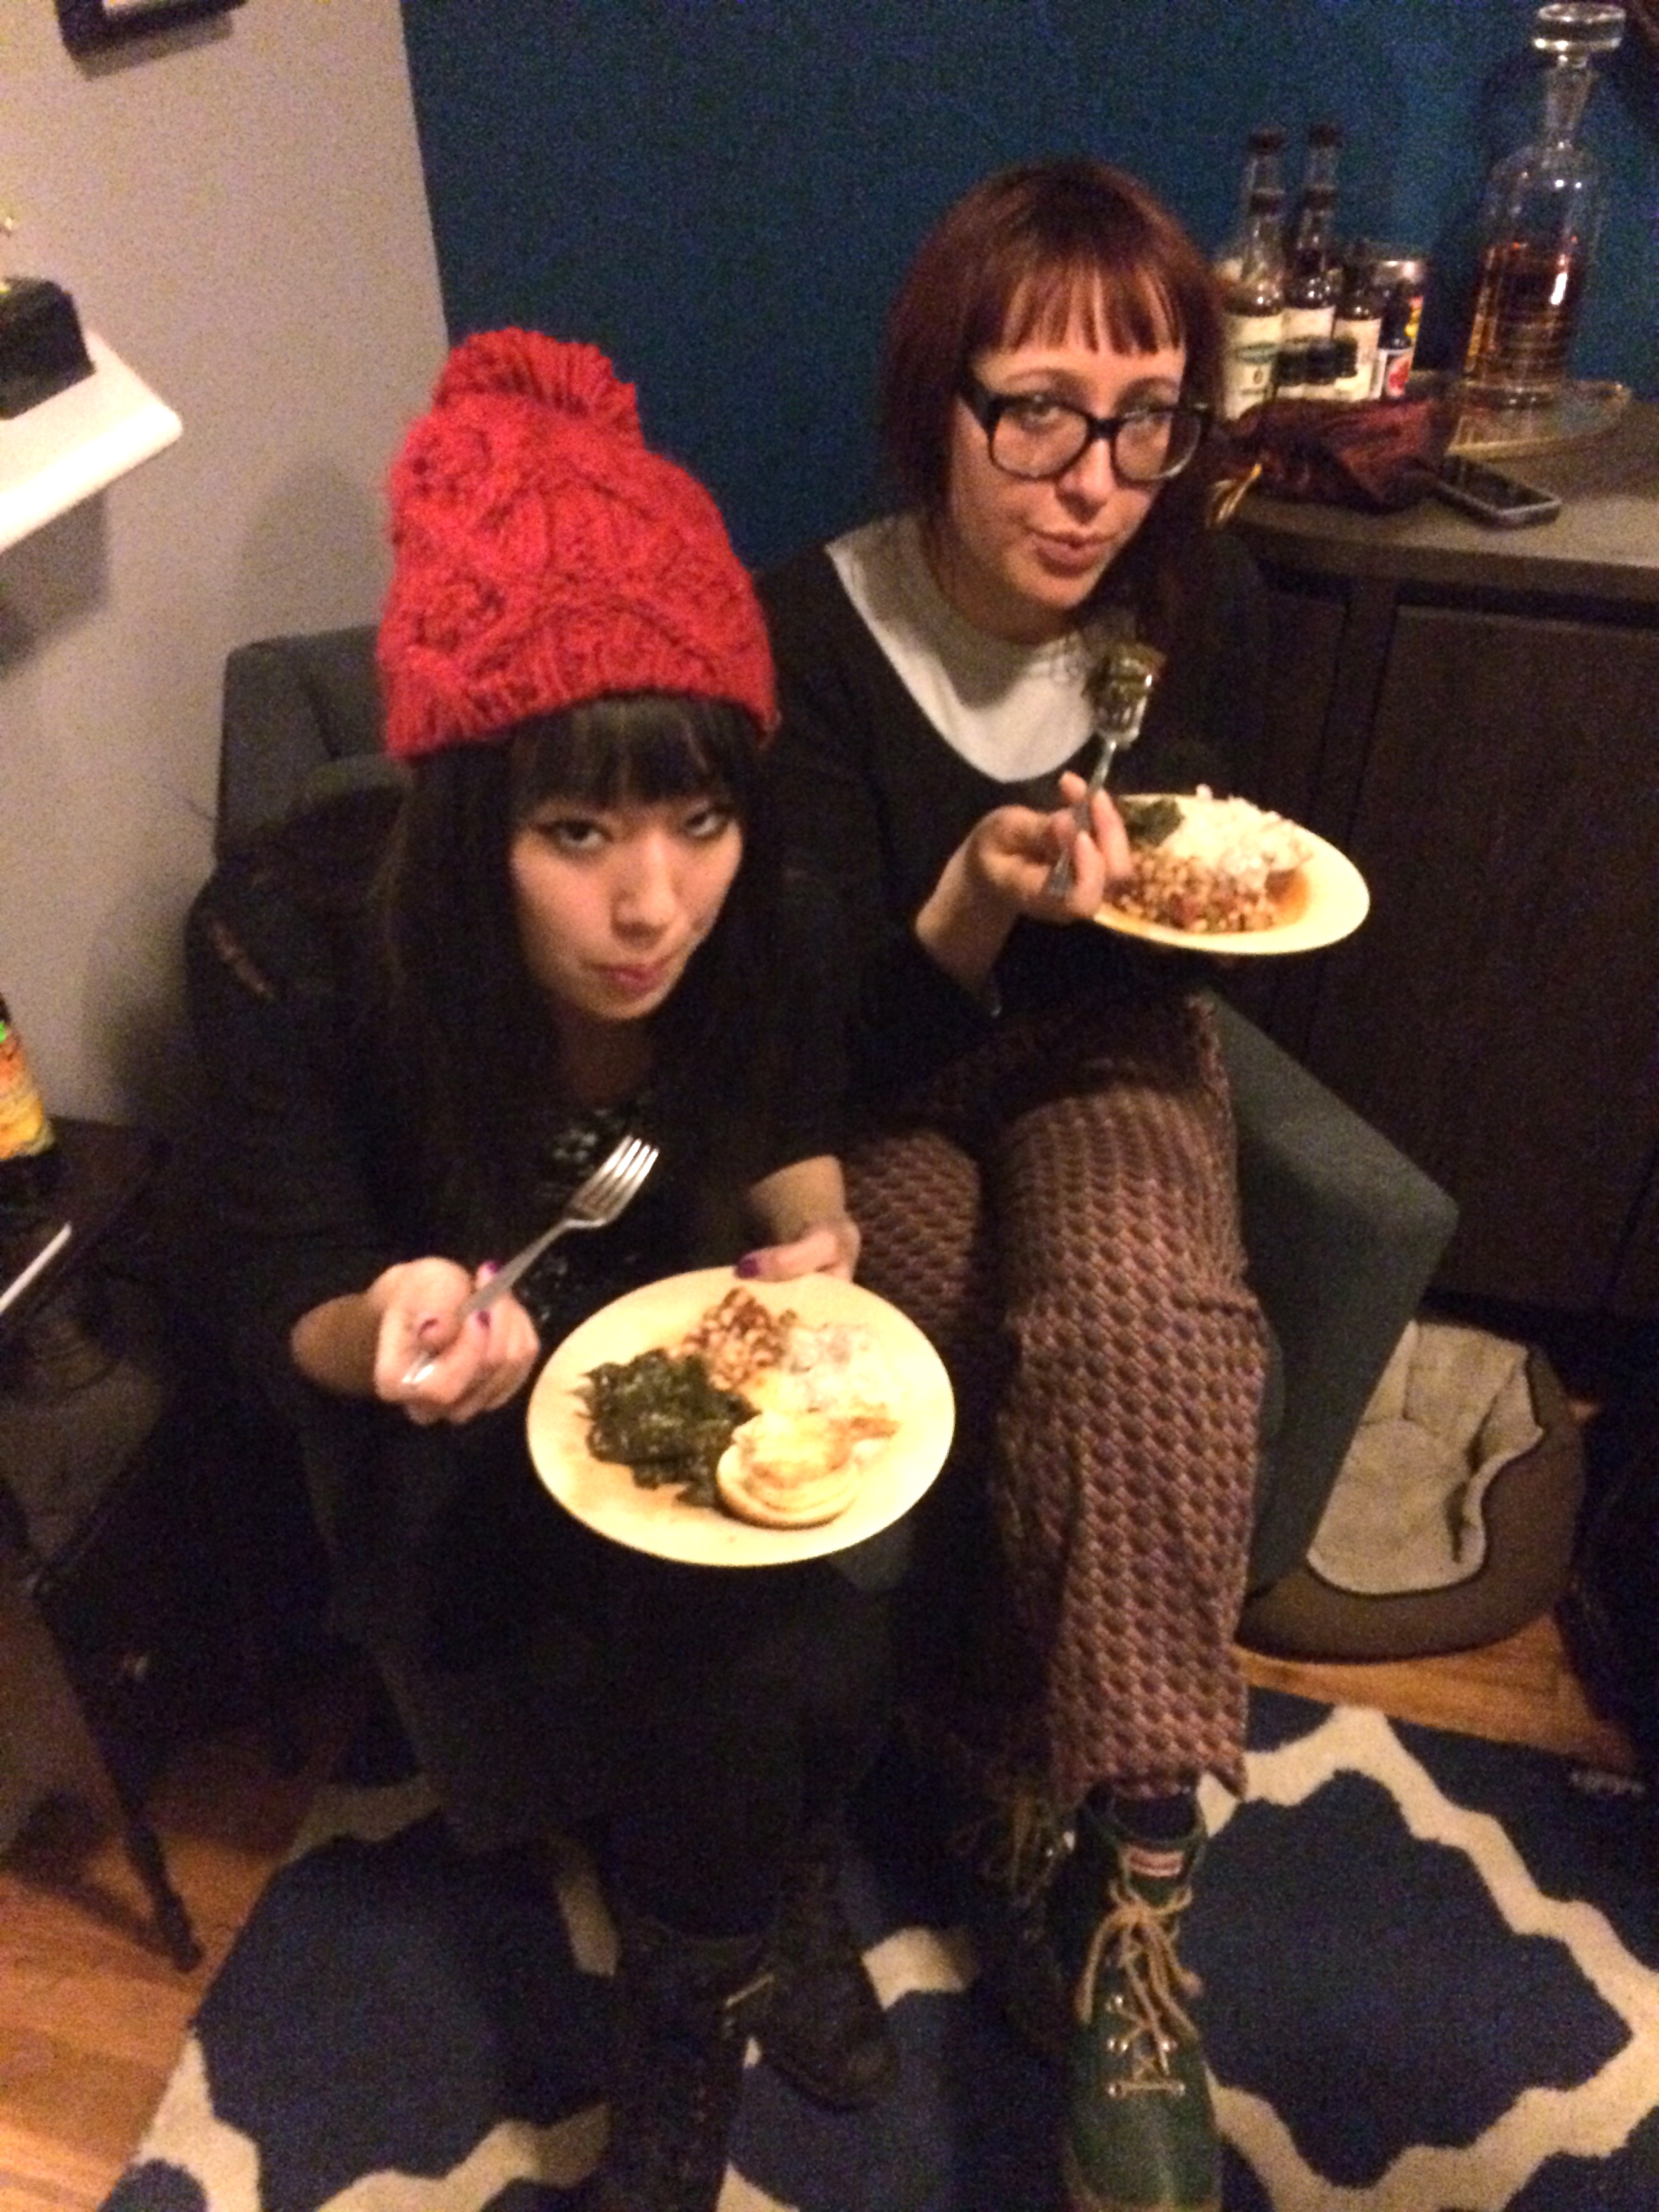
This year we decided to host a brunch for New Year’s Day and bring together the people we love in New York and get the new year started right. 2013 was an amazing year for us and we thought a brunch with our favorite people would be a great way to make sure 2014 would be just as great.  In 2013 we were married, we got our second schnauzer Betty, I celebrated my 30th birthday, we visited Europe, and I started Brooklyn Homemaker. It’s going to be a tough year to beat, but we’re sure going to try!

Planning a menu for New Year’s day is pretty much a no brainer. Southern food is super traditional for New Year’s day so I didn’t really have to put any thought into other options. There is a lot of symbolism behind the foods we eat on New Year’s day, and everything on the plate is supposed to help bring something great into your life in the coming year.

new year's day brunch | vegetarian collard greens and black eyed peas | Brooklyn Homemaker

Black eyed peas are one of the most important foods on the New Year’s plate, and for good reason. Black eyed peas have been a symbol of good luck in Jewish culture for centuries, but in Southern cooking, the tradition dates back to the Civil War. The story goes that when Union troops rolled through the southern countryside they stripped large areas of all stored food and livestock and destroyed many crops and farms. At the time, black eyed peas weren’t really eaten in the north and usually went overlooked or ignored, leaving that crop to be what helped feed Southerners while they rebuilt. Since black eyed peas swell when you cook them, they’re also supposed to symbolize prosperity and growth in the new year.

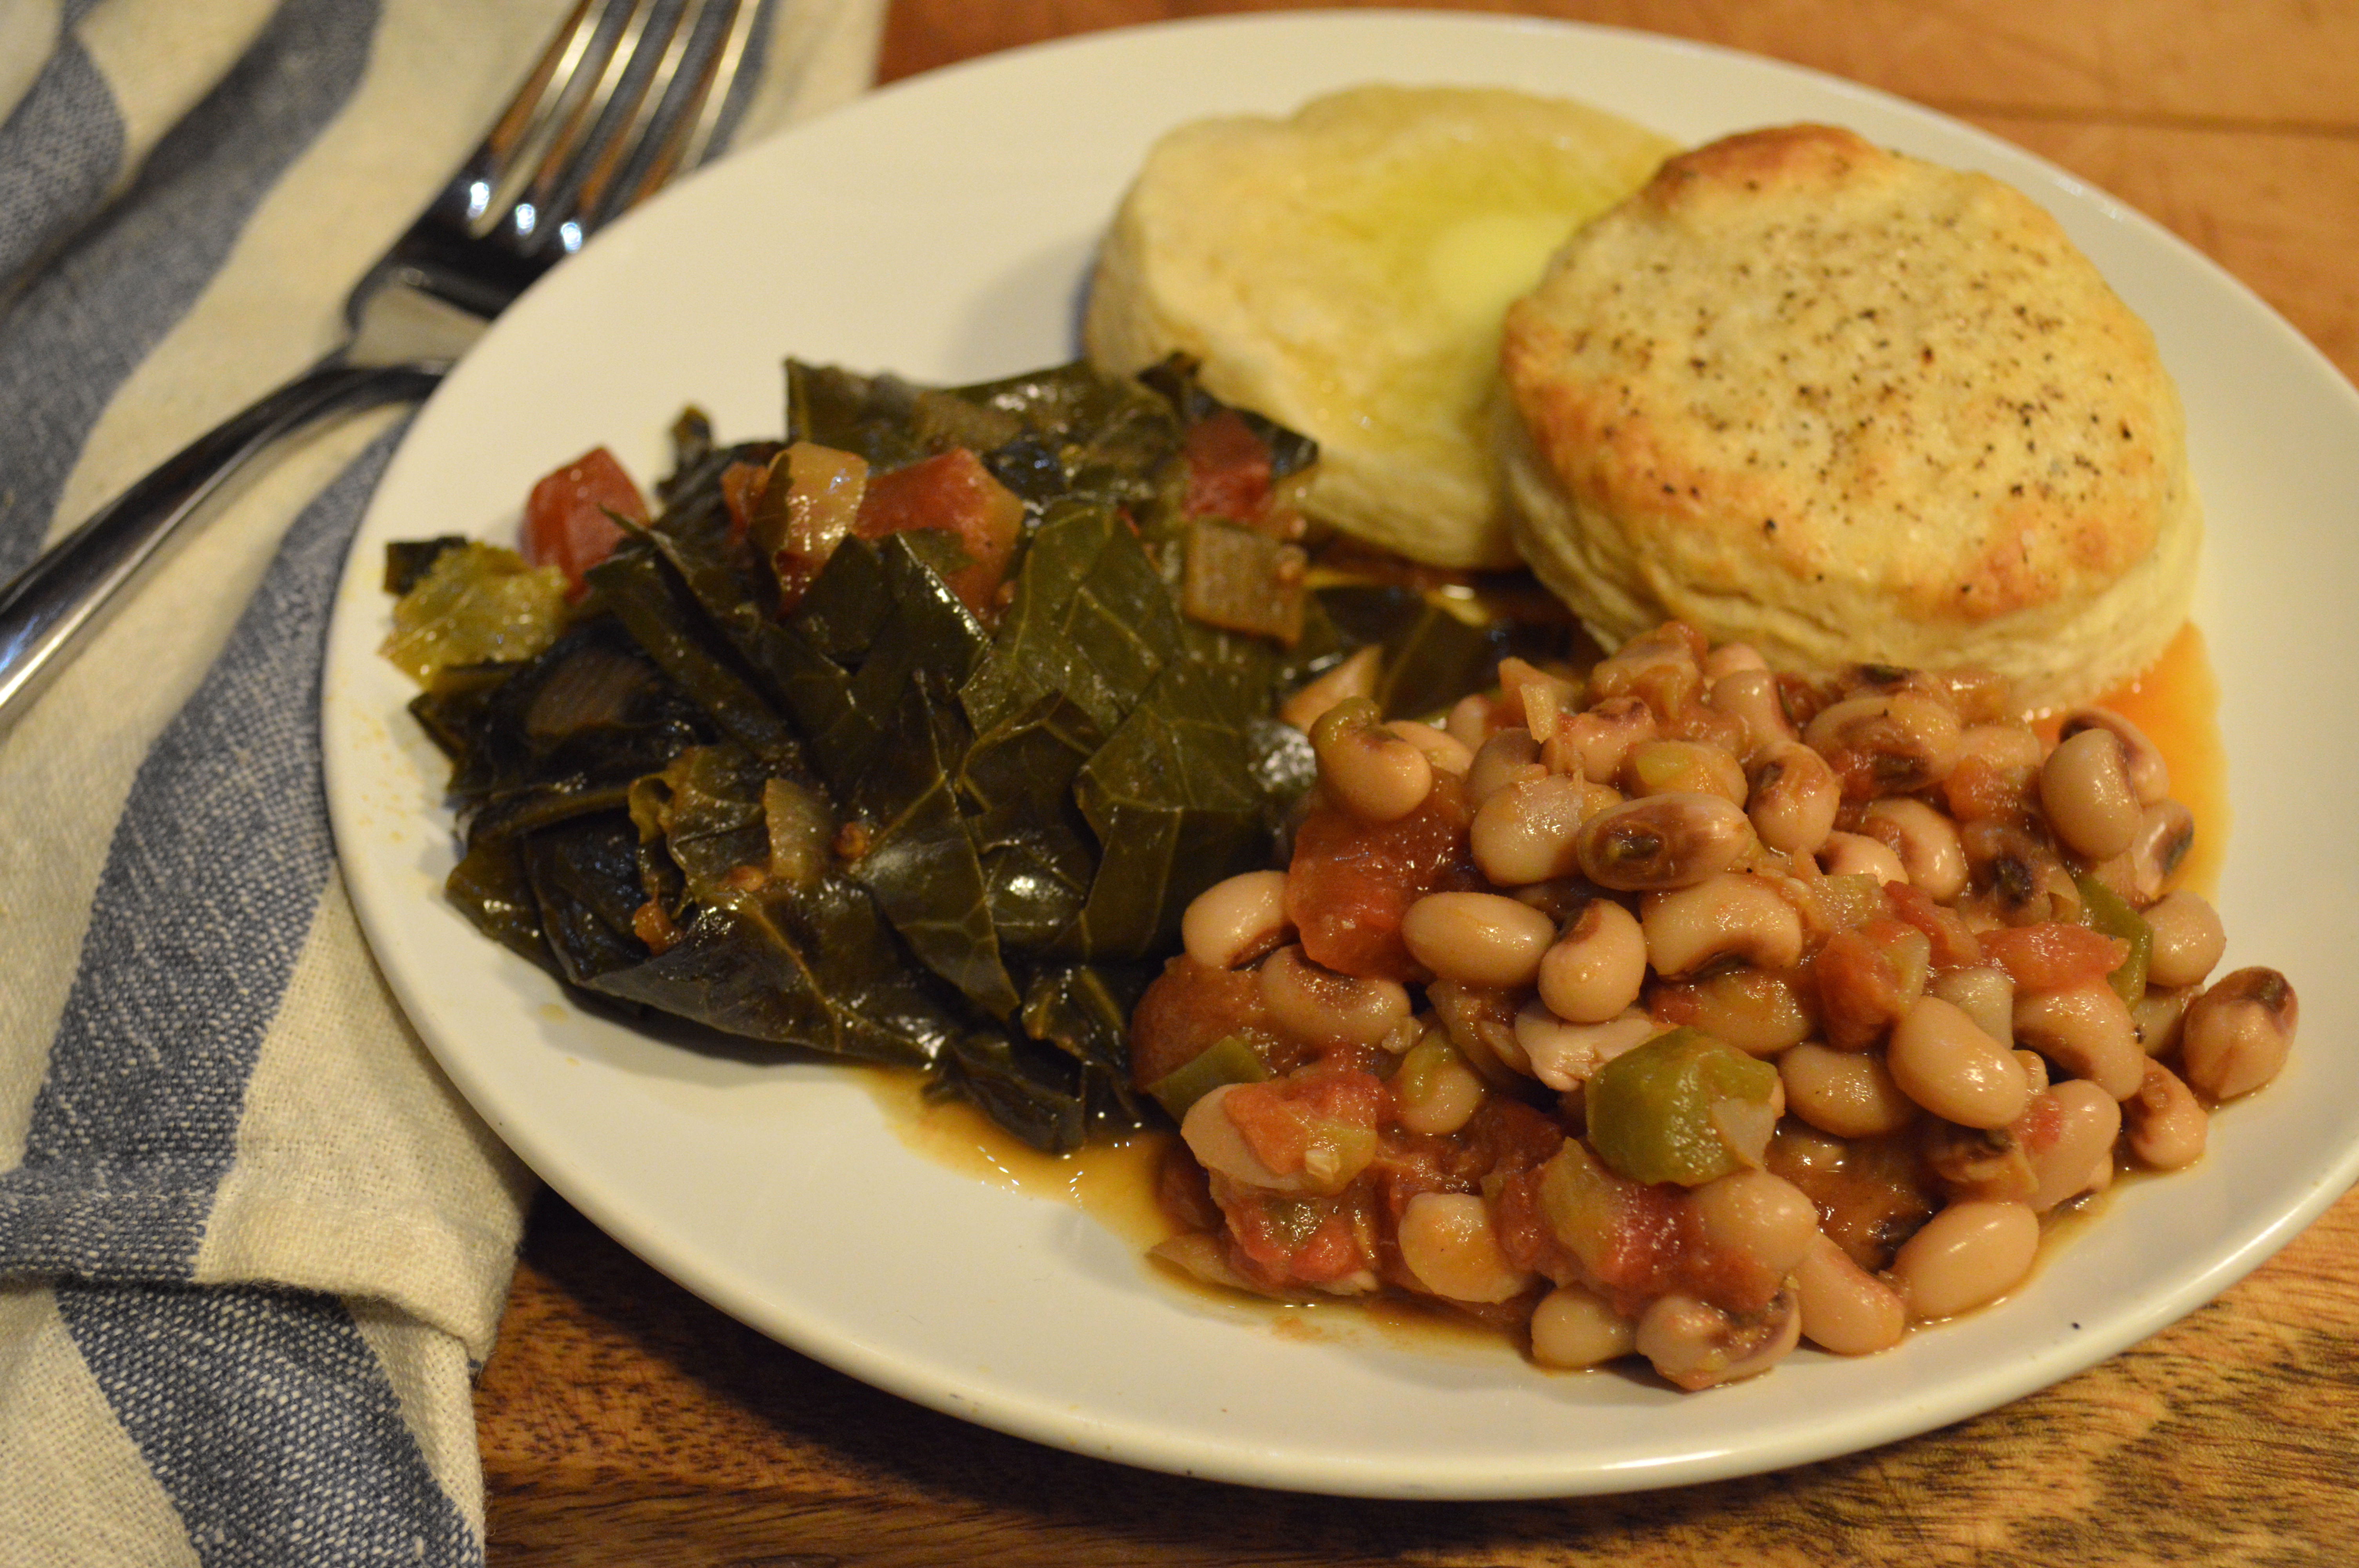
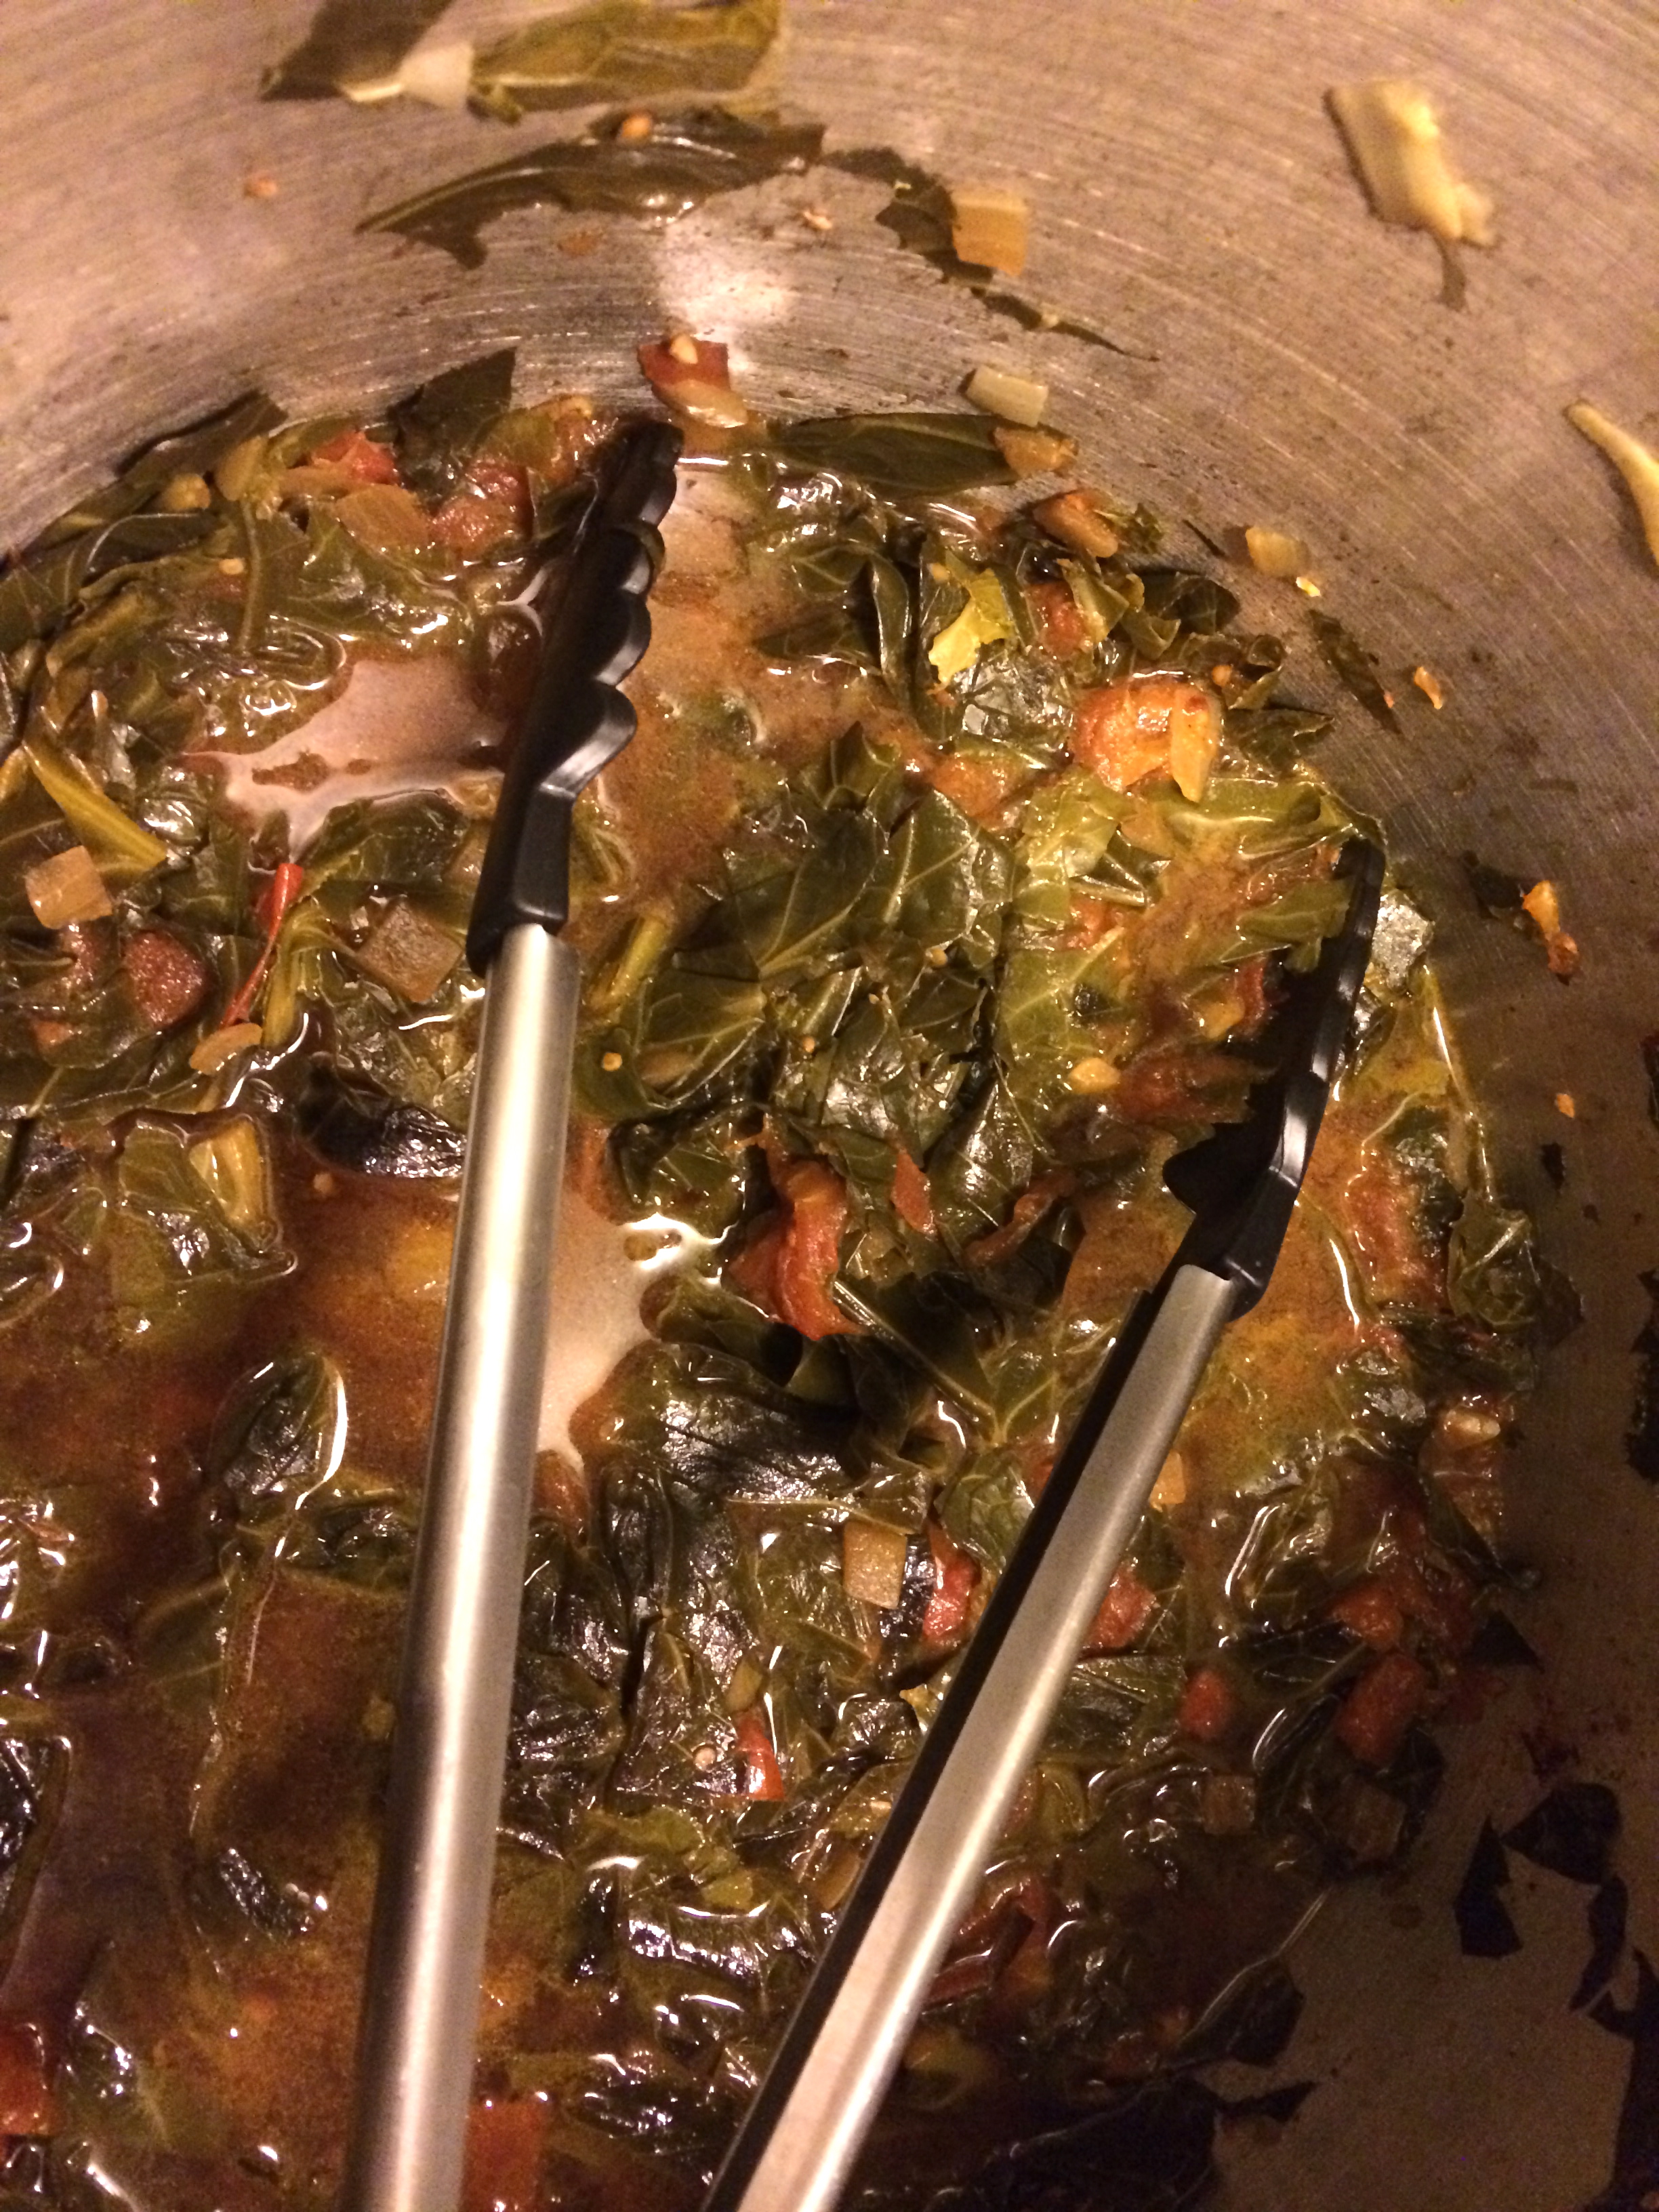
Other Southern traditional foods include braised greens, usually collard, turnip, or mustard greens; along with pork or ham of some kind. Greens are meant to symbolize money since they’re, well, green; and since pigs can’t look backward without turning around, they’re meant to symbolize forward motion and moving on from the past.

new year's day brunch | vegetarian collard greens and black eyed peas | Brooklyn Homemaker

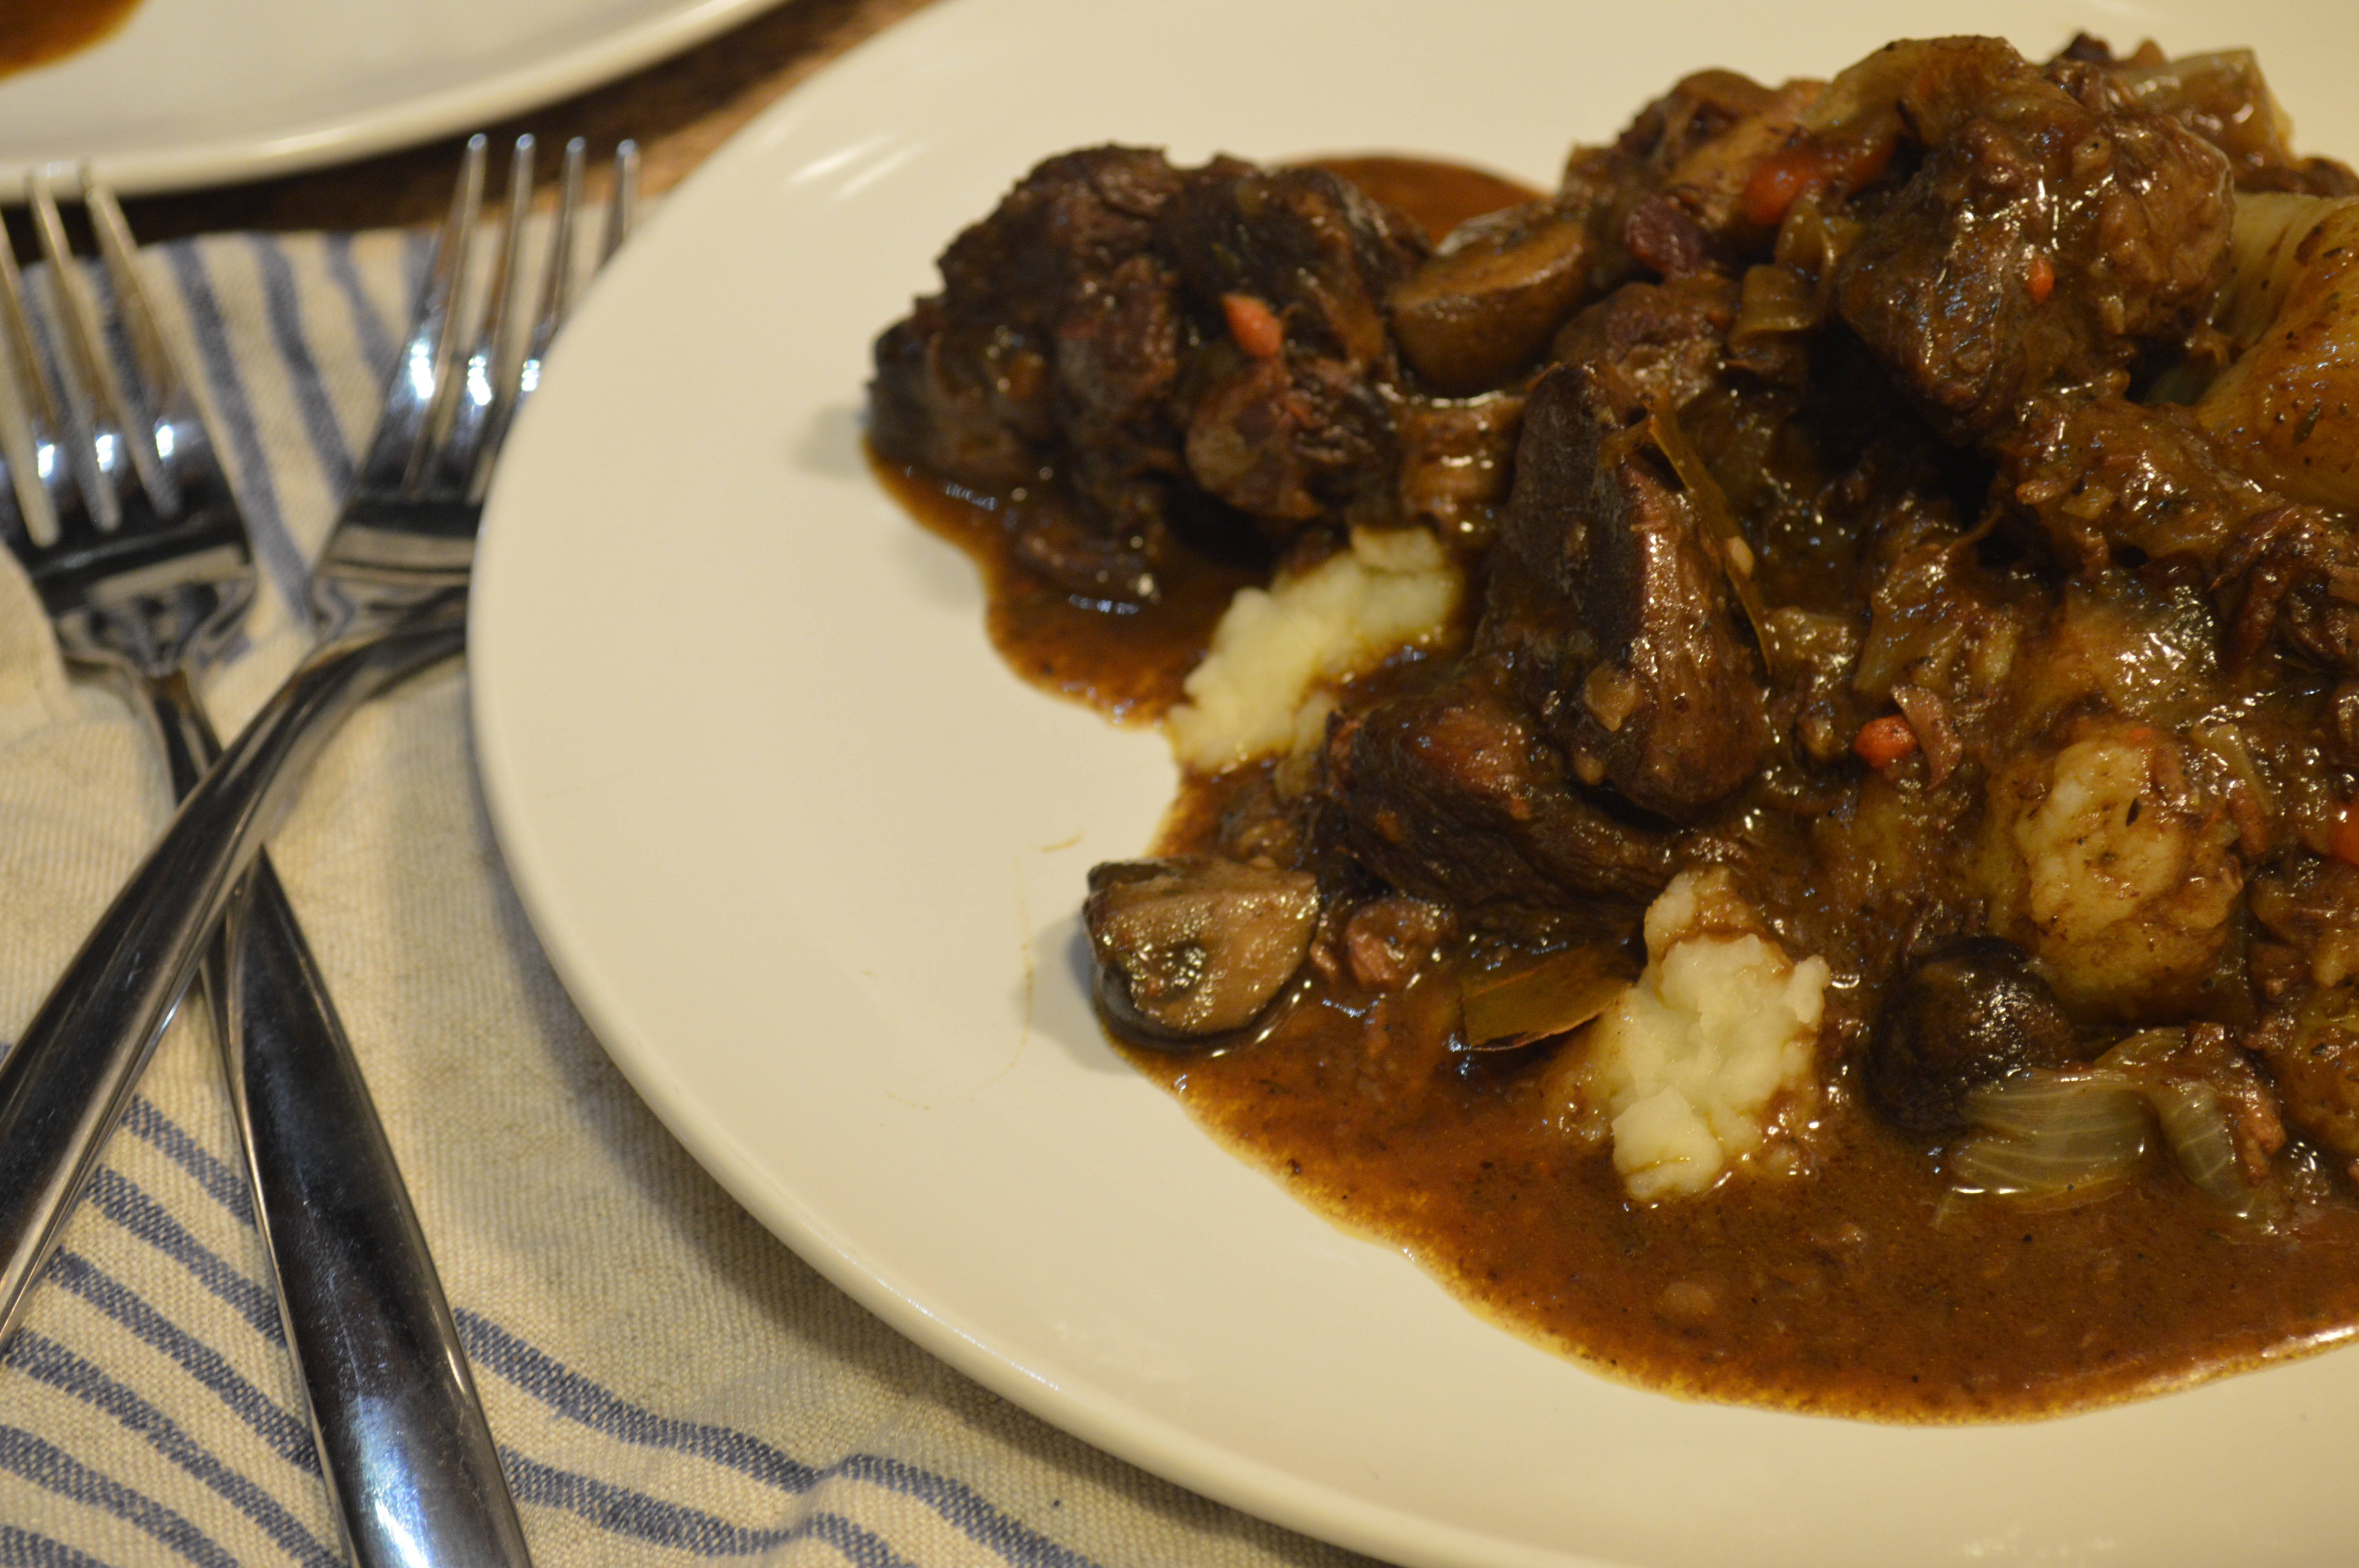
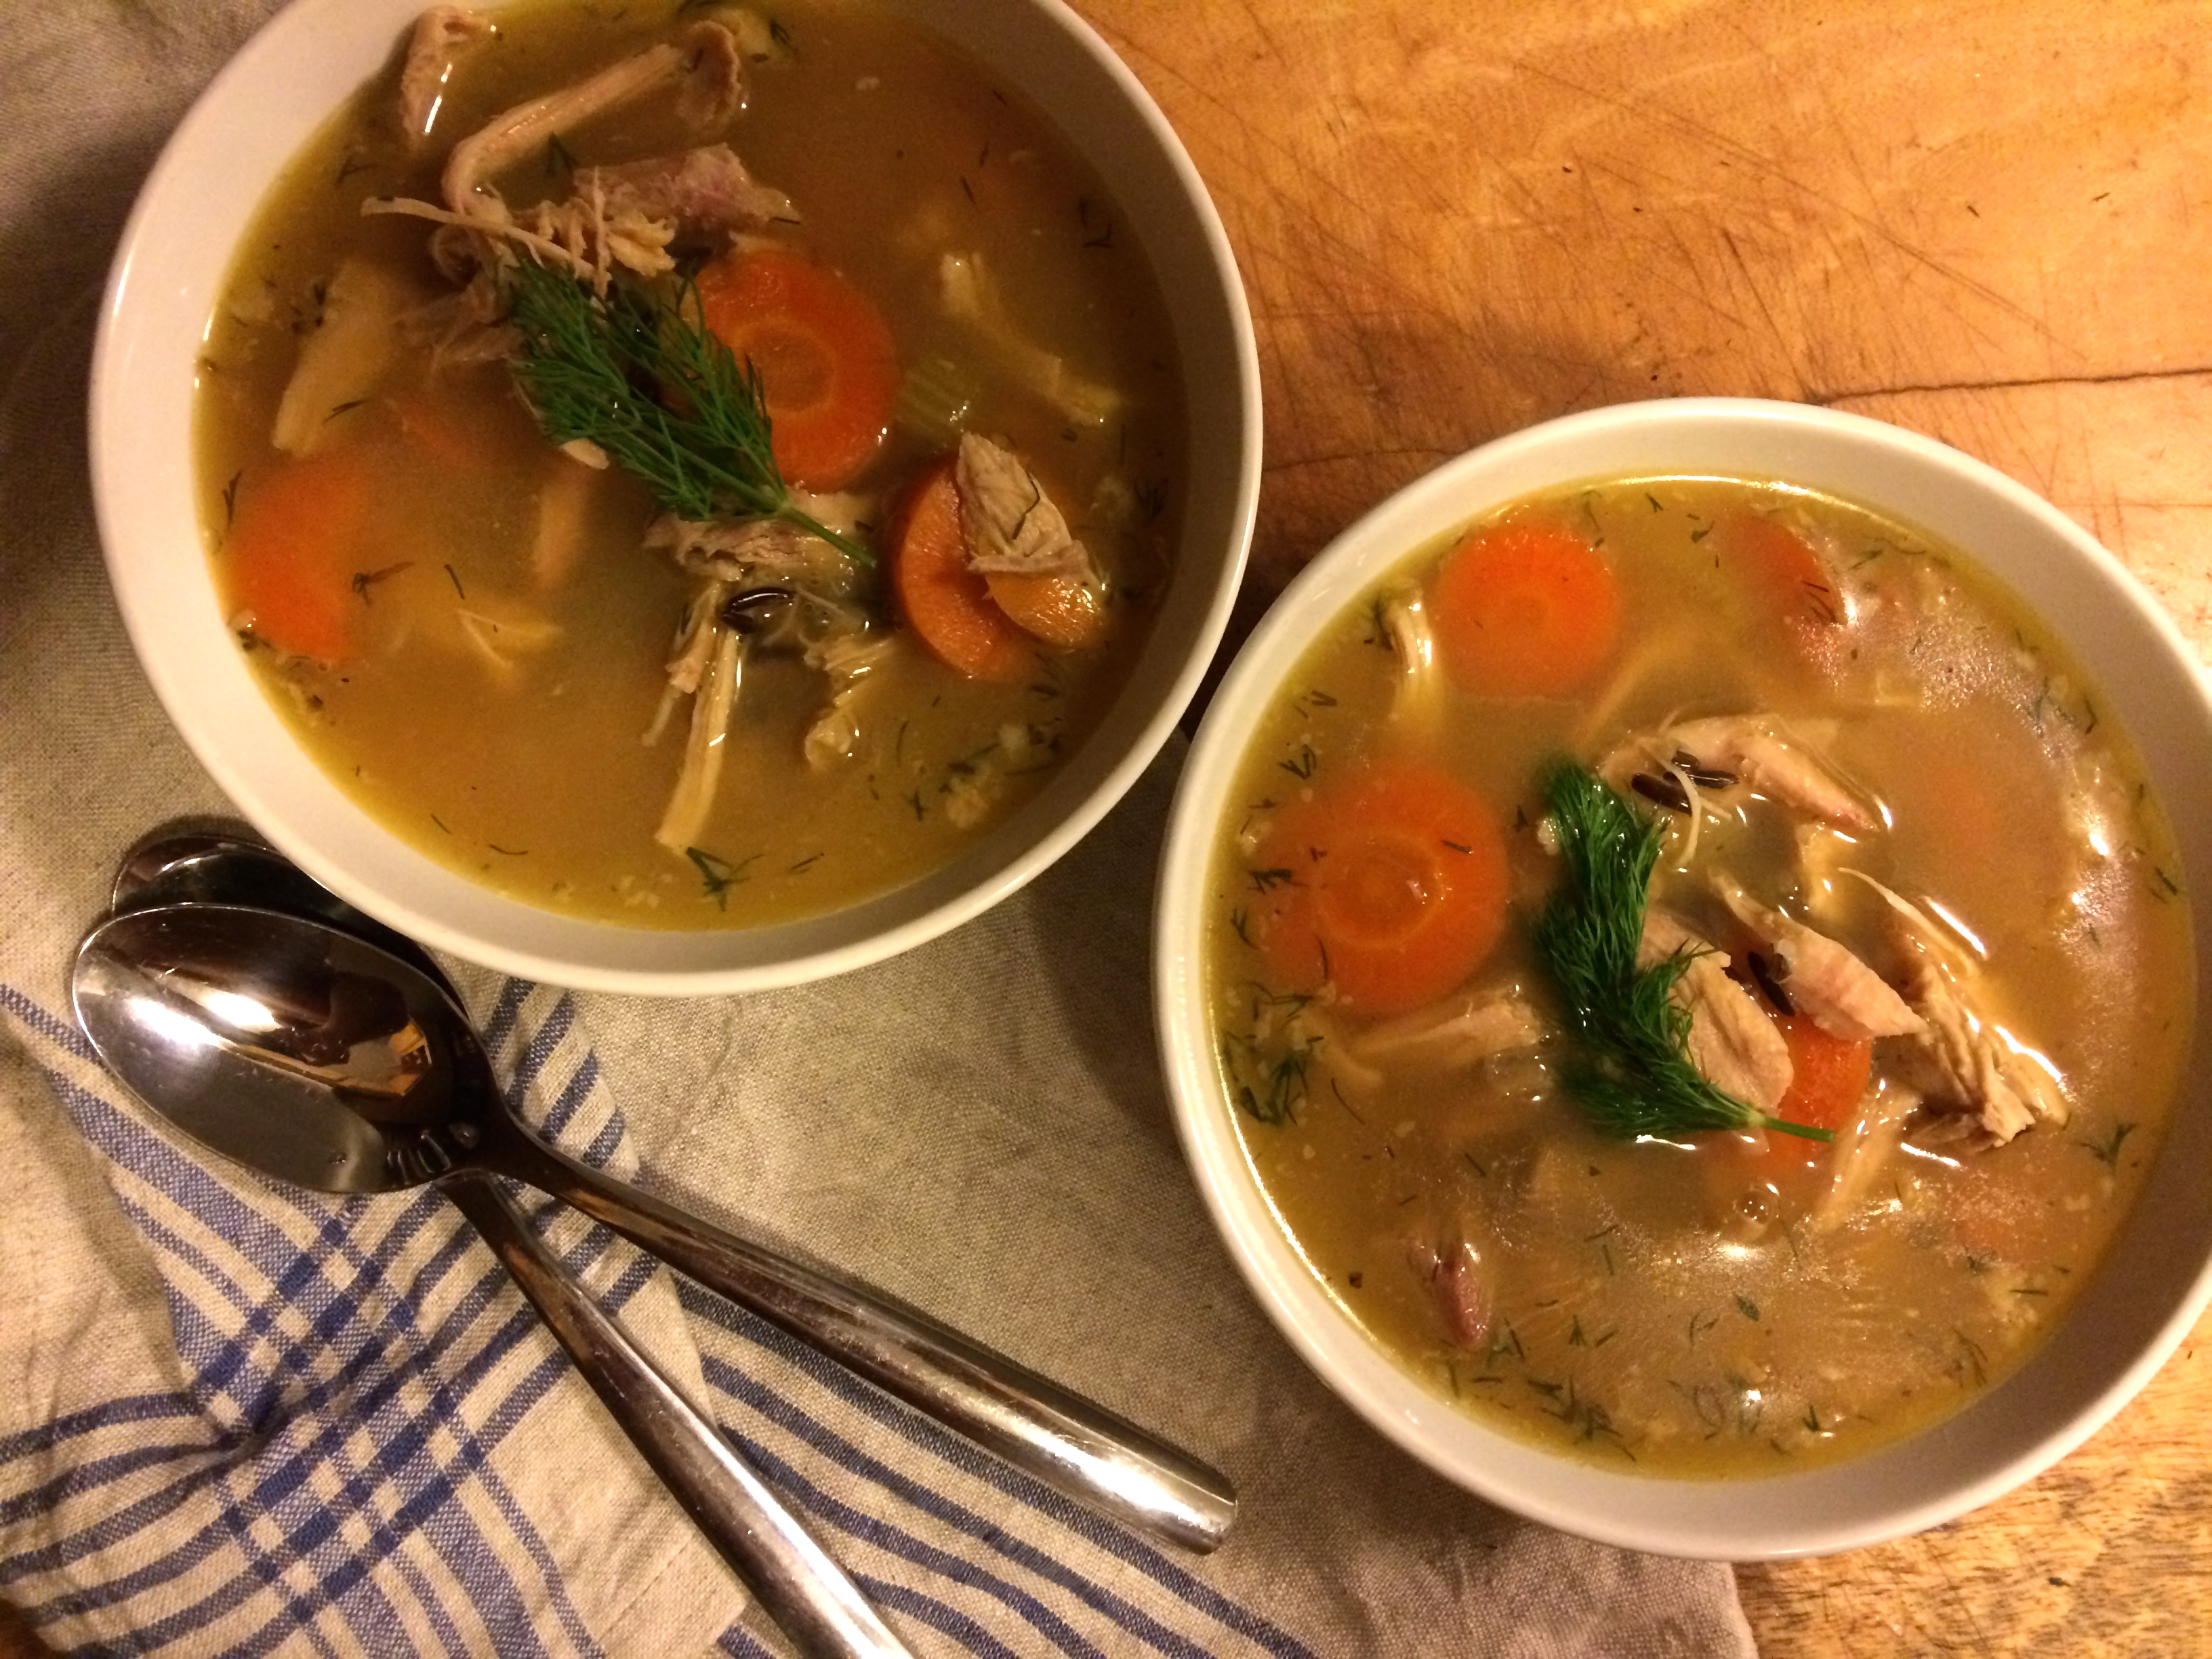
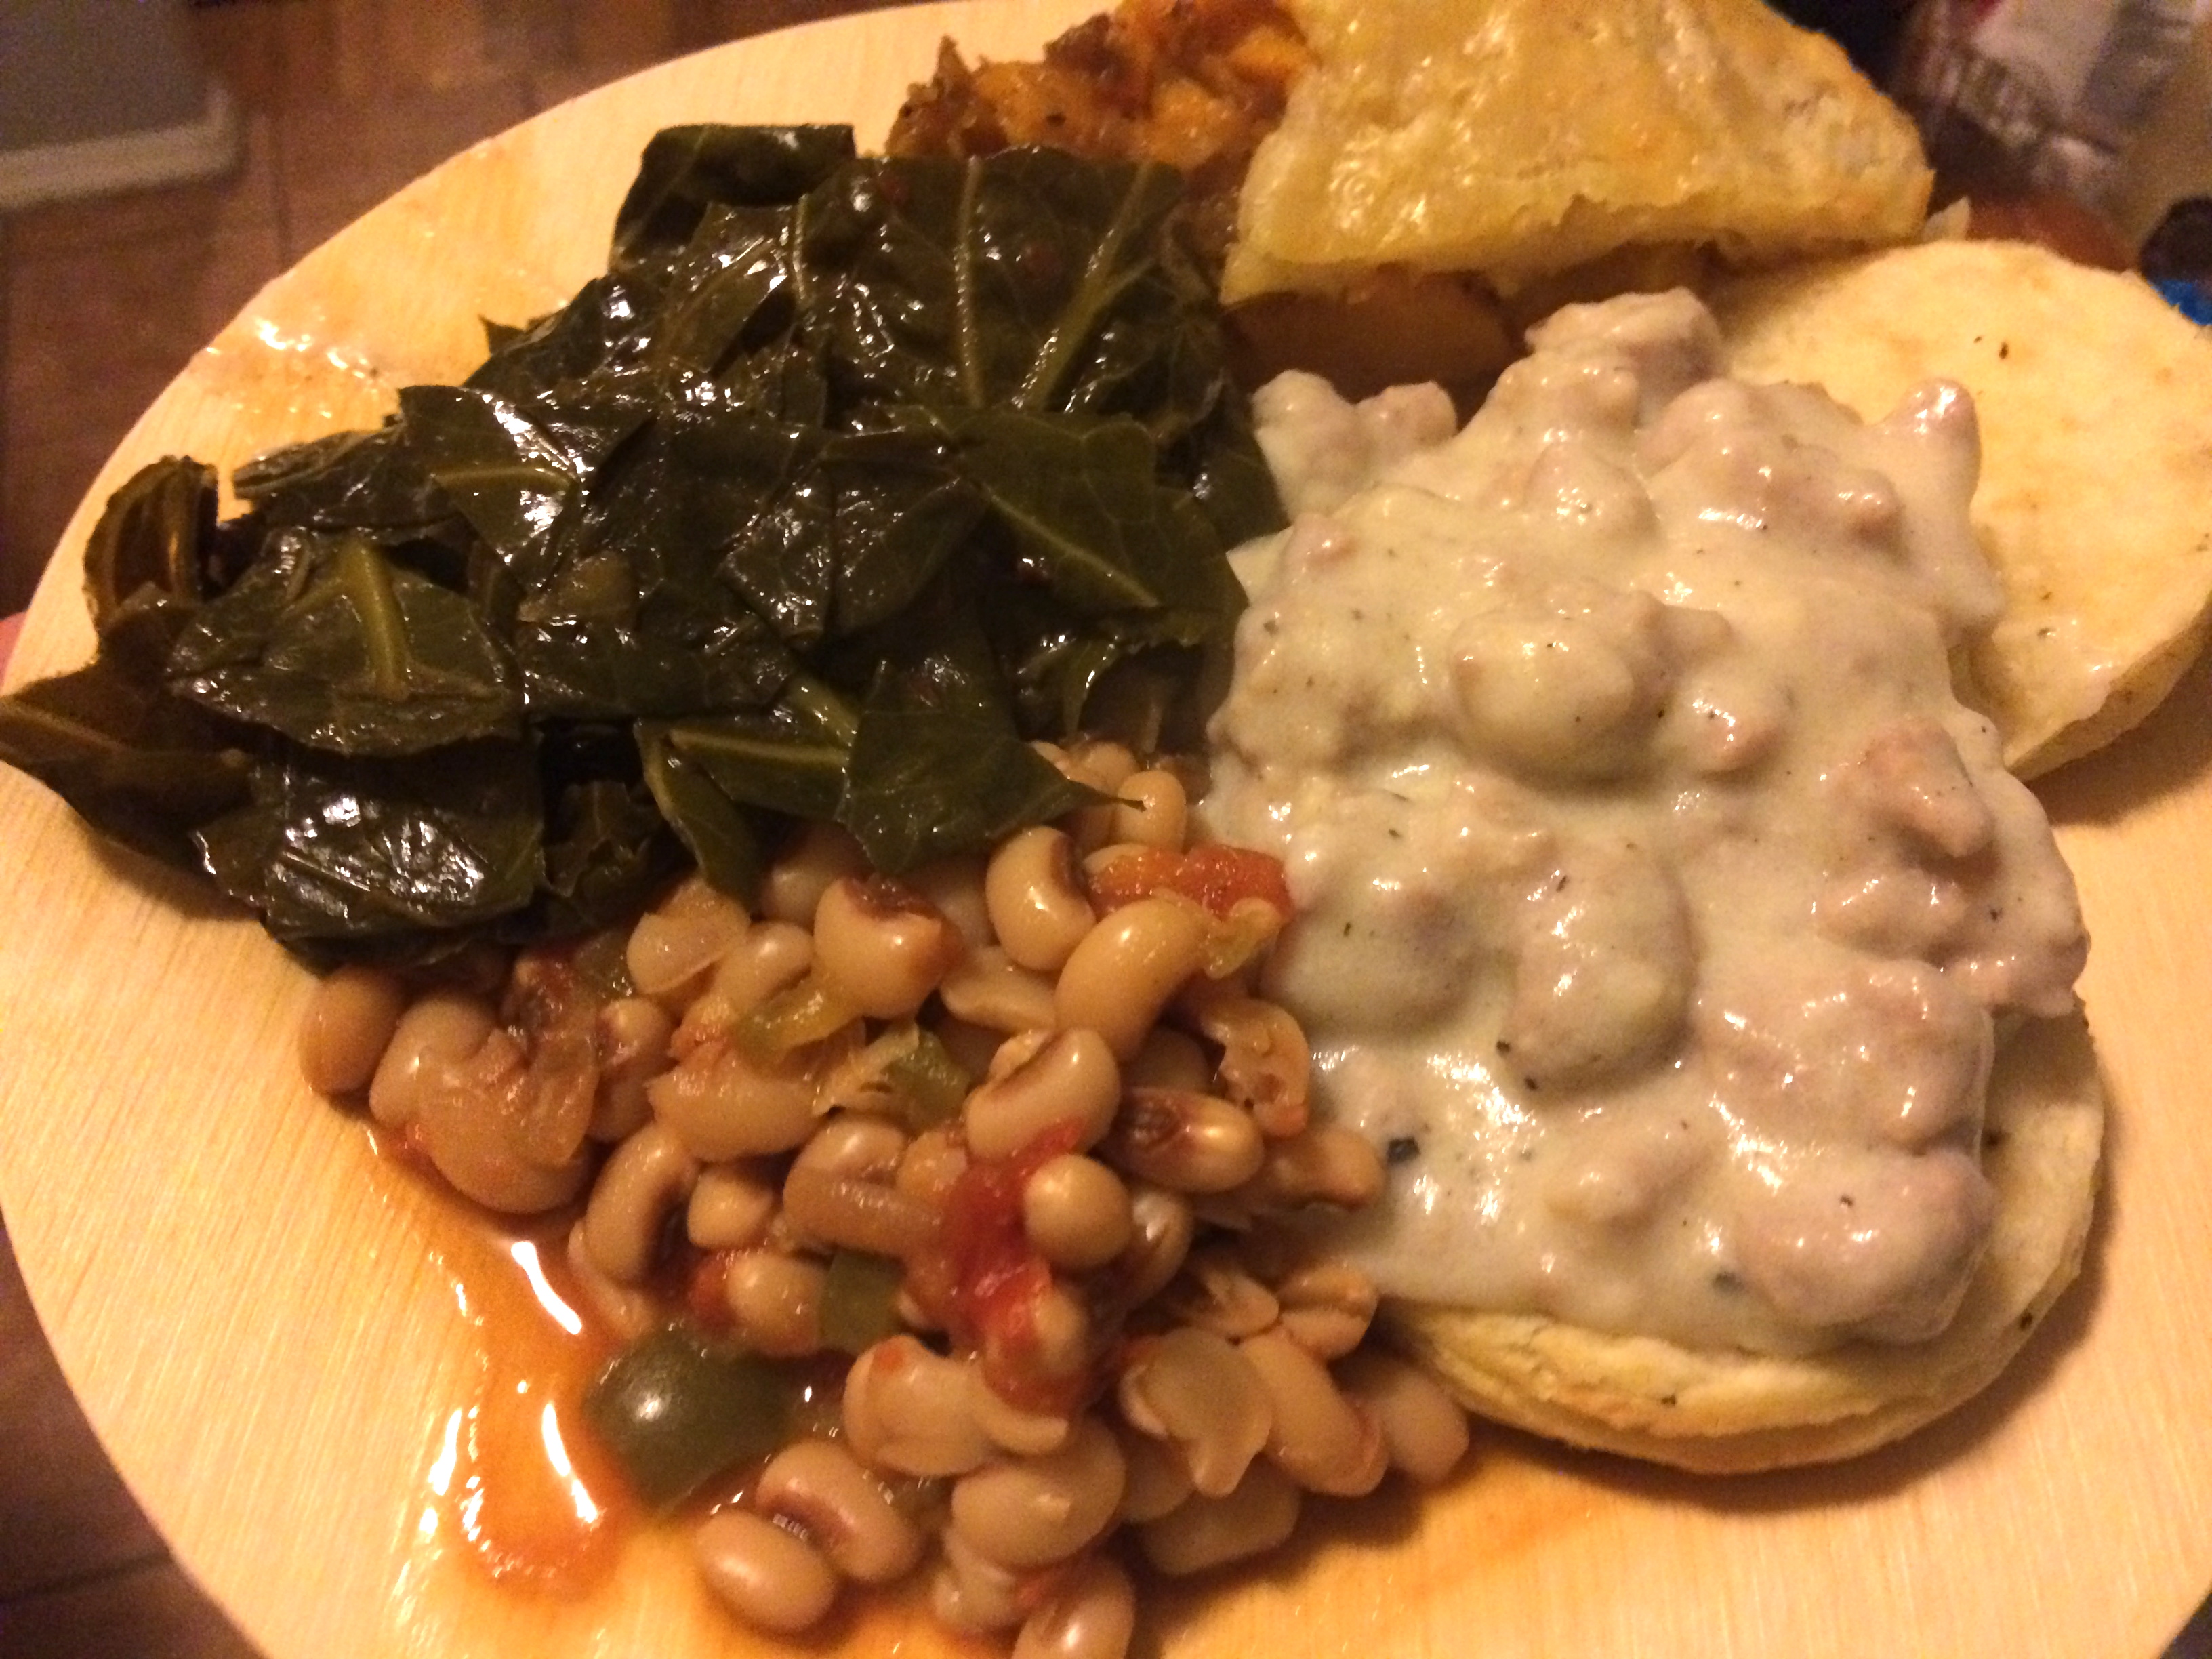
I decided to go all out traditional Southern with black eyed peas, braised collard greens, buttermilk biscuits, and pork sausage gravy. When making these foods, ham is usually used to help flavor your peas and greens, but of course, I don’t live in the south. I live in Brooklyn, so I had dietary restrictions to keep in mind and had to find vegetarian alternatives to add flavor to my peas and greens, and had to thicken my sausage gravy with rice flour for my friends who simply will not tolerate gluten. In the end though, our plates were packed with flavor and I wouldn’t have changed a thing! To accompany our meal I served up a big pitcher of Southern sweet tea, and those of us that wanted some hair of the dog spiked it with lemon vodka. Afterward we dug into a harvest cake, similar to carrot cake, complete with cream cheese icing and pecans.

new year's day brunch | vegetarian collard greens and black eyed peas | Brooklyn Homemaker

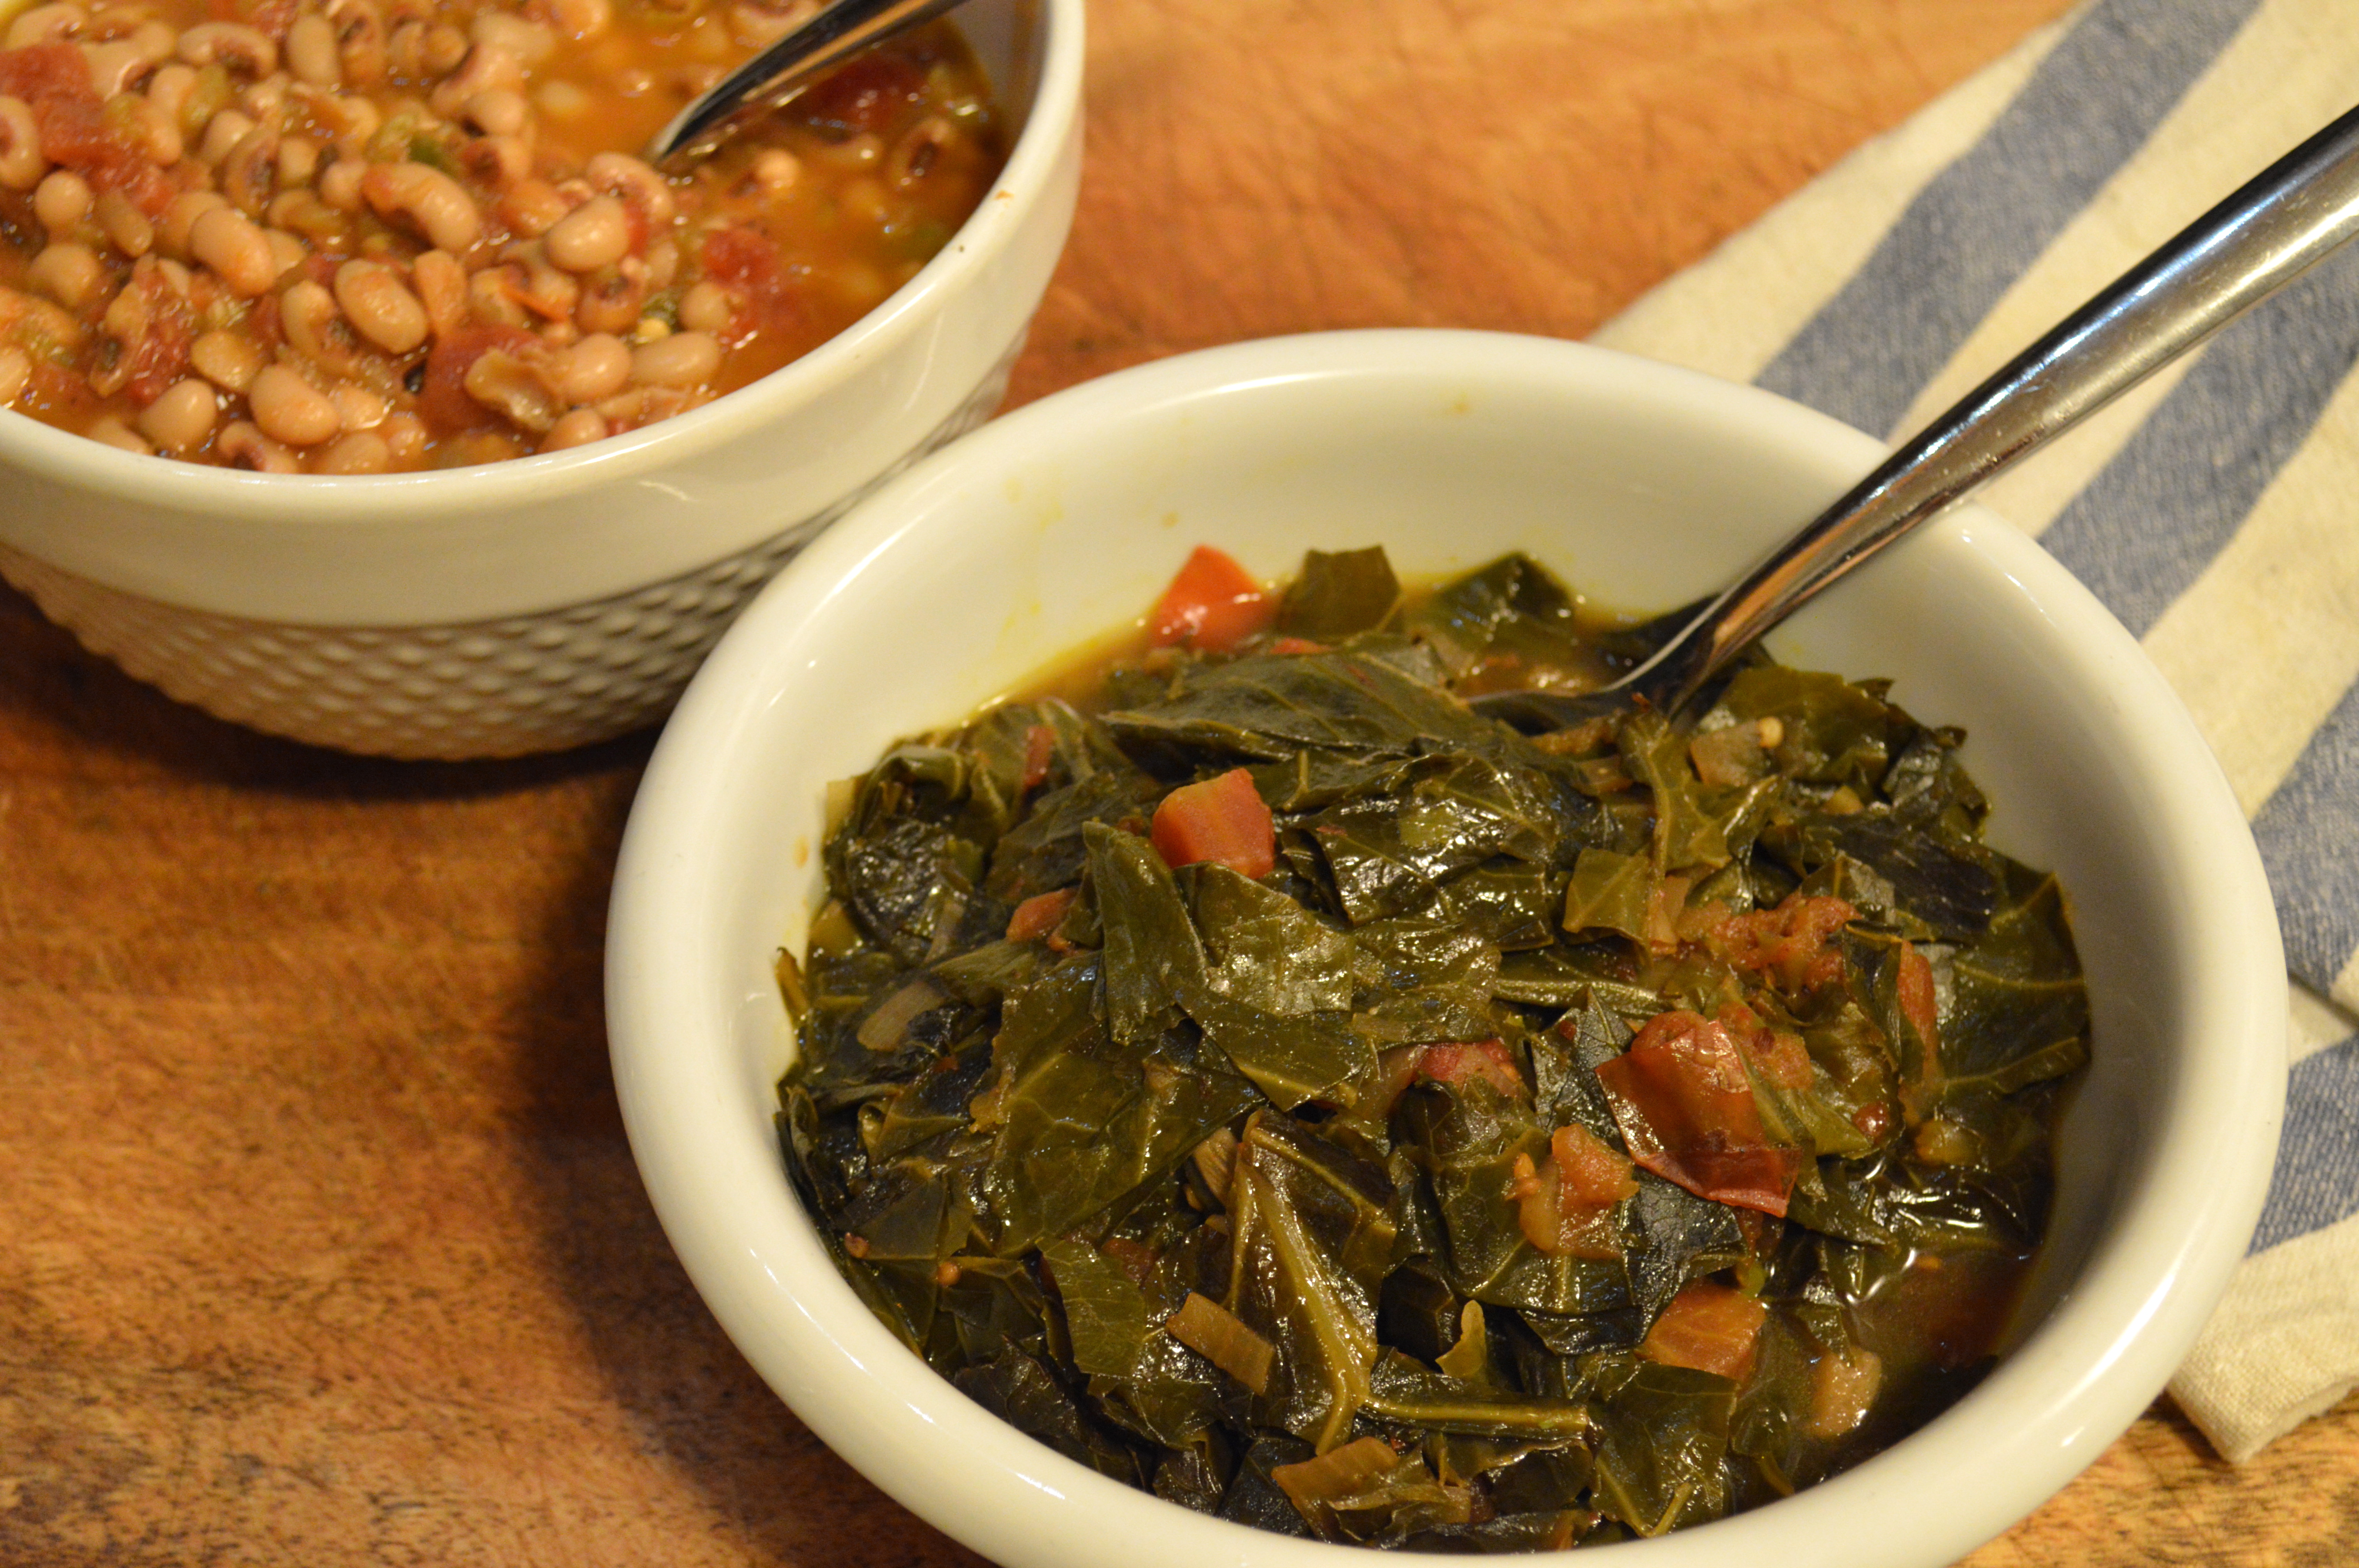
Below I’ve shared my recipes for vegetarian black eyed peas and collards. There’s a bit of spice to both recipes to help build flavor, but of course you could skip that if you’re not up for it. Come back soon for a special post on making biscuits and my recipe for gluten free (or not) sausage gravy. I suspect that you’ll probably want to know more about my harvest cake too, so keep checking in and you won’t be disappointed!

new year's day brunch | vegetarian collard greens and black eyed peas | Brooklyn Homemaker

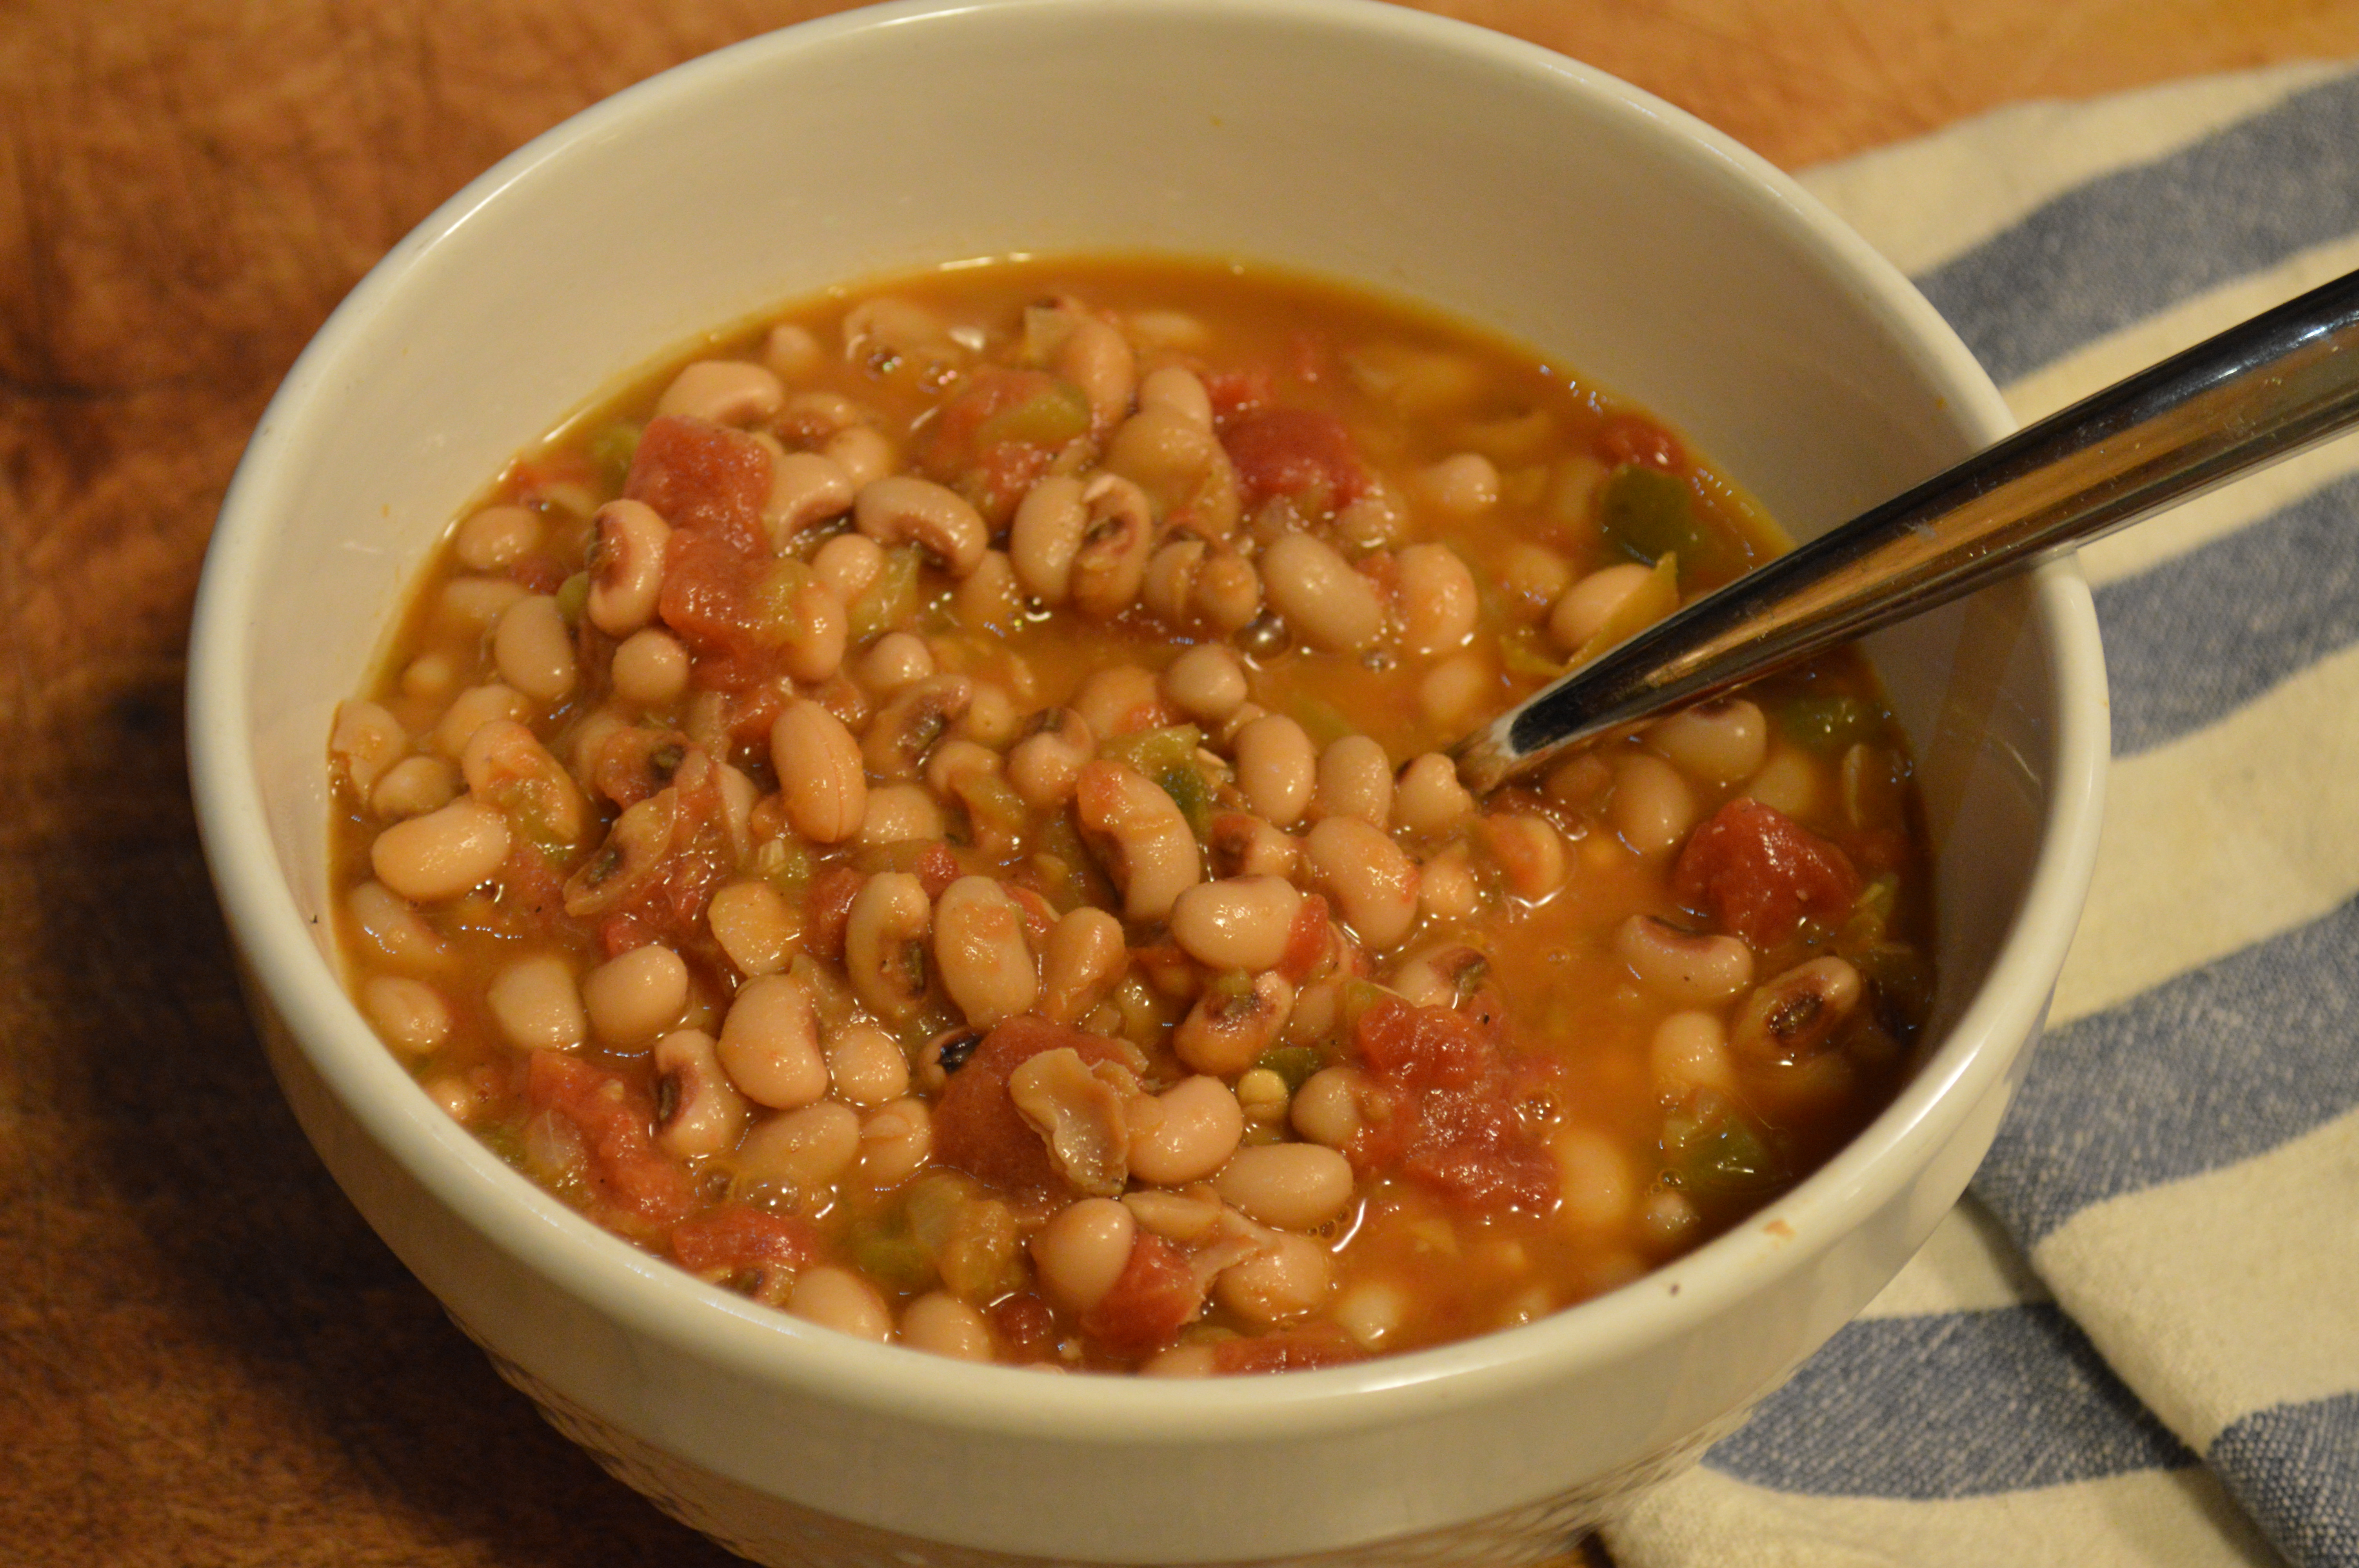
Vegetarian Black Eye Peas

1 lb dried black eyed peas
2 tablespoons butter
1 green bell pepper, diced
1 medium onion, diced
2 cloves garlic, minced
1 teaspoon sugar
1 teaspoon ground black pepper
1 26 oz can diced tomatoes
1 4 oz can diced green chilies
1/4 cup cider vinegar
water
1 teaspoon salt

Rinse your dried black eyed peas with water, and then soak them in water overnight. You want the water to be a few inches above the dried beans because they’ll expand.

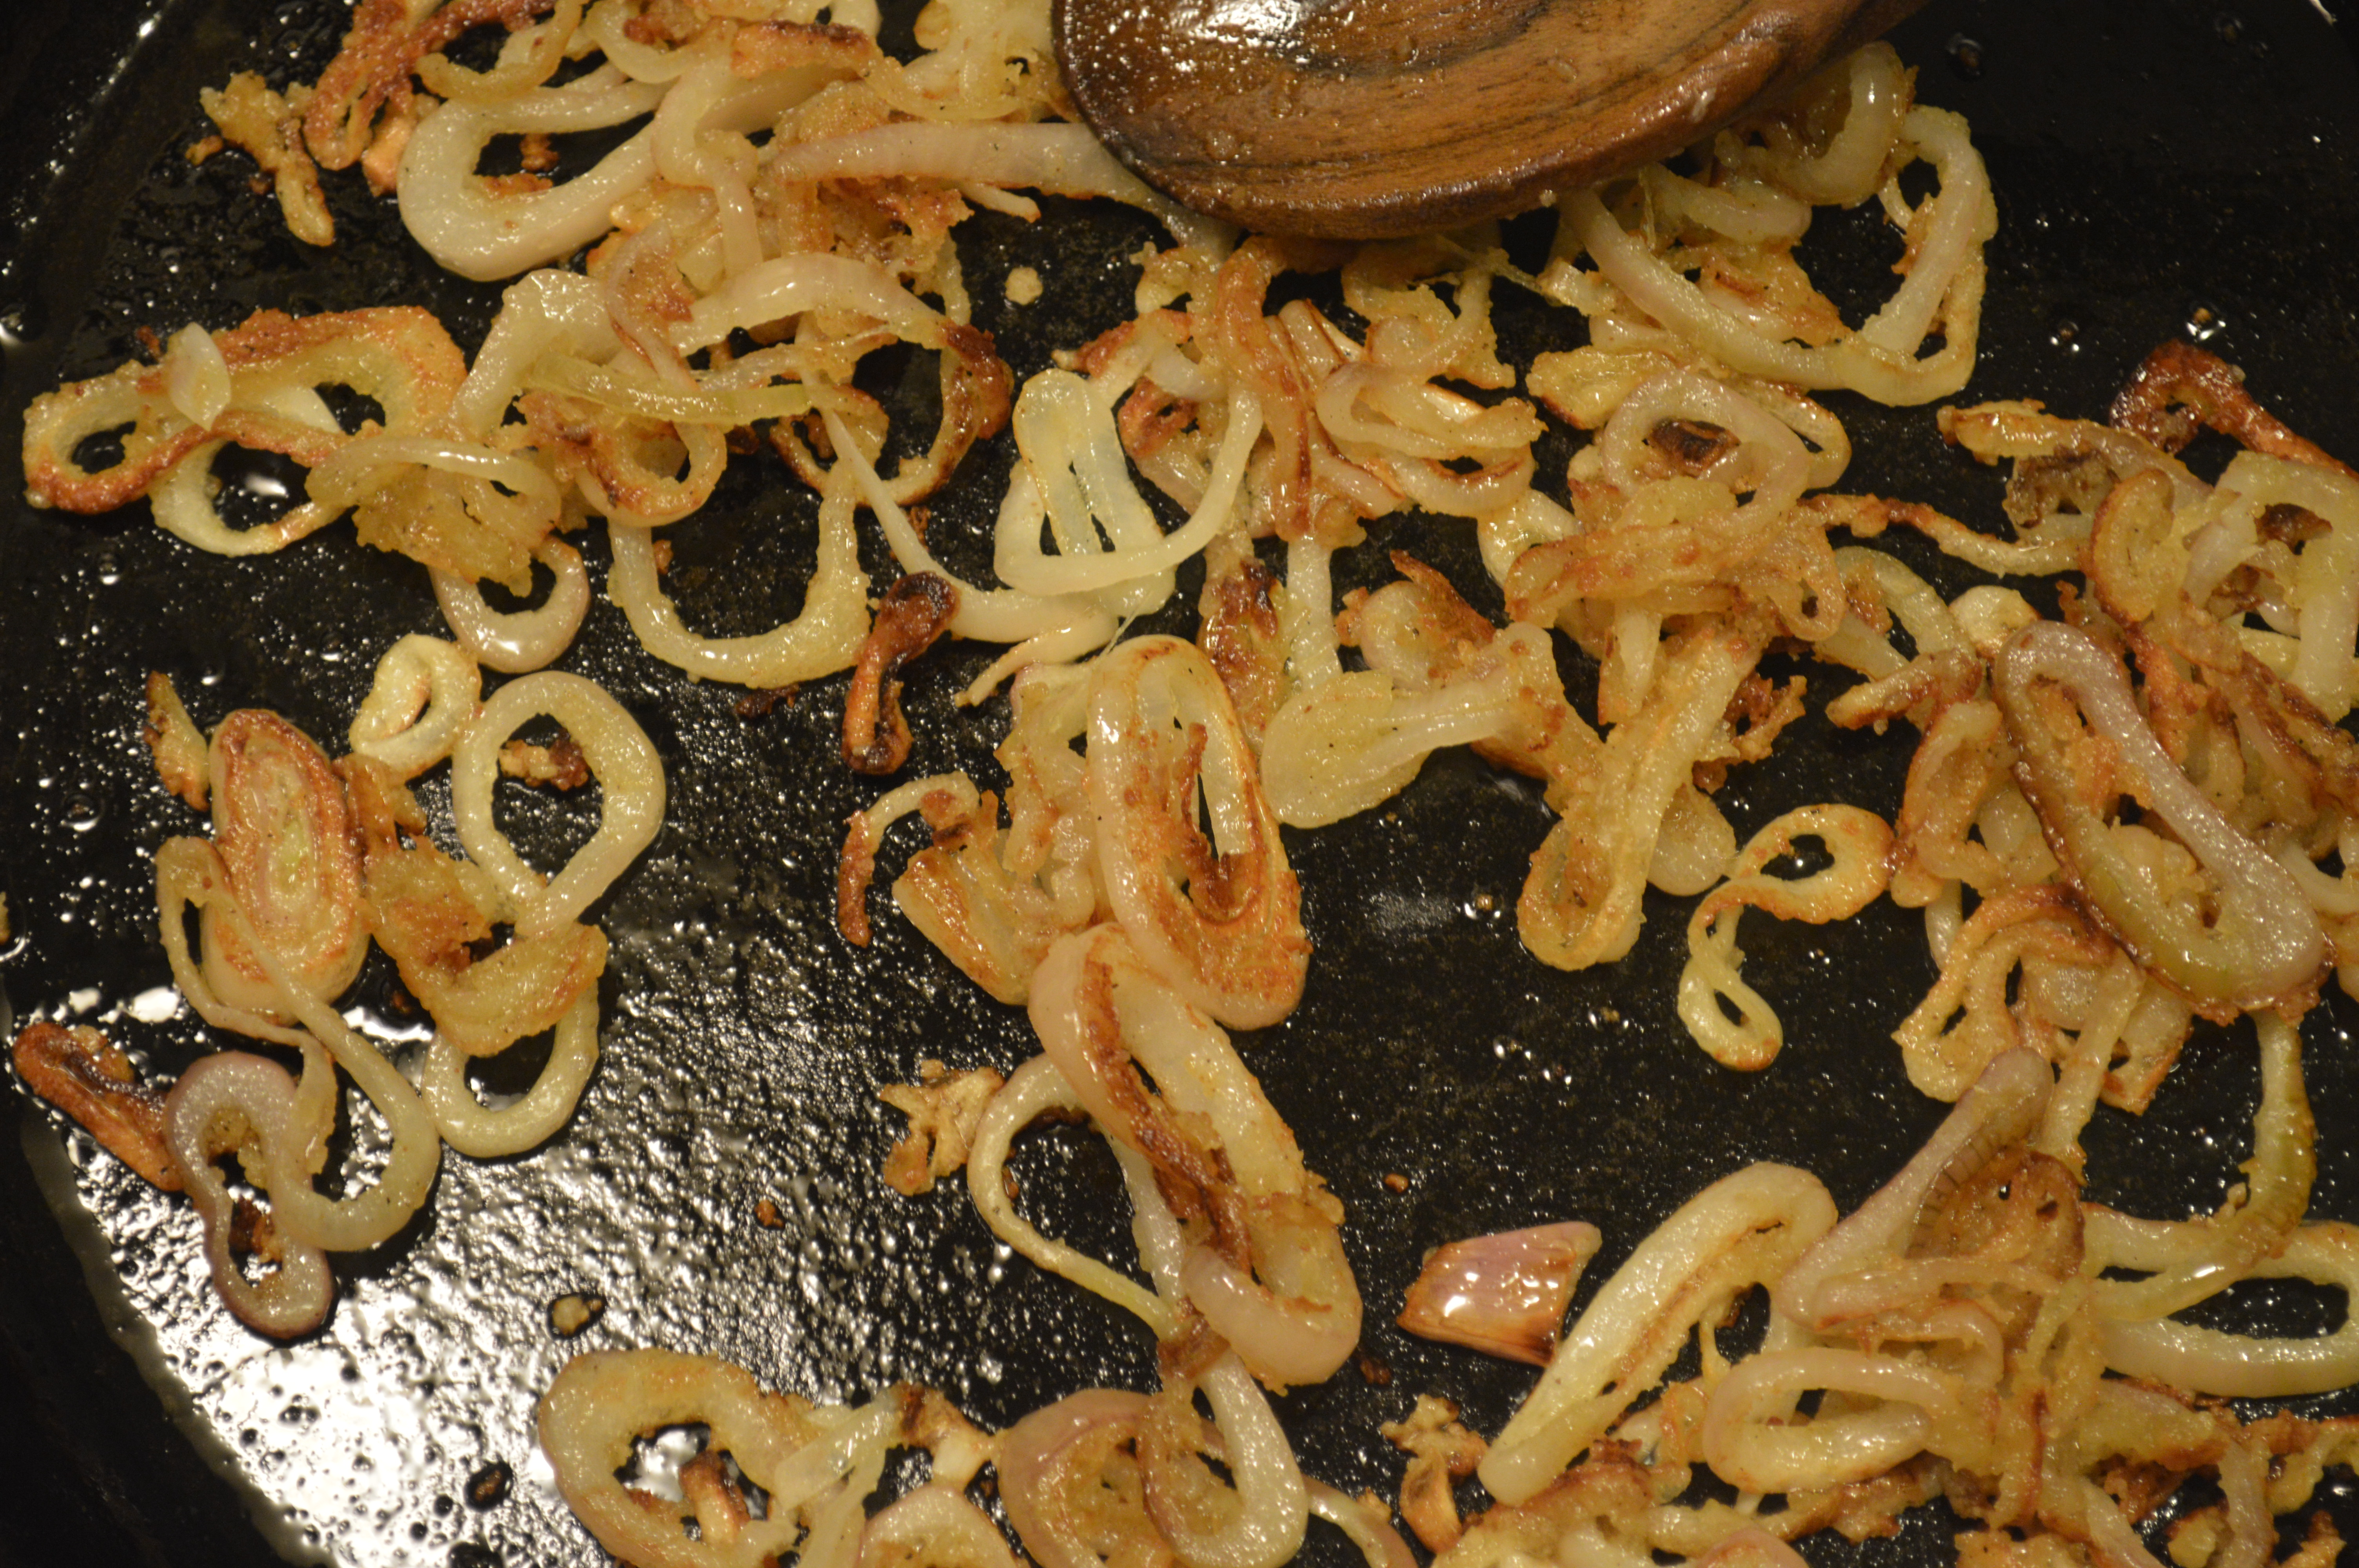
In the bottom of a heavy bottomed stockpot or dutch oven, combine the onions and peppers and cook over medium high heat until tender and beginning to brown. Add garlic and cook 2 minutes more, stirring frequently. Drain and rinse the soaked beans, and add to pot. Add canned tomatoes and chilies, including liquid, along with sugar, pepper, and vinegar. Top off with enough water to come to the top of the beans.

Bring pot to a boil and reduce heat to a simmer. Simmer, covered, for 1 1/2 to 2 hours or until beans are tender. Add salt, taste and adjust seasoning if necessary.

new year's day brunch | vegetarian collard greens and black eyed peas | Brooklyn Homemaker

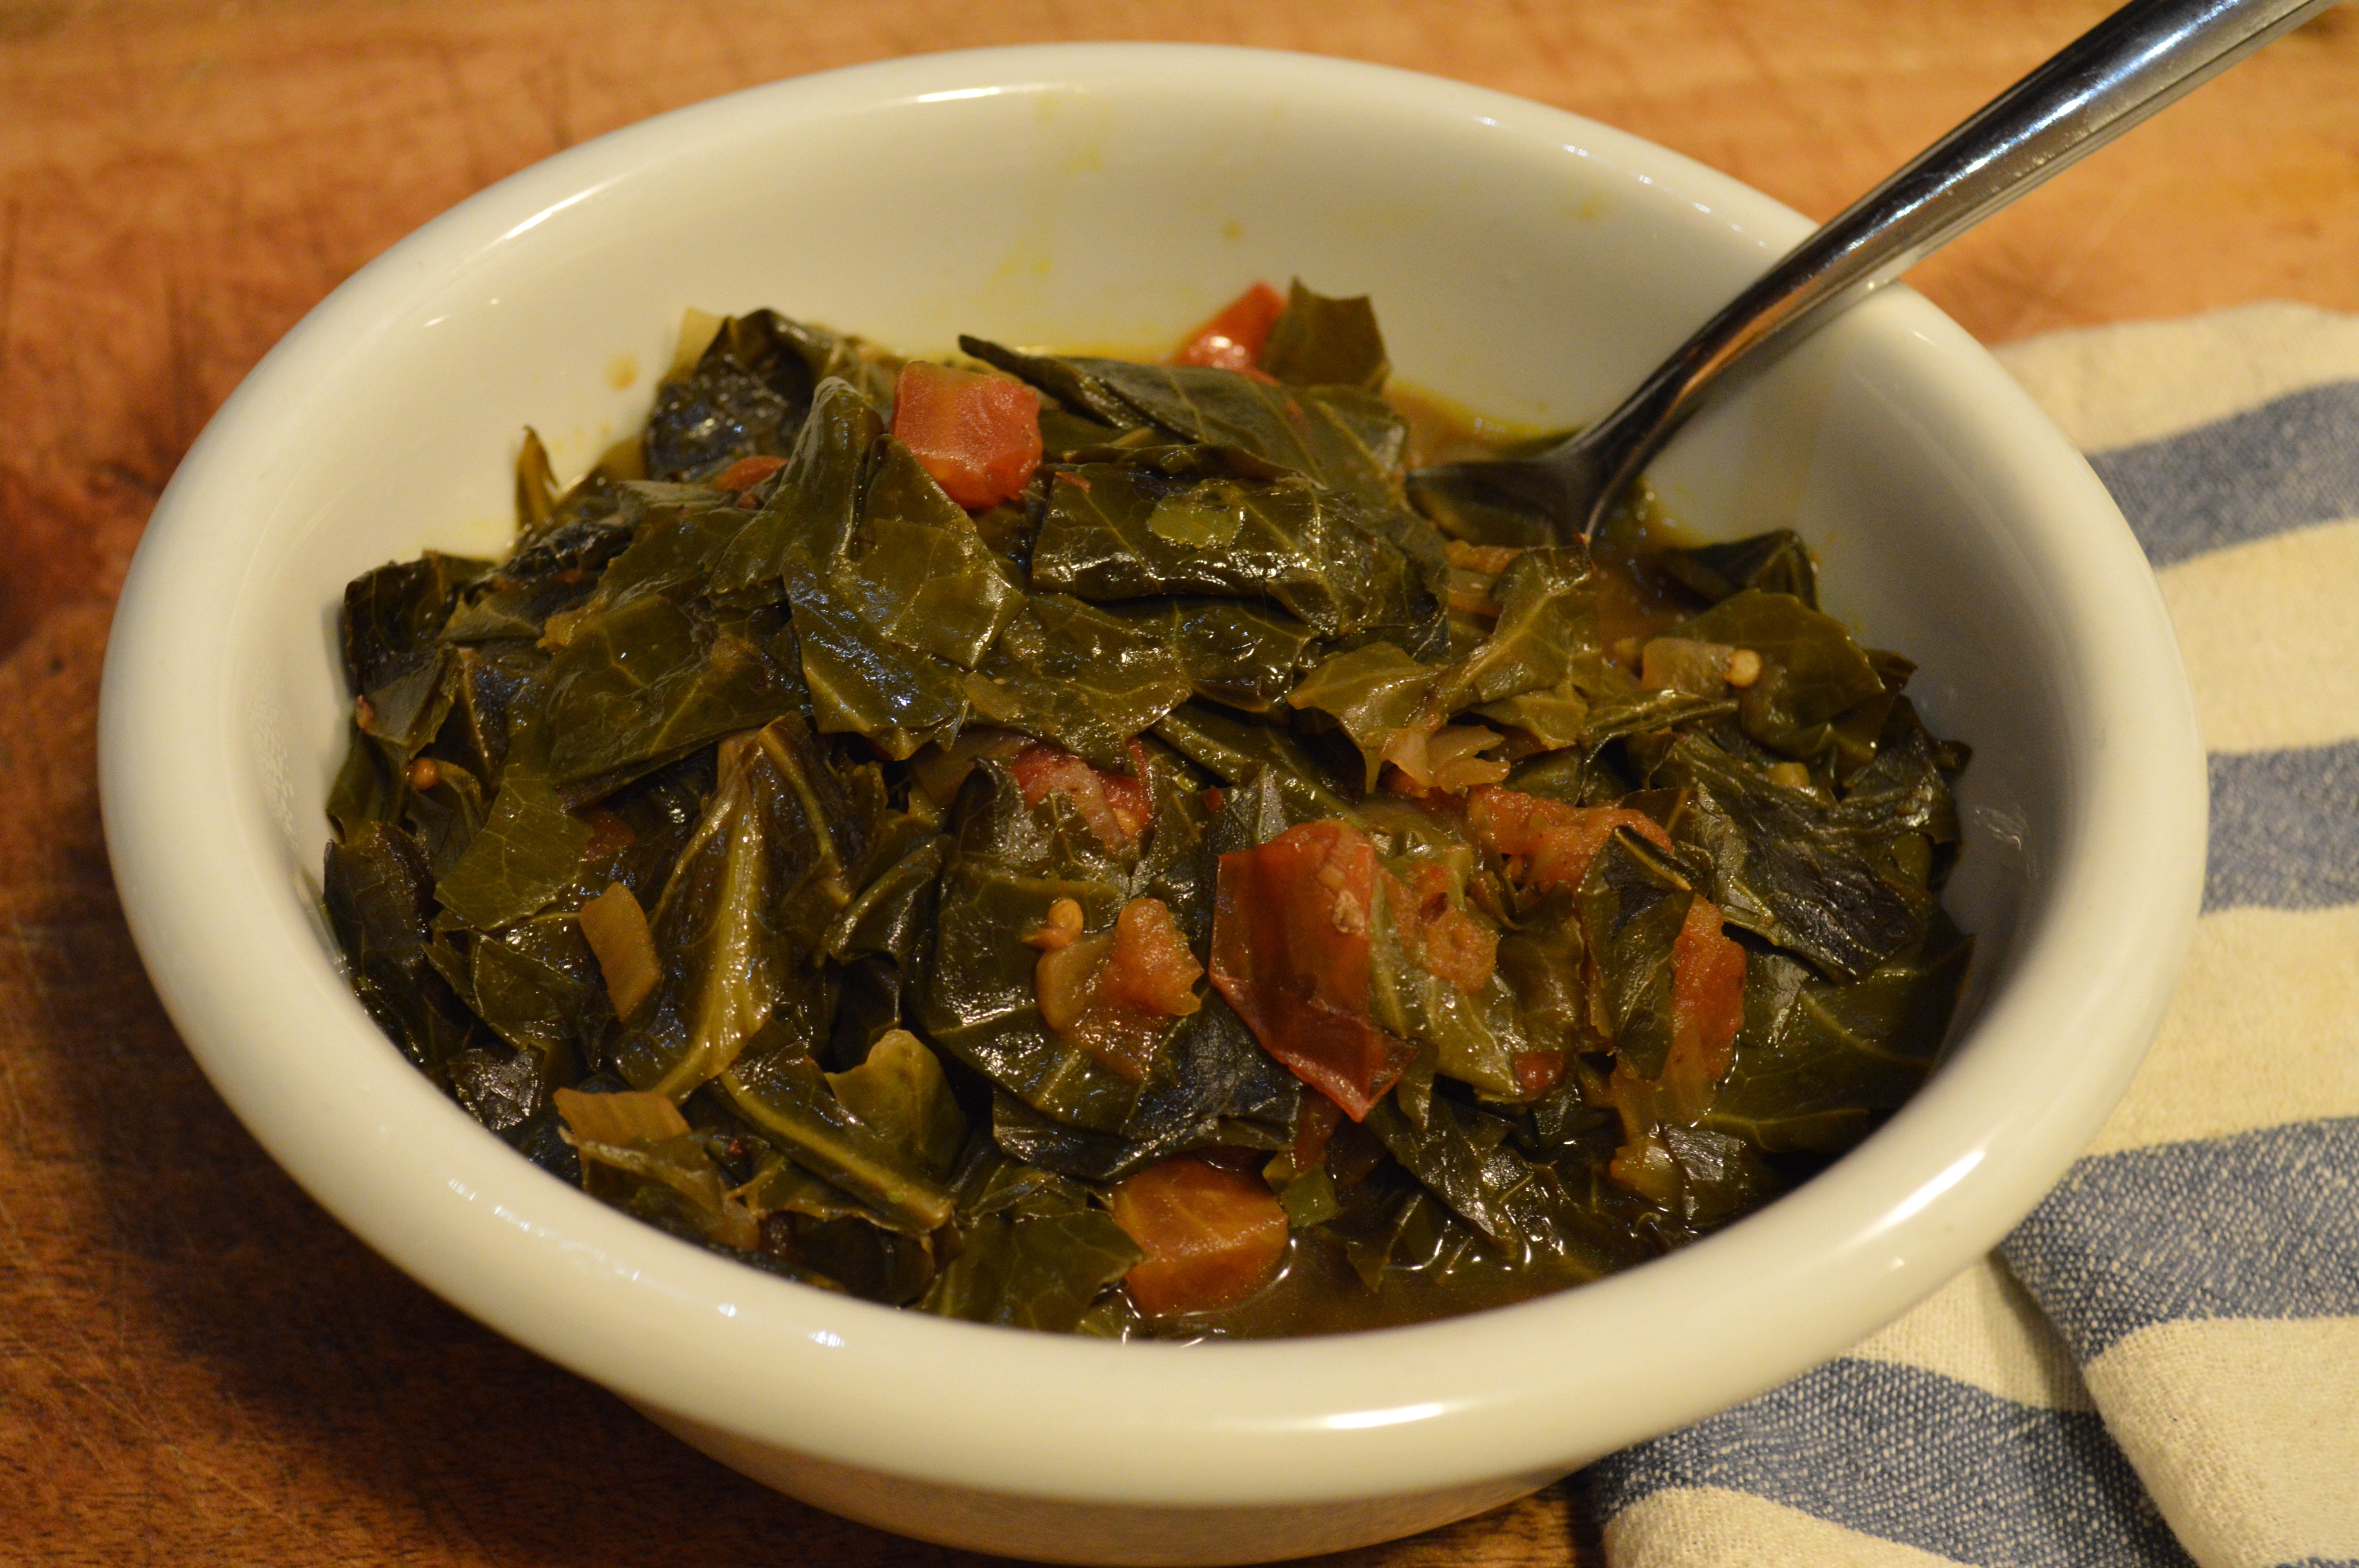
Vegetarian Collard Greens

2 tablespoons butter
1 small onion
1 teaspoon red pepper flakes, optional
2 cloves garlic, minced
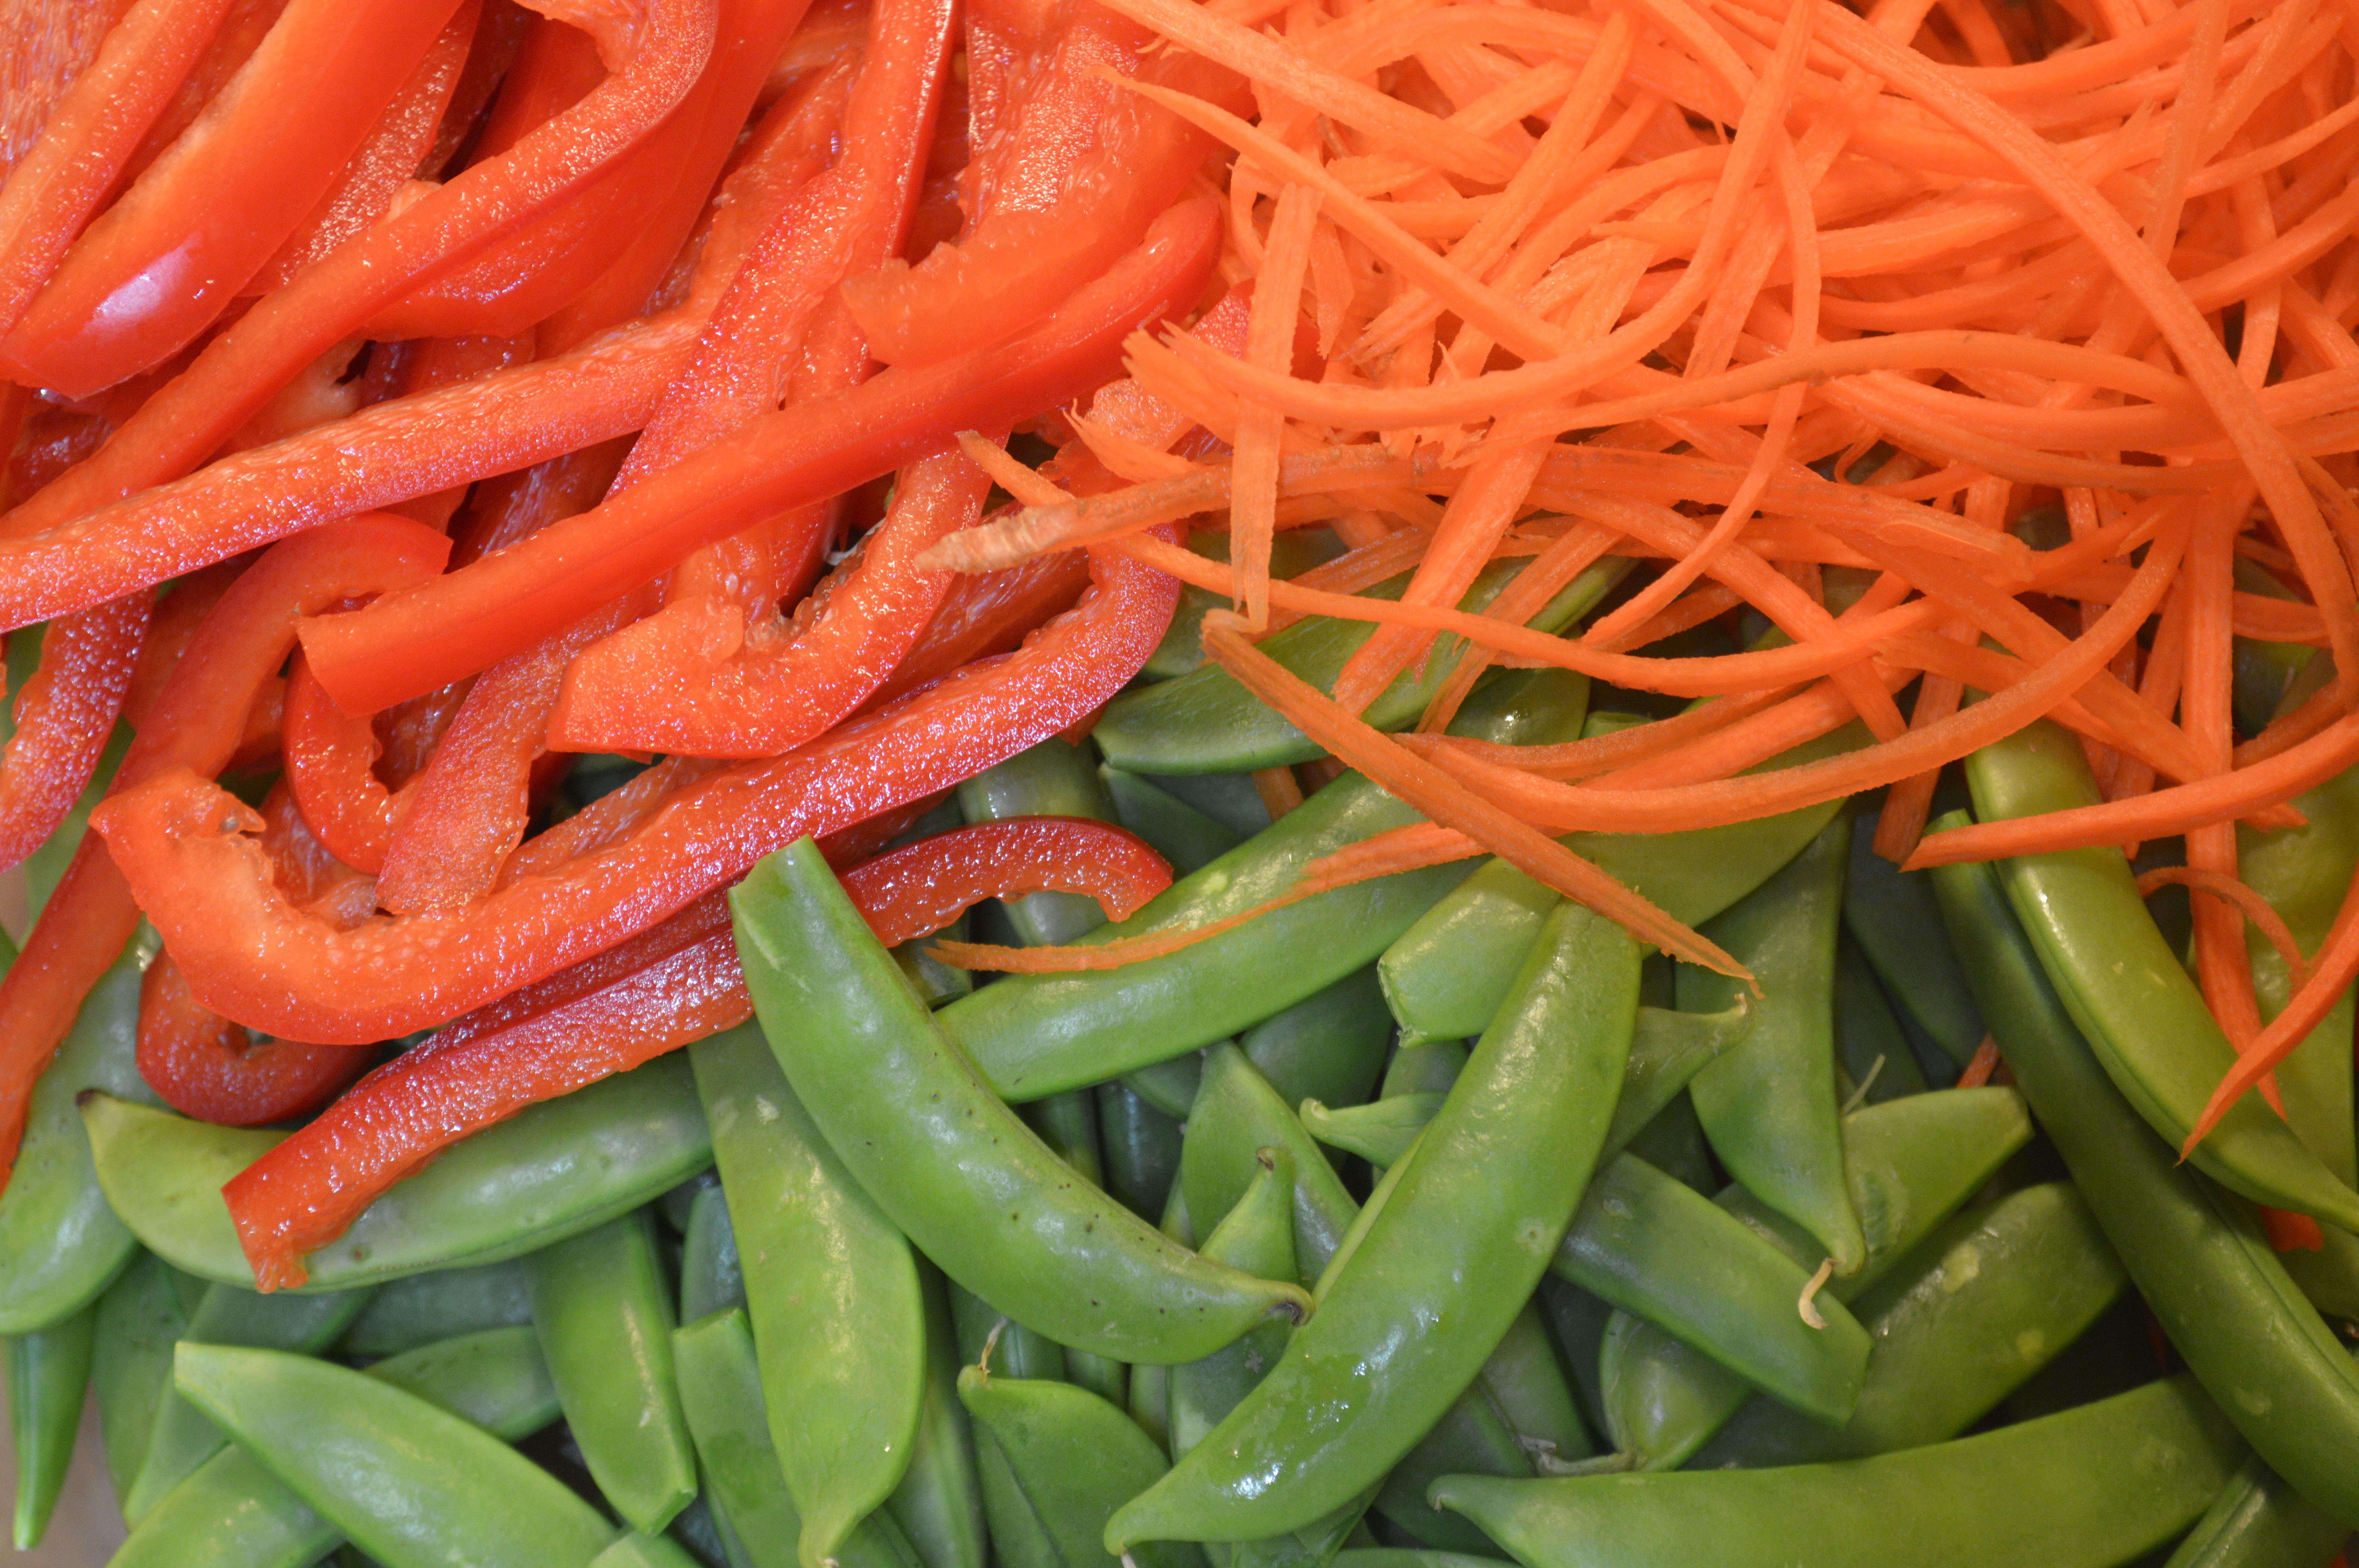
1 lb (or large bunch) collard greens, stems removed and leaves roughly chopped or torn
2 cups vegetable stock
2 tomatoes, diced
1/4 cup cider vinegar
salt & pepper to taste

In a heavy bottomed stockpot or dutch oven over medium high heat, melt butter and cook onions until tender and translucent. Add red pepper flakes and garlic and cook 2 minutes more, stirring frequently. Add collard greens, stir well and cook another minute or two. Add vegetable stock, tomatoes, and vinegar, and season with salt and pepper.

Bring to a simmer, cover, & cook for about 45 minutes. Taste and adjust seasoning if needed.

Julia Child’s Boeuf Bourguignon

Hi guys! I hope you had an amazing holiday! I sure did.

boeuf bourguignon | Brooklyn Homemaker

Russell and I spent the day at home with our pups opening presents and eating and drinking and eating. and drinking.

In the morning we exchanged gifts, called family, ate bagels and pfeffernusse, and snuggled with the dogs. I gave Russell a fancy pants super-powered blender that he’s had his eye on, so of course we had to see what it could do. When the clock struck noon we ran around the corner to see if the liquor store was open, and came home with some tequila & triple sec, along with some lime juice and frozen strawberries. Within minutes we had some delicious and perfectly blended frozen strawberry margaritas! I think they’ll have to be a new Christmas tradition!

christmas at Brooklyn Homemaker

After lunch, with a good buzz going, I got started on dinner.

I decided it was high time I tried my hand at Julia Child’s Boeuf Bourguinon. This recipe is kind of an all day event so I thought it would be the perfect thing for Christmas. We had the whole day to hang out at home and do nothing, and at the end we’d have a phenomenal meal to top it all off.

You basically start by browning some bacon, then some beef, then some veggies. Then you throw it all in the pot with some herbs, tomato stock, beef stock, and red wine. Almost a whole bottle of wine. Julia’s my kind of woman. Then it goes into the oven for a good long time and gets all happy, while you cook some tiny white onions in beef broth and then brown some mushrooms on the stove top. When the stew comes out of the oven the broth gets strained out and reduced in a saucepan, and everything goes into the pot together.

I used a California Merlot, but you can really use any full-bodied red wine. The originally recipe recommended Chianti because that was so readily available to American home cooks in the 1960s. I went for the Merlot because I figured it would be closer to the flavor of a true Burgundy, but you can use whatever you want. It cooks for so long that the flavor changes completely anyway.

boeuf bourguignon | Brooklyn Homemaker

I know that Julia is untouchable and that it’s, like, against the law to make any changes, but if I were to make this again I think I’d either just toss the small white onions in at the same time as the carrots, or skip them all together. They’re kind of fussy, took a while, required my attention when I could have been playing with the dogs, and I didn’t really think they added anything special. I know I’m not allowed to say that, but there it is. The stew was absolutely phenomenal and I think they got kind of lost with everything else and didn’t seem to be worth all the extra effort. But that’s just me.

I’m glad that I followed the recipe exactly the first time, and you totally should too, but if I make this again (I will) I’ll make this one tiny tweak.

boeuf bourguignon | Brooklyn Homemaker

I made this using my La Chamba oval roaster. This is not a proper enameled cast iron dutch oven like Julia would have used, but it worked really well for me. If you’re not familiar, La Chamba pots are oven and stove top safe cookware handmade in Columbia from volcanic black clay. It’s made of magic.

When I first got this roaster I was a bit afraid of using it over a flame. I tried my best to use caution and keep the flames low and safe, but it’s hard to brown anything over a low flame. Most braising recipes call for the meats and vegetables to be browned in the pot to build flavor before the liquids added, and my initial fear made for some, well, subtle braises. Anyway, after using this pot a few times I’ve learned that it can handle pretty much anything I can throw at it. High heat, high flame, hours in the oven, you name it. The only cautions I’d offer up are that it won’t take temperature shocks well, so don’t take it from the refrigerator to the stove top, and that you do need to use some kind of cooking oil or liquid when cooking in it.

boeuf bourguignon in la chamba roaster | Brooklyn Homemaker

So, fussy onions or not, this recipe is seriously unbelievable. It took every ounce of strength in us not to eat the whole pot of stew in one sitting. It was a lot of work with all the browning and cooking and straining and reducing and all, but it was well worth it. Seriously amazing. The time in the oven mellows the flavor of the wine and it just comes out tasting super rich and hearty, and not at all like what you started with. I served it over mashed potatoes with a couple big glasses of, you guessed it, red wine.

I’m not really someone who cooks much beef at home, and have never been a huge fan of beef stew. I’ve tried a few different recipes and have never really loved the results. This recipe has changed everything. The meat is crazy tender, turning to mush when it sees the fork coming at it. It’s hearty and rich and wonderful. It’s so amazing that I don’t have words. I can’t even begin to describe how good this is. You’ll just have to find out for yourself.

This will have to be another new Christmas tradition for us.

boeuf bourguignon | Brooklyn Homemaker

Boeuf Bourguignon

adapted from Mastering the Art of French Cooking

One 6-ounce piece of chunk bacon
3 1/2 tablespoons olive oil
3 pounds lean stewing beef, cut into 2-inch cubes
1 carrot, sliced
1 onion, sliced
Salt and pepper
2 tablespoons flour
3 cups red wine, young and full-bodied
2 1/2 to 3 1/2 cups brown beef stock
1 tablespoon tomato paste
2 cloves mashed garlic
1/2 teaspoon thyme
A crumbled bay leaf
18 to 24 small white onions
3 1/2 tablespoons butter
Herb bouquet (4 parsley sprigs, one-half bay leaf, one-quarter teaspoon thyme, tied in cheesecloth)
1 pound mushrooms, fresh and quartered

Remove bacon rind and cut into lardons (sticks 1/4-inch thick and 1 1/2 inches long). Simmer rind and lardons for 10 minutes in 1 1/2 quarts water. Drain and dry.
Preheat oven to 450 degrees.
Sauté lardons in 1 tablespoon of the olive oil in a flameproof casserole over moderate heat for 2 to 3 minutes to brown lightly. Remove to a side dish with a slotted spoon.

Dry beef in paper towels; it will not brown if it is damp. Heat fat in casserole until almost smoking. Add beef, a few pieces at a time, and sauté until nicely browned on all sides. Add it to the lardons.
In the same fat, brown the sliced vegetables. Pour out the excess fat.
Return the beef and bacon to the casserole and toss with 1/2 teaspoon salt and 1/4 teaspoon pepper. Sprinkle on the flour and toss again to coat the beef lightly. Set casserole uncovered in middle position of preheated oven for 4 minutes. Toss the meat again and return to oven for 4 minutes (this browns the flour and coves the meat with a light crust).

Remove casserole and turn oven down to 325 degrees. Stir in wine and 2 to 3 cups stock, just enough so that the meat is barely covered. Add the tomato paste, garlic, herbs and bacon rind. Bring to a simmer on top of the stove. Cover casserole and set in lower third of oven. Regulate heat so that liquid simmers very slowly for 3 to 4 hours. The meat is done when a fork pierces it easily.

While the beef is cooking, prepare the onions and mushrooms.

Heat 1 1/2 tablespoons butter with one and one-half tablespoons of the oil until bubbling in a skillet. Add onions and sauté over moderate heat for about 10 minutes, rolling them so they will brown as evenly as possible. Be careful not to break their skins. You cannot expect them to brown uniformly. Add 1/2 cup of the stock, salt and pepper to taste and the herb bouquet. Cover and simmer slowly for 40 to 50 minutes until the onions are perfectly tender but hold their shape, and the liquid has evaporated. Remove herb bouquet and set onions aside.

Wipe out skillet and heat remaining oil and butter over high heat. As soon as you see butter has begun to subside, indicating it is hot enough, add mushrooms. Toss and shake pan for 4 to 5 minutes. As soon as they have begun to brown lightly, remove from heat.

When the meat is tender, pour the contents of the casserole into a sieve set over a saucepan. Wash out the casserole and return the beef and lardons to it. Distribute the cooked onions and mushrooms on top. Skim fat off sauce in saucepan. Simmer sauce for a minute or 2, skimming off additional fat as it rises. You should have about 2 1/2 cups of sauce thick enough to coat a spoon lightly. If too thin, boil it down rapidly. If too thick, mix in a few tablespoons stock. Taste carefully for seasoning. Pour sauce over meat and vegetables. Cover and simmer 2 to 3 minutes, basting the meat and vegetables with the sauce several times.

Serve in casserole, or arrange stew on a platter surrounded with potatoes, noodles or rice, and decorated with parsley.

Mixed Green Salad with Seared Chicken & Orange Vinaigrette

After the red velvet cake post last week I thought I should attempt to share something healthy-ish. You know, something that doesn’t call for 2 cups of oil and multiple sticks of butter. If you based any ideas of what my diet might look like on my blog posts, you’d probably think 75% of what I ate was cake. Well. I really like cake. What can I say? No, really though, I promise I eat real food sometimes too.

mixed green salad with pears, snap peas, seared chicken & orange vinaigrette | Brooklyn Homemaker

If I’ve had a busy day at work, or have very little time to get dinner together, I think a nice big salad with a bunch of stuff it is a really good way to go. You can buy pre-washed greens, and even bottled dressing if you like. Then just cook off some protein, usually steak or chicken in my house, while you prepare all your veggies. Now, I’m really not into the idea of eating a salad, or any meal for that matter, just because it’s healthy. I could definitely stand to lose a few pounds, but I think as long as I eat fresh homemade food, and balance the sweets with plenty of vegetables, I’ll be just fine. I don’t want to go to all the trouble of making a something if it doesn’t taste like anything. I like my food to be full flavor, so when it comes to salads I tend to go all out and load them up with all kinds of good things.

mixed green salad with pears, snap peas, seared chicken & orange vinaigrette | Brooklyn Homemaker

A hearty filling salad can be really easy to make with a wide variety of vegetables, and I usually like to throw in some fruit for sweetness. I generally like to do a few laps through the produce department and see if anything calls out to me. For this salad, I really had no preconceived ideas of what I wanted when I walked into the grocery store, but before I knew it I had something taking shape. I grabbed some chicken breast, a beautiful red bell pepper, a half pound of sugar snap peas, and some nice ripe bosc pears and I was almost finished. I thought a light citrusy dressing would tie everything together so I picked up a big naval orange, and I figured the salad could use something rich with a little crunch so I grabbed a shallot to fry up. All that was left was some organic spring mix and I was good to go.

If I’m eating a salad as my dinner I like it to have a lot going on to make it feel like a substantial meal.  I try to follow a very loose formula of a few different veggies or fruit mixed into some greens with a protein. I usually like to add some richness to my salads with something just a bit fatty and salty. This can be some crispy bacon bits or chewy lardons, a bit of crumbled or shredded cheese, a handful of toasted nuts or seeds, or even just a creamy dressing. A little bit of fat goes a long way to make a salad feel more filling and complete. For this salad I decided some fried shallots would serve my needs just fine.

mixed green salad with pears, snap peas, seared chicken & orange vinaigrette | Brooklyn Homemaker

When I got home I washed all my produce and set to work. I made up a sweet & slightly spicy vinaigrette with the zest and juice from my orange and a tiny bit of cayenne pepper. Then I sliced my pepper and pear into thin strips and cut the stem ends off of my snap peas. I thought a carrot would be a welcome addition and I had plenty at home so I decided to go for it. Grated carrots are great in salads, but I love to have super long, super thin strips of carrots. A few months ago I picked up a julienne peeler and now it’s seriously my new favorite kitchen tool. The one I use is made by Kuhn Rikon and is available here. It makes light easy work of cutting carrots into long, thin, even strips. This can be done on a mandolin cutter, but sometimes carrots and other harder vegetables can be tough to get through the teeth and blade on a mandolin with your fingers in tact. If you have the skills to pay the bills, you can also do this with a knife, but I think it’s much faster and easier with the julienne peeler.

mixed green salad with pears, snap peas, seared chicken & orange vinaigrette | Brooklyn Homemaker

After I had my veggies ready to go I set to work pan frying my shallot. I sliced it into very thin discs, separated those with my fingers and dredged them in generously seasoned flour. Then, in a cast iron skillet, I fried them in a few tablespoons of olive oil until they were nice and brown and crunchy. I’m sure that thinly sliced shallots would be great in the salad raw, or you could skip them all together, but fried they add just a touch of saltiness and caramelized crunchiness to an otherwise super light meal. When they were done I transferred them to a paper towel lined plate, and in the same skillet I seared my chicken breasts until well browned and cooked through.

When searing your chicken, or searing anything for that matter, it’s best not to use a non-stick pan. Non-stick pans are not designed to withstand long periods of high heat, no matter what material they’re made of. Teflon, nano-ceramic, it don’t matter. If you want a good pan you can sear in I’d recommend a cast iron skillet or a stainless steel saute pan. Of course, you’ll need to use a bit more butter or oil to cook in these pans, but you can get them screaming hot and not worry about negatively affecting the utility.

Many people tell me they’re intimidated by having to care for and maintain a cast iron skillet, but I promise you it’s not difficult. Most cast iron skillets sold today come pre-seasoned and ready to use, and maintaining the seasoning is pretty simple. There is tons of information on the internet about cast iron care, and it becomes second nature once you get the hang of it.

mixed green salad with pears, snap peas, seared chicken & orange vinaigrette | Brooklyn Homemaker

It would be really easy to change this salad to fit your taste by swapping some ingredients out for others. I think it was pretty damned tasty as is though. While fresh, light and healthy, this salad was totally satisfying. Along with the bitterness of the mixed greens, you have a few layers of flavor all tossed together and complimenting each other. There’s sweetness from pepper, peas, carrots & pears. Then there’s the sweet and tangy spice of the vinaigrette, the rich salty crunch of the shallots, and the hearty meatiness of the sliced chicken breast. While this salad might not be something you can throw together in 5 minutes- it is something that can easily be assembled and ready to eat in well under an hour, and I think it makes a great weeknight supper.

mixed green salad with pears, snap peas, seared chicken & orange vinaigrette | Brooklyn Homemaker

Mixed Green Salad with Pears, Snap Peas, Seared Chicken & Orange Vinaigrette


1/4 cup extra virgin olive oil, plus 3 tablespoons divided
2 teaspoon cider vinegar
1 teaspoon honey
1 clove garlic
1 large orange
1/8 teaspoon ground cayenne pepper (optional)
salt and pepper
1 shallot
2 tablespoons of flour
4 small skinless boneless chicken breasts
1/2 lb sugar snap peas
1 red bell pepper
1 ripe bosc pear
1 large carrot
5 oz package spring mix

To make the vinaigrette measure out 1/4 cup olive oil, vinegar & honey into a small bowl. Finely zest orange and grate garlic (you can use your zester) and add to bowl. Juice the orange into the bowl, add cayenne pepper and whisk together. Taste and season with salt and pepper. Taste again.

Heat 3 tablespoons olive oil in a heavy cast iron or stainless steel pan over medium high heat. Slice shallot into thin disks and separate rings with your fingers. In a small tupperware with a lid (or ziploc bag) season flour with salt and pepper. Add shallots and shake until well coated. Distribute shallots over pan evenly and, stirring every so often, fry them until they’re brown and crunchy but not burnt. Remove with a spoon and drain on a paper towel lined plate.

Turn the pan up to high and get it super hot. The remaining oil will smoke a bit. Season both sides of chicken breasts with salt and pepper, and add to pan. Cook on high for 5-7 minutes per side, or until fully cooked and nicely browned. Remove from pan and let rest for 5 minutes before slicing into thin strips.

While chicken is cooking, remove stem ends from snap peas, and slice bell pepper into thin strips. Cut the ends off your pear, slice in half, and scoop out center and seeds with a spoon. Slice into thin strips. Using a julienne peeler, mandolin, knife or grater, cut carrot into very thin long strips. In a large bowl add spring mix, peas, pepper, pear & carrots, and toss well with vinaigrette. Divide between plates and top with fried shallots and sliced chicken breast.

Turkey Soup with Wild Rice and Dill

I’m not sure if I’ve told you guys this yet or not, but I really enjoy Thanksgiving. I do. Friends, family, food, and wine. It doesn’t get much better than that. For most people, Thanksgiving is probably the biggest meal they prepare for the entire year. Not only are we roasting a giant bird that takes up the whole oven for 5+ hours, but we’re also making multiple desserts, and multiple vegetables, multiple sides & multiple accompaniments to that bird. In my family, and now in my home, Thanksgiving takes days, not hours, to prepare.

turkey soup with wild rice and dill | Brooklyn Homemaker

The second best part of such a large meal that took so much time and effort to prepare is the left overs! (The first is obviously eating it the first time around with people you love) In my family, and I think in most people’s families, we tend to eat our meal early, have pie a few hours later, and then go back in a few hours after that for sandwiches made from leftover biscuits, cranberry sauce, turkey & dressing. Are you drooling yet?

Generally, there tends to still be some meat left on that giant bird even after the meal is done and a few sandwiches have been built and devoured. Once the biscuits and dressing have disappeared, if there’s still meat on those bones, it’s time to think of something else. You’re probably getting anxious to have your refrigerator back and need a recipe that uses up every last part of that giant animal in there.

turkey soup with wild rice and dill | Brooklyn Homemaker

Enter soup. Soup is the perfect way to make the best use of what’s left of your leftovers. A few days after Thanksgiving you probably only have a little bit of meat left, and it’s probably starting to dry out. Once I tore into those bones with clean hands and started pulling things apart, I realized that I had more meat left than I thought. Most of it was dark meat, but once it was all pulled off the carcass there were probably about 3 to 4 loose cups of bite sized chunks. That made for a very respectable soup.

turkey soup with wild rice and dill | Brooklyn Homemaker

You’re going to have to get very comfortable getting your hands dirty and tearing through some old bones, but you’ll be very glad you went to the trouble once your hands are clean and you have a super flavorful stock bubbling away on the stove. Since Turkeys are so much larger than chickens, there are a lot more bones. There are a lot of nutrients and tons of protein in those bones that is really really good for you if you take the time to extract them. A Slow cooked stock made from bones is packed with calcium, magnesium and other minerals, as well as dissolved cartilage and connective tissue materials like chondroitin and glucosamine which are great for your joints and can help with arthritis. Homemade stock is also full of natural gelatin, which is great for your hair, teeth, nails, skin, bones, joints and stomach lining. Studies also show that gelatin can aid in digestion, help your body release toxins, and even can help you sleep better.

turkey soup with wild rice and dill | Brooklyn Homemaker

If you’ve ever noticed that the juices your turkey release after being carved sometime congeal into a wobbly brown gel on your platter or carving board, that’s gelatin in action. There is so much gelatin in this turkey stock that the finished soup congealed once refrigerated. This recipe made too much soup for Russell and I to eat in one evening, so some of it went into some tupperware to be reheated the next evening. When I took the soup out it had turned into a jiggly turkey soup jell-o. I had to turn the tupperware over and shake it until the whole soup slid out and plopped into the pan like a can of gelled cranberry sauce. (Don’t worry, it turns back to liquid when heated)

This may sound unappealing to some, but believe me, this is a good thing. That amount of gelatin in your soup not only means that you’re soup is packed with health benefits, but also makes for a soup with amazing flavor and a beautiful consomme-like viscosity. If you’re not sure what I mean, it’s not thick like gravy, but just somehow feels like it coats your mouth and tongue more completely than watery chicken broth. If you still don’t get it, just try it. You can thank me later. I prefer white or yellow roses over red.

turkey soup with wild rice and dill | Brooklyn Homemaker

So, after I went to all the trouble to make this amazing healthy and hearty stock, I wanted a simple soup that highlighted rather than masked the richness of the turkey. I decided to go for a straightforward chicken soup style recipe, with onions, carrot, and celery. Perfect compliments to poultry. I decided that I wanted to add the chewiness of wild rice to the soup rather than noodles. Russell is obsessed with wild rice, and it holds up better than traditional rice or noodles if there are leftovers. Wild rice is also packed with protein and is really good for you, so another bonus! Last, I decided to add some dill to the soup to give it a nice bright fresh flavor. With a soup made from leftovers that bubbled and boiled on the stove for hours, it would be easy for it to taste heavy and tired, but the addition of dill brightens and lightens the whole thing up, giving it new life. You would never taste this and think it was made from leftovers.

Not only is this soup fresh, healthy, hearty and delicious all at once, but it also helped me rid myself of the last of the Thanksgiving meal. Now the fridge is clean and un-stuffed, and I can start thinking ahead to…
Christmas! In just a few short weeks there will be Christmas dinner, Christmas cookies, Christmas parties, and Christmas cocktails!

turkey soup with wild rice and dill | Brooklyn Homemaker

Turkey Soup with Wild Rice and Dill

1 picked over turkey carcass, with just a bit of meat left
2 large onions
6 stalks celery
5 carrots
1 tablespoon olive oil
1/4 cup white wine
1 1/2 cup wild rice
salt and pepper
4 tablespoons finely chopped dill

With clean hands, pull all remaining meat off of your turkey, being careful to avoid any skin or bones. Tear meat into bite sized chunks and store in a covered bowl in the refrigerator. Place all bones and skin from the turkey into an 8 quart stockpot, breaking up the carcass to fit as needed. Roughly chop one onion (skin on), 2 stalks of celery (leaves on) and 2 carrots; and add to stockpot along with enough water to cover the turkey. If desired, add herbs like sage or thyme. Cover your pot, and slowly bring to a boil over medium heat. Once the pot is at a low boil, turn the heat down and let it simmer for 2 to 3 hours. Remove the pot from the heat and let cool for an hour or until you’re comfortable handling it.

Strain the stock through a fine mesh sieve into a bowl. Discard the bones and set stock aside while you start your soup. Chop your remaining onion and celery into a medium dice, and slice your carrots into rounds. Heat olive oil over medium-high heat in the bottom of a heavy bottomed stockpot, add your vegetables, and season with salt and pepper. Cook, stirring regularly, until onions and celery are soft and translucent, and any liquid has cooked off. Add your wine and cook down until dry. Add the wild rice and brown for just a minute or two, stirring constantly. Strain the stock into the stockpot, and bring to a boil. Cover and simmer for 30 minutes, stirring every so often. Add pulled turkey meat and half your chopped dill, and simmer for 15-20 minutes more. Just before serving stir in remaining chopped dill, taste, and adjust seasoning with salt and pepper if necessary.