broccoli

favorite roasted broccoli

So, when it comes to meal planning, I’m kind of old fashioned.

favorite roasted broccoli | Brooklyn Homemaker

I’m not quite sure why, but I often feel like a balanced meal should have three components. You gotta have your protein, your starch, and your veg. I don’t know exactly when or where I picked up this way of thinking about my dinner plate, but it’s deeply ingrained.  Maybe it was from my mother, or maybe my grandmother. When I was studying abroad in France, a chef once told me that plates should always feature odd numbers because odd numbers are more “beautiful” than even ones. Maybe that’s why I’m partial to having three different things on my plate.

favorite roasted broccoli | Brooklyn Homemaker

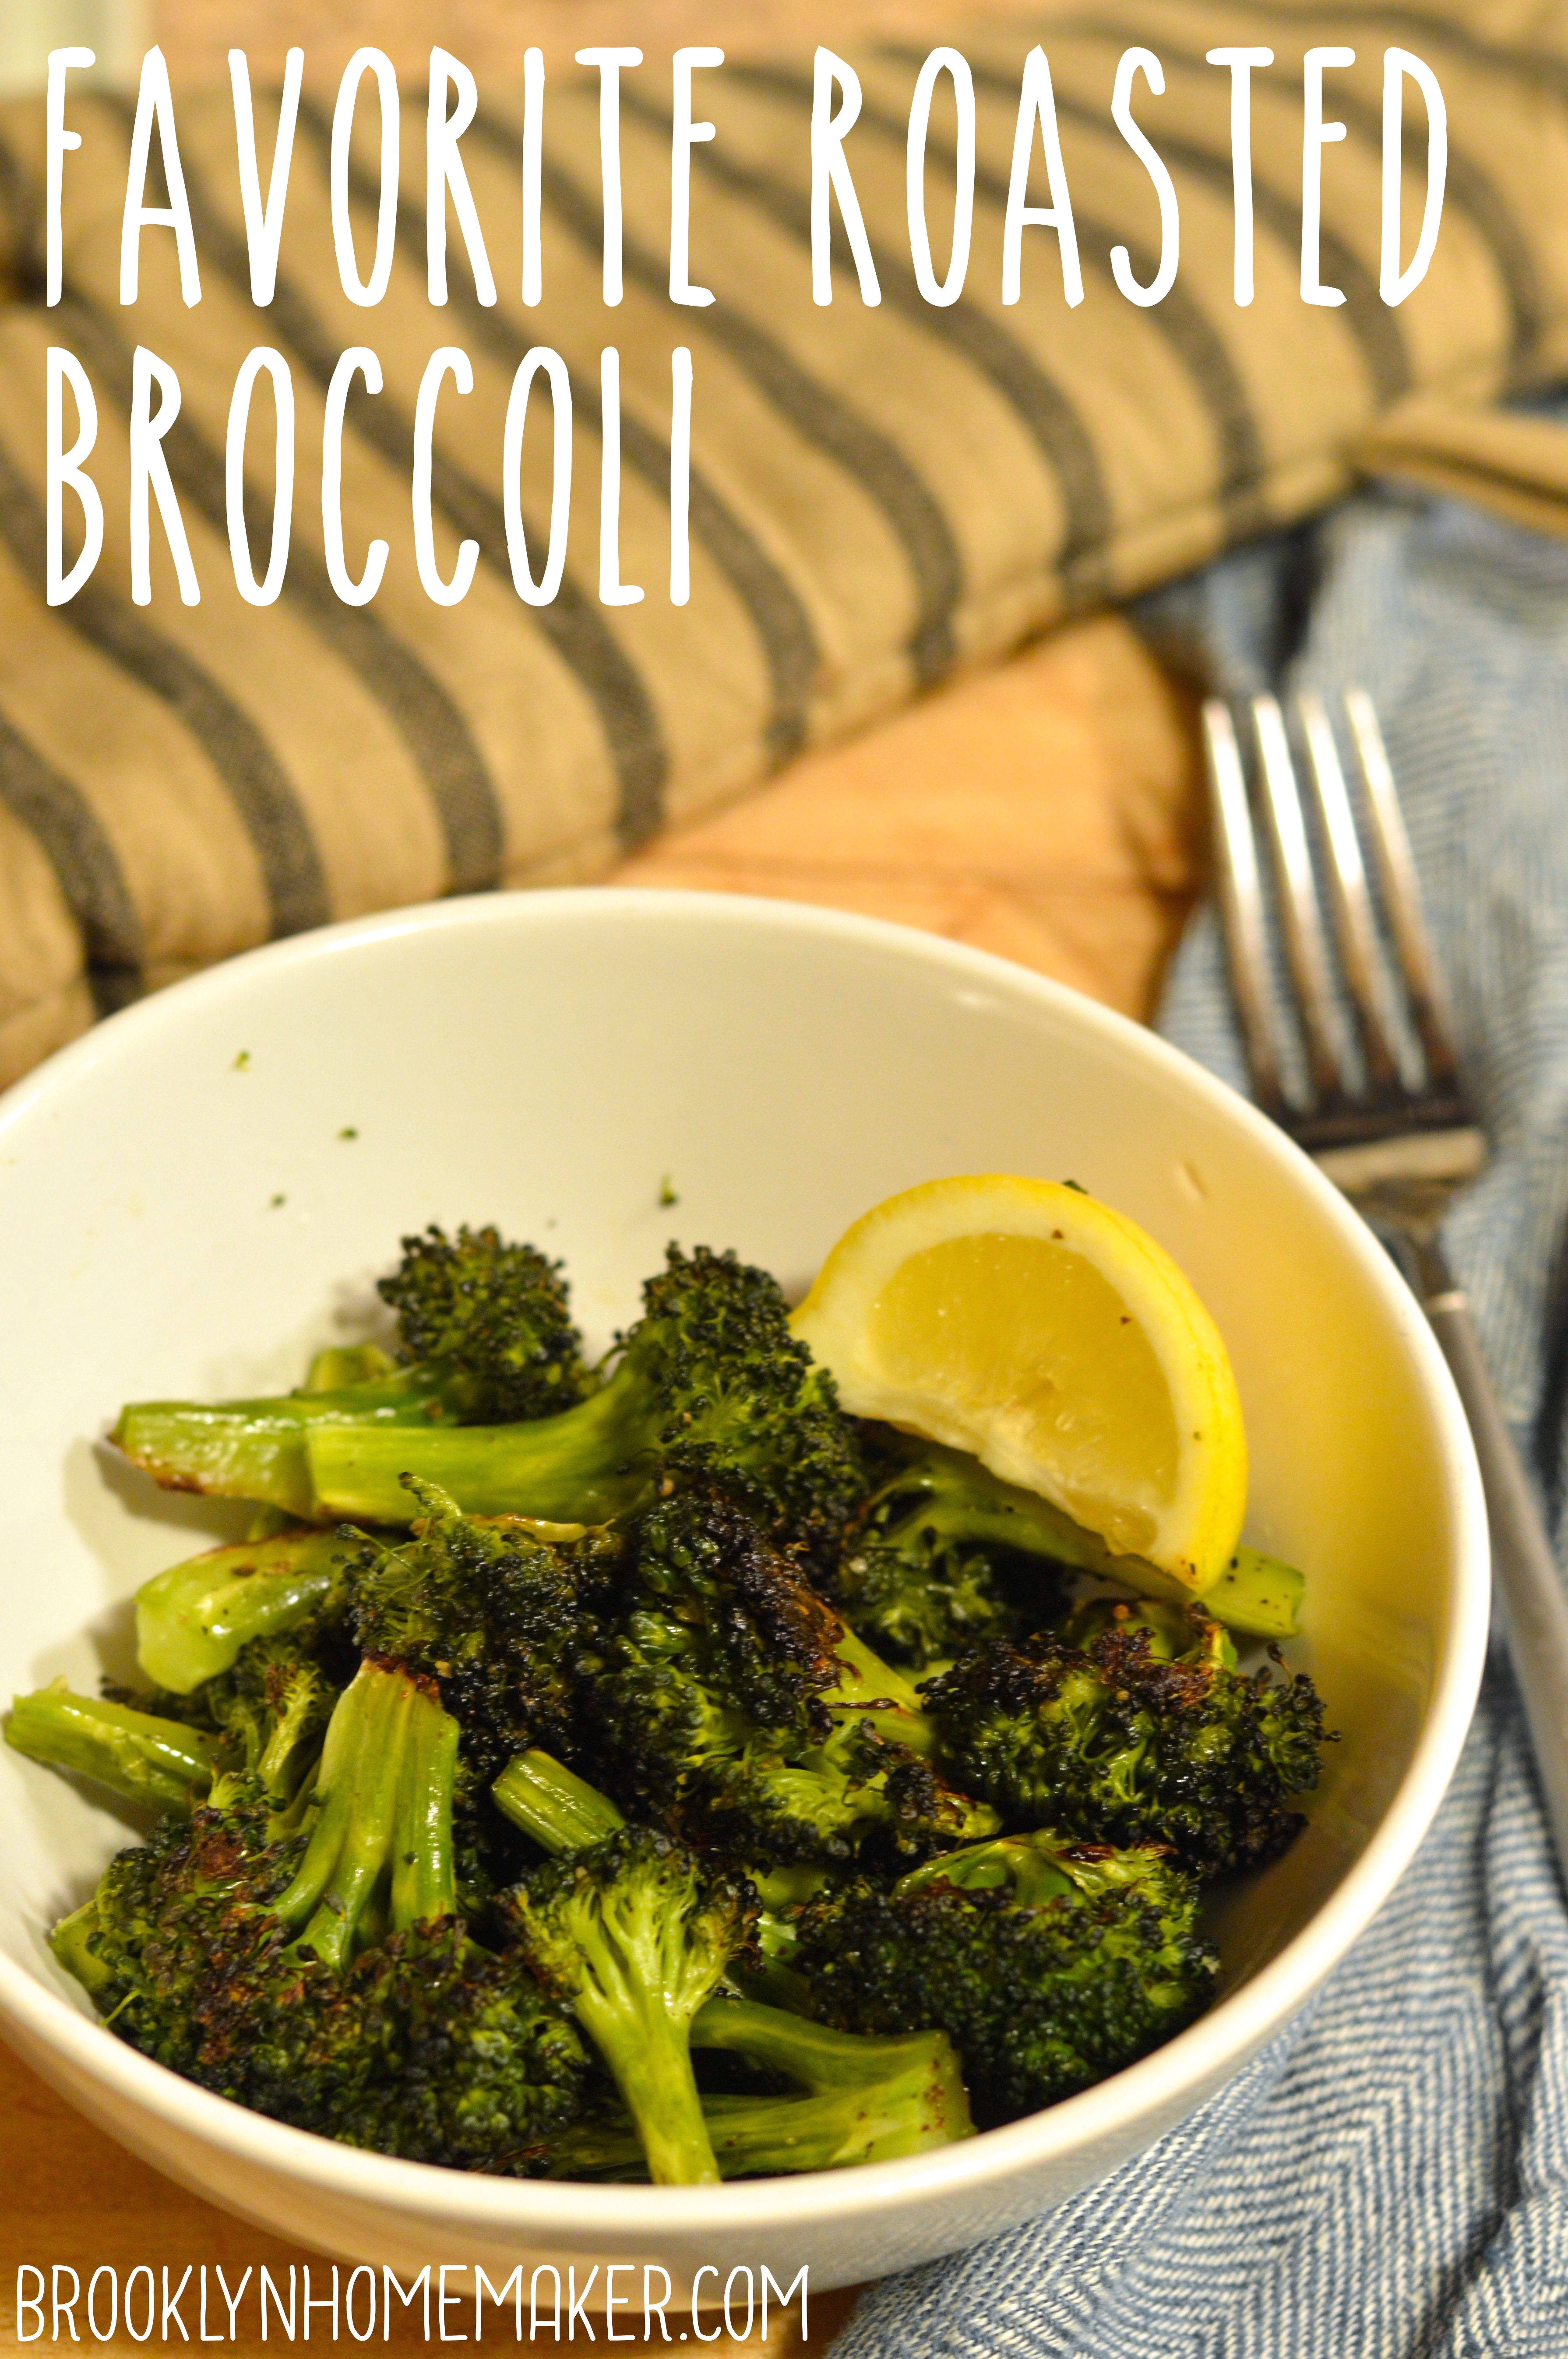
I really like to experiment with new recipes, but when it comes to filling those three little voids I keep an arsenal of quick and easy go-to recipes for when I’m feeling uninspired or in a rush. One of my favorite vegetable preparations is oven-roasted broccoli. It’s super simple, super healthy, and super delicious!

favorite roasted broccoli | Brooklyn Homemaker

I’m sorry that I waited this long to share this recipe with you, but for a long time I actually thought it was too simple to necessitate a full post of it’s own. It’s not really very original or innovative, and it requires so little work or thought that I assumed it wasn’t worth writing about. A few weeks ago I made this for my mother and she mentioned that she’d never thought to make broccoli this way, and I realized that some of you might enjoy trying a new technique too!

favorite roasted broccoli | Brooklyn Homemaker

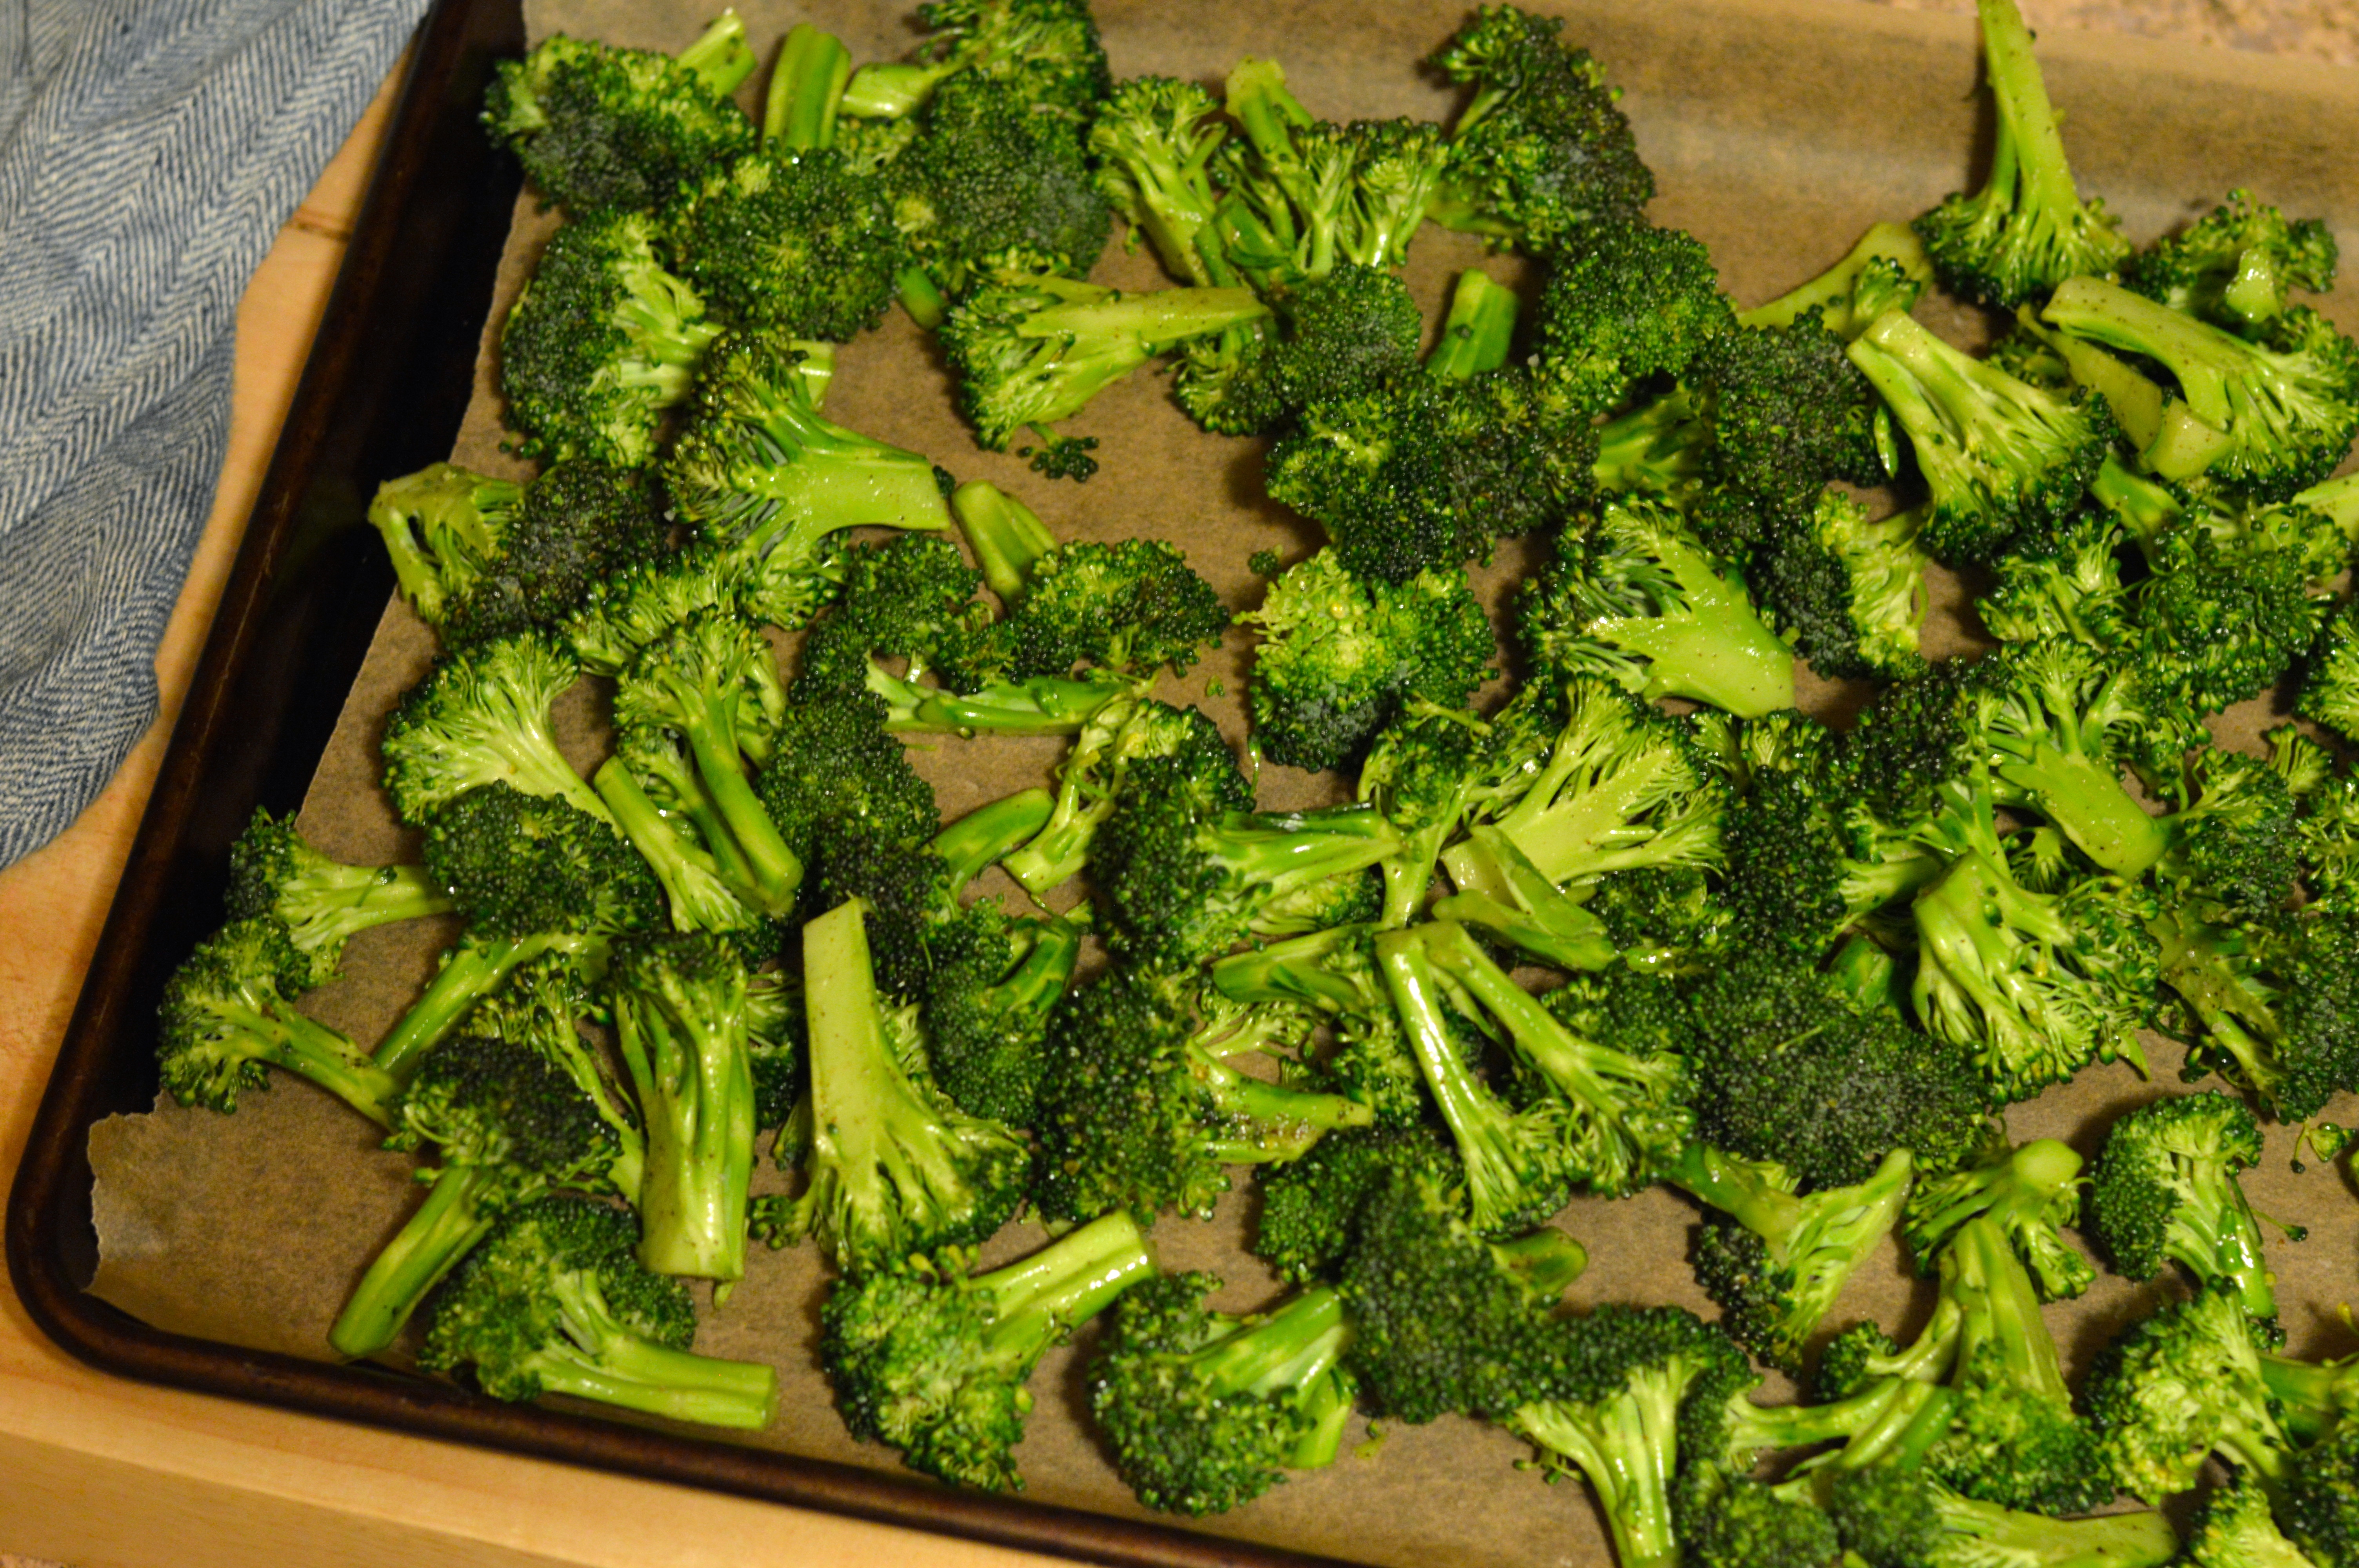
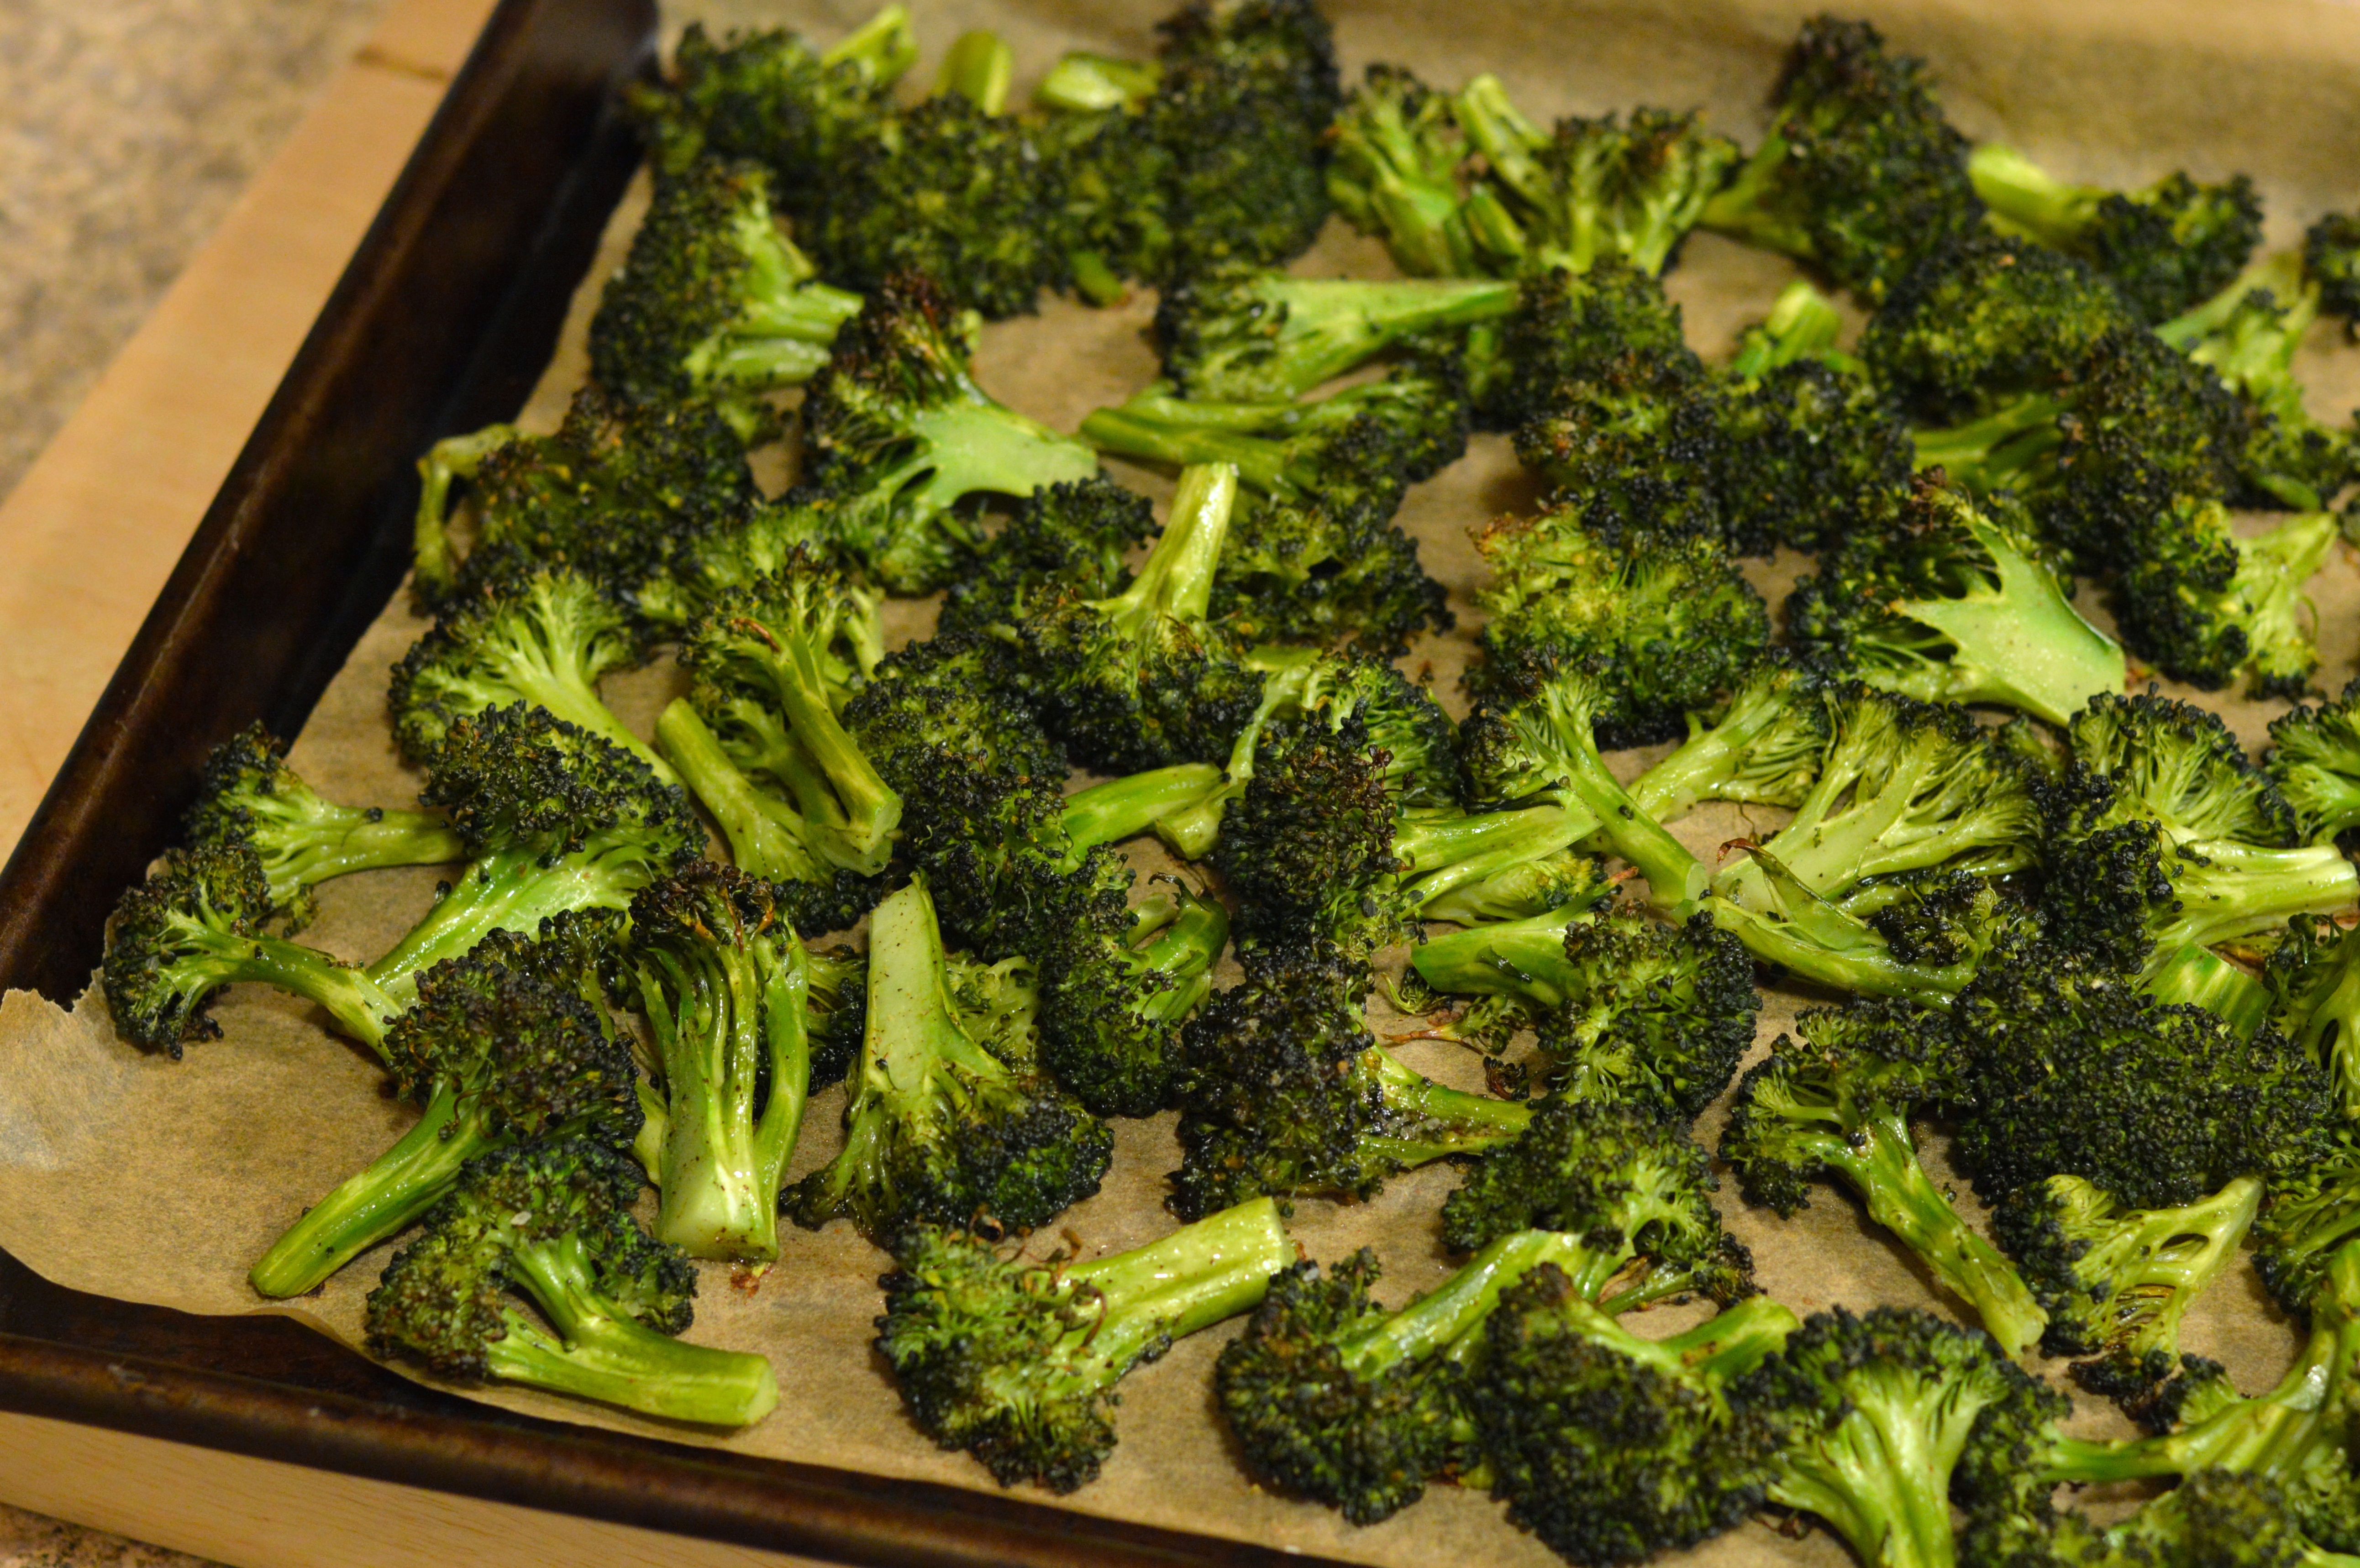
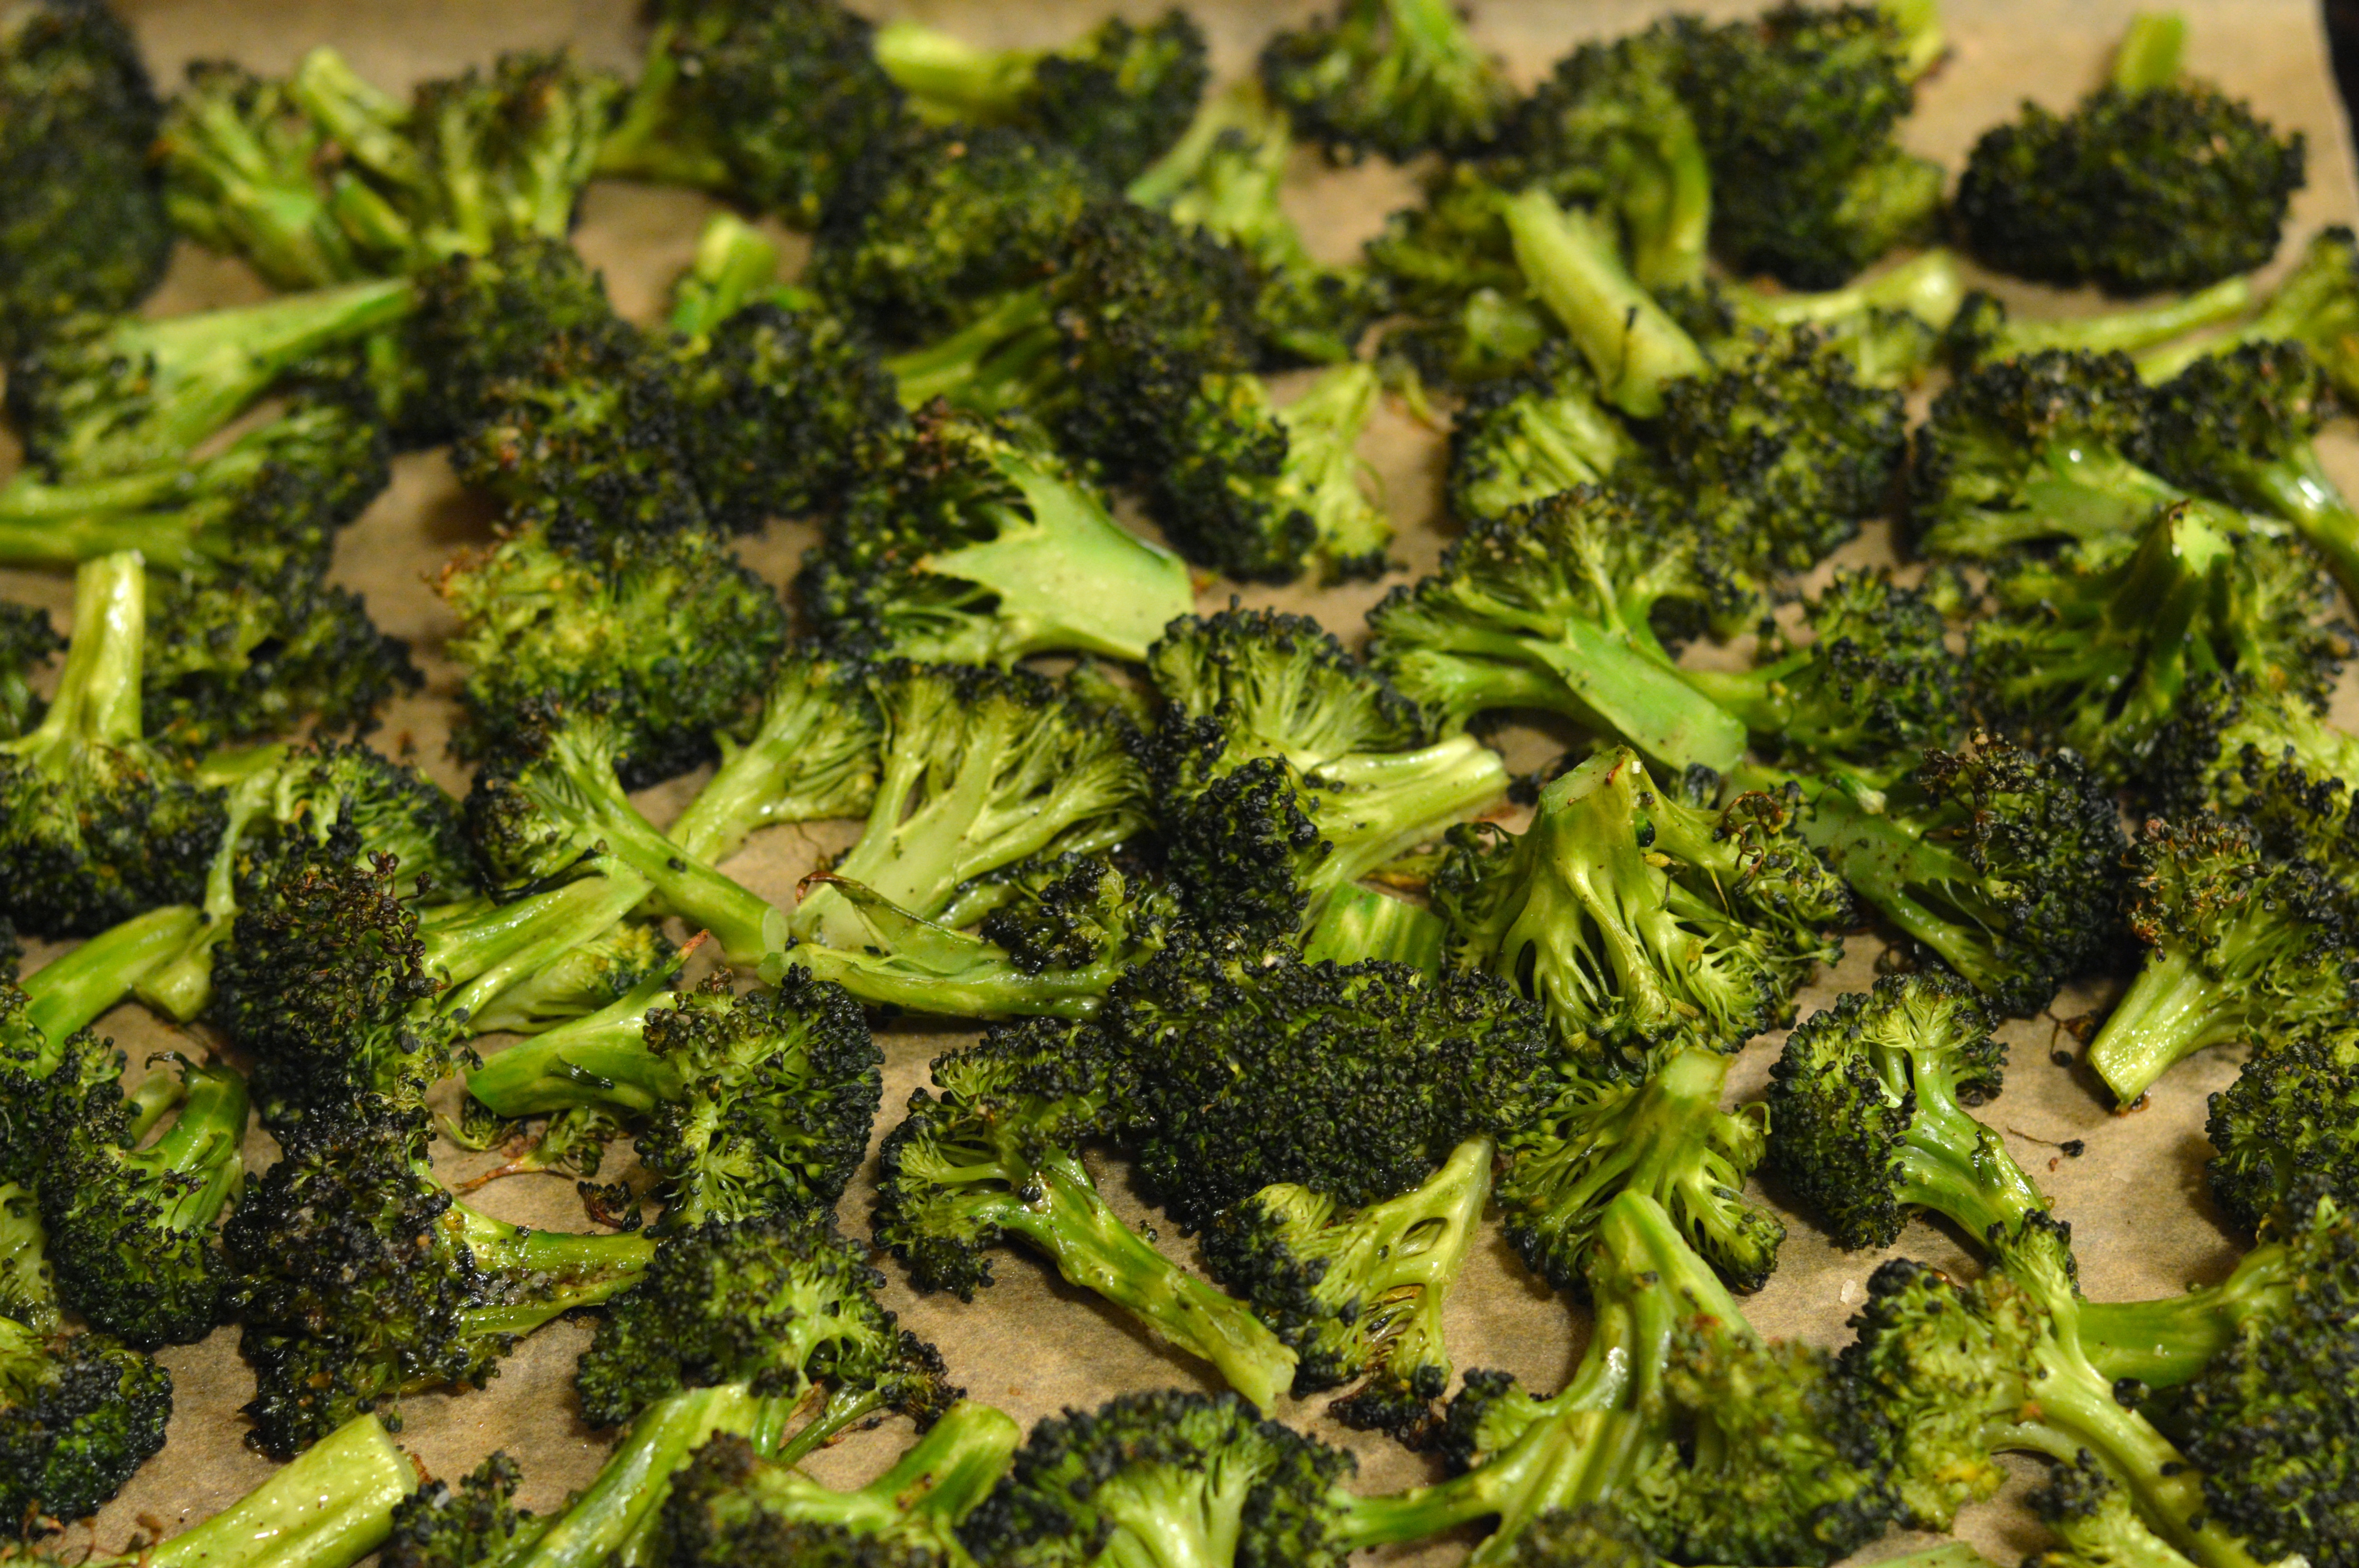
I know a lot of people like to steam or boil their broccoli, so I thought it’d be nice to share another idea that’s just as easy and happens to be (in my opinion) more flavorful. Cooking broccoli with water can make it taste, well, watery. Rather than losing any flavor, roasting your broccoli concentrates and intensifies it. It requires little more work than chopping fresh broccoli into large bite-sized florets, tossing with some olive oil and salt & pepper, and sliding into the oven just long enough to give it a bit of color.

favorite roasted broccoli | Brooklyn Homemaker

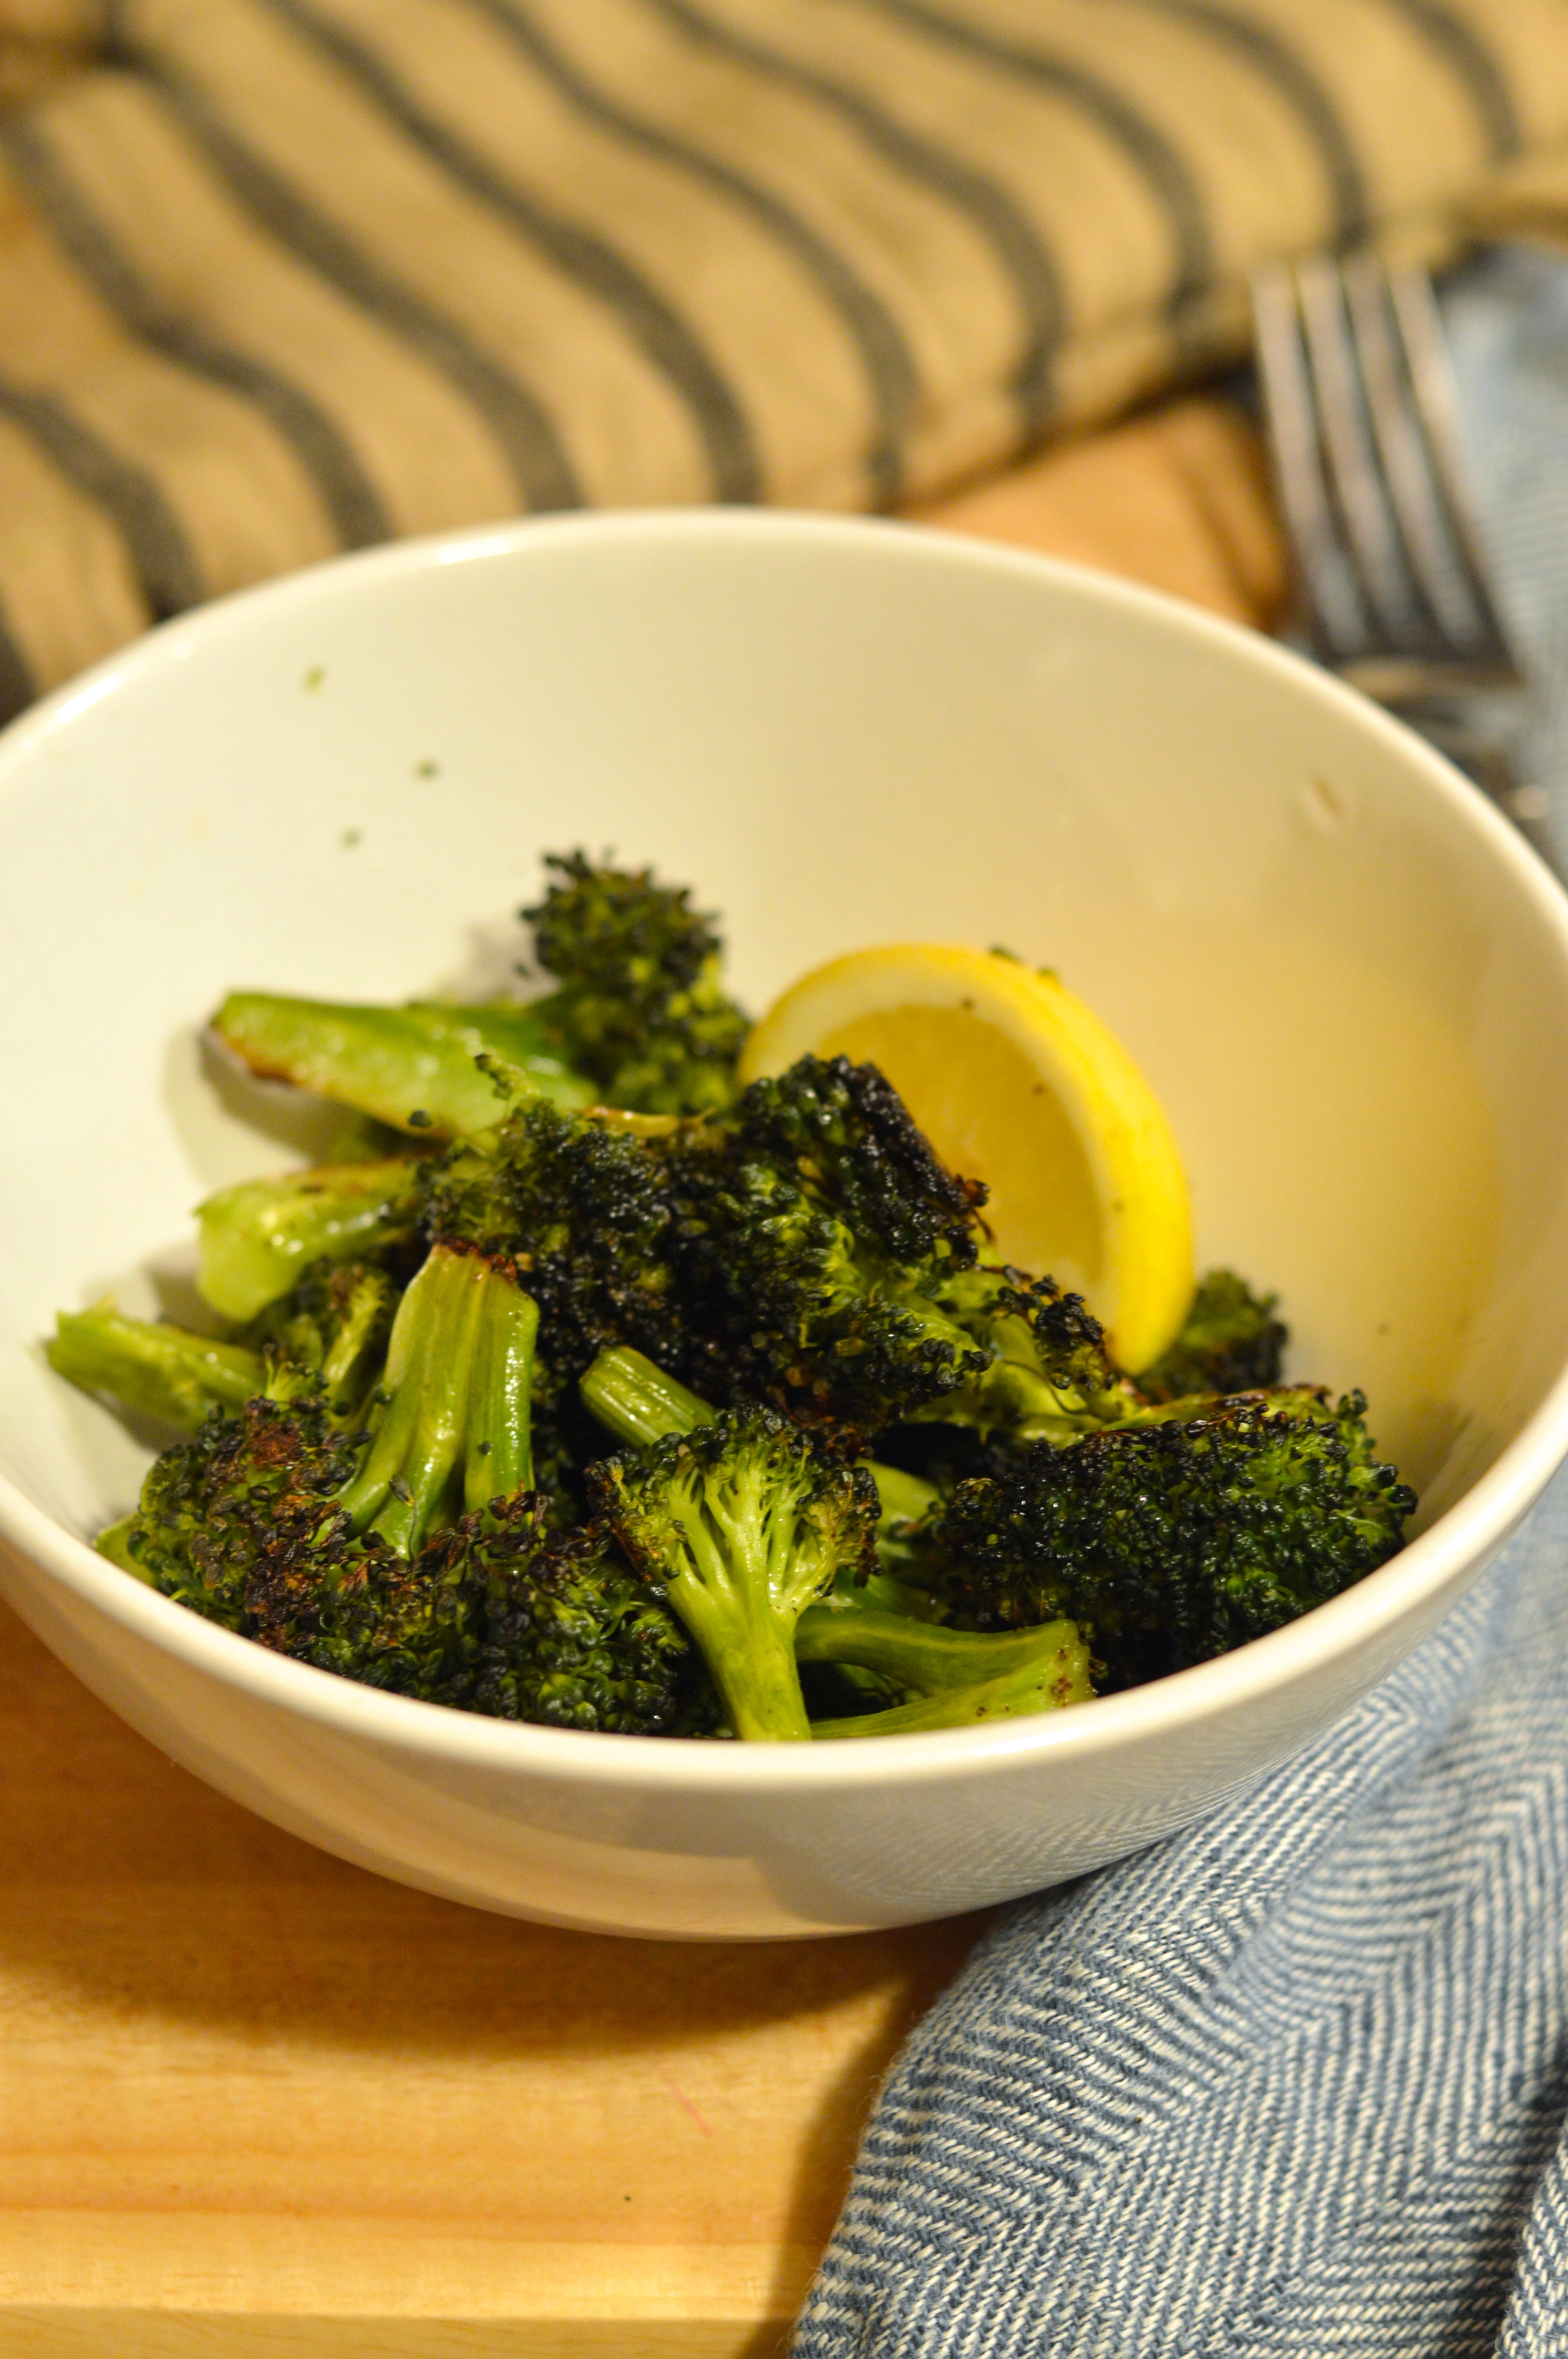
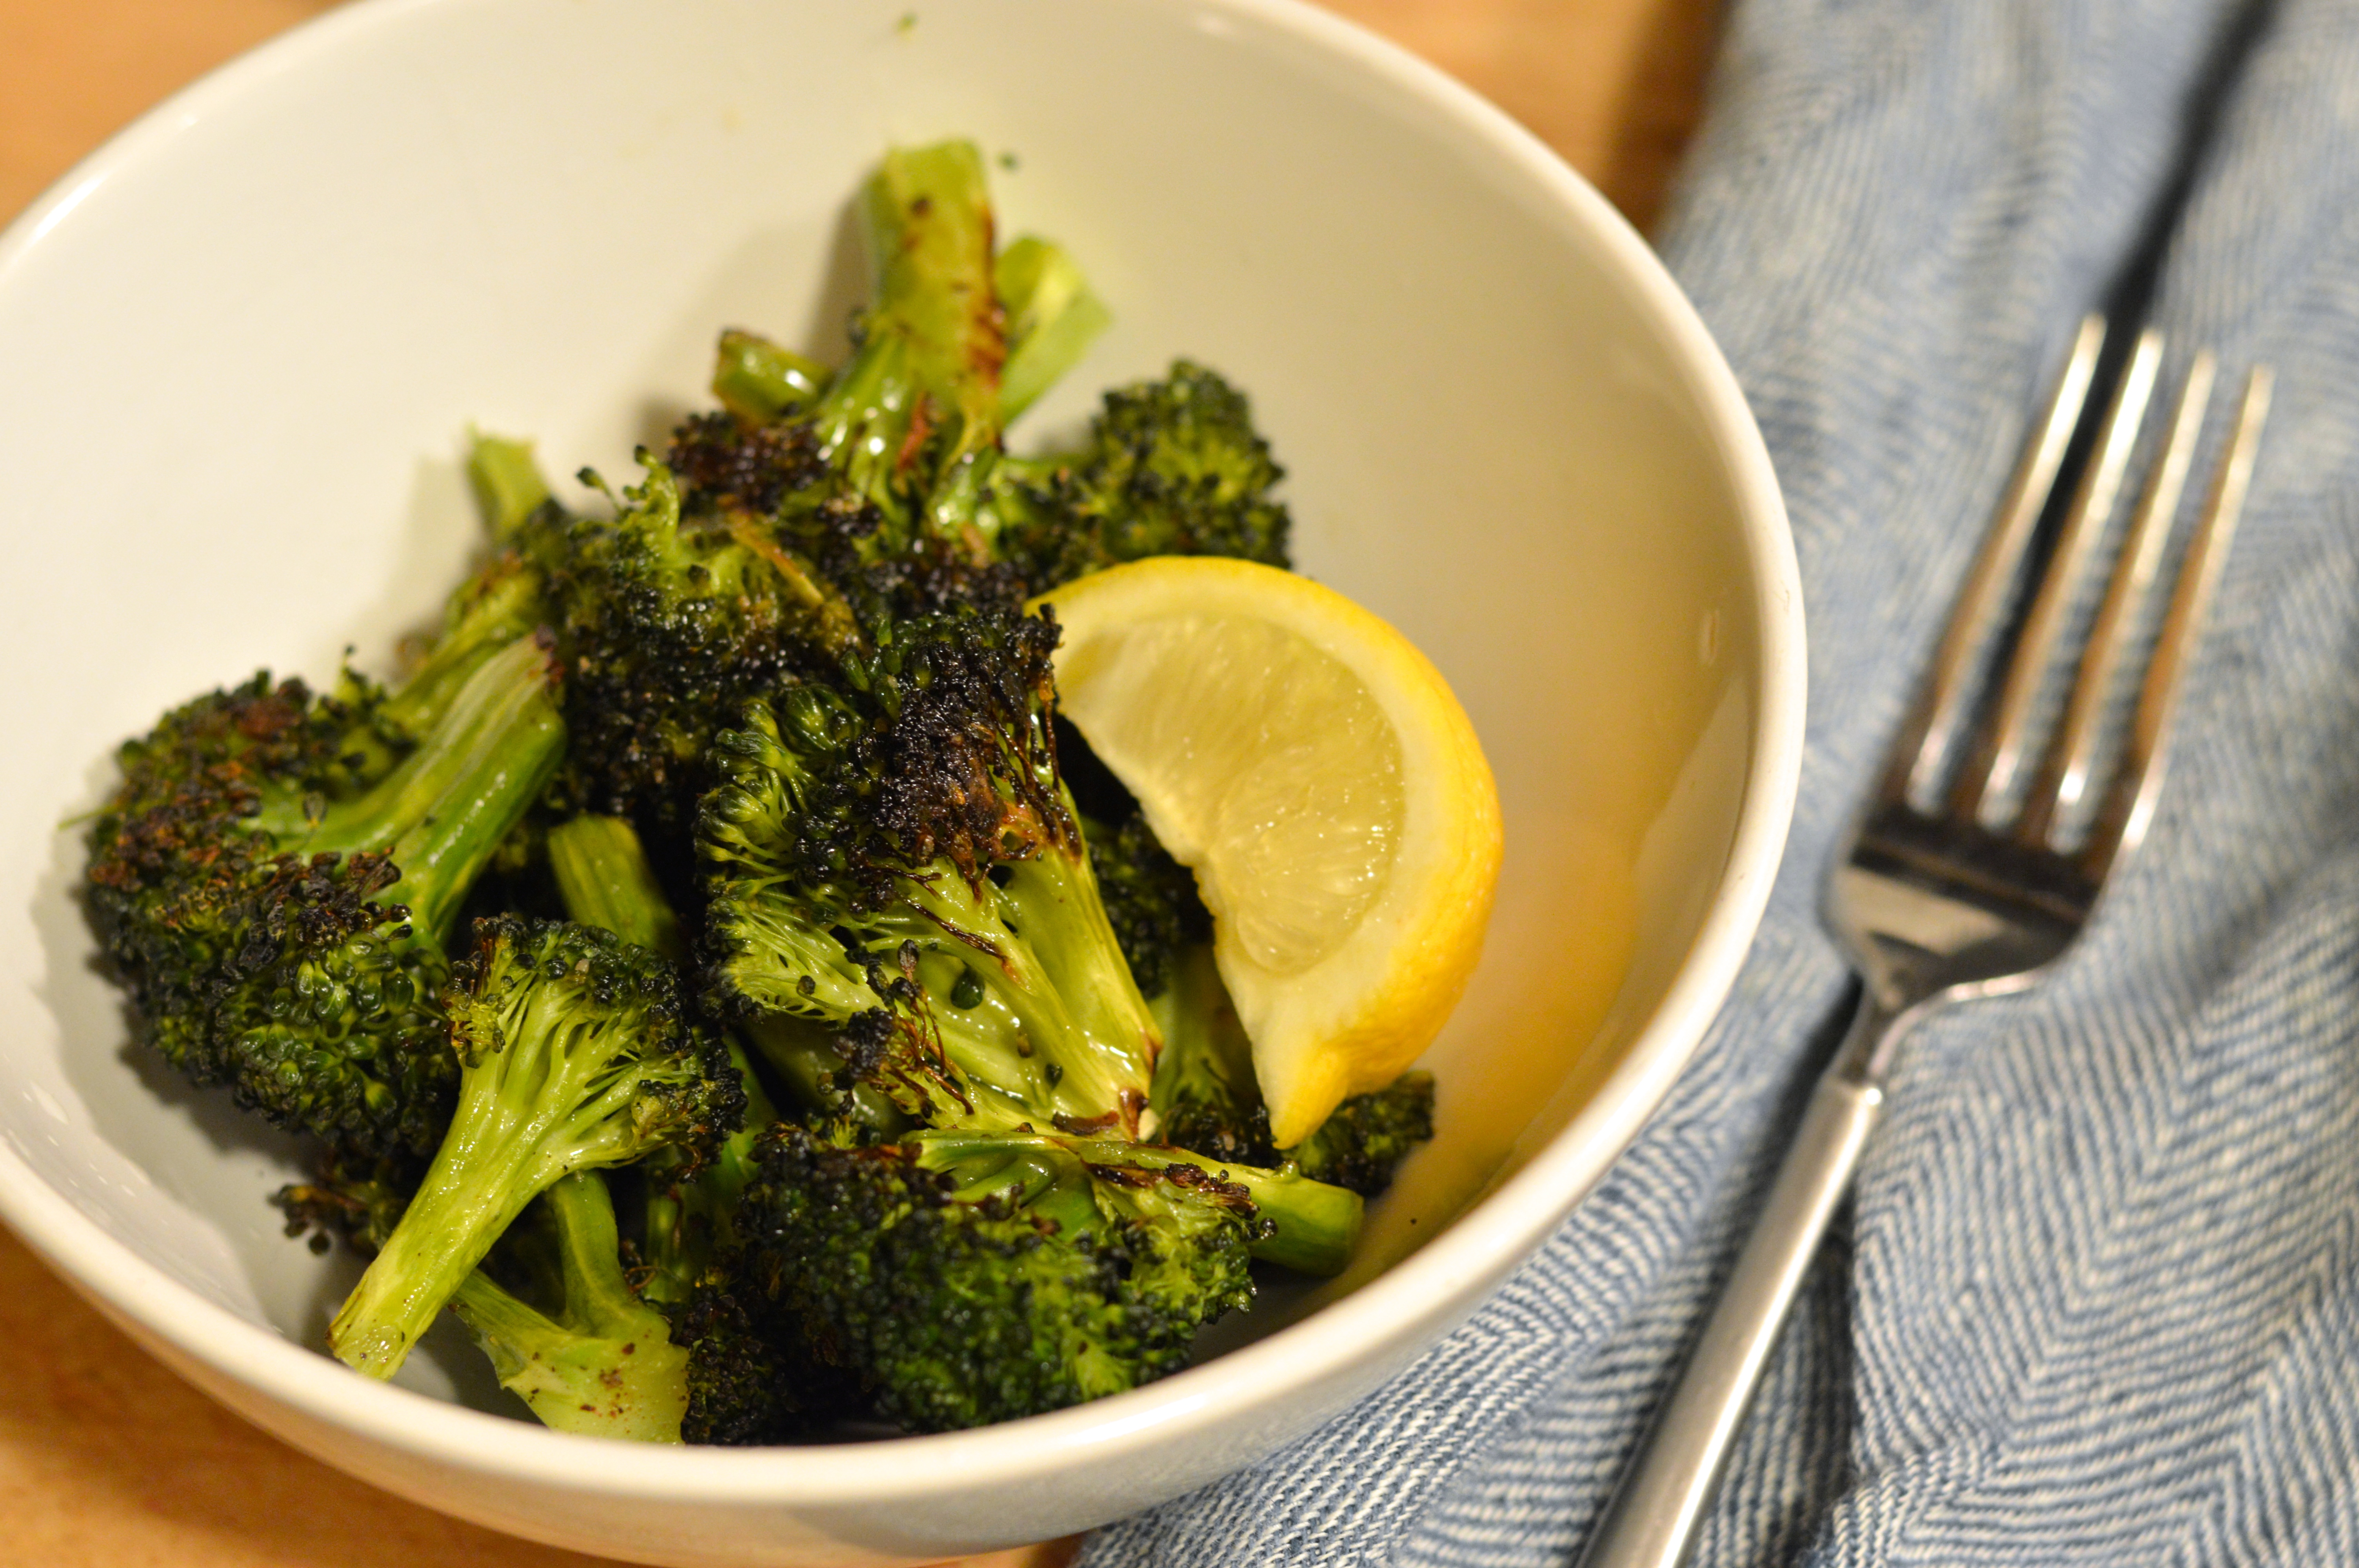
This preparation pairs really well with any number of meals. I’ve even used this method to pre-cook broccoli for pasta dishes or salads. It can also easily be tweaked or gussied up to fit the flavors of whatever you’ll be serving it with. If you wanted to add a little extra flavor before roasting, you could toss the broccoli in a little soy sauce, balsamic vinegar, or hot sauce along with the olive oil. My favorite way to prepare it though is to roast it first and then squeeze a little fresh lemon juice over the top to bring out the fresh bright green flavor without overpowering or covering it up.

 favorite roasted broccoli | Brooklyn Homemaker

This will work with other vegetables too, but cooking time may need to be adjusted. I just made some fresh local asparagus (Yay!! Asparagus season!!), roasted it for a few minutes less, and boy was it wonderful! I don’t think this would work very well with frozen vegetables though, because they’d likely end up mushy and overcooked. Part of the appeal of this technique is that vegetables maintain a little bit of their crisp texture and bite, which frozen vegetables have already lost.

favorite roasted broccoli | Brooklyn Homemaker

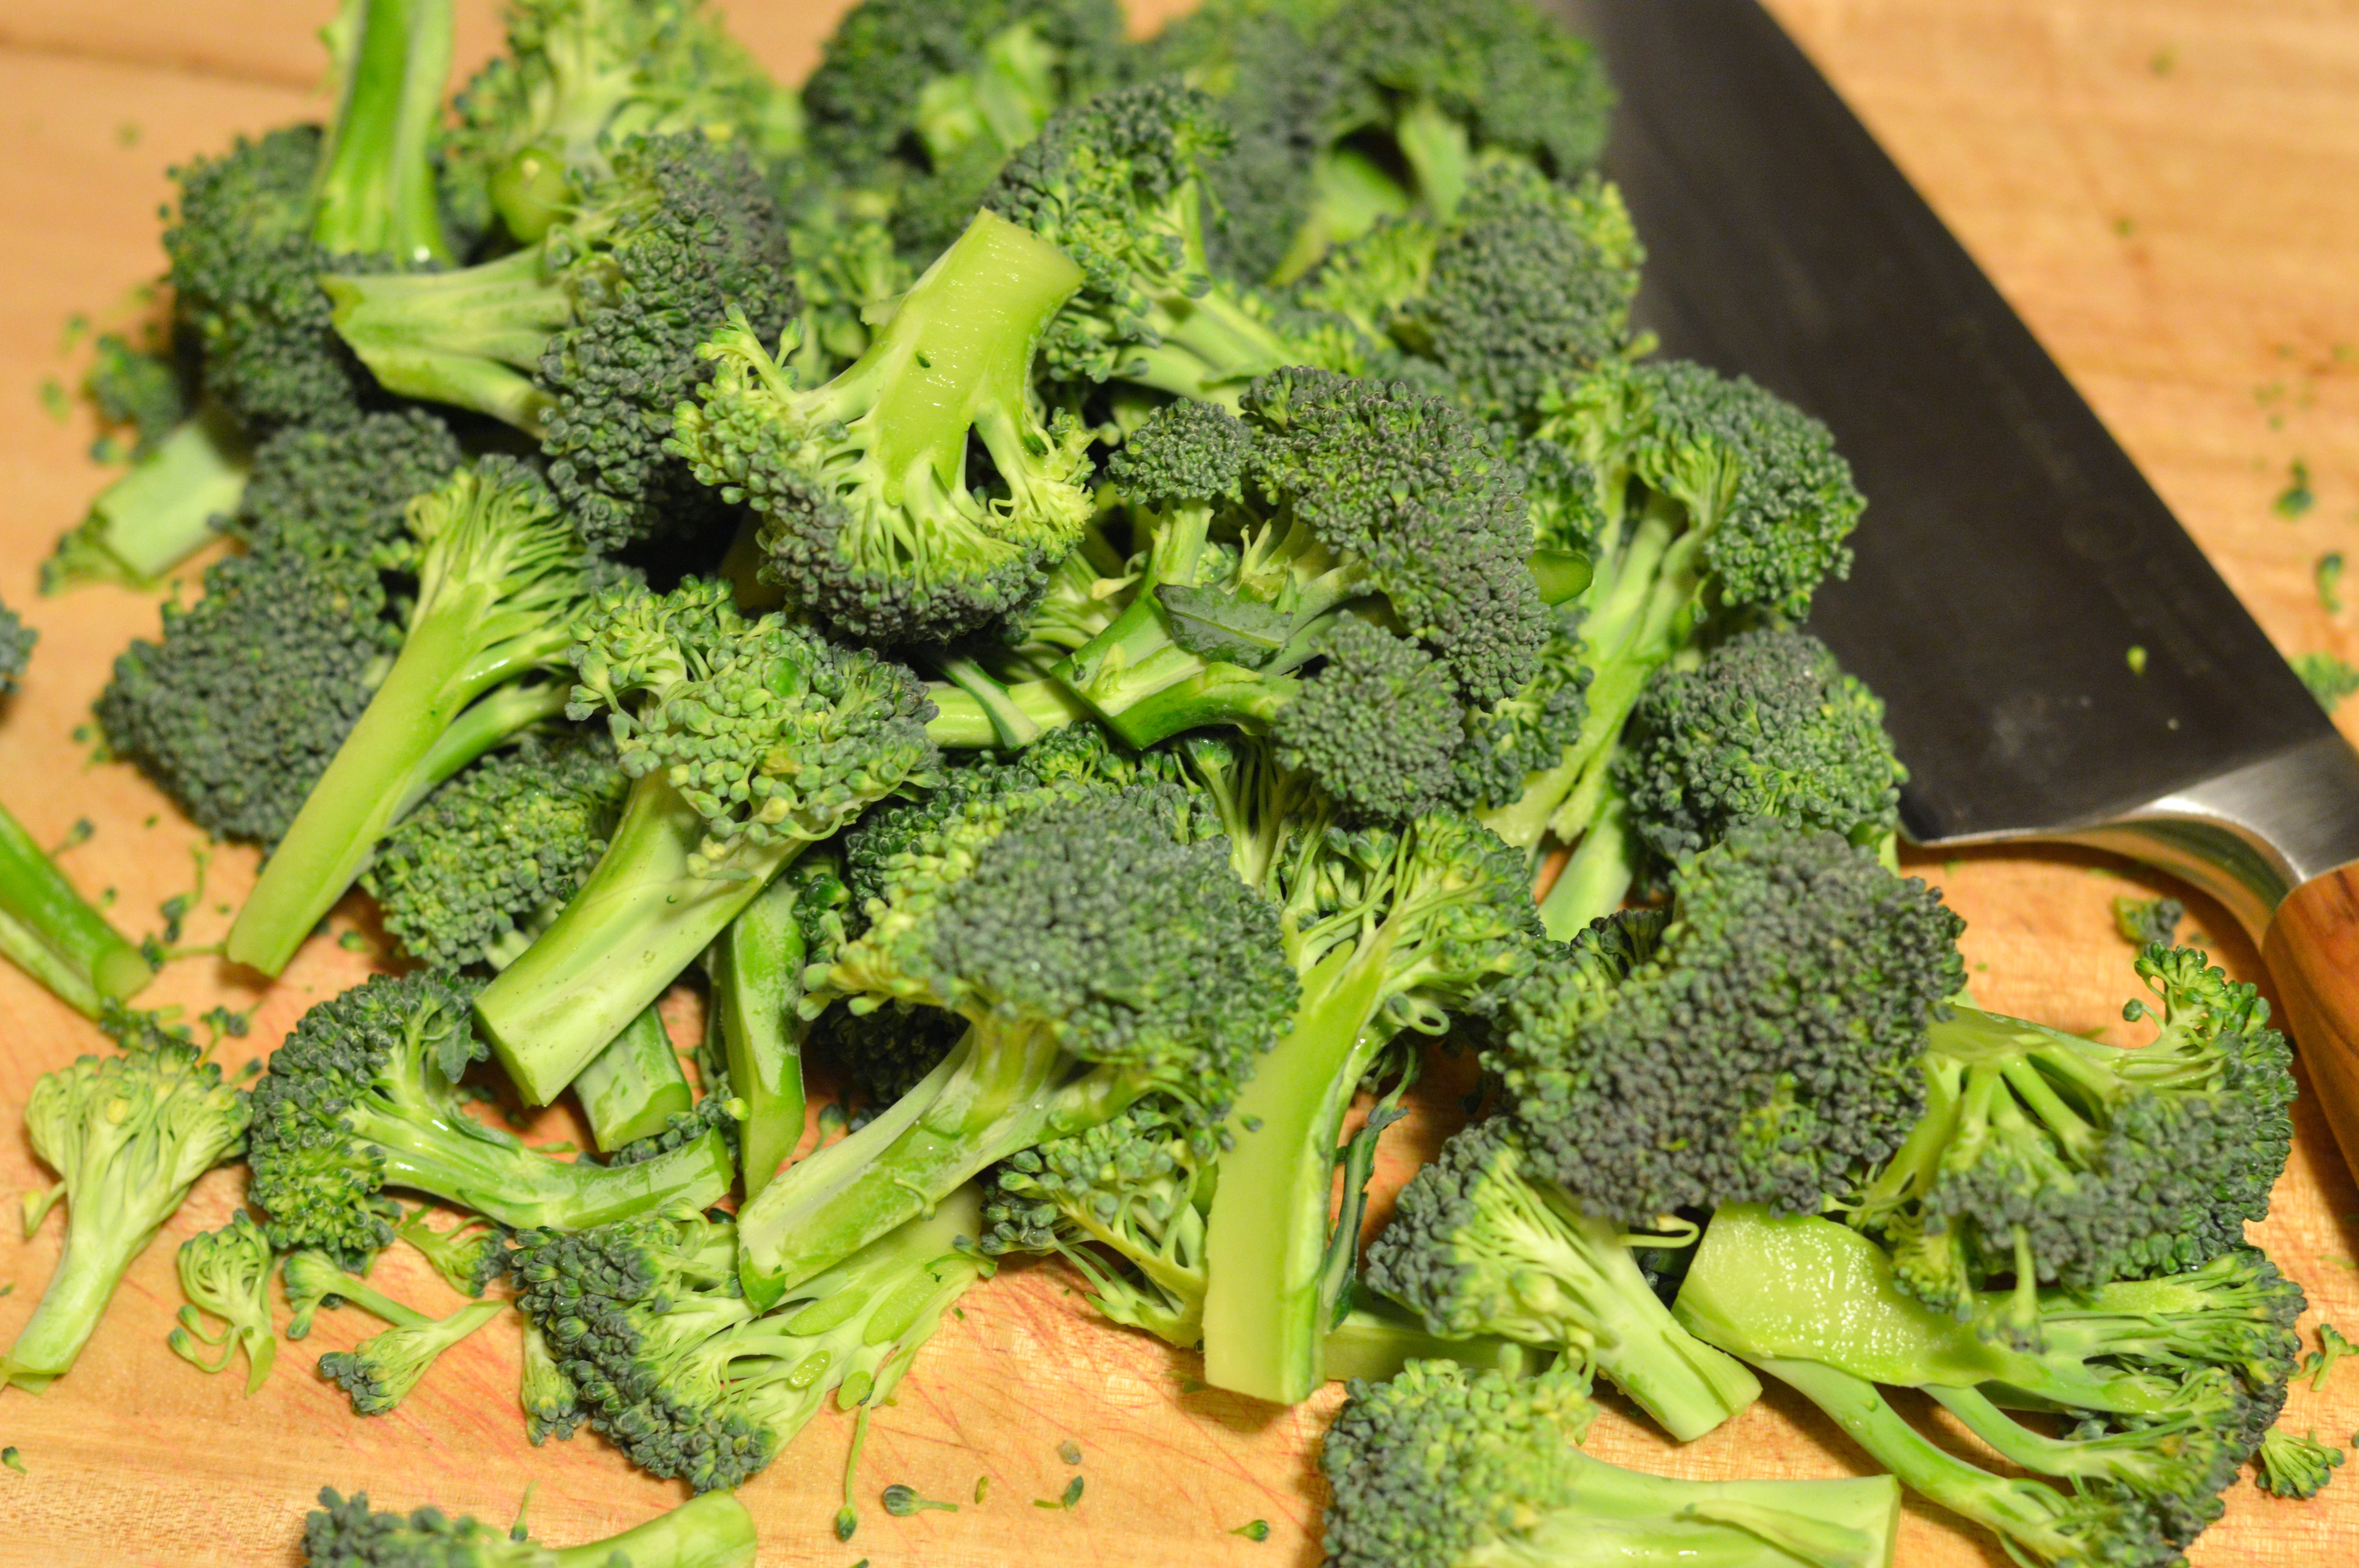
Cutting up your own head of fresh broccoli is super easy and worth the little (tiny) bit of effort. I usually turn the head over stem-side-up (or on it’s side) and work around the head with a sharp knife cutting the florets off where they branch out naturally, rotating the head as I work my way in. If some of the florets are especially large you can cut them in half or in quarters, from top to bottom. Simple. Easy. Healthy. Delicious.

favorite roasted broccoli | Brooklyn Homemaker

roasted broccoli

1 large head broccoli

1/4-1/2 tsp coarse kosher salt (to taste)
1/4 tsp freshly ground pepper
1 tbsp olive oil
1 lemon, cut into wedges (optional)

Preheat oven to 425. Cut broccoli into large bite sized florets and place in a large bowl. Add salt, pepper, & olive oil and toss toss toss until well coated. Spread evenly over a parchment lined baking sheet and roast for 20 minutes or until just starting to brown. Serve with a squeeze of fresh lemon juice if desired.

Advertisement

fully loaded stovetop mac & cheese

This Easter Sunday was a beautiful warm sunny day here in New York so Russell and I spent the bulk of our day enjoying the outdoors.

fully loaded stovetop mac & cheese | Brooklyn Homemaker

We woke up bright and early (thanks to our little dog Betty) and decided to go for breakfast a few subway stops away and to take a quiet leisurely walk home. When we got back we took the pups out to the dog park for a while, and then came home and spent most of the rest of the day in our back yarden (combination yard/ garden, just indulge me).  Once the sun started to go down and the air turned a little chilly, we decided it was time to come up with a plan for dinner.

fully loaded stovetop mac & cheese | Brooklyn Homemaker

Since it was a holiday I thought we deserved something a bit rich and indulgent even though we weren’t celebrating with family or friends. Considering that most of the day was behind us, I also wanted it to be something that I could have on the table and in our bellies in just about an hour or so. I thought a nice hearty pasta dish would be the ideal thing to round out the day, but since I wanted it to be indulgent and creamy, I knew cheese would be the prefect addition. The more I thought about it, the more I knew I should let the cheese take center stage, while still loading it up with all the other hearty tasty things I wanted to add.

fully loaded stovetop mac & cheese | Brooklyn Homemaker

I often like to make a quick “healthy-ish” pasta dinner with chicken and broccoli and whatever else sounds good, but after the addition of some bacon and loads of cheese, this dish seemed to stray out of that category. Since it doesn’t have a crunchy crumbly baked topping, it also doesn’t quite feel like a traditional homemade mac & cheese. It seems to fall somewhere in between the two, but since it does have a rich and creamy béchamel cheese sauce, I think that “fully loaded” stovetop mac & cheese is the perfect name for it.  Whatever you want to call it, it is definitely less than healthy, and completely delicious.

fully loaded stovetop mac & cheese | Brooklyn Homemaker

Crisping the bacon on its own allows you to render the fat to later make the béchamel. Cubing the uncooked chicken helps it cook faster while remaining flavorful and tender. Roasting the broccoli in the oven instead of, say, boiling it with the pasta, keeps it from tasting waterlogged and soggy and helps it absorb as much of the creamy sauce as possible. Slicing open and roasting the grape tomatoes concentrates their flavor and sweetness and gives them an almost sun-dried quality. Of course, if you wanted to save some time and avoid turning on the oven, you could boil the broccoli with the pasta or steam it while the pasta cooked, and you could use chopped sun-dried tomatoes in place of the roasted fresh ones. Either way, if you work smartly and efficiently you can finish this dish in just about an hour. It does require a bit of work but none of the steps are overly complicated or time-consuming, so I think it would be an excellent weeknight meal.

fully loaded stovetop mac & cheese | Brooklyn Homemaker

I wasn’t sure that the chicken or the tomatoes would marry well with the sharp cheddar cheese, but my concerns were totally for nothing. This meal is totally delicious and really hearty and filing, and was the perfect way to finish of our lazy Easter Sunday. The creamy sharp cheese gives it an almost tangy quality that combines really well with the sweetness of the tomatoes and the umami saltiness of the bacon. If you cook the pasta to be al dente this dish has a really nice variety of textures as well as flavors. The chicken is tender but with some substance, the pasta has just a bit of bite, the roasted broccoli has a little bit of crunch, the bacon adds some welcome crispiness, and the perfect creaminess of the cheese sauce rounds the whole meal out.

Now if you’ll excuse me, there are some leftovers that seem to be calling my name.

fully loaded stovetop mac & cheese | Brooklyn Homemaker

Fully Loaded Stovetop Mac & Cheese

1 pint washed grape tomatoes, sliced in half lengthwise
1 large bunch broccoli, chopped into bite size florets
1 tbsp olive oil
salt and pepper
4 oz bacon
1 lb skinless boneless chicken breasts
1 small onion, diced
2 tablespoons flour
2 cups milk
8 oz white cheddar cheese, grated
1 lb (16 oz) shell pasta (or another shape if you want)

Preheat oven to 400 and bring a large pot of salted water to a boil. On a parchment lined sheet pan, arrange halved tomatoes cut side up, and sprinkle with salt and pepper. Toss broccoli with olive oil, salt and pepper to taste, and arrange on another parchment lined sheet. Roast both for 20 to 25 minutes, until cooked and brown but not burnt or dried out.

While the vegetables roast, slice your bacon against the grain into small thin strips and cook in a heavy skillet over medium high heat until browned and crispy, probably about 15 to 20 minutes. Remove with a slotted spoon and drain on a paper towel lined plate. Drain most of the grease off into a glass measuring cup, leaving about a tablespoon to cook your chicken. Cut the chicken into bite sized cubes, season with salt and pepper, and sauté until just cooked through, about 10 minutes. Remove and transfer to paper towel lined plate with bacon.

Cook pasta until al dente according to package directions. Drain and return to pasta pot along with cooked tomatoes, broccoli, chicken and bacon. If desired, reserve about a tablespoon or two of bacon to garnish.

Meanwhile, measure out 2 tablespoons of bacon fat and return to the pan, discarding anything left (or save for later use). If you don’t have enough, make up the difference with butter. Add onion and cook until just beginning to brown. Add the flour, whisk until well combined, and cook over medium heat for 2 or 3 minutes. Slowly add milk, a little at a time, whisking out any lumps. Cook until thick and bubbly, probably 5 to 8 minutes or so, whisking regularly to prevent lumps. Once the sauce is thick, turn the heat off and add the cheese. Stir in until fully melted and well combined. Pour sauce over pasta and stir stir stir until everything is well combined. Plate and garnish with a little crumbled bacon if desired.