thanksgiving

Thanksgiving potluck planning

Thanksgiving has always been really special to me.

Thanksgiving potluck planning | Brooklyn Homemaker

I have a tendency to let myself get really overwhelmed by the very idea of Christmas. To me all the planning and running around in the name of gift giving has always felt like a duty to spend money and buy buy buy. I know that’s not what it’s supposed to be about, but that hasn’t stopped me from having mixed feelings about the holiday anyway. Thanksgiving however, is all about food and friends and family, the best parts of Christmas without all the conspicuous consumption.

That’s not to say that Thanksgiving is a day without stress though. I certainly understand that it’s the biggest food holiday of the year (duh, that’s why I love it) and sometimes it can be a daunting process to try prepare a meal of that magnitude. There’s a few things you can do to make things less stressful, like avoiding recipes you haven’t made before, and making (or at least prepping) as much of the menu ahead as possible.

Thanksgiving potluck planning | Brooklyn Homemaker

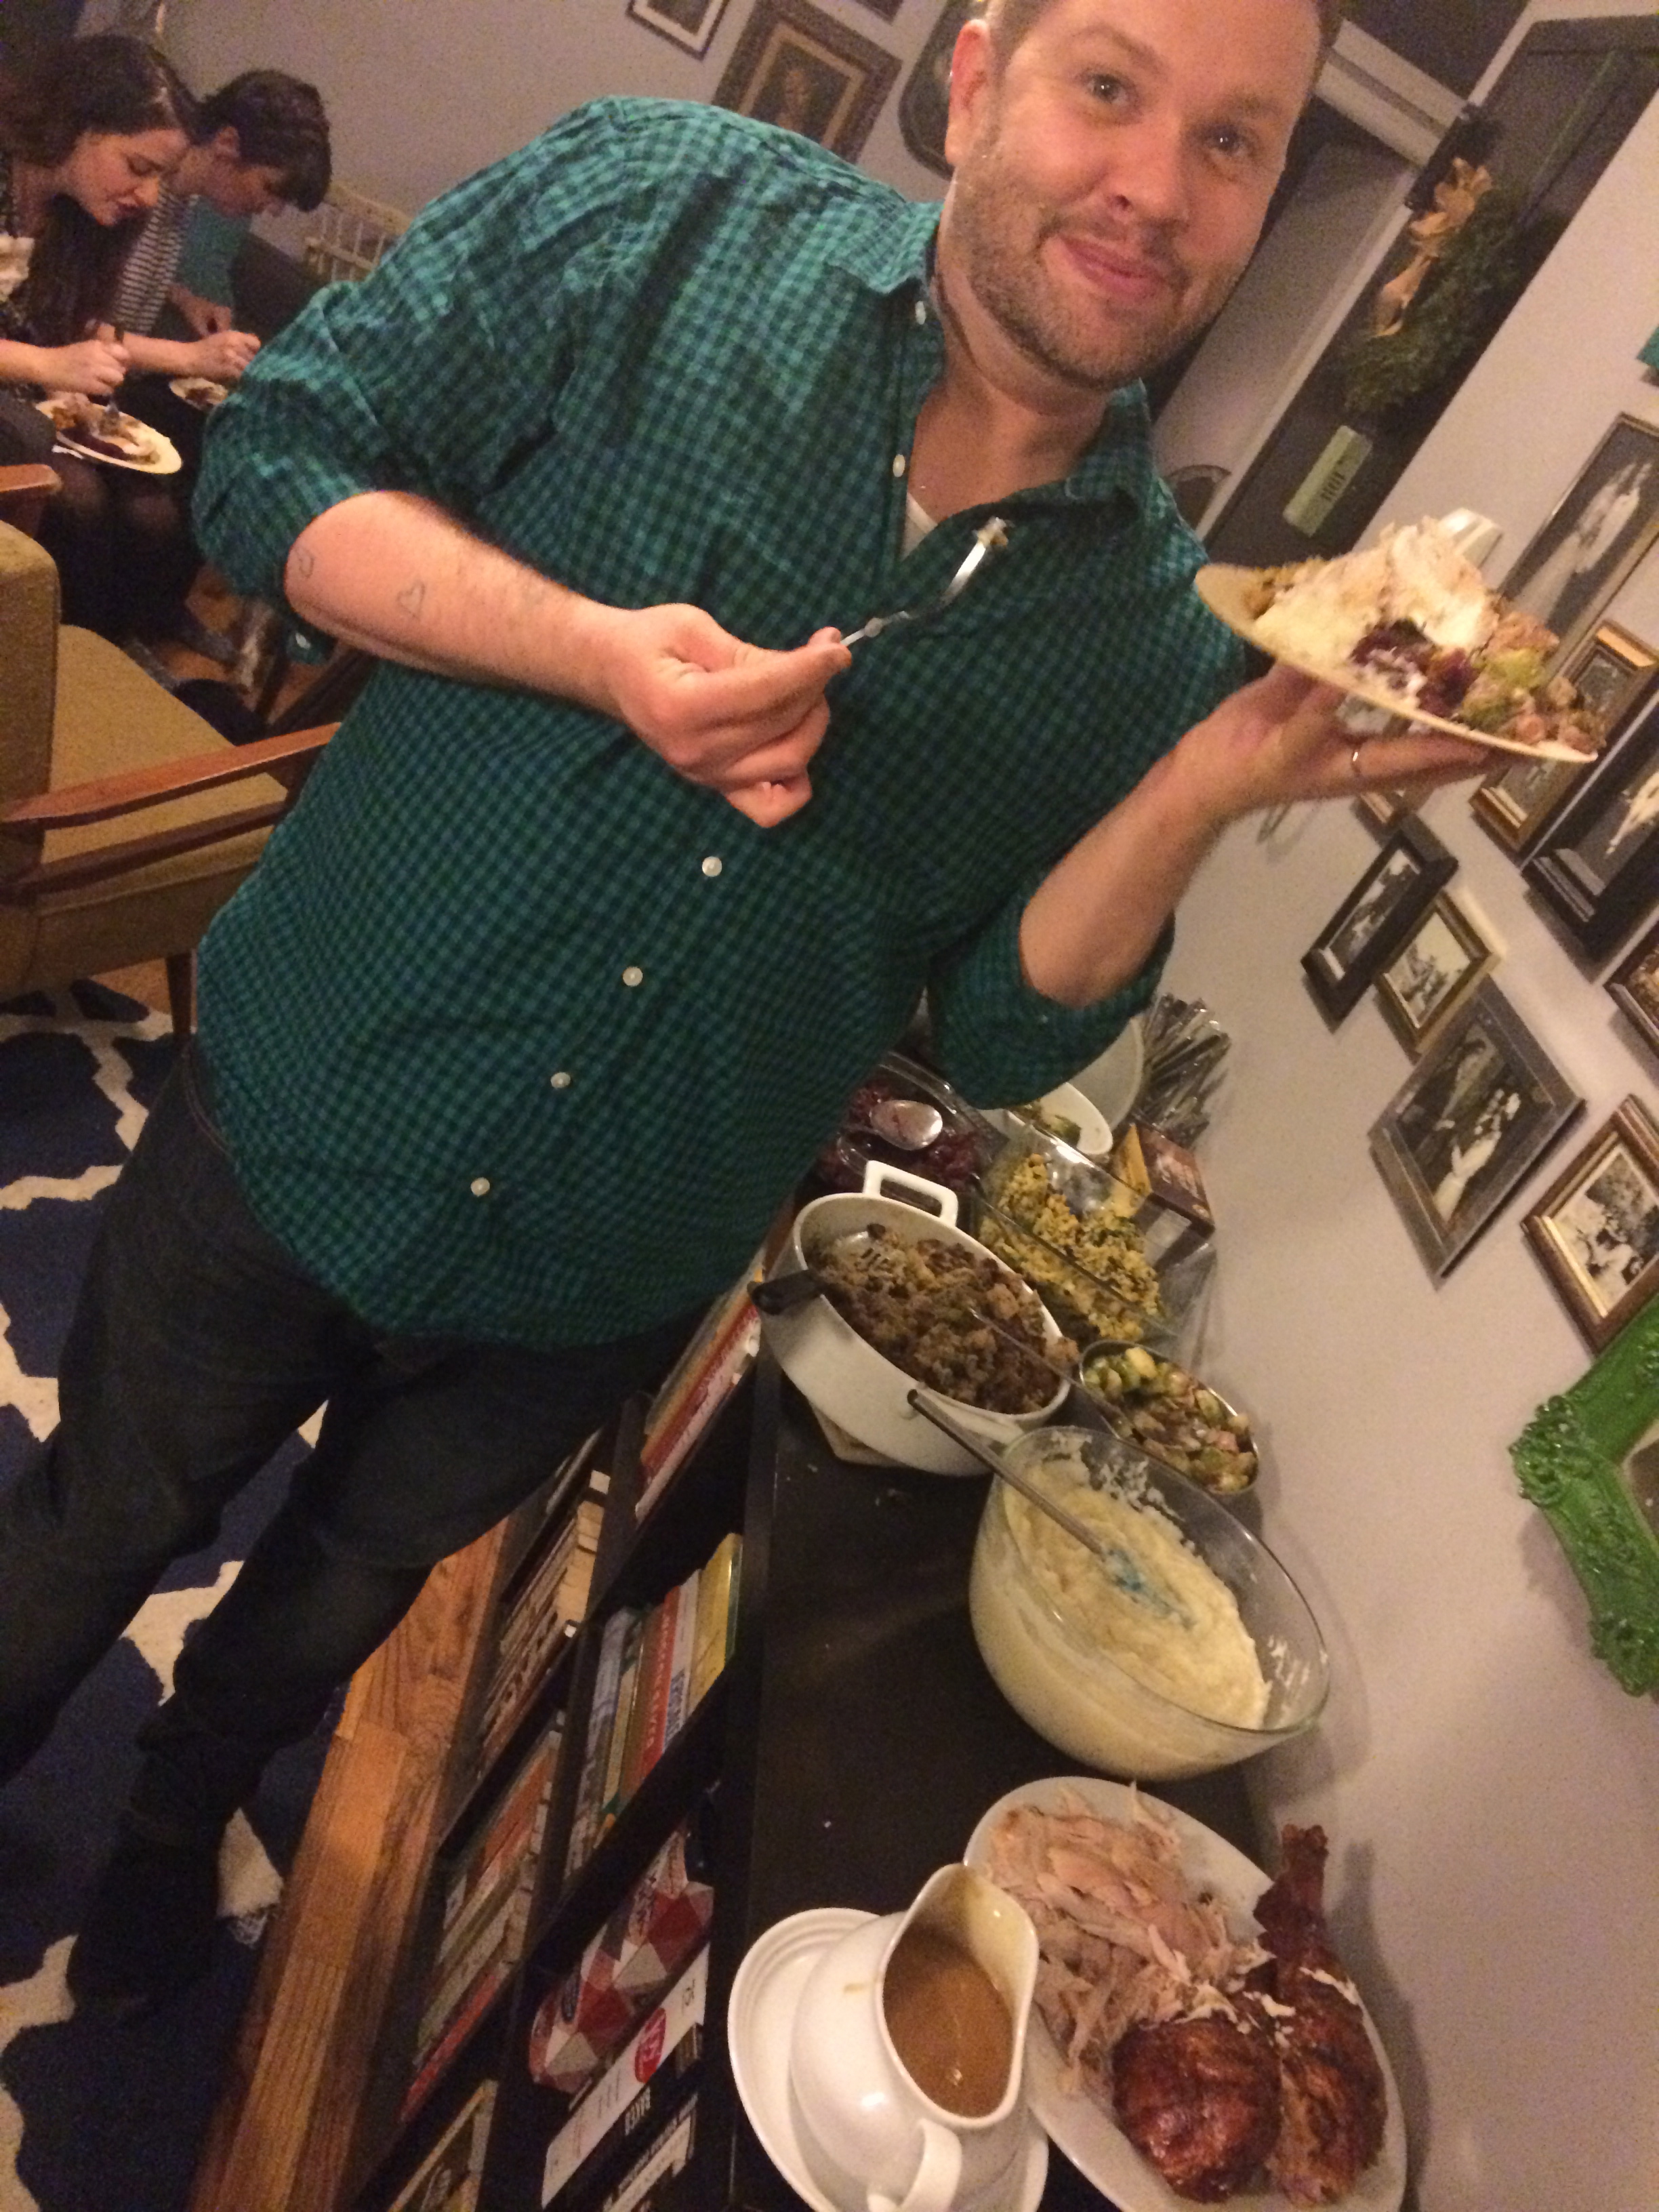
My favorite way to ease the workload is to share some of the duties with friends or family. Every Thanksgiving I’ve hosted since living on my own has been potluck style. Spreading some of the work out to the other dinner guests means that your meal will have all the variety you’d like without having to spend a week planning and shopping and prepping and cooking. It also means that your guests get to take part of the credit for the fabulous spread on the table.

Even a potluck Thanksgiving requires some advanced planning though, so if you’re hosting your first Thanksgiving meal, or just hoping to work on your Thanksgiving game plan, I thought it might be helpful to share what I do to stay organized.

Thanksgiving potluck planning | Brooklyn Homemaker

First, there’s the turkey.

In my opinion, if you’re hosting Thanksgiving dinner, the turkey and gravy will probably have to be your responsibility. Asking someone to bring a pie or a plate of biscuits is one thing, but a fully cooked 20 pound turkey is quite another. If you’re uncomfortable making a turkey, ask someone who isn’t to come over early and help. Grab an extra bottle of wine and get the festivities started early. Who’s gonna stop you?

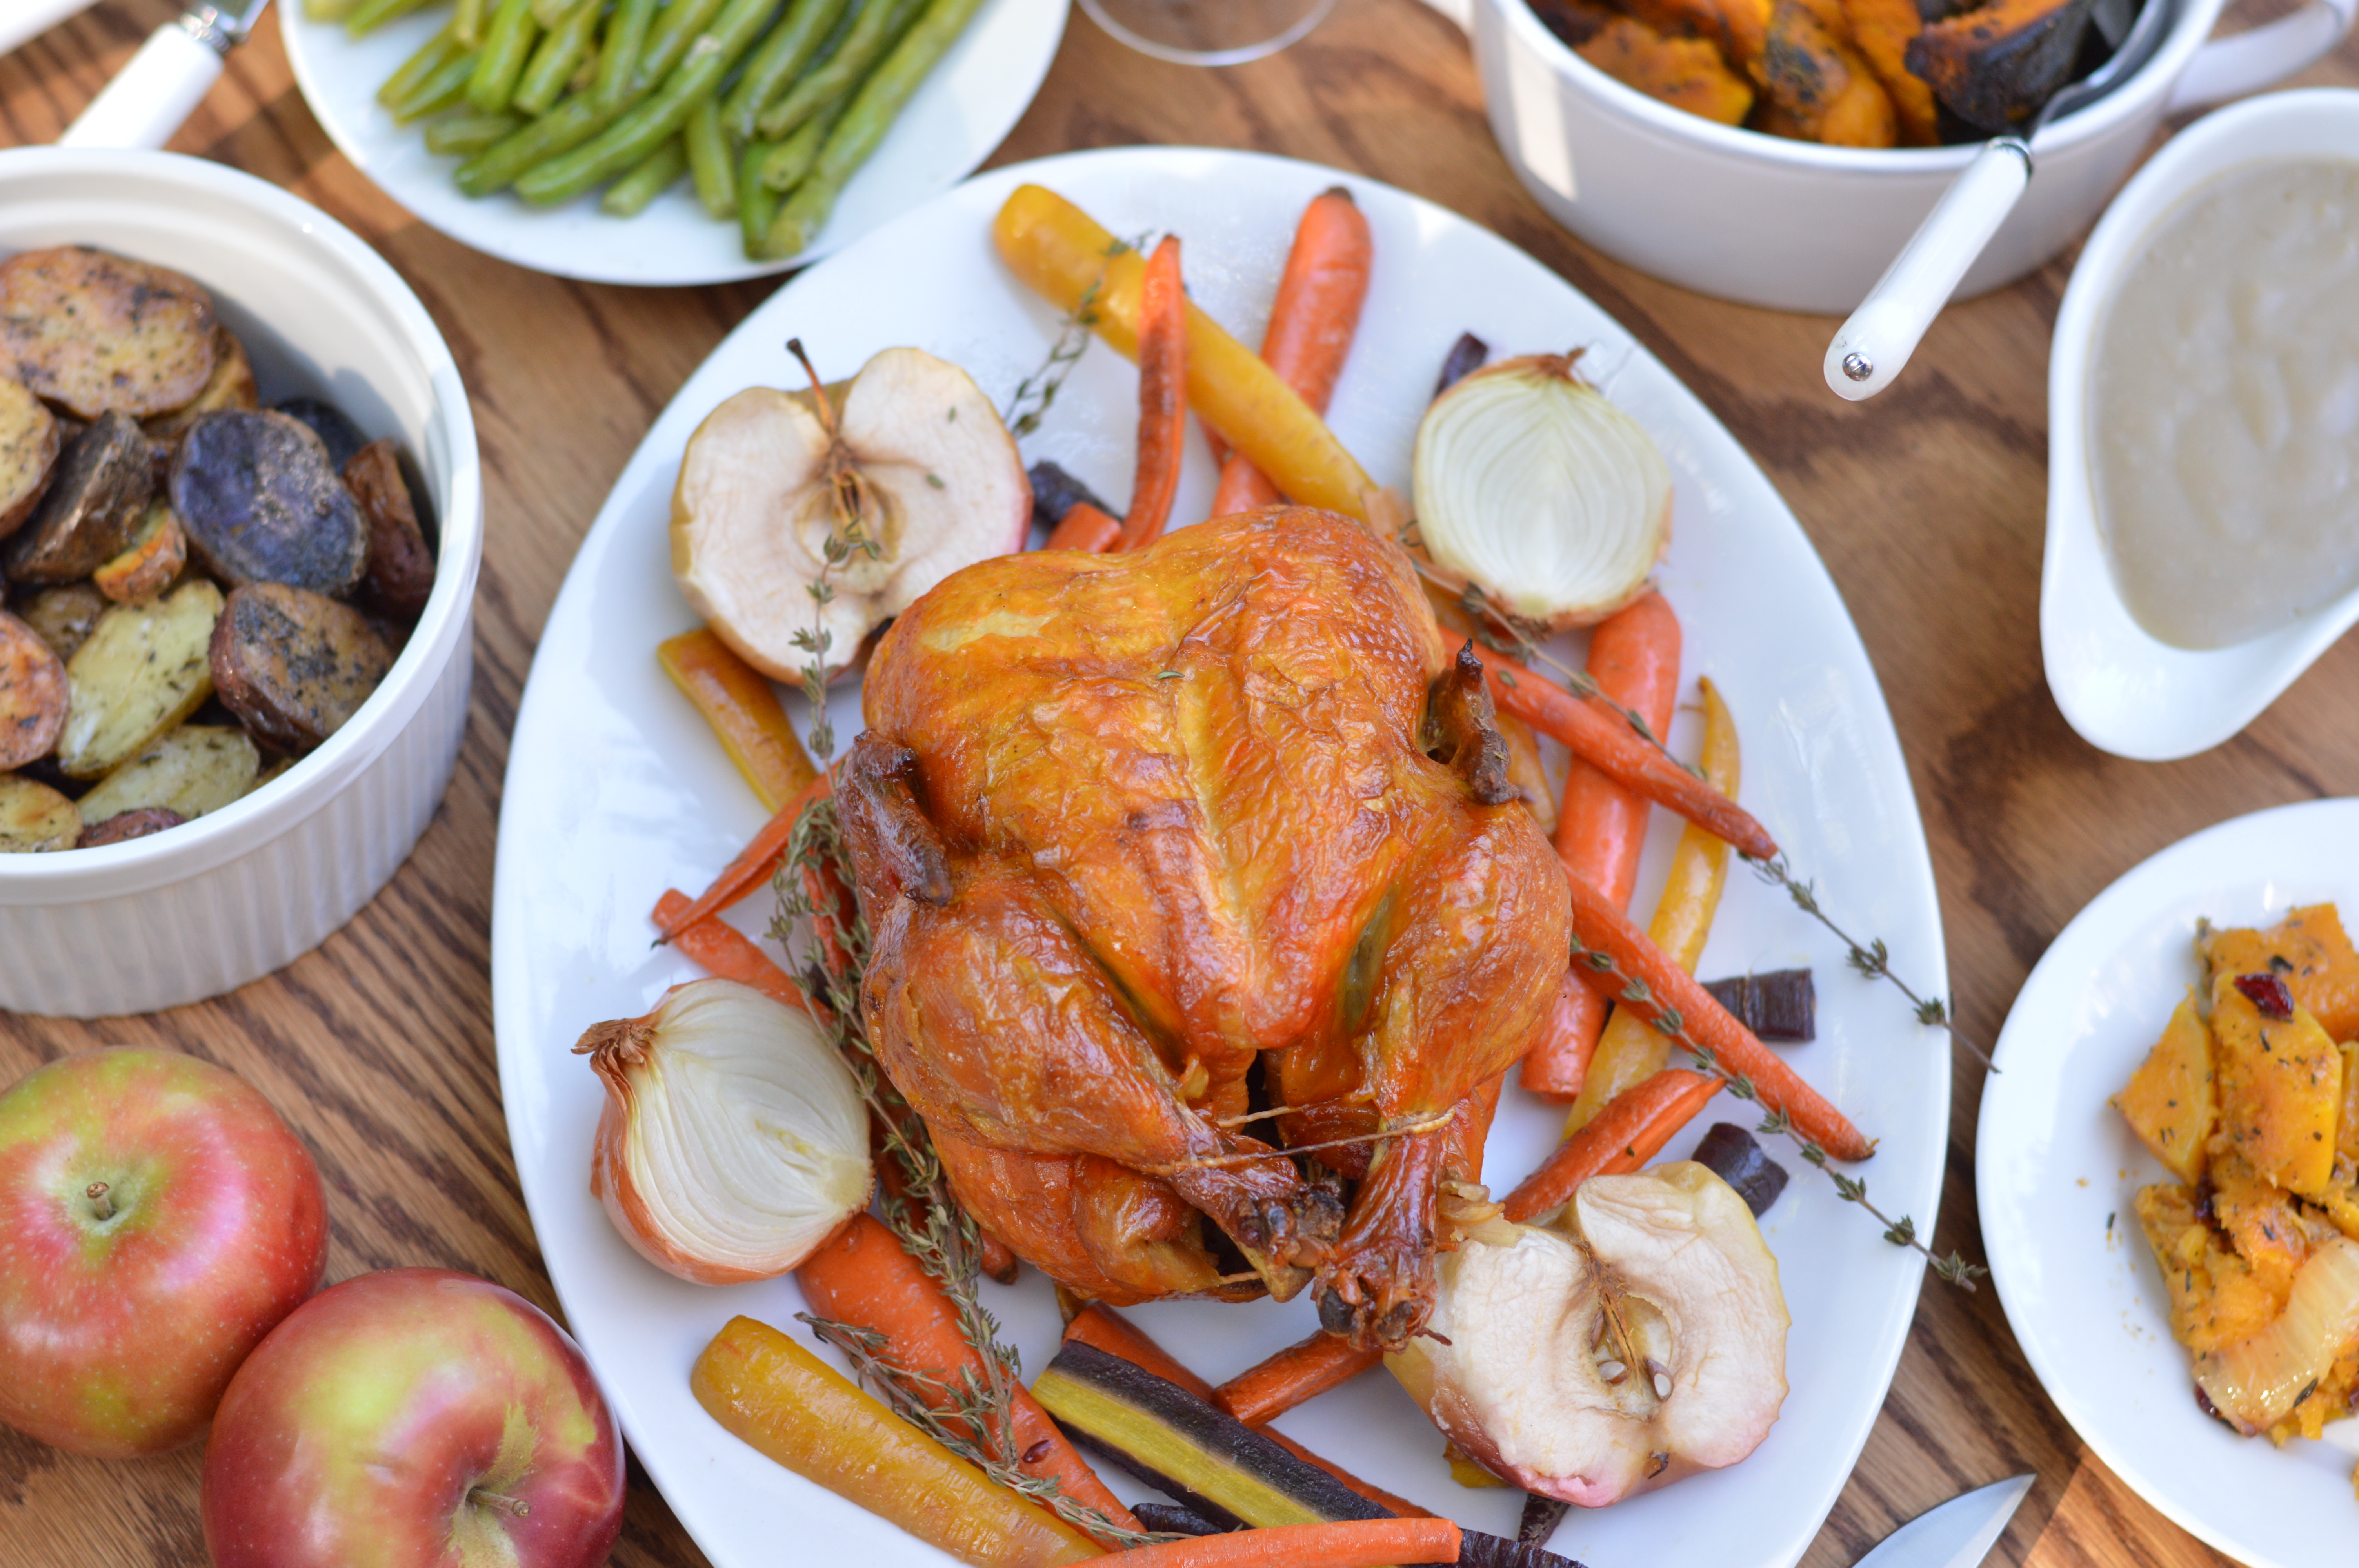
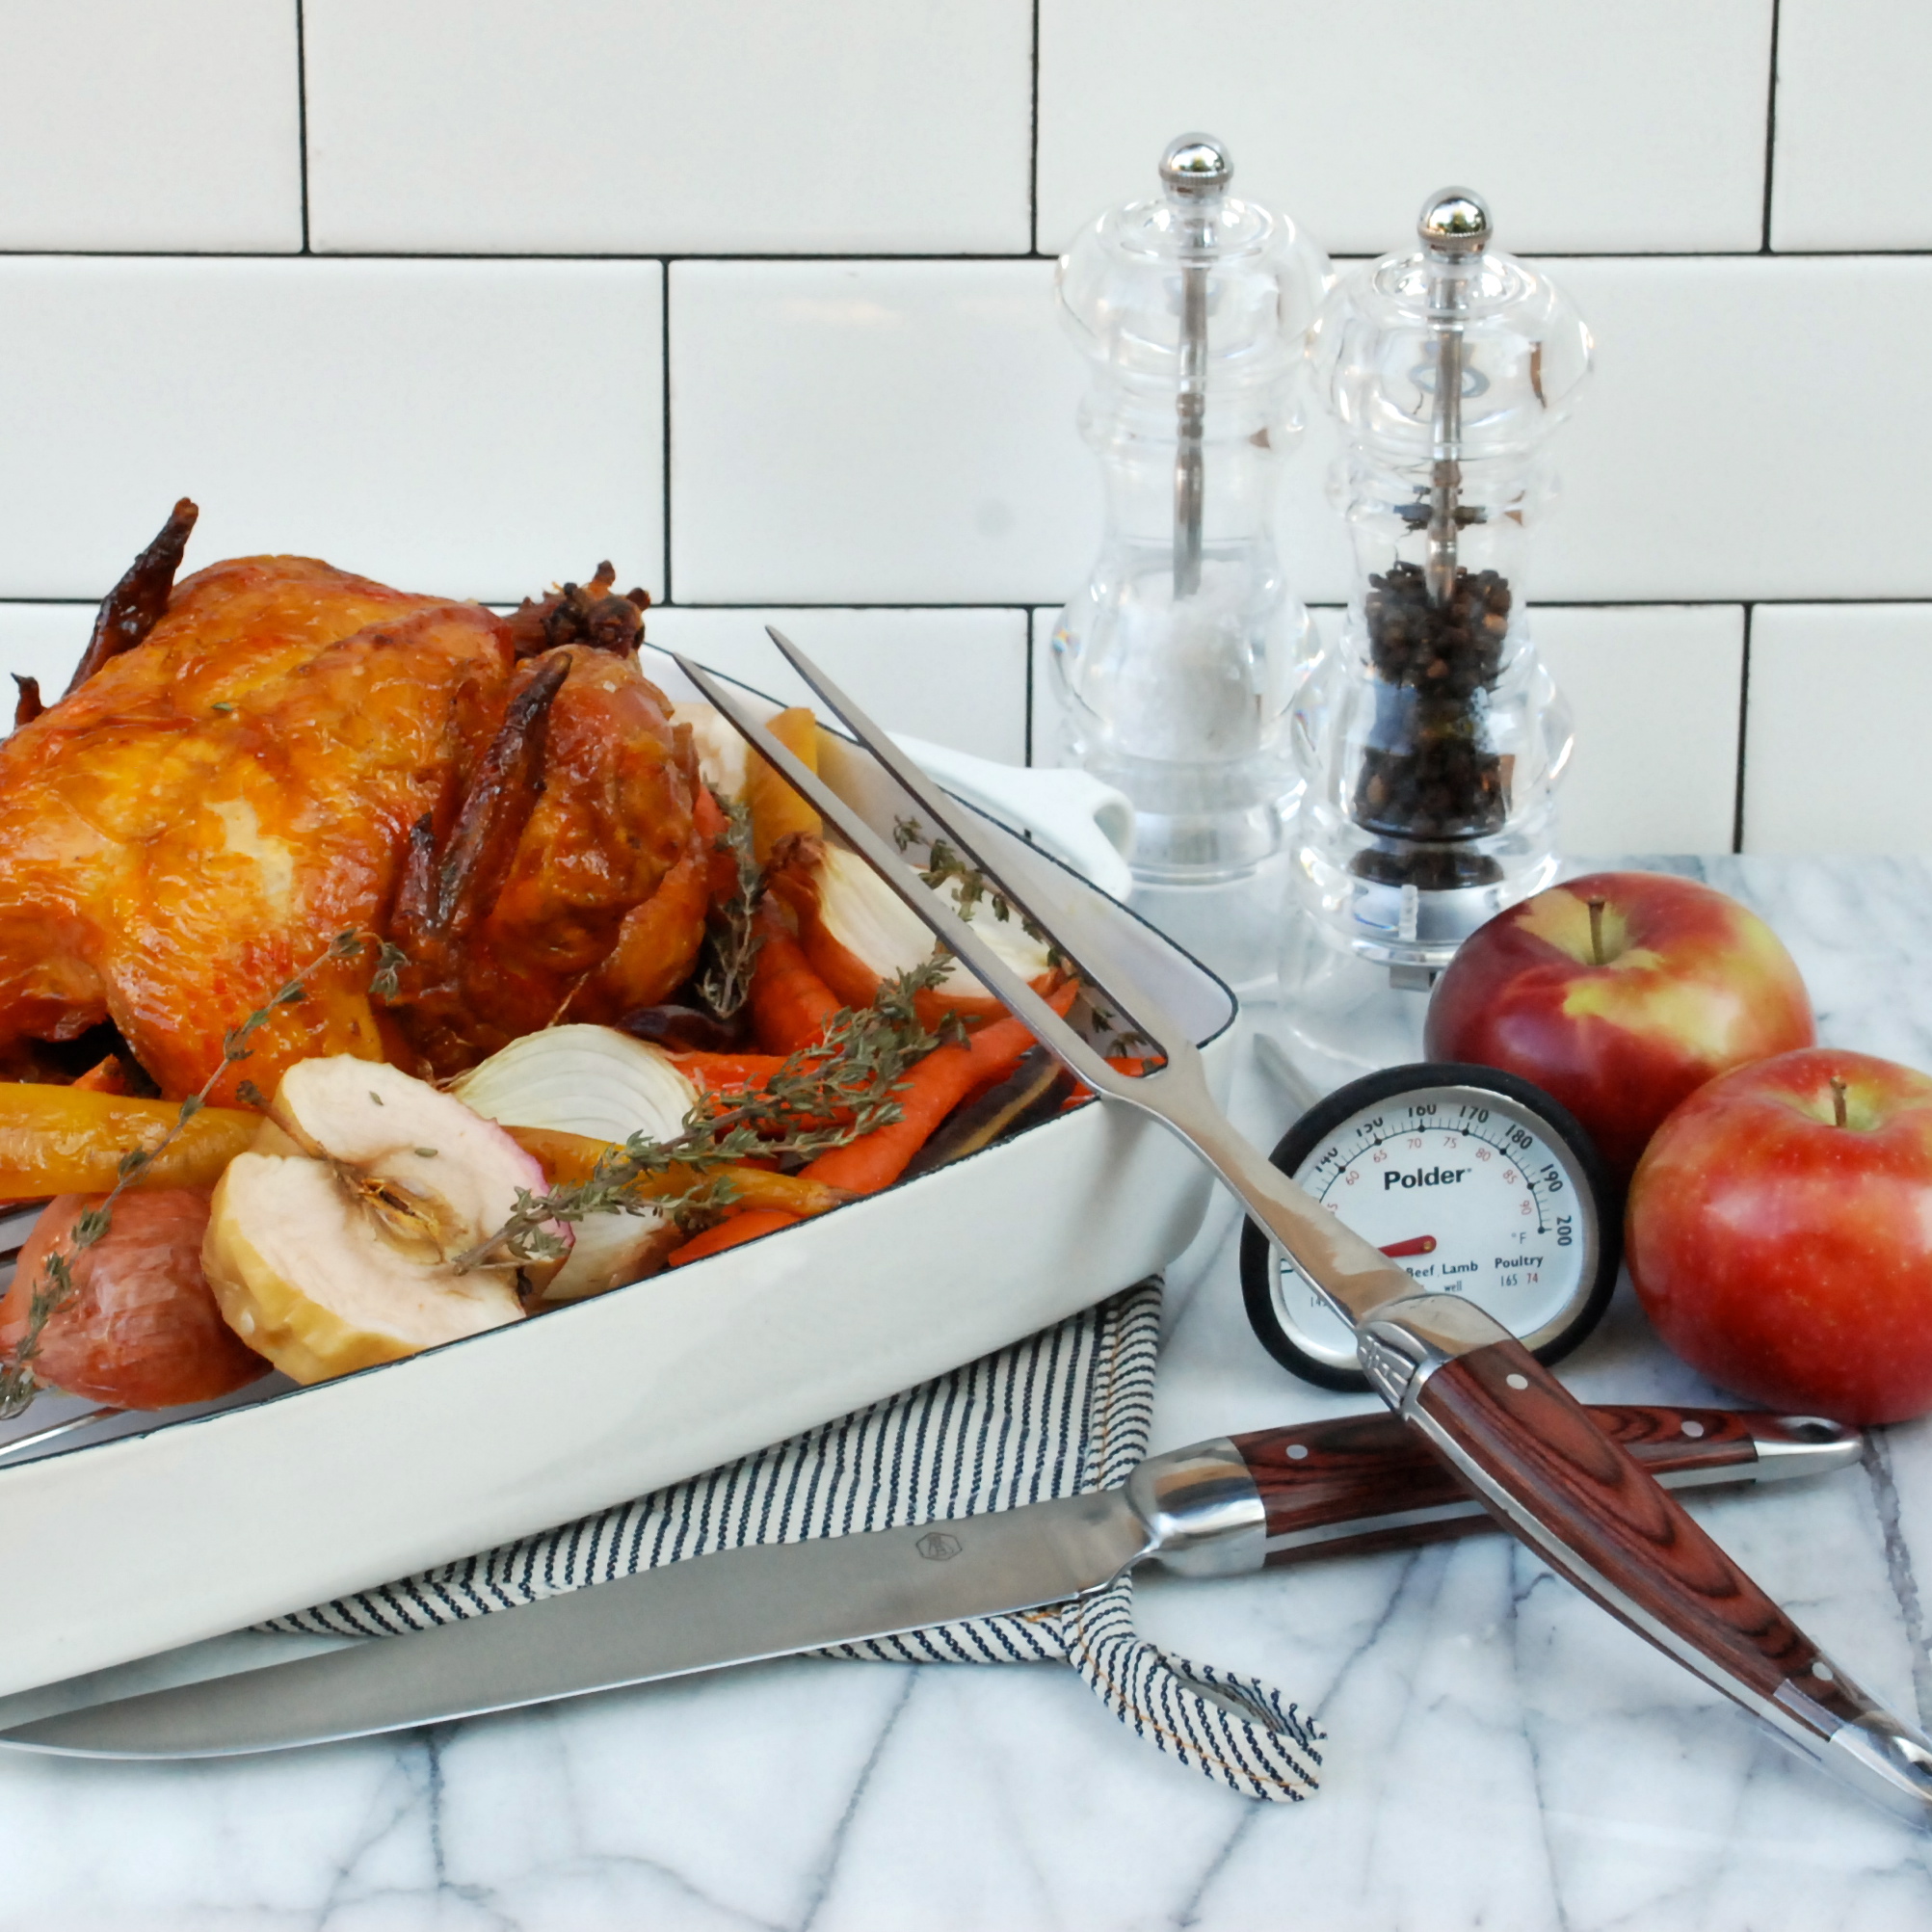
While we’re on the subject, there’s a lot you can do with your bird, and I’ve tried several methods. You can brine it, give it a spice rub, coat it in butter, blanket it in bacon, or even deep fry the beast. I used to brine my turkeys but soon realized that it’s a lot of work for a little pay off. The whole point is to ensure moist breast meat, but I’ve found an easier way. Last year I rubbed the whole bird in citrus herb butter and roasted it (and heres the important part) BREAST SIDE DOWN! If you roast your bird breast side down for the first several hours, all the juices and fat and flavor from the dark meats runs down through the breast instead of the other way around. About an hour or two before its done you flip it breast side up for even browning, and you’ll have a beautiful, moist, and truly tasty turkey.

When it comes to choosing the size of your turkey, I generally try to give myself at least 1 1/2 pounds per person. Smaller birds, say twelve pounds or less, have a higher bone to meat ratio so you may need to go with something more like 2 pounds per person. Of course, if you get more than you need you’ll be more likely to have leftovers for sandwiches and soup the next day.

Thanksgiving potluck planning | Brooklyn Homemaker

With your turkey plans out of the way, it’s time to figure out who’s going to make what.

Rather than dictate, I think it’s best to let people choose what they’d like to make. Some people have real attachments to certain dishes or have specialties they love to make, and letting them decide makes it more fun for everyone involved. If you want, go ahead and reach out to the best cooks first so they get first dibs on whatever they like. Feel free to encourage people to make a few dishes if they feel up to it. Just make sure you ask if anyone will need to use your kitchen to finish or reheat their food!

This requires a bit of organization and communication, but it’s important that you let everyone know what dishes are already chosen so you don’t end up with four green bean casseroles and fifteen pies. Rather than choosing what specific dishes you want people to make, I think it’s better to give general suggestions. Instead of saying, “we need candied yams”, say “we need a vegetable dish”, or even “we need a yam dish”. If you want to, you can try to steer people in a certain direction, but it’s best not to dictate to them if you want them to enjoy the process.

This can be a bit tricky, but I also think it’s important to try to encourage your guests to consider other guests’ dietary restrictions. That doesn’t mean that no one gets to eat meat just because one guest is a vegetarian, but if a dish is easy to make meat-free then it shouldn’t be too much to ask to avoid bacon and chicken stock. If someone says they want to make sausage dressing, then fine, your vegetarian guests don’t eat that. If they say they want to make mushroom dressing though, urge them to try it with vegetable stock instead of chicken or turkey.

Thanksgiving potluck planning | Brooklyn Homemaker

When it comes to choosing what dishes you need for the full experience, I think it’s best to break it down into categories.

In addition to turkey and gravy, you’ll probably want:

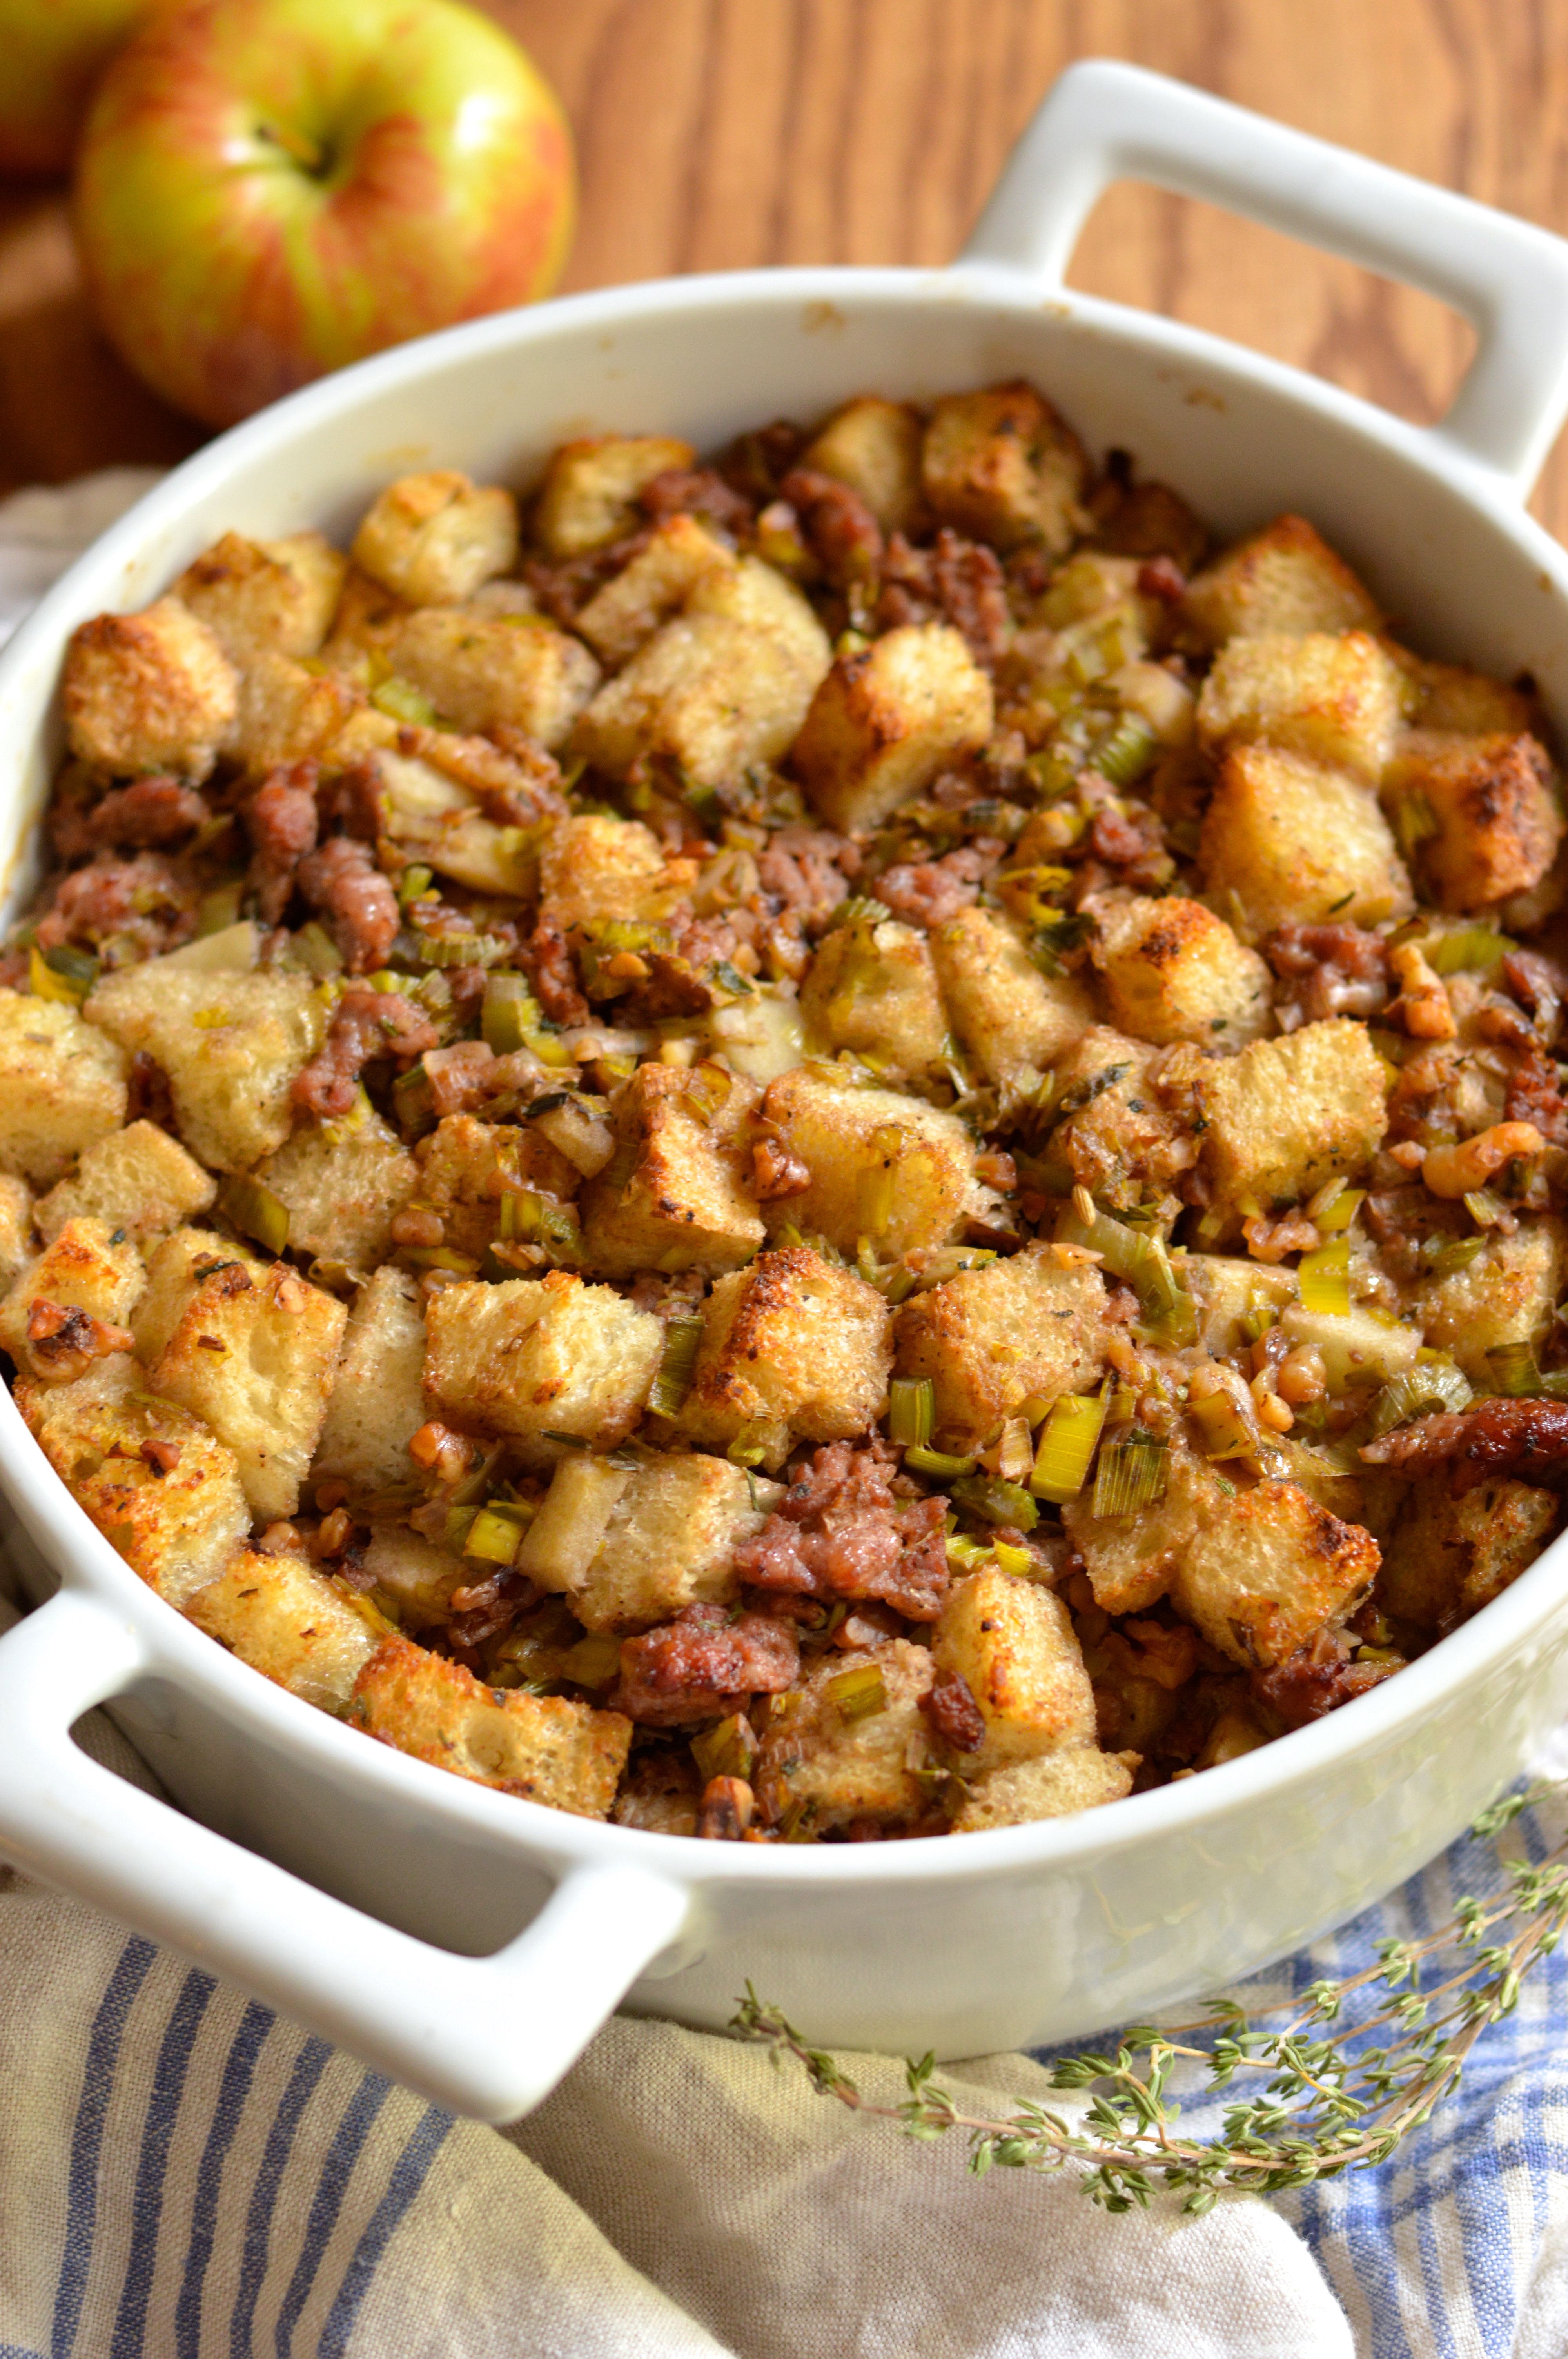
  • Dressing (or stuffing, if that’s what you’re in to)
  • Cranberry sauce (canned is fine, but homemade is better and actually pretty easy)
  • Some starchy sides like mashed potatoes, sweet potatoes, or corn pudding
  • A few vegetable dishes. This category has the greatest room for creativity and diversity, and could even be broken down into subcategories by color. A few popular dishes on thanksgiving are green bean casserole, brussels sprouts, braised greens, glazed carrots, roasted winter squash, roasted root vegetables, or maybe even a nice salad with fall flavors like pears and candied pecans.
  • Some type of bread like biscuits, rolls, or cornbread
  • Don’t forget that you’ll need something to drink. You’ll want juice or milk for the kiddies, but when it comes to the grown up juice you can go traditional with wine and beer, or get creative with punches or cocktails. I think a spiked hot apple cider or a punch with ginger beer, cranberry juice and bourbon would be great!
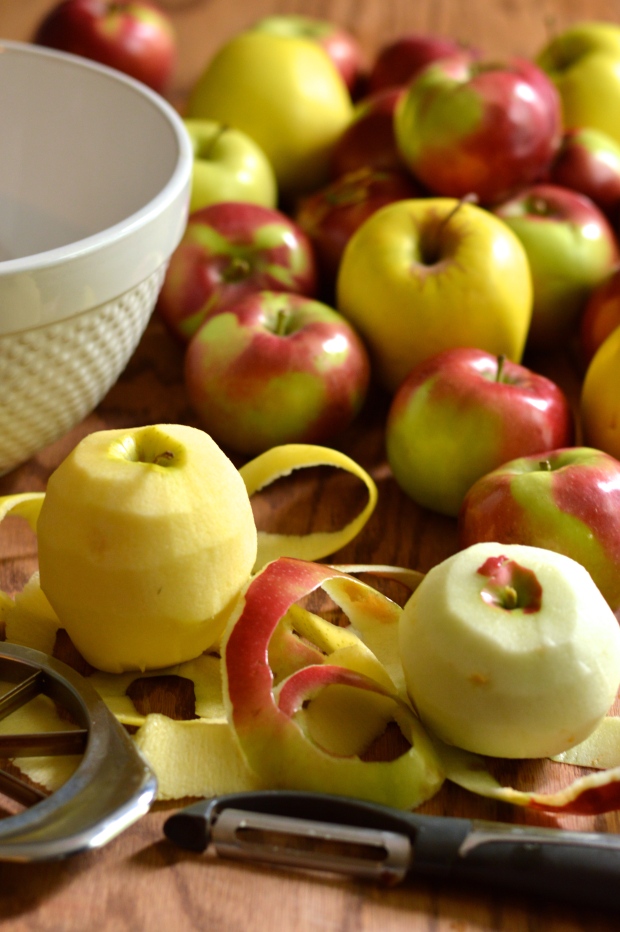
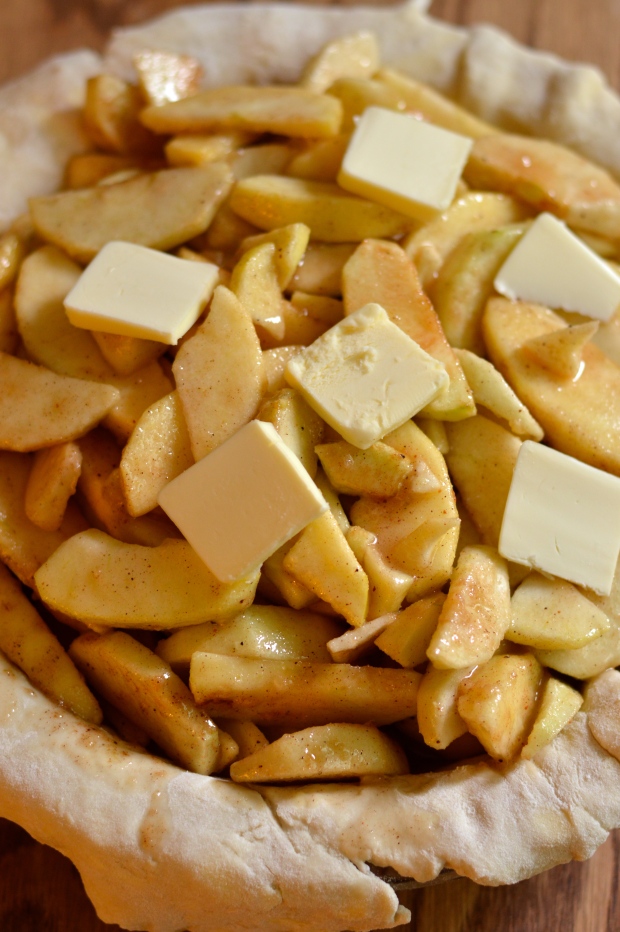
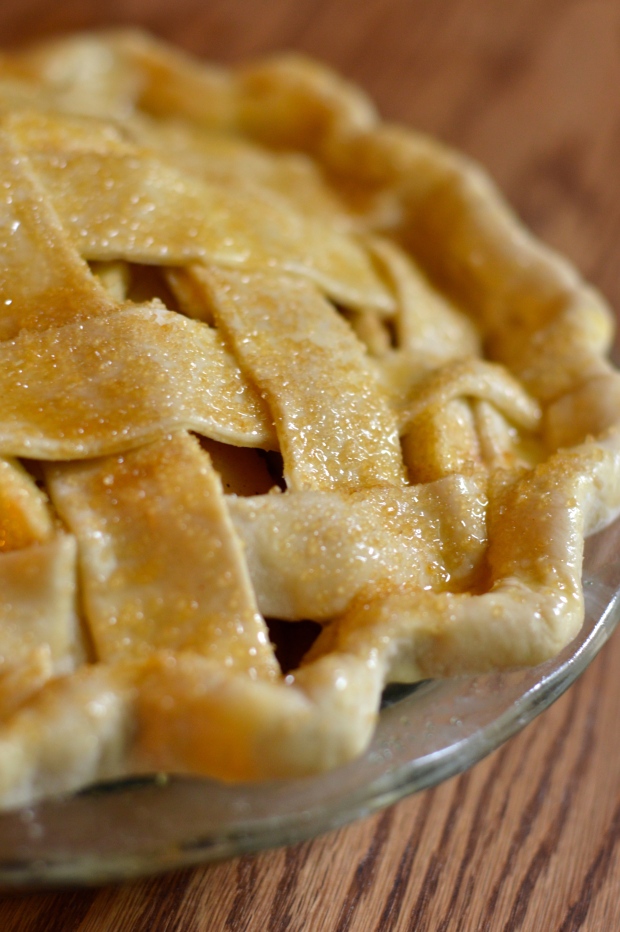
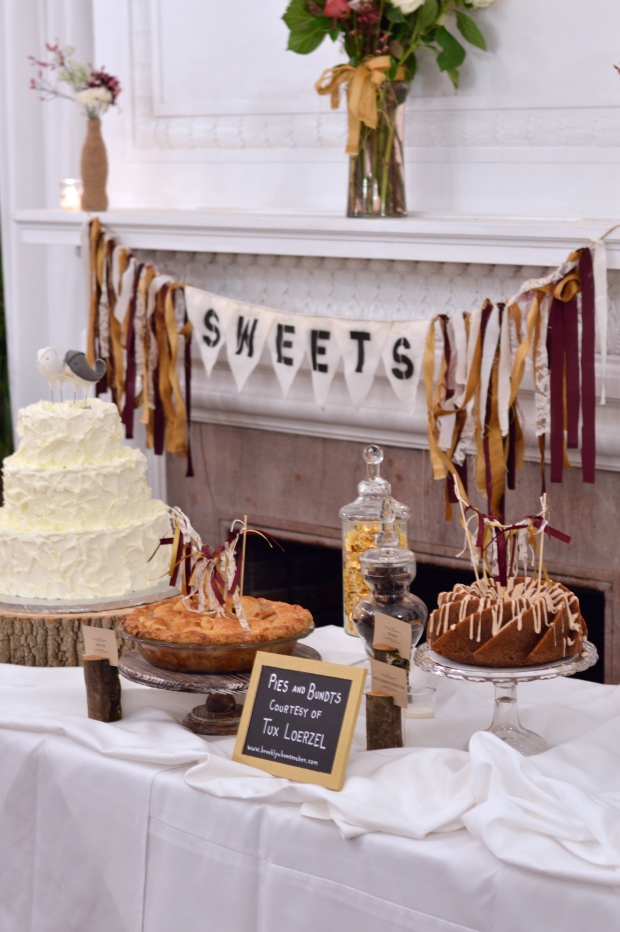
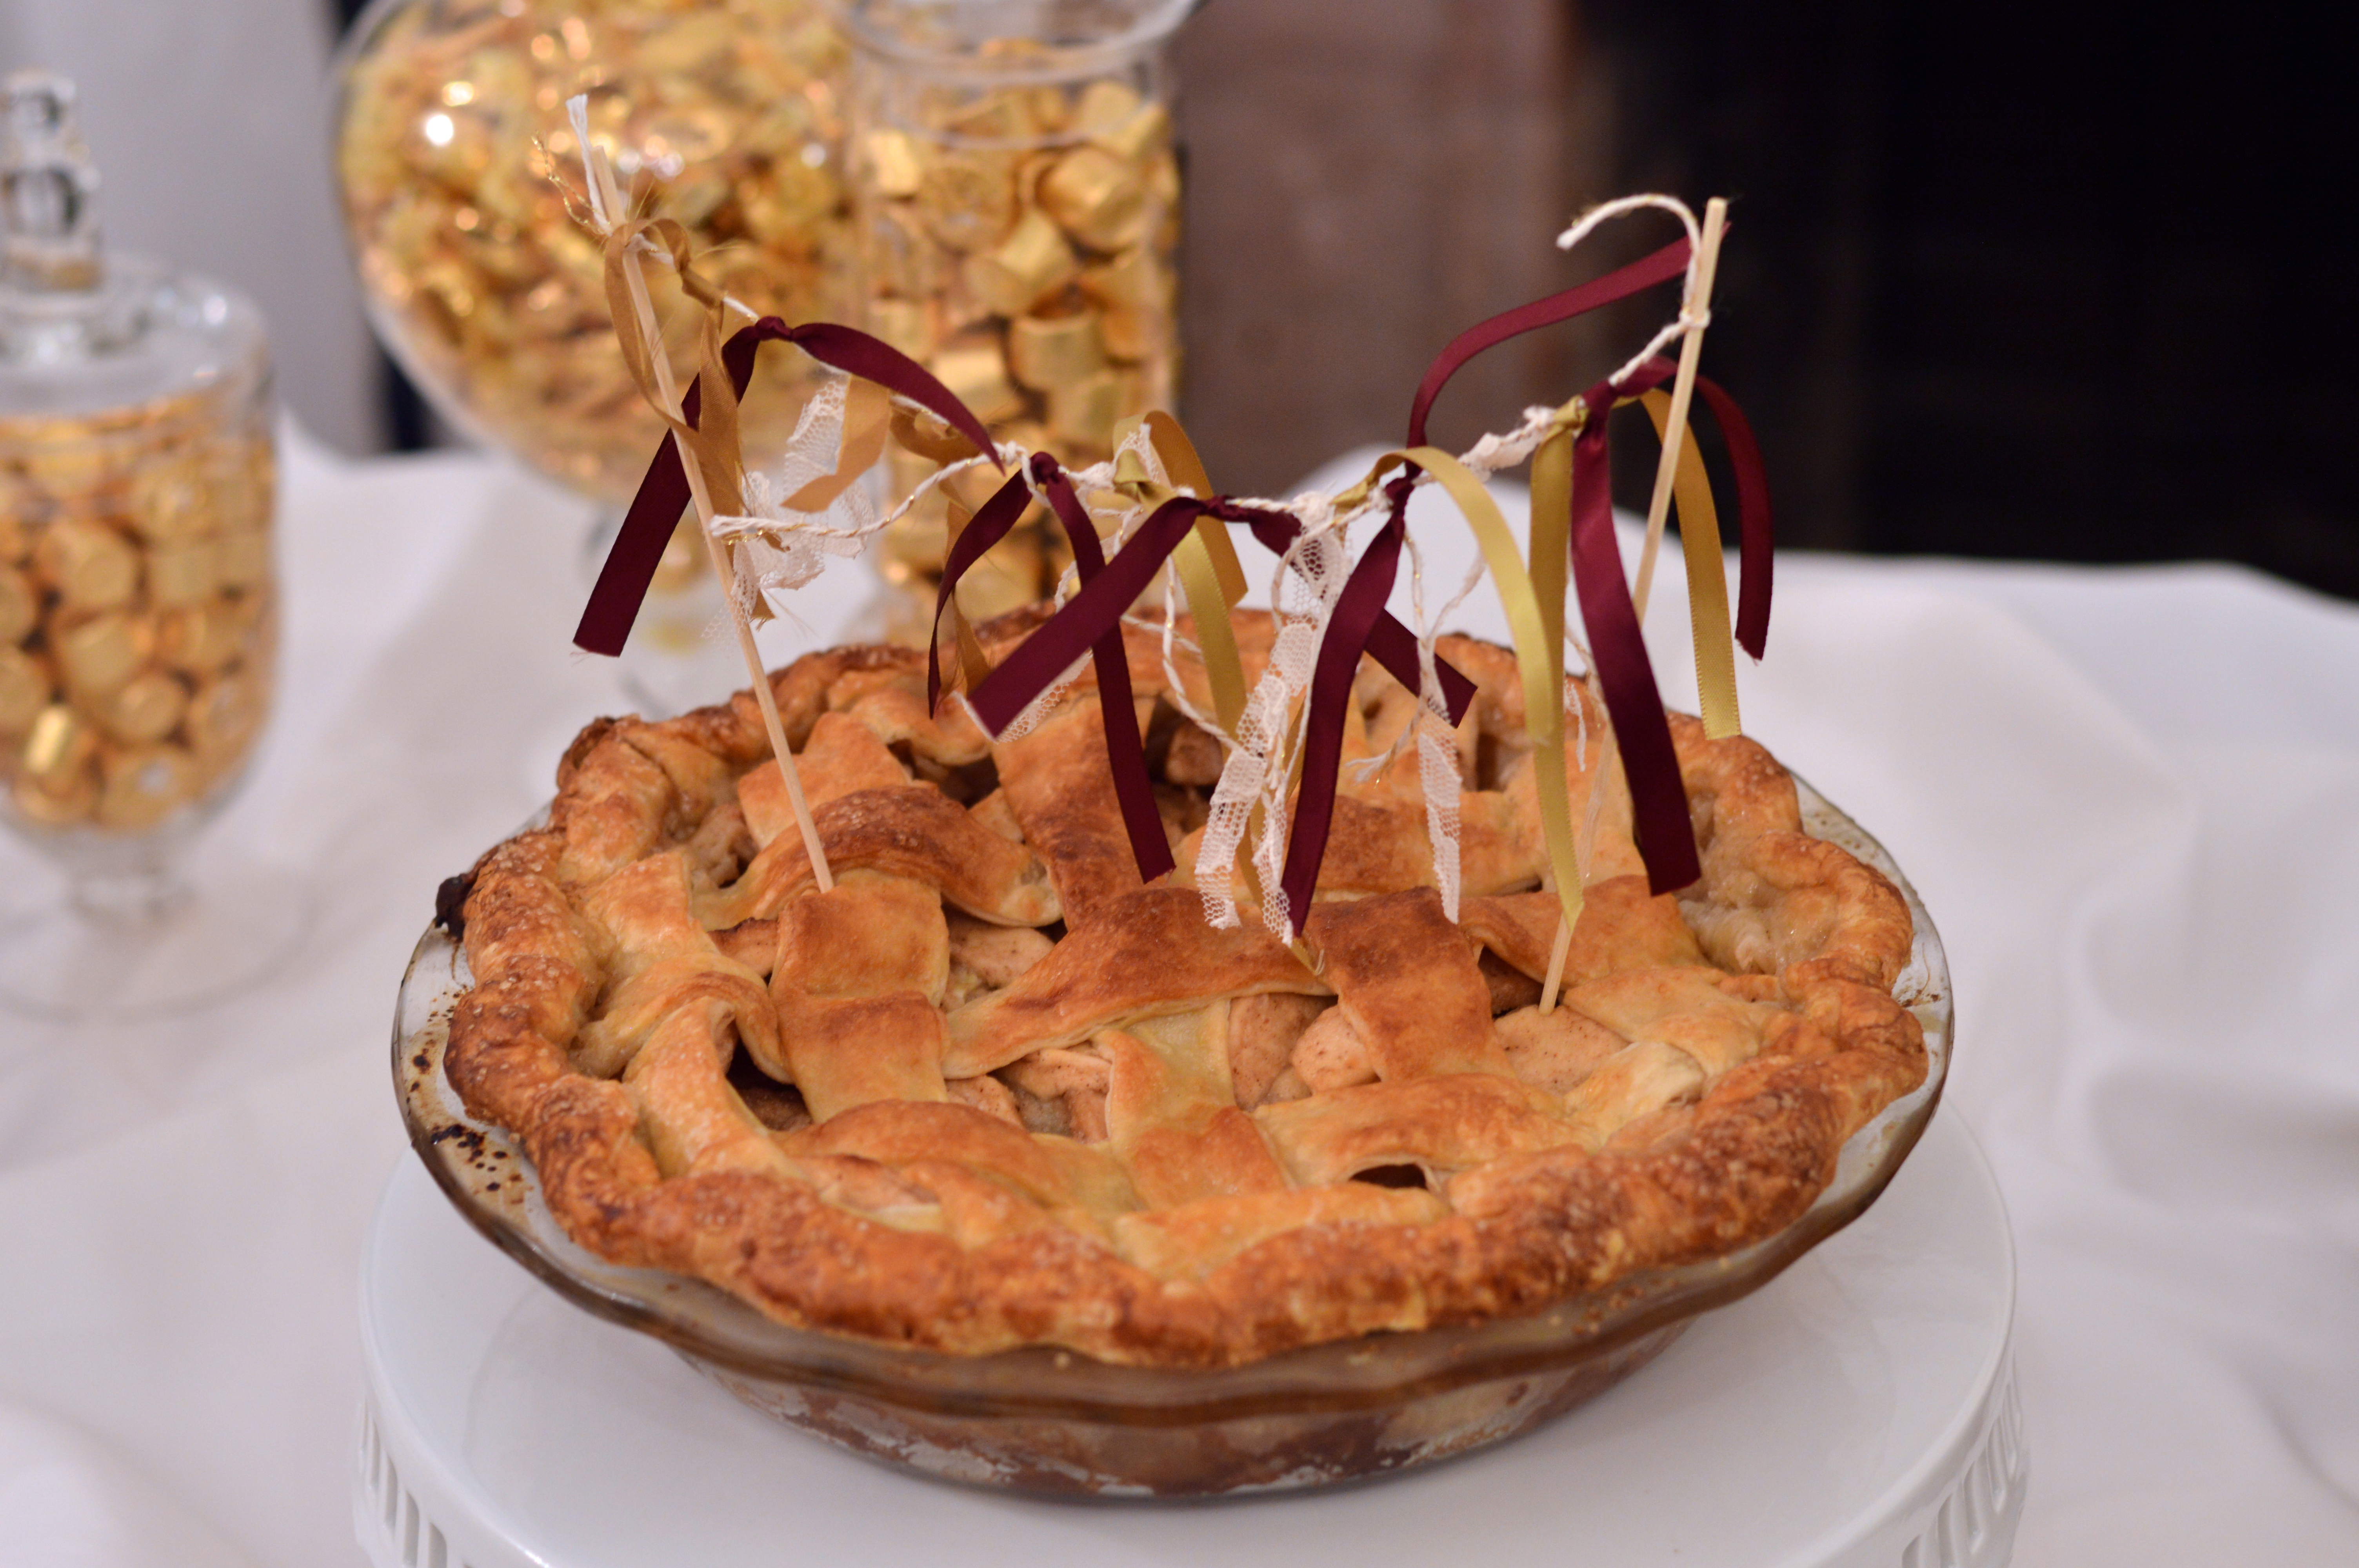
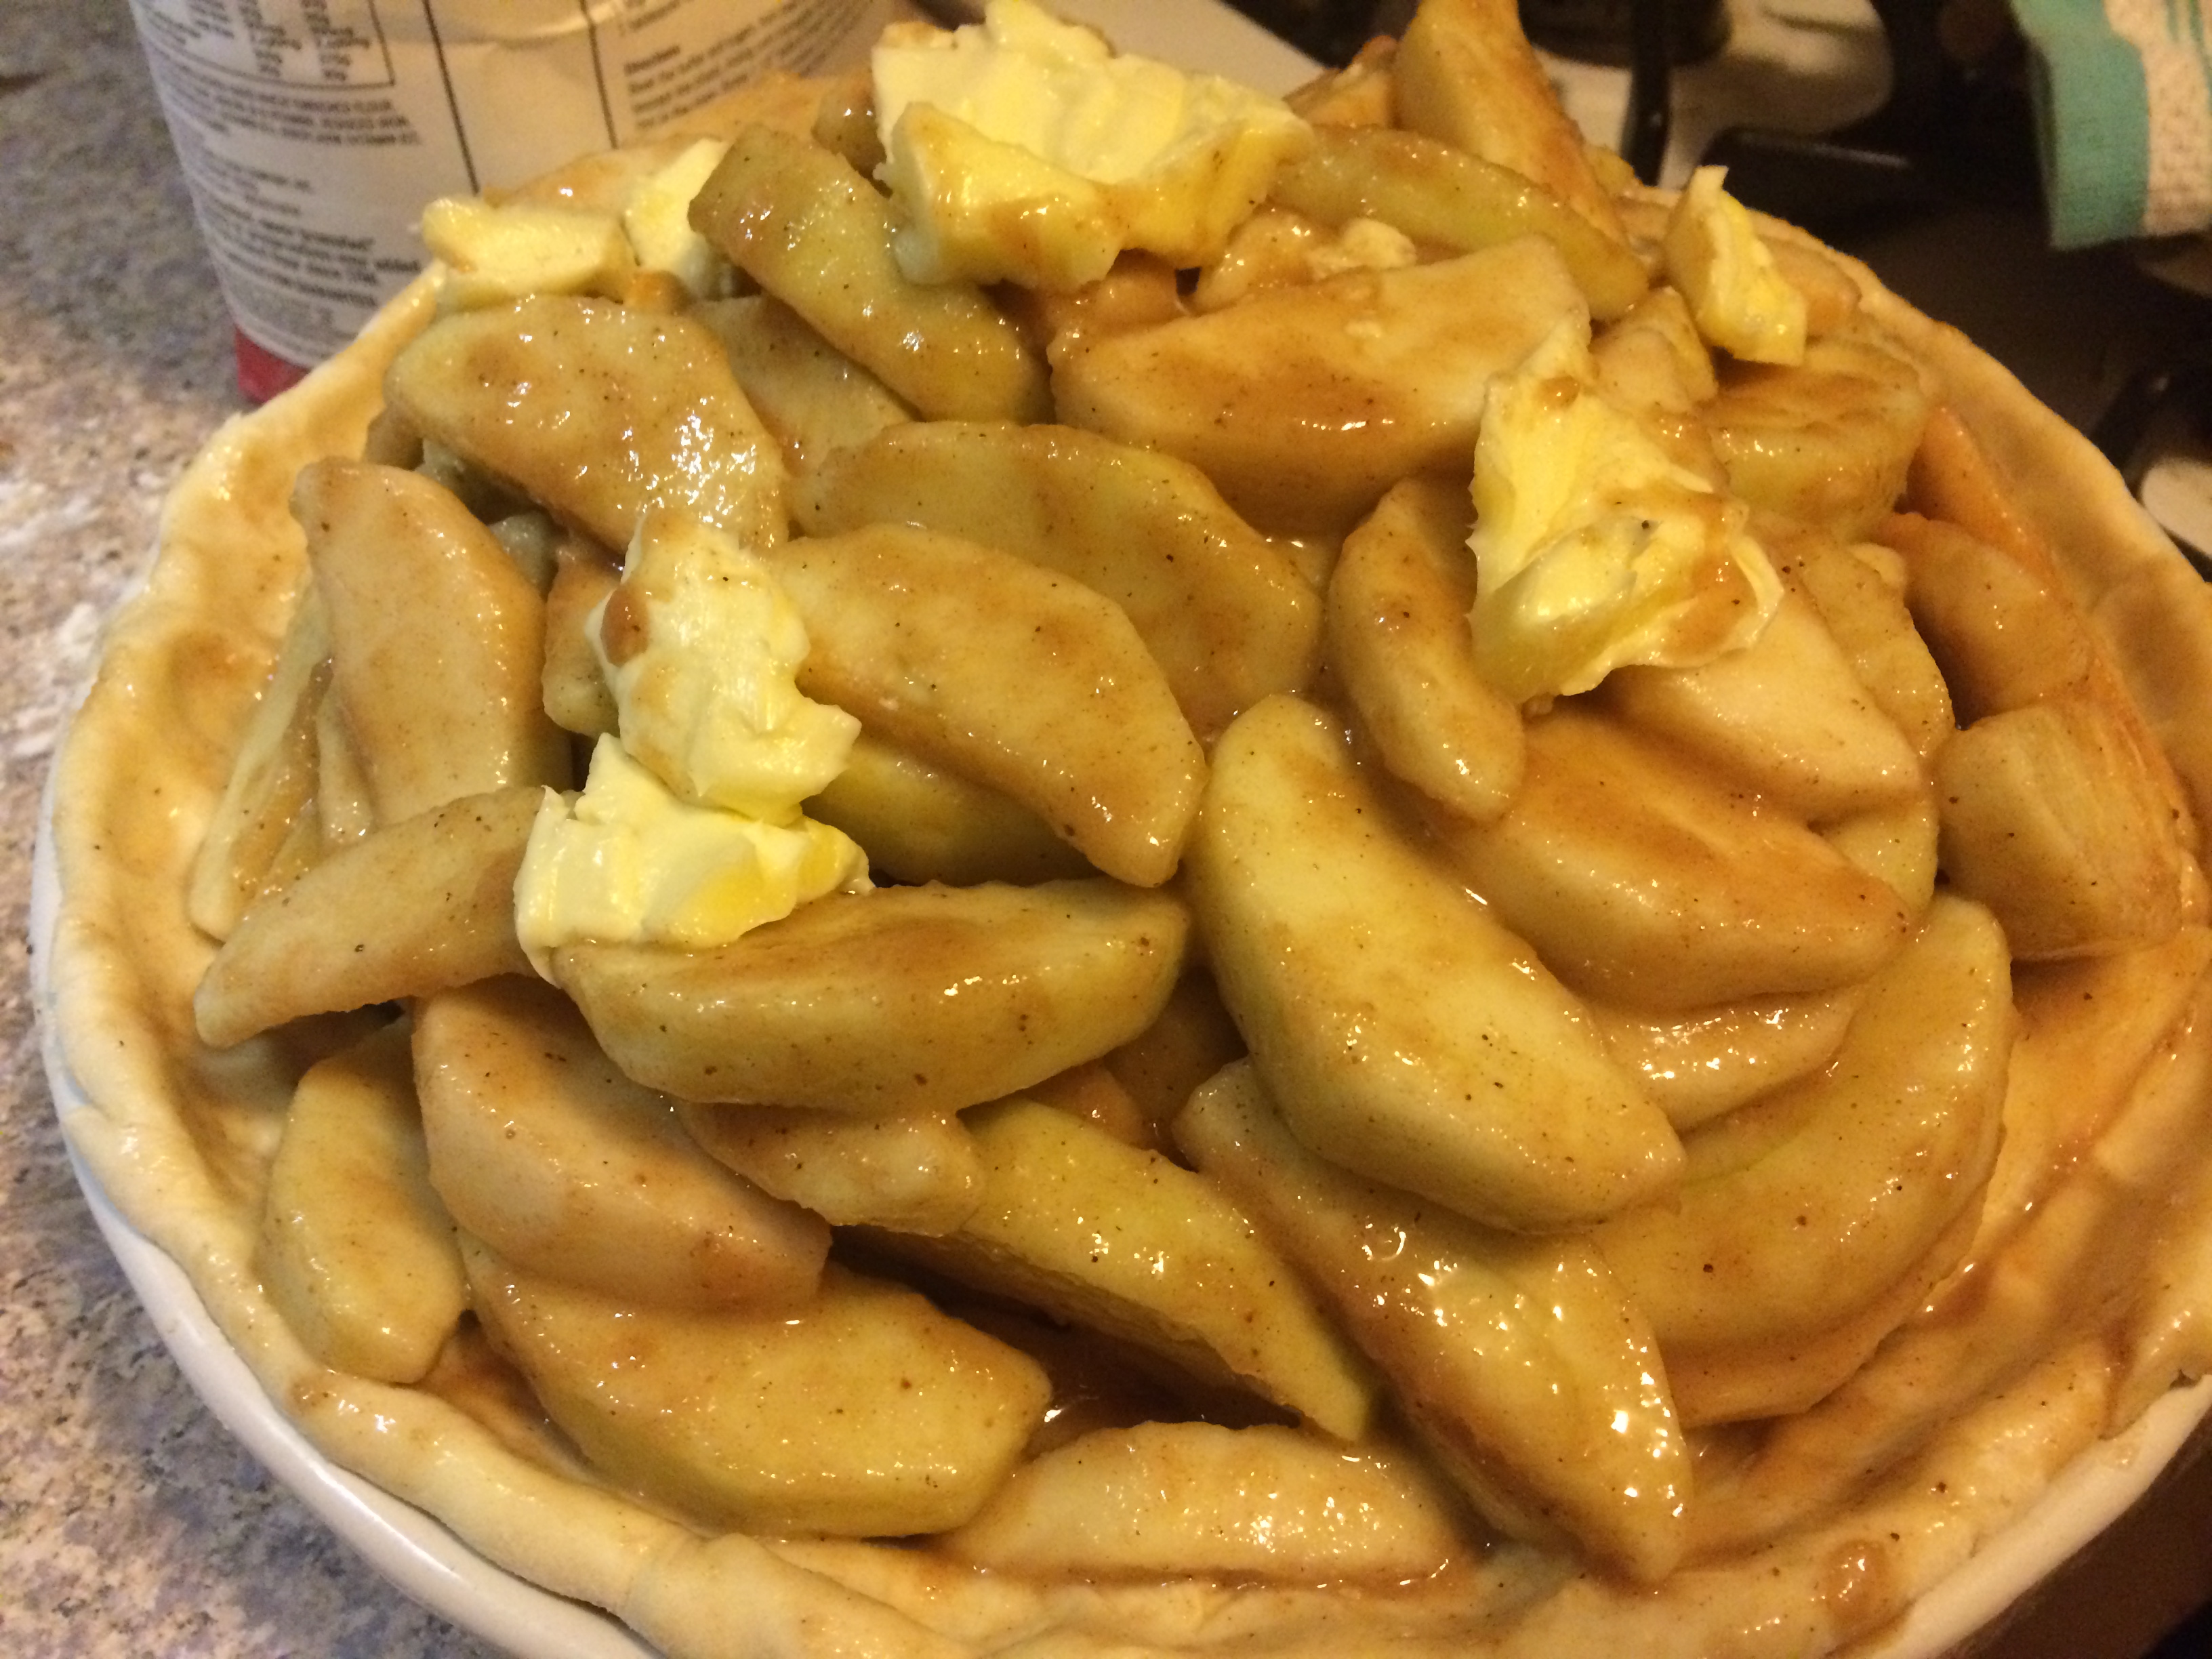
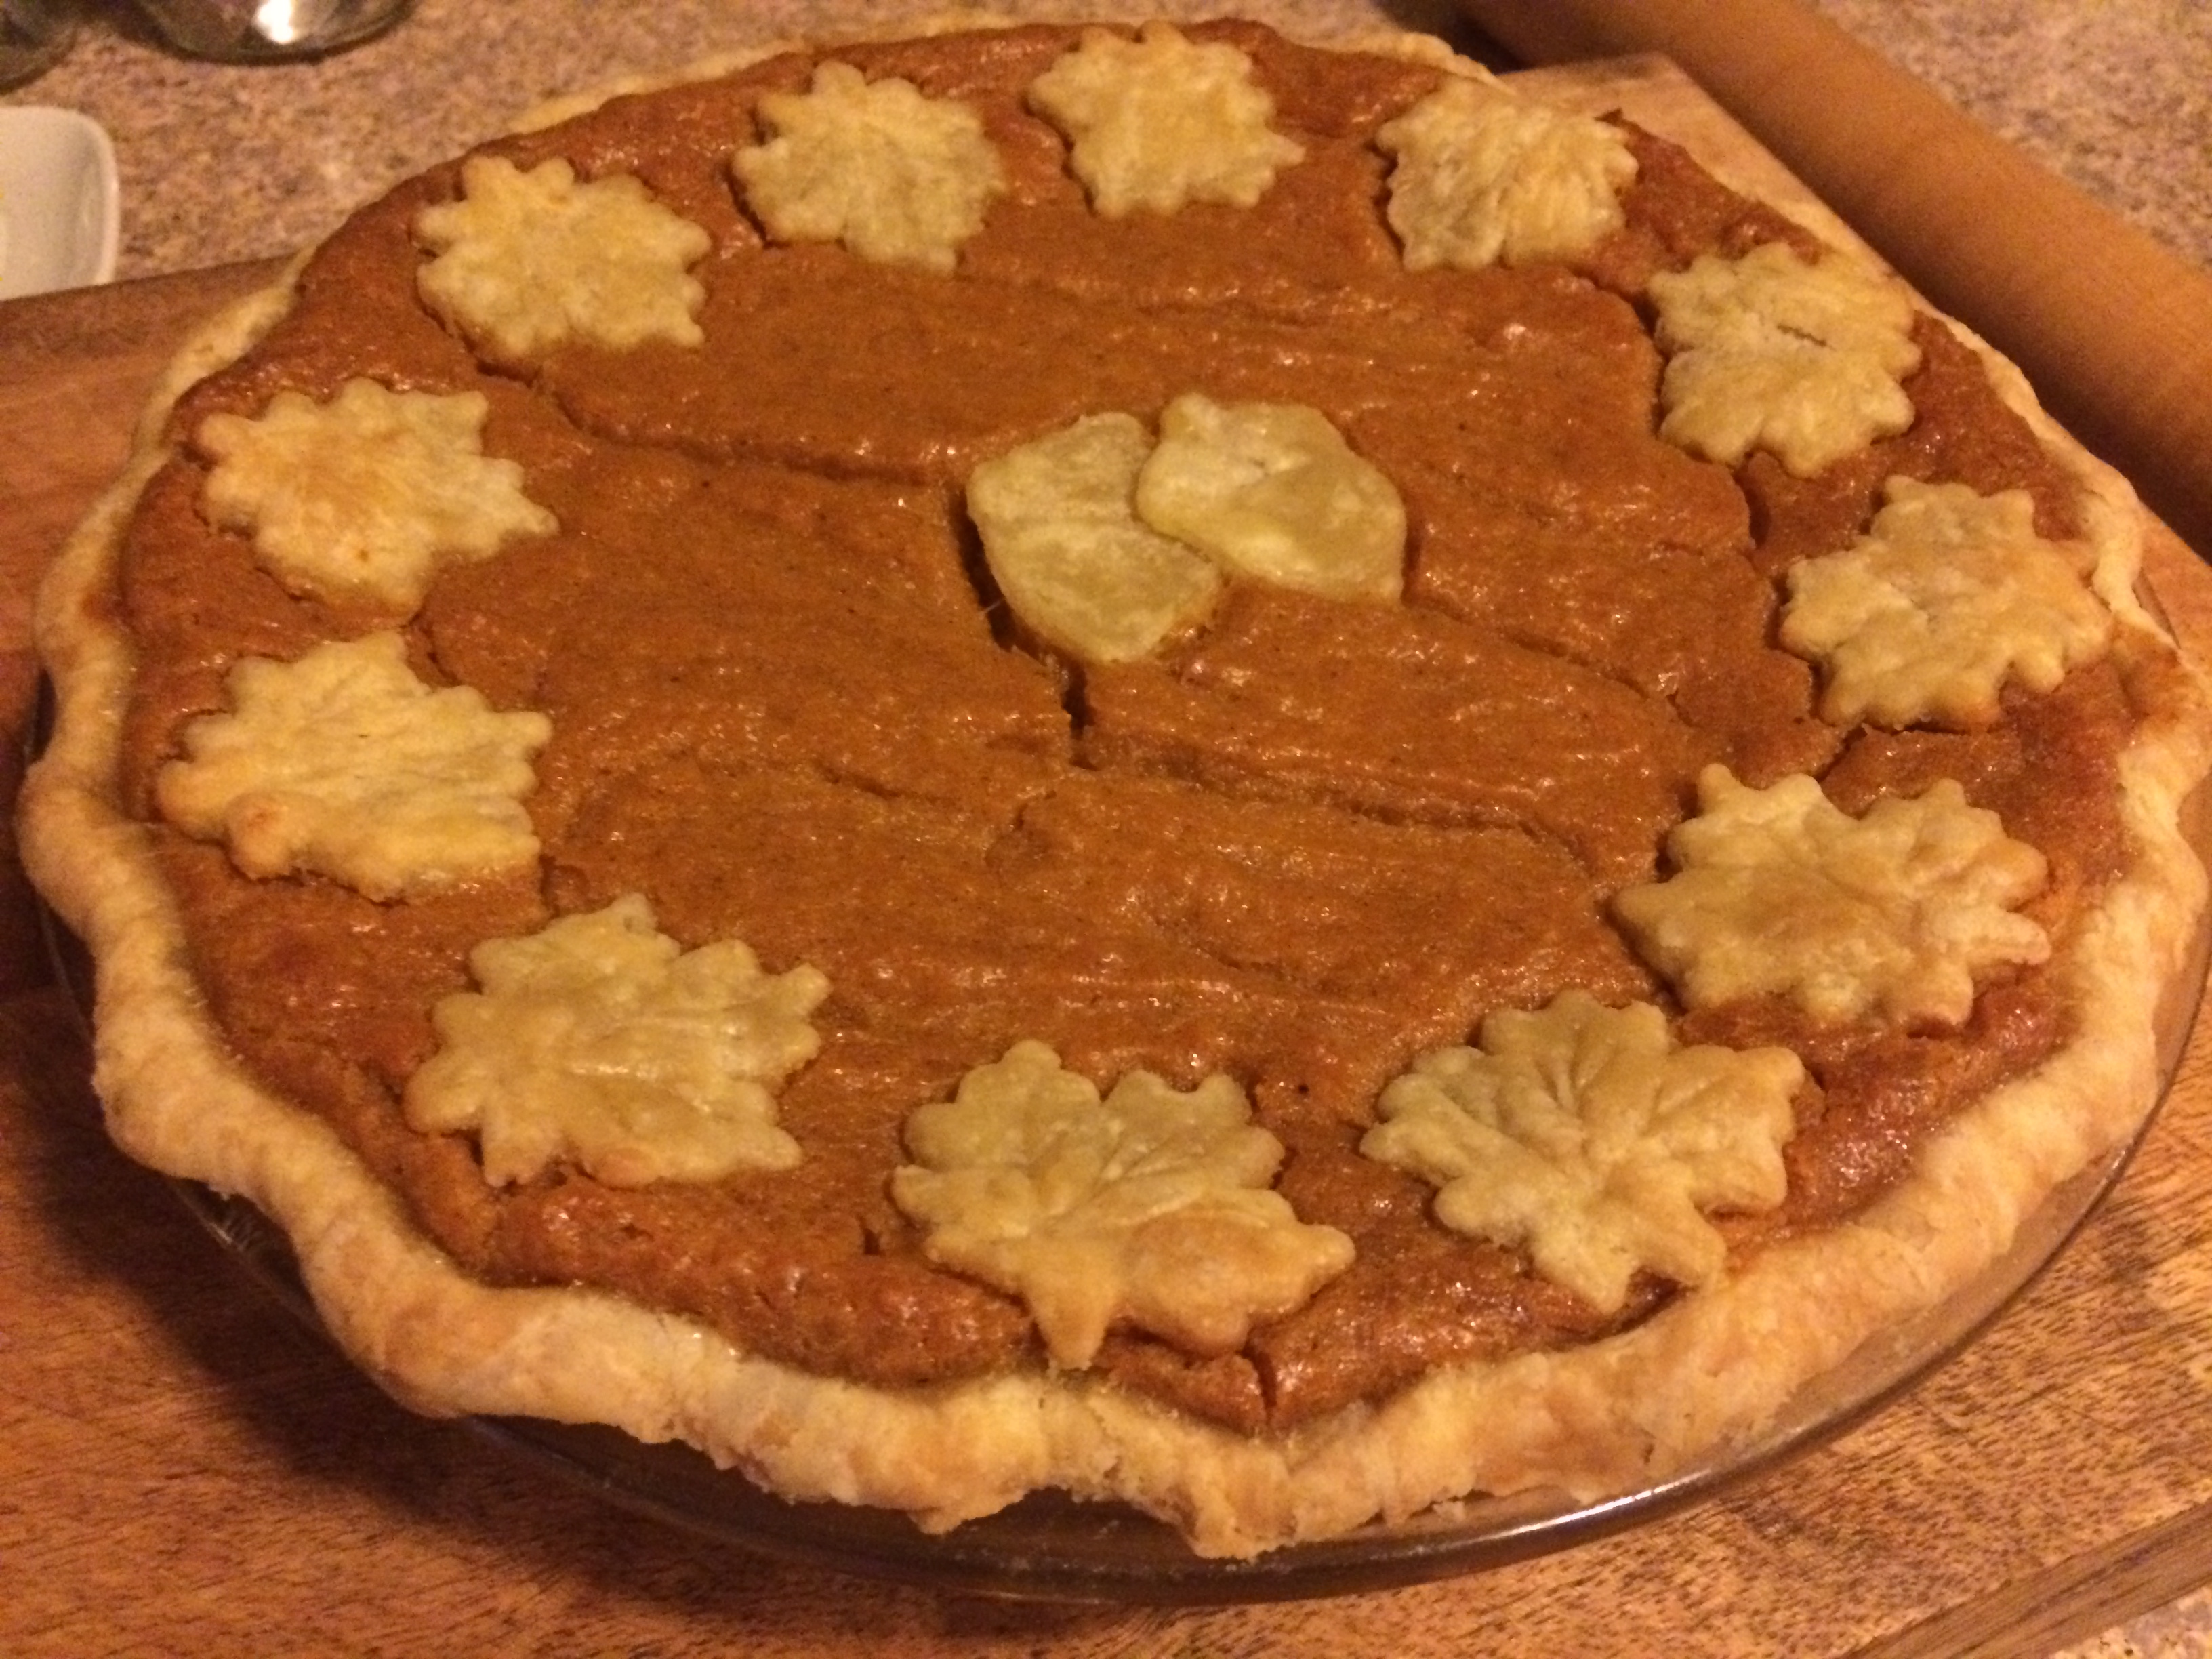
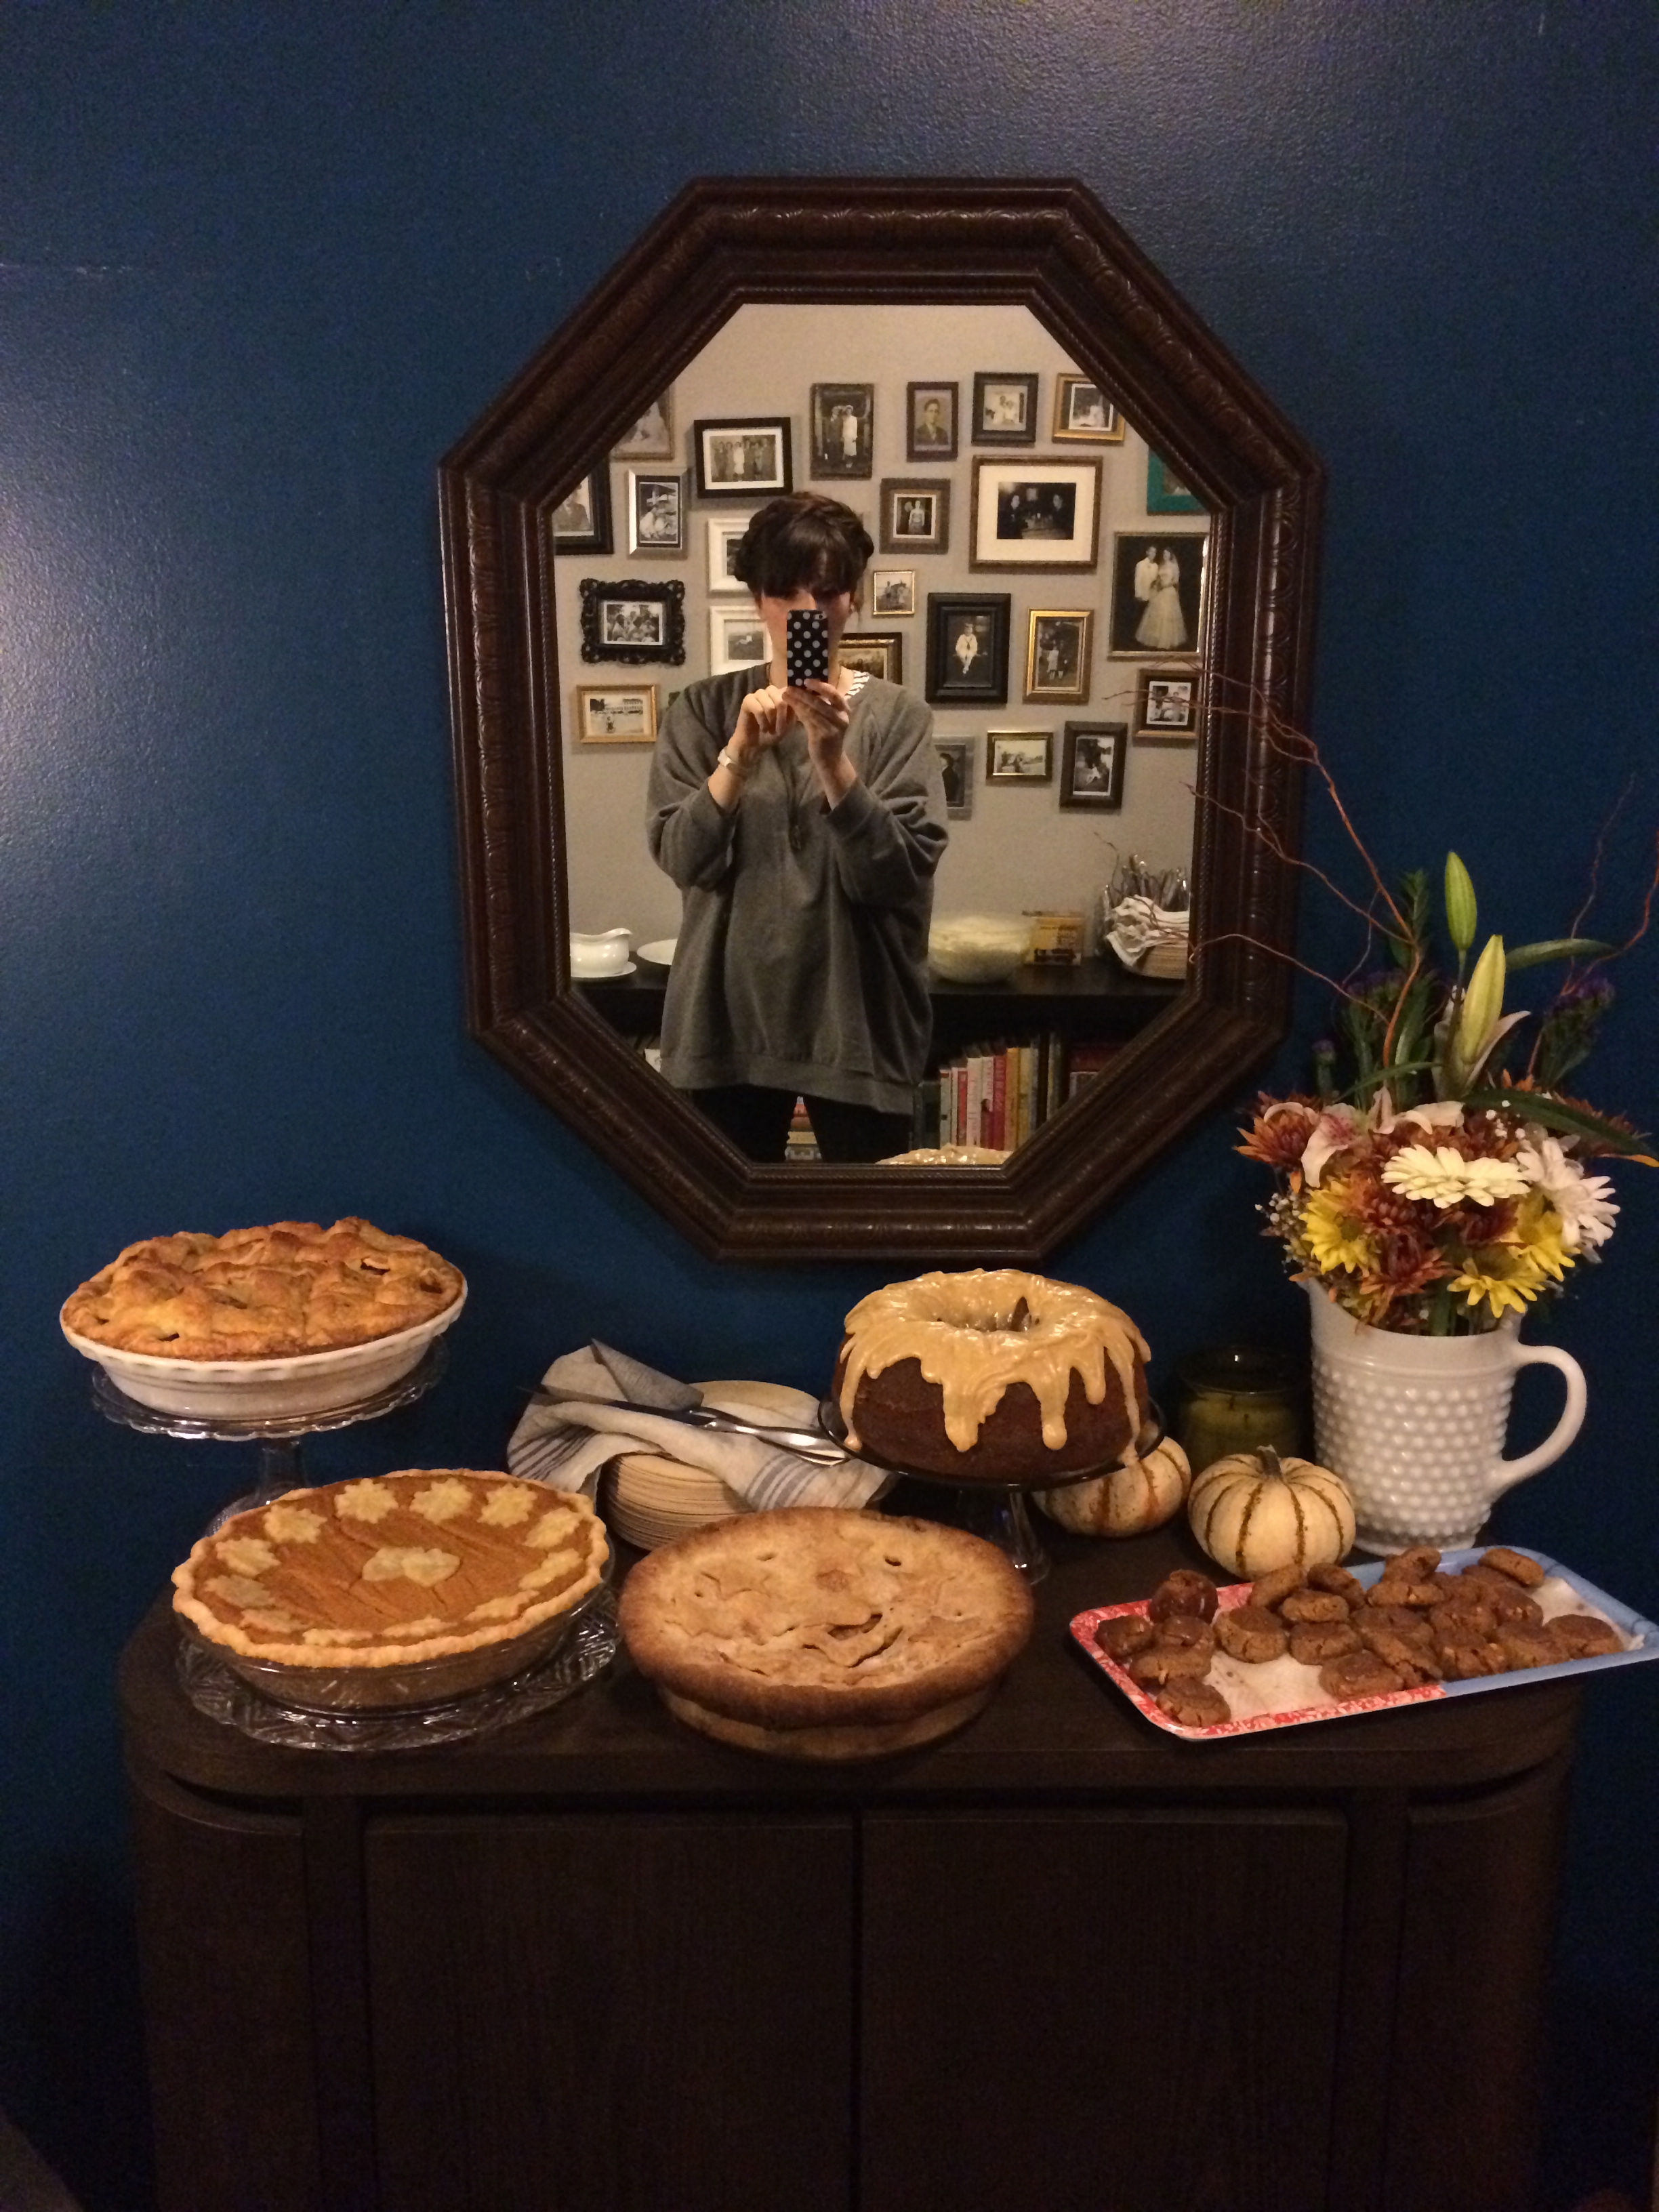
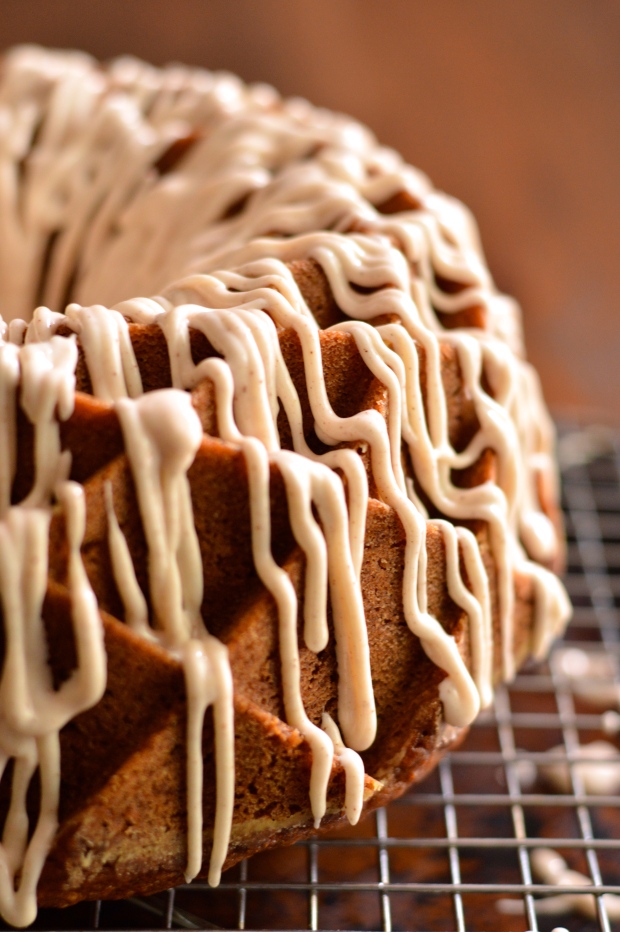
  • Of course, you can’t forget dessert! I always have apple pie and either sweet potato or pumpkin pie. You could also do pecan pie, pecan praline bundt cake, harvest bundt cake, apple kuchen bars, or even pumpkin cheesecake!

The only thing left to consider is the supplies you’ll need to cook and serve all this food! Make sure you have enough plates, silverware, glassware, & napkins. Don’t be afraid or embarrassed to use (sturdy) disposables to save on dishes. You’ll also need serving platters & bowls, serving spoons and ladles. Get your carving & chef knives sharpened ahead of time and make sure you have a roasting pan large enough for your turkey.

Thanksgiving potluck planning | Brooklyn Homemaker

Of course, this is just how I like to do things, but I really do hope these tips are helpful!
Have a Happy Thanksgiving y’all!

classic apple pie

A few times now, I’ve mentioned my good friends who have been planning their wedding.

classic apple pie & a rustic fall wedding | Brooklyn Homemaker

Well folks, they finally went and done got hitched.

Mazel Tovs all around!

classic apple pie | Brooklyn Homemaker

Back when Russell and I were married in June of 2013, our caterer’s mother baked us some pies for the dessert table at our wedding. Not only did having a variety of pies and treats alongside our cake look really festive and beautiful, but it felt like a really personal way to offer something extra for the sweets lovers at our reception.
I’ve also heard that there are some people in the world who don’t like cake, and as hard as I find that fact to believe, we thought this might be a nice way to make sure those people felt included. I mean, I don’t know why anyone who doesn’t like cake would have been at our wedding, but just in case we had pies and cookies for them to choose from too.

classic apple pie | Brooklyn Homemaker

That aspect of our wedding ended up being something that our friends really really enjoyed, so when it came to planning their own wedding, they were inspired to do the same and enlisted me to help them with it. In last month’s #bundtbakers post I mentioned that I’d be baking a few things for their big day, and that my apple-pear-carrot-parsnip-packed spiced harvest bundt cake won out in little a pre-wedding cake tasting. I also said that in addition to the bundts, I’d be baking a couple pies too.

classic apple pie | Brooklyn Homemaker

As you’ve probably guessed by now (the title of this post may have been a clue), the bride and groom-to-be decided on classic apple pies.  Their wedding was in the Catskill mountains on October 12th, so apple pies really could not have been more appropriate for the occasion. The fall has always been my favorite time of year, as much for the weather and scenery as for the food and sweets so, truth be told, I was thrilled to have an excuse to bake so many fall desserts in one fell swoop!

classic apple pie | Brooklyn Homemaker

I’d be lying if I said I didn’t know my way around an apple pie. Growing up, my grandfather had a dozen or so apple trees on his property and this time of year there were always plenty of fresh apple pies coming from grandma’s oven. As soon as I learned to make pie crust from scratch I set to mastering apple pie for myself.

classic apple pie | Brooklyn Homemaker

Over the years, I’ve baked approximately 42.6 million apples pies, so at this point I think I have my technique pretty well figured out.

I mean, I actually think that apple pie is kind of a personal thing, and different people like theirs made different ways. Myself, I tend to like a pie with a healthy amount of spice and a nice lemony boost. A lot of recipes recommend a bit of lemon juice, but I usually use a bit more and add the zest too because I think it adds a really interesting floral quality that I love. I also tend to use sweet soft apples that benefit from the extra bit of acidity.

classic apple pie | Brooklyn Homemaker

When it comes to the apples, there are a lot of options out there. A lot of people like to use Granny Smiths because of their balanced acidity and subtle sweetness, but personally I think their flavor is a bit flat, and their flesh a bit too firm for my liking. When I first started experimenting with different types of apples for pie, a few varieties quickly moved to the top of my list. If you like a firmer apple, Braeburns have a great flavor for pie. If you want an apple that softens a bit but still retains a good bite when baked, I think Golden Delicious are ideal. If you like something a bit softer when baked, McIntosh and Cortlands are some of my favorites, but they produce a bit more water so a bit more flour may be needed to keep the pie from getting soggy.

If you want to get really next level and pack your pie with as much complex apple-y flavor as possible, I recommend that you mix a few varieties together. For these pies I used a half and half mix of McIntosh and Golden Delicious, but you can play around and decide what you like best yourself.

classic apple pie & a rustic fall wedding | Brooklyn Homemaker

With the pies and bundts baked and ready to go, Russell and I piled into a car and made the short trip up to the Catskills for the wedding. The scenery was almost as stunning as the wedding itself. Our friends though, would not be outshone.

It was such an absolutely beautiful day. Every aspect of their wedding was perfect. Their vows were some of the most meaningful beautiful words I’ve ever heard, and there were gorgeous personal touches at every turn. I only wish I could have gotten more photos. Alas, I was too busy enjoying myself. Sorry guys!

I was able to sneak a few shots in though, and I’ve shared a few of my favorites below.

classic apple pie & a rustic fall wedding | Brooklyn Homemaker classic apple pie & a rustic fall wedding | Brooklyn Homemaker

Check out the insanely beautiful centerpieces at the reception. I can’t even.

classic apple pie & a rustic fall wedding | Brooklyn Homemaker

In the name of blogging, I made damn certain to get in a few shots of their dessert table so you could see it in all it’s glory. Just like the rest of their wedding, every detail was too adorable and perfect for words.

classic apple pie & a rustic fall wedding | Brooklyn Homemakerclassic apple pie & a rustic fall wedding | Brooklyn Homemaker

The bundts and pies were a huge hit. Having these homemade treats alongside their wedding cake was such an inspired way to make their dessert table feel more personal and thoughtful. Being surrounded by the stunning fall foliage of the Catskills, these desserts also brought that fall feeling into their reception in a really special way.

This apple pie is packed with sweet soft tender apples, a really healthy amount of spice, and a great citrusy floral twist from the lemon zest and juice. The all butter crust is the perfect compliment to the flavor of the baked apples; tender, crisp, flaky, and oh-so-buttery. To give the pie a bit of shine, an egg wash is brushed on before baking, and some coarse sugar sprinkled over the top adds a beautiful sparkle.

I’m going to go ahead and say that this is the perfect fall dessert. As well as being an incredible compliment to a wedding dessert table, this recipe would be an ideal addition your Thanksgiving spread. Just sayin’.

classic apple pie & a rustic fall wedding | Brooklyn Homemaker

Classic Apple Pie

All-butter pie crust

makes enough for 1 double-crust or 2 single-crust pies

3 cups all purpose flour
2 tablespoons sugar
1 teaspoon coarse kosher salt
1 cup (2 sticks) unsalted butter, cold
(up to) 1 cup ice cold water

Stir or whisk together flour, sugar, & salt in a medium bowl. If you have time, toss the bowl in the freezer for a 15 or 20 minutes. Cube the butter, add it to the chilled flour, and cut it in with a pastry blender, until it looks like coarse pea sized chunks. You can also do this by pulsing in a food processor. If you took very long to cut the butter in, you can toss the bowl back in the freezer for another 15 minutes, but if the butter is still firm and cold, don’t bother.

Start mixing in the water and stirring and tossing with a fork to distribute and combine. Try starting with about 1/2 cup, mix together, and add about a tablespoon or two at a time, until it starts to come together. The less water you use the better and flakier the crust will be, but you don’t want to use so little that it won’t hold together. If you can press it together with your hands and it mostly stays in a ball, with a few little bits crumbling out, you’re good to go.

Divide the dough into to balls, and wrap each tightly in plastic wrap. Try to handle it as little as possible so as not to warm or melt the butter. Press or pat the covered balls of dough into thick disks and refrigerate for at least an hour or two (or up to a few days)

Classic apple pie

3 1/2 to 4 lbs apples (I used about 1/2 golden delicious and 1/2 macintosh, but cortlands & braeburns are great too)
zest and juice of half a lemon
1 cup of sugar
3 to 4 tablespoons flour (4 for juicy soft apples like mcintosh or cortland, 3 for other varieties)
3/4 teaspoon ground cinnamon
1/4 teaspoon ground nutmeg
1/4 teaspoon ground cloves (optional)
1/4 teaspoon ground cardamom (optional)
2 tablespoons butter, cut into several pieces
1 egg, beaten
2 to 3 tablespoons coarse sugar

Preheat your oven to 375.

On a well floured surface, roll out the first disk crust and line a 9.5 or 10 inch pie dish. Place the dish in the refrigerator while you prepare your apples.

Peel, core, and thinly slice your apples and place in a large bowl with lemon juice and zest, sugar, flour, and spices. Gently toss to combine. Transfer the apples into the pastry lined pie dish, and dot the apples with the butter. Roll out the other disk of crust and either top the filled pie with it and cut slits to vent the pie, or cut the crust into strips to make a lattice crust. If you’re interested, follow this link for a lattice crust tutorial. Either way, once the pie is topped, trim the edges to about 1/2 inch overhang, roll it under itself, and crimp the edges to seal the top and bottom crusts together.

Brush the top crust with the beaten egg, and sprinkle with the coarse sugar. You’ll want to arrange the oven racks so one is in the middle, and one is just beneath it. Put a foil lined tray on the lower rack to catch any potential drips and spills. It will likely boil over a little. Place the pie on the middle rack and bake for 60 to 65 minutes, or until well browned and nice and bubbly and smelling like heaven.

I’d recommend, especially with McIntosh or Cortland apples, that you let the pie rest for at least a few hours before slicing or it may be watery. I usually make mine a day ahead and reheat them just slightly in the oven if I want to serve them warm.

How we did Thanksgiving

I really love Thanksgiving. Like, a lot.

When I was younger Thanksgiving was always a holiday spent with family, sort of like Christmas but without the stress and running around, and with more pie. My Mother was the ultimate queen of holiday entertaining and this time of year our house was always filled with friends, family & food. Her Christmas party was usually the biggest deal of the year and she’d have giant bowls of shrimp cocktail, two different types of boozey homemade egg nog, countless nibbles and sweets, and trays of her famous taco dip. Sorry, now I’m drooling. These days I’m trying to follow in her footsteps.

Now that I’m older, and sell kitchenware for a living, I can’t get home for Thanksgiving anymore, so I’ve had to swap the family for friends. As much as I wish I could be home with family, spending Thanksgiving here in Brooklyn means that we can host in our own apartment, choose who our guests are, and make the food exactly the way we like it. No drunk uncles or soggy overcooked vegetables at this dinner, just good friends, great food, & lots of wine. Lots and lots of wine.

lattice crust deep dish apple pie | how we did Thanksgiving | Brooklyn Homemakerlattice crust deep dish apple pie | how we did Thanksgiving | Brooklyn Homemakerlattice crust deep dish apple pie | how we did Thanksgiving | Brooklyn Homemaker

We live in a small two bedroom railroad apartment, (long and skinny with the only windows at either end) so we don’t have a dining room. We do have plenty of seating though, so we decided to serve our meal buffet style and pull some chairs up to the sofa and around the coffee table. Most of our friends love cooking almost as much as I do, so we decided to make our Thanksgiving meal a potluck and ask people to bring a dish with them.  Since we were hosting we decided that the turkey would be my responsibility. Since I tend to go overboard, I went overboard. The plan was to make the turkey, gravy & dressing, along with a pie or two. What actually went down was a little more involved.

The menu I prepared went like this:
turkey roasted with citrus herb butter
chardonnay turkey gravy
mushroom, leek & sourdough dressing
roasted butternut squash with honey and thyme
spiced orange cranberry sauce
flaky salt and pepper buttermilk biscuits
lattice top deep dish apple pie
sweet potato pie
wine, wine & wine

sweet potato pie | how we did Thanksgiving | Brooklyn Homemakersweet potato pie | how we did Thanksgiving | Brooklyn Homemaker

Since we have amazing friends with amazing taste, the other dishes that joined the party included:
braised red cabbage with apples and red wine
mashed potatoes with goat cheese and garlic
brussels sprouts sauteed with chestnuts, bacon and onions
rice salad with chickpeas and dried currants
pumpkin bundt cake with salted caramel icing
spicy cayenne apple pie
chocolate filled peanut butter cookies
homemade bourbon vanilla ice cream
On yeah, and more wine.

how we did Thanksgiving | Brooklyn Homemaker

Doris, Betty & Russell waiting for guests to arrivedessert buffet | how we did Thanksgiving | Brooklyn Homemaker

Needless to say I’m still full today. It was an amazing meal and I’m so lucky to have such wonderful friends to spend my holidays with. The turkey was probably the best I’ve ever tasted, and definitely the best I’ve ever made. Our dogs could not have been happier either. They were in heaven! Plenty of treats falling on the ground and plenty of laps to curl up on. A few of our guests were English and Irish, and this was the first Thanksgiving one of them had ever celebrated. We spent much of the evening talking about the differences in holiday traditions and foods across the world and making plenty of dirty jokes about fish pie. We played games and watched the muppets with Lady Gaga for the rest of the night.

IMG_0332IMG_0340IMG_0349

As much as I love tooting my own horn and being showered with compliments, I’m not just sharing all this with you to make you jealous. I also want you to know that even if you live in a small apartment and don’t have much family near you, you can still have an amazing Thanksgiving meal to remember. Of course how you organize your service and what your meal consists of is entirely up to you, but just in case you’d like to do something similar to what I did, I’m going to give you an idea of how I made it all happen.

dessert buffet | how we did Thanksgiving | Brooklyn Homemaker

dessert buffet selfie

I happened to have the Tuesday before Thanksgiving off so I did all my grocery shopping Monday night after work and tried to do as much as possible on Tuesday so I’d have less to worry about on the big day.

3 days ahead (Monday)- I finalized the menu, went grocery shopping, & confirmed the guest list.

2 days ahead (Tuesday)- To get a head start on things that would need to be done the day of, I made a citrus and herb butter for the turkey, cubed and dried the bread for the dressing, peeled and cubed the butternut squash and put it covered into the refrigerator. I also went ahead and made my cranberry sauce, and both of my pies because I wouldn’t have time the next day. I also met Russell in Manhattan to stock up on the ever important wine.

how we did Thanksgiving | Brooklyn Homemakerspiced orange cranberry sauce | how we did Thanksgiving | Brooklyn Homemaker

1 day ahead (Wednesday)- I work in a kitchenware store so, as you can imagine, the day before Thanksgiving is a busy day. I worked a 12 hour day and was exhausted when I got home, so I tried to plan my schedule so I would have very little to do that night. I did pick up some flowers on my way home, and went ahead and washed, dried & seasoned the turkey with salt and pepper before putting her in the fridge to rest until the next morning.

roasted turkey with citrus herb butter | how we did Thanksgiving | Brooklyn Homemaker

Thanksgiving day I slathered the turkey up with the citrus and herb butter and got her started in the oven. Then I started my mushroom, leek & sourdough dressing, covered it and put it into the fridge to wait until the turkey came out. Then Russell and I spent the rest of the morning calling family, cleaning the house and getting ready for our guests. I set up a buffet on our credenza-height bookshelf, and set up a dessert buffet on top of our bar cabinet. We decided to use some compostable bamboo disposable plates to save on dishes while still keeping it classy-ish. We got our wine chilling, seating in place, corkscrews and glassware out and ready, ice trays filled, and double checked to be sure we had everything we needed.

roasted butternut squash with honey and thyme | how we did Thanksgiving | Brooklyn Homemaker"mushroom, leek & sourdough dressing | how we did Thanksgiving | Brooklyn Homemaker

Once our guests started arriving and the turkey came out of the oven, everything else went in while the turkey took a much needed rest. Gravy was made, biscuits rose, squash roasted, dressing browned, potatoes reheated and brussels sprouts sauteed in cast iron.

The rest of the night was spent enjoying ourselves and our food. I’ve said this already, but it was the best. Heaven.

Just for fun, here’s how I did the turkey. I usually brine but this year I decided to skip it. I’ve always felt like it’s a lot of work for a small payoff, so I thought I’d try another trick to ensure a moist bird. That’s right. I said moist.

Moist.

IMG_0336

Stealing some moist bird

Roasted Turkey with Citrus Herb Butter

  • Servings: Feeds many many people, depending on the size of your bird
  • Print

Citrus Herb Butter:
1 1/2 sticks of salted butter, softened
1 teaspoon coarse kosher salt
1 teaspoon fresh cracked pepper
1 teaspoon cayenne pepper
2 tablespoons finely chopped fresh sage
2 tablespoons finely chopped fresh parsley
2 tablespoons finely chopped fresh thyme
2 tablespoons brown sugar
zest of one large orange
zest of two lemons

Roasted Turkey:
1 15-20 lb fresh turkey *see note
citrus, herbs, onions and apples for filling
carrots, onions, celery and apples for roasting to flavor gravy

chicken or turkey stock

To make the flavored butter, mash all ingredients into the softened butter with a fork and mix until well combined. Place in an air tight container and refrigerate. Remove from fridge and soften for an hour or two before you’re ready to use it. If you forget to do this you can soften it in your hands.

If possible, wash the turkey and remove the gizzards and neck the night before Thanksgiving. Pat dry, inside and out, with paper towels and season with salt and pepper. If you can’t do this the night before, do at least one hour before the turkey goes into the oven. Cover with foil or a lid and move to the refrigerator. Hold onto the gizzards and neck for gravy.

Preheat your oven to 325 degrees. Roughly chop a few pieces of celery, carrots, onions & apples and place in the bottom of a large roasting pan. You don’t need to peel the skin off the onion and you can use the leafy tops of the celery. Add a few sprigs of herbs and your reserved neck and gizzards, and add enough chicken or turkey stock to come about an inch up the side of the pan. Add a large V roasting rack to the pan.

Rub the softened citrus herb butter completely over your turkey on all sides and some on the inside cavity. Reserve a few tablespoons to reapply later. Place your butter covered turkey, breast side down, on your roasting rack. Fill the cavity of the turkey with roughly chopped citrus, apples, onions and herbs, or whatever flavors you’d like. Leave some room for air to circulate in the cavity or the turkey will take longer to cook and could dry out.

Transfer Turkey to the oven, uncovered, and roast for 3 1/2 hours basting every 30 minutes. Remove from oven and flip the turkey breast side up. They make special turkey lifters to make this easier, or you can use large rigid spatulas, or oven mitts covered in plastic bags. You might want an extra set of hands to keep the roasting pan steady or help out. Rub the remaining citrus herb butter on the breast side of the turkey and return to oven for 1 1/2 to 2 more hours, or until a meat thermometer placed in the thigh meat reads 165 degrees. Continue basting every 30 minutes until done. Your total roasting time will depend on the size of the bird. Closer to 15 pounds should take about 5 hours, 20 pounds more like 5 1/2 hours.

When the turkey is done, remove from oven and transfer from roasting rack to a large carving board. Tent with aluminum foil and let rest for at least 30 minutes, up to 45 or 50. Strain the juices from the pan and use for gravy, adding more stock if necessary. You can use this resting time to reheat or finish any remaining sides in the oven. Carve and serve your bird and brace yourself for a barrage of compliments. **See note.

*Note: I like to say you want your about 1 1/2 to 2 pounds of turkey per person- this will ensure everyone is completely satisfied and you have some leftovers for sandwiches and something leftover to make soup or turkey pot pie.

**Note: This was the first time I’ve ever roasted a turkey breast side down- and I will never go back. It made for the moistest breast meat I’ve ever tasted, and the number of compliments made me a little uncomfortable. If you don’t handle compliments well, don’t use this recipe.

Mushroom, Leek & Sourdough Dressing

Okay. So. Here’s the thing.

When I was a kid, my grandmother always called stuffing, “dressing”. I would try my hardest not to give her side eye and move on with my day. I always thought, “it’s not Thousand Islands, it’s stuffing”. It seems that this is what happens below the Mason-Dixon line. Southerners tend to refer to the dish as dressing no matter what, and us Yanks always call it stuffing. I learned later that, at least in this situation, she was right. The real answer is that if you bake it stuffed inside of a bird (or anything else with a cavity to stuff), then yes, it is stuffing. That’s because you stuff with something it, but if you serve it on the side, baked separately, it is called dressing. That’s because, while they weren’t cooked together, you use one to “dress” the other.

mushroom, leek & sourdough dressing | Brooklyn Homemaker

So, as much as it pains me to admit it, Grandma was right, and now I’m sharing a recipe for “dressing”. Look at me, sharing a Thanksgiving recipe over a full week before the big day! Aren’t I organized and proactive? Yep. Sure am. It’s almost like I’m a real blogger or something!

mushroom, leek & sourdough dressing | Brooklyn Homemaker

As someone who truly LOVES food, both preparing and eating, Thanksgiving is one of my favorite holidays. The pies, the huge spread filled with a variety of veggies, the giant golden bird, and a feast that seems to go on all day, eating “dinner” in the early afternoon and going back for seconds and maybe even thirds between naps. Christmas is great, but in my family it can be a bit hectic and stressful, but on Thanskgiving you get all the food and all the family without the pressure. Even when I was a vegetarian, Thanksgiving was my favorite because I love all the sides almost even more than the Turkey itself.

mushroom, leek & sourdough dressing | Brooklyn Homemaker

This year we’re not able to head home to be with family for Thanksgiving, so we’re hosting our own here in Brooklyn with a couple of friends. One of our guests is a vegetarian, so as much as I’d love to fill the dressing with sausage and chicken stock, I’ve thought of something just as good! This dressing is STUFFED (get it?) with the meaty texture and earthy flavor of mushrooms and the savory goodness of celery, onions, leeks & herbs.

mushroom, leek & sourdough dressing | Brooklyn Homemaker mushroom, leek & sourdough dressing | Brooklyn Homemaker

Rather than buy a stale old bag of pre-cubed bread, I started with a fresh country sourdough loaf which I cut into 1/2 cubes. I like to trim the crusts off, especially the bottom crust, because they can be tough and chewy in the finished dressing. Once the loaf is completely cubed I dried them in the oven on 275 for 30 minutes or so, turning occasionally to prevent browning. Starting with fresh bread gives you a dressing with a firm custardy texture rather than the bread crumb mush that you sometimes end up with when you used boxed or bagged mixes.

mushroom, leek & sourdough dressing | Brooklyn Homemaker

All the herbs and savory vegetables combine with the mushrooms in such a rich earthy way and make for such a flavorful dressing. Everyone, vegetarian on not, will love it. If you arent’ worried about making your Thanksgiving feast vegetarian friendly, you can definitely swap the vegetable stock for chicken or turkey.

Oh my god you guys, it’s just over a week away! I’m so excited!
It’s going to be a busy week!

mushroom, leek & sourdough dressing | Brooklyn Homemaker

Mushroom, Leek & Sourdough Dressing

5 tablespoons butter, divided
3 large leeks
1 small onion, diced
5 stalks celery, cut into large dice
coarse kosher salt & pepper
3/4 lb white button mushrooms, cut into large dice
1/2 lb portabello mushrooms, cut into large dice
2 tablespoons sage, finely chopped
2 teaspoons thyme, finely chopped
8 cups sourdough, cut into 1 cubes and dried
3 to 4 cups vegetable (or chicken or turkey) stock
2 large eggs, lightly beaten

Preheat oven to 400 degrees.

To prepare your leeks, slice the white and tender green parts in thin disks, and slice each disk in half. Discard the deep green leaves. Place all the sliced leeks into a bowl and top with cold water. Leeks are very sandy so this is important. scoop the leeks out being careful not to disturb the sand at the bottom of the bowl. Repeat, and set aside.

In a large skillet, melt 3 tablespoons of butter and saute onions and celery over medium high heat. Season generously with salt and pepper. When the onions are getting soft and translucent, after about 5 minutes, add all of your mushrooms, leeks and herbs. Turn the heat up to high and cook, stirring occasionally, until the liquid from the mushrooms evaporates and the leeks are soft and tender. Mushrooms have a lot of moisture so this could take up to 20 minutes or so. Remove mixture from heat and transfer to a large bowl to cool completely.

Add bread crumbs into cooled mushroom mixture and stir until well combined. Stir in stock and adjust seasoning if needed. Stir in eggs and transfer mixture to a 2 quart oven safe dish. Dot the top with remaining butter and cover with aluminum foil. Bake for 25 minutes, remove foil and bake 25 minutes more.