Ugh this weather.
Hot. Cold. Hot. Cold. Sunshine. Snowfall. Short sleeves. Heavy coats.
I know that I’ve whined about New York’s weird weather before, last week in fact, but oh lord is it annoying. I’ve lived in New York State for my entire existence so I suppose I should be used to it by now, but I’m not okay?
Every spring I get the itch to get outdoors and when that shady bitch Mother Nature dangles 70 degree temperatures in front of my face and a few days later tosses a little snow storm my way I start to get cranky.
After last week’s unusual heatwave, we had snow over the weekend.
My first instinct was to stand in the window shaking my first (There may have also been a few “why I oughta”s thrown in), but I got tired (and cold) after a while so I decided to take my pity party into the kitchen and see what I could do to make myself feel better.
Full disclosure:
I’ve posted this recipe, or at least a version of it, before.
This is one of my absolute favorite cold weather recipes and I’ve made it countless times since I first posted it. Since then I’ve made some changes to streamline some steps and make a few little improvements.
Another moment of full disclosure:
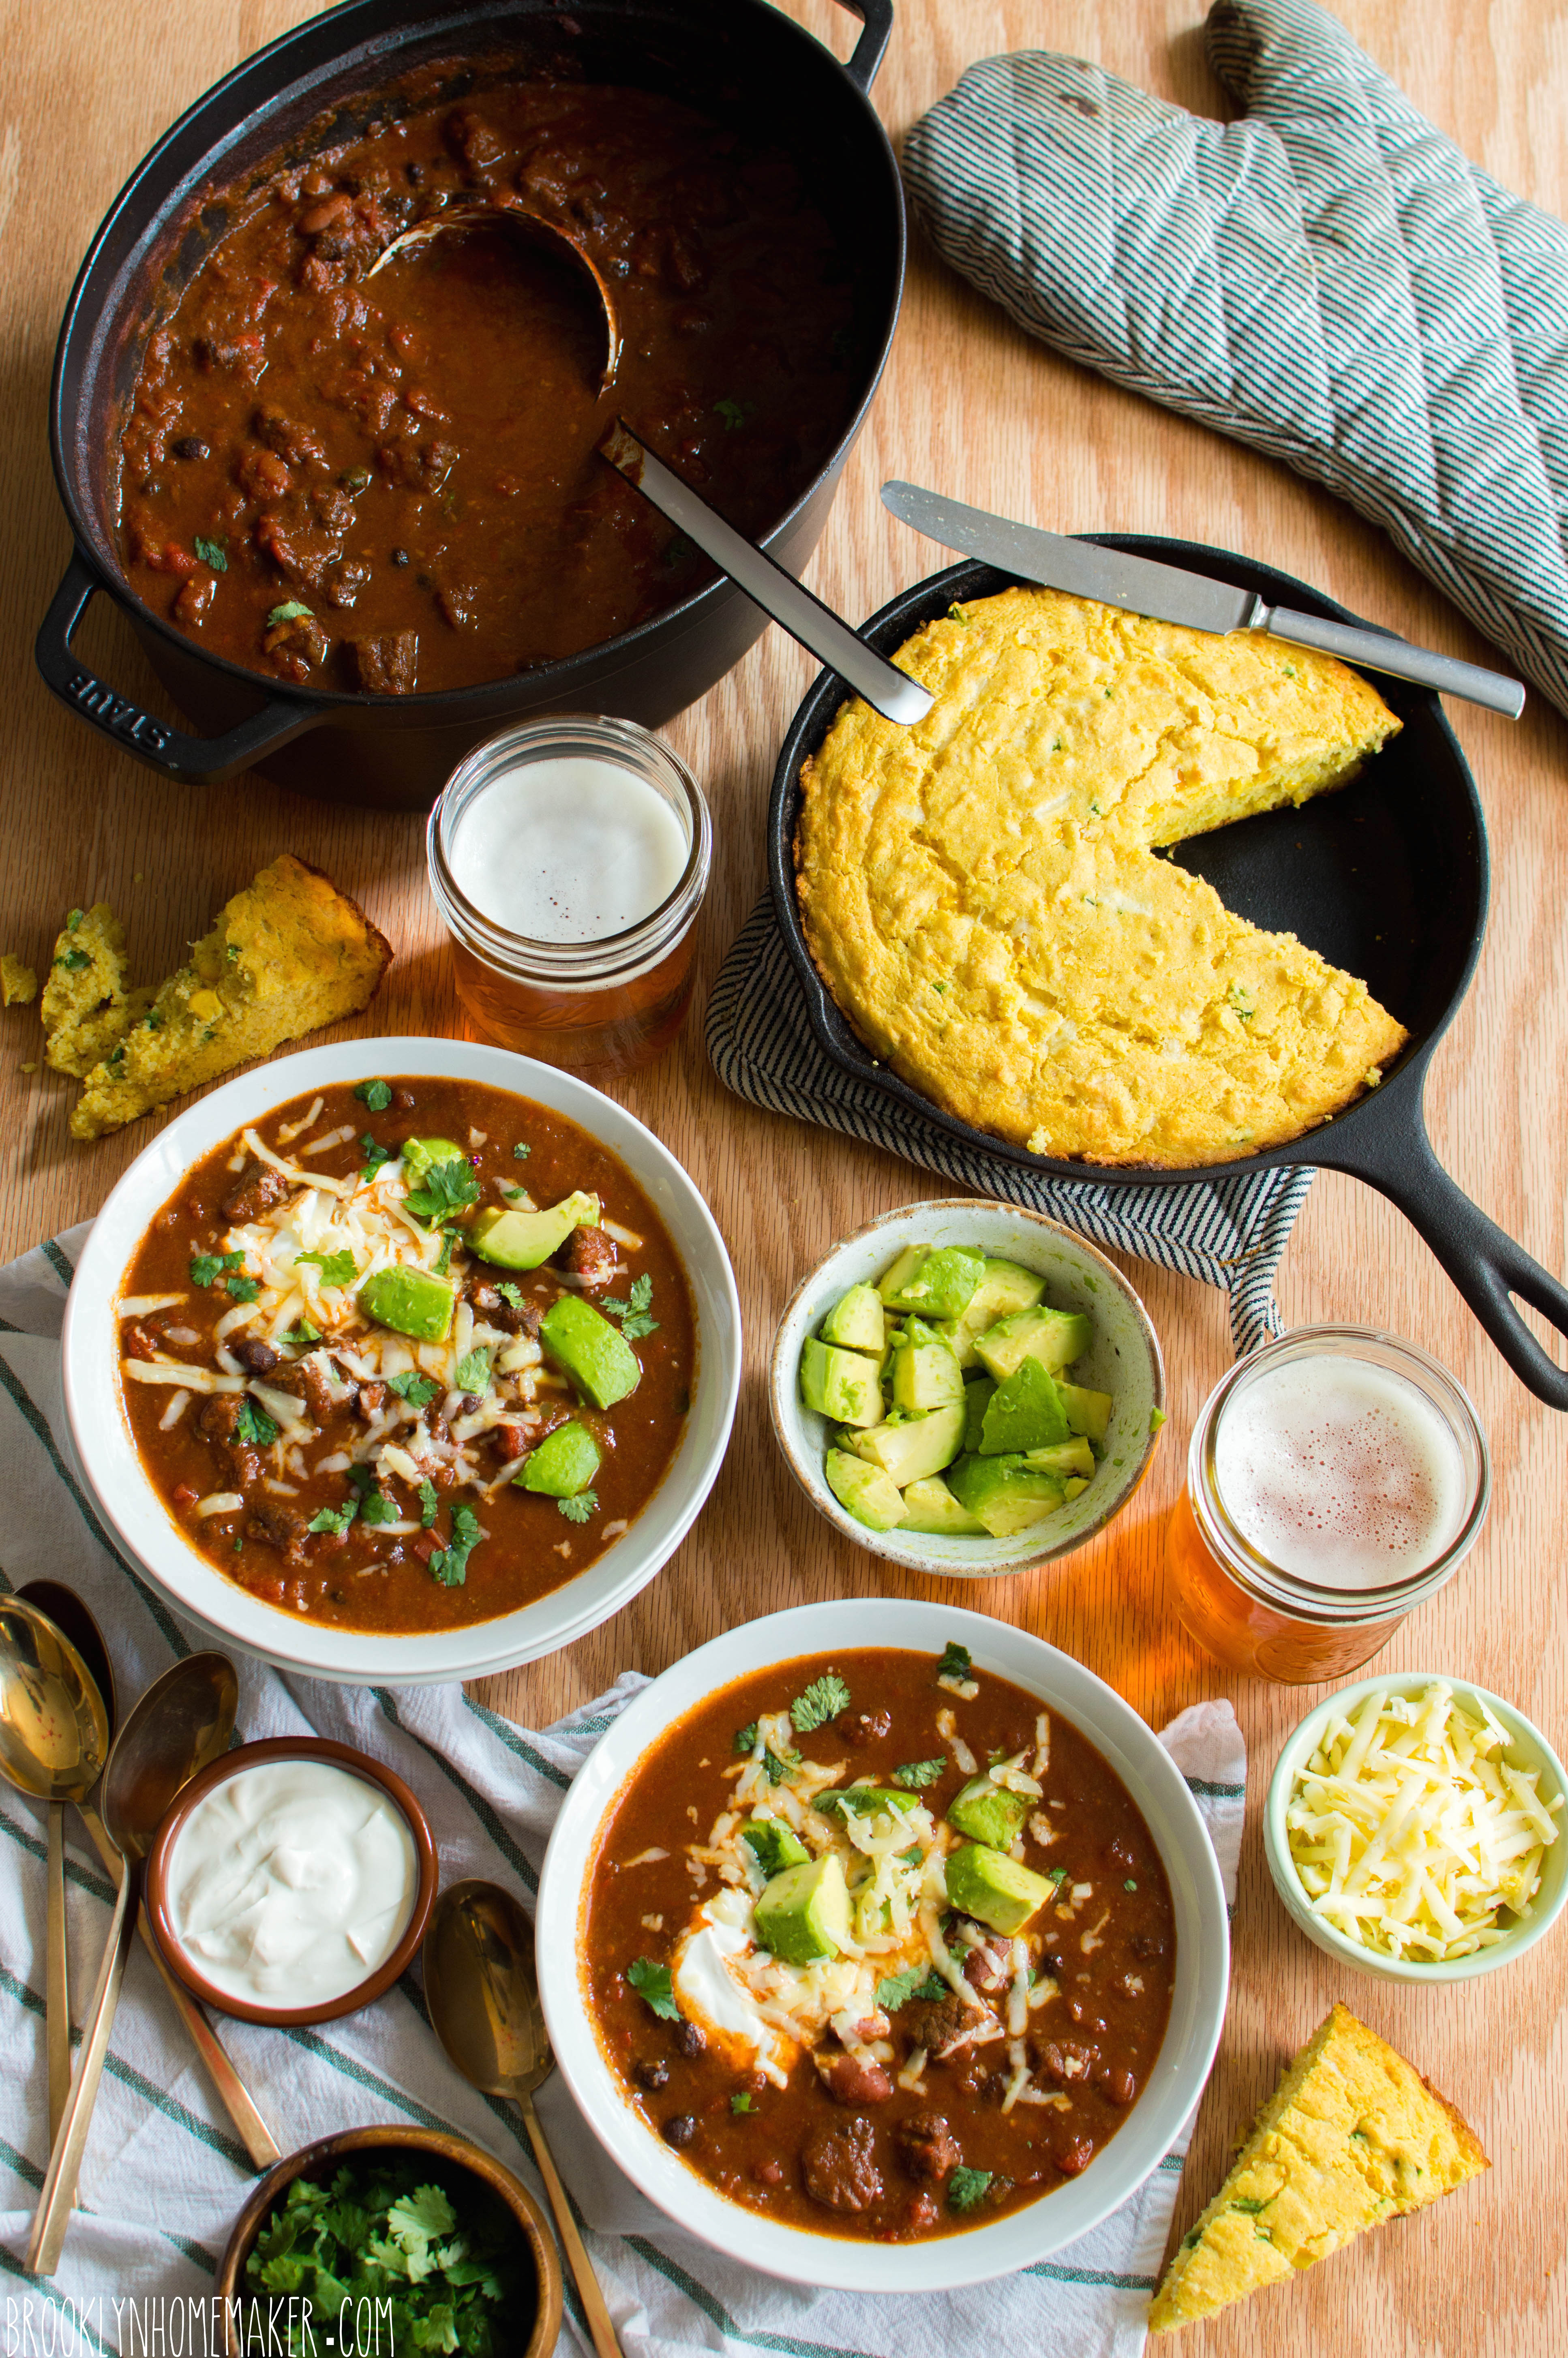
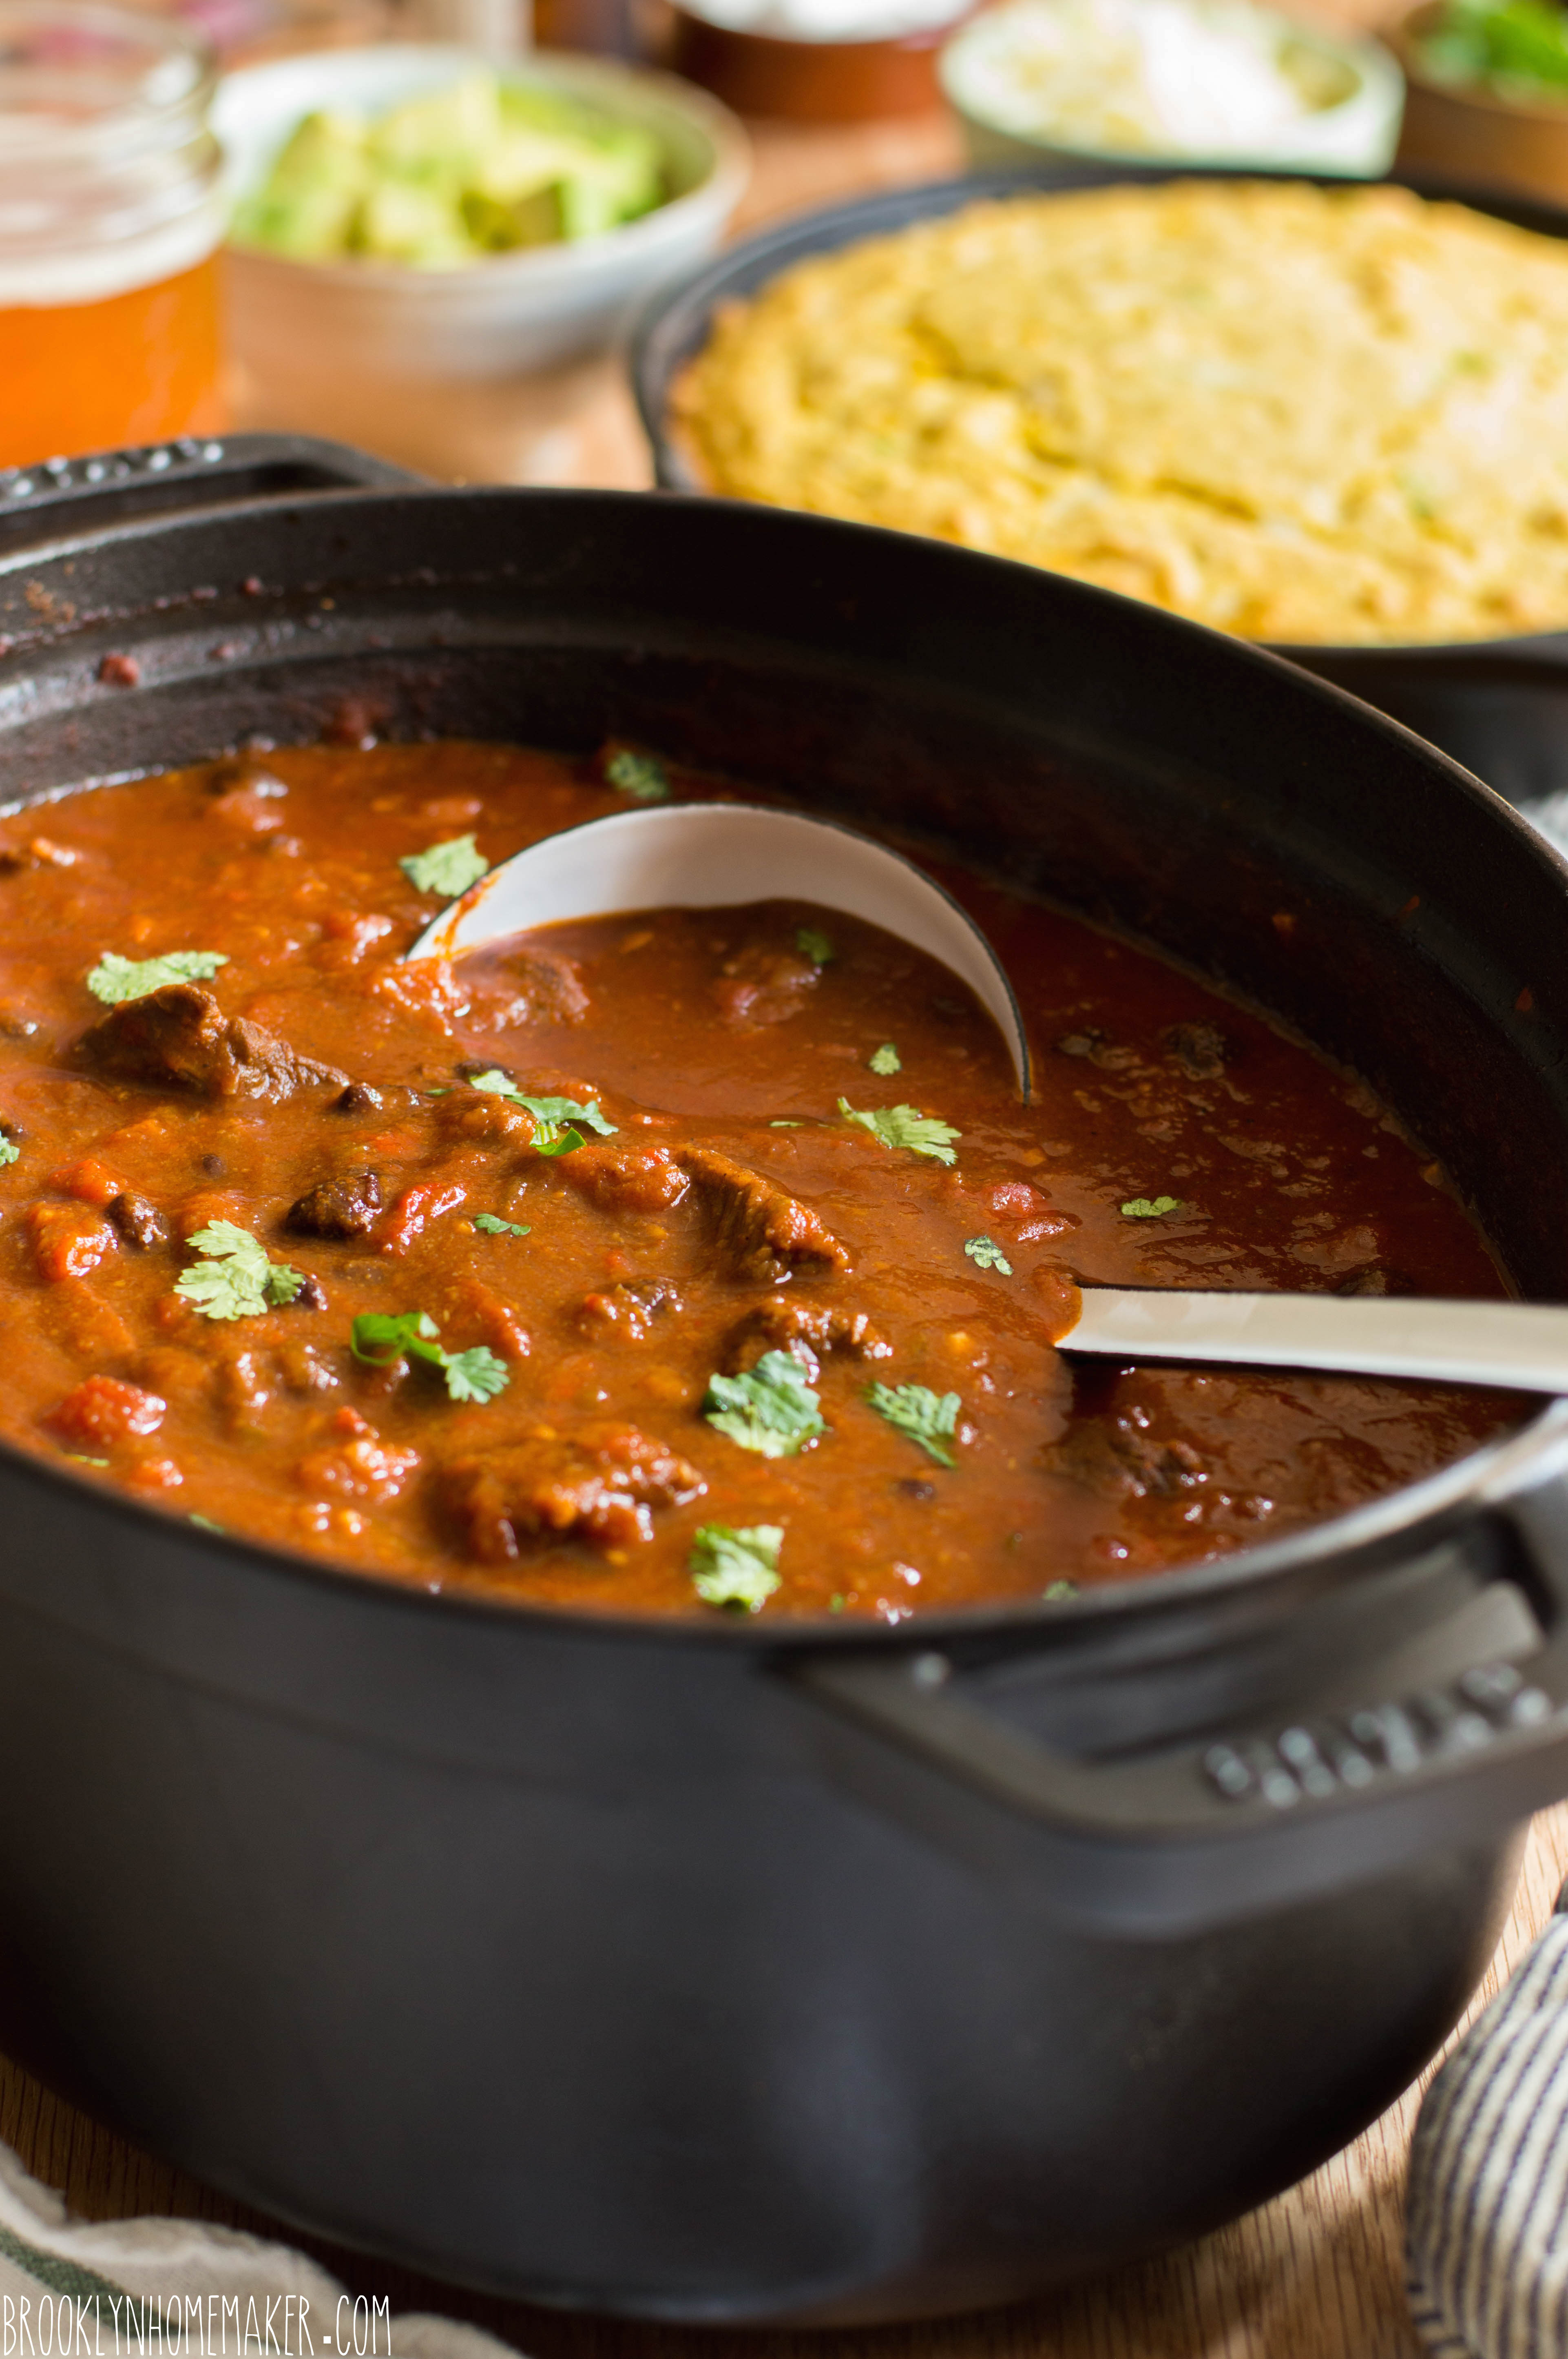
I like my chili with big chunks of meat, a bit like a stew, rather than ground beef.
I also like lots of beans in my chili.
I realize my Texas friends are probably rolling their eyes and/or recoiling in horror right about now, but I’m a Northeasterner through and through. This is not “Texas Chili” and I make no qualms about this being an “authentic” recipe.
This is just how I like it. It’s freaking delicious. So deal with it.
There’s a very good reason that I wanted to try this chili again and re-post the recipe for you. A while back I read an article on thekitchn that said a great way to ensure tender slow cooked meat in stew is to wait a bit before adding acidic ingredients like wine or tomatoes. While acidic ingredients can help tenderize meats in marinades, they can have the opposite effect and actually prevent or prolong tenderizing in braised dishes. Instead, they suggest that you make your stew (or chili in this case) without the acid, let the meat loosen up and get a head start on tenderization, and then add your acidic ingredients and continue to cook just long enough that they no longer taste “raw”.
I said before that I’ve made this recipe countless times with countless variations, but as soon as I read this tip I just had to try it with my chili. I gave it a go and was floored by how well it came out so I HAD to share the results with y’all.
Okay one last bit of full disclosure:
I’m a big fan of heat and bold flavors so I tend to go a little overboard with the jalapeños, cayenne, and chili powder.
In the recipe below, the ingredients listed have ranges for those three ingredients. When making this for myself I used the maximum amount of spice listed on all three counts and I thought it was absolutely perfect. Russell however, complained (multiple times) that it was too spicy and said that I should reduce the heat for y’all.
So, if you like the heat feel free to go crazy and use the full amounts listed below. If you like things on the milder side, use caution and stick to the minimums. If you’re somewhere in between, stay somewhere in between.
When it comes to the meat, I usually like to buy a small chuck roast and cut it up into chunks myself. I find that A) this method is cheaper, and B) I know exactly what cut of meat I’m getting rather than the “grab bag” of leftovers they package as stew meat at the grocery store. I also find that the stew meat at my local grocery stores is usually cut too large to actually eat in one bite, and I always need to cut it up smaller myself anyway.
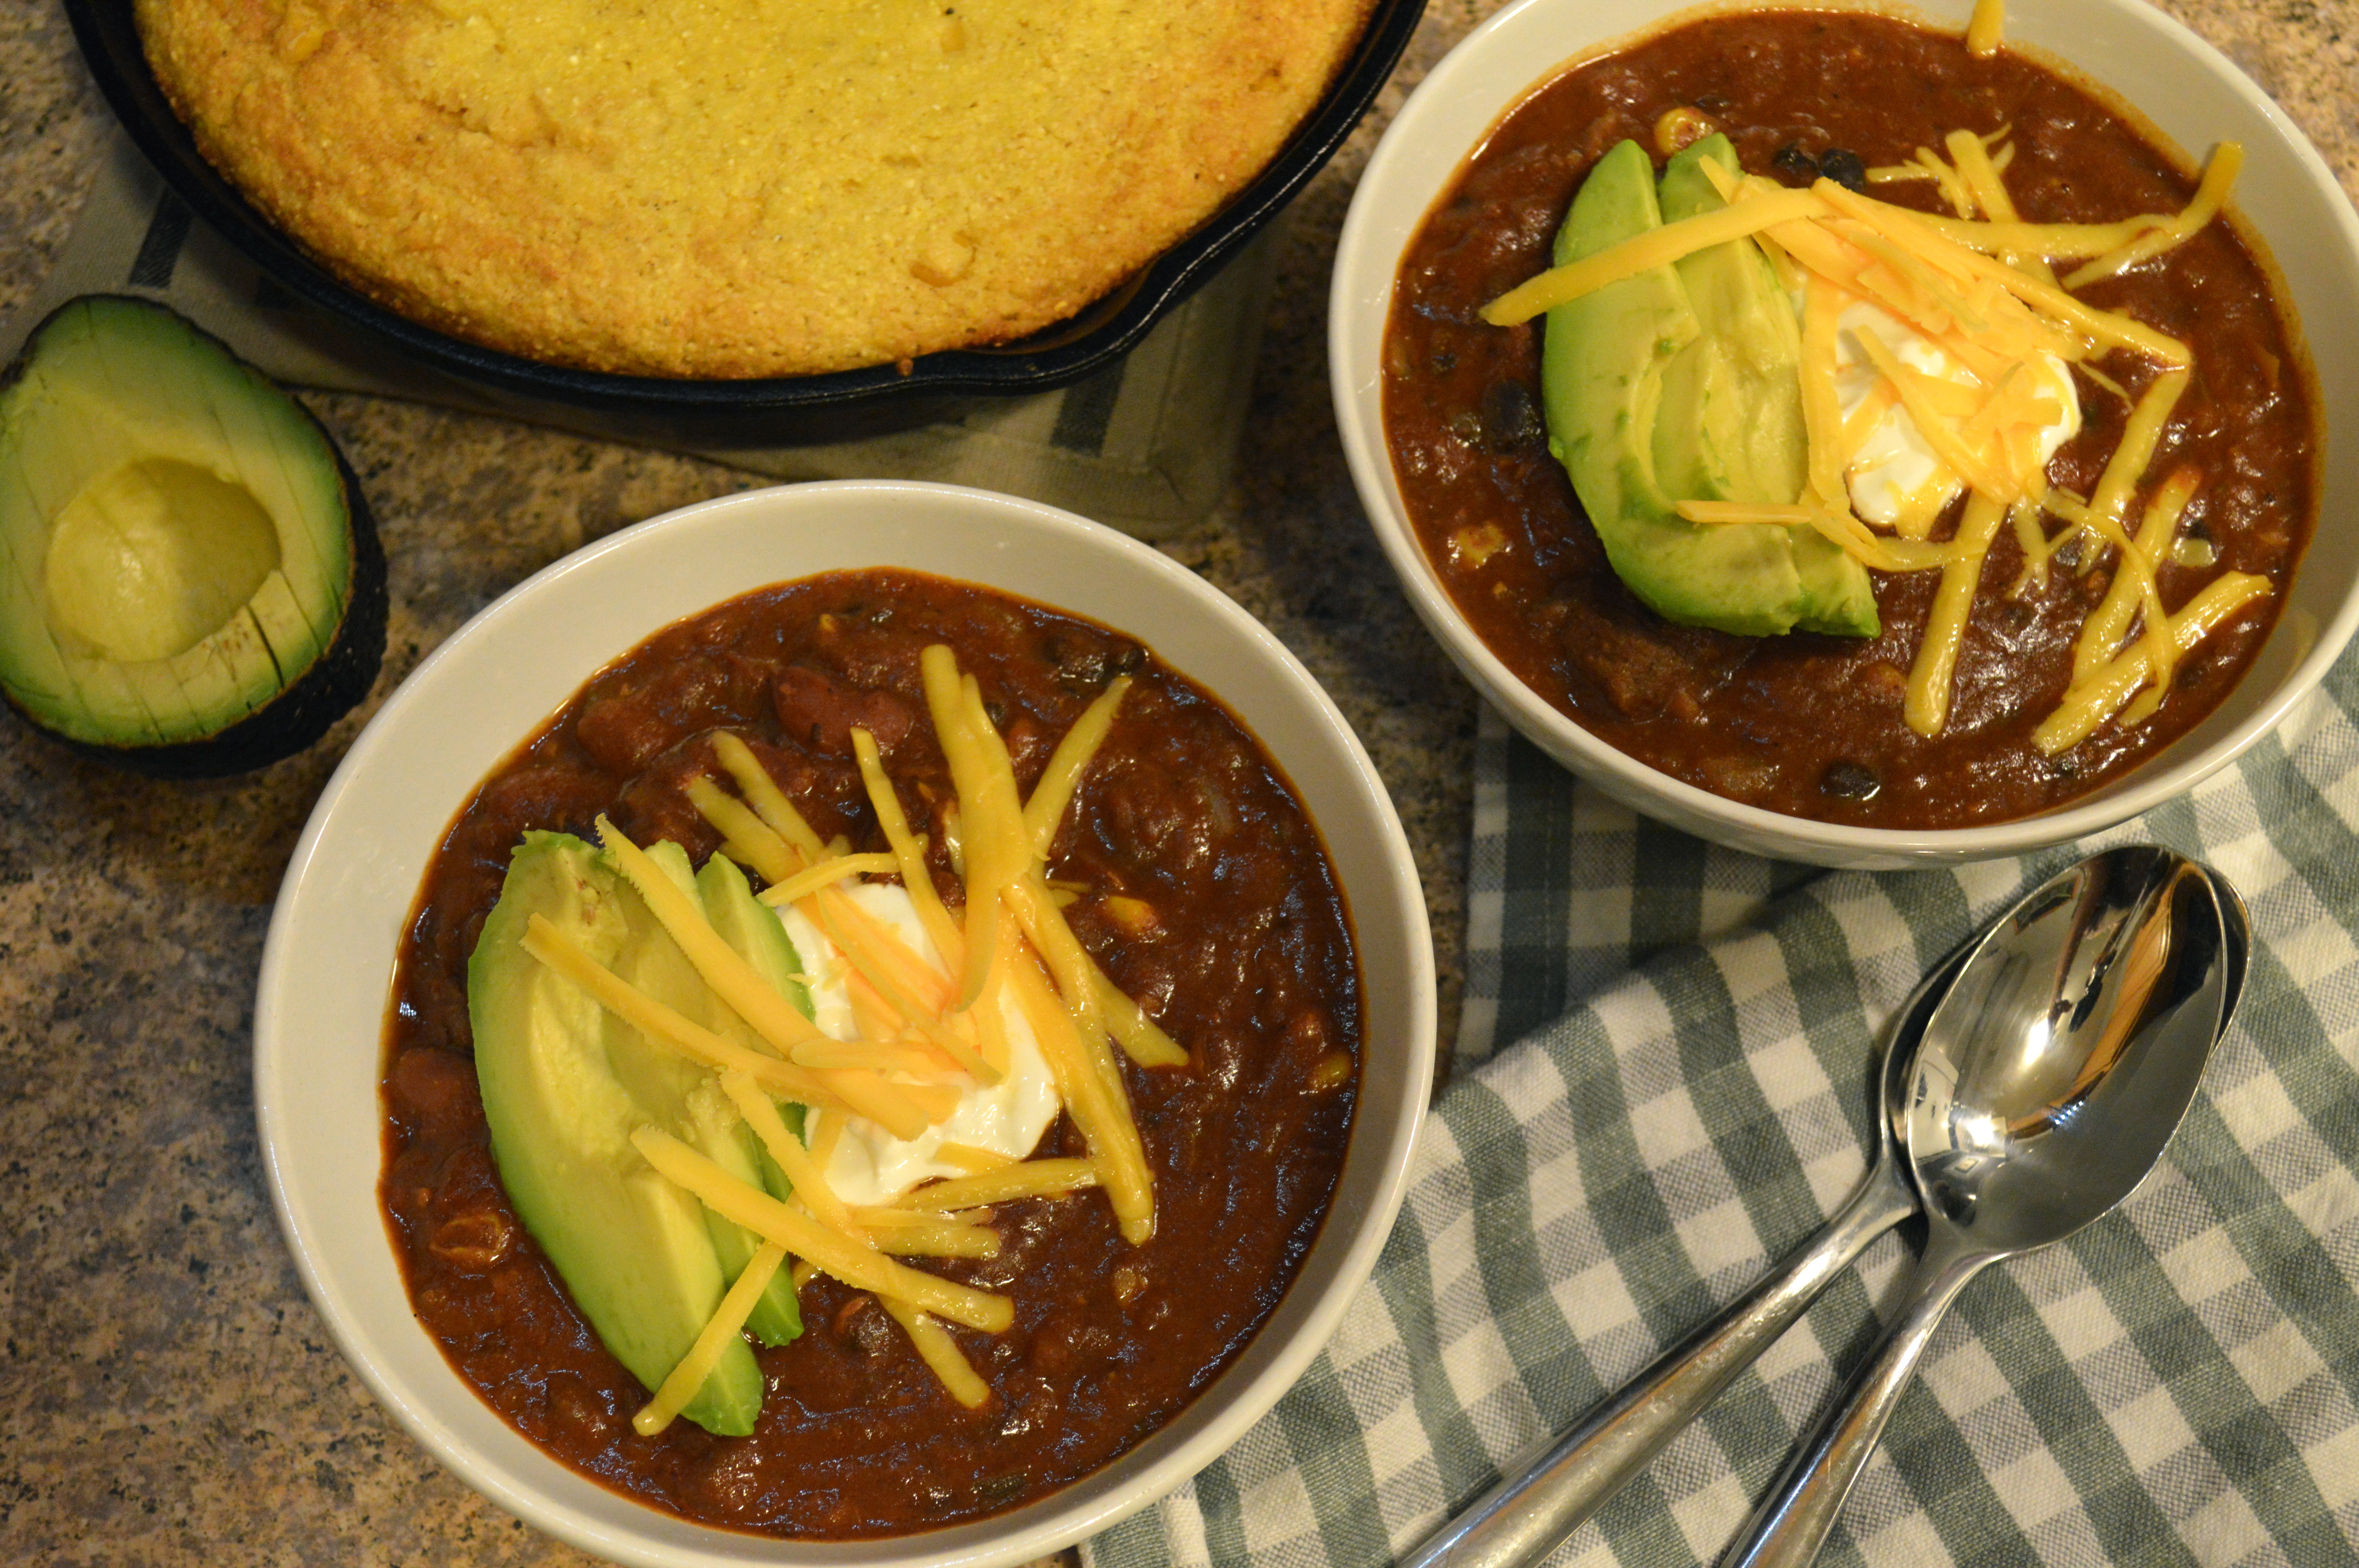
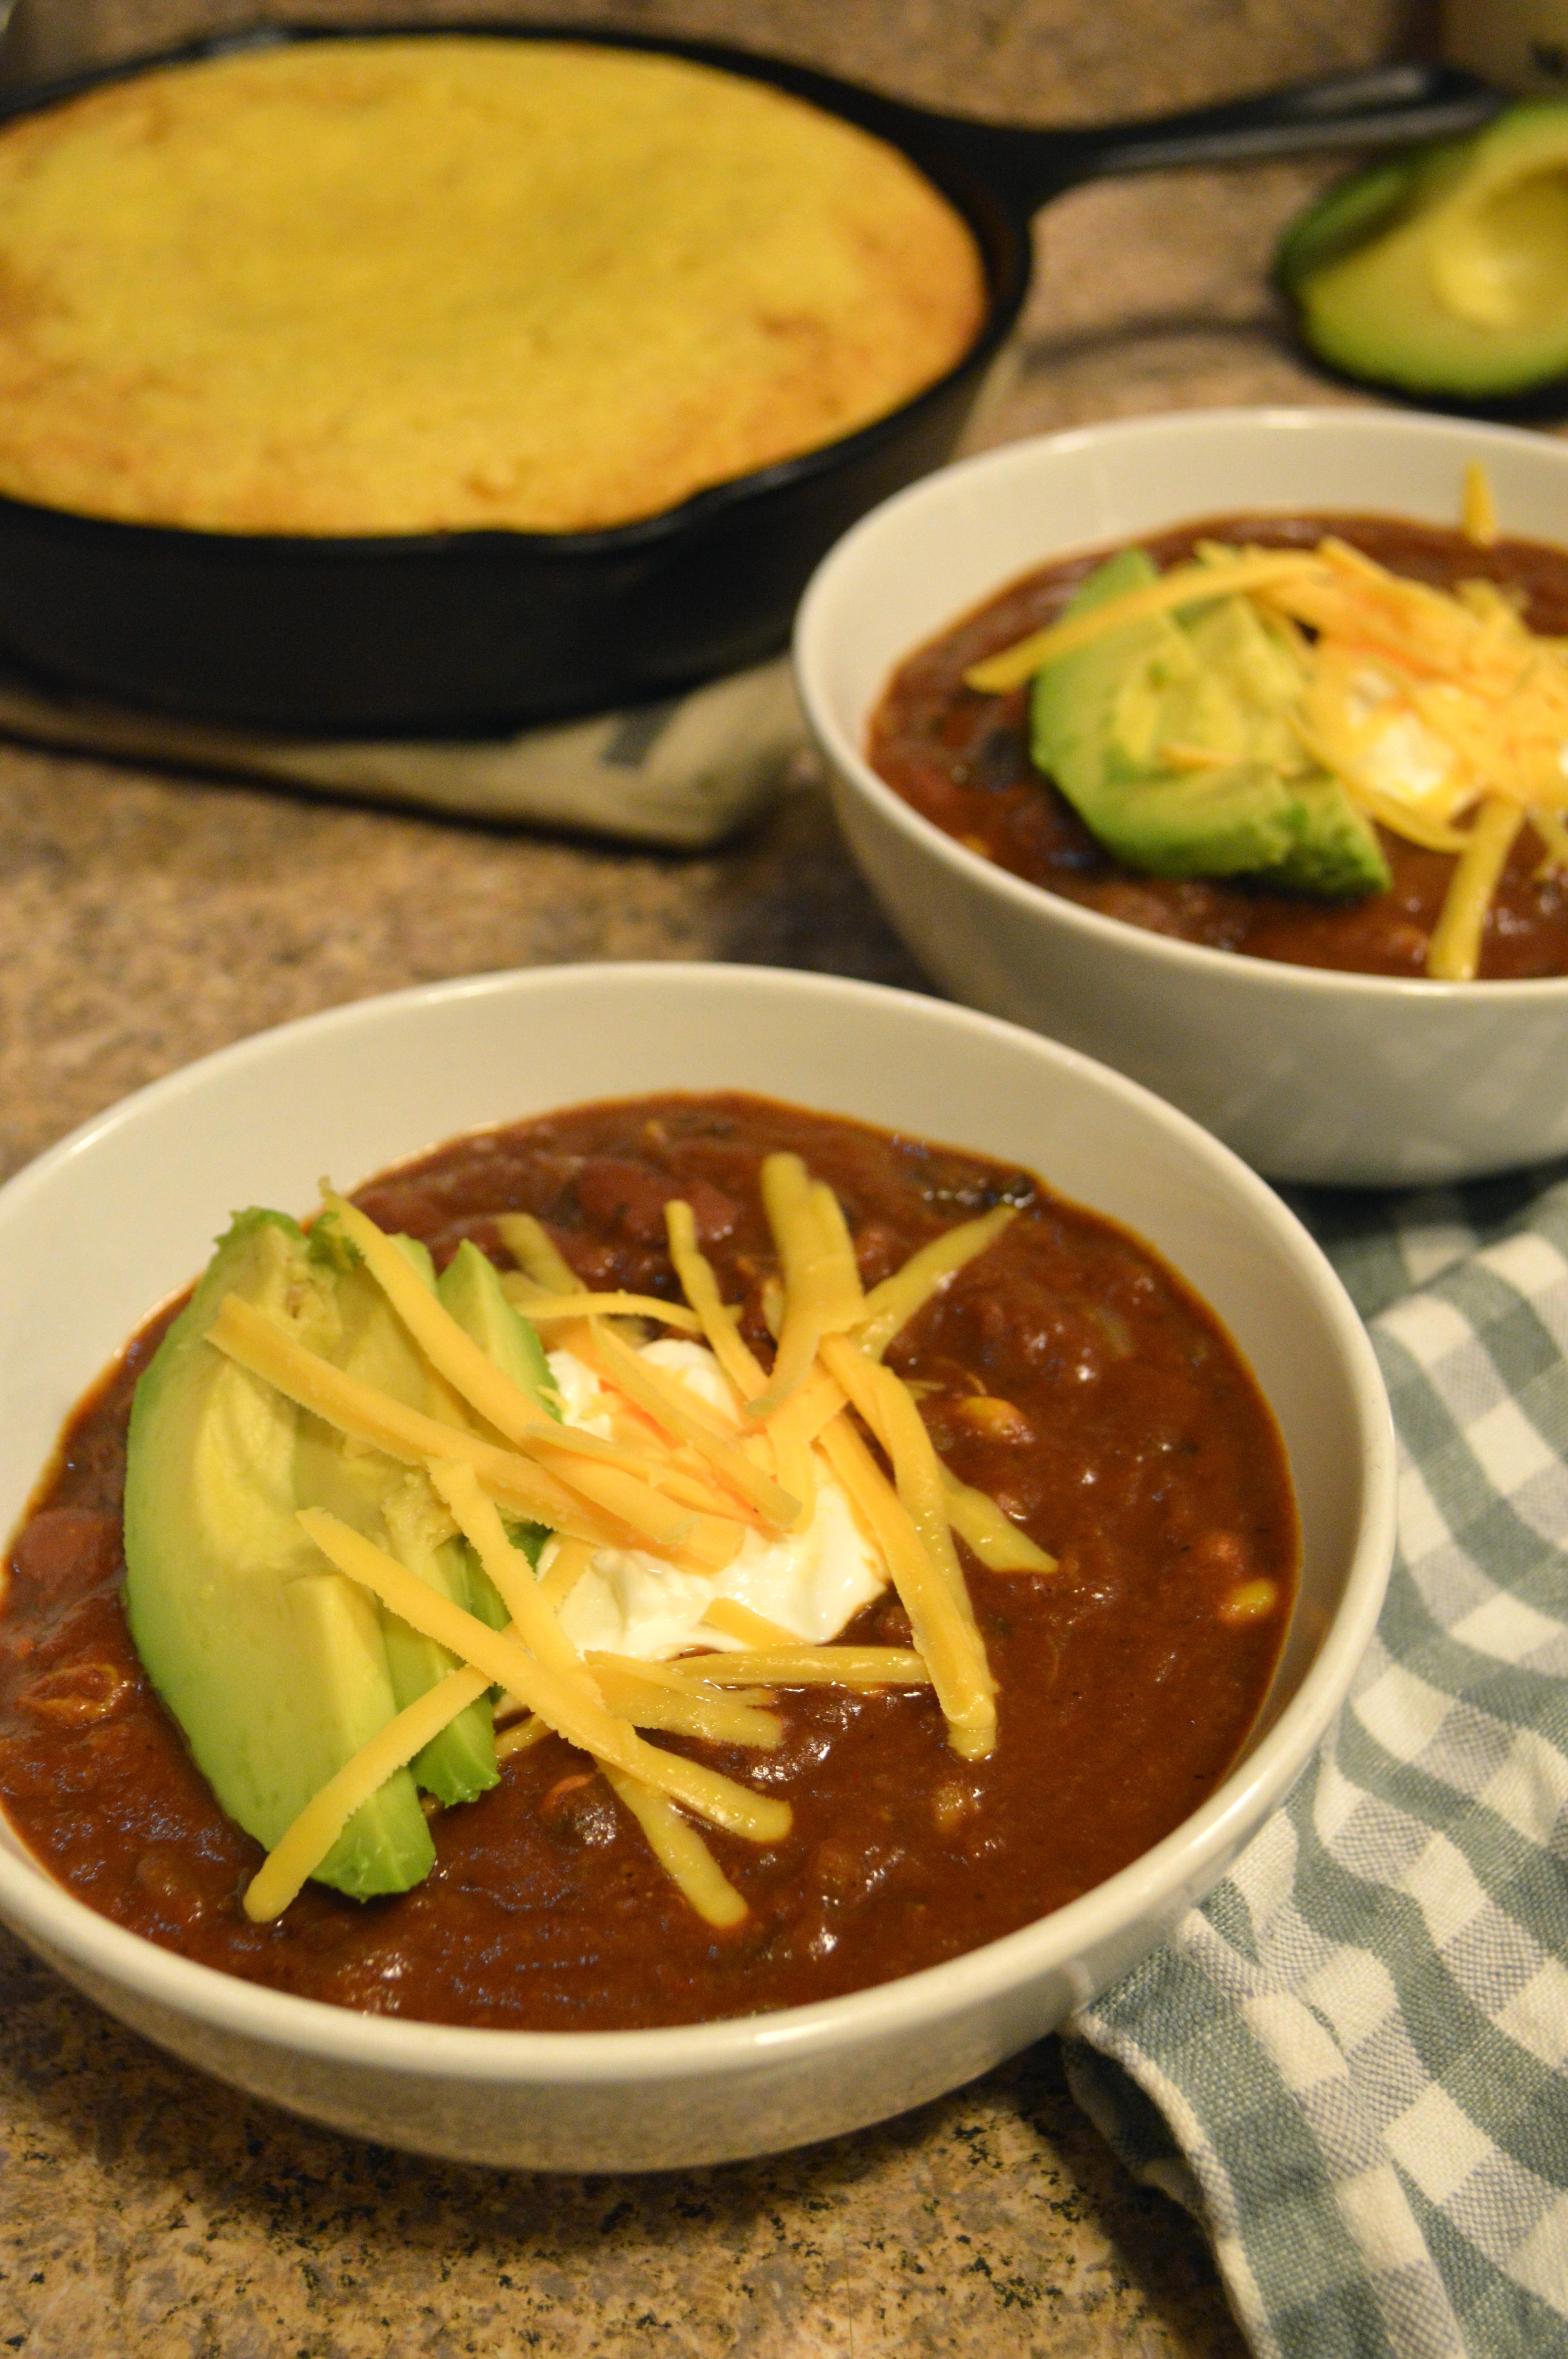
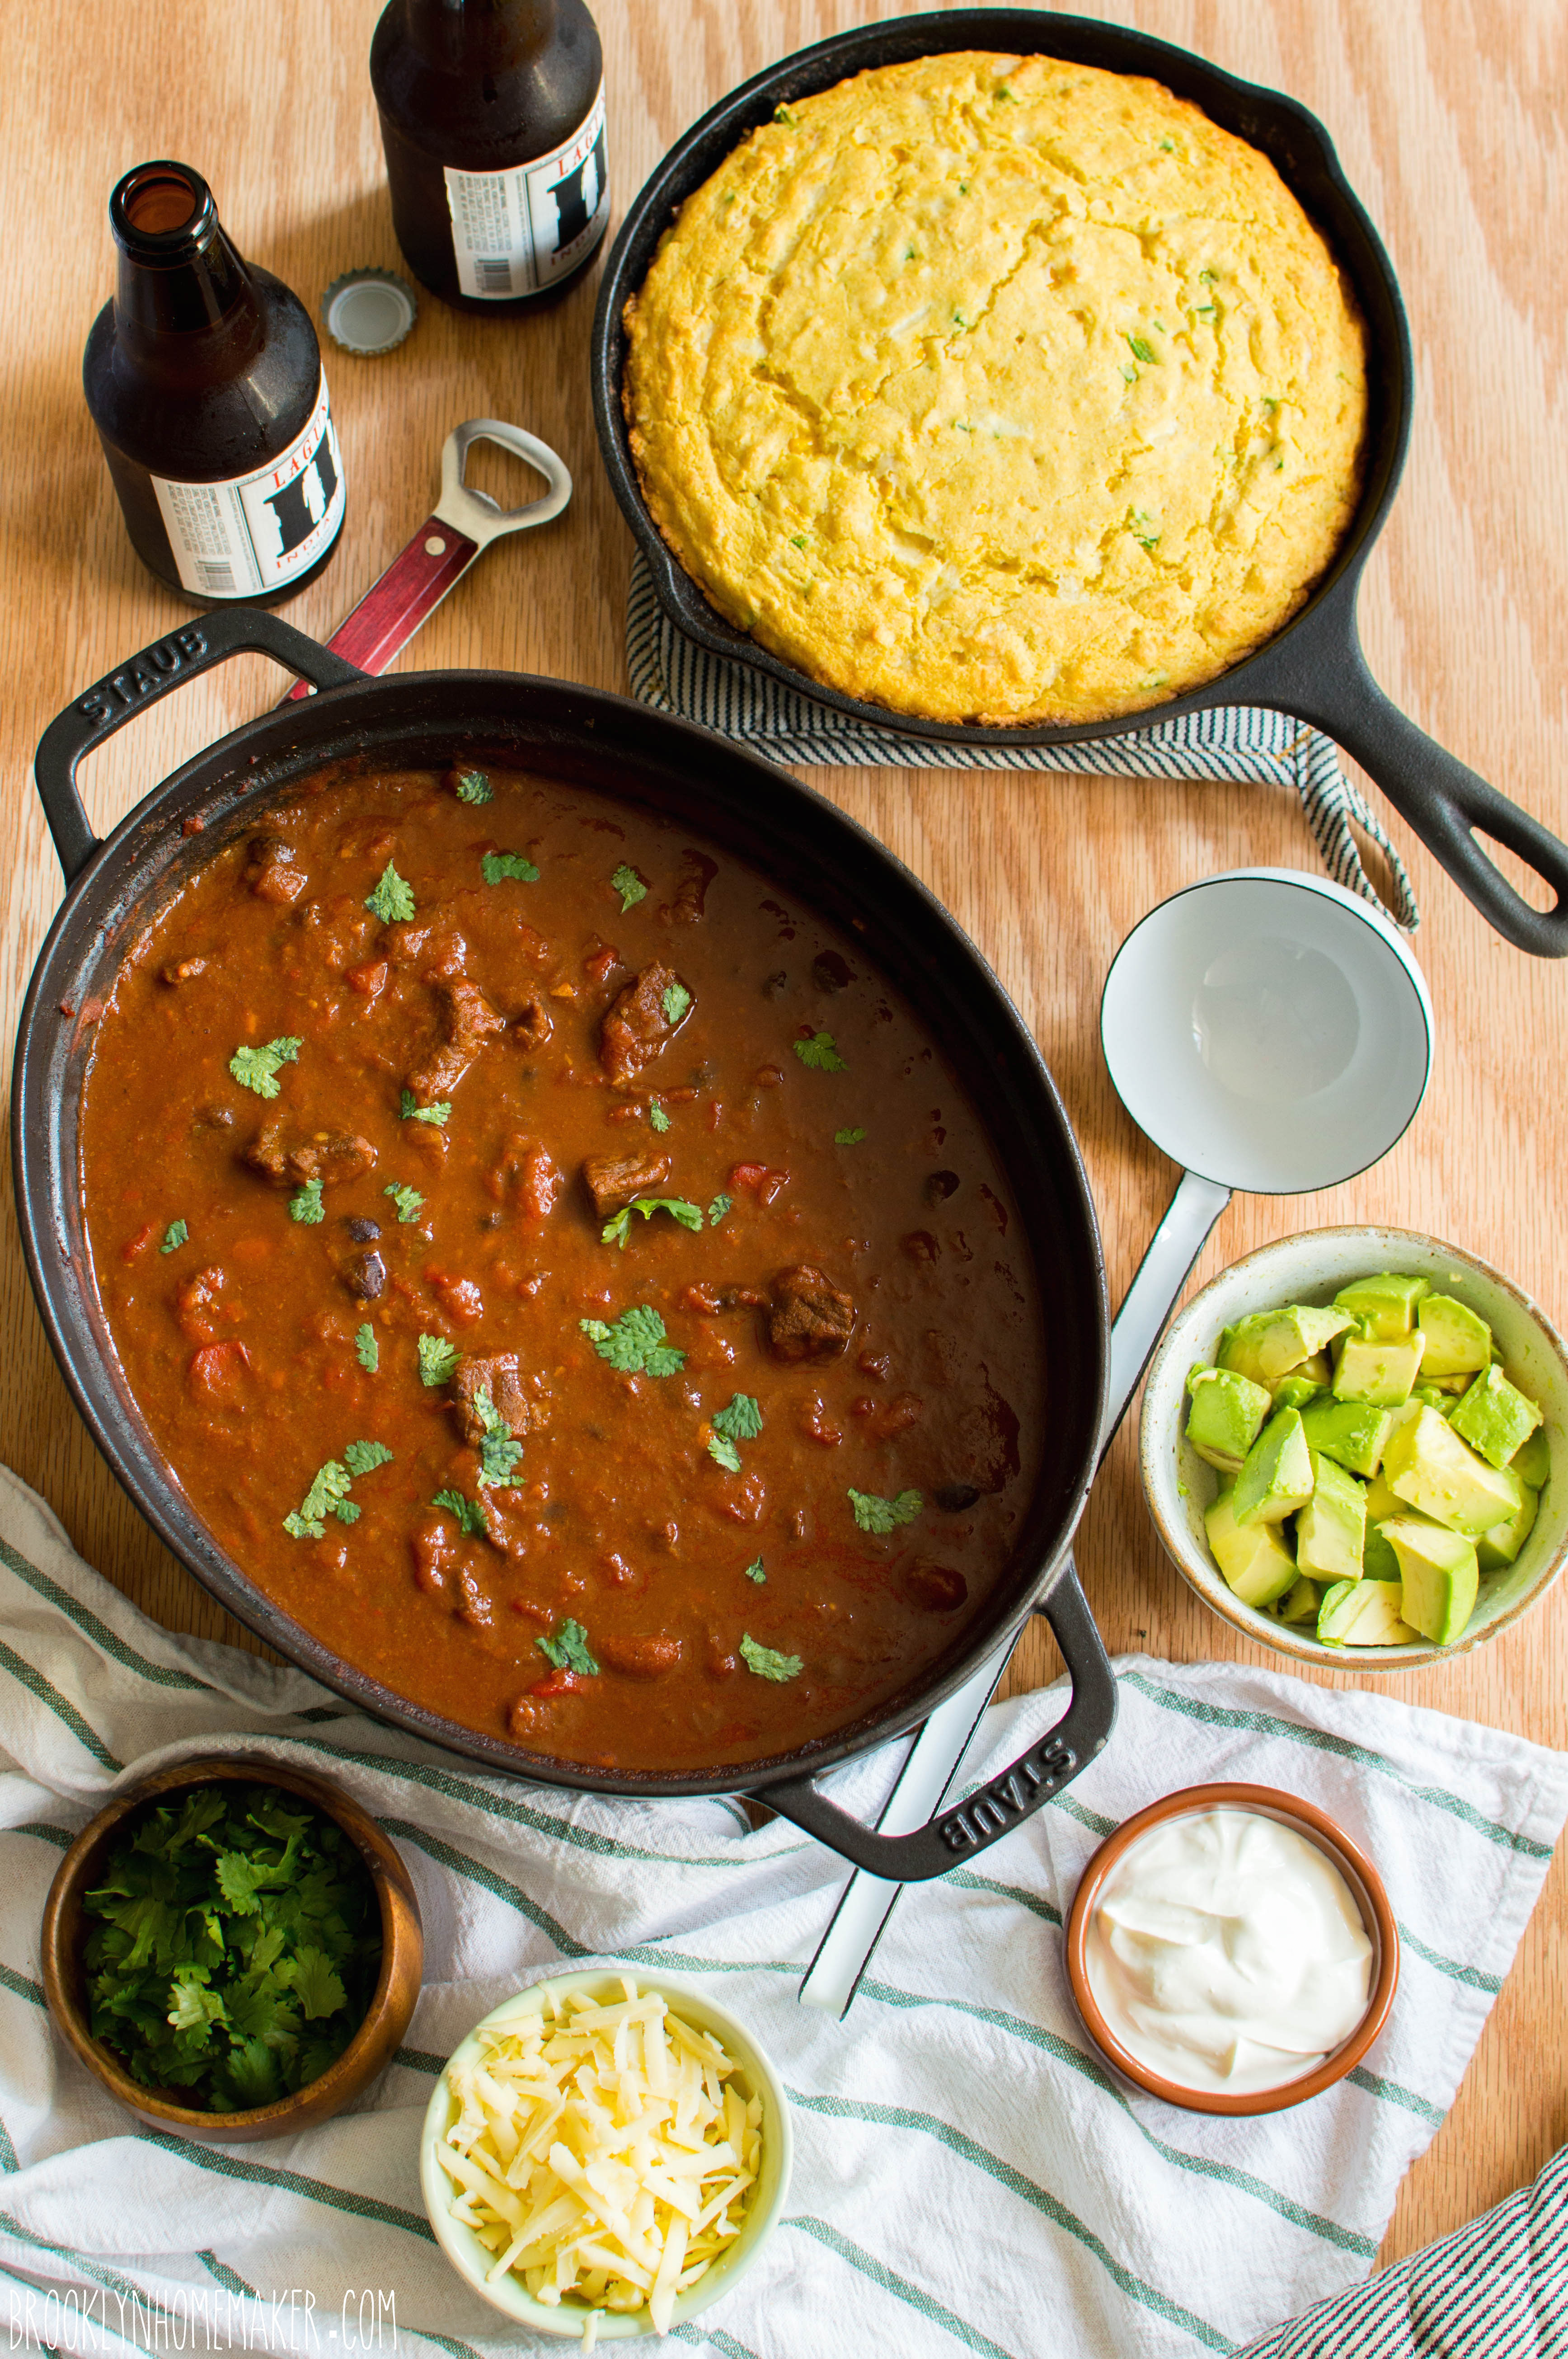
Either way you go, this chili is insanely good. Thick and rich and tomatoey with a great flavor and as much heat as you like. Fall-apart tender chunks of beef mixed with hearty veggies and plenty of beans make this chili feel incredibly hearty and filling. Perfect for a chilly spring day.
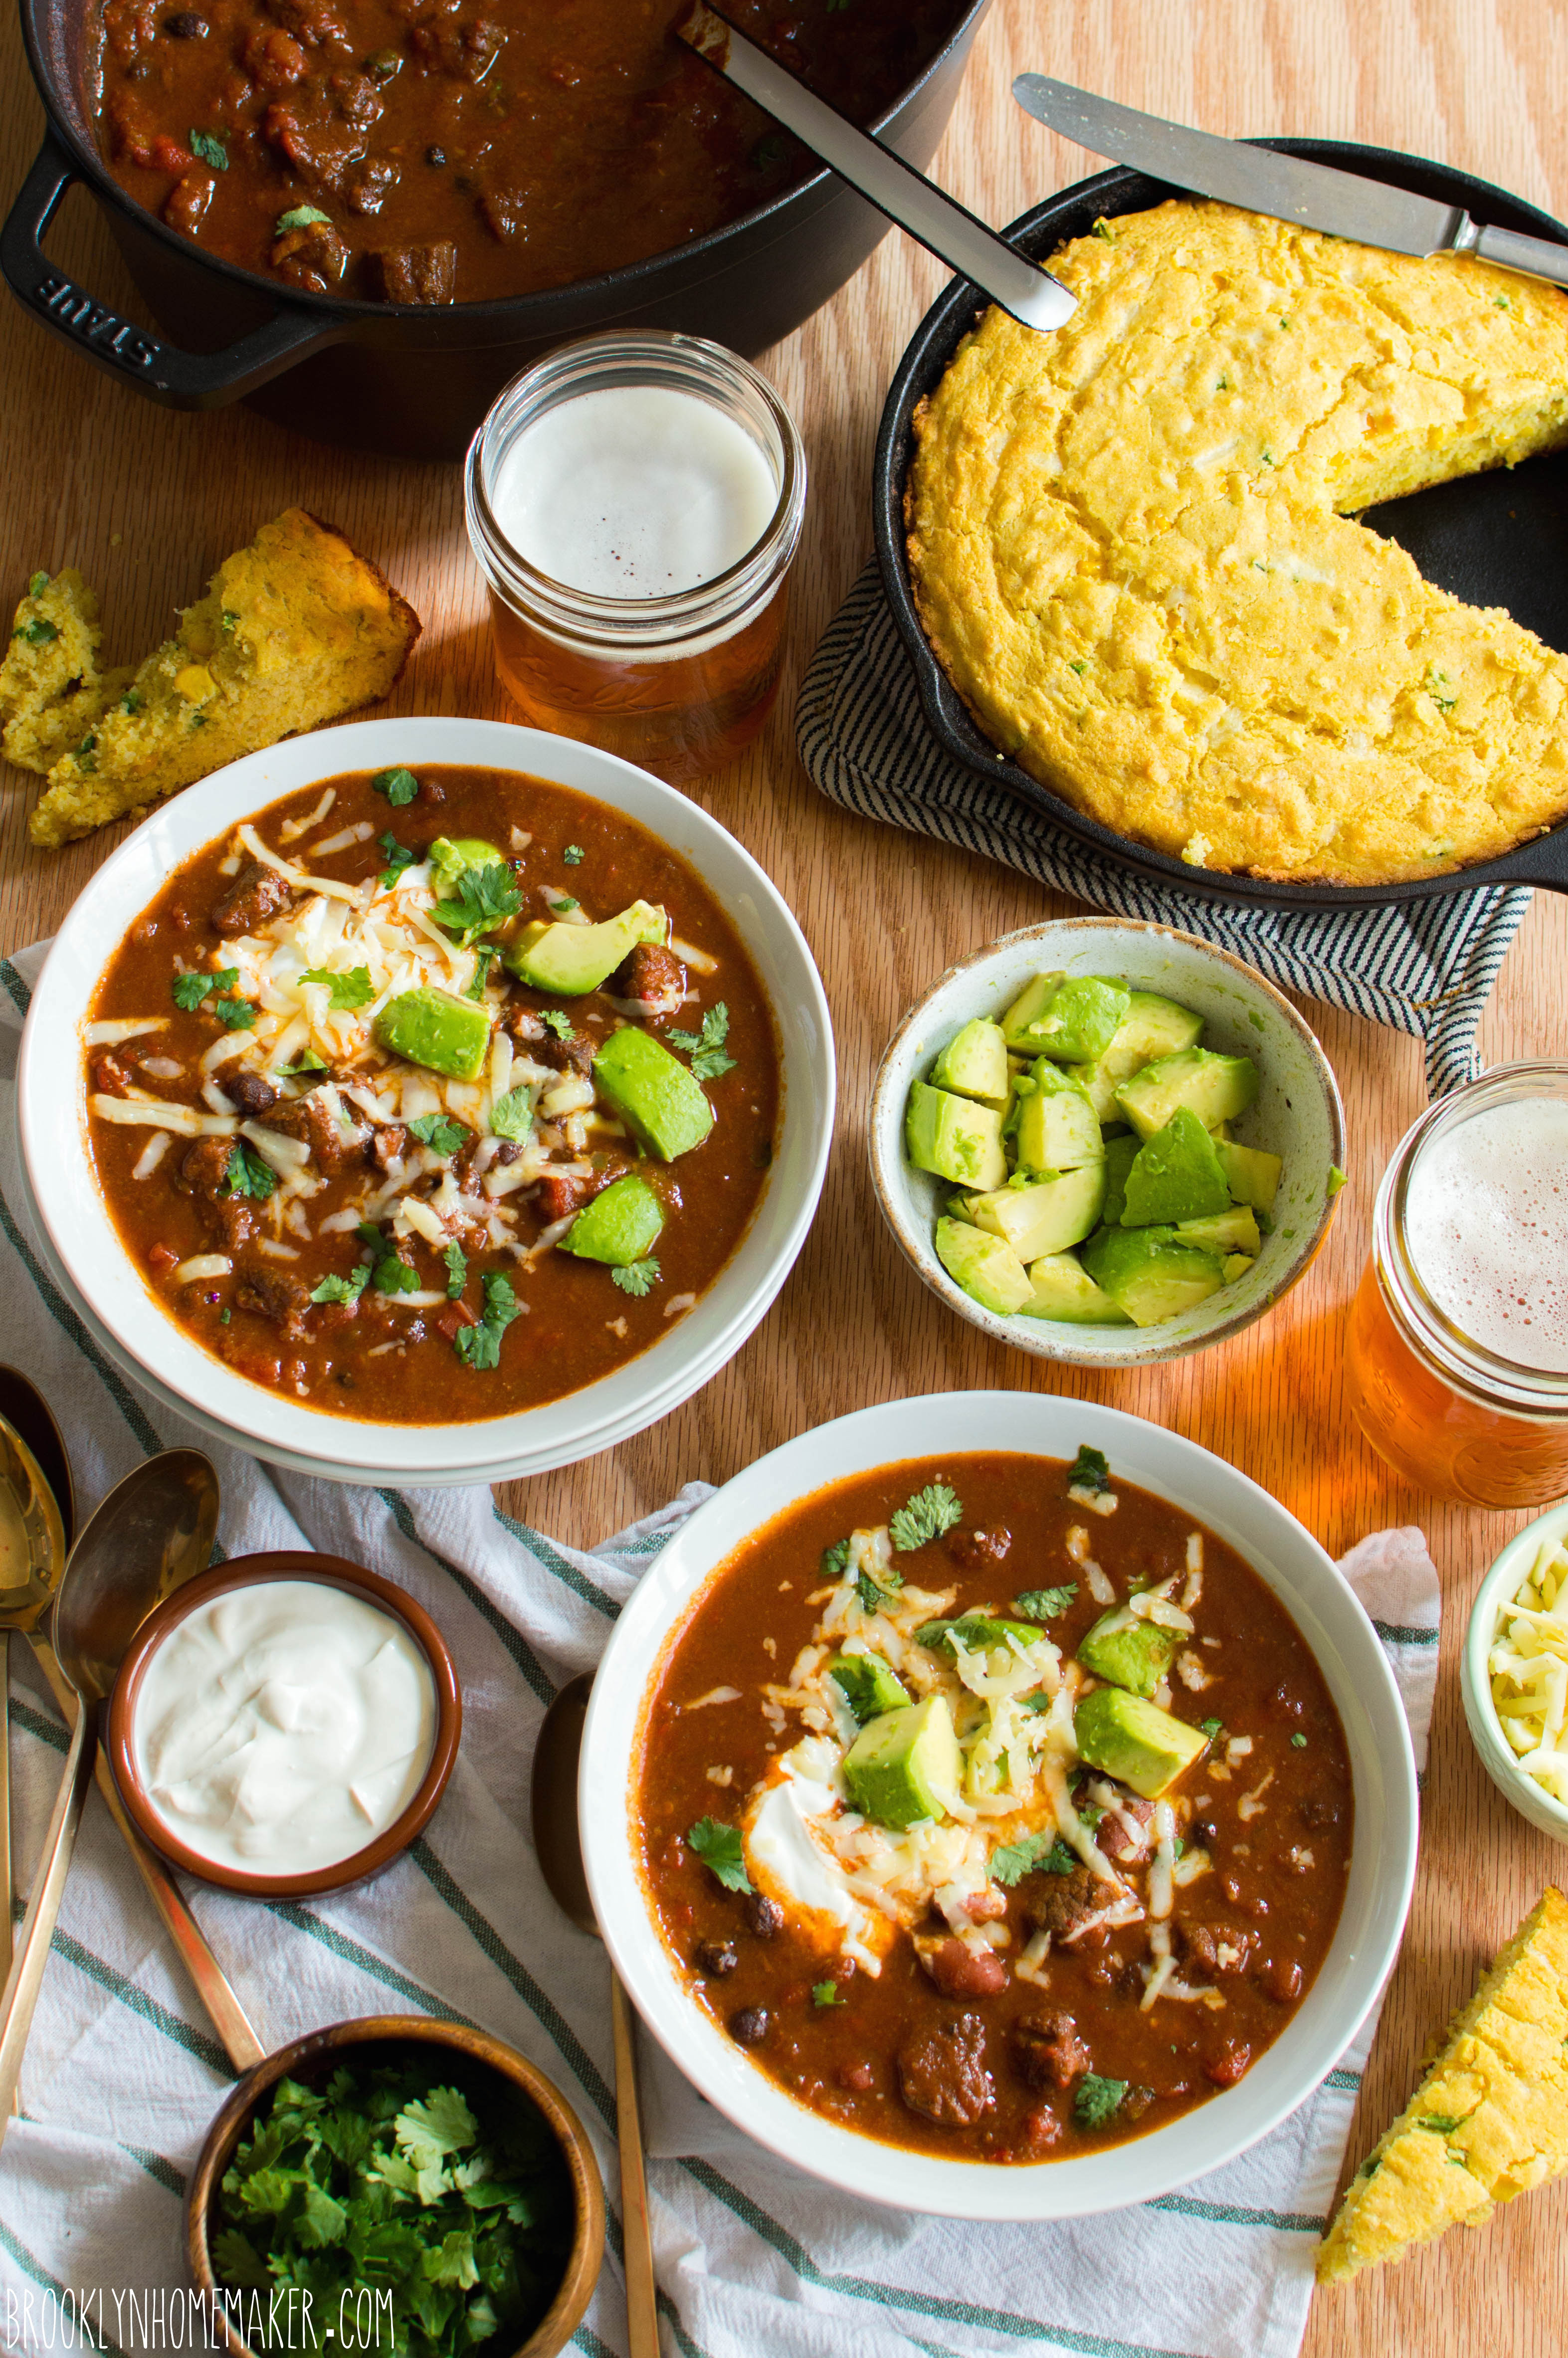
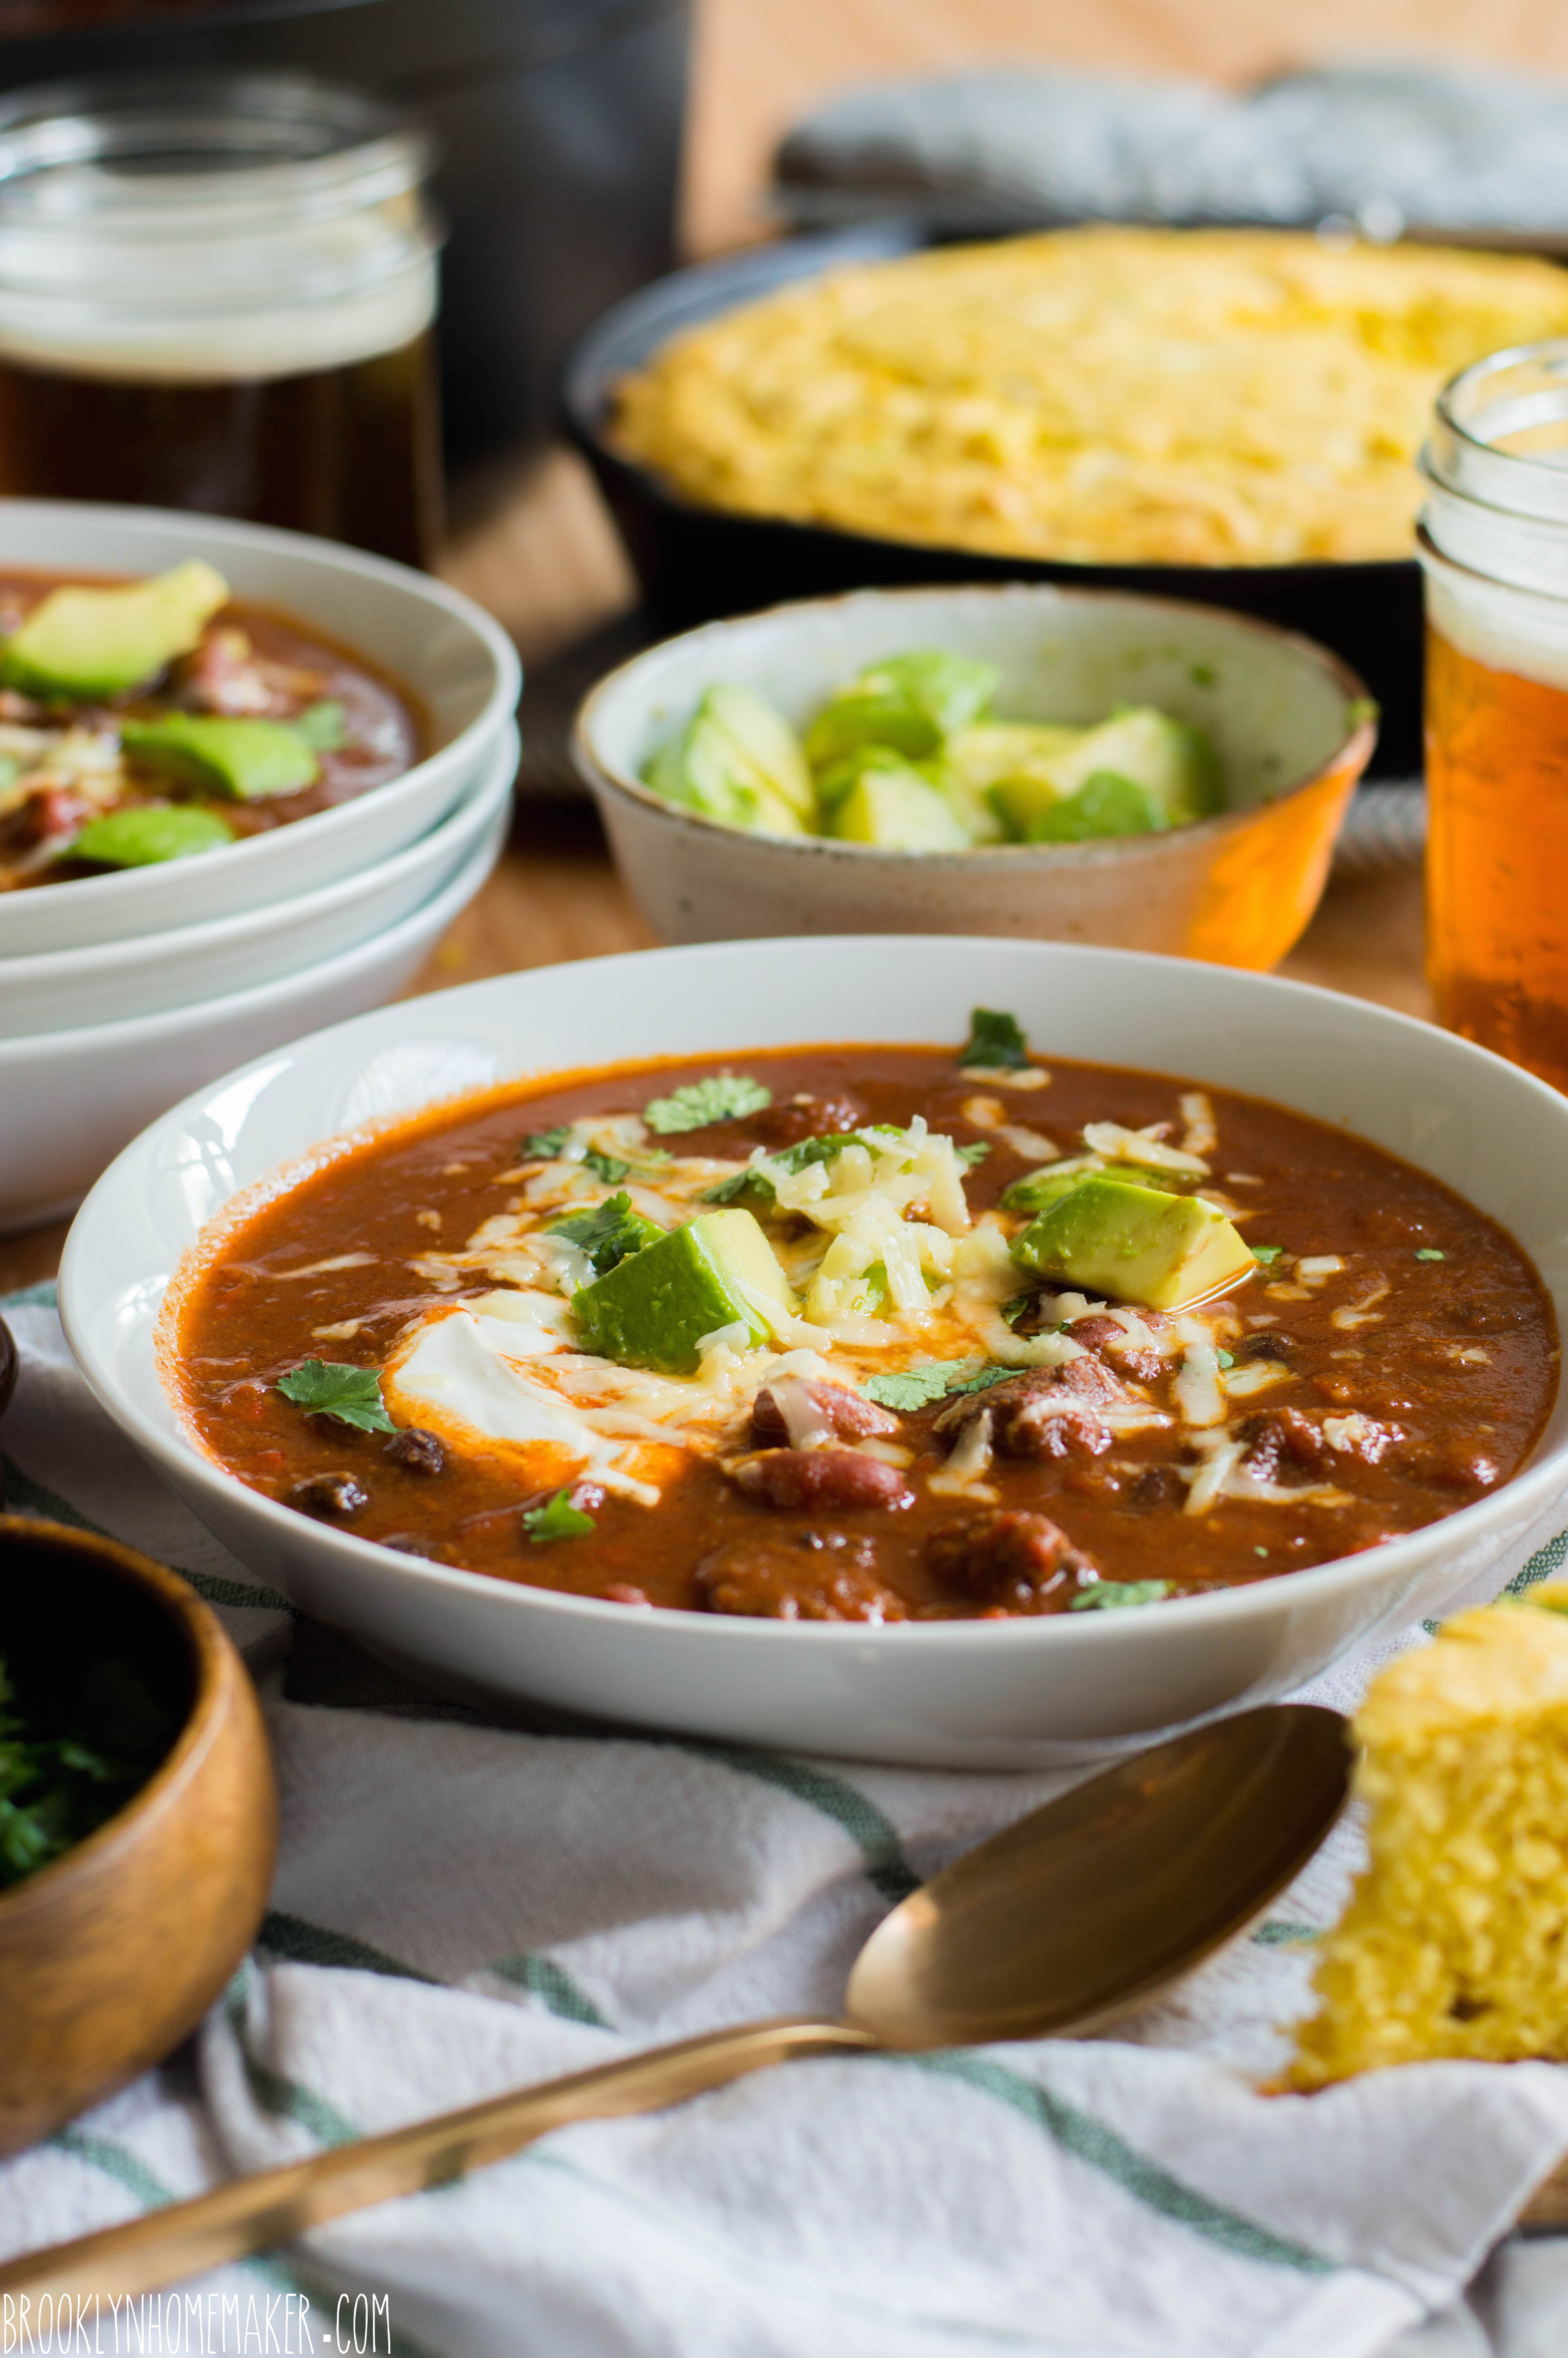
If you do go a little overboard with the spice, a heaping dollop of sour cream, a handful of grated cheddar, and some rich and creamy sliced avocado can go a long way to tame that heat.
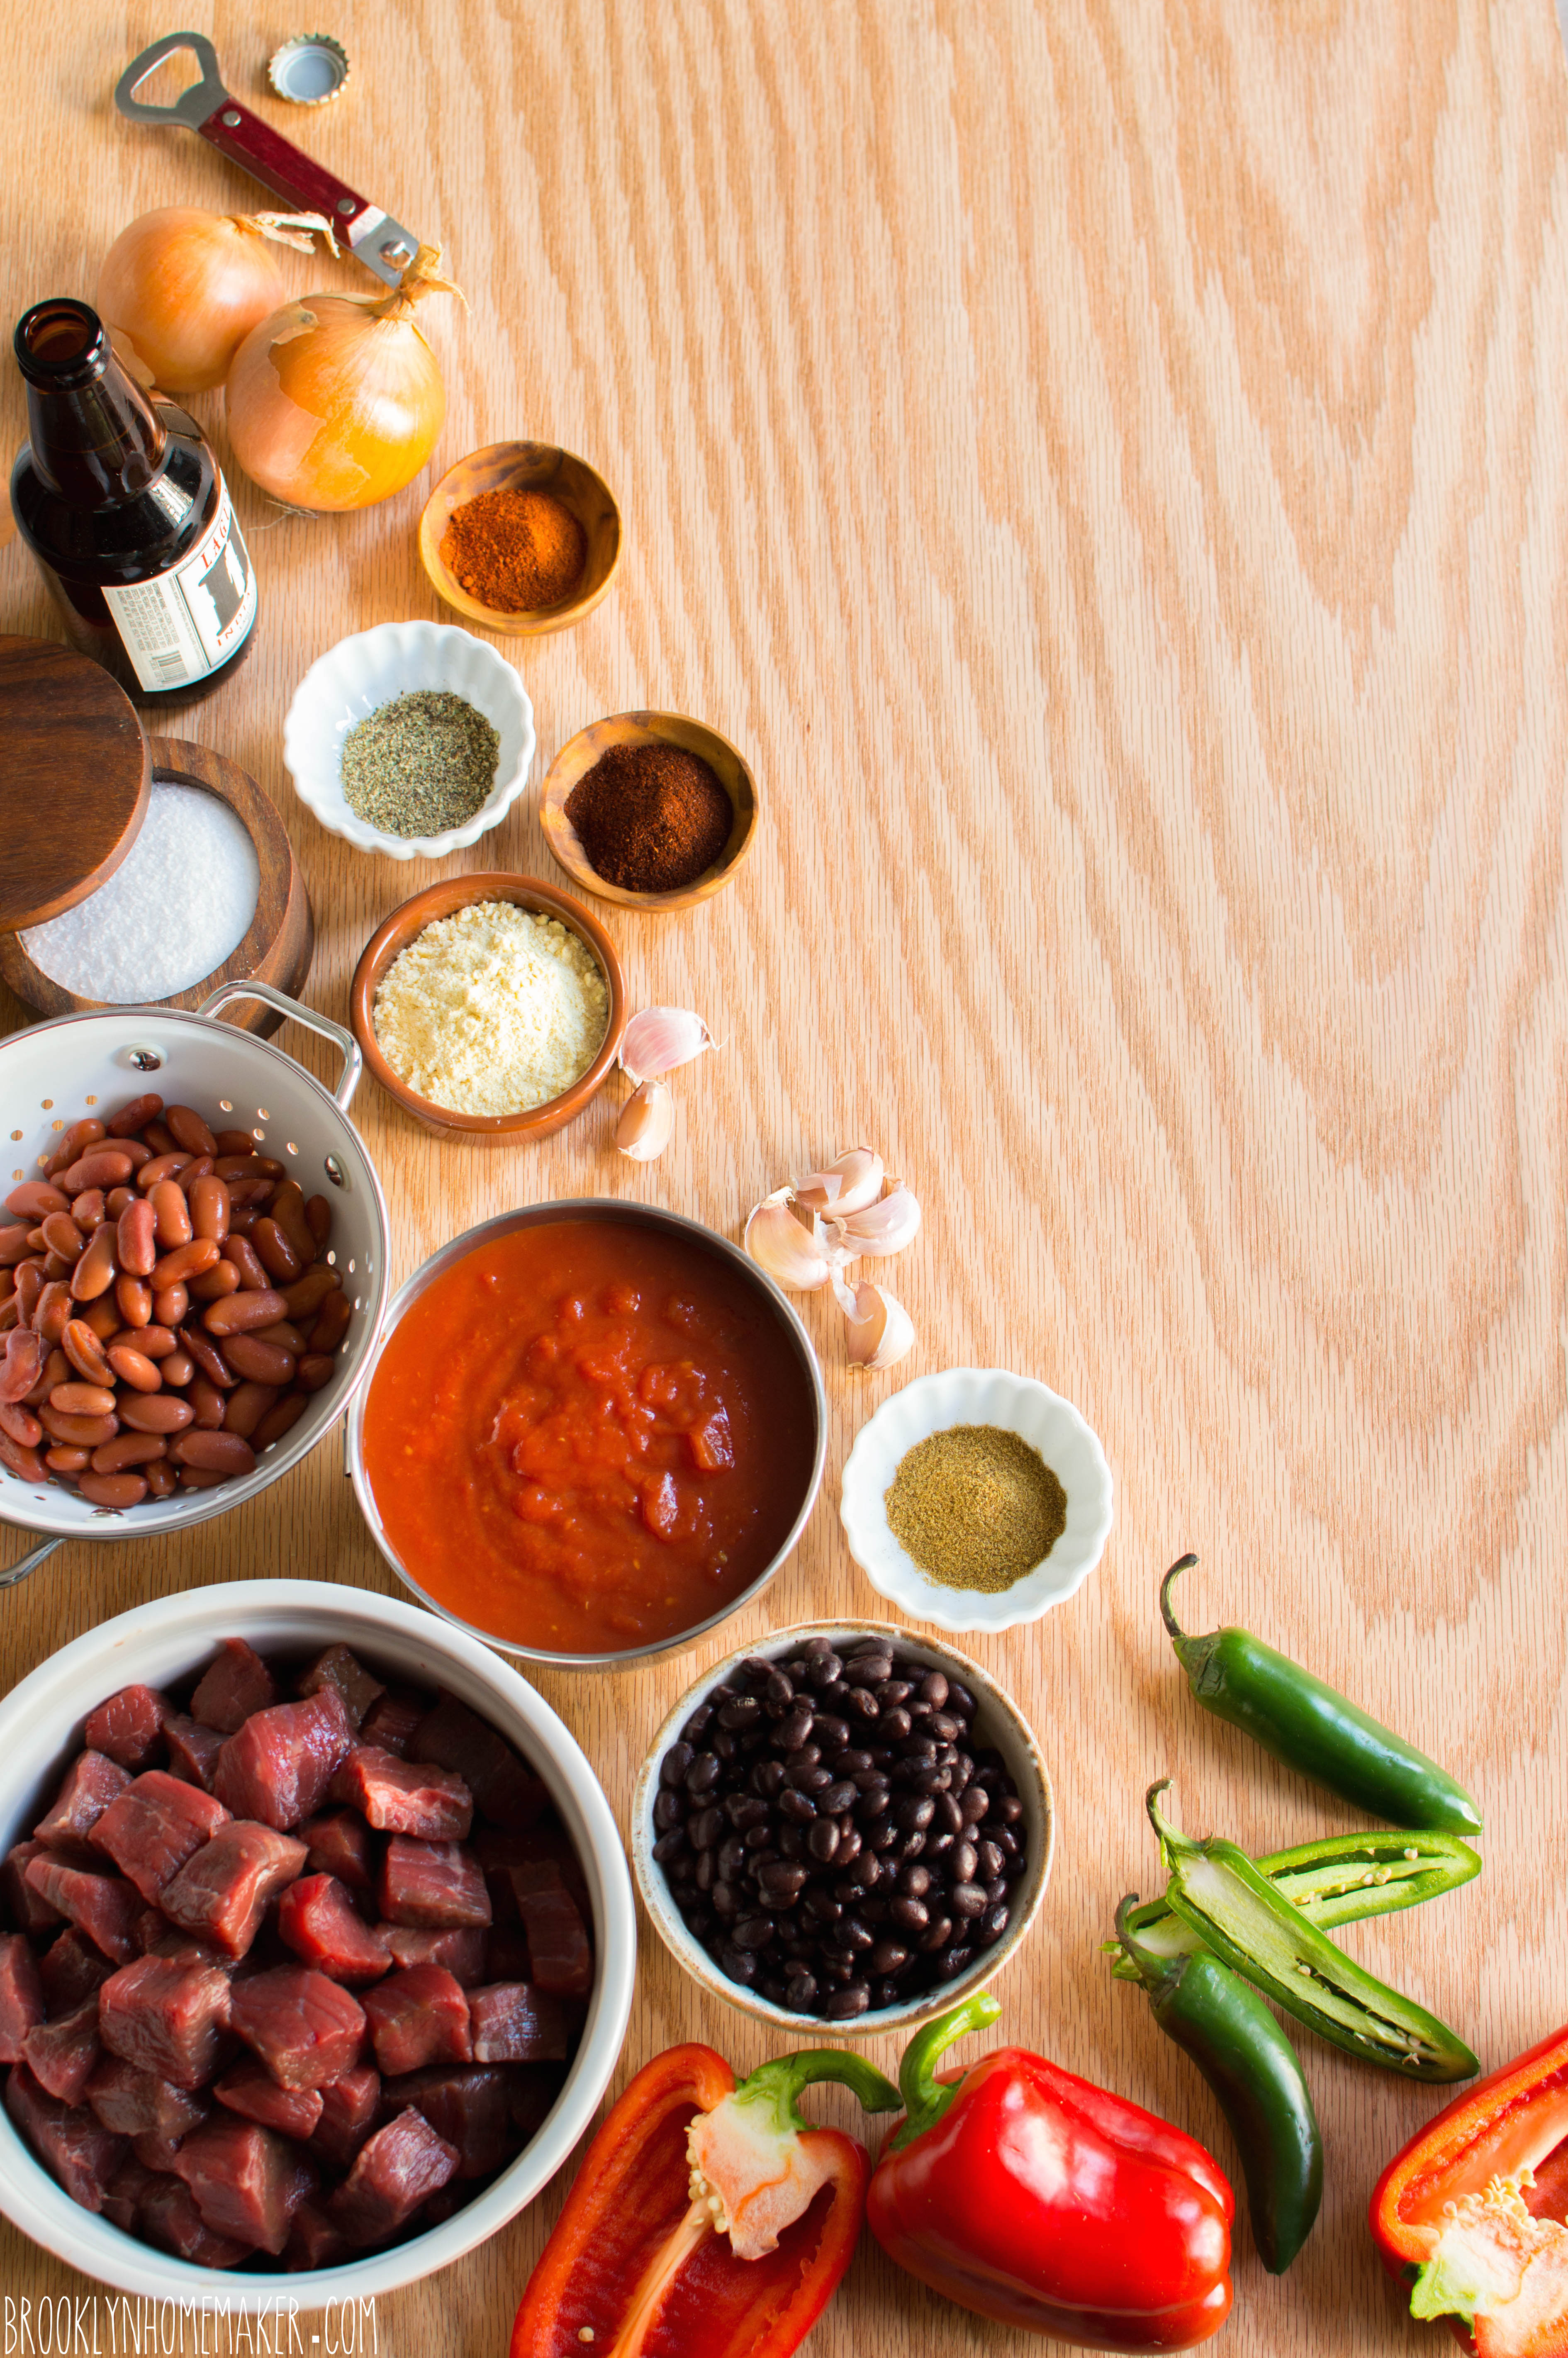
2 to 3 tablespoons olive oil, divided
3 pounds beef chuck or beef stew meat, cut into 1″ cubes
2 tablespoons masa corn flour (or all-purpose)
1 1/2 teaspoons coarse Kosher salt (maybe more as necessary)
1 1/2 teaspoons freshly ground black pepper (maybe more as necessary)
1/4 to 1 teaspoon cayenne pepper (depending on how spicy you like it)
2 teaspoons ground cumin
1 to 1 1/2 tablespoons chili powder
1 1/4 cup good Ale or dark beer, divided
2 medium onions, chopped
2 red bell peppers, seeded and coarsely chopped
1 to 2 jalapenos, seeded and finely diced (depending on how spicy you like it)
5 to 6 cloves garlic, finely chopped or crushed
3 cups beef stock
28 oz can crushed tomatoes
1/4 cup tomato paste
15 oz can red kidney beans
15 oz can black beans
Optional garnishes:
grated cheddar cheese
sour cream
torn cilantro leaves
sliced avocado
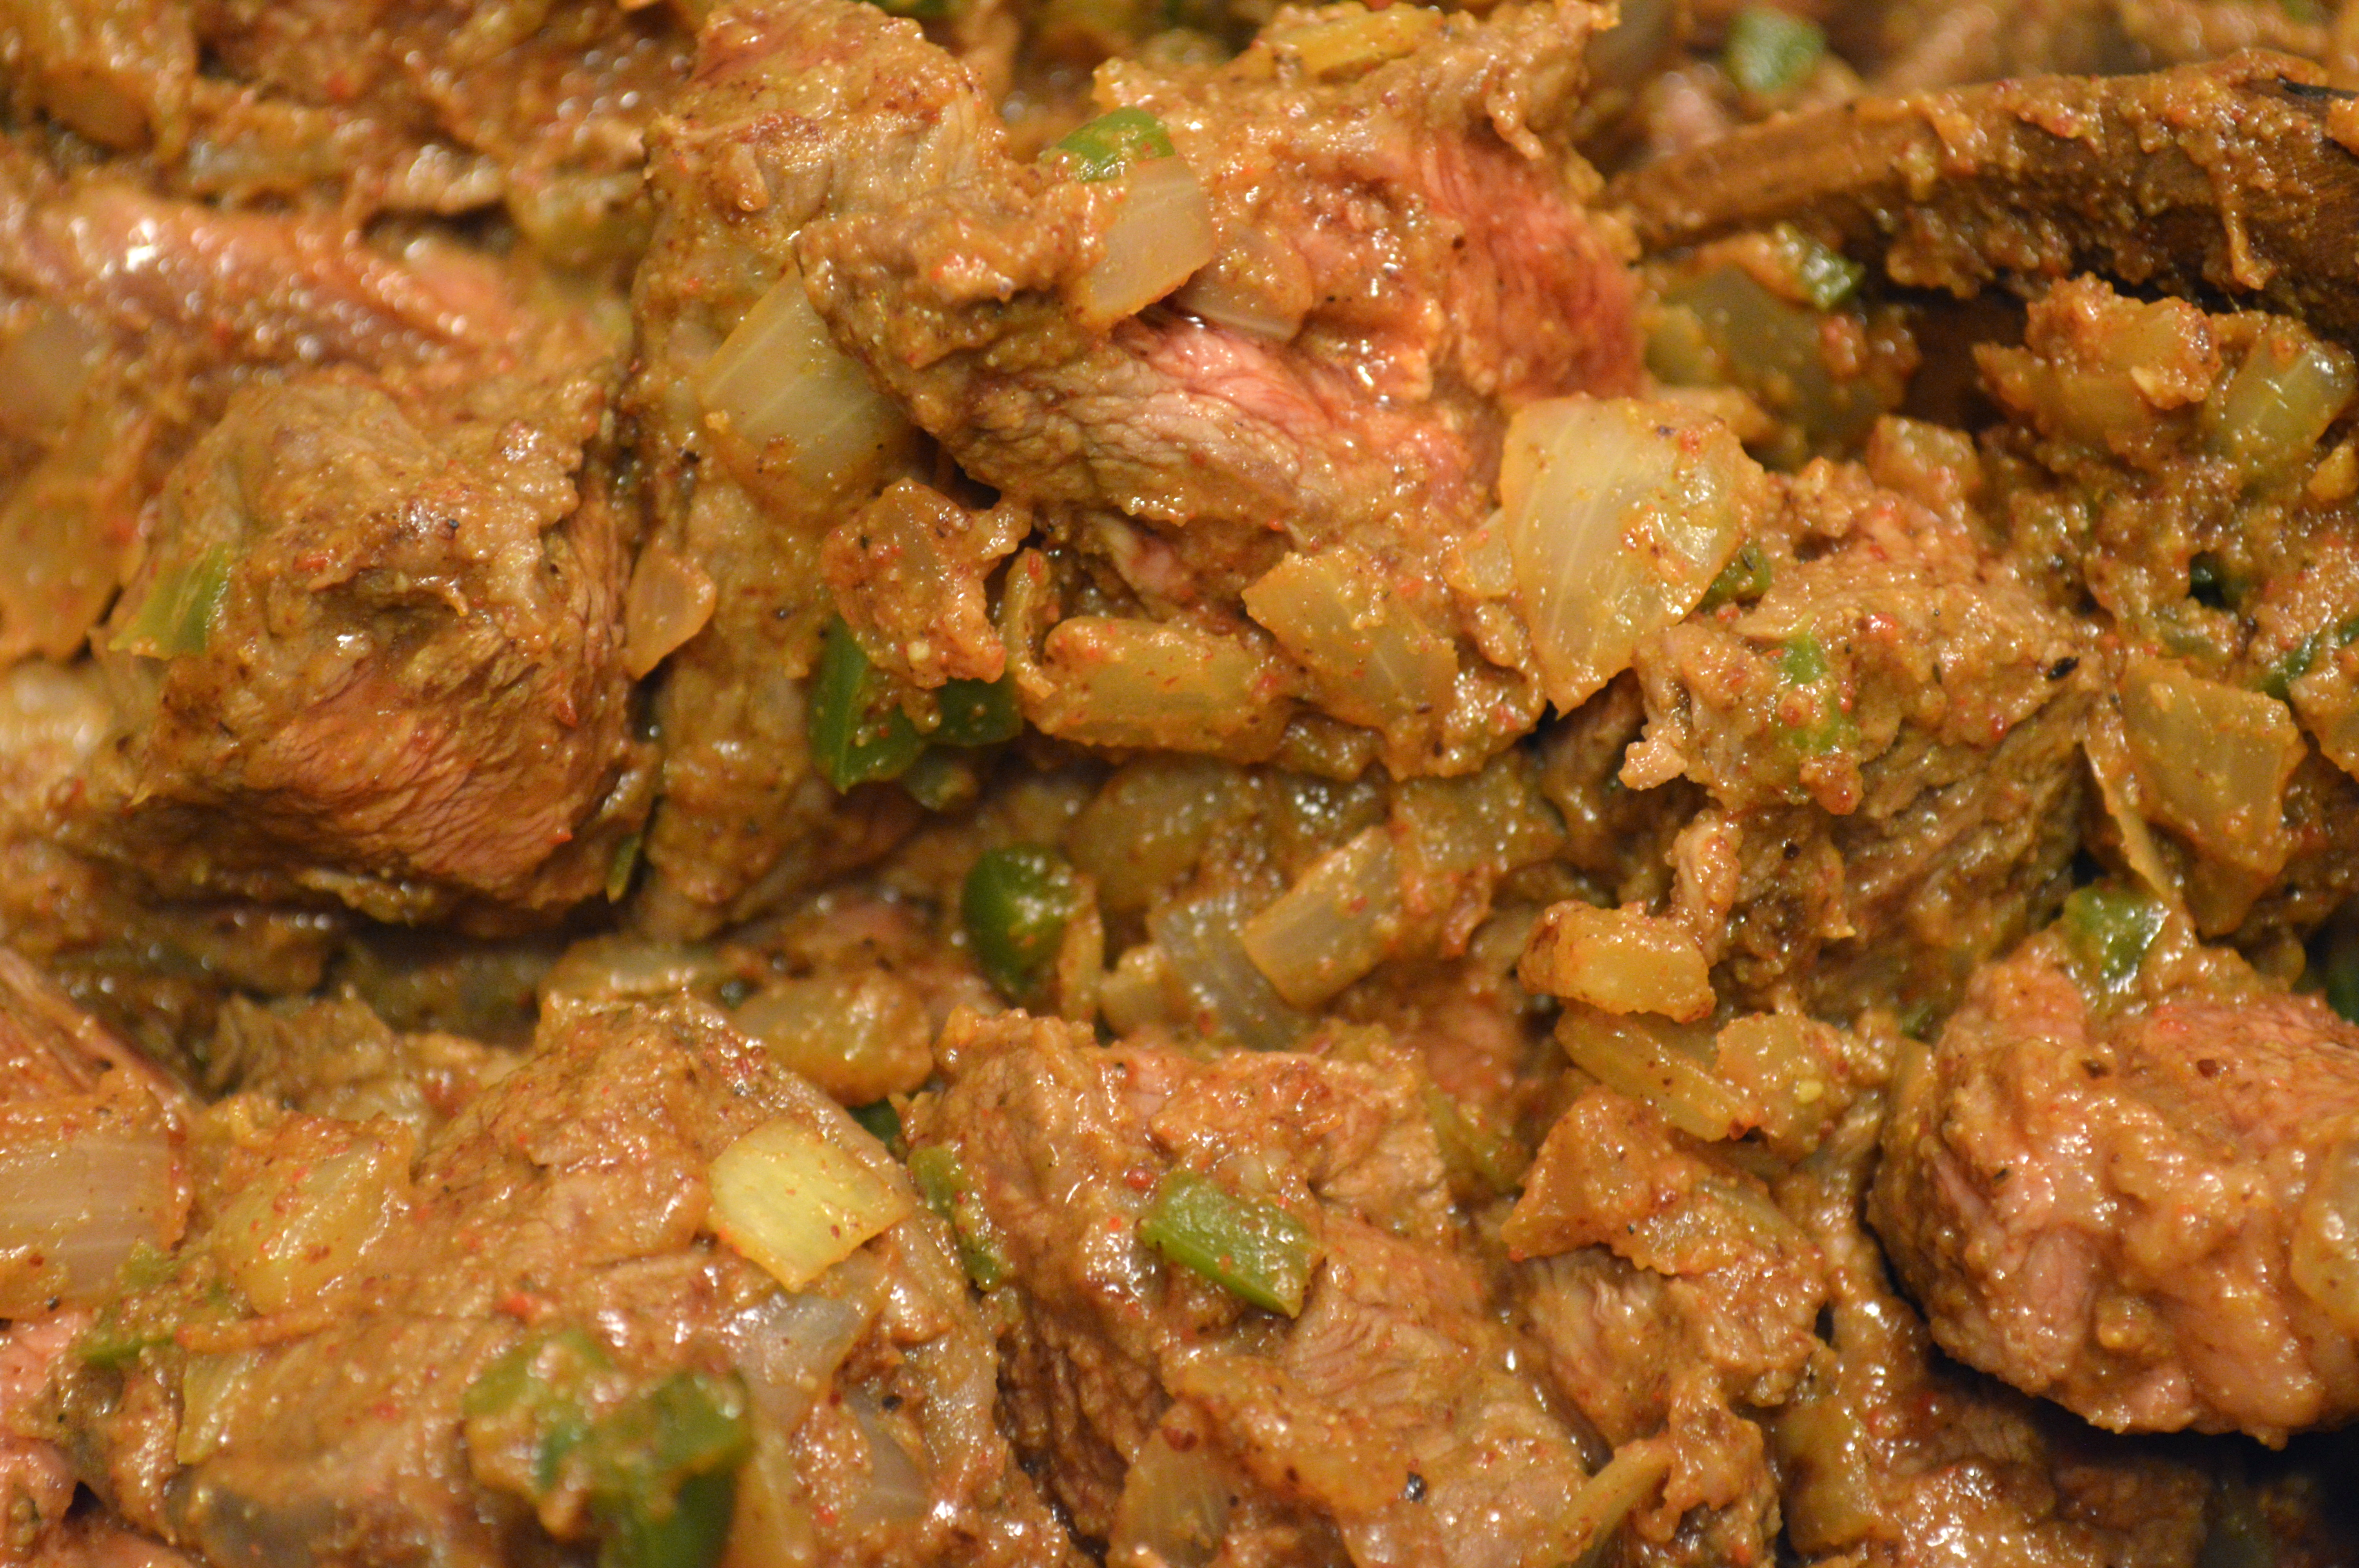
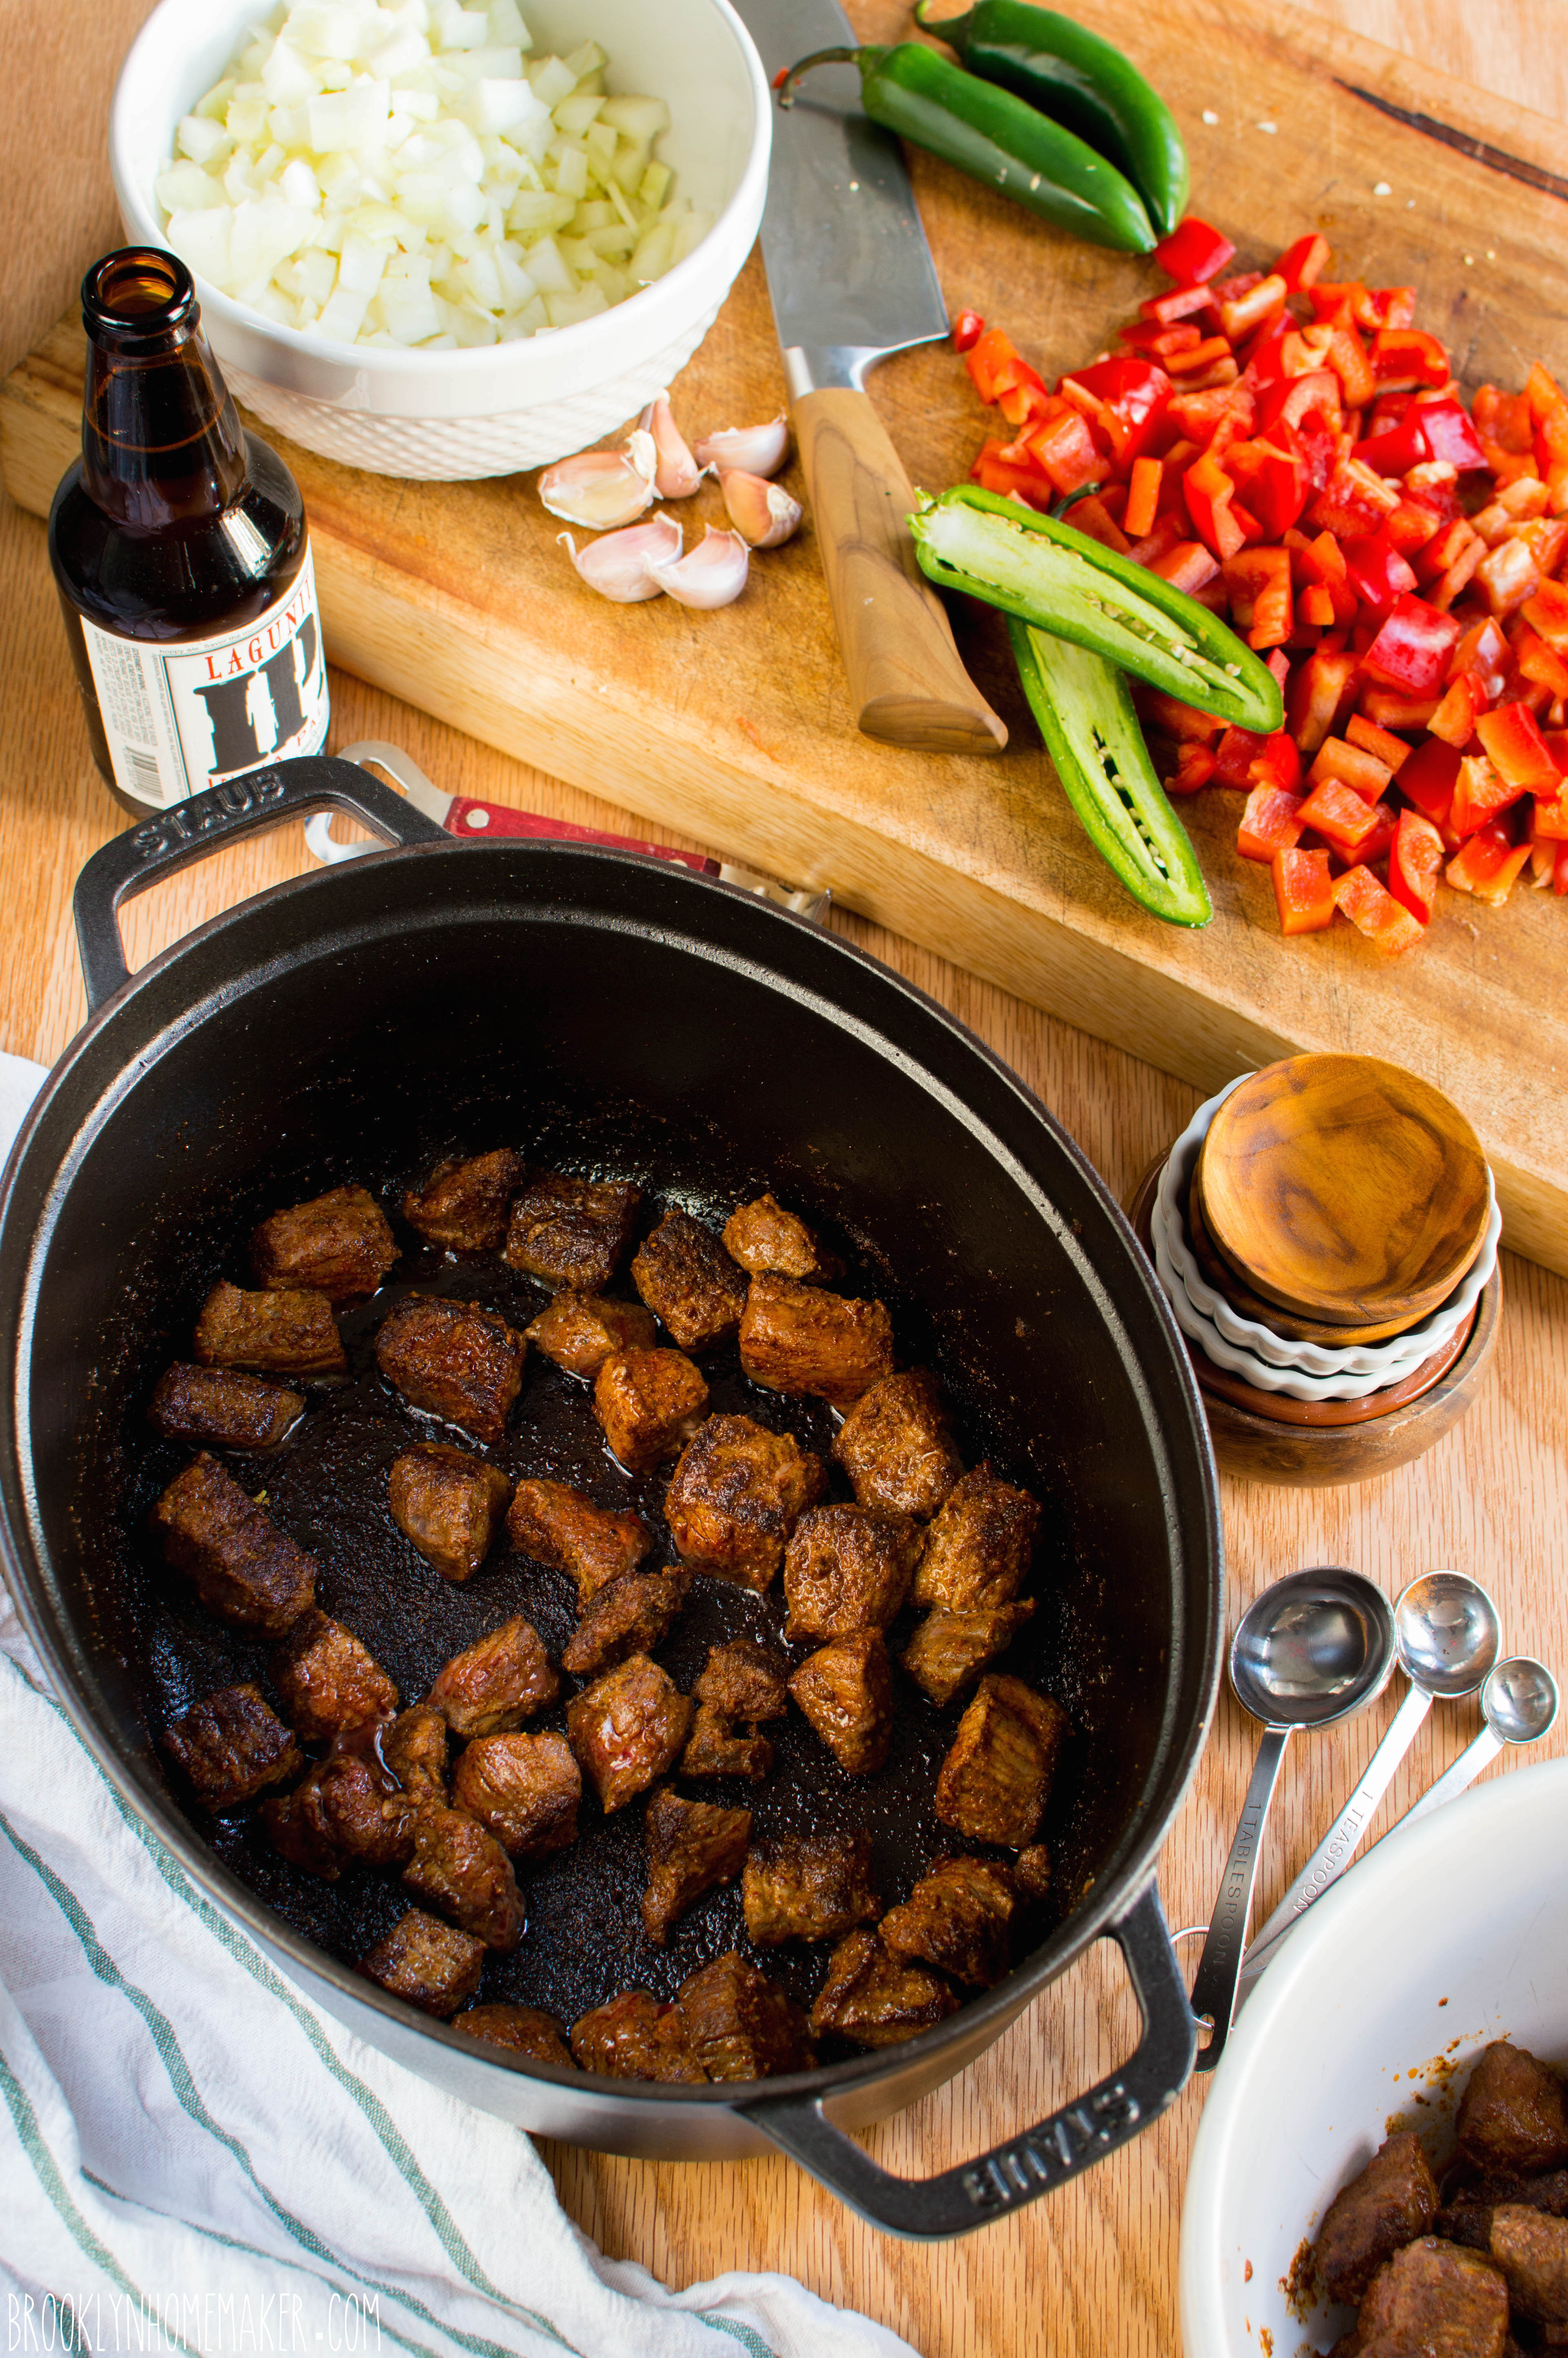
If using pre-cut stew meat, you may need to cut it smaller to get 1″ pieces. Toss beef in salt, pepper, cayenne, cumin, chili powder, & masa to evenly coat.
In a large heavy bottom dutch oven or stockpot, heat about 1 tablespoon of the olive oil. Brown the meat in batches for 5 to 6 minutes, turning each piece about half way through to brown multiple sides. Do not overcrowd the pan or the meat will steam, not brown. Transfer browned beef to a bowl to rest while you brown the next batch, and repeat until all meat is browned. Add more oil between batches if necessary.
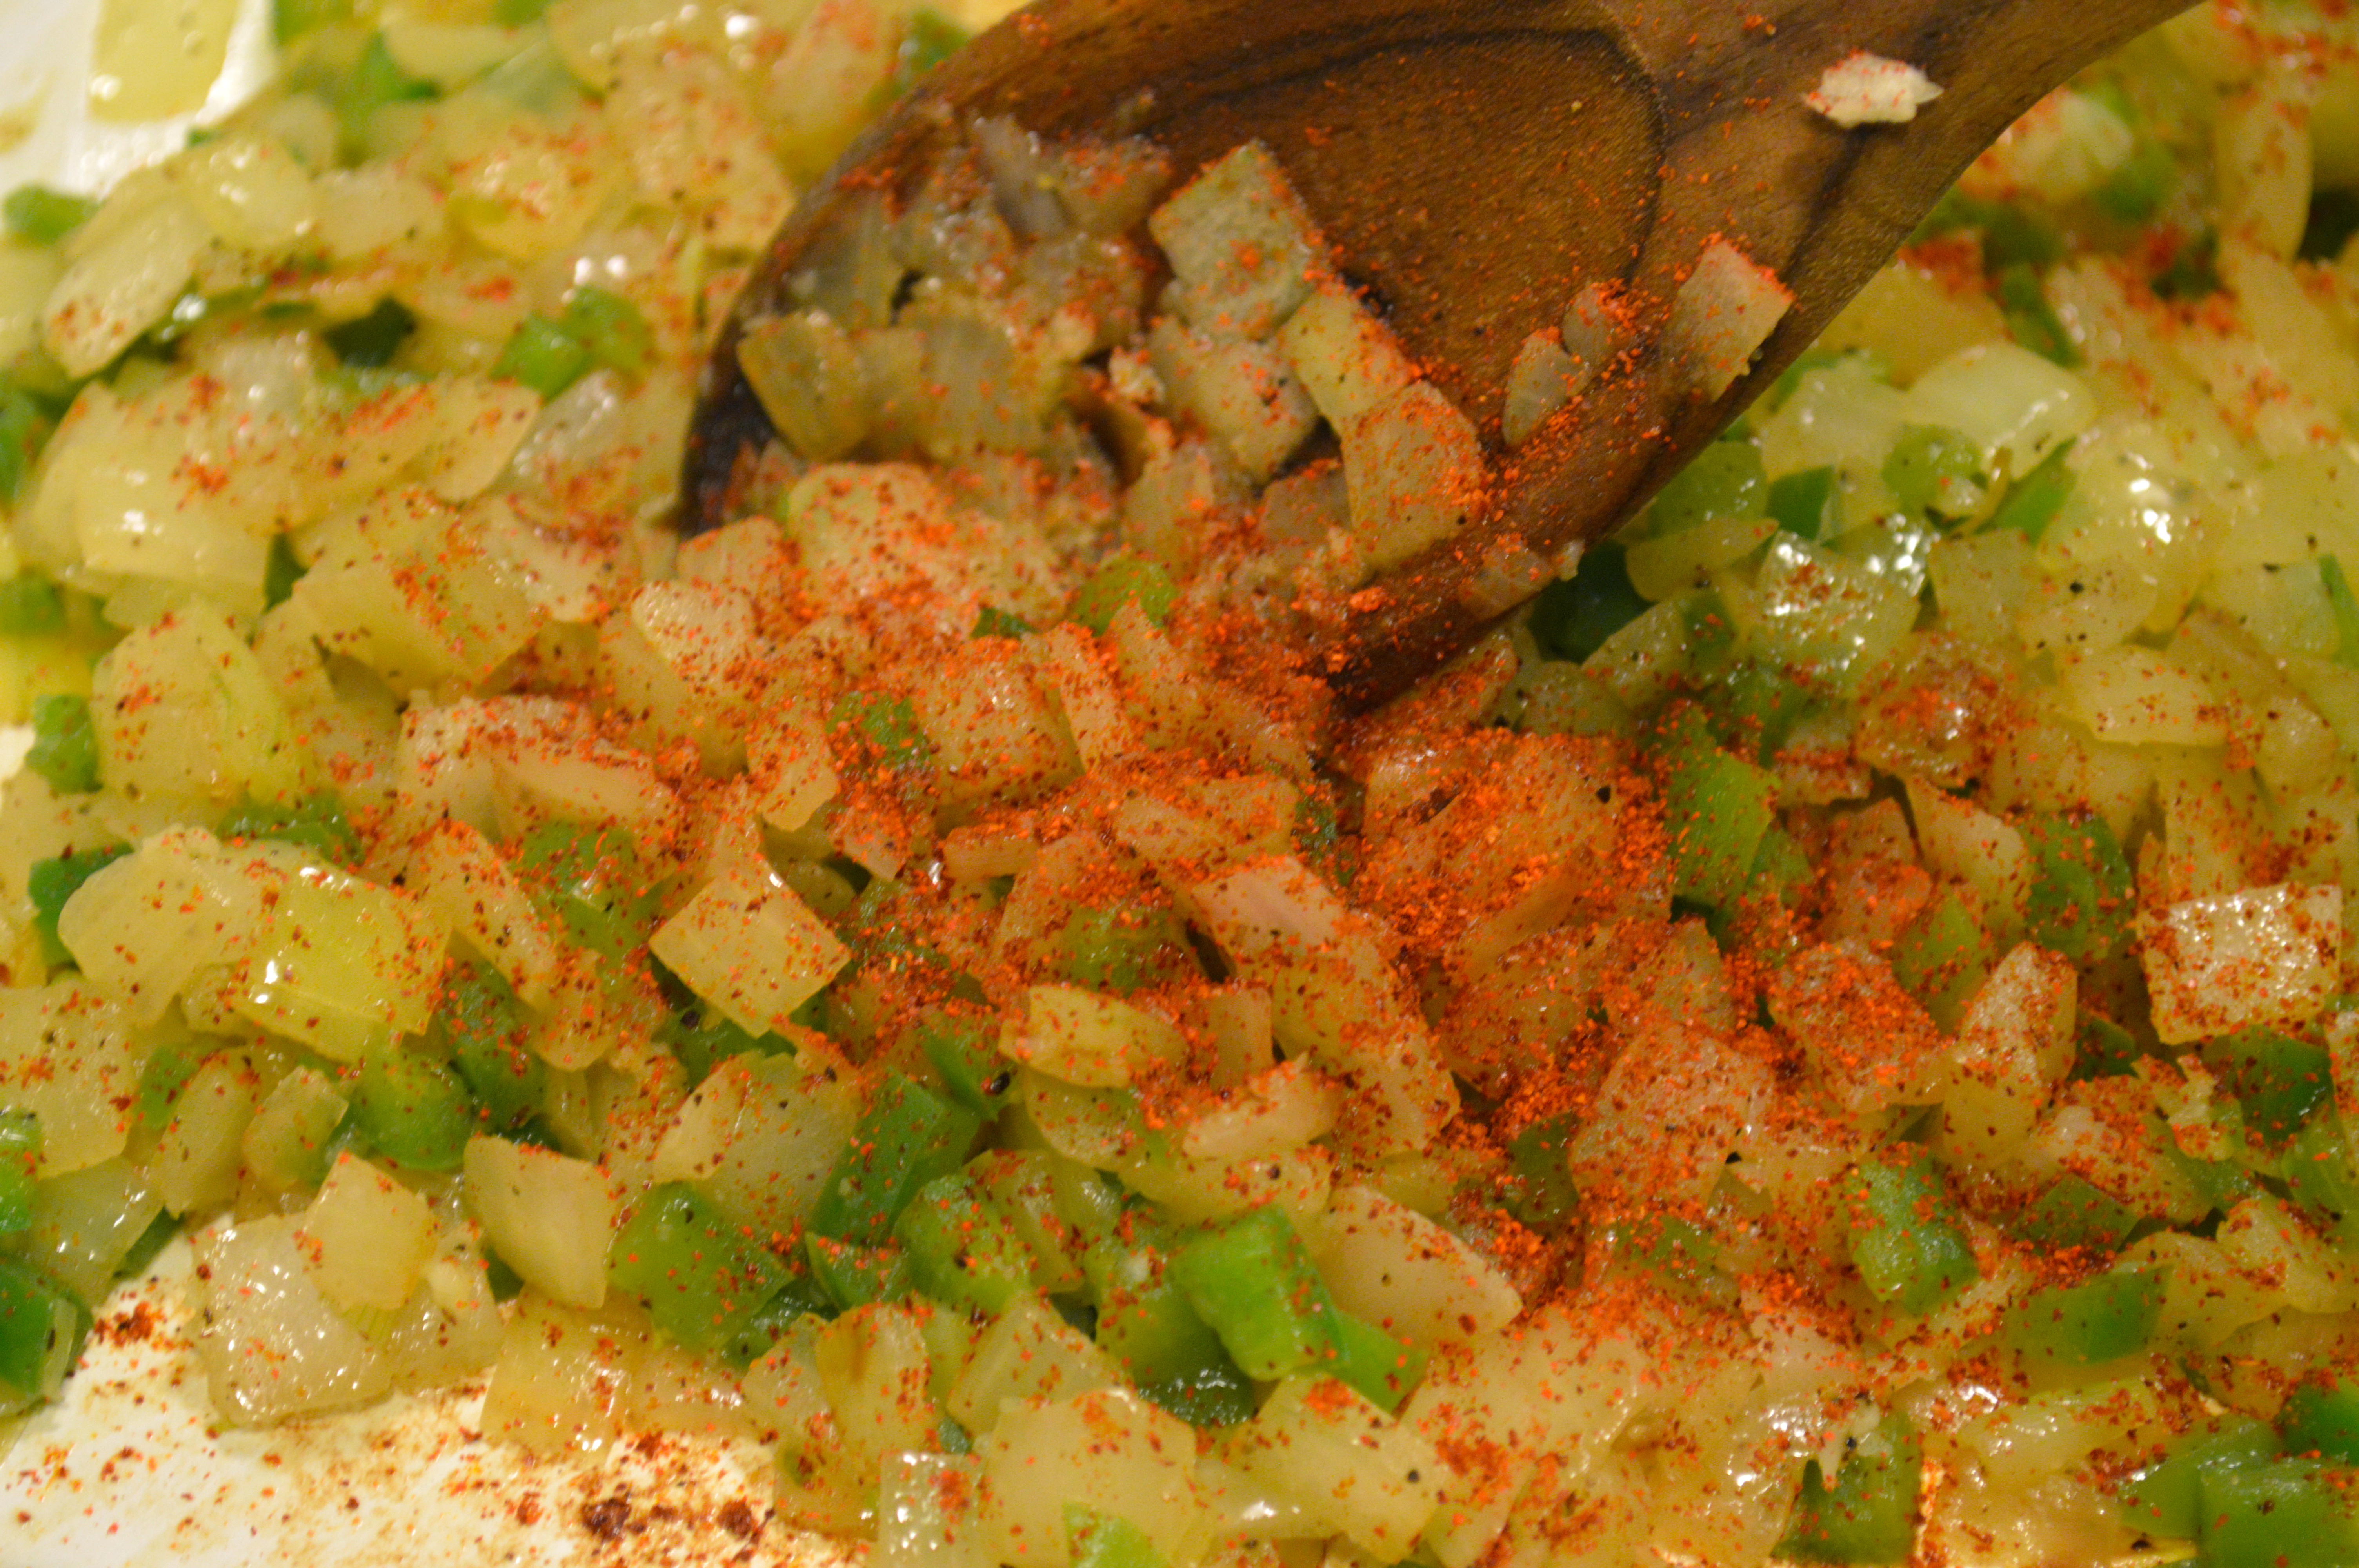
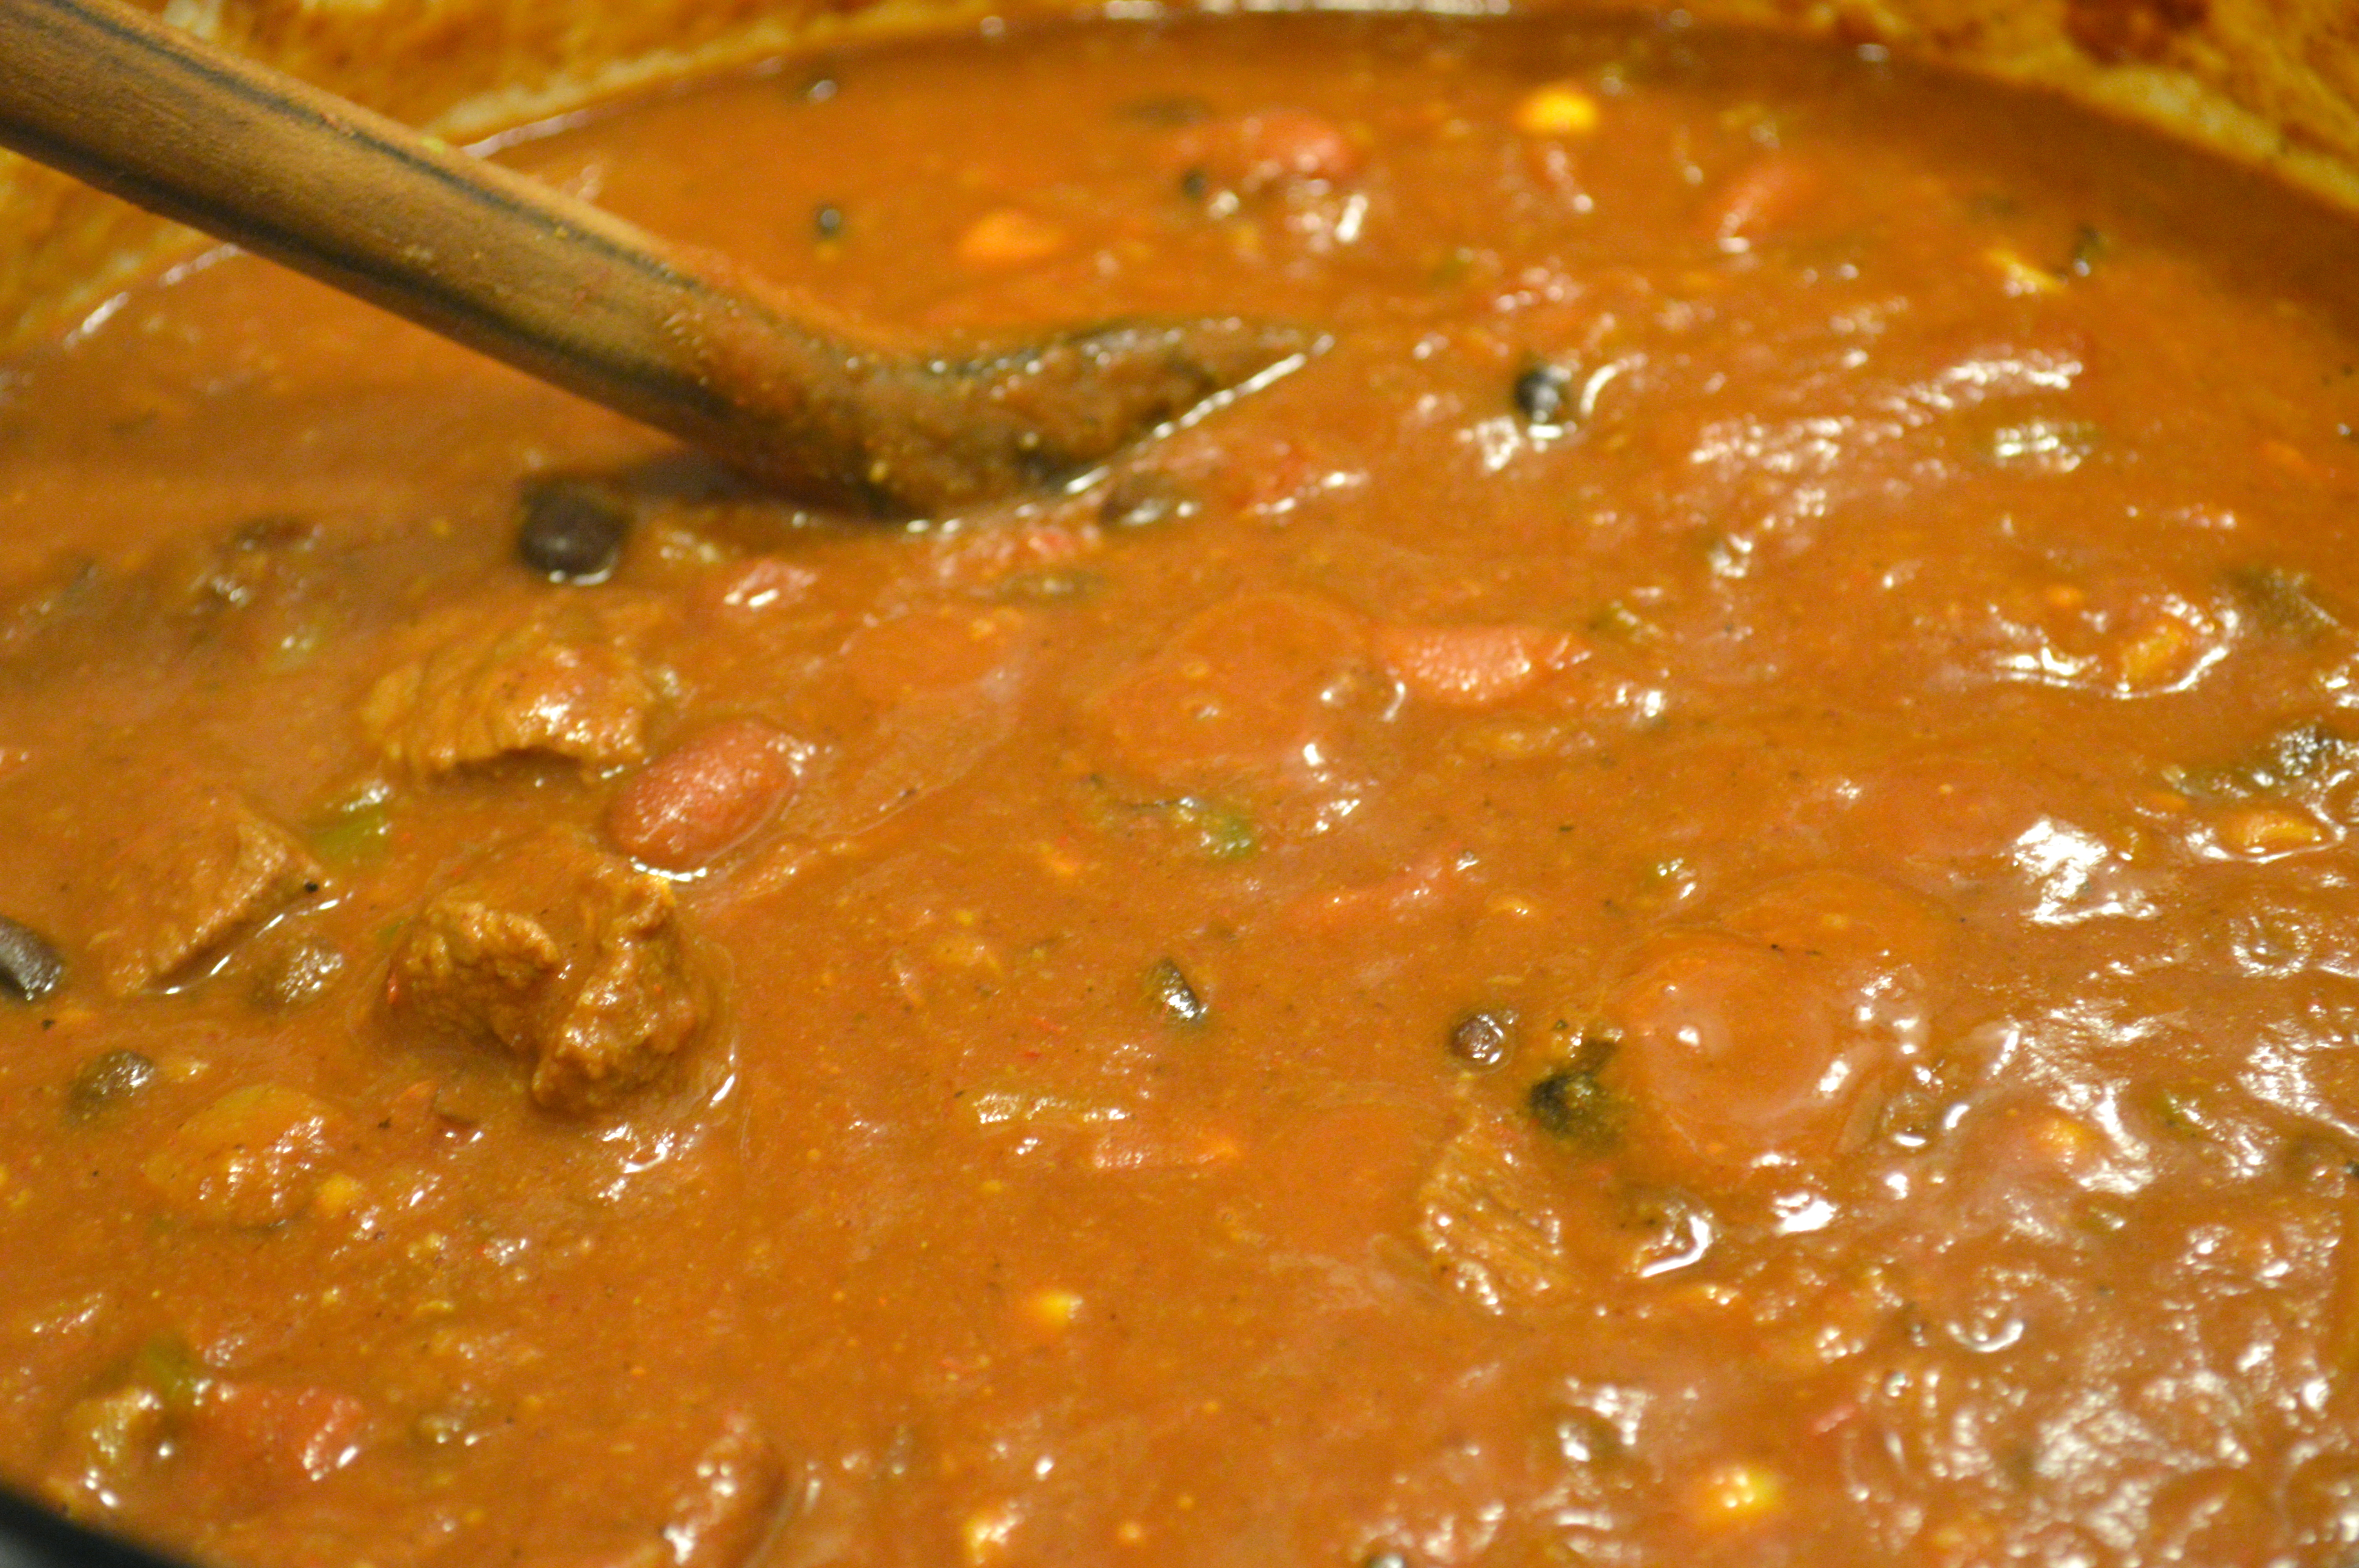
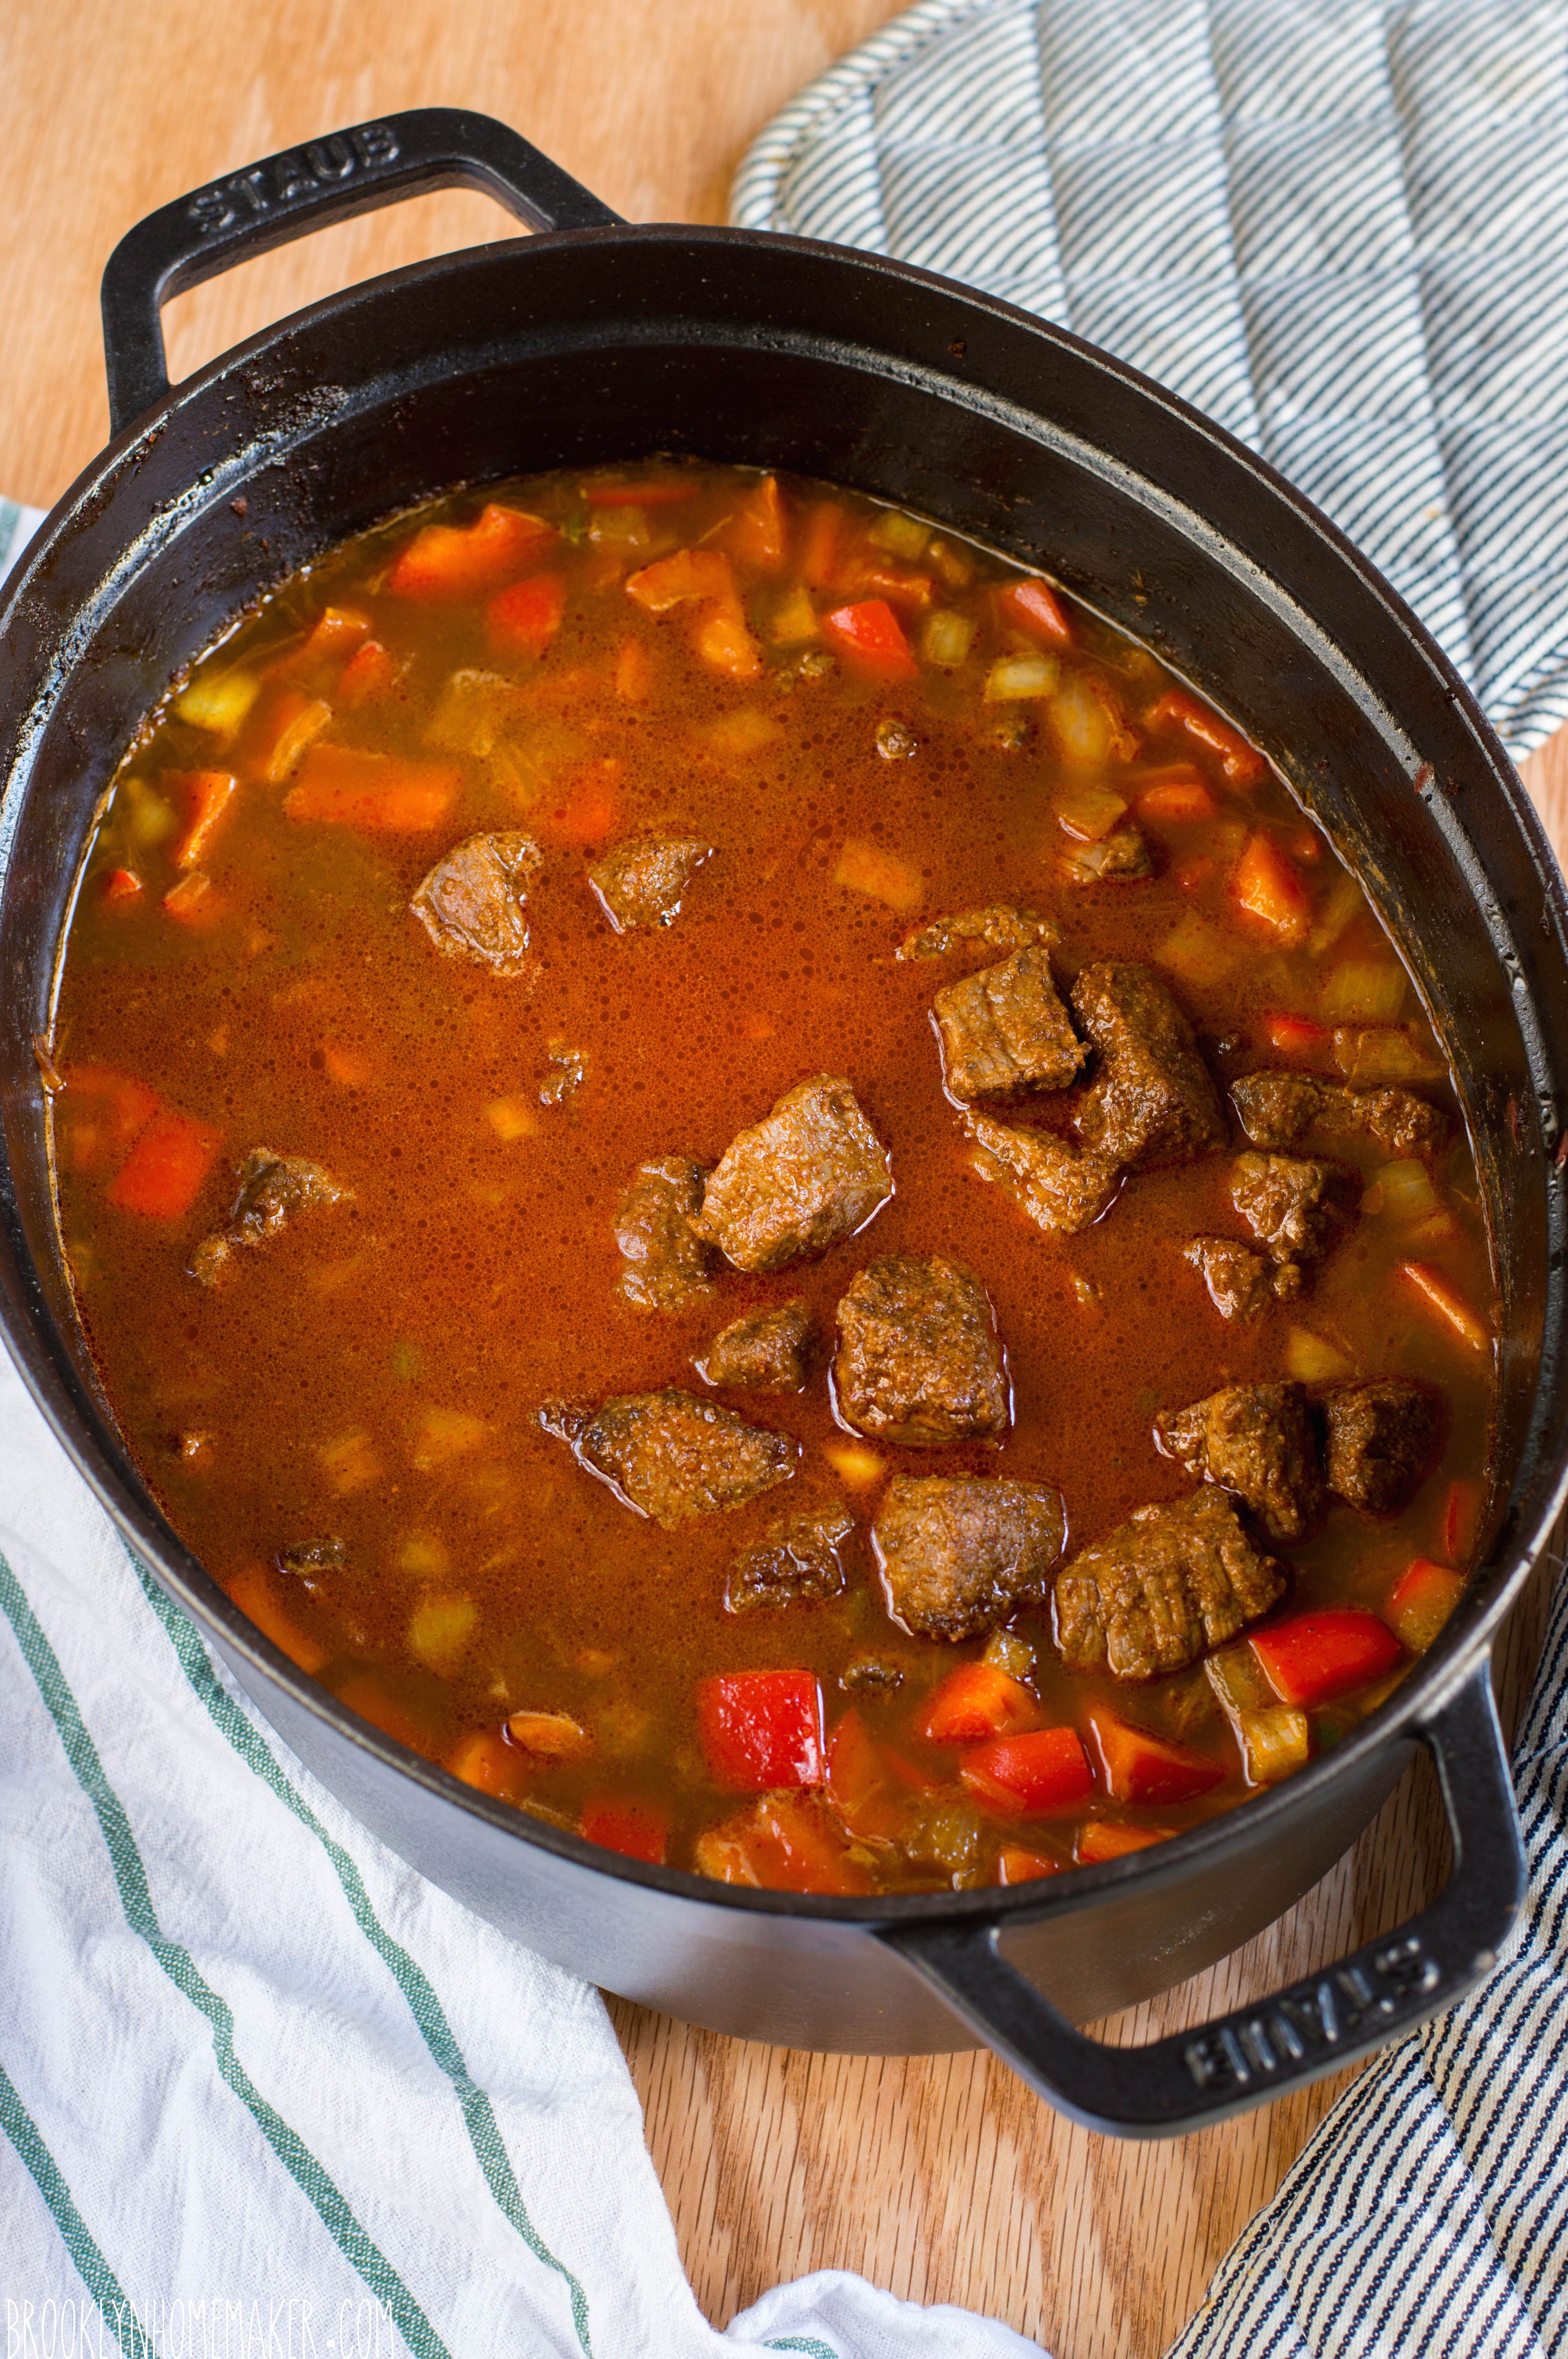
Once you’ve removed the last batch of meat, deglaze the pan with about 1/4 cup of the beer. Scrape up any stuck bits off the bottom of the pan with a wooden spoon. Reduce beer to almost dry. Add another tablespoon of oil and, once the oil is hot, sauté the onions for a minute or two. Add bell peppers, jalapeños, and garlic and cook 3 to 4 minutes more. Add beef stock, remaining beer, and browned beef cubes to the pan and bring to a simmer. Cover and simmer for one and a half hours, stirring occasionally. Uncover and simmer for one half hour more. Stir in crushed tomatoes, tomato paste, and beans. Continue to simmer uncovered for at least 30 minutes more or until the beef is fork tender and the liquid is slightly reduced and nicely thickened.
Taste and re-season with salt and pepper if necessary. If the chili is too thin, continue to simmer uncovered until it’s thick enough. If too thick, thin it out with additional beef stock, about 1/4 cup at a time.
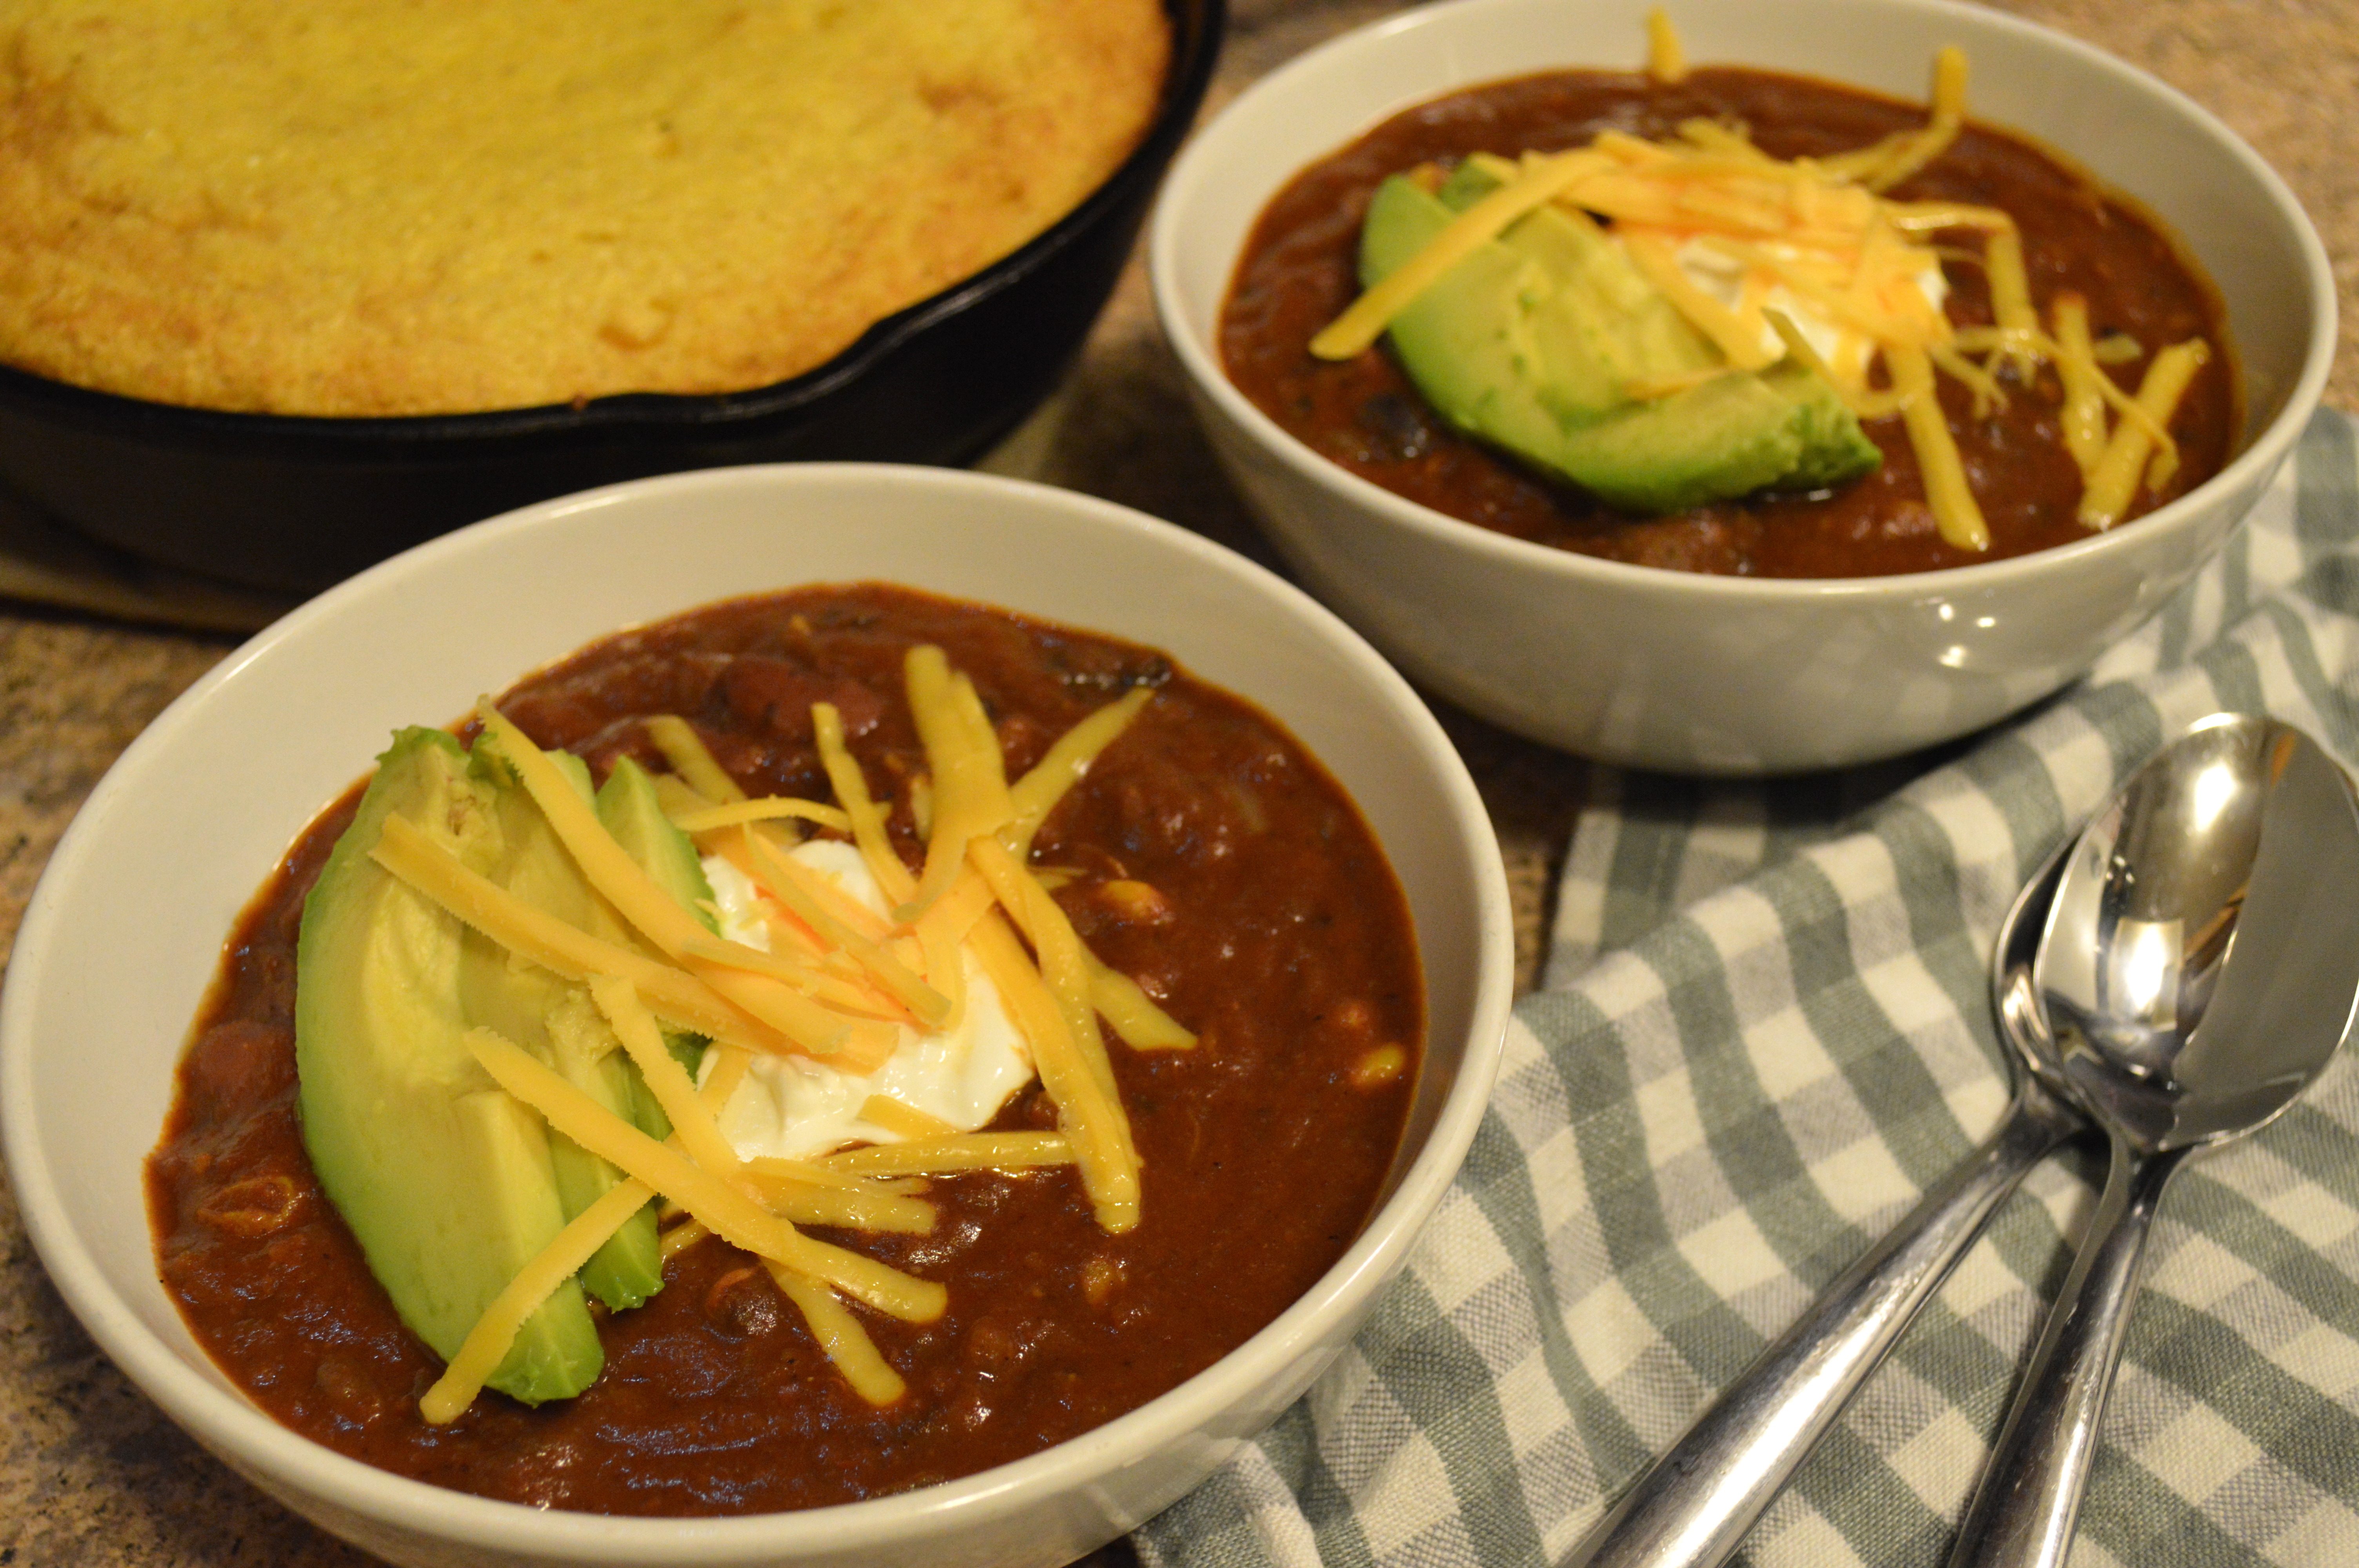
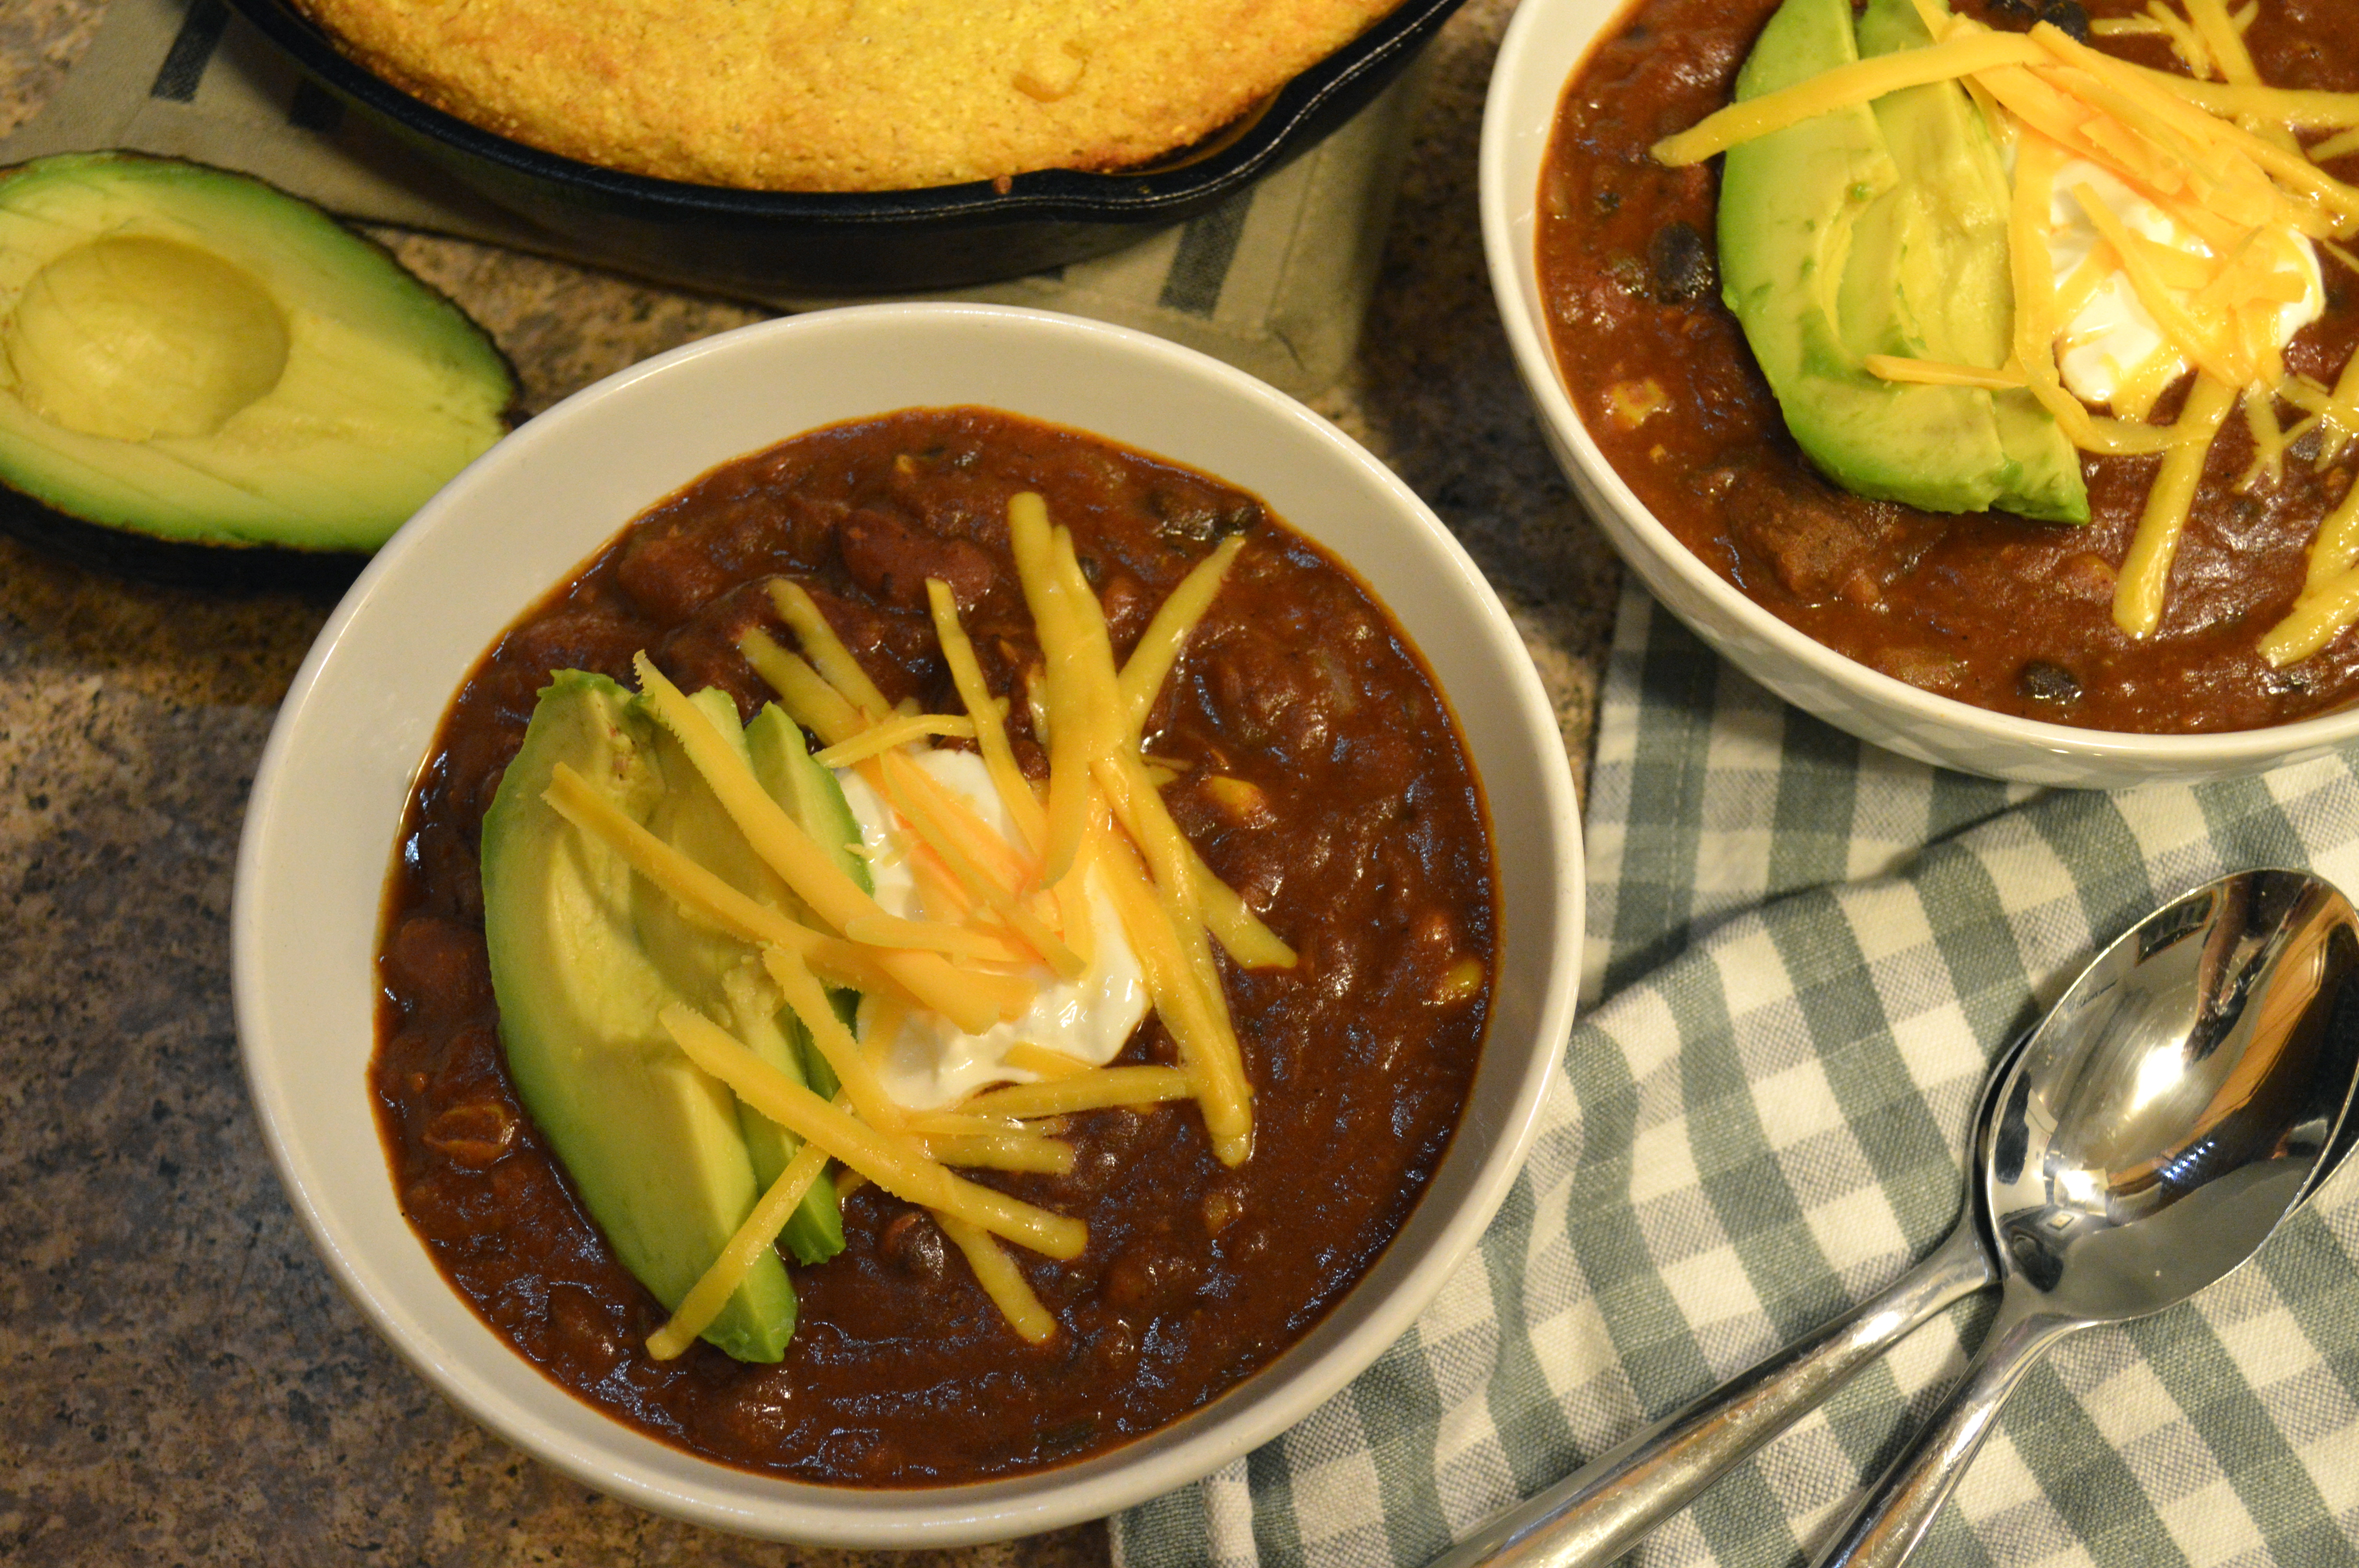
Garnish with grated cheese, sour cream, torn cilantro leaves, and/or avocado. Serve with warm cornbread if desired.