healthy

homemade taco seasoning

Why hello there! Longy time no seeum!

homemade taco seasoning | Brooklyn Homemaker

It’s been a minute, I know. Sorry about that.

I went upstate for a little vacation with my sister and her kids, and as much as I wanted to, I didn’t have time to get a backup post together to share while I was away. We went to a Bluegrass festival in the Catskills for 5 glorious days, and while I missed you guys, I loved every second of it.

Amazing music and friendly strangers. Boiling hot days and freezing cold nights. Spending time with family. Getting drunk on whiskey and wine and dancing barefoot until the wee hours of the night. Going to sleep on a firmly inflated mattress and waking up on a rock. Drying blankets in the sun after accidentally leaving the tent windows open during a thunderstorm. Lifting my niece up over a sea of tents to see the rainbow after the storm. Doing my duty in a porta potty or at the grocery store bathroom…

Absolute heaven.

Grey Fox bluegrass festival Grey Fox bluegrass festival Grey Fox bluegrass festival

In keeping with my last post, I had ideas for a summery healthy dinner that I planned to share with you last week, but fate had other ideas. I scheduled an extra day off after the festival so I’d have time to nurse the world’s largest hangover. My plan was to make and photograph said recipe then. Two days into my trip however, things changed.

If you recall my “yardening” post from last spring, you may remember hearing about our “sickly plum tree” and seeing the trunk of said tree in the photo below.

tree trunk

Two days into my trip I received a text from Russell with this photo:

fallen tree

That’s taken from our bedroom window, and in the foreground you can see the deck we built last summer (with stairs to the right) to make getting out into the yard easier for us and the pups. The old “sickly plum tree” had just given up. Since we moved in I’ve been trying to figure out how to nurse the poor tree back to health, but the fact of the matter is that I had little to no idea what I was doing. I tried trimming off dead branches, but more kept dying, and every spring the leaves and fruit suffered from a white mildew that would cause all the fruit and about half of the leaves to fall off early in the summer.

Late last summer I noticed that the tree had A LOT of ants on it, and most of them would travel down to the base of the tree and disappear into the ground between the roots. Well, apparently the ants had decided to take advantage of the defenseless old tree and make a nice home in it’s trunk. When I finally got back home to take a look, the trunk of the tree was completely rotted out and had been turned into a dark and crumbly swiss cheese of insect tunnels. After fighting with all the strength it had left, the tree had finally just given up.

Seeing how bad the trunk was, I’m actually surprised it hadn’t fallen earlier.

Rather than making delicious food in the comfort of my home, on my day off I got to stand outside for several hours in 95 degree heat and cut the poor tree up into manageable chunks with the world’s dullest, rustiest handsaw. After waiting for almost a month for our landlord to fix our oven when it broke, we figured it wasn’t even worth asking for his help with the tree so I just did it myself. It was quite a workout though, so at least I can say it was all in the name of fitness.

Anyway, now the yard looks more like this.

fallen tree after

I’ve still got a lot of work to do to clear all the debris and get rid of the wood somehow (we can’t have fires back there, we tried once and had the fire department at our door within 20 minutes). Although I miss the tree, and it may take some getting used to, I actually really like how open the yard feels now. I feel like I might need to rethink my (meager) landscaping there, but the quality of light in our room feels so much nicer and brighter now, so that’s good.

SOOOooooo…

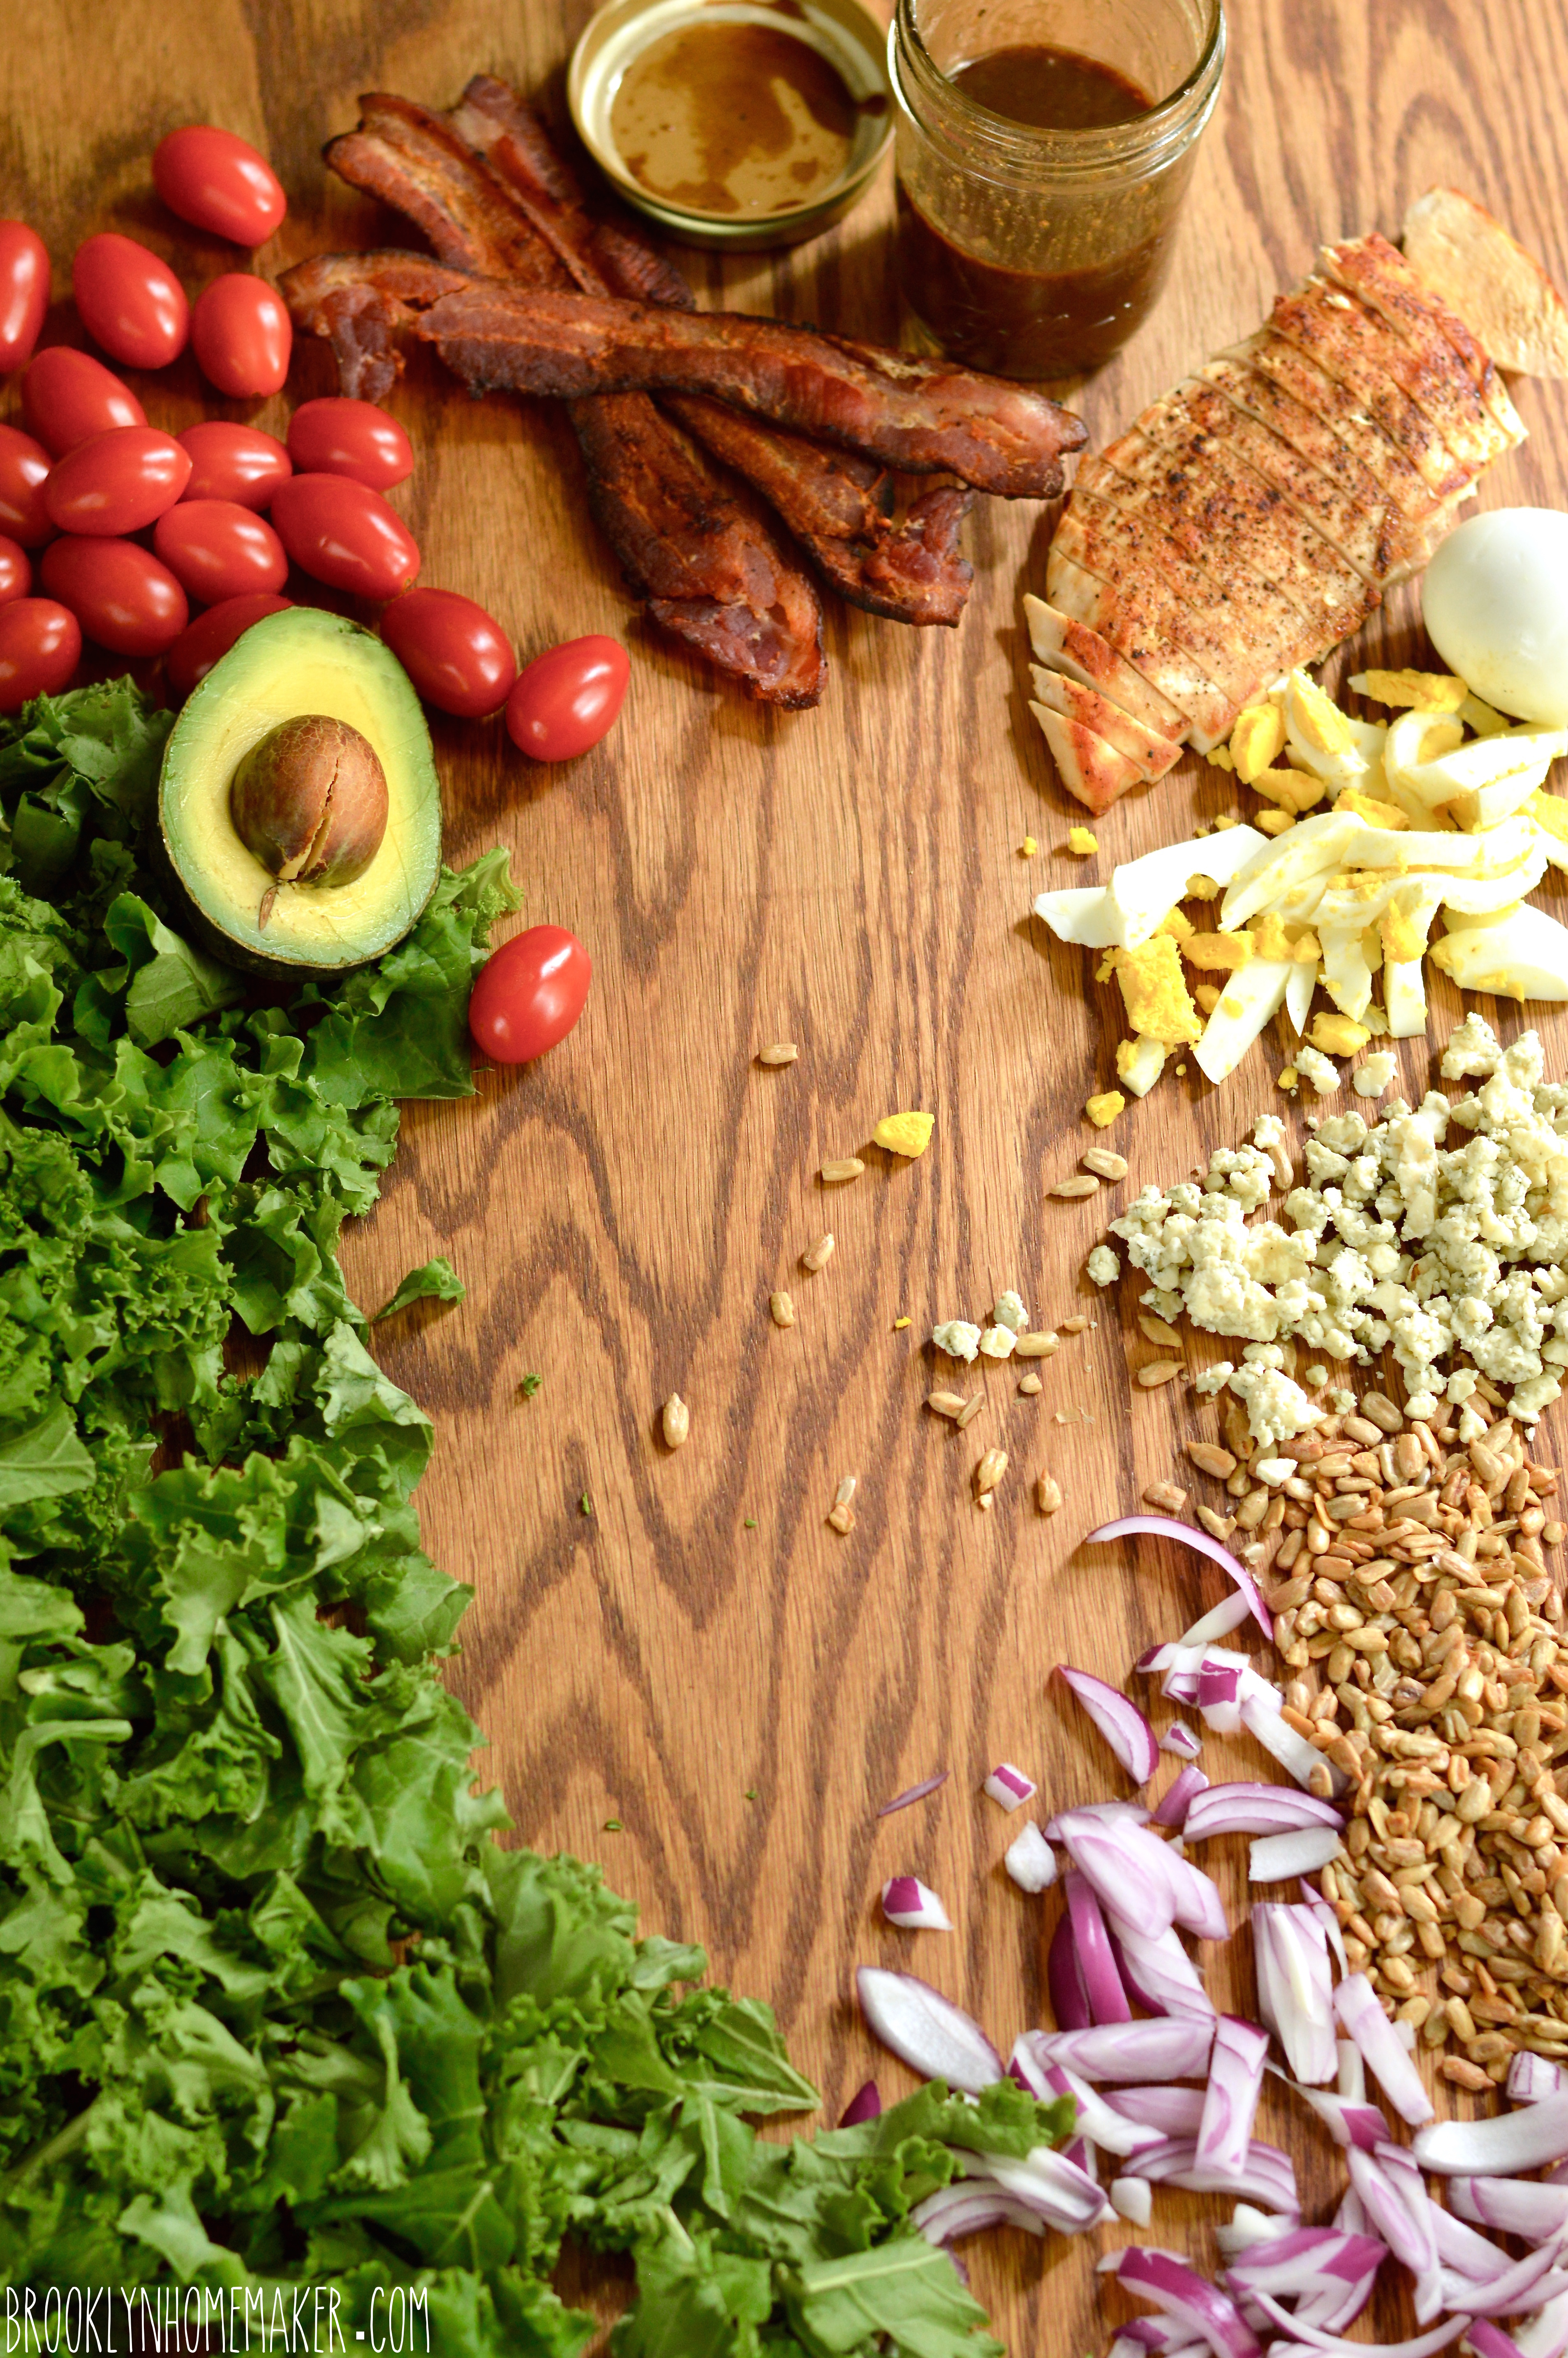
Without the time to photograph a full meal after the tree massacre, I thought I might share this taco seasoning I’ve been using lately instead. Russell and I tend to eat a lot of ground turkey or grilled chicken tacos, and now that we’re trying to eat better they’re a great meal we can make after work. There are a lot of small family owned tortilla factories in my neighborhood so we can get our corn tortillas super fresh. A few torillas filled with some well seasoned lean meat, sauteed onion, and black beans is the perfect quick and easy weeknight meal. Rather than cheese or sour cream, we like ours with a few creamy slices of ripe avocado.

homemade taco seasoning | Brooklyn Homemaker

I like to make my own seasoning because we make tacos so often. The store bought stuff is crazy salty and some of it has some really questionable ingredients that I’m not super comfortable eating on a regular basis.

This seasoning is not only fresher and much less salty, but you also know exactly what you’re putting into it and can customize it to your taste. I like my tacos nice and spicy, so in addition to the chile powder I like to add ground cayenne pepper too. Cinnamon adds a warmth without adding spicy heat, and smoked paprika adds a great warm smokiness. You may think cornstarch is an odd addition to a seasoning blend, but most taco seasoning does have thickening agents in it to help make a nice thick sauce. If you don’t like using cornstarch you could substitute arrowroot powder instead or leave it out altogether. It’s your party!

homemade taco seasoning | Brooklyn Homemaker

Homemade Taco Seasoning

  • Servings: makes about 6 ounces, enough for 4 to 6 pounds of meat
  • Print
adapted from Love & Olive Oil

6 tablespoons ground chile powder
1 tablespoon garlic powder
1 tablespoon onion powder
1 tablespoon dried oregano
1 tablespoon cornstarch
2 teaspoons ground cayenne pepper, optional
2 teaspoons ground cumin
2 teaspoons smoked paprika
2 teaspoons fine sea salt
2 teaspoons ground black pepper
1 teaspoon ground cinnamon

Combine all spices in a small bowl and whisk until evenly distributed. Can be stored in an airtight jar or container for future use. Recipe doubles (or triples, or more) very easily.

If using ground meat, brown the meat first then add seasoning along with a few tablespoons of water. You’ll want about 2 tablespoons of seasoning per pound of ground meat. Stir regularly until meat is fully cooked and sauce is thickened. I like to add a diced small onion while I brown the meat, and a drained can of black beans right at the end. Serve with a squeeze of fresh lime juice.

You can also use the seasoning as a rub for chicken breast. Sear the chicken breasts until fully cooked and slice thin before adding to tacos.

kale cobb salad

So this is kind of a weird and personal post and it feels strange to be writing this, but lately I’ve been feeling kind of…

Off.

kale cobb salad with balsamic vinaigrette | Brooklyn Homemaker

My energy levels have been in the toilet and I’ve just felt run down and kind of crumby most of the time. Even blogging, which has always felt like an escape from the stresses and monotony of my life, has begun to feel like a chore.

kale cobb salad with balsamic vinaigrette | Brooklyn Homemaker

After months of denial, I’ve finally had to admit to myself that my weight is probably a major factor in how cruddy I’ve been feeling lately.

I’ve always been a little on the thick side, and haven’t been “beach ready” since I was probably 7 years old. Over the past few years though, I’ve packed on a little extra padding and recently it’s felt…

Uncomfortable.

kale cobb salad with balsamic vinaigrette | Brooklyn Homemaker

When Russell and I first met we were both much slimmer than we are now, though again, far from svelte. When we first started dating I used every trick in the book to woo him, and as you can probably imagine, most of the tricks in my book are food related. Once we moved in with each other and realized we were together for good, we just got comfortable and didn’t really notice as we gained a pound here and another there.

Shortly after we married I started this blog. Especially in the beginning, a lot of the dishes I was making were old family recipes that are near and dear to my heart, but also tend to be pretty heavy. These are dishes that are fine for special occasions, but I was making (and consuming) them much more often than I probably should have been.

As much as I love to cook, my true love has always been baking, so in addition to the heavy family recipes I also started baking even more than I used to. For whatever reason, I also really enjoy photographing the sweets and treats more than the savory dishes, so that was just one more contributing factor in the sudden explosion of cakes and pies and cookies pumping out of my oven. And then, of course, there are the bundts…

kale cobb salad with balsamic vinaigrette | Brooklyn Homemaker

I mean, not everything I post here is rich, heavy, and unhealthy. I actually think I have done a decent job of coming up with some pretty fun and creative (and delicious) healthy recipes every once in a while, but those recipes tend to be few and far between. That’s also not to say that I’m only eating the food that I post here on the (web) pages of Brooklyn Homemaker. Day to day, I think Russell and I do a pretty good job of trying to eat healthy “whole” foods and plenty of vegetables, but the less exciting recipes in my repertoire (or his) don’t ever show up here.

We really just need to focus on portion control, moderation, and keeping active. I don’t think it’s realistic to think I’ll ever look like an Olympic swimmer or track and field star, but I’m no spring chicken and I definitely need to start considering my health if I want to stick around for a good long time.

For the past week (I know, a whole week, woopty-freaking-doo) I’ve been eating healthy, avoiding carbs where I can, and trying to break myself of the habit of looking for something sweet after dinner every night. Fighting the sugar addiction has been especially hard for me but I’ve been strong so far. I’ve also been walking home from work every day (about a two and a half miles) and I’m in the process of looking for a gym that doesn’t cost a million dollars and isn’t totally disgusting.

kale cobb salad with balsamic vinaigrette | Brooklyn Homemaker

Aaaaanyway…

I’m not writing all this to say that I’m going to stop blogging, or to say that I’m suddenly turning Brooklyn Homemaker into a health food and fitness blog, espousing the health benefits of an all-bean-sprout diet. I’m just writing this to let you know that I’m going to try, just try, to focus a bit more on healthy dishes and a bit less on baking and sweets and the heavy hearty food I was brought up eating.

Honestly, I’m probably writing this more for myself than for you. I think I might be writing this as a way to hold myself accountable for my health. If I write it here, for all the world to see and read, I have to stick with it or I’ll look like a real dummy. A real overweight dummy.

Please don’t be too harsh if I end up failing…
Pretty please?

I’m not really sure how I’m going to go about all this going forward either. I’d really like to tell myself (and you) that I’m going to post super flavorful & creative healthy dishes all the time, and the baked goods and heavy dishes will be the ones to show up only every once in a while. Realistically though, I know I just love to bake, so maybe my “cheat day” recipes will end up showing up here just as often as my “don’t be such a fatty” recipes. I really don’t want to call this a “diet” (ugh). I just want to do what I can to teach myself how to cook, and eat, and blog, a little differently; in a way that will make me feel better and that I can stick to for years to come.
I guess only time will tell. Wish me luck!

kale cobb salad with balsamic vinaigrette | Brooklyn Homemaker

Okay, so let’s finally talk about this salad. I know that a cobb salad is not really the healthiest salad in the world. I promise that I know that adding bacon and blue cheese and eggs to a salad makes it less healthy than if I were to just munch on a bowl of lettuce with lemon juice.

BUT!!!
I’ve made some changes to the classic cobb recipe to try to healthy it up a little bit.

First of all, kale is like the king of all health foods right? It’s packed with vitamins and minerals and fiber and good stuff, and packs a lot more healthy punch than romaine does for sure.
Second, even though I kept the bacon and blue cheese (because it wouldn’t be a cobb without them) I did reduce the proportions of the bad ingredients vs the good ingredients. If you wanted to, you could leave them out, but I do think that they’re worth keeping around for flavor and contrast and to make the salad feel like a truly satisfying meal.
Third, while I did keep the crumbled blue cheese, I opted for an easy homemade balsamic vinaigrette rather than blue cheese dressing to gussy up my fancy pants dark green kale leaves.
Aaand, fourth and finally, I added some sunflower seeds for texture and crunch, and because I love sunflower seeds in a salad okay?

While this version of a cobb is healthier than one you might find in a restaurant, it doesn’t taste at all like “health food” and that’s definitely what I was going for! Here’s to our health!

kale cobb salad with balsamic vinaigrette | Brooklyn Homemaker

Kale Cobb Salad with Balsamic Vinaigrette

Dressing:
1/4 cup olive oil
2 tablespoons balsamic vinegar
1 teaspoon dijon mustard
Salt & Pepper to taste

Salad:
1 skinless boneless chicken breast
2 to 3 strips thick cut bacon
1/2 avocado, cut into bite sized cubes
1/2 cup grape tomatoes, cut in half lengthwise
1/4 cup crumbled gorgonzola or other blue cheese
2 boiled eggs, roughly chopped
1/4 cup sunflower seeds
1/4 cup thinly sliced red onion
3 to 4 cups chopped kale leaves

Combine all dressing ingredients in a small bowl or a small jar with a watertight lid. Whisk or shake dressing together until well combined and emulsified. Refrigerate until salad is ready to toss.

Season chicken breast with salt and pepper and sear or grill until cooked through. Let rest for 5 to 10 minutes before slicing thin or cubing.
Cook bacon over medium to medium high heat until fat is rendered and bacon is brown and crisp. Immediately remove to a paper towel to absorb some of the fat. Once cool, crumble bacon.

Assemble all salad ingredients, including the chicken and bacon, in a large bowl. Pour dressing over the top of salad and toss together using large tongs or salad servers.

blueberry zucchini oat muffins

I’ve had the same schedule at work for almost three years now.

blueberry zucchini oat muffins | Brooklyn Homemaker

Working in retail means that having both Saturday and Sunday off isn’t really an option, but I do get Sundays off so I still (sort of) get to enjoy the weekends with the rest of the world. The only problem, especially in the summer, is that the only green markets that are even remotely convenient to me aren’t open on Sundays.

blueberry zucchini oat muffins | Brooklyn Homemaker

The green market in Union Square is open on Saturdays and Mondays, but of course I don’t have Mondays off either. This means that Russell, who is off on Mondays, is responsible for any green market purchases for the week, and the remainder of our groceries are purchased at our neighborhood grocery store.

blueberry zucchini oat muffins | Brooklyn Homemaker

Sometimes I have specific things in mind that I ask Russell to pick up for me, but usually he just wanders around until he sees something that looks good and he grabs it. This usually works out just great, but sometimes I get home from work on Monday to find a bag full of really random and disjointed produce purchases that I get to plan around for the rest of the week.

blueberry zucchini oat muffins | Brooklyn Homemaker

If this sounds like a complaint, I assure you that it’s not. It actually kind of forces me to get creative and try to make meal plans and think of blog posts that would work with the items at hand. I am (or at least I try to be) pretty anal about the whole “waste not want not” thing, so it drives me crazy to let our produce spoil before we get to use it up. Sometimes I’ll just come up with some kind of “kitchen sink” recipe like a salad or stir fry to use everything up if I really have no clue what to do. Sometimes these recipes don’t really work out, but they usually do, and sometimes they can really pay off.

blueberry zucchini oat muffins | Brooklyn Homemaker

This is one of those pay off recipes. Russell came home with a bag full of stuff on Monday, including a couple big zucchinis and a pint of some of the season’s first blueberries. On seeing those blueberries I knew pretty instantly that I wanted to make some muffins, but after some thought I decided to throw in one of the zucchinis just for fun.

blueberry zucchini oat muffins | Brooklyn Homemaker

The next morning, as I went to gather my ingredients, I realized that I was dangerously low on flour and wouldn’t have enough for a full muffin recipe. It was pretty early, Russell was still sleeping and I was still in my boxers, and I reeeeeally didn’t want to go to the store. If I don’t have to put pants on on my day off, believe you me, it ain’t gonna happen.

blueberry zucchini oat muffins | Brooklyn Homemaker

For a brief second I was ready and willing to accept defeat and just toast an English muffin for breakfast instead, but then I remembered these cookies I made in March. To give the cookies a really interesting lacy texture, old fashioned rolled oats are turned into oat flour in the food processor, which is then mixed with regular white flour and some whole rolled oats. Not only is oat flour a healthy(ish) whole grain alternative to white flour, it also adds a really warm nutty flavor and chewy texture to anything you make with it.

So, out came the food processor and oat flour happened yet again.
The only issue is that oat flour doesn’t really seem to absorb liquid the same way as white flour, so the batter seemed a bit loose, and the muffins didn’t really rise as much as I’d hoped they would. I ended up making them again a few days later (at Russell’s request) and tried using a little bit more white flour to thicken the batter just a bit, and that seemed to do the trick to get them to rise. This second batch came out slightly lighter in color with a more rounded and crunchier top, but I’m a terrible lazy blogger and they didn’t really look all that different so I didn’t bother shooting new photos. The photos here are of the first batch, but the recipe below reflects the added flour and slightly thicker batter.

blueberry zucchini oat muffins | Brooklyn Homemaker

Look. I understand that I’m essentially asking you to mill your own flour for this recipe, but I swear it’s not a big deal. If you have a food processor or a blender it takes less than five minutes and then the rest of the recipe is basically just stirring.

I promise you that the little bit of extra effort is worth it; these muffins are seriously tasty. They’re just sweet enough with a little bit of extra sweetness and crunch from the demerara sugar on top. They’re soft and tender and moist, but with a really delicate chewiness (and nuttiness) from the oat flour. The zucchini and blueberries complement each other surprisingly well, and Russell keeps saying that these little muffins taste like summer. You may have figured this out when I said that he requested I make them twice in one week, but they’re totally addictive. In theory they’re also pretty healthy(ish) if eat just one or two, but between the two of us half a dozen were devoured less than half an hour after they came out of the oven, so I’m not sure if “healthy” is a word that would actually apply anymore!

blueberry zucchini oat muffins | Brooklyn Homemaker

Blueberry Zucchini Oat Muffins

  • Servings: about 1 1/2 to 2 dozen muffins
  • Print
adapted from Yellow Bliss Road

1 1/2 cups rolled oats, divided
2 cups all purpose flour
1 1/2 cups sugar
1 tablespoon baking powder
1 teaspoons ground cinnamon
1 teaspoon salt
3 large eggs
3/4 cup oil
2 cups grated zucchini
1 1/2 cups fresh blueberries
1/4 cup demerara sugar or other coarse sanding sugar

Preheat oven to 350 degrees.

Place 1 cup of rolled oats in the bowl of a food processor and grind into a fine powder. It’s okay if there are some unevenly sized pieces, but you want it to resemble the texture of whole wheat flour. Transfer oat flour to a large bowl along with the remaining 1/2 cup of rolled oats and all remaining dry ingredients.

In a separate bowl whisk the eggs and oil together until combined, and then stir in the grated zucchini. Make a well in the middle of the dry ingredients and pour in the zucchini, egg, oil mixture. Gently stir together until just combined. Do not overmix. Fold in the blueberries just until evenly distributed throughout the batter.

Line two 12 cup muffin pans with paper liners and fill the liners about 3/4 full with batter. Sprinkle a little bit of demerara sugar over the tops of each muffin just before they go into the oven. Bake for about 30 minutes or until a toothpick or cake tester comes out clean, and the tops spring back when lightly touched. Cool for about 15 or 20 minutes on a wire rack before removing the muffins to cool completely.

garlicy lemony creamy classic hummus

When I was a teenager hummus was a unknown and totally exotic foreign food.

garlicy lemony creamy classic hummus | Brooklyn Homemaker

Those years were recent enough that I probably should have know what hummus was, but I grew up far enough upstate as to be rather isolated from the food trends and cultural open-mindedness of the big city.

garlicy lemony creamy classic hummus | Brooklyn Homemaker

In the 90s in Auburn, NY, the closest most people ever got to experiencing foods from other cultures was Chinese take out or one of the many MANY old school Italian restaurants.

Or maybe Taco Bell.

garlicy lemony creamy classic hummus | Brooklyn Homemaker

When I entered high school I met a whole new group of friends; among them were the punks, hippies, goths, skate boarders, hacky sackers, vegetarians, and vegans of the alterna-teen umbrella. Falling in with a different crowd meant hearing new music, having new adventures, and experiencing new foods.

Sushi! Indian! Falafel! So new! So Exciting!

garlicy lemony creamy classic hummus | Brooklyn Homemaker

One of my favorite discoveries was hummus.

Growing up with staunchly American cuisine and lots of convenience foods, Hummus was completely foreign and exotic to me. It was simply bursting with unfamiliar spices and bold flavors that I’d never encountered before my teen years. Even the texture was new to me, and I couldn’t get enough of the stuff.

I still remember the first time I tried to get my mom to buy some for me in the grocery store and she had no idea what the heck it was or why in the world I’d want to eat it.

garlicy lemony creamy classic hummus | Brooklyn Homemaker

One of my favorite things about hummus even today is how versatile it can be. It makes a great dip at parties, a delicious spread on a sandwich, and even works as a side dish or major part of a meal. One of our favorite things to do when we make our own hummus is to thinly slice, marinate, and broil some chicken breast and serve it alongside some sliced cucumbers, grilled pita wedges, and giant bowl of hummus for dipping.

garlicy lemony creamy classic hummus | Brooklyn Homemaker

There are many different ways to make hummus and just as many flavors you can blend into it. Personally, I prefer a classic approach with lemon, garlic, and cumin. I also like to take the extra step of soaking and boiling dried chickpeas rather than using canned. I think dried chickpeas have a slightly cleaner flavor and make it much easier to control the amount salt you add.

This recipe can be made thick and chunky, or creamy and smooth, depending on how long you process everything. I myself like to let the food processor whir and whir until the hummus is unbelievably smooth and silky. While it’s really traditional to serve hummus with a drizzle of olive oil, I like to add some extra in while it’s pureed for even more velvety creaminess.

While the flavors in this recipe are very traditional, I like to turn up the volume and add a little bit extra lemon and garlic to make sure they really shine through. If you’re not as big a fan of raw garlic, feel free to skip one or two of the cloves.

garlicy lemony creamy classic hummus | Brooklyn Homemaker

Classic Creamy Hummus

  • Servings: makes about 3 or 4 cups
  • Print
1 cup dried chickpeas
1 tablespoon plus 1/4 teaspoon baking soda
1/2 cup tahini
juice of 2 to 3 lemons
3 to 4 cloves of garlic (less if preferred)
1 teaspoon cumin
1 teaspoon salt
1 tablespoon olive oil, plus more for serving

Wash the chickpeas three or four times, or until they don’t cloud the water when submerged. Check for stones and other non-chickpea debris.

Soak the chickpeas in clean water with 1 tablespoon of baking soda for at least 8 hours or overnight. Wash and drain them, and soak again in new clean water for a two or three more hours. The grains should be almost double their original size.

Wash and drain the chickpeas once more and put them in a large pot. Cover with water and add remaining baking soda and NO salt. Bring to a boil, reduce heat to a gentle simmer, and cook until the grains are tender enough to be easily smooshed between two fingers. It should take about an hour to an hour and a half. As they cook some foam may form on the water and skins may rise to the top. Try your best to skim off as much of the foam and as many of the skins as possible. The fewer skins you have the creamier and smoother your hummus will be. Once finished, drain them and reserve some of the cooking liquid.

Let the chickpeas cool for a bit before adding to a food processor. Pulse them a few times before adding the remaining ingredients and processing until you get the desired texture. I like mine super smooth and creamy so I just let it go for a bit, but if you like yours chunkier just pulse it until it comes together in a thick chunky paste. If the Humus is too thick, add some of the cooking water or some more lemon juice or olive oil. Try to get it a bit thinner than the consistency you desire, as it will thicken a bit once it’s refrigerated. Check for seasoning, and if you’re happy with the levels of salt, cumin, garlic, and lemon, you’re done!

Serve with a drizzle of good olive oil and some chopped parsley if desired.

This recipe recipe doubles very easily, but you do not need to double the amount of baking soda used for either soaking or cooking.