Desserts

chocolate caramel frito tart

If you follow me on instagram (you totally should), you probably know that Russell and I just went to Berlin for a week.

chocolate caramel frito tart | Brooklyn Homemaker

While I’ve always wanted to go to Germany, it wasn’t really on our radar for this year. At least, it wasn’t until Russell just happened to find an amazing deal on a flight and hotel package that we couldn’t pass up. After like 2 minutes of discussion we decided that there’s no time like the present and we needed to just go for it.

chocolate caramel frito tart | Brooklyn Homemaker

Berlin is an amazing city and Russell and I truly fell in love. If it weren’t for two little baby dogs waiting for us at home, we might never have come back.
I could go on and on about what a beautiful, historic, storybook city Berlin is, and how the city somehow feels surprisingly diverse, modern, and progressive at the same time. I could also go on about how there is so much to do and so much to see and so much to EAT that we just can’t wait to go back. Every day of our trip was a new adventure, and so was every meal that we ate!

While I was thrilled about the idea of eating some authentic German cuisine, I was surprised to discover that “German” restaurants in Berlin were few and far between. You couldn’t take five steps without bumping into a Vietnamese or Turkish restaurant though, or a Neapolitan pizzeria or multi-cultural nouveau-hipster café. The only popular cuisine we had that was actually unique to Berlin was essentially fast food.
It’s called Currywurst, and it’s basically a grilled bratwurst that’s cut into slices, smothered in a curry ketchup, and served with french fries on a paper tray. Currywurst joints were EVERYWHERE!

chocolate caramel frito tart | Brooklyn Homemaker

Another thing I noticed about food in Berlin is that corn somehow seems to be experiencing a period of trendiness in Germany. Maybe not kale trendy, but trendy nonetheless.

When I was in High School and taking French classes it was explained to me that Europeans rarely if ever ate corn, considering it cattle feed, unfit for human consumption. Growing up surrounded by the sweet corn fields of upstate New York, I remember being insulted and injured by such snobbery, and the idea (and pain) that Europeans don’t eat corn has stuck with me ever since.

You can imagine my surprise then, when I saw dozens of people happily munching on ears of sweet corn on a stick on one of our first days there. We’d stopped by a popular flea market to hunt for vintage treasures or cool photography props for the blog. The market stands tended to be more mass market and tourist driven than we’d hoped for and we left empty-handed, but there was an entire aisle of food stands serving french fries and kebabs and currywurst. Right at the end of the row there was an entire stand devoted strictly to corn on the cob. I couldn’t believe my eyes.

chocolate caramel frito tart | Brooklyn Homemaker

Speaking of corn (bear with me, we’ll get there), Russell and I made a new friend on the plane to Germany. He was sitting in front of us and at one point leaned back to ask if we could see his phone. He’d gotten up to go to the bathroom and when he got back his phone was nowhere to be found. At first he thought he’d dropped it behind his seat at our feet, but in the end it turned out that he’d somehow kicked it across the aisle when he got up. I went back to watching The Bridges of Madison County and thought that was the end of it.

While we were in line waiting to have our passports checked, he was standing right behind us and we got to talking. It turned out that he’d booked the trip with his boyfriend, but he had to cancel at the last minute and our new friend was traveling alone. We decided to exchange emails and asked if he wanted to meet for a drink one night. He had a better idea though.

chocolate caramel frito tart | Brooklyn Homemaker

He suggested that we go have milkshakes together at the Ritter Sport store.

If you’re not familiar with Ritter Sport, it’s a square German chocolate bar that comes in colorful wrappers with a wide selection of (amazing) flavors and fillings. They’re available here in the U.S. (I’m kind of addicted) but the idea of visiting an entire store devoted only to Ritter Sport chocolate bars instantly caught my attention.
When our new friend also mentioned that they make custom made chocolate bars with your choice of mix ins, we were sold! The opportunity also happened to tailer made for us since my mother’s only request while we were in Germany was that we find and bring home some great chocolate for her.

While we were there we decided to do a little shopping of our own, and see if they had any flavors that aren’t available in the U.S.
Holy crap. Talk about a kid fat guy in a candy store!

That’s when I saw it. The tortilla chip Ritter Sport. What the what?

chocolate caramel frito tart | Brooklyn Homemaker

OMFG you guys. I don’t even have words.

We actually only bought two bars at the time, but once we got back to the hotel and dug into one we knew we had to go back. Luckily they had them at the grocery store near our hotel, so we ended up getting like 10 bars to bring home with us to share with everyone we know and love.

If you’ve ever had a chocolate covered potato chip you kind of know what I’m talking about, but there’s even more happening here. You get the sweet and salty and crunchy thing, but then you also have the toasty earthy sweet corn flavor of a tortilla chip. Plus angels. And unicorns. Weeping tears of joy.

It’s like that.

chocolate caramel frito tart | Brooklyn Homemaker

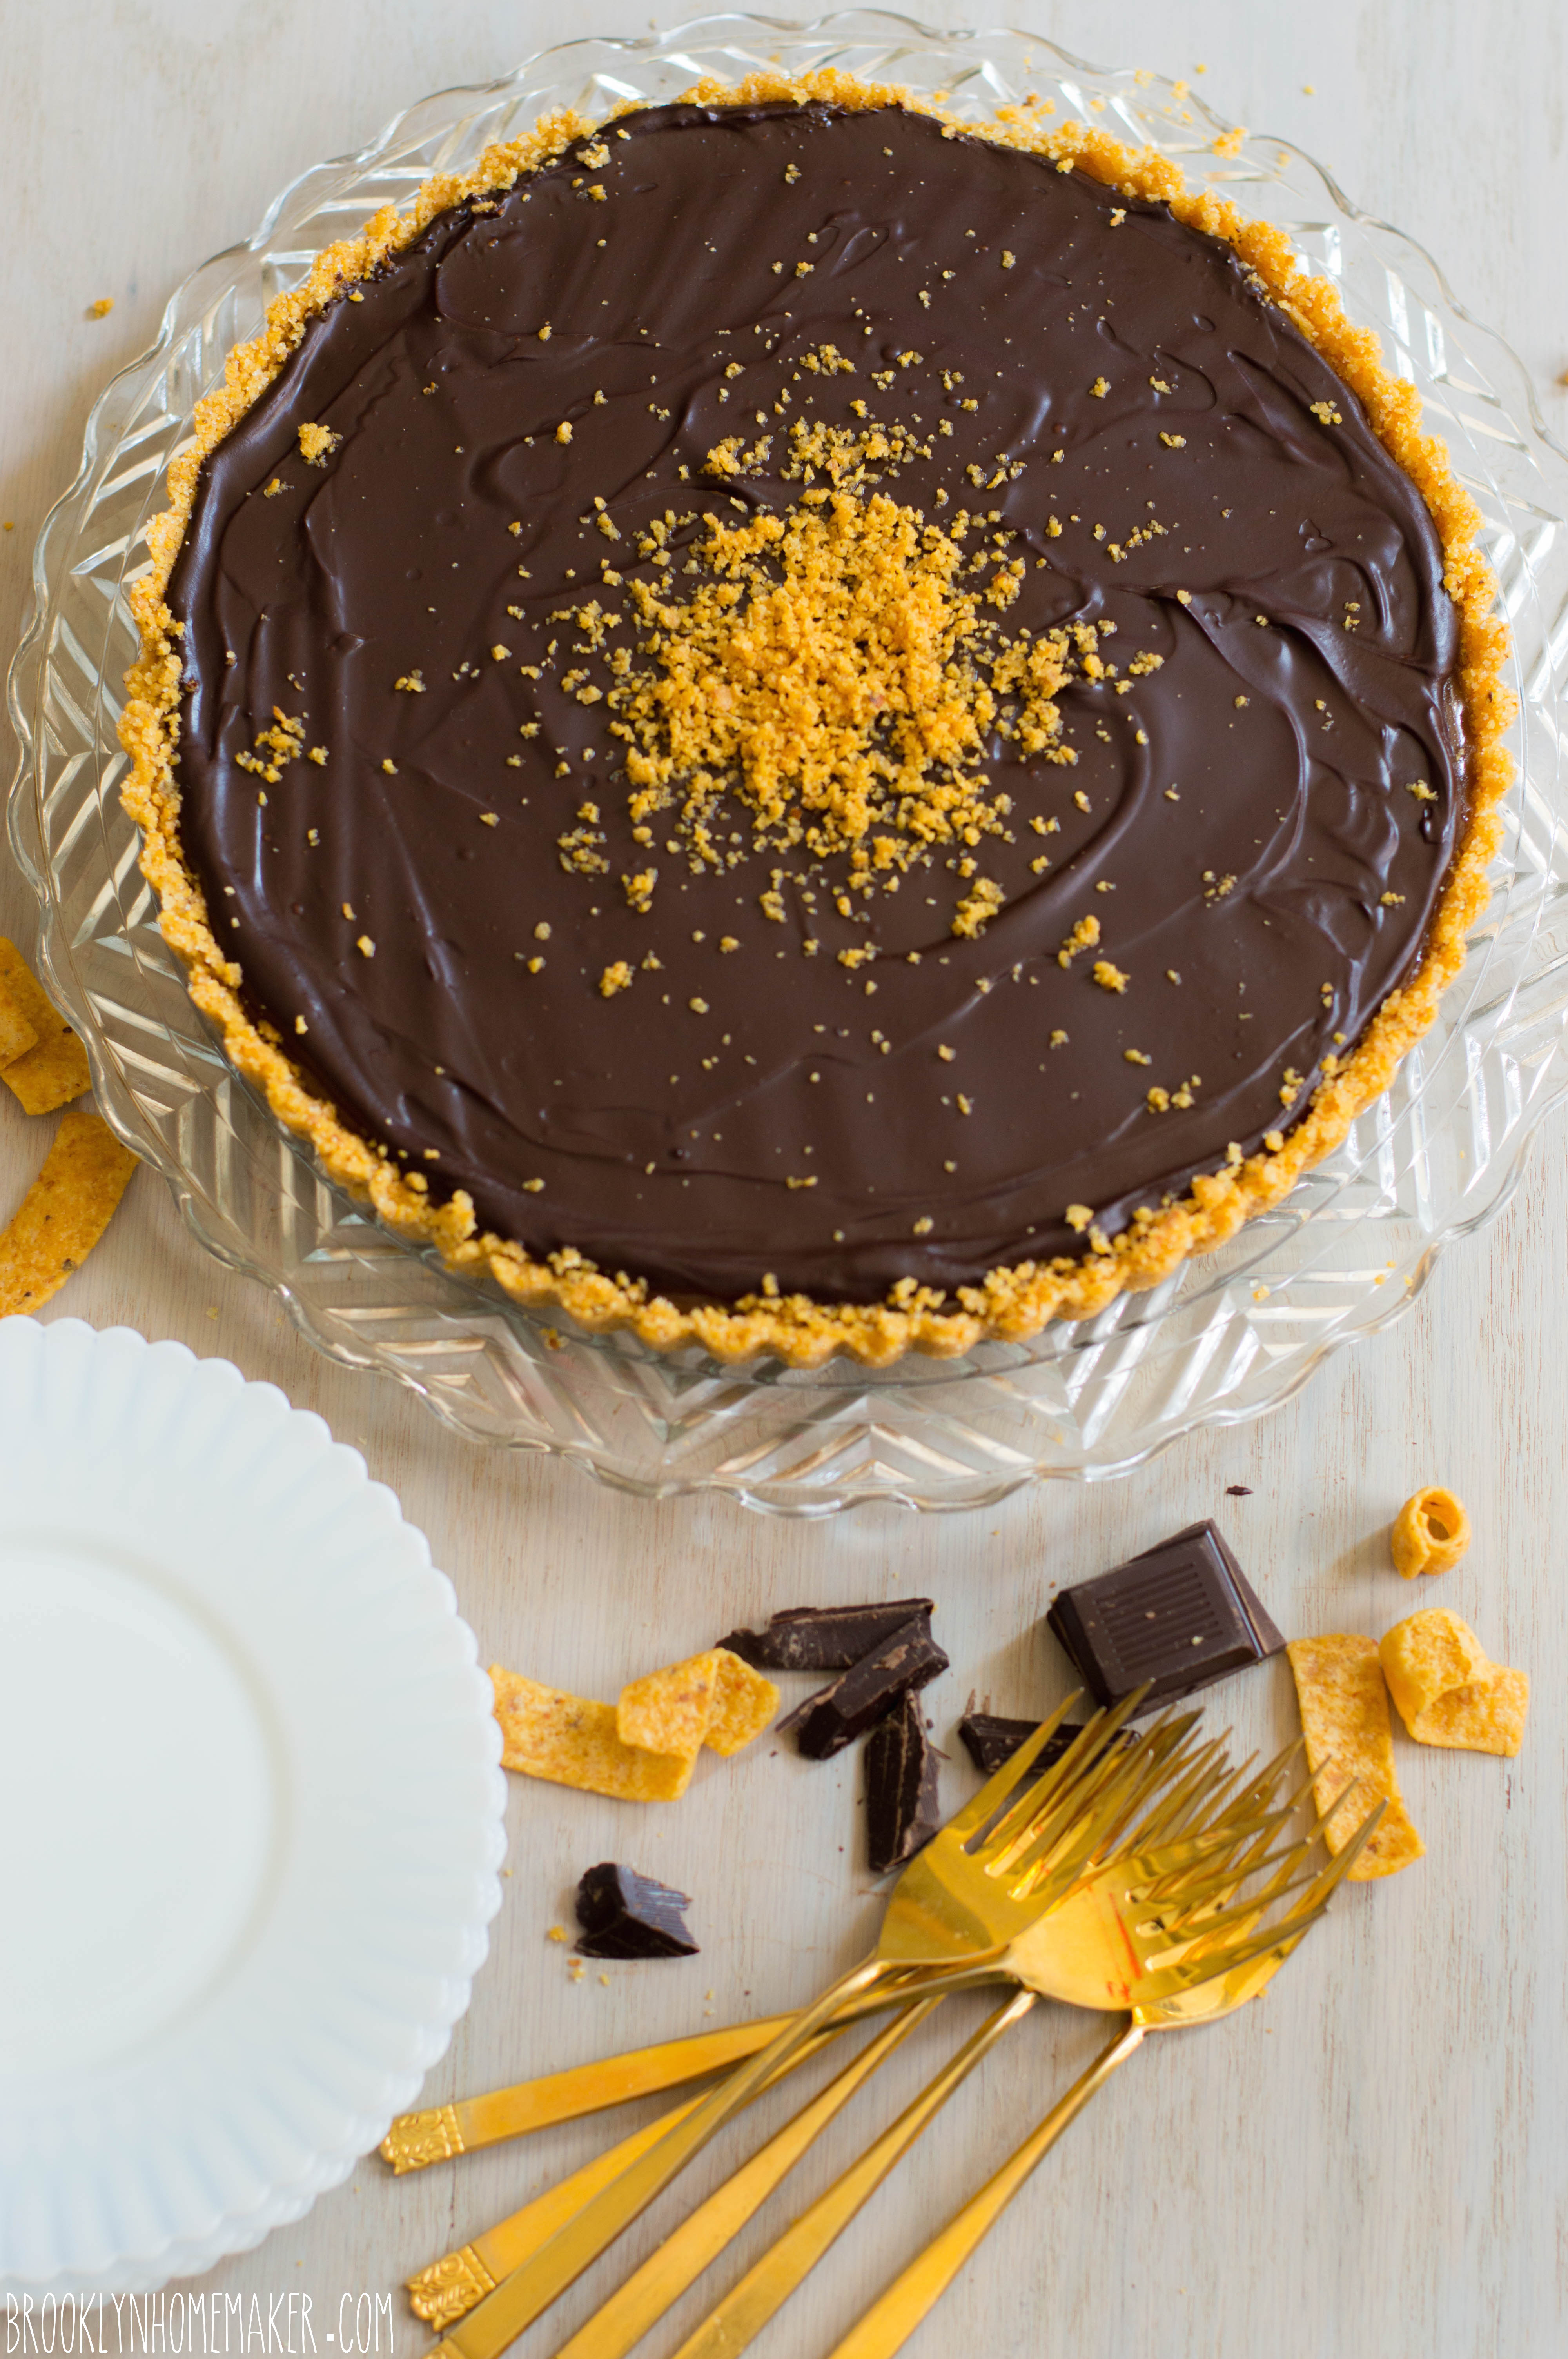
Since I can’t actually share my Ritter Sport bounty with all of you, I thought I’d do the next best thing. The next best thing being the creation of a gussied up version of a candy bar, in fancy pants tart form.

The tortilla chip crumbles in the candy bar seem thicker and crunchier and somehow “cornier” than a normal tortilla chip, and to me at least, taste almost like Fritos. Nothing wrong with that.

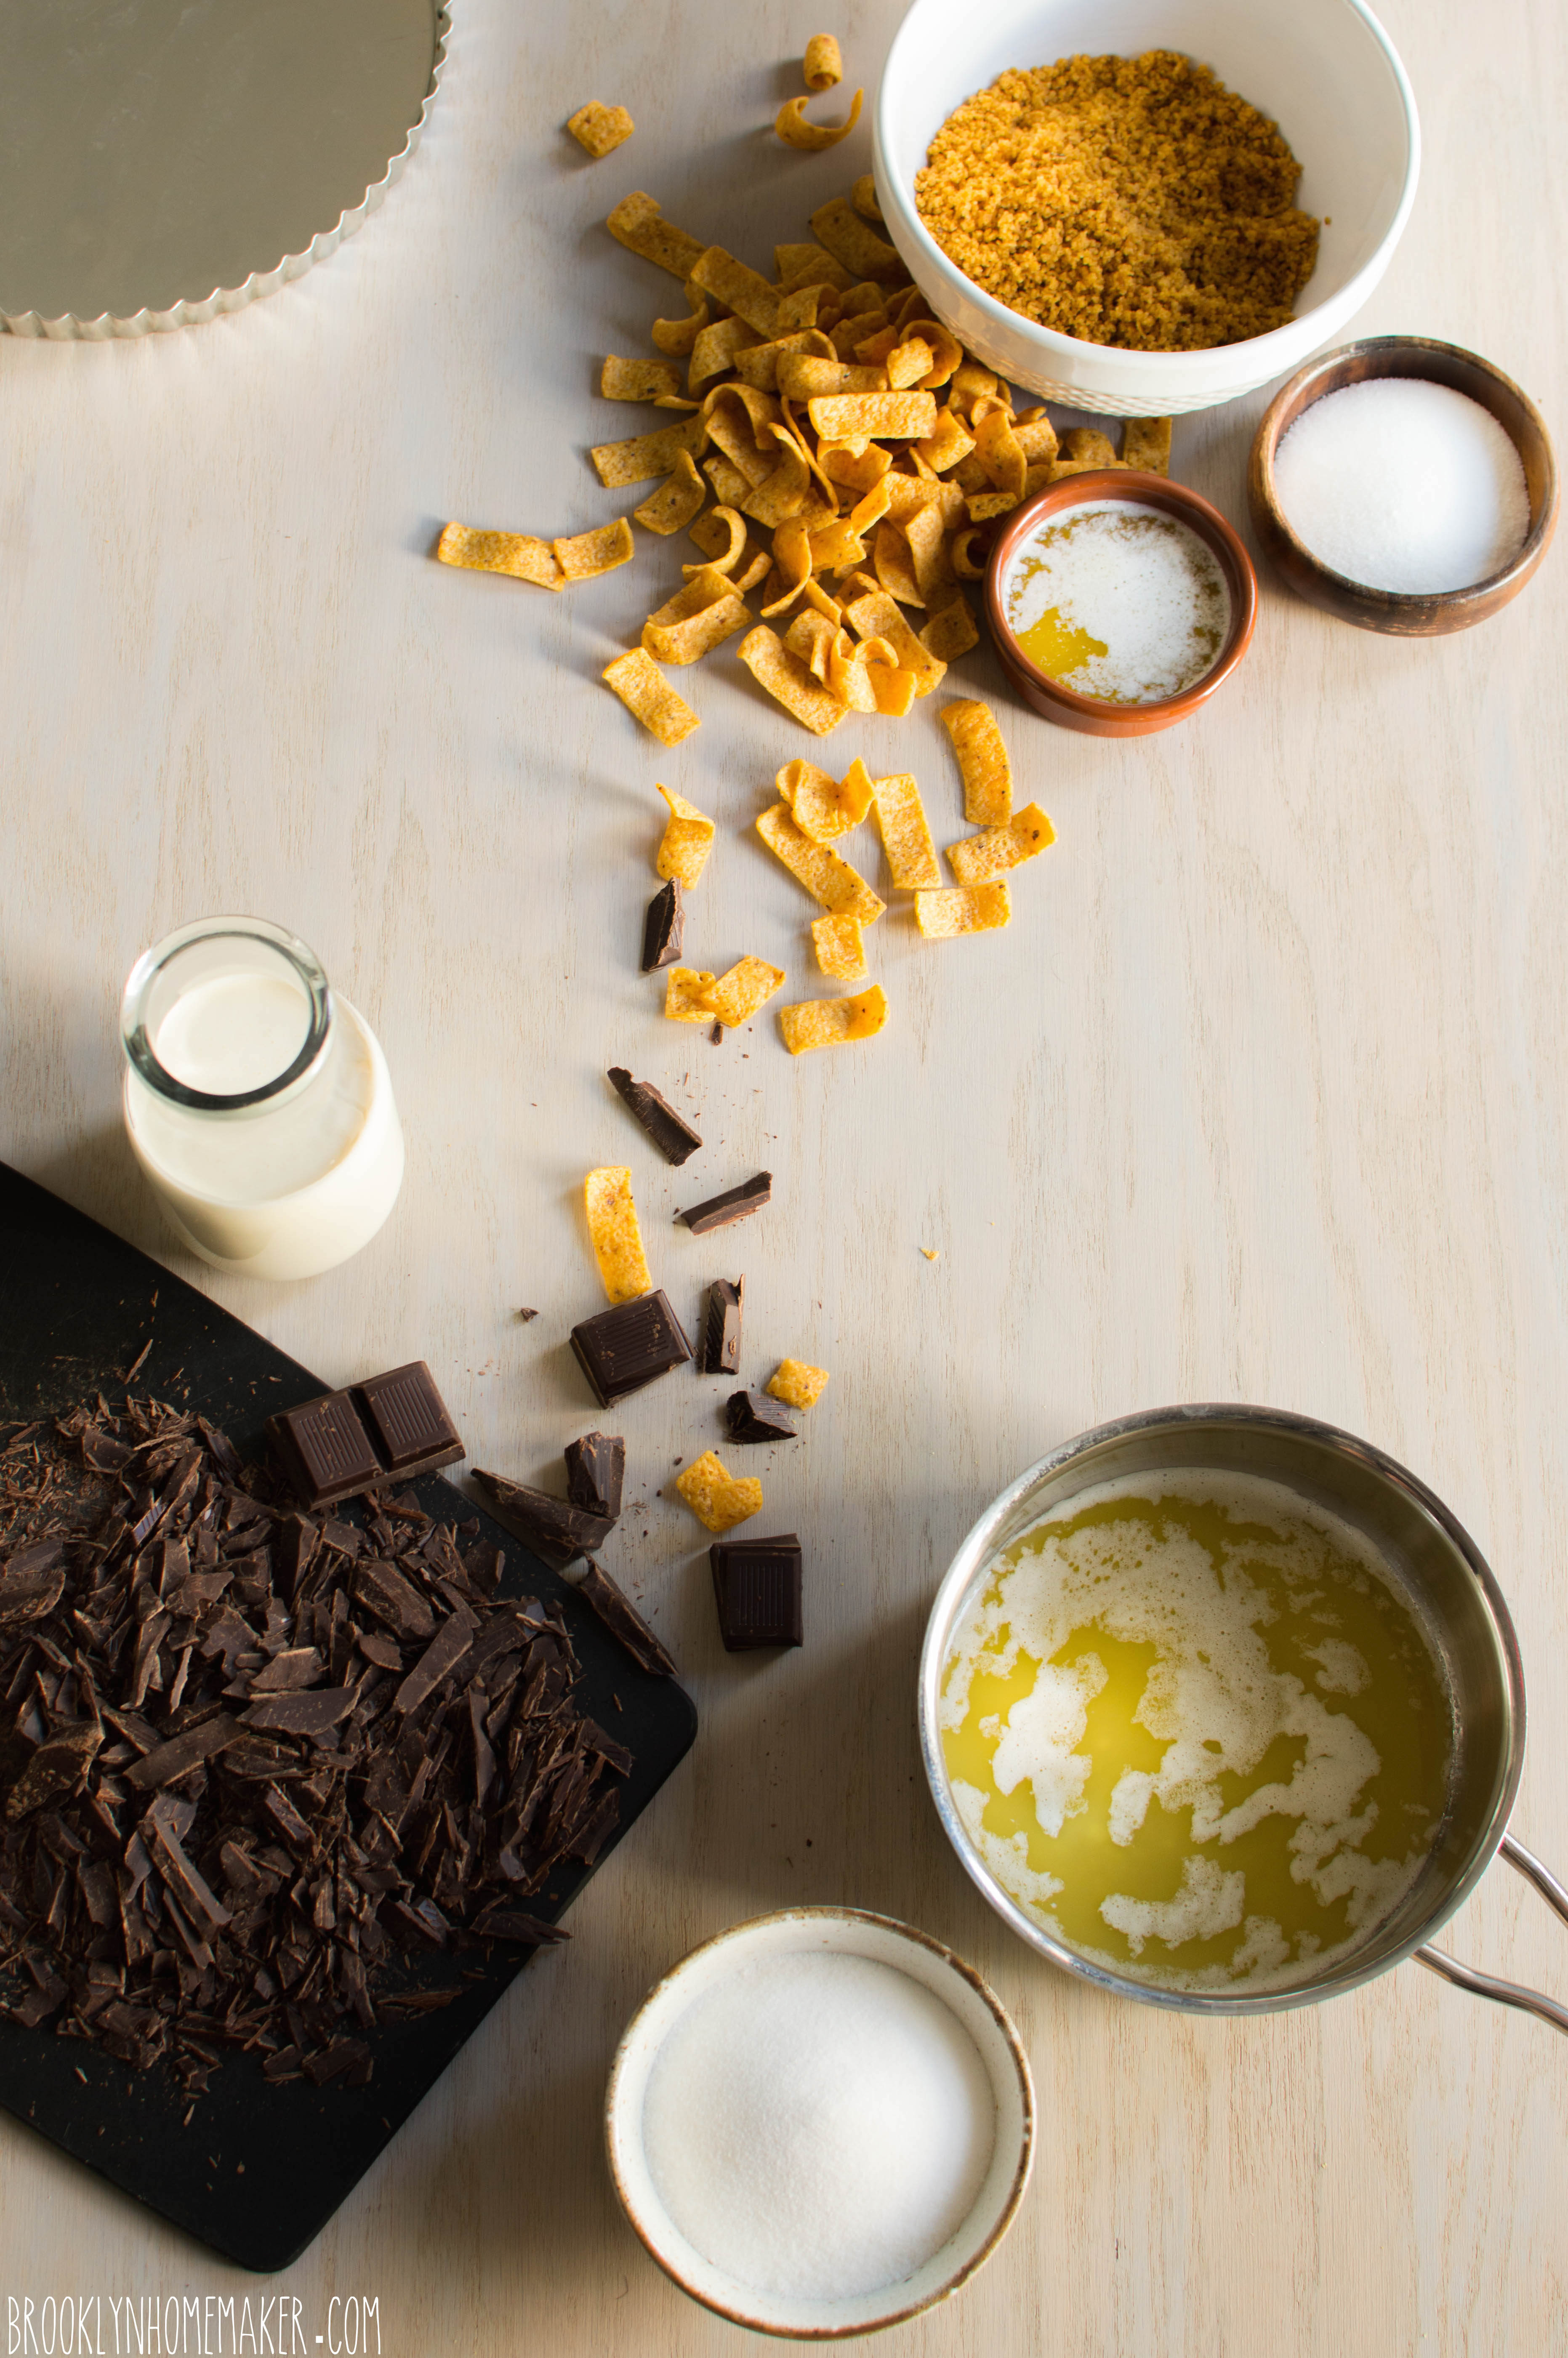
So, in a moment of genius-level perfect clarity, I decided to crush up Fritos in a food processor and use them in the same way you would graham cracker or cookie crumbs in a pie crust. Just add butter and sugar and bake.
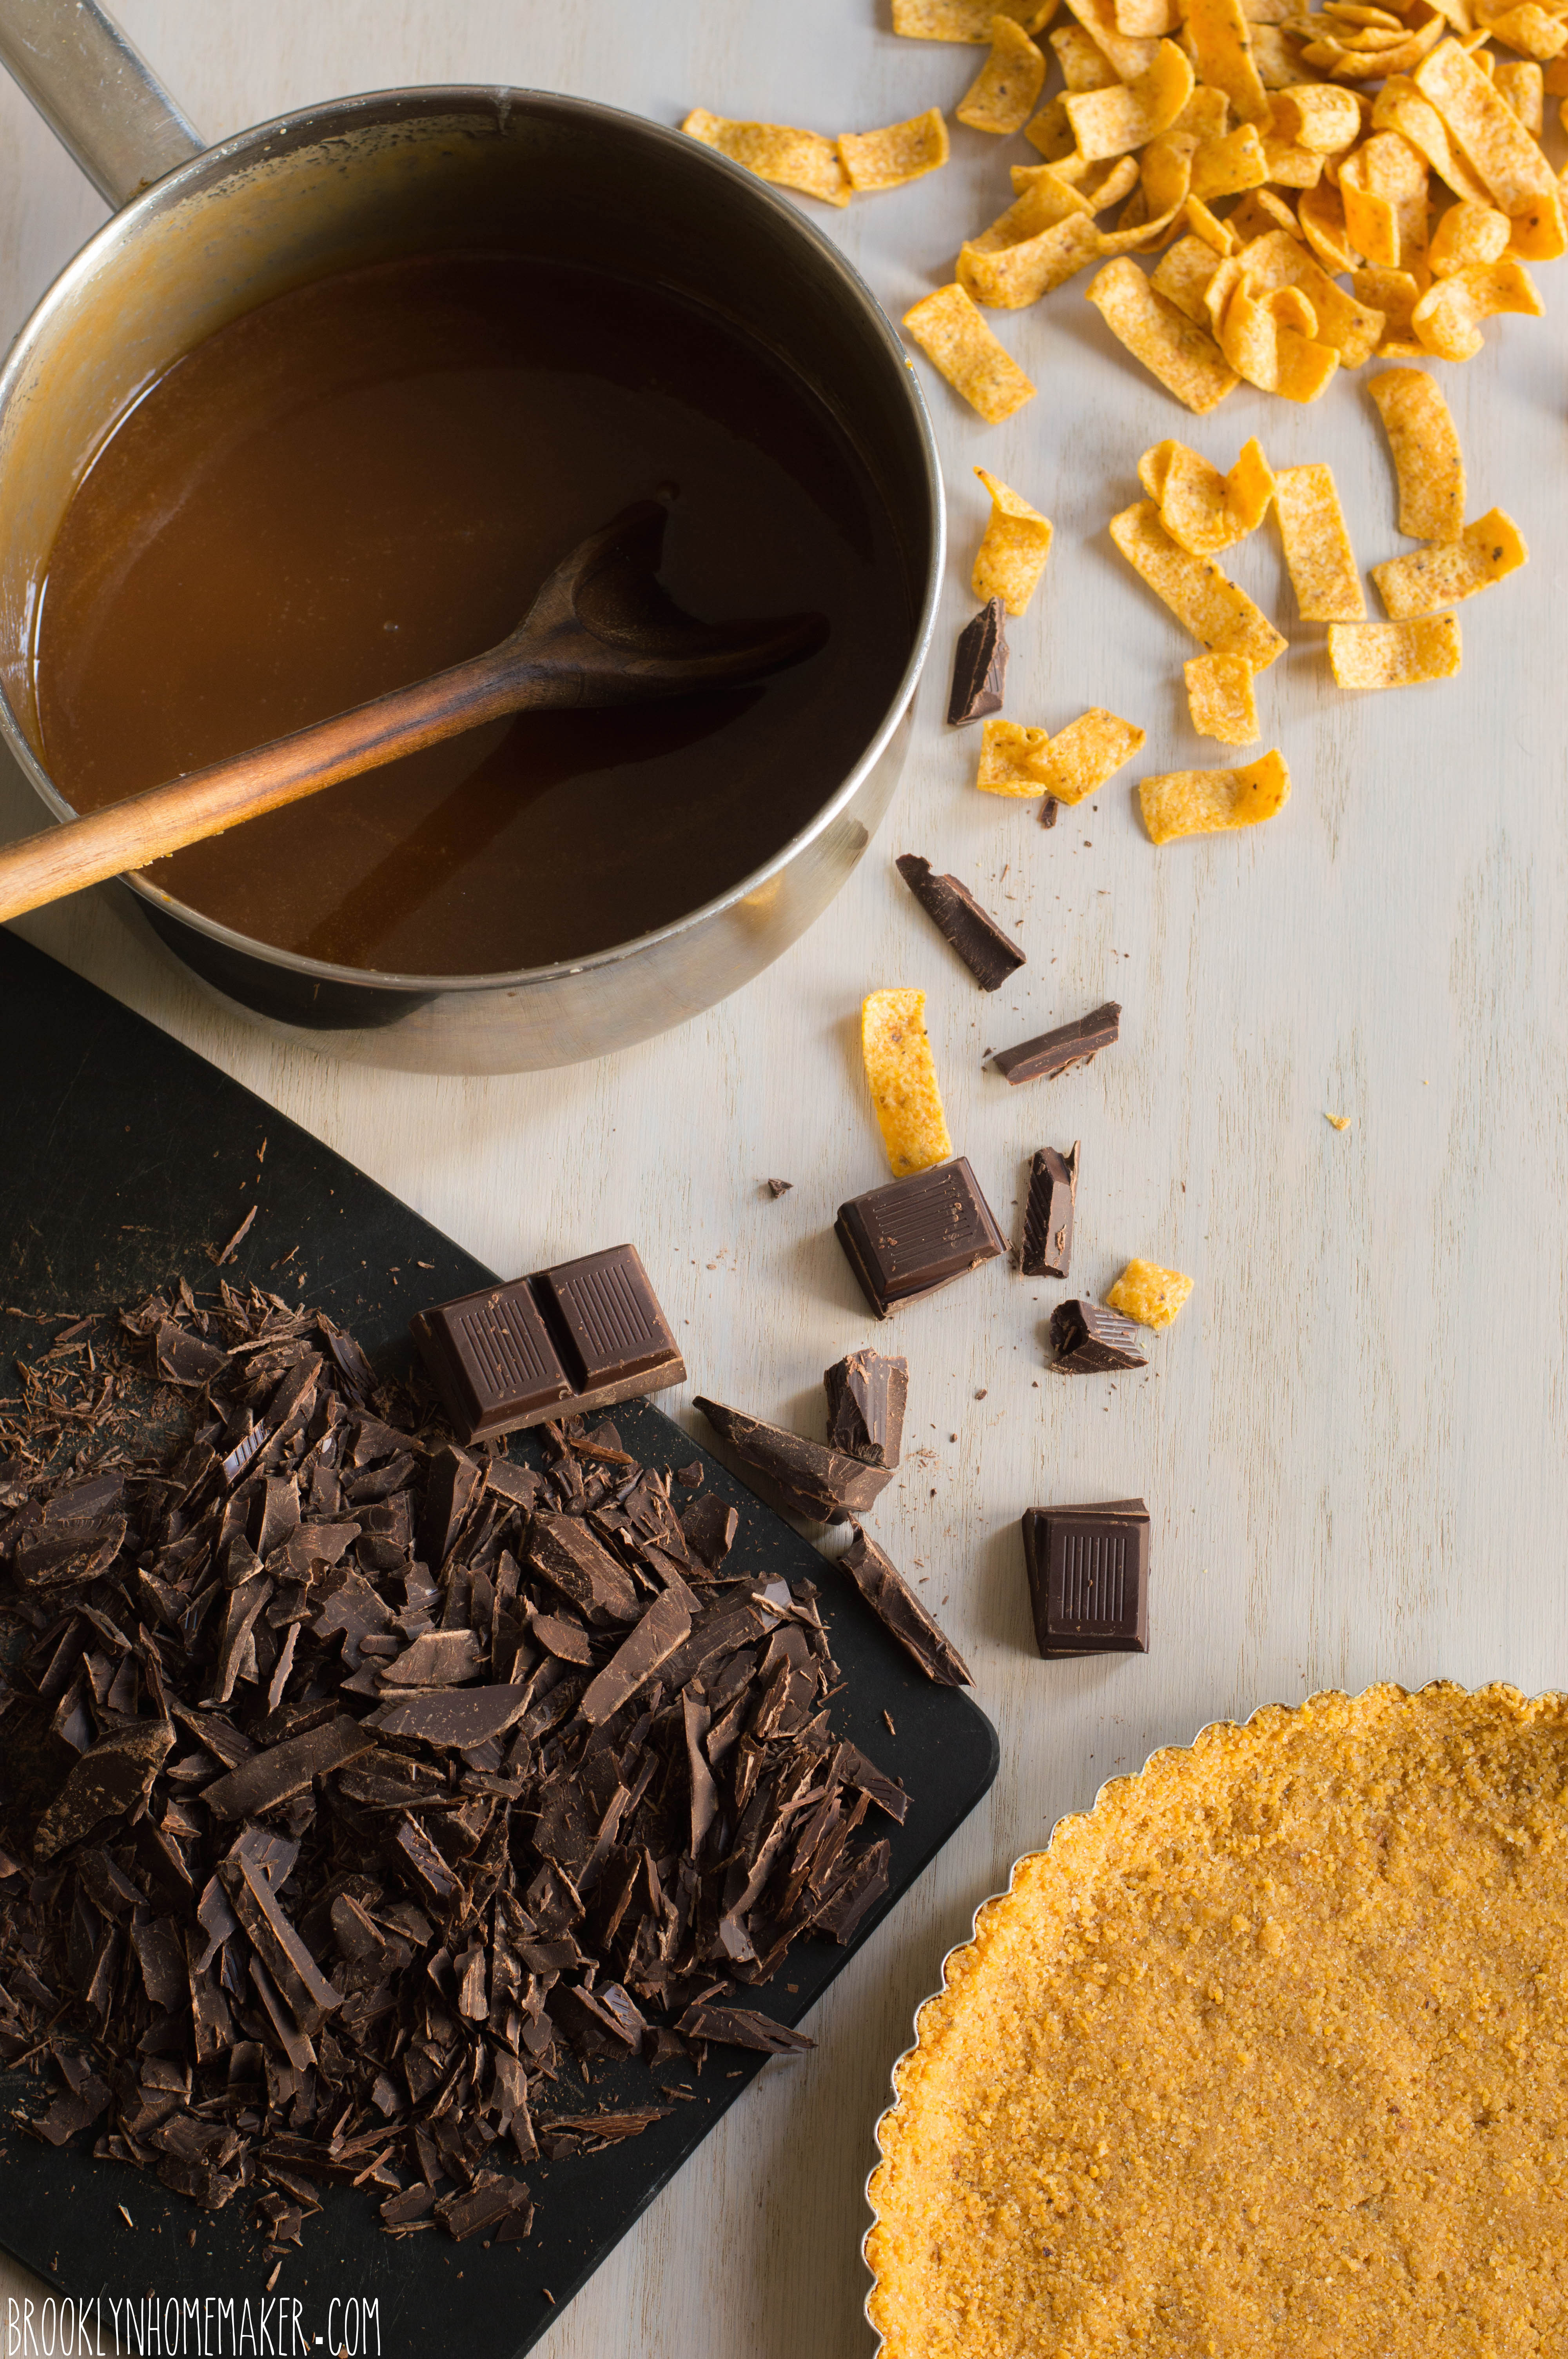
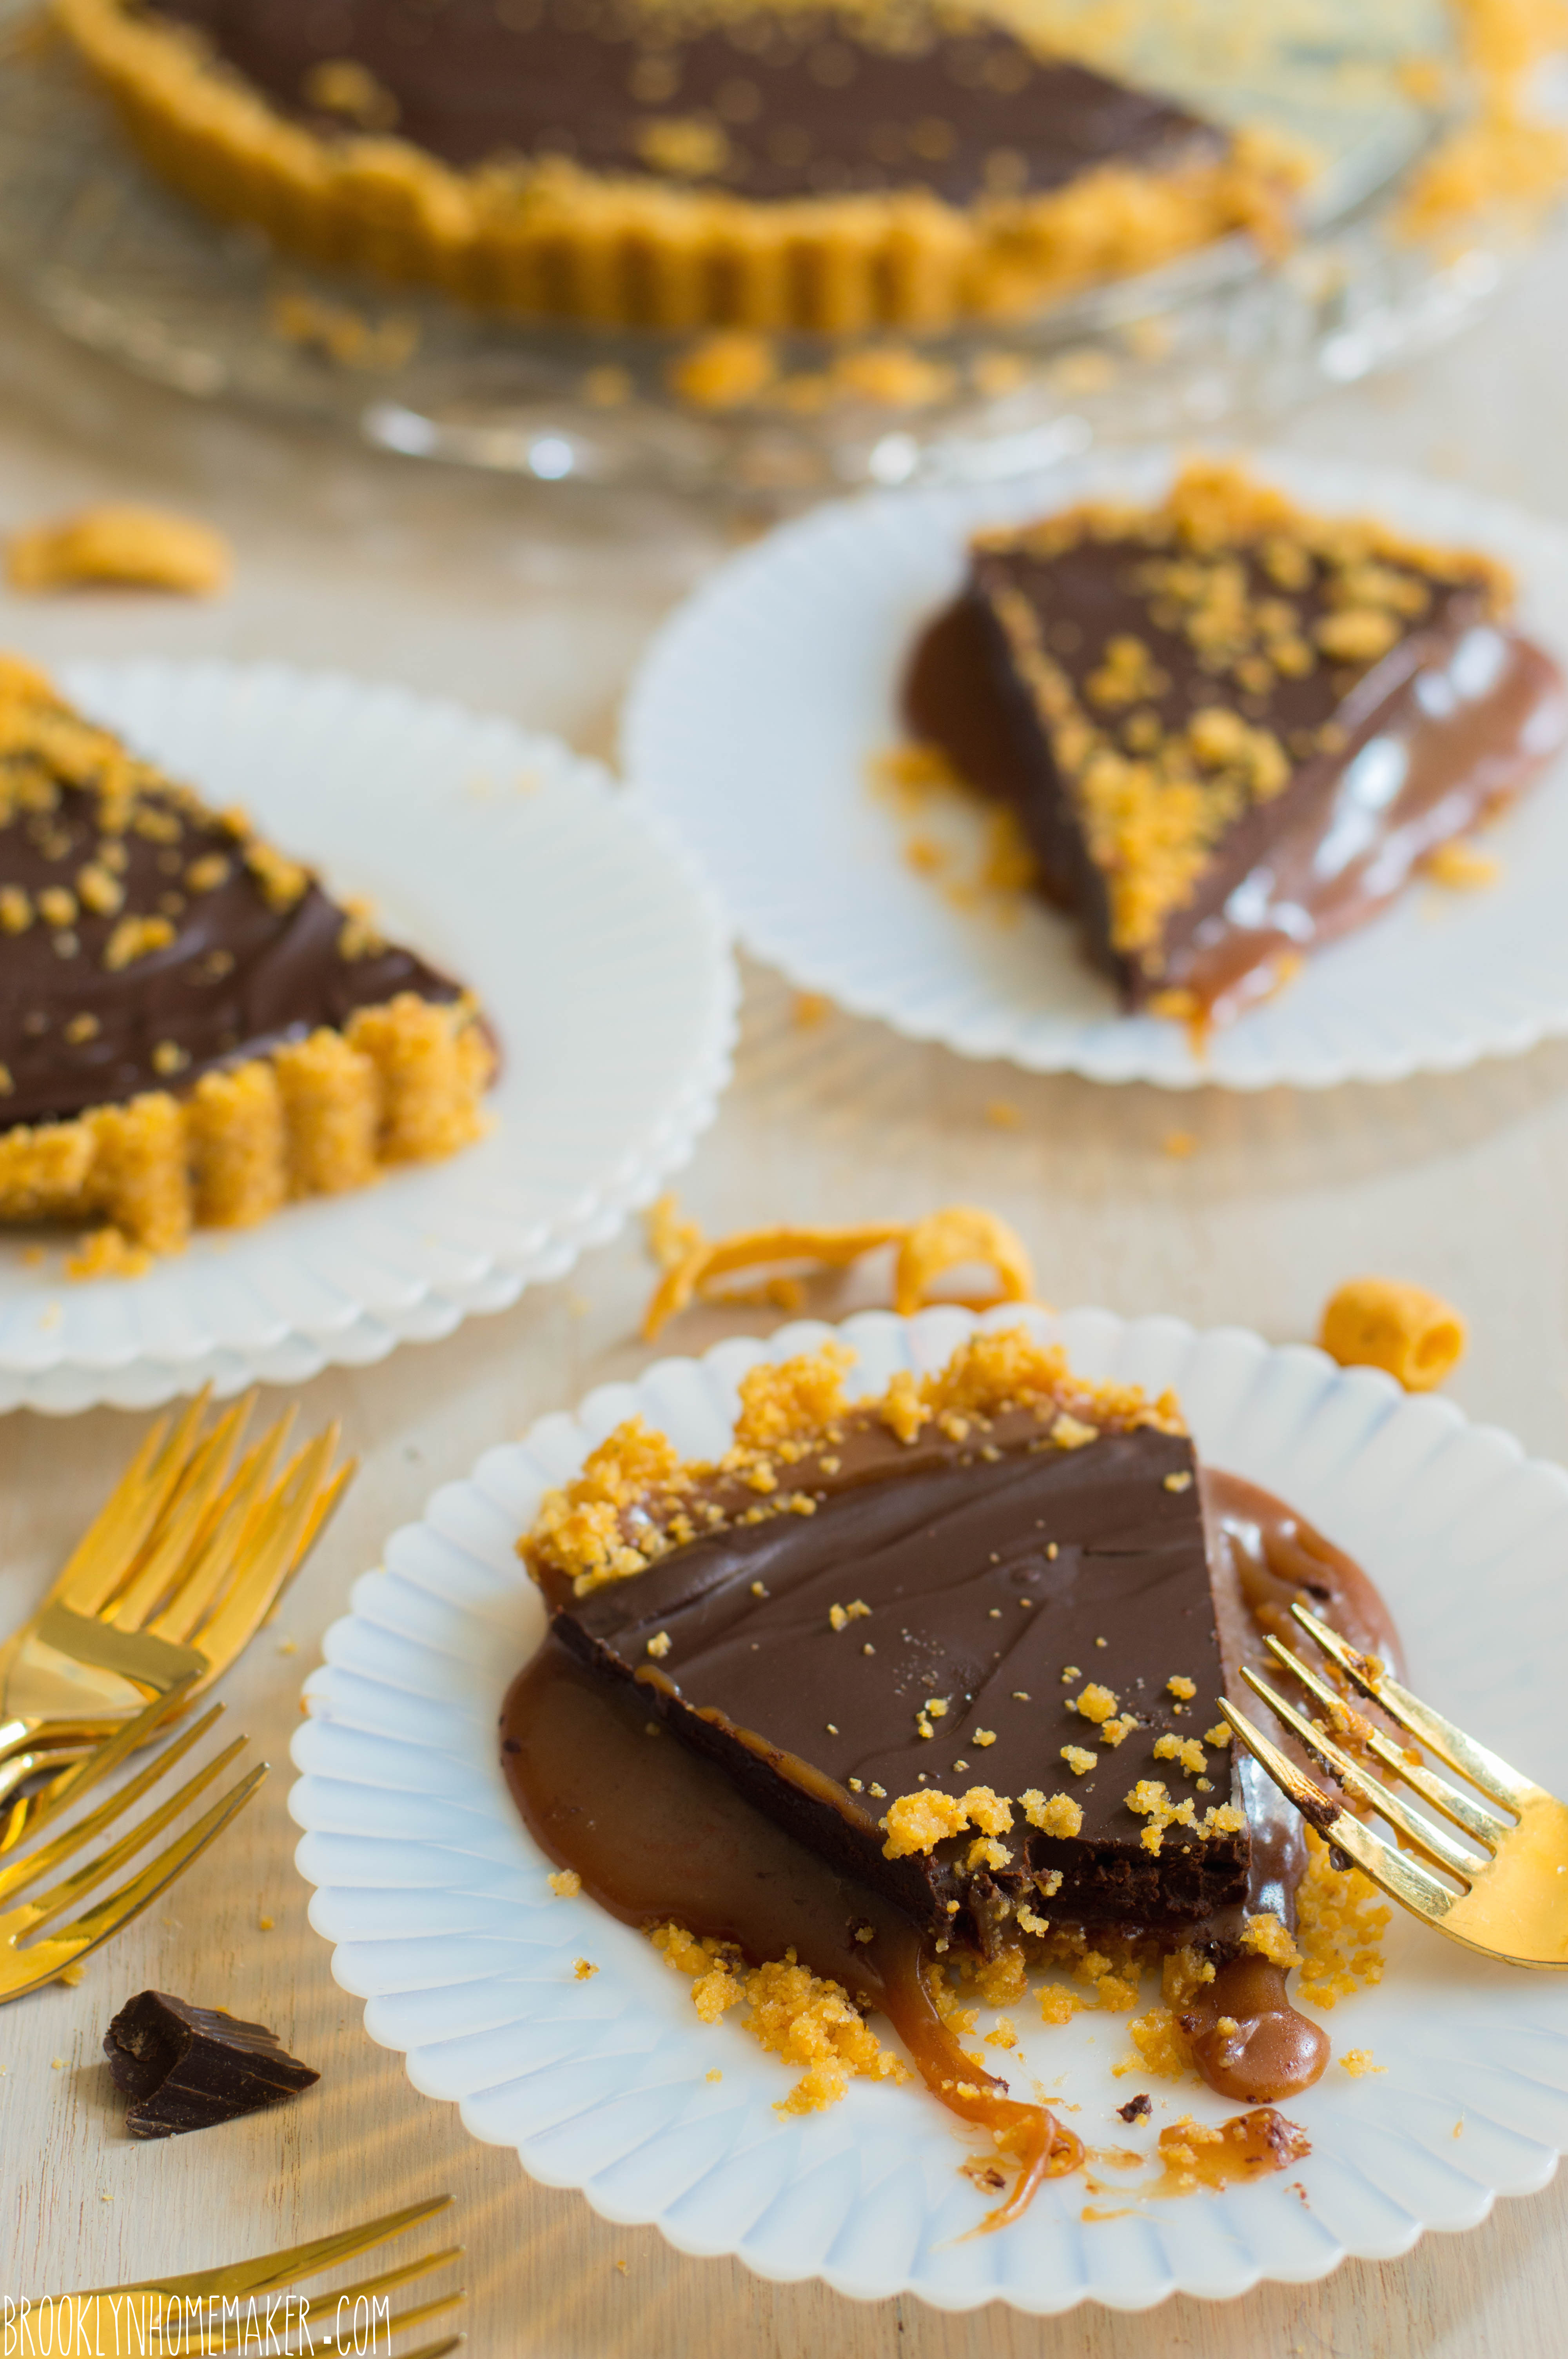
Rather than just filling the shell with chocolate, I decided to take it one step further and add a layer of sweet gooey buttery caramel too, and then cover that with heavenly rich dark chocolate ganache.

If you dig the sweet and salty chocolate thing, you have to try this. You can thank me later.

chocolate caramel frito tart | Brooklyn Homemaker

Chocolate Caramel Frito Tart

Adapted from Brown Eyed Baker

Frito crust:
1 1/4 Fritos corn chip crumbs (from about 3 to 3 1/2 cups chips)
4 tablespoons melted unsalted butter
1/4 cup granulated sugar

Caramel Filling:
3/4 cup heavy cream
6 tablespoons unsalted butter
1 1/2 cups sugar
1/2 cup water
1 teaspoon vanilla extract
1/4 teaspoon salt

Chocolate Ganache:
1/2 cup heavy cream
5 ounces dark chocolate, finely chopped

Crust:
Preheat oven to 350 degrees F.
Place about 3 to 3 1/2 cups of Fritos corn chips in a food processor or blender and pulse into fine crumbs. You could also use a ziplock bag and a rolling pin in a pinch. Save a tablespoon or two for garnish if you have any leftover.
Measure out 1 1/4 cups of crumbs and transfer to a bowl. Add melted butter and sugar and stir until butter is evenly distributed throughout mixture. Transfer crumbs to a 9″ tart pan, ideally one with a removable bottom, and evenly press the crumb mixture into the bottom of the pan and up the sides to form a crust.
Bake for 15 minutes, or until it smells toasty and just barely begins to brown. Remove from oven and set aside to cool.

Caramel Filling:
Heat the butter and cream together in a small saucepan (or in the microwave) just until the butter has melted. Set aside.

In a separate medium saucepan, combine the sugar and water over low heat, stirring until the sugar has completely dissolved. Increase the heat to high and boil, without stirring, until it reaches a deep golden amber (340 on a candy thermometer, but I just went by color). Once it starts to brown watch it carefully. If it gets too dark it will turn bitter.
Remove from the heat and slowly stir in the cream mixture (It will bubble up a lot, be careful!). Return the pan to low heat and cook, stirring constantly, for about 5 minutes or until thickened. Stir in the vanilla and salt, and then pour caramel into the crust.
Refrigerate until firmly set, at least 30 minutes.

Chocolate Ganache:
Place the chopped chocolate in a heat proof bowl. Heat the cream in a small saucepan over medium heat until it begins to simmer. Pour hot cream directly over the chocolate. Let it sit for 2 minutes, then stir until the chocolate is completely melted and smooth. Pour the chocolate over the firmly set caramel layer and spread smooth. Sprinkle with additional Fritos crumbs before transferring the tart to the refrigerator for at least 15 minutes to set up.

This tart is incredibly rich so slices should probably be on the smaller side.
Leftovers should be stored, covered, in the refrigerator for up to 5 days.

drømmekage (Danish dream cake) bundt cake #bundtbakers

Are you guys as ready for summer as I am?

drømmekage (danish dream cake) bundt cake | Brooklyn Homemaker

Are you ready for sunny days and warm weather? Ready to feel the warmth of sunshine on your skin? Ready to walk outdoors in short sleeves and single layers of thin cotton clothing?

I’m not afraid to admit that I am. I am 100% ready. I’m also, officially, over this winter.

drømmekage (danish dream cake) bundt cake | Brooklyn Homemaker

Up until this point I’ve been doing just fine. Really I have!
Here in the Northeast this winter has been totally mild and easily tolerated. At least it was until last week, when shady ol’ Mother Nature decided it would might great fun to give us a little taste of what we’ve been missing.

For three glorious days, temperatures were suddenly in the mid-70s during the day, with ample sunshine, warm breezes, and the smells of spring air. Record breaking warmth for this time of year. Easily deceived by Mother Nature’s dirty tricks, I started planning barbecues and garden parties.

Our false summer was fleeting though, and disappeared behind some rain clouds as suddenly as it arrived, leaving us to close the windows again and turn the heat back up.

drømmekage (danish dream cake) bundt cake | Brooklyn Homemaker

Luckily, Christiane from Taking on Magazines chose “Tropical Vacation” as our theme for the bundt bakers this month. What better way to delude myself into thinking it’s warm and bright and wonderful outside when you and I both know that it isn’t?

If you’re as hungry (pun very much intended) as I am for some tropical distraction, please be absolutely certain that you scroll down past the recipe and see all the bright & tropical bundts that everyone came up with this month!

drømmekage (danish dream cake) bundt cake | Brooklyn Homemaker

Oddly enough, I’ve never really been a huge fan of most tropical fruits. For whatever reason, I prefer my produce from more temperate climates. Maybe it’s because my family comes from sturdy cold-weather Bavarian German stock, maybe it’s because my grandfather spoiled me with all of his fruit trees and garden fresh berries, or maybe it’s just because I’m a creature of habit and prefer what I’m familiar with. Who knows?
Either way, given a choice between an apple or a mango, a pear or a papaya, a peach or a pineapple, 9 times out of 10 I’m going to choose the option that grows right here in the Northeast, not the one grown on some faraway island under the shade of a palm tree.

drømmekage (danish dream cake) bundt cake | Brooklyn Homemaker

Coconut however, is the one exception to my aversion to tropical fruit. Ever since I was a child I’ve loved coconut, and I can remember countless fluffy white cakes covered in downy clouds of sweetened coconut flakes. I especially love coconut around Easter, when Grandma’s coconut cakes used to be made to look like cute fuzzy bunnies with licorice lips and whiskers, and candy coated eyeballs and noses.

It’s only fitting that I now have the chance to make a sensational coconut bundt cake with Easter only 10 days away.

drømmekage (danish dream cake) bundt cake | Brooklyn Homemaker

A sensational bundt cake calls for a sensational bundt pan. Luckily Nordic Ware, the company that literally invented the bundt pan, just released a gorgeous new pan to celebrate their 70th anniversary. This elegant crown shaped pan is a gold plated show stopper and features curves in all the right places! They’re truly celebrating their anniversary in style.

Nordic Ware has been making exceptional cookware and bakeware right here in the US for 70 years now, and even after all this time they’re still a family owned company. The bundt pan is by far their most famous and most popular product, and no one makes bundt pans as well as they do. Their pans are sturdy, heavy duty, ultra-non-stick, and unbelievably durable.
I should know! I put those bundt pans through more than their fair share of abuse!
I know that I’ve said this before, but as a bundt baker and bundt lover, I can’t sing enough praises for Nordic Ware’s bundt pans.

drømmekage (danish dream cake) bundt cake | Brooklyn Homemaker

I really wanted to come up with something special this month, so I was on a mission to come up with a recipe that would not only fit our tropical vacation theme, but that could also honor Nordic Ware’s Scandinavian heritage. It didn’t take me long to find a recipe for a traditional Danish cake called a Drømmekage or “Dream Cake”.

If you’re not familiar (I wasn’t), drømmekage consists of a tender vanilla cake that, after baking, is covered with a caramel and coconut topping and returned to the oven to brown up and caramelize. It certainly doesn’t get much dreamier than that!

drømmekage (danish dream cake) bundt cake | Brooklyn Homemaker

The only problem was that drømmekage is usually made as a single layer sheet cake, with the topping added only at the very end of the baking process. Since the top of a bundt cake is actually at the bottom of the pan while it bakes, I knew that converting this cake into a bundt might be challenging. I was a man on a mission though, and I was determined to make it work. I just kept telling myself, “I can bundt that.”

At first I just tried making the recipe as originally written but baking the topping into the bottom of the pan. Unfortunately the topping didn’t hold up well and got sort of rubbery when baked along with the cake for the full time, and I found the vanilla cake to be a bit bland. Next I tried simply mixing the topping ingredients together instead of cooking them into a caramel first. I just added some of the cake batter to get it all to come together. This attempt was much improved but I thought it lacked the toasty caramel flavor I was hoping for. For my third (and final) attempt I decided to toast the coconut and brown the butter before mixing it all together. I also added some vanilla bean and coconut extract to un-bland-ify the interior cake.

Third time’s a charm as they say, and this cake seriously ended up being thebomb.com. Thankfully, it was worth all the effort and recipe testing!

drømmekage (danish dream cake) bundt cake | Brooklyn Homemaker

The rich brown coconut part of this cake is dense and chewy on the outer edges with a buttery and almost creamy quality on the inside. It has an amazingly rich, toasty, nutty flavor from the browned butter and toasted coconut, and a wonderful caramel flavor from the dark brown sugar. The simple vanilla cake on the interior is tender and buttery and packed with warm homey vanilla flavor.

Getting the coconut and brown sugar mixture to work as a “topping” like it would in a traditional dream cake means that you have to carefully press the mixture against the walls of the pan and make sure to push it up the sides and center tube. This can be a bit of a pain but does make for an impressive presentation. If you want to make your life a little easier though, I think it would be simpler and just as delicious if you were to combine these two batters like a marble cake instead. I’ll leave that up to you.

If you can, I recommend you try to make this cake the day before you’d like to serve it. It was amazing on the first day but I found that the texture of the coconut part had become even more tender and wonderful by the second day.

drømmekage (danish dream cake) bundt cake | Brooklyn Homemaker

Drømmekage (Danish Dream Cake) Bundt Cake

adapted from Saveur

If possible, try making this cake one day before you plan to serve it. The cake benefits from a day’s rest.

Coconut “Topping”:
3 cups sweetened shredded coconut
8 tablespoons (1 stick) unsalted butter, plus more for pan
3/4 cup packed dark brown sugar

Cake: 
1 1/4 cups sugar
8 tablespoons (1 stick) unsalted butter, softened
1/2 vanilla bean, seeds scraped and pod discarded (or 1/2 teaspoon vanilla powder)
4 eggs
1 tablespoon vanilla extract
1 teaspoon coconut extract (optional)
2 1/2 cups all-purpose flour, plus more for pan
2 1/2 teaspoons baking powder
1 cup whole milk
1/4 cup powdered sugar for dusting, optional

Heat the oven to 350.
Evenly brush a 10 to 12 cup non-stick bundt pan with softened butter. Be sure to get into every nook and cranny. Dust pan with flour and tap out excess. Place pan in freezer while you proceed with recipe.

Make the coconut “topping”:
Spread coconut in an even layer over a large baking sheet. Toast coconut for about 10 minutes, stirring once to promote even browning and prevent burning. Watch carefully, the coconut can go from toasty to burnt in under a minute.
Once cool enough to handle, crush up roughly half of the coconut with your hands.
In a medium saucepan, brown the butter (only first stick) over medium heat, stirring regularly. Watch carefully to avoid burning. Once the butter reaches a nutty golden color, immediately transfer to a heatproof bowl. If desired, strain out browned milk solids in the butter. (I did, but not entirely necessary)
Add brown sugar and toasted coconut and stir to combine. Set aside.

Make the cake:
In a the bowl of a stand mixer, cream the sugar and softened butter (remaining stick) on high speed until light and fluffy, about 3 to 5 minutes. Add scraped vanilla bean seeds (or paste or powder) and mix to combine. Add eggs, 1 at a time, beating to incorporate after each addition and scraping the sides of the bowl between additions. Add vanilla and coconut extracts and beat to combine.
Whisk together flour and baking powder in a small bowl.
Alternate additions of flour and milk, beginning and ending with flour, scraping sides of bowl after each addition.  Mix just to combine after each addition. Do not over-mix.

Measure out about 2 cups of the batter and transfer to the bowl with the (cooled) browned butter and coconut mixture. Fold the batter in until combined.

If you want the coconut mixture on the outside and top of the cake, transfer it to the bundt pan and press the mixture against the sides of the pan, pushing it almost all the way up the outer sides and center cone of the pan. Next pour the remaining cake batter into the center of the coconut side walls.
If you’d prefer a marbled effect, pour cake batter into pan first, dot the top of the batter with several large spoonfuls of coconut mixture, and gently swirl the two batters together with a dull knife or icing spatula.

After adding batter to pan, gently tap the pan on the counter to remove air bubbles.
If using an intricately designed pan, you may want to place it on a cookie sheet to keep it level in the oven. Transfer to the center of the oven and bake just until a toothpick inserted in the middle comes out clean, about 50 to 60 minutes.

Cool for 15 to 20 minutes on a wire rack before inverting the cake onto the rack to remove the pan. Cool for at least 30 minutes more before dusting with powdered sugar. Store in under a cake dome, in an airtight container or tightly wrapped in plastic wrap to prevent the cake from drying out. If well stored, the cake should keep for several days at room temperature.

drømmekage (danish dream cake) bundt cake | Brooklyn Homemaker

There are so many mouthwatering bundts this month you can’t help but feel tropical. Regardless of what’s happening outside, you’re gonna need sunglasses to get through these amazing links!

.

BundtBakers

.
#BundtBakers is a group of Bundt loving Bakers who get together once a month to bake Bundts with a common ingredient or theme. We take turns hosting each month and choosing the theme or ingredient. You can see all of our lovely Bundts by following our Pinterest Board.

Updated links for all of our past events and more information about BundtBakers can be found on our homepage.

nori and black sesame caramel corn

You may or may not already know this about me, but I’m totally lame.

nori & black sesame caramel corn | Brooklyn Homemaker

Other than going to work, I rarely ever leave the house. I loathe going into Manhattan, especially to go shopping, and thanks to the magic of the internet I don’t even have to leave the house to buy underwear!

I can remember a time (in my 20s) when my social calendar was overflowing, but over the years I started going out less and less. I got married, I took a stressful job, I got two little dogs, I started a food blog, I started trying to save rather than spend extra money. Before I knew it all these things added up to me going home, cooking dinner, and watching the Walking Dead after work rather than going out drinking with friends.

nori & black sesame caramel corn | Brooklyn Homemaker

A few weeks ago, some amazing friends of mine invited me to the movies with them. It was a hard choice to make, whether to sit on my duff in front of the TV or to go talk to live humans in the wilderness of Williamsburg Brooklyn, but after some soul searching and option weighing I chose human interaction. Weird right?

nori & black sesame caramel corn | Brooklyn Homemaker

Thing is, going to the movies in New York City is expensive. Like crazy expensive.
We discussed picking up snacks on the way to smuggle into the theater, but before I left the house a funny thing happened. Russell was out of town and I was alone at home on my day off and I was bored. I started getting excited about the prospect of leaving the house, and the next thing I knew I was in the kitchen.

nori & black sesame caramel corn | Brooklyn Homemaker

Out of nowhere, I decided I needed to make caramel corn. I’ve only made caramel corn once before, but before I knew it the popcorn was popping and the caramel was bubbling away. You might not expect it, but caramel corn is actually a pretty easy recipe. Easy for homemade candy anyways. You don’t need a candy thermometer at all, just an easily adjusted burner and a good kitchen timer. And the ability to move quickly while handling bubbling hot sugar without injuring yourself.

I’ve been on a bit of a sesame oil kick lately, so I decided to swap some of the butter in the recipe for some nutty, toasty sesame oil. And some black sesame seeds. And why not, some crushed up toasted nori flakes too.

nori & black sesame caramel corn | Brooklyn Homemaker

Before you turn your nose up at caramel corn with seaweed in it, rest assured this stuff is GOOOOOOOD. My friends were going crazy for it and impassioned whispers about how amazing it was could barely be heard over the movie. Weeks later they’re still cursing me for how good this stuff is and how they couldn’t stop eating it through the whole movie.

nori & black sesame caramel corn | Brooklyn Homemaker

This is everything you want in good caramel corn with a little something extra. First you get the crunchy, sweet, salty, caramely, amazingness that you expect, but then you notice the nutty toasty sesame flavor and a gentle hint of salty brininess from the nori. The nori is really just a subtle hint that pairs incredibly with the sesame flavors and complements the salty caramel in a really modern, mature, and interesting way.

nori & black sesame caramel corn | Brooklyn Homemaker

If you still really aren’t sold on the nori though, I promise you can leave it out and still maintain the modern and mature flavor of this caramel corn.

About a week later I actually made this recipe again at my grandmother’s behest. We were having the same friends over to watch the Oscars and planned to make some braised chicken for dinner. Grandma asked what I had planned for dessert, and when I said we weren’t having dessert she insisted that I couldn’t have a dinner party without something sweet at the end. So, with only an hour or two before I needed to start dinner, I decided to try another twist on this same recipe.

Never wanting to serve the same thing twice, I decided to make a few little changes to add a different flavor. I skipped the nori, and added a heaping tablespoon of srirachi chili sauce instead (added at the end with the vanilla and sesame oil).
This version was equally phenomenal, and I’d be really hard pressed to pick a favorite. Along with a great chili flavor, the Sriracha adds just a hint of lingering heat that’s amazing with the sweet buttery caramel and isn’t overpowering in any way. If you’re really not stoked on the idea of seaweed in your caramel corn, go ahead and try the sriracha version instead.

nori & black sesame caramel corn | Brooklyn Homemaker

Nori and Black Sesame Caramel Corn

  • Servings: makes about 8 cups
  • Print
adapted from the New Better Homes & Gardens Cookbook, 2005

2 tablespoons peanut oil
1/4 to 1/3 cup unpopped popcorn kernels (8 cups popped)
1/4 cup crushed nori (optional)
1 tablespoon black sesame seeds
3/4 cup packed brown sugar
5 tablespoons unsalted butter
1 teaspoon coarse kosher salt
3 tablespoons light corn syrup
1 tablespoon toasted sesame oil
1/2 teaspoon vanilla extract
1/4 teaspoon baking soda

Preheat oven to 300.

Heat oil in a large heavy bottomed stockpot or dutch oven over medium high heat. Add popcorn and cover with a lid. Using potholders or a towel to hold the handles, shake the pot around to keep the kernels moving as they pop. When several seconds pass between pops, remove from heat. Remove and discard any un-popped kernels and return popcorn to the pot it was popped in. Crush nori up into small flakes with your hands and add, along with sesame seeds, to the pot with popcorn.

Combine brown sugar, butter, salt, and corn syrup in a medium sauce pan. Cook and stir over medium heat until mixture begins to boil. Reduce heat to medium to maintain a moderate boil, and cook, without stirring, for exactly 5 minutes.

Remove pan from heat and stir in sesame oil, vanilla, and baking soda. Immediately pour caramel mixture over popcorn and gently toss toss toss to combine as quickly as you can. If you don’t work quickly the caramel will harden and become difficult to mix.
Spread popcorn in an even layer over a parchment lined baking sheet. Bake for 15 minutes, stir mixture around, and bake for 5 minutes more. Once cooled enough to handle gently toss the popcorn around so it doesn’t all stick together in one large block.

Store tightly covered for up to one week. It probably won’t last that long.

*variation: If you’re not sure about the nori but like a bit of heat, try skipping the nori and add a heaping tablespoon of sriracha along with the sesame oil and vanilla in the recipe.

Pork & apple stew

The internet is a seriously amazing place when you stop and think about it.

pork and apple stew | Brooklyn Homemaker

It’s hard to even remember what life was like before we had the world wide web, before smart phones, and before free public wifi. Back when you’d have to wait until you got home to look up the useless bar trivia we now have answers to at the click of a button. Way back when you had to consult actual cook books to find recipes, rather than finding pages and pages of search results for even the most obscure cuisines.

pork and apple stew | Brooklyn Homemaker

I have shelves sagging with cookbooks, but most of them spend more time collecting dust than helping me cook. These days I rely on the internet to provide me with drool-worthy recipes and endless culinary inspiration. Most of the time, even when a recipe sounds mind-blowingly delicious, I like to make a few changes here and there to suit my taste. Increase this, substitute that, omit the other. You know. I’m sure you do the same, at least some of the time.

pork and apple stew | Brooklyn Homemaker

In my ceaseless internet exploration I recently stumbled across a recipe for pork and apple stew from Better Homes and Gardens that I just HAD to try.
To that end, I thought I’d do something a little different today.

Please head over to Better Homes and Garden’s blog, Delish Dish for the rest of this post and to find the original recipe and see the changes I made to it.

pork and apple stew | Brooklyn Homemaker

This post was written in partnership with Better Homes & Gardens.
Tux Loerzel and Brooklyn Homemaker were not compensated for this post.