Hi friends! Happy 2019!
It’s been just over a year since Russell opened his second hair shop, and he recently received an unexpected gift from someone who visited back in the early days.
In the first few days after opening, not many people knew the shop was there yet, so Russell found himself spending a lot time alone in the shop with the door open.
One day an older gentleman walked in the door and said he wasn’t really looking for a haircut, but just wanted someone to talk to for a little while. He explained that he was a recent widower and that he’d come up to Brooklyn from Florida to visit his son for a while. His son was at work for the day and he didn’t know anyone else in town so he was bored and lonely.
Russell was bored too, sitting by himself waiting for potential new clients, so he said yes, of course, he’d love to have someone to talk to for a while, and might as well give him a little trim while he was there too.
His new friend stayed and enjoyed Russell’s company for a few hours before heading back to his son’s apartment, and eventually back to his own home in Florida. That was that.

The second shop has since picked up, with new clients, new employees, and lots of new faces from the neighborhood, so Russell hasn’t thought much about that early visit since then.

A few weeks ago though, a young man came into the shop with a large white box. He introduced himself and said he wasn’t sure if Russell would remember it or not, but his father had come in to chat with him one day about a year ago. As a way to say thank you for his kindness on that lonely day, he had sent a box of fresh juicy oranges up from his home in Florida, and asked his son to deliver them.
Russell couldn’t believe it. The gift certainly wasn’t necessary or expected, but it sure was sweet (literally)!
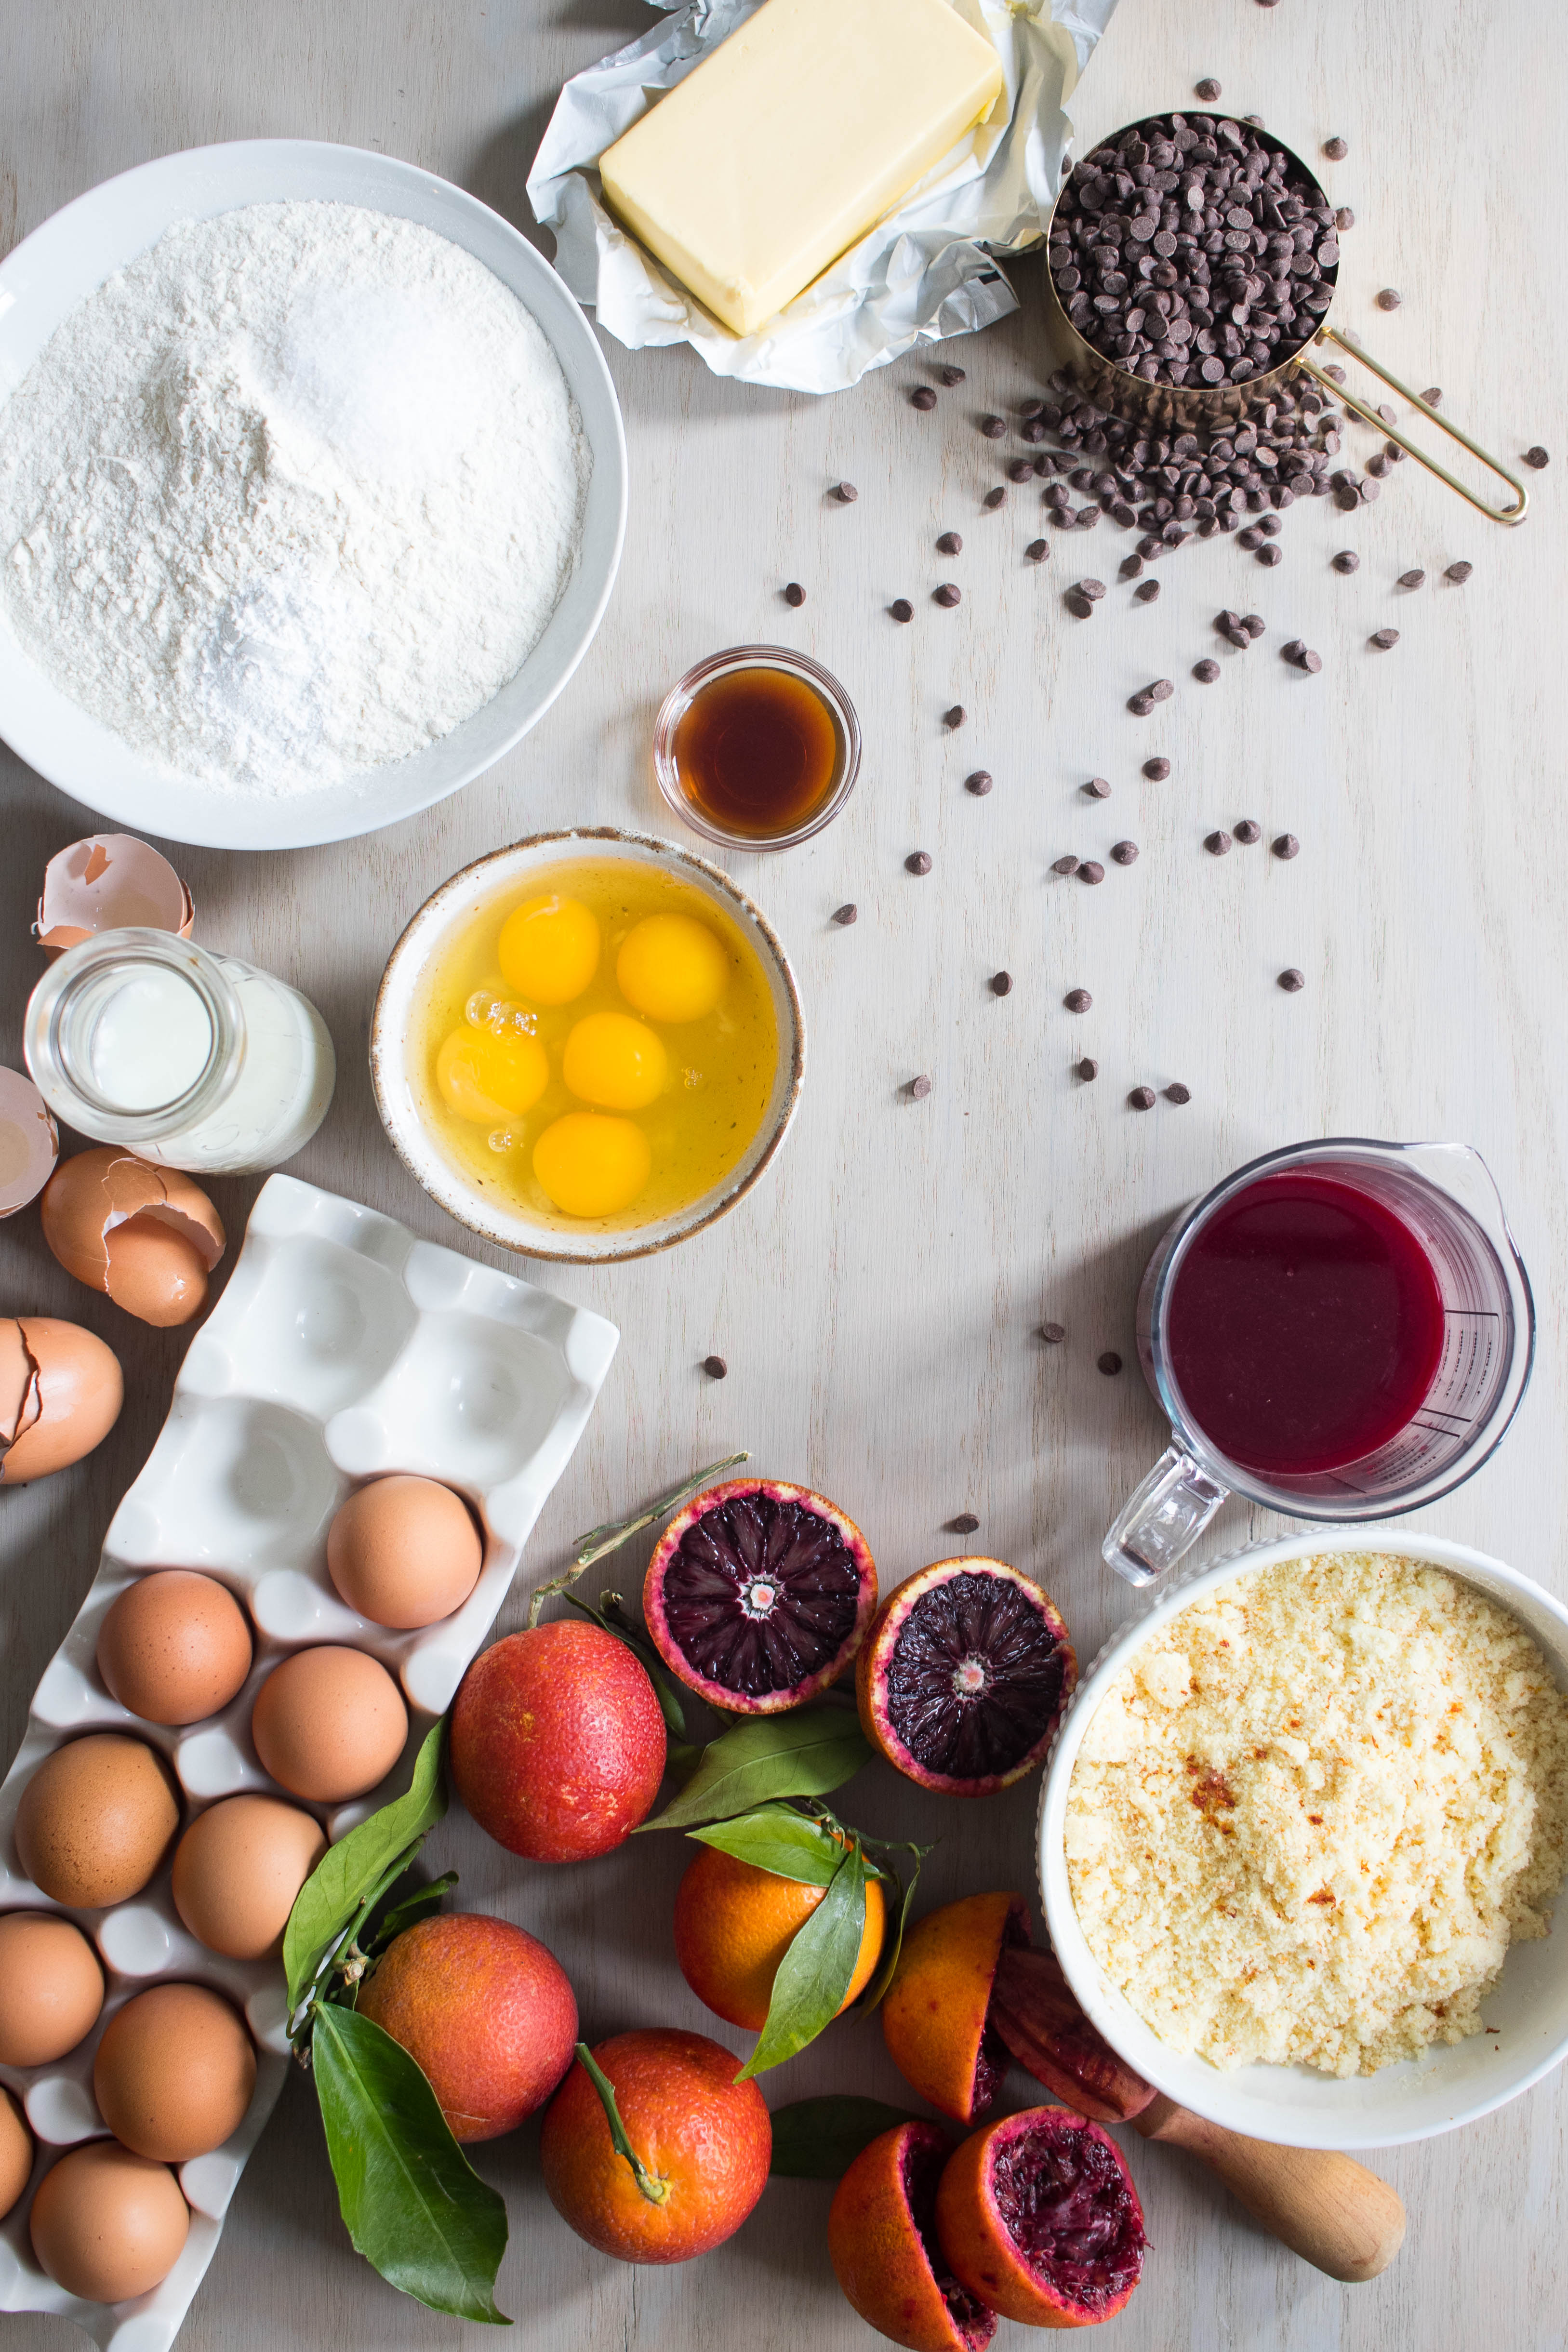
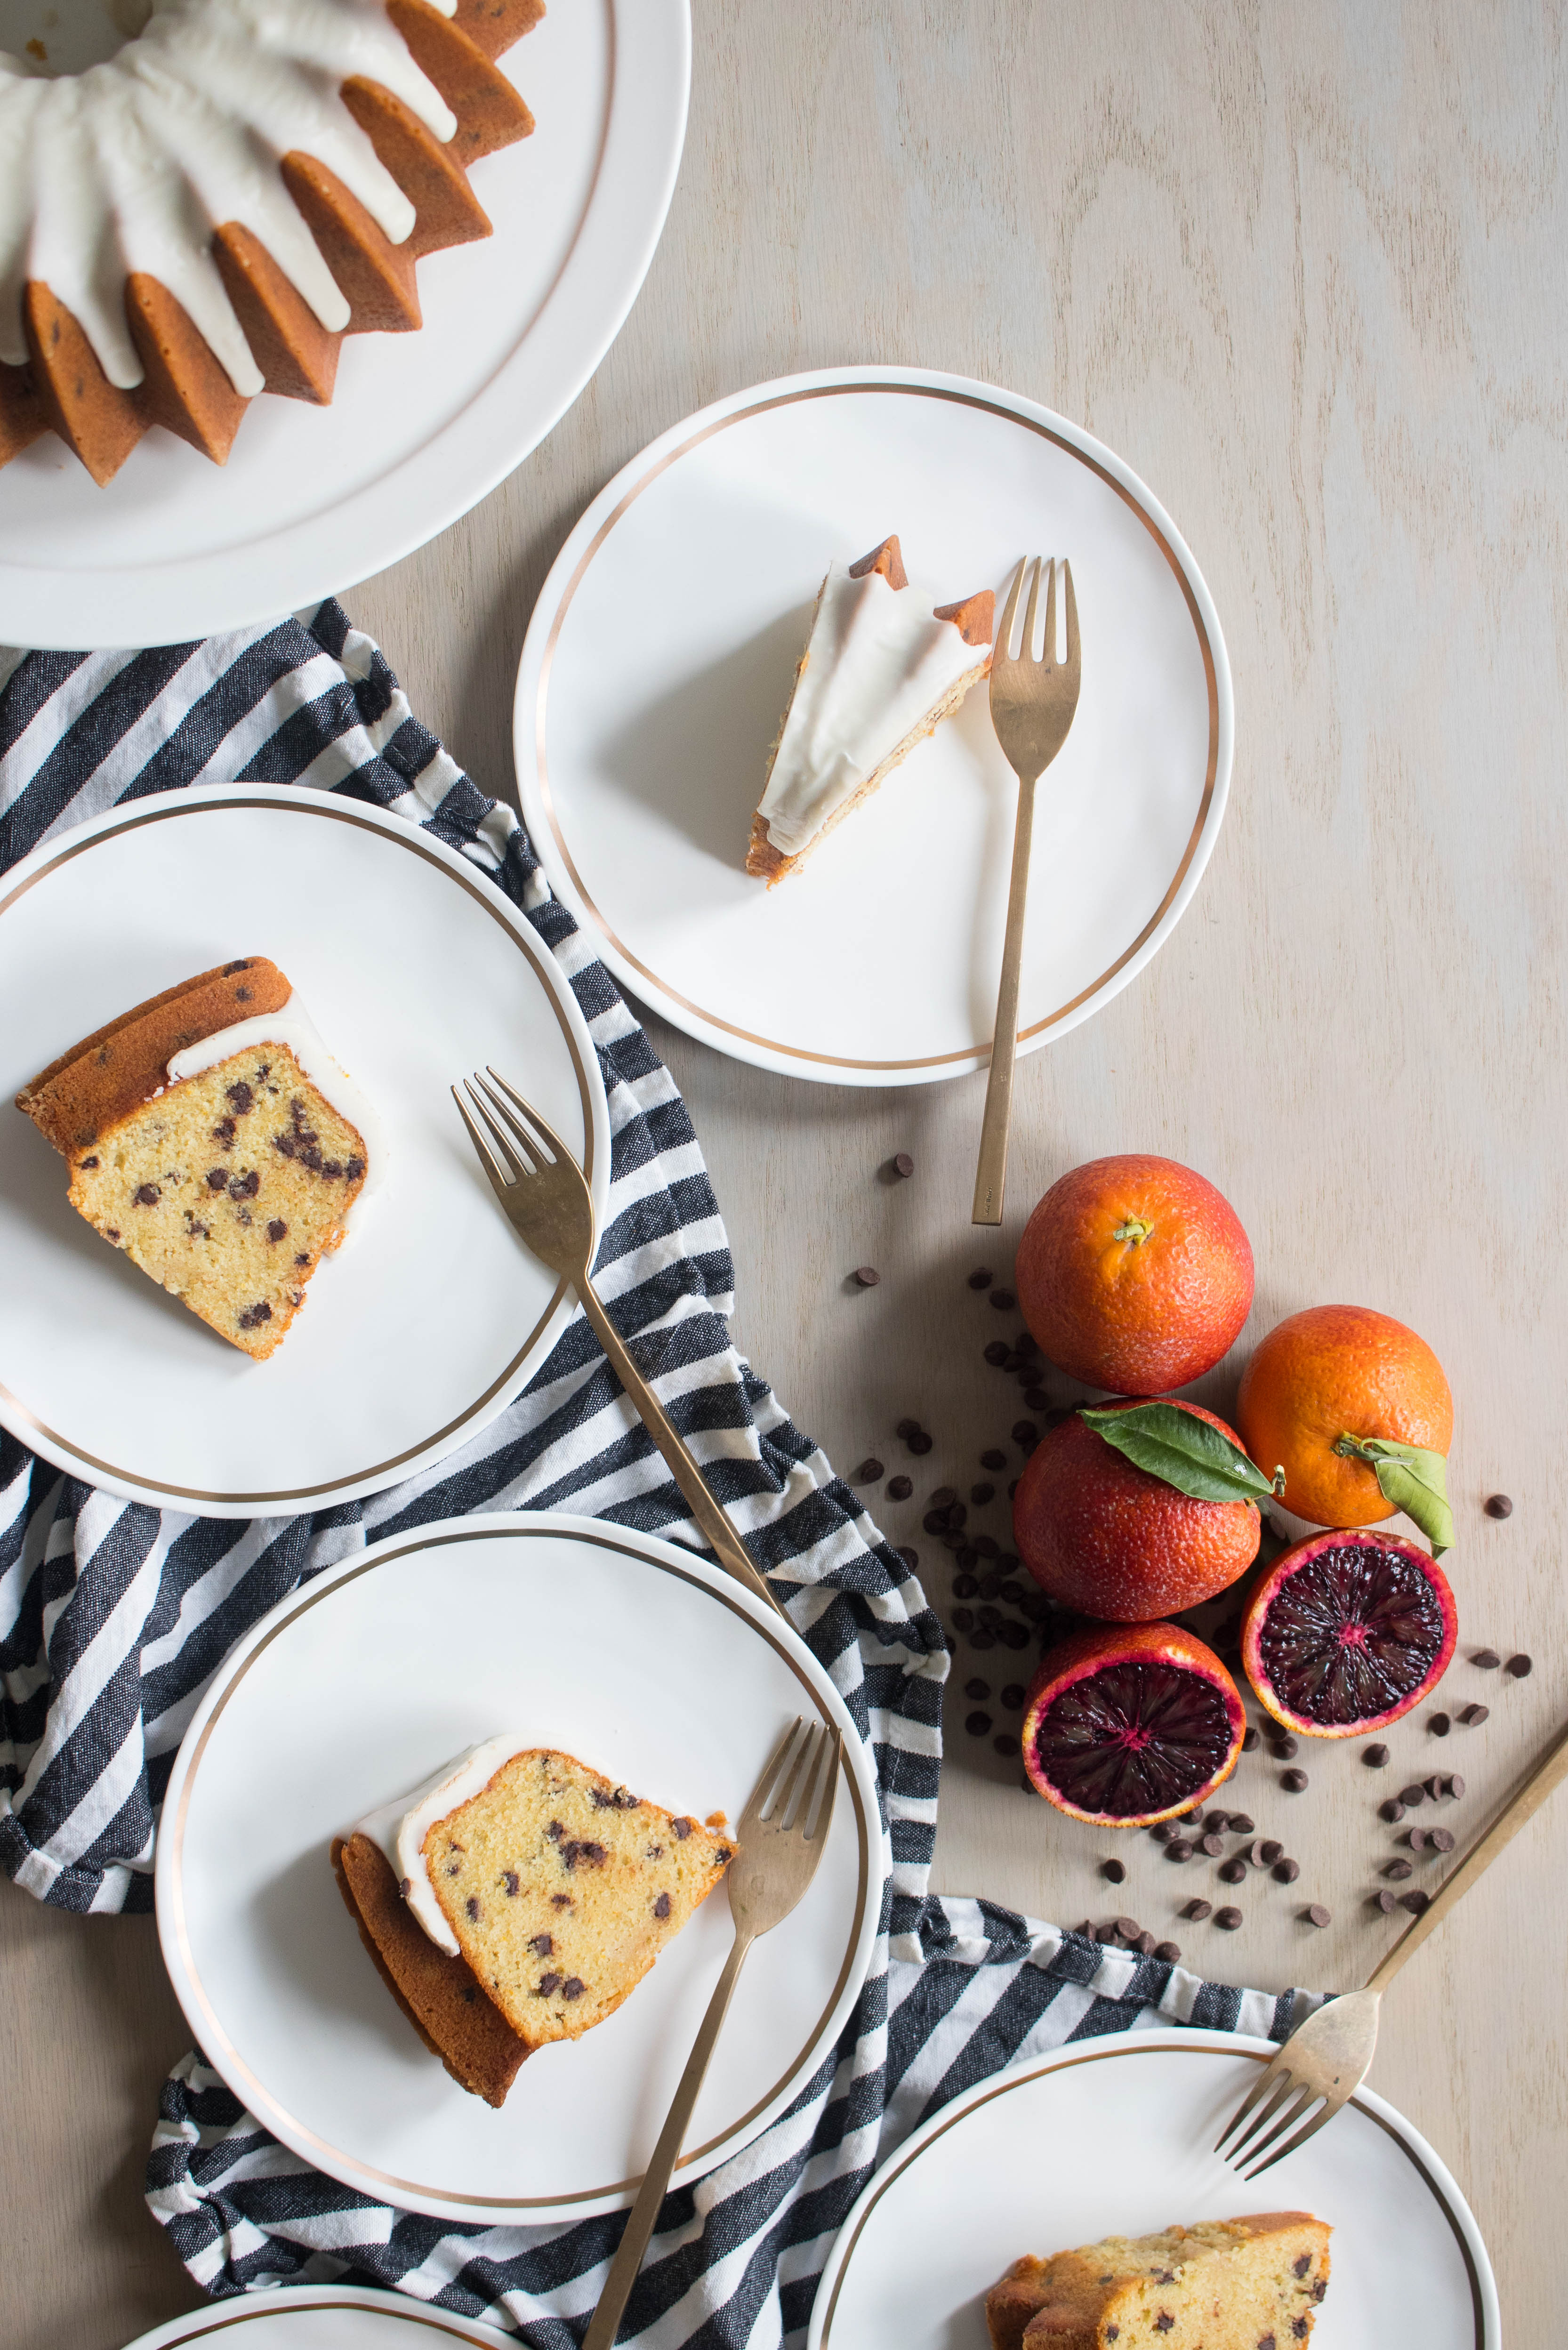
Bright & juicy fresh oranges were definitely a welcome surprise in the cold grey days of February in Brooklyn, but there were so many of them that we were afraid they might spoil before we got around to eating them all. When our friends invited us over for dinner a week or two later, I decided that a fresh baked citrusy bundt cake would be a great way to thank them for dinner while also taking advantage of those beautiful oranges.
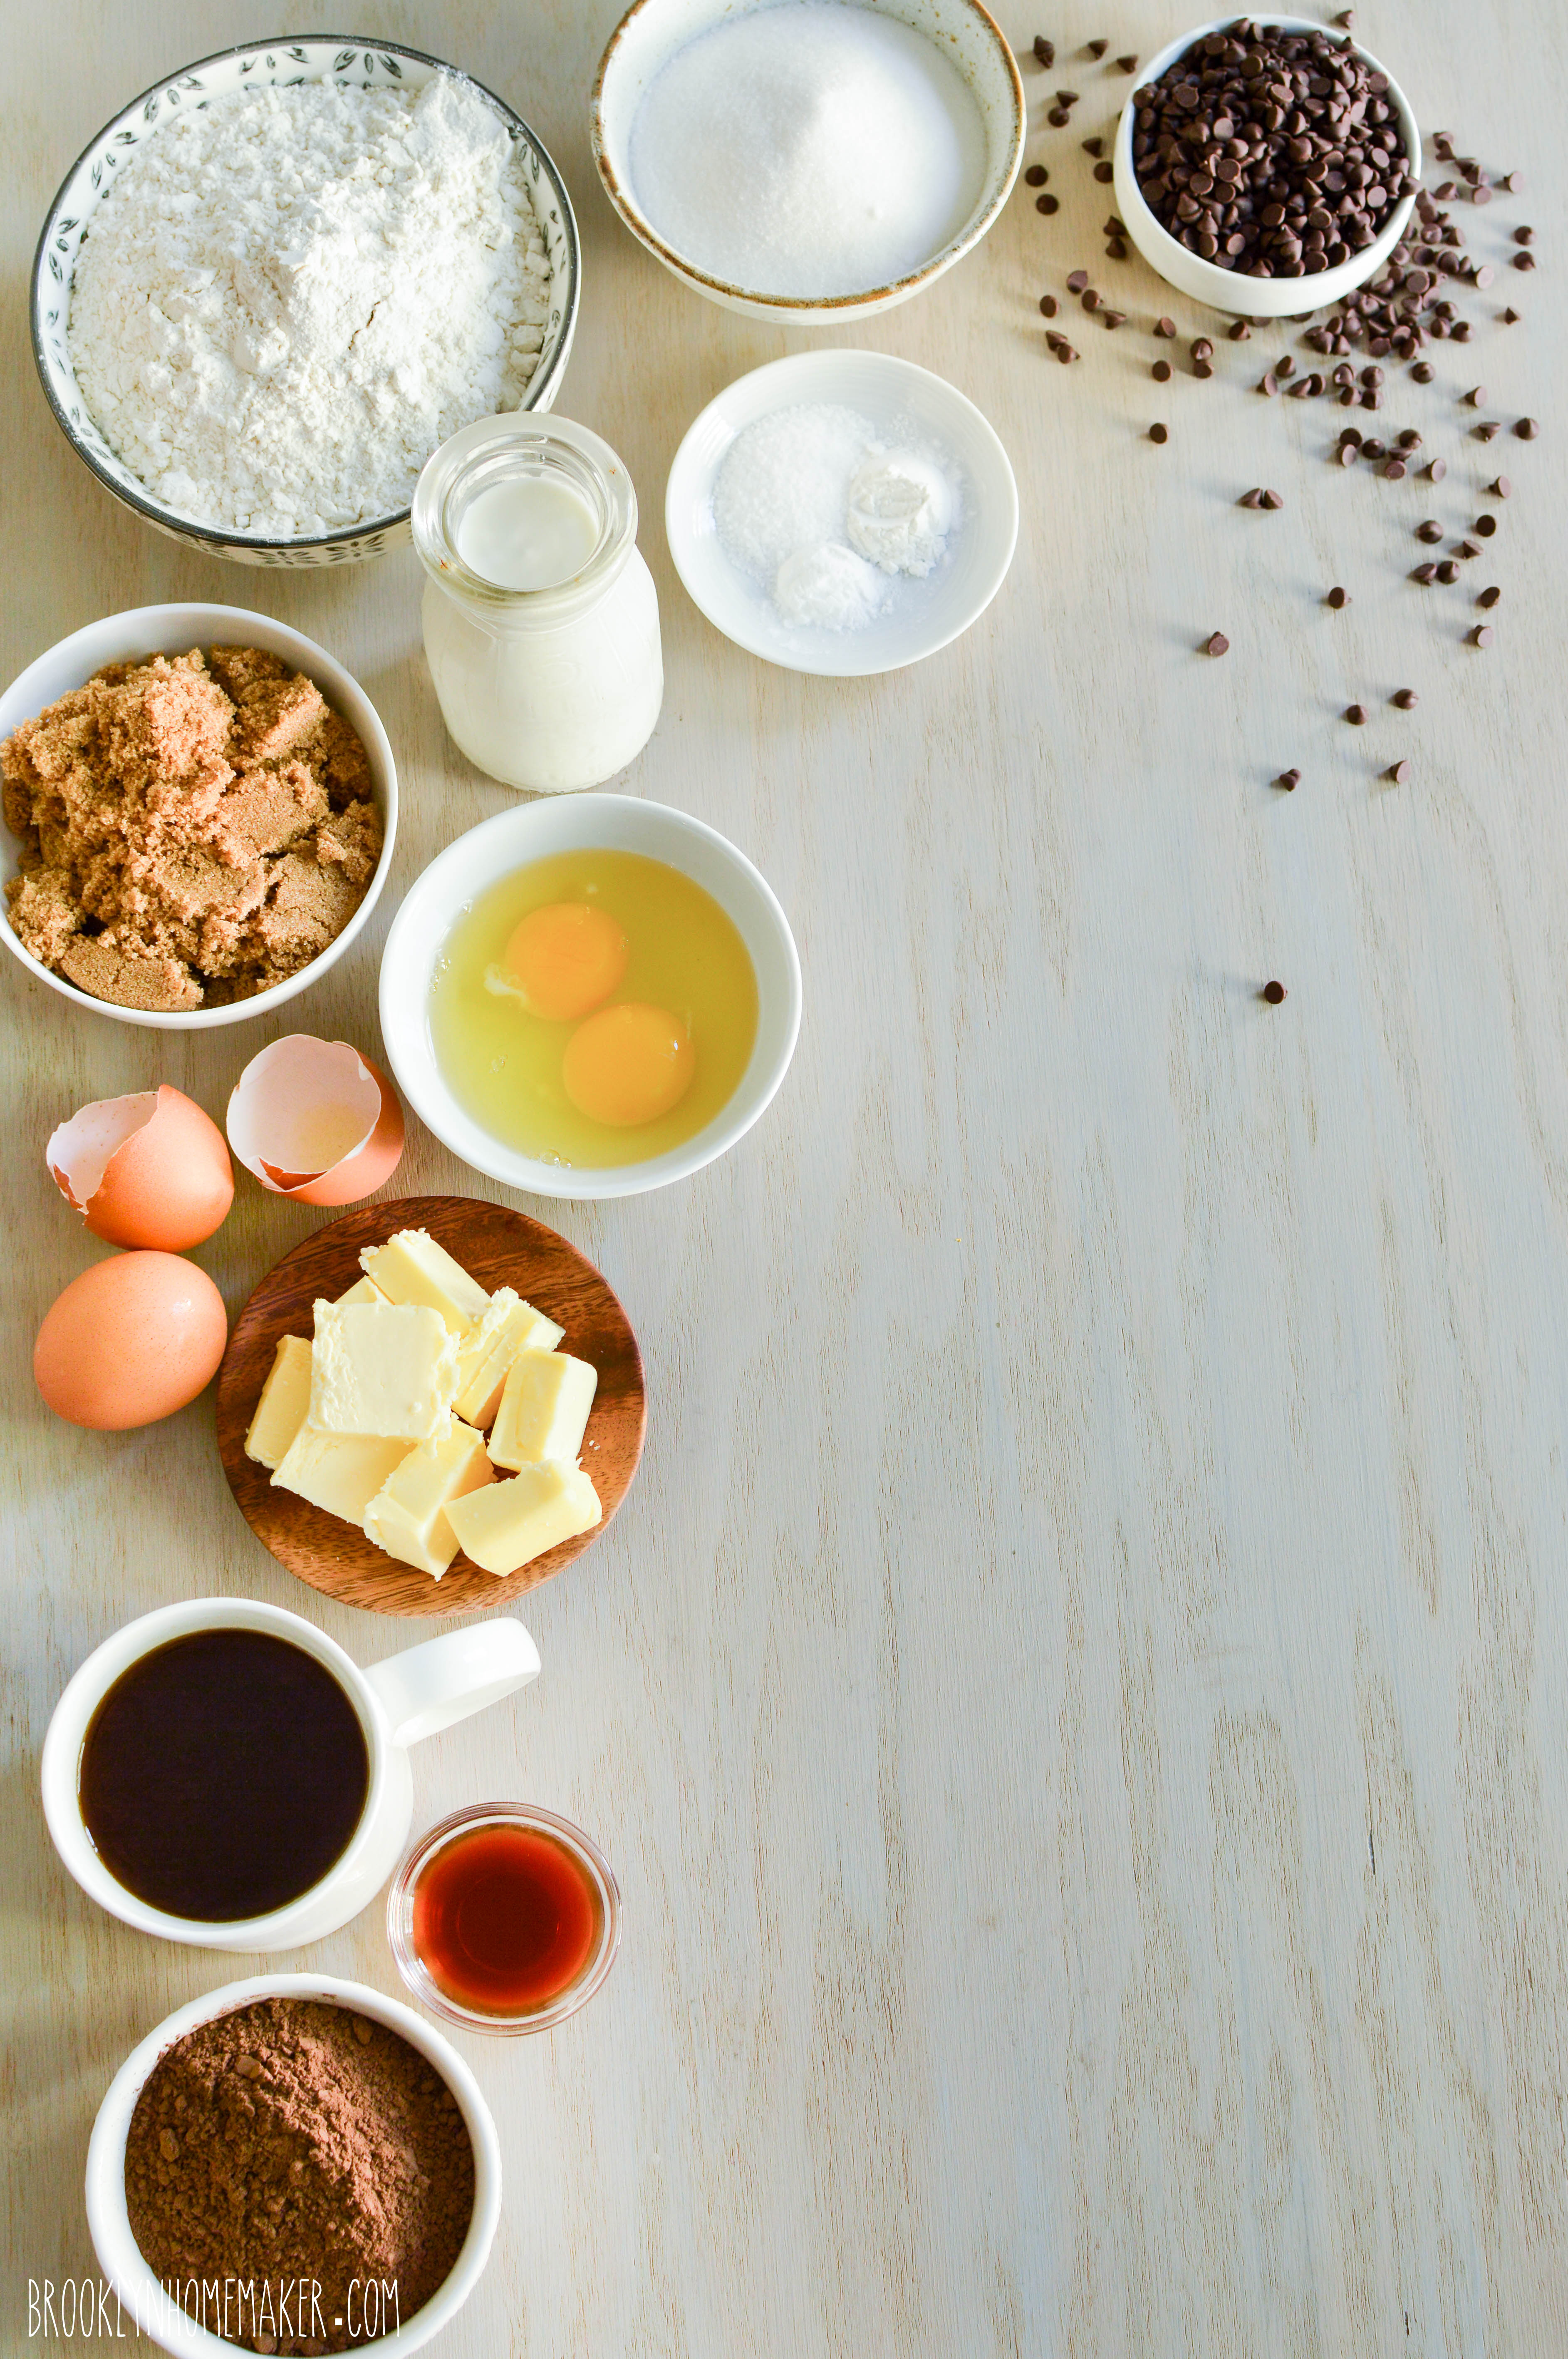
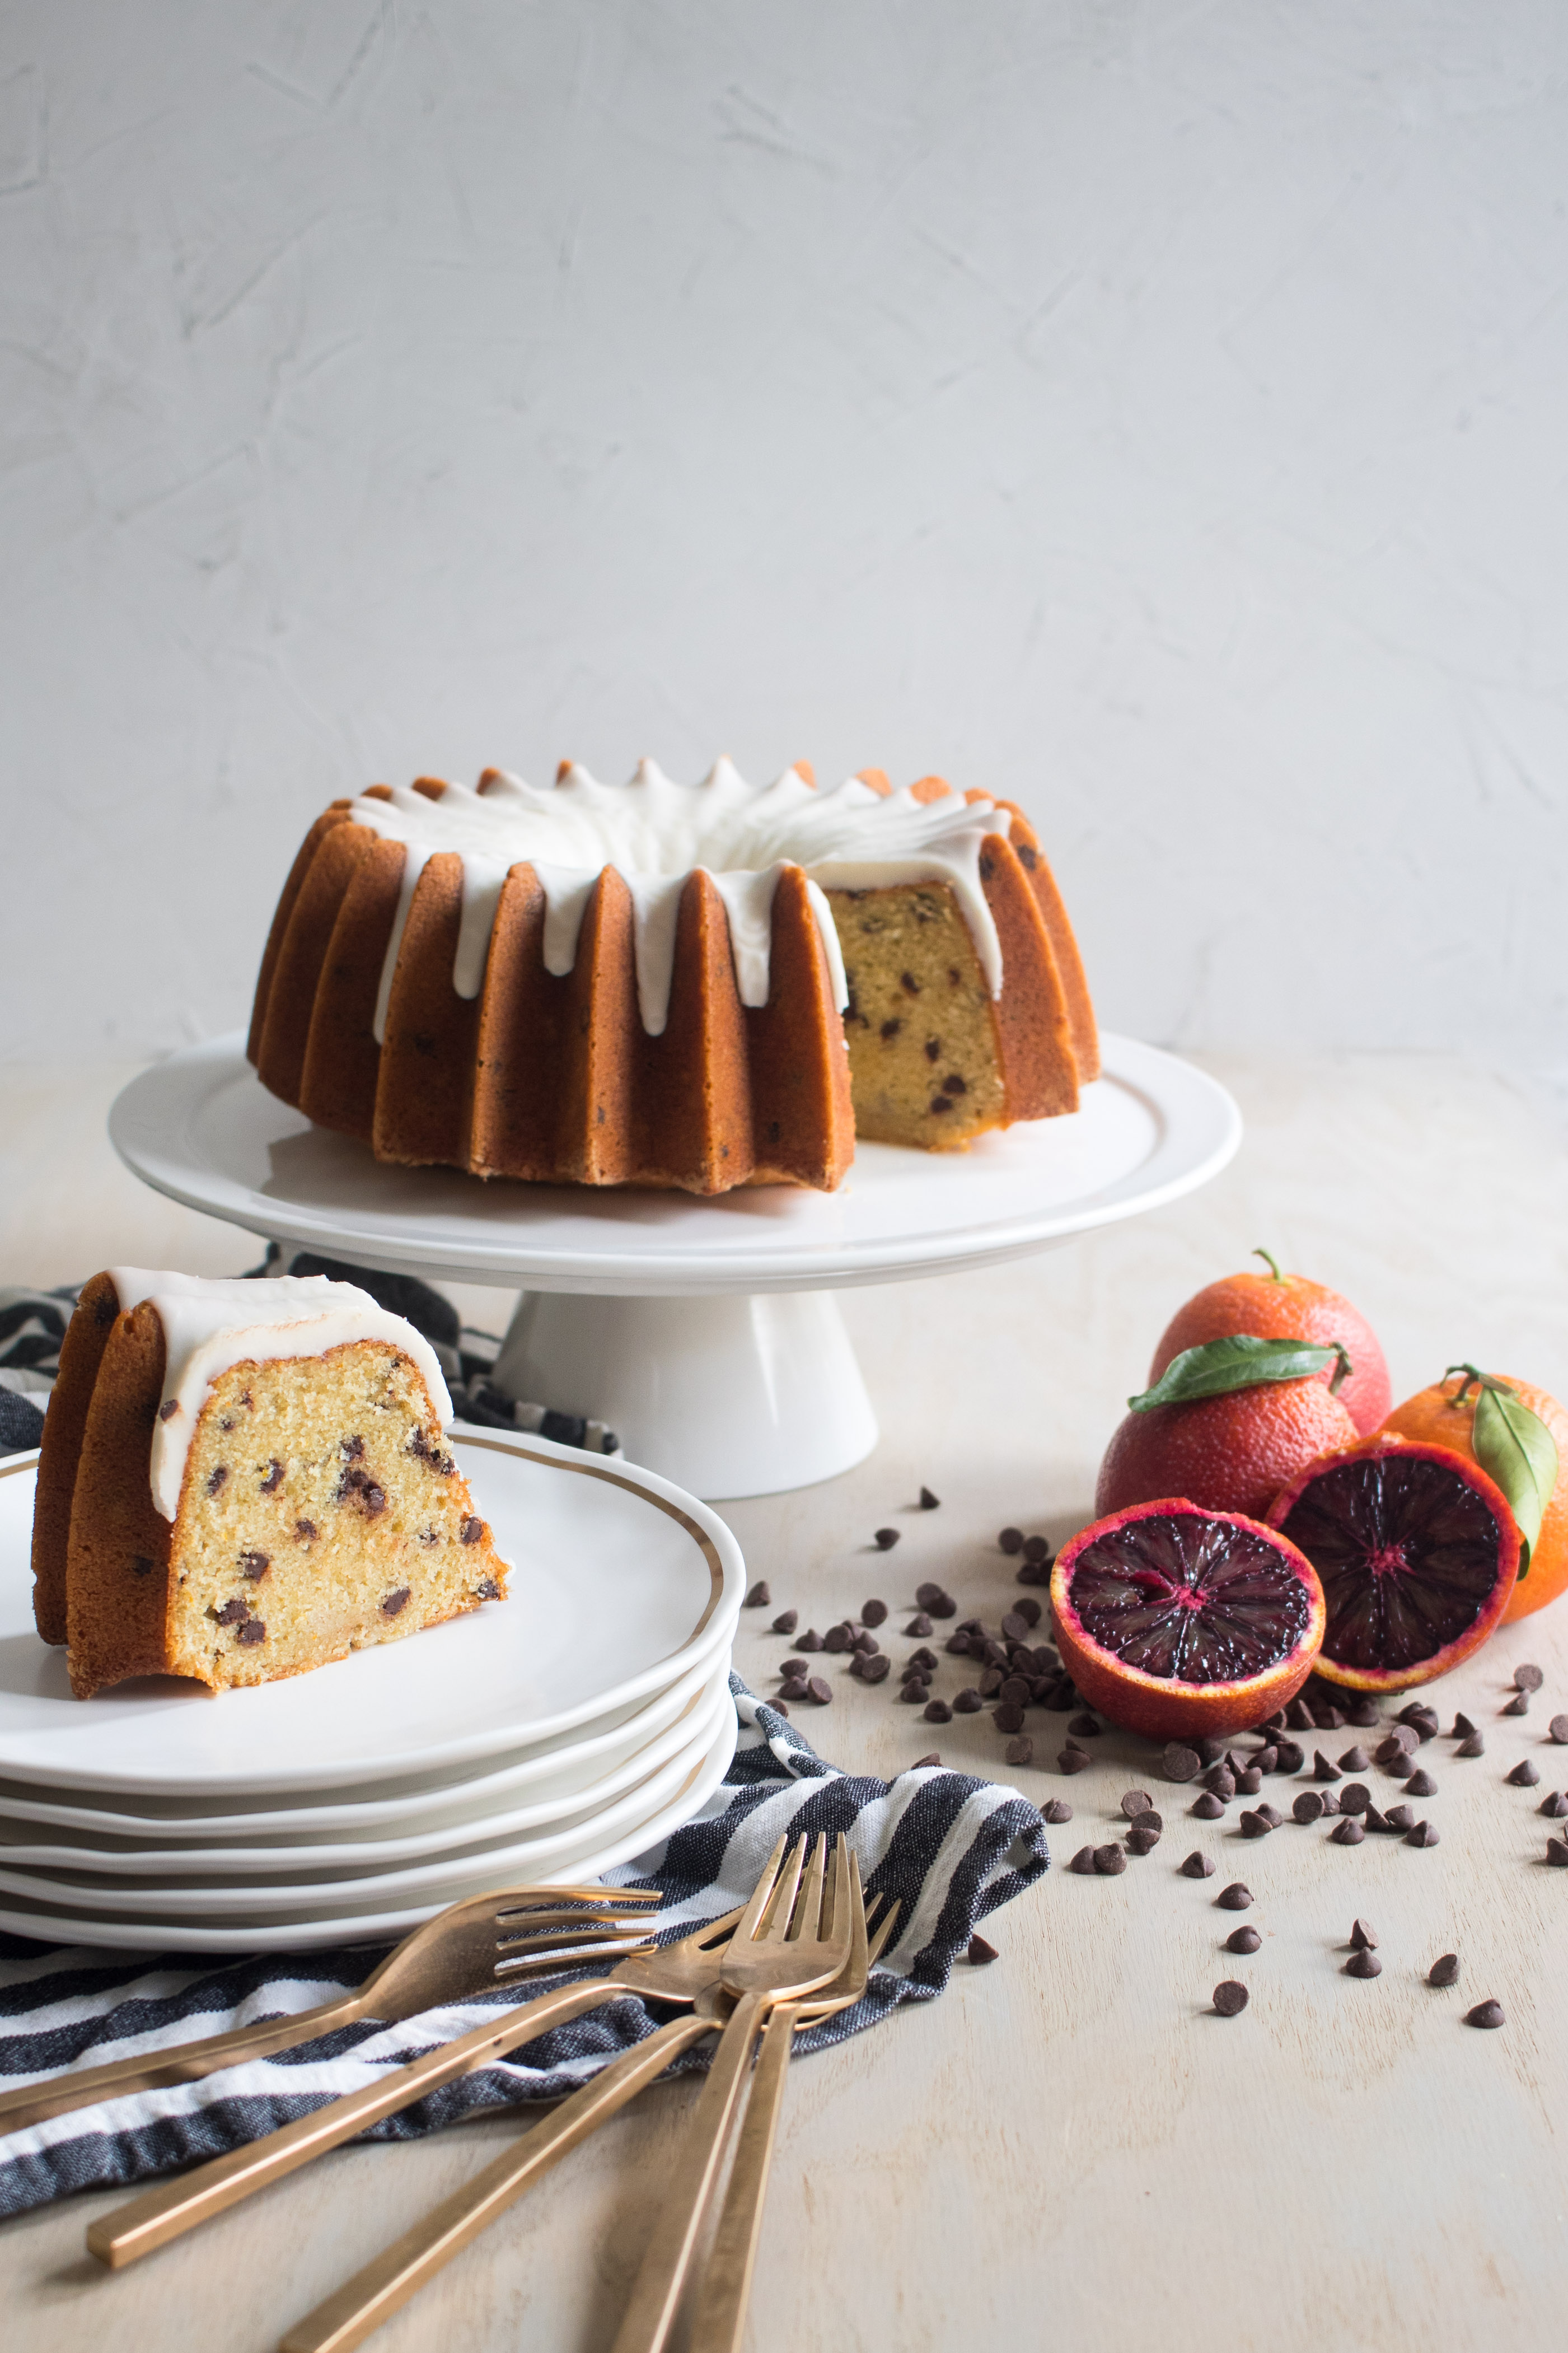
I decided to tweak my buttermilk pound cake recipe just a bit by adding orange zest to the sugar and substituting a bit of orange juice for some of the buttermilk. I wanted the orange flavor to be obvious without being too in-your-face, and I think this recipe gets the balance between subtle and overpowering just right. To add another layer of flavor I thought that chocolate chips would be a perfect compliment to the delicate citrus flavor, and it worked out perfectly.
This cake is so amazing that I’ve actually made it 3 or 4 times since. You know, in the name of “recipe testing”.
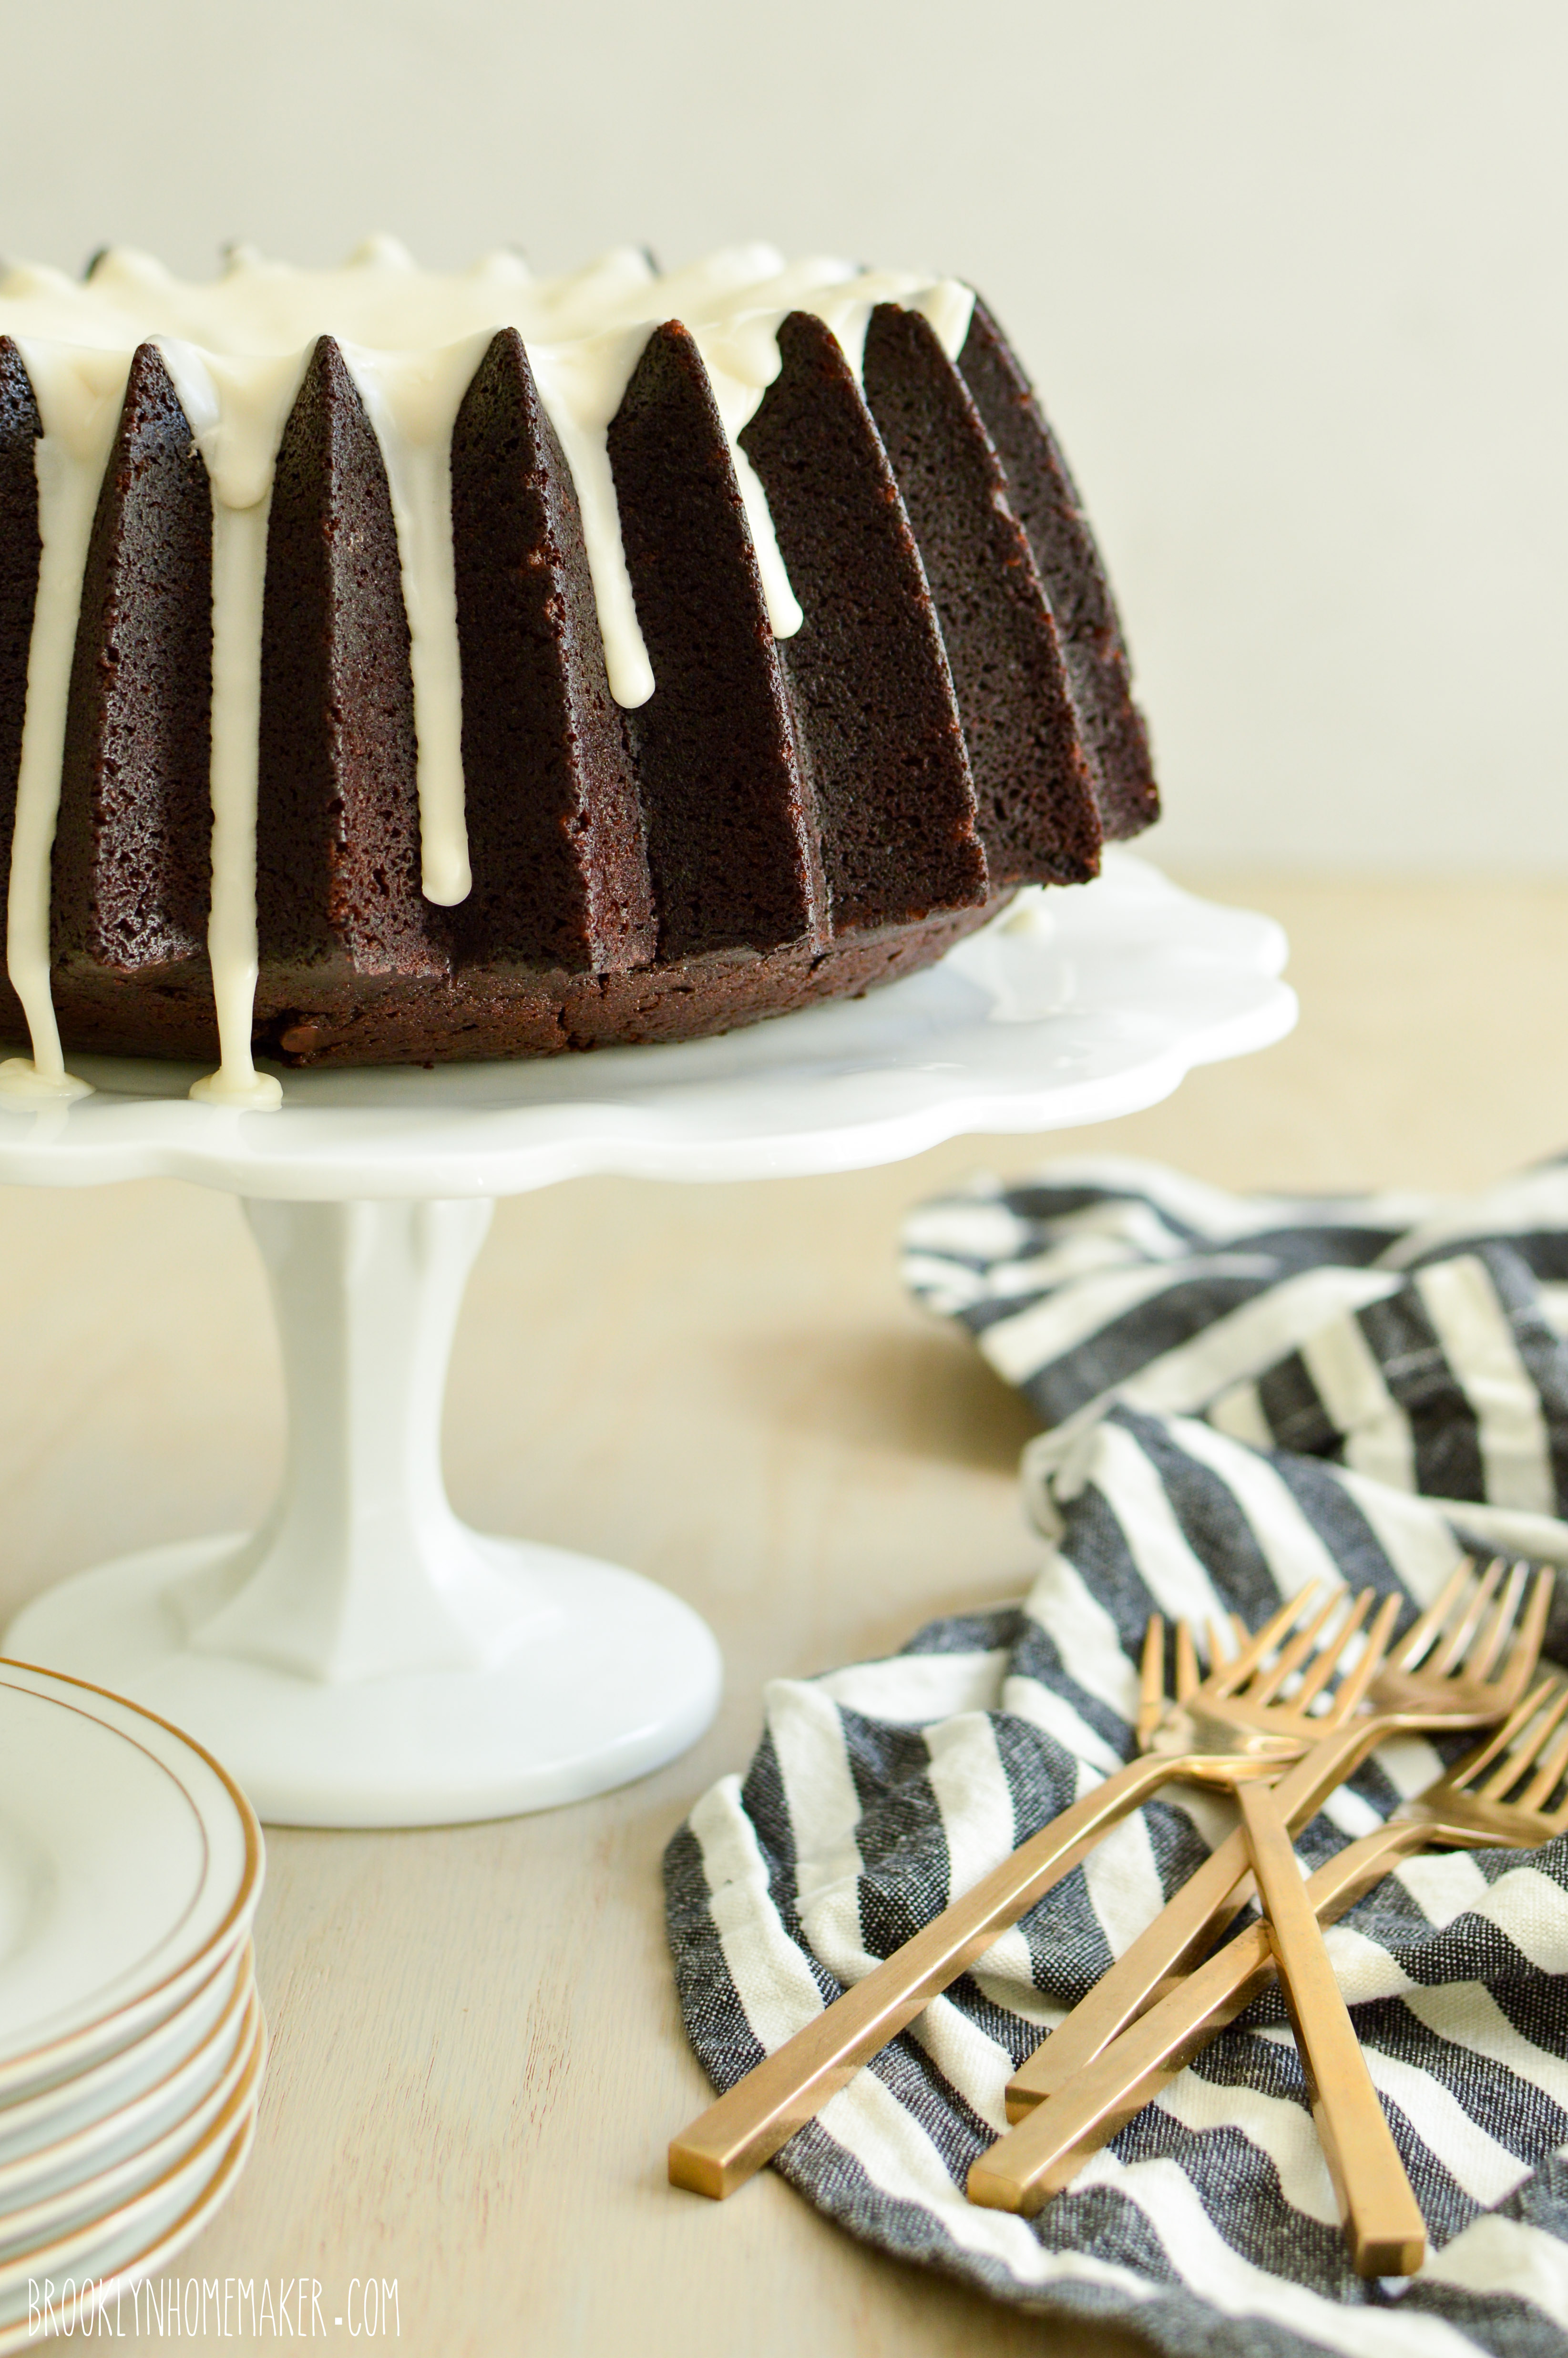
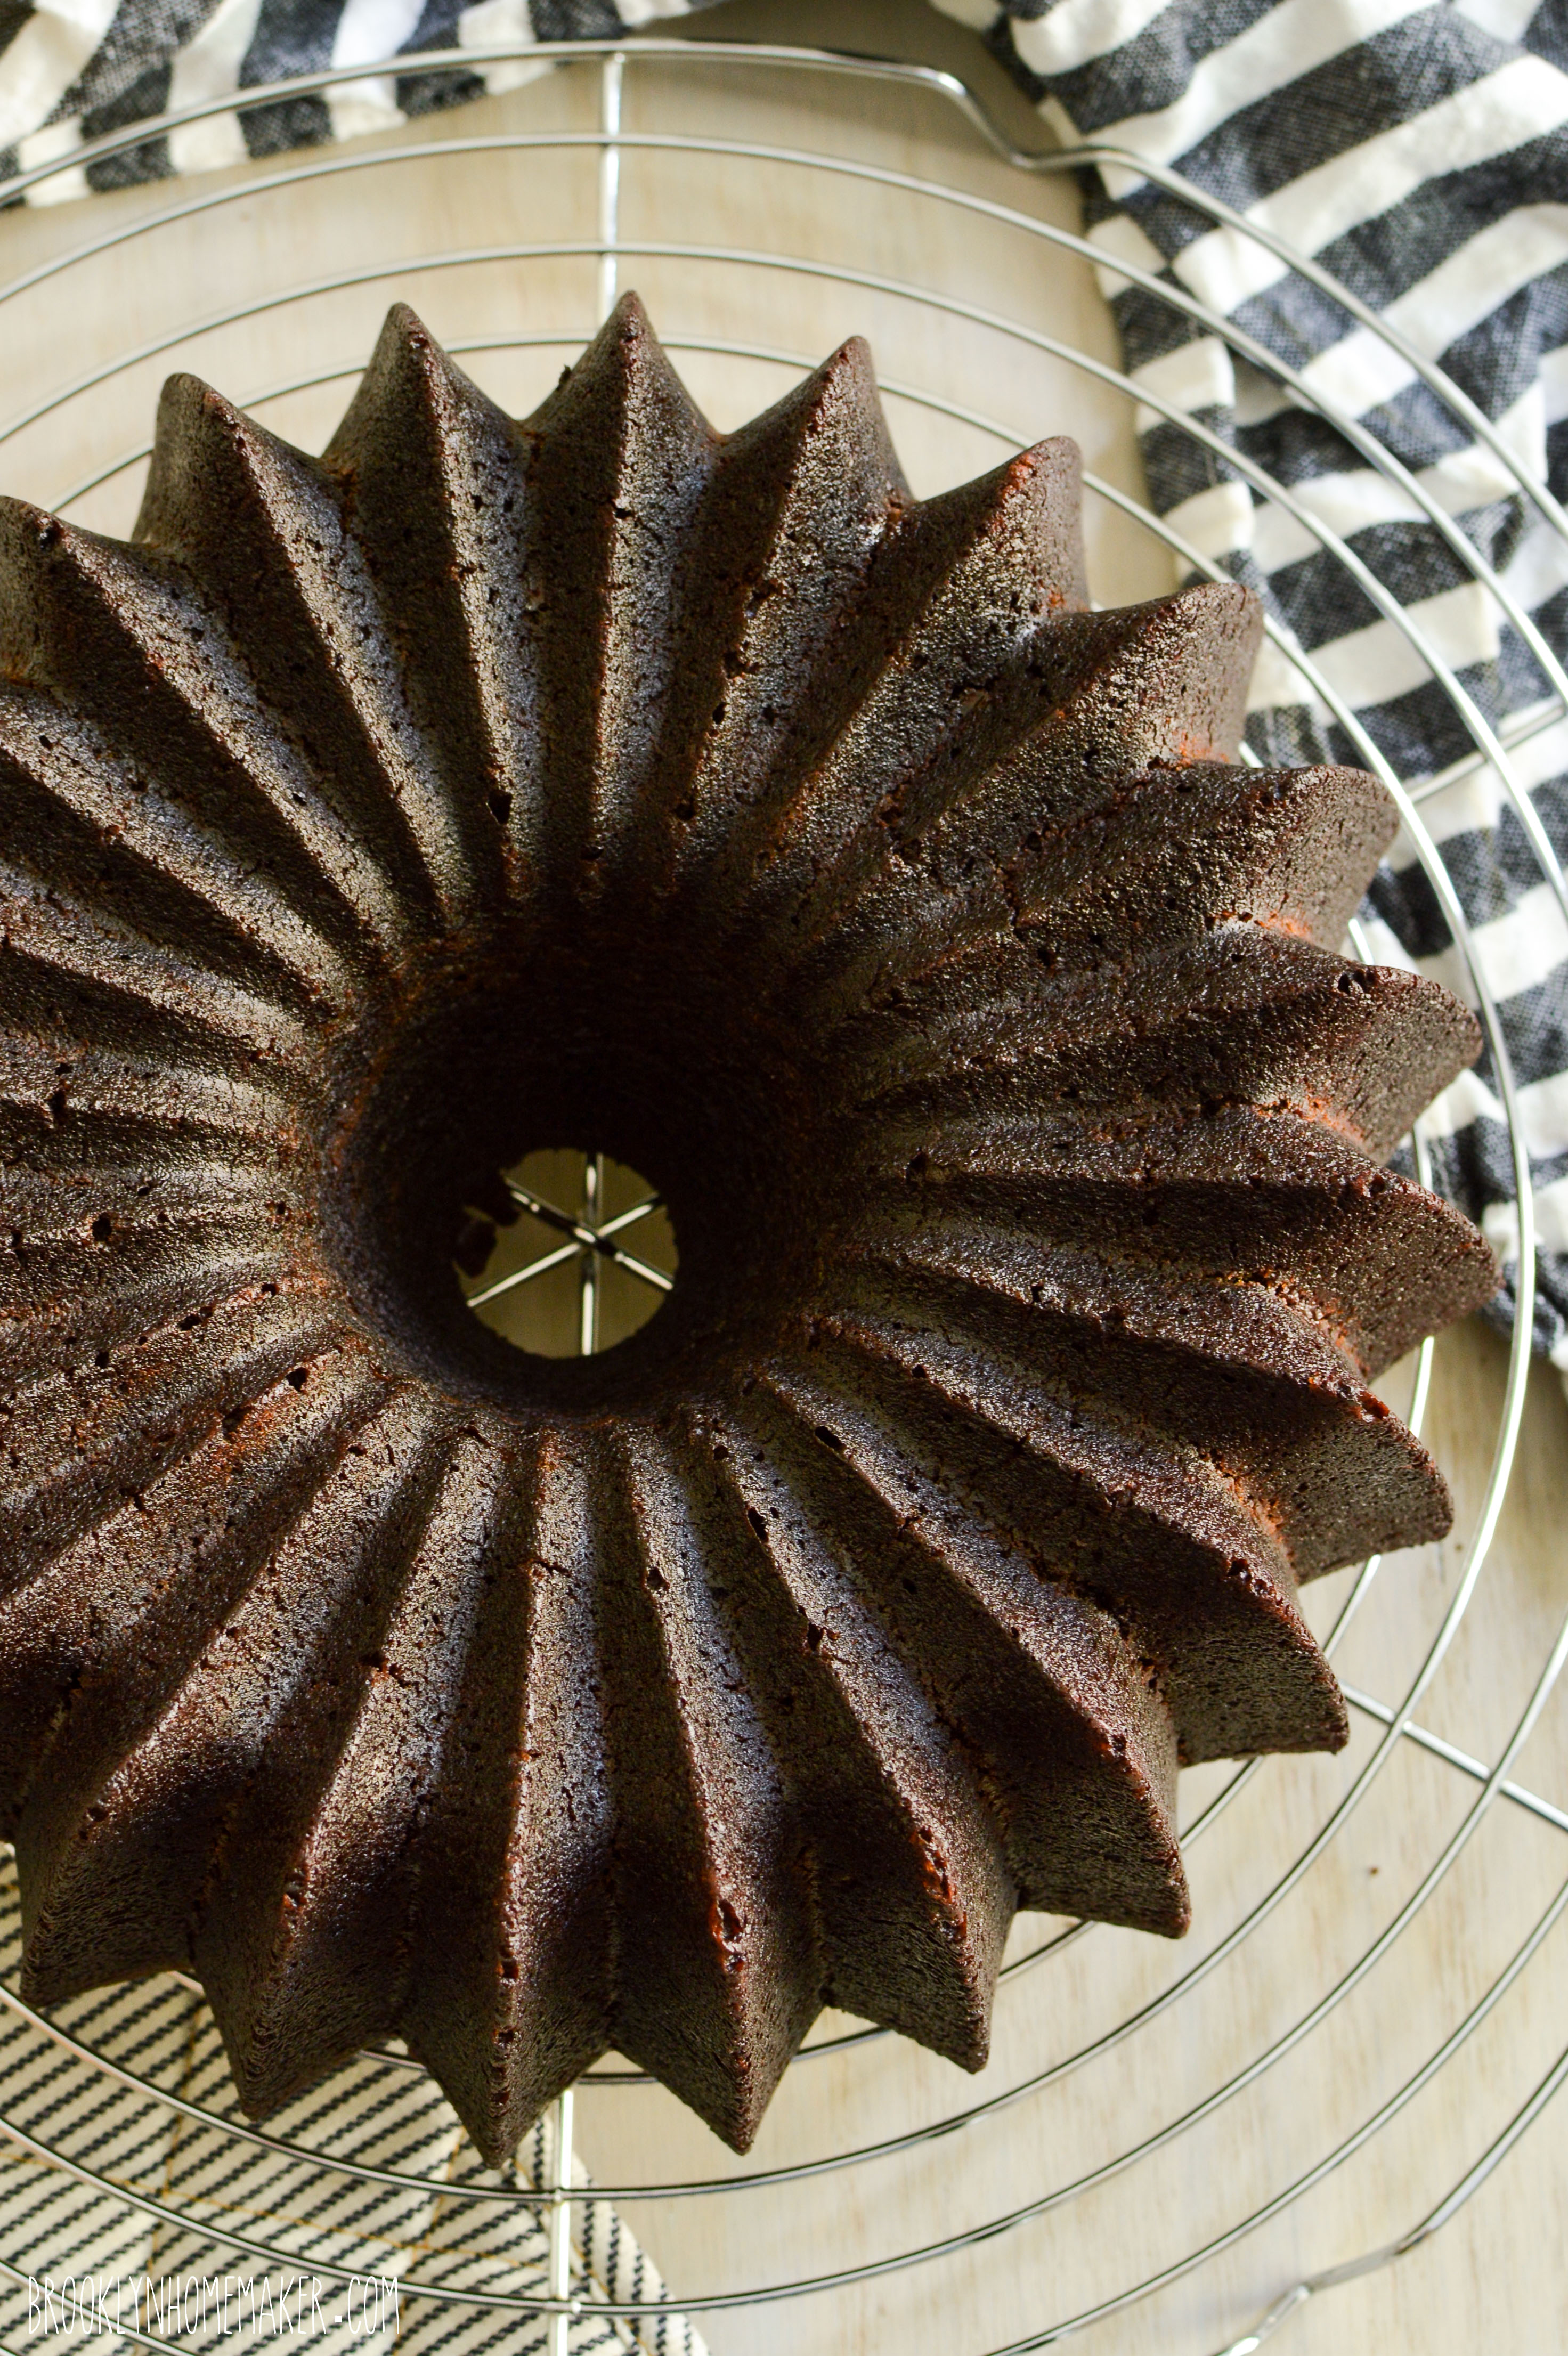
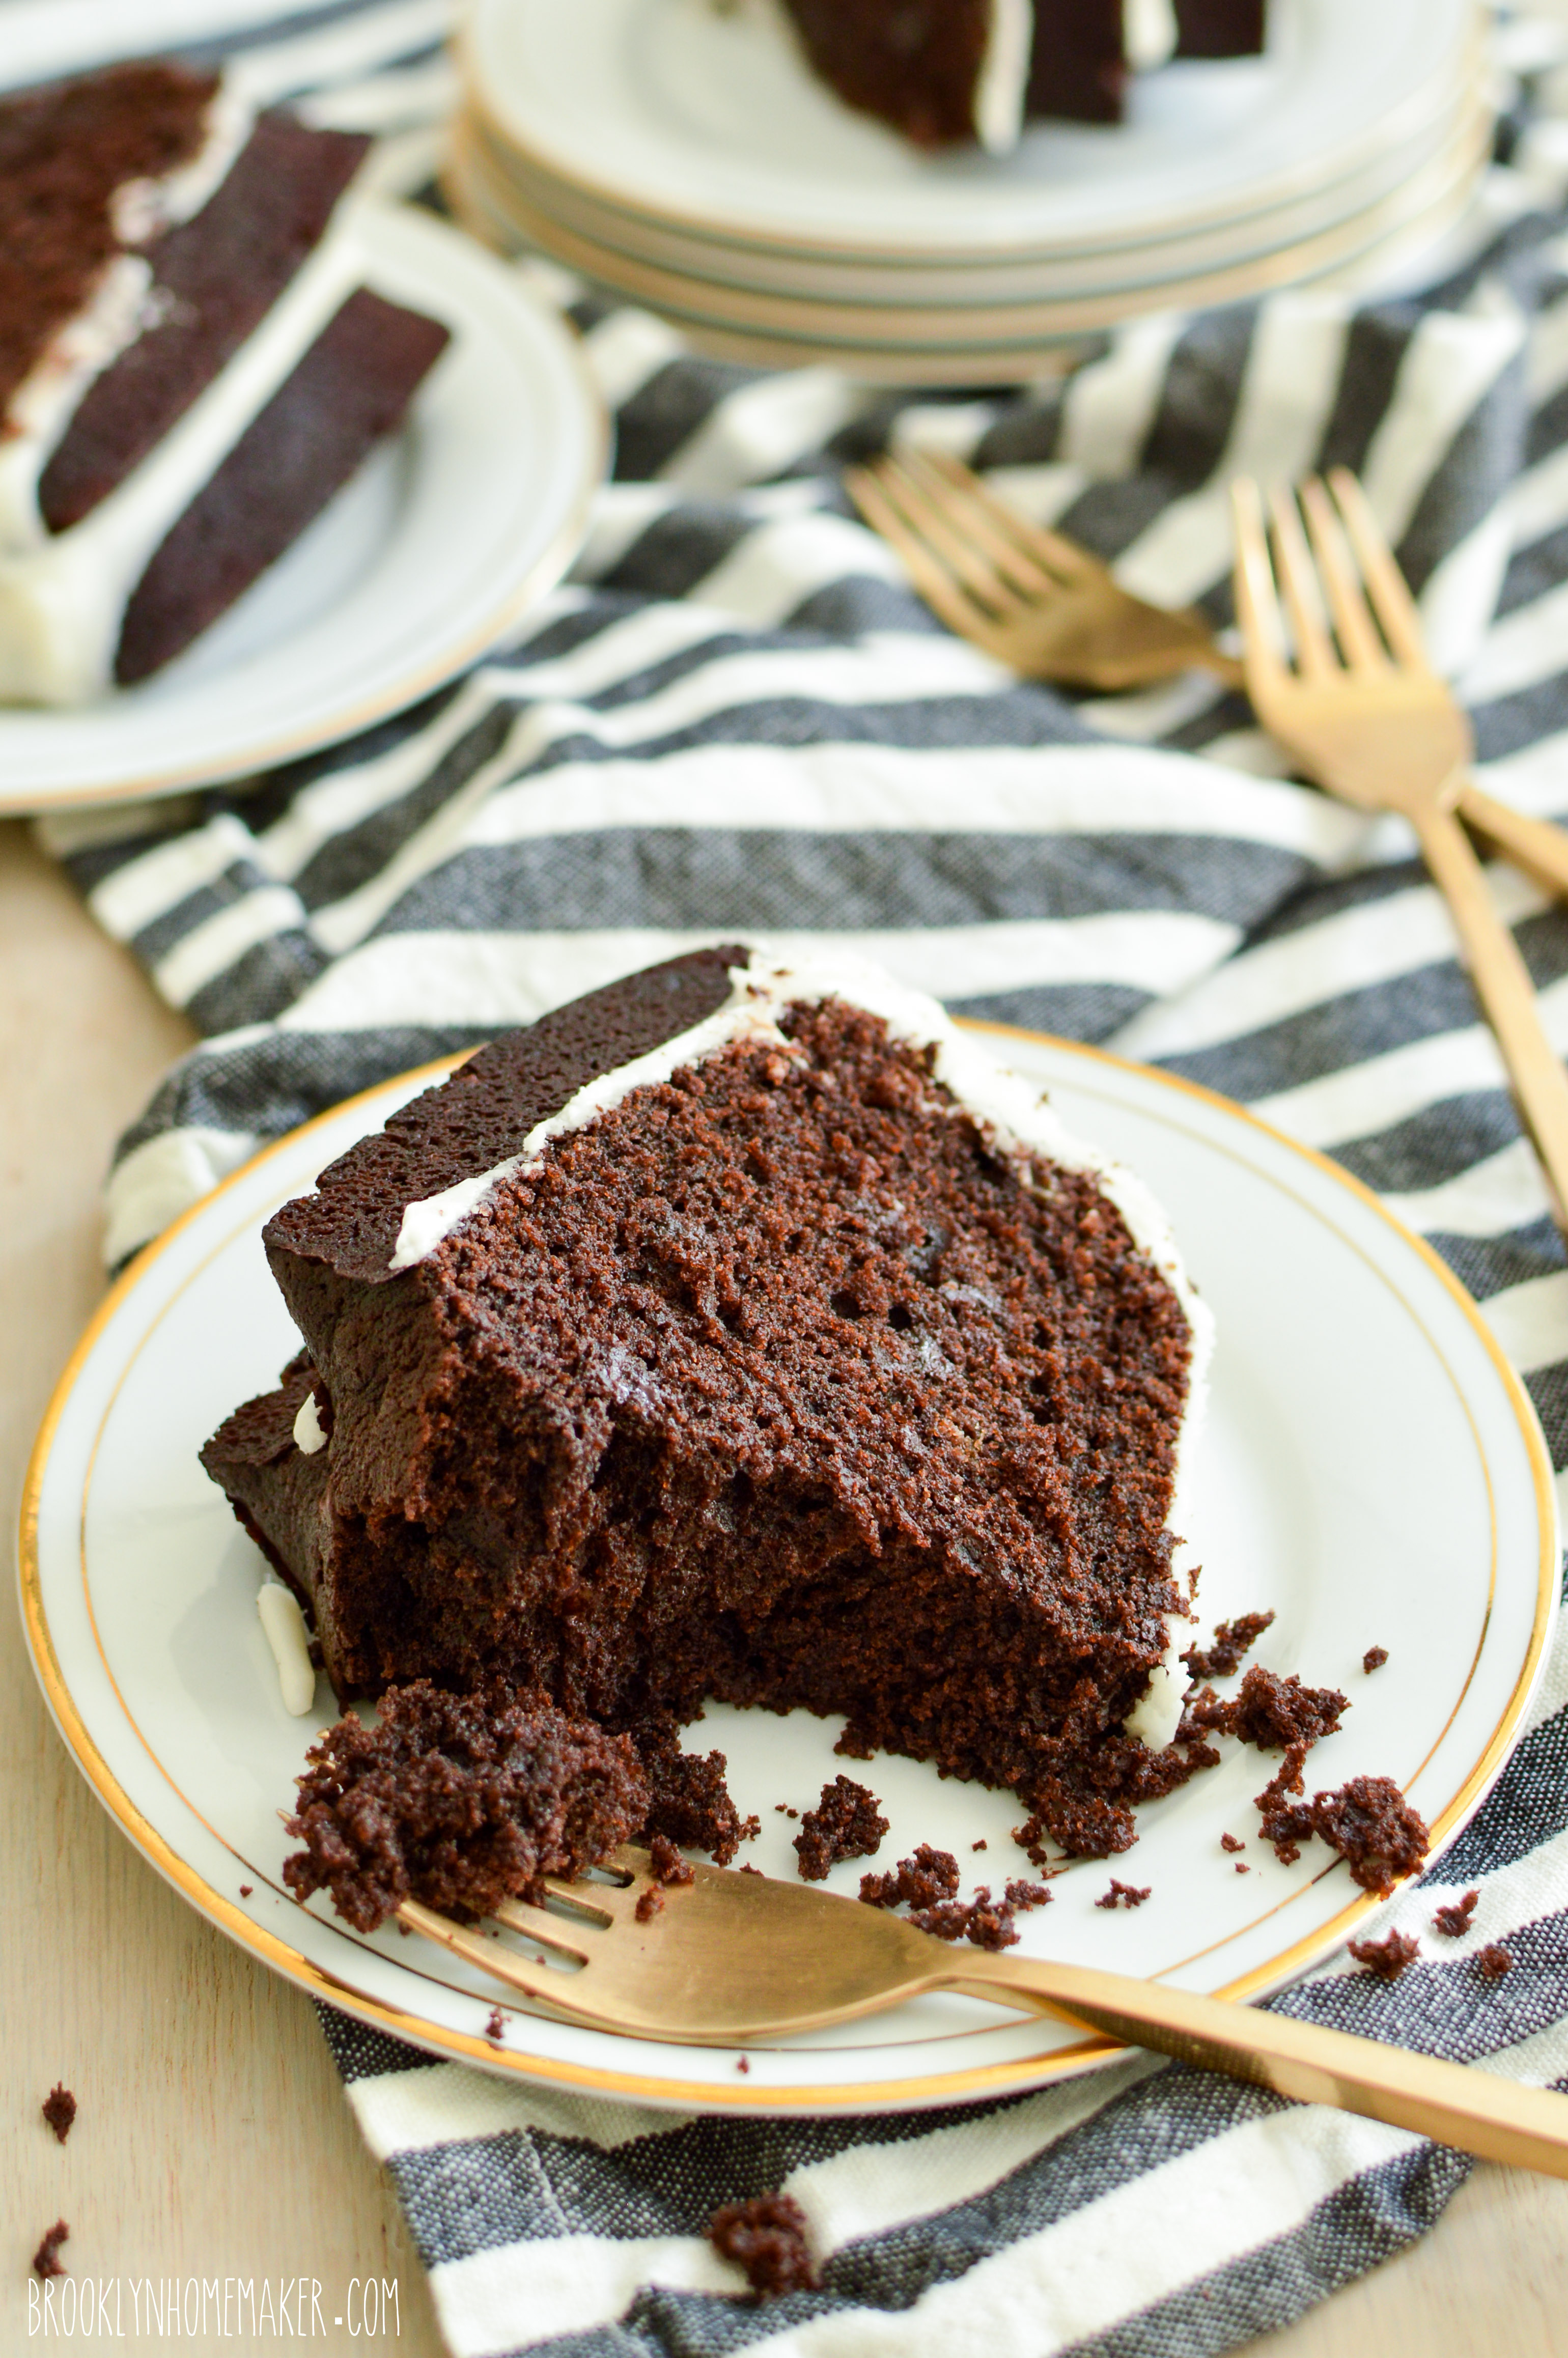
The dense, velvety texture of a pound cake lends itself perfect to bundt cakes. A lighter, airier cake might get stuck in the pan or dry out without an icing to protect it, but this recipe stays moist and tender for several days. I even think the citrus flavor seems to intensify the day after it’s baked.
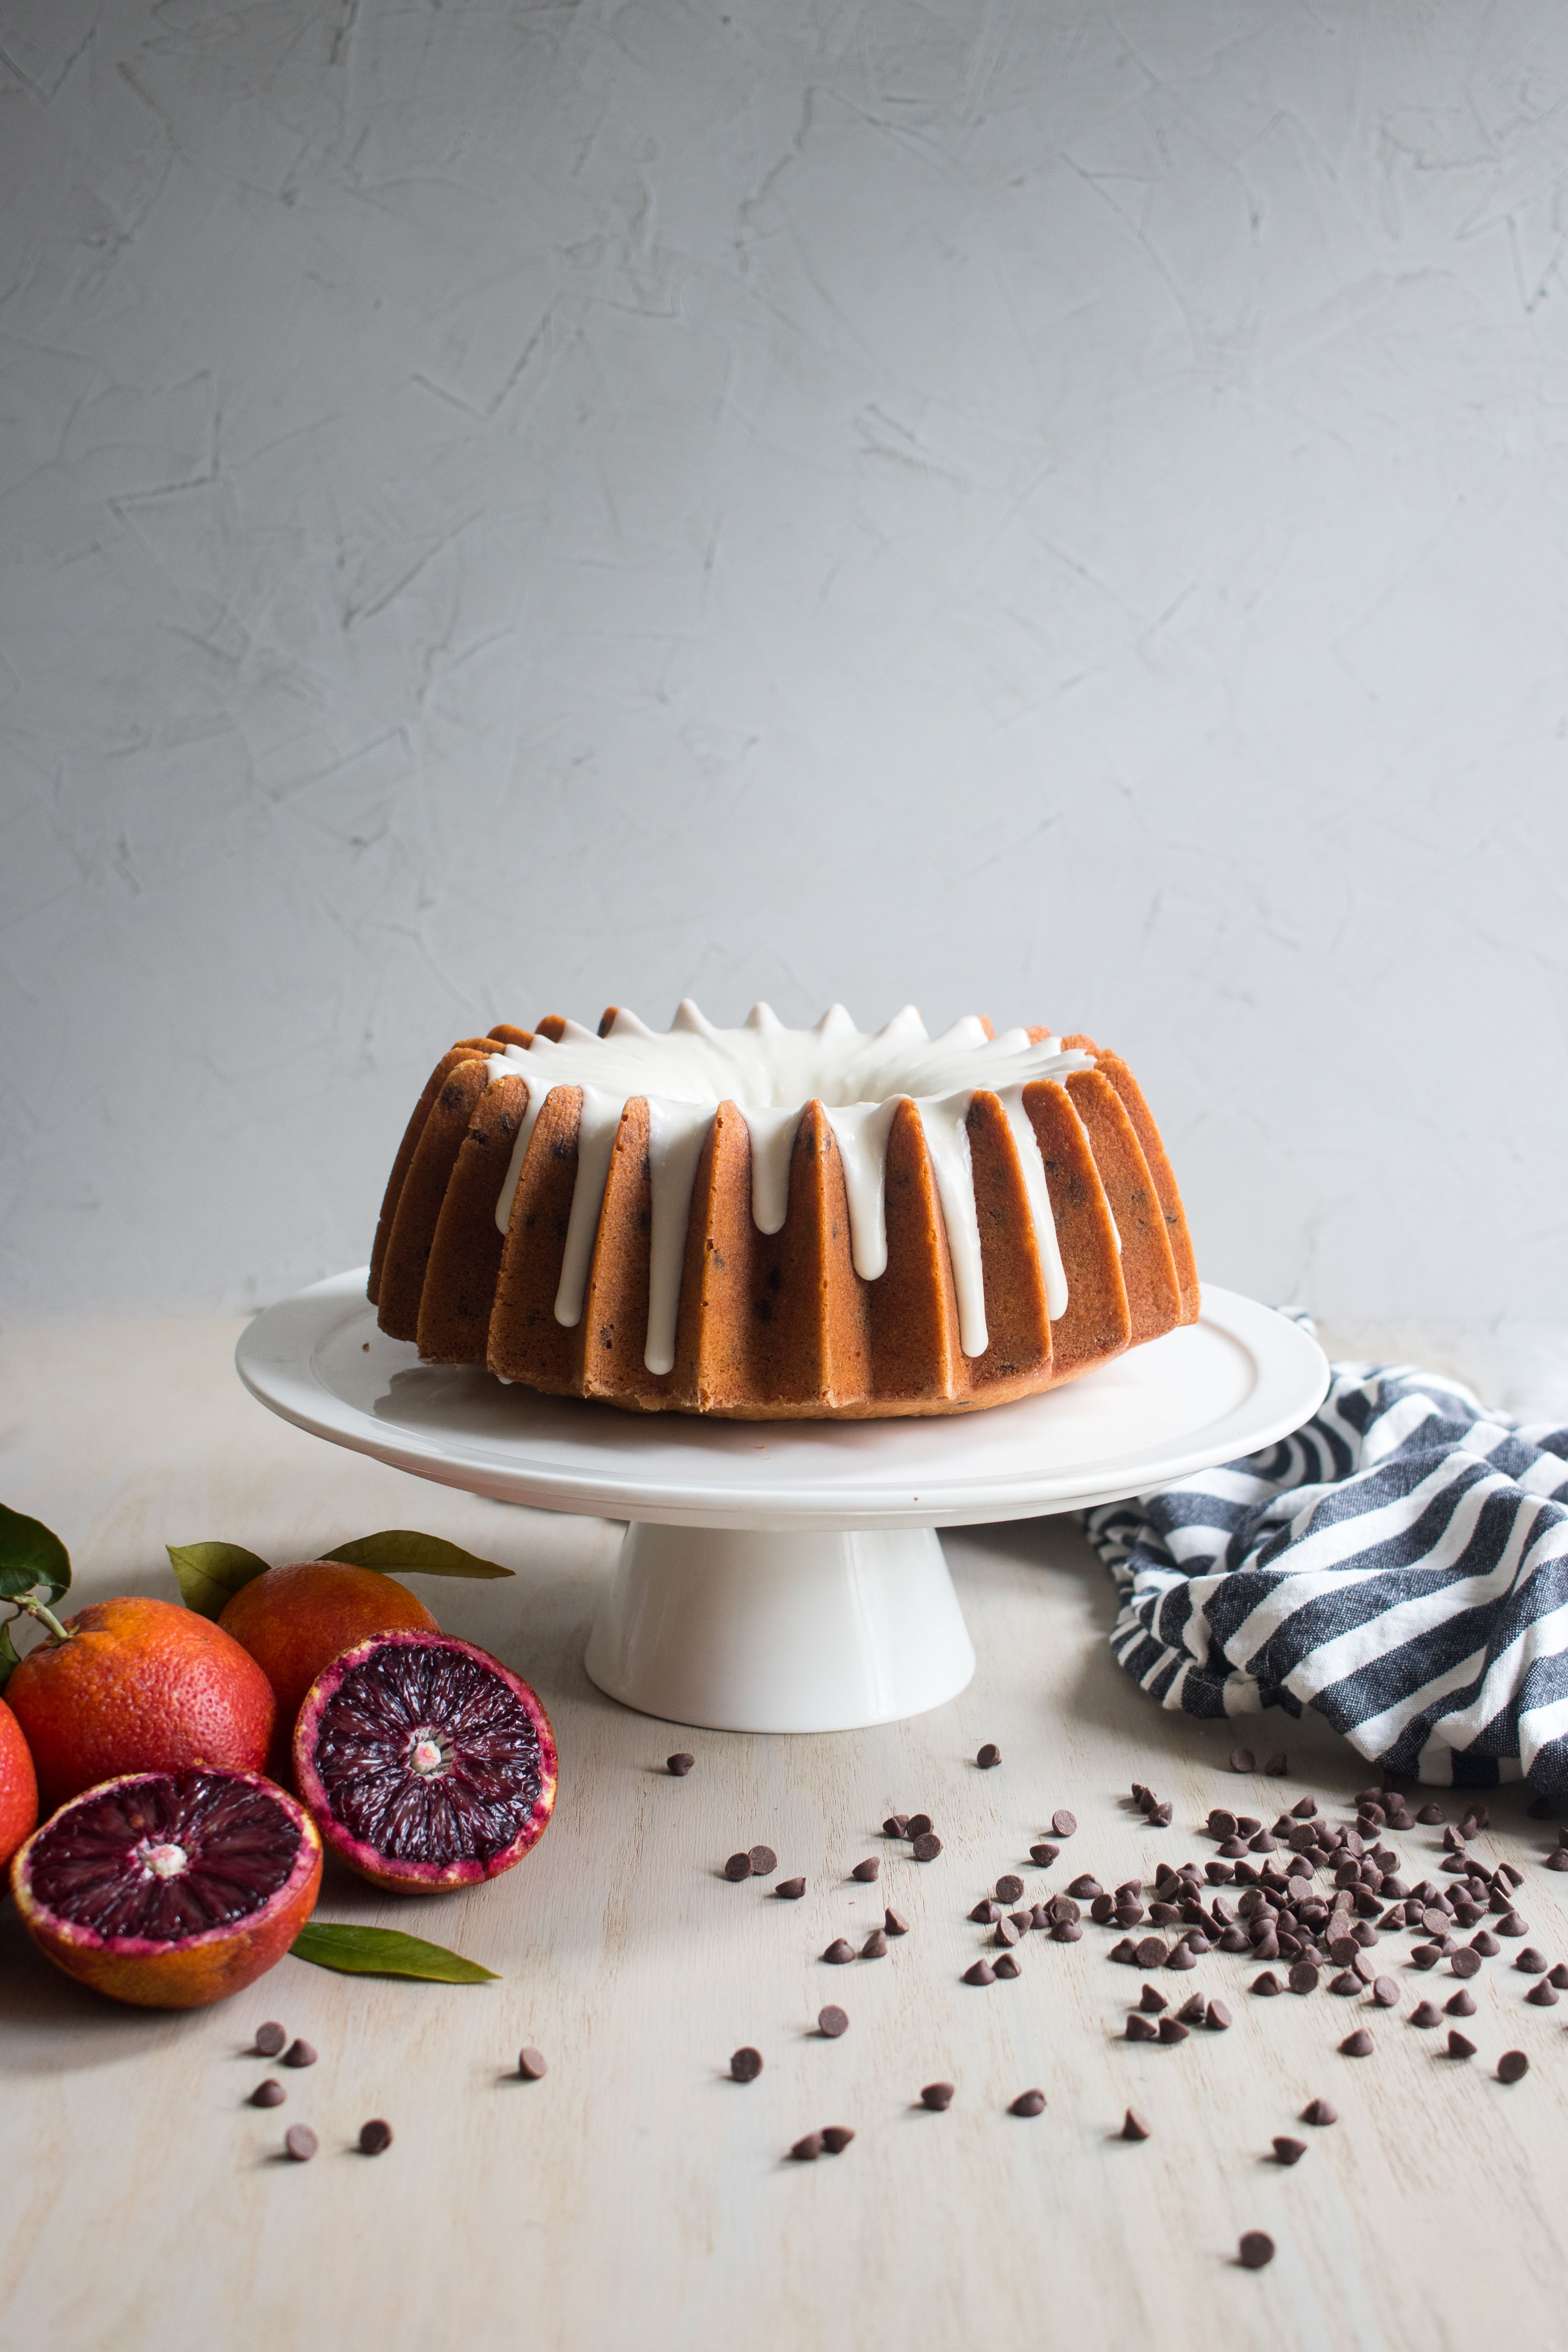
The flavor is buttery and citrusy and subtly sweet, with the perfect balance of delicate orange flavor dotted with rich chocolate.
Blood oranges are ideal for this recipe because they’re so tart and intensely flavored, but initially I made it with regular naval oranges and loved it, so if you can’t find blood oranges don’t sweat it. Do be sure to track down the mini chocolate chips though. Regular chocolate chips can sink in the batter and potentially stick to the pan, but since mini chips are smaller and lighter, they stay evenly distributed throughout the batter as it cooks.

blood orange chocolate chip bundt cake
1 1/2 cups sugar
zest of 3 small or 2 large blood oranges (regular oranges work too)
1 cup (2 sticks) best quality unsalted butter, at room temperature
1/4 cup peanut oil (or vegetable oil)
5 large eggs
2 1/2 cups all purpose flour
2 teaspoons baking powder
1 1/2 teaspoons salt
1/2 cup of blood orange juice (from zested oranges) *see notes
1/4 cup milk or buttermilk
1 tablespoon vanilla extract
1 cup mini chocolate chips **see notes
Preheat oven to 350 F. Butter and lightly flour a 10-12 cup bundt pan. Tap out excess flour. Refrigerate pan until ready for use.
Whisk sugar and orange zest together until well combined. The sugar should take on an orange color. Set aside.
Beat butter in the bowl of a stand mixer until very light, about a minute or two. Scrape the sides of the bowl with a silicone spatula and add oil and beat until smooth and combined. Add zesty sugar and beat until fluffy and pale, about 3 minutes.
Add eggs, 1 at a time, mixing just until combined.
In a separate bowl, whisk together flour, baking powder and salt.
Measure out 1/2 cup of orange juice and stir in milk and vanilla to combine.
Alternate additions of the flour and juice mixtures to the butter, beginning and ending with flour. Stir in the chocolate chips with the last addition of flour, and scrape the bowl after each addition. Do not over-mix.
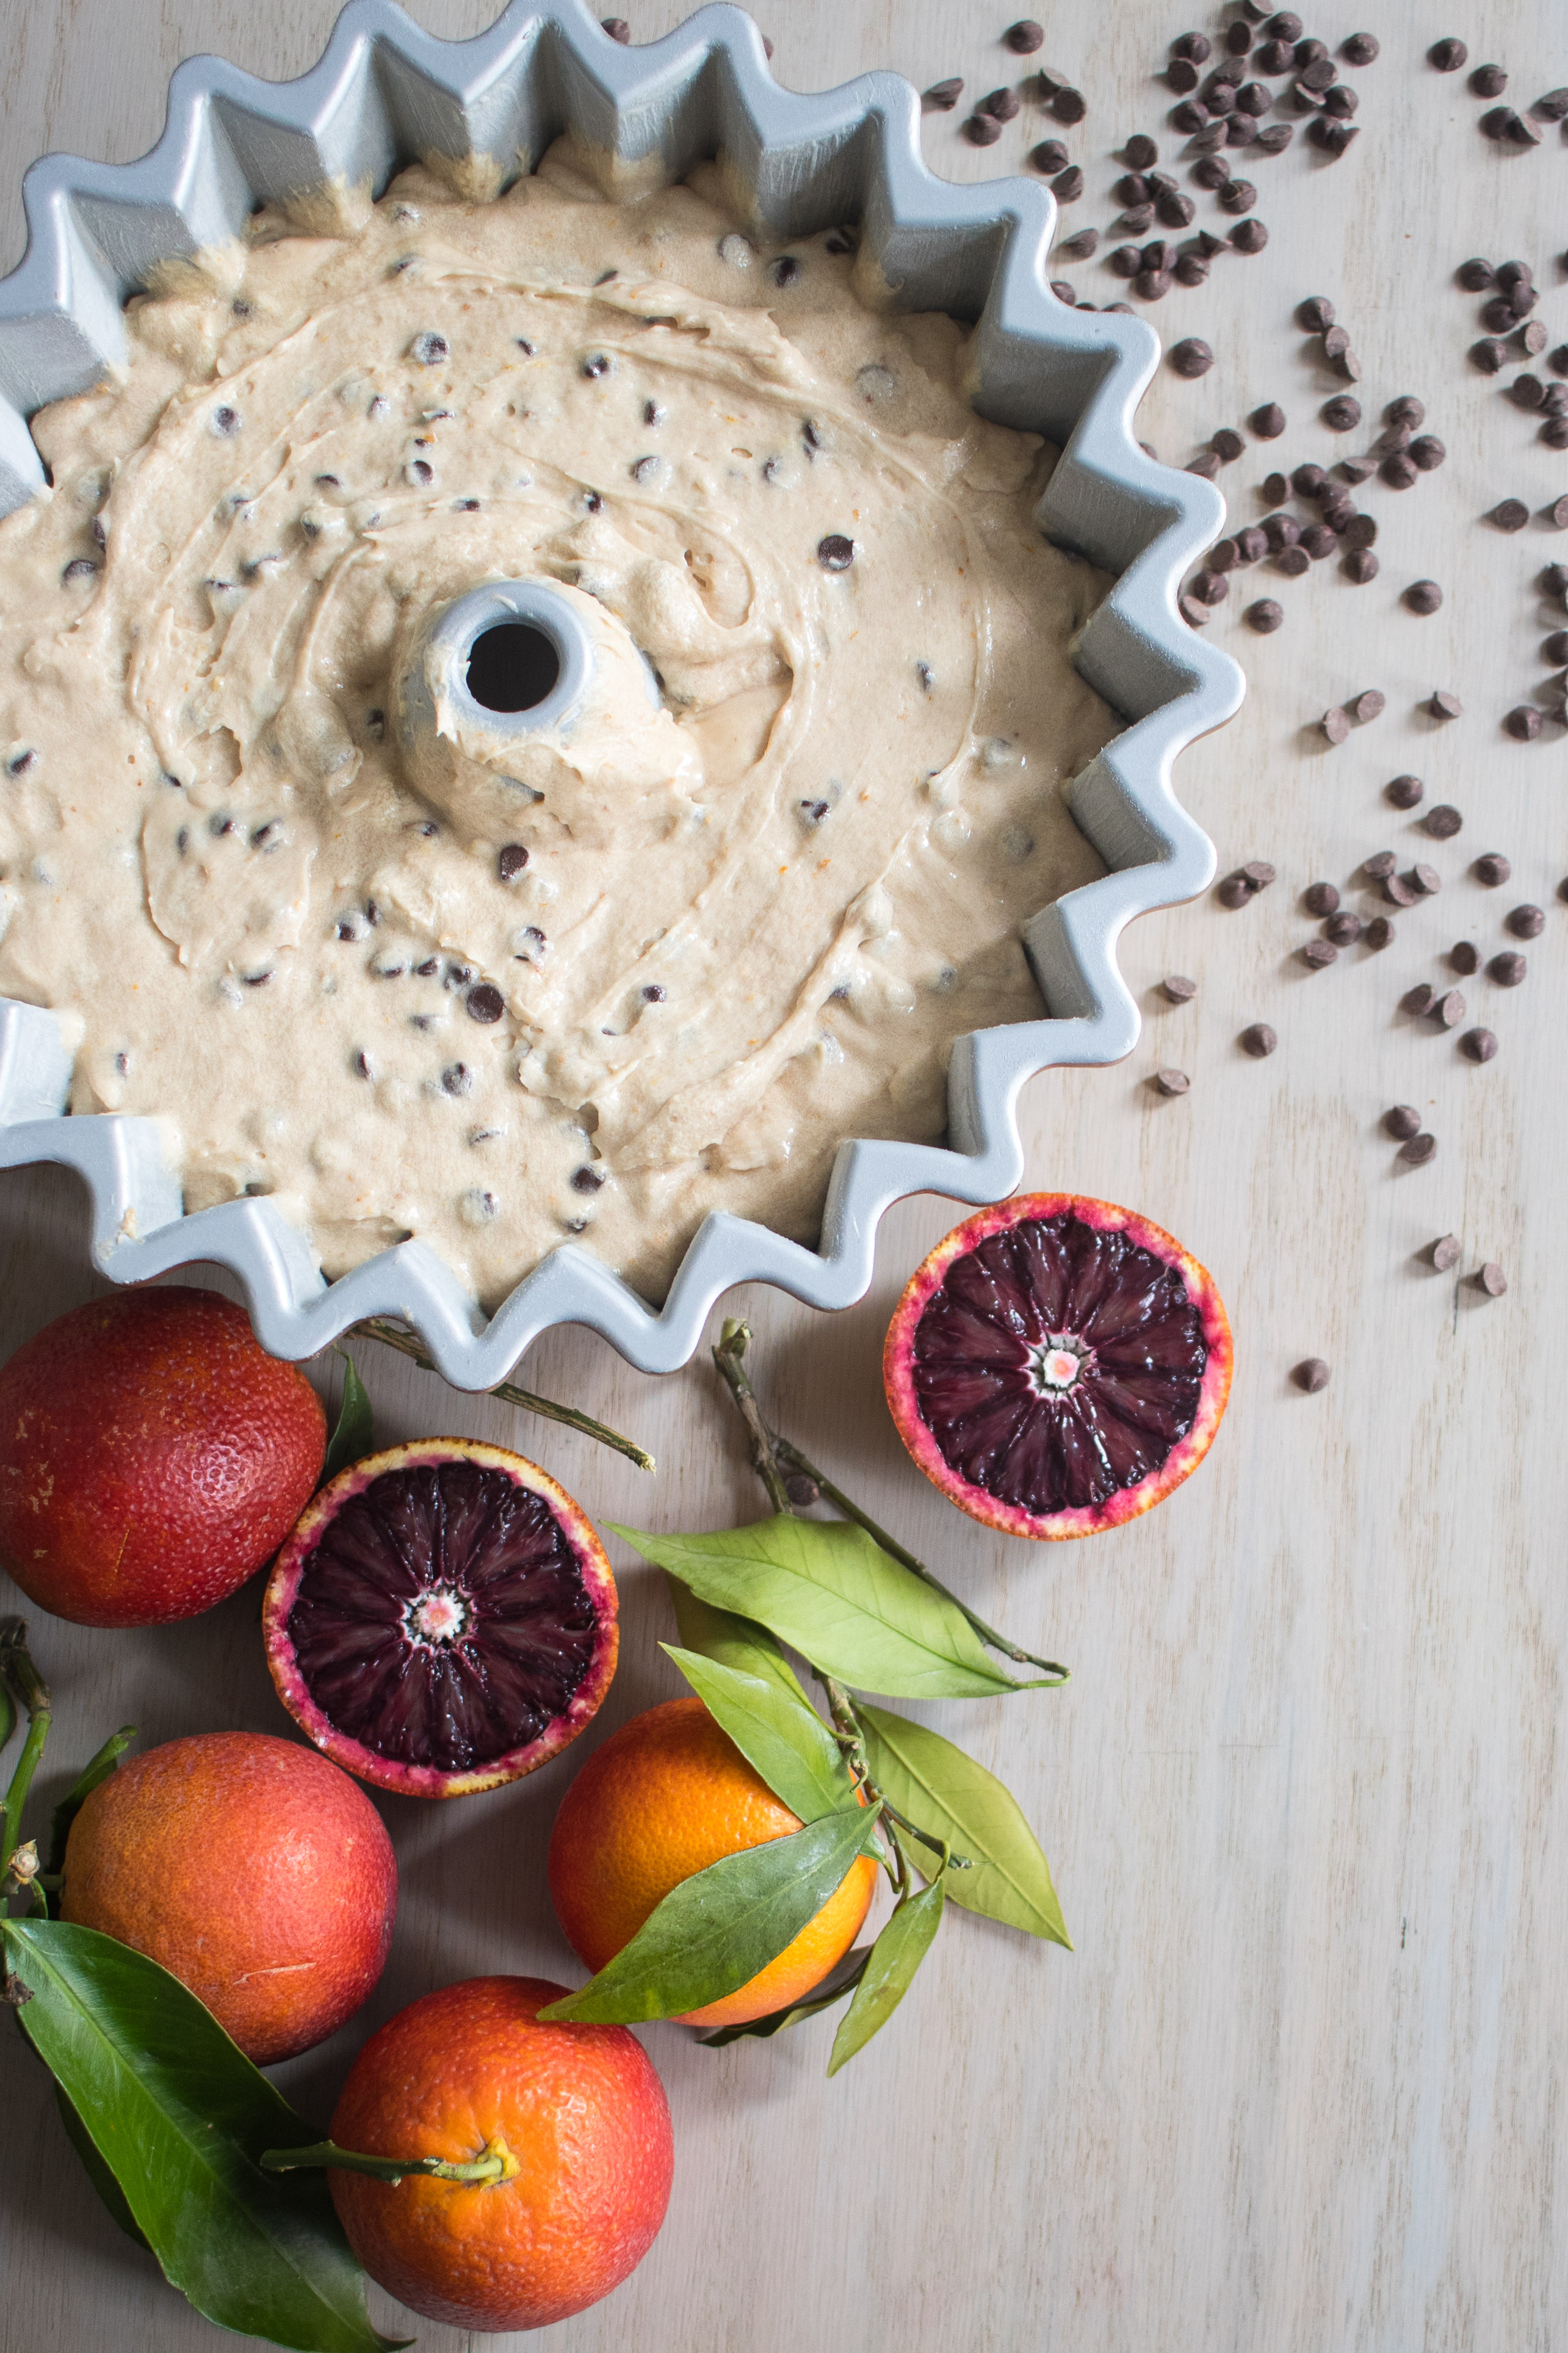
Pour batter into prepared pan, leaving at least an inch from the top of the pan. Tap the pan on the counter several times to smooth out the batter and remove any air bubbles.
Bake for about 40 to 50 minutes or so, or until a toothpick or cake tester comes out clean from the center of the cake. Depending on the size and shape of your pan, or the way your oven cooks, this time may vary slightly so keep an eye on it.
Cool for 30 minutes on a wire rack before turning out of pan. Turn out onto the rack and cool completely before glazing.
Cooks notes:
*Be sure to zest your oranges before juicing them! The zest is super important for adding a ton of bright citrusy flavor so don’t skip it!
If you don’t get enough juice out of your oranges, you can make up the difference with more milk.
**Mini chocolate chips tend to not sink in the batter while the cake bakes, and should stay evenly distributed throughout the cake. If you use regular size chocolate chips, odds are they’ll all sink to the bottom and can even cause the cake to stick to the pan.
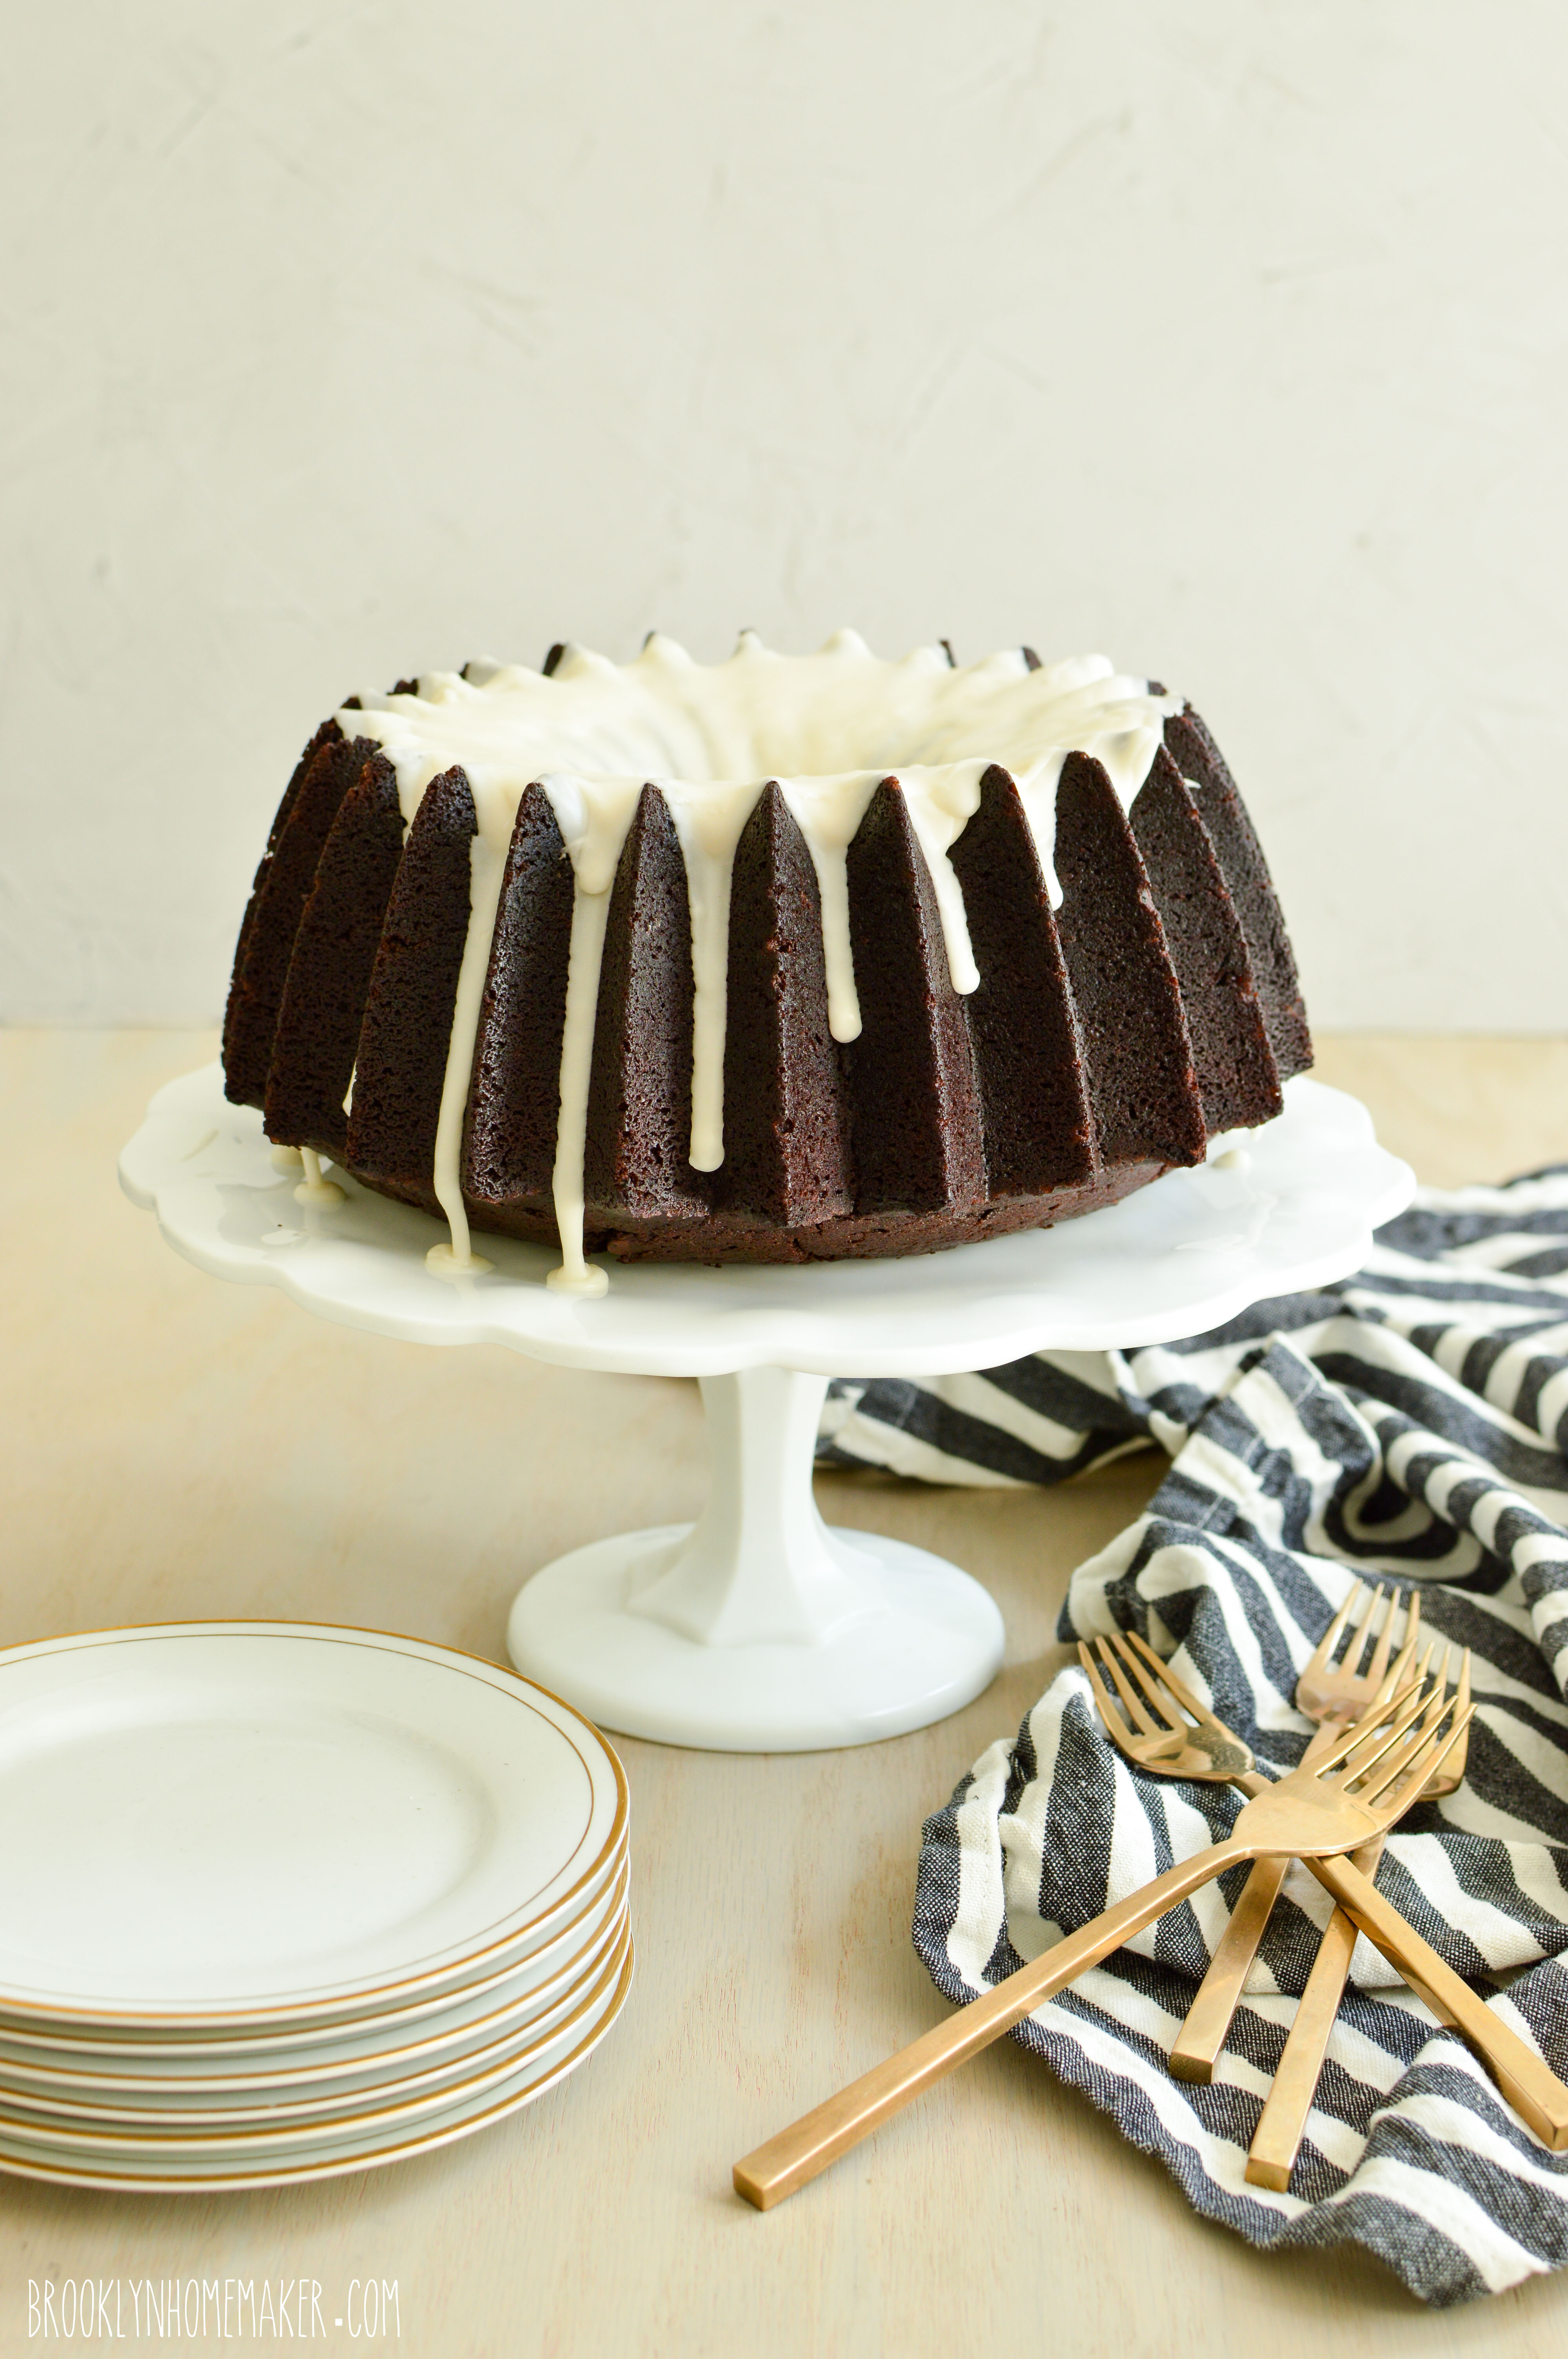
Best Simple Bundt Cake Glaze:
1 1/2 cups powdered sugar
1 teaspoon orange liqueur (or vanilla extract)
2 to 2 1/2 tablespoons half & half
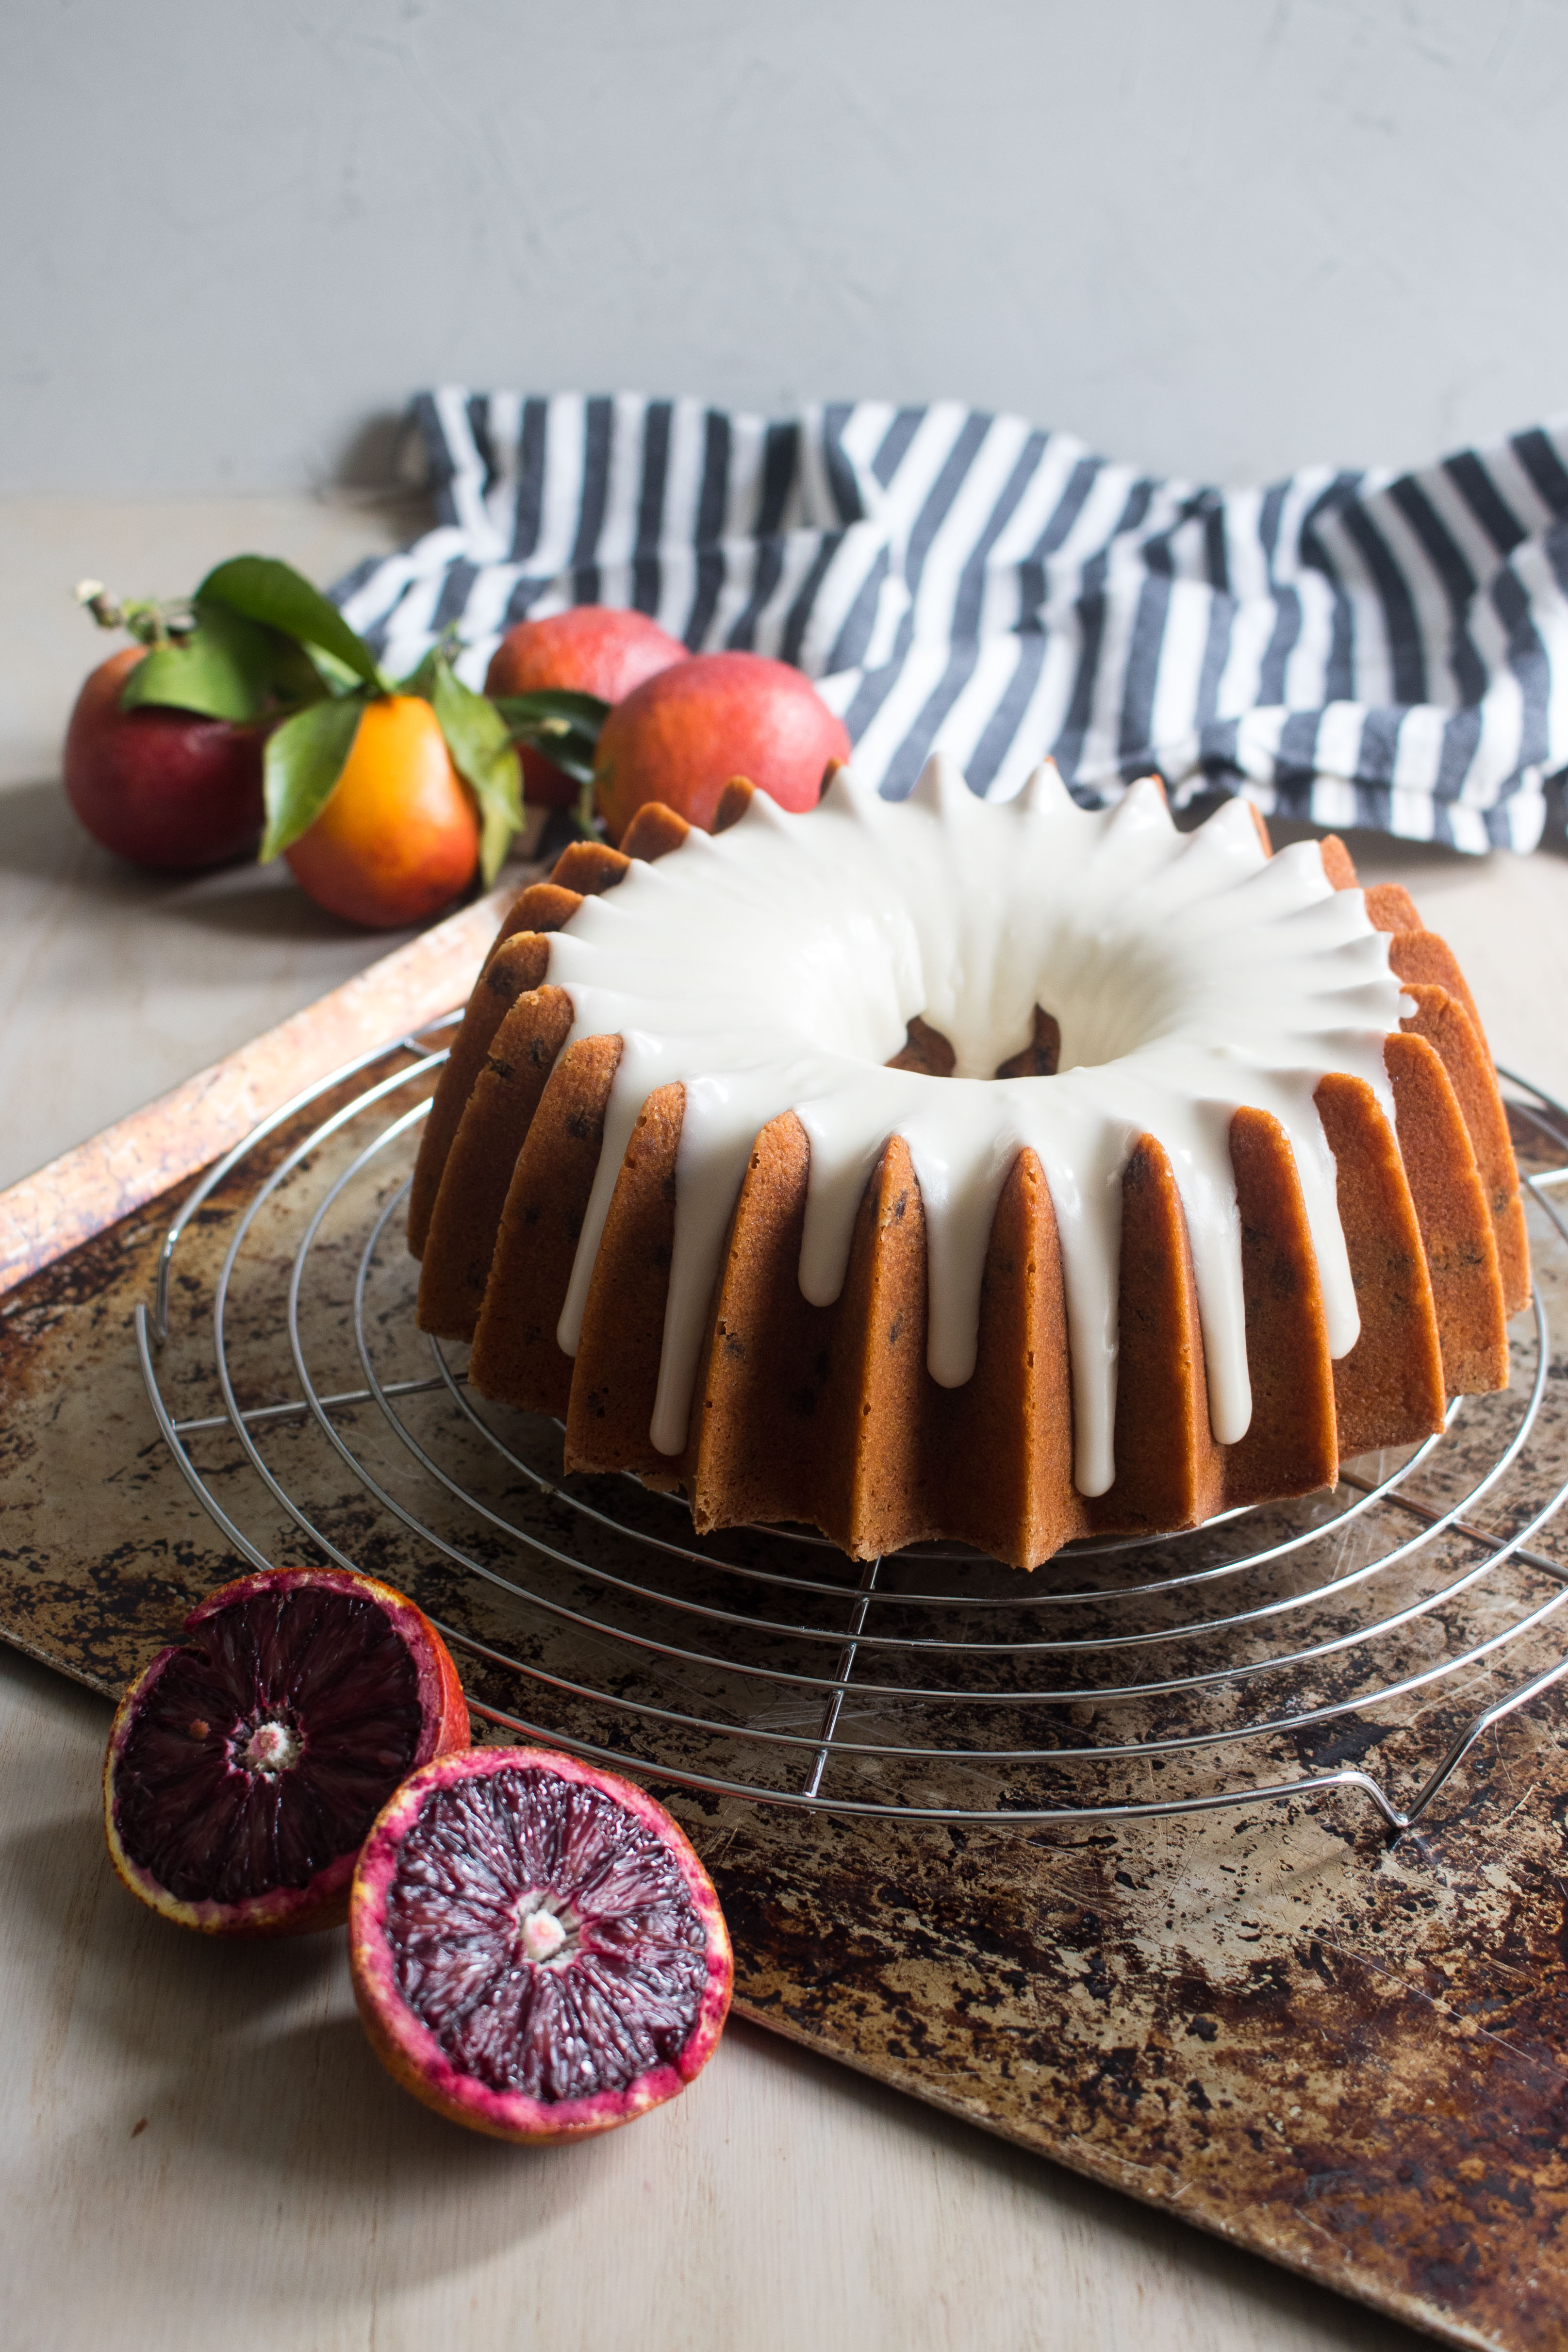
Mix sugar, orange liqueur, and 2 tablespoons half & half together in a small bowl. Mix until completely smooth and free of lumps. You want the glaze to be very thick so it doesn’t slide right off the cake, but it does need to be liquid enough that it pours smoothly. If necessary, thin the glaze out with more half & half, adding only about 1/2 a teaspoon at a time to avoid thinning it too much. A little goes a surprisingly long way.
Pour the glaze in a steady stream over the center of the cake. Place a pan under the rack to catch any glaze drips. Let the glaze harden for at least 30 minutes before slicing.
This cake can be stored, tightly covered at room temperature, for about 3 or 4 days.