fish and seafood

grilled shrimp tacos

I think that it’s officially safe to the warm weather is here to stay!

grilled shrimp tacos with cilantro pesto and jalapeno crema | Brooklyn Homemaker

This spring has been all over the place when it comes to the weather. One day it’s sunny & gorgeous, and the next day it’s grey & freezing. It’s a very hard life we lead here in Brooklyn.

grilled shrimp tacos with cilantro pesto and jalapeno crema | Brooklyn Homemaker

I actually made these tacos two or three weeks ago, but the very next day the weather took a turn and I felt weird posting them when it was so chilly outside.
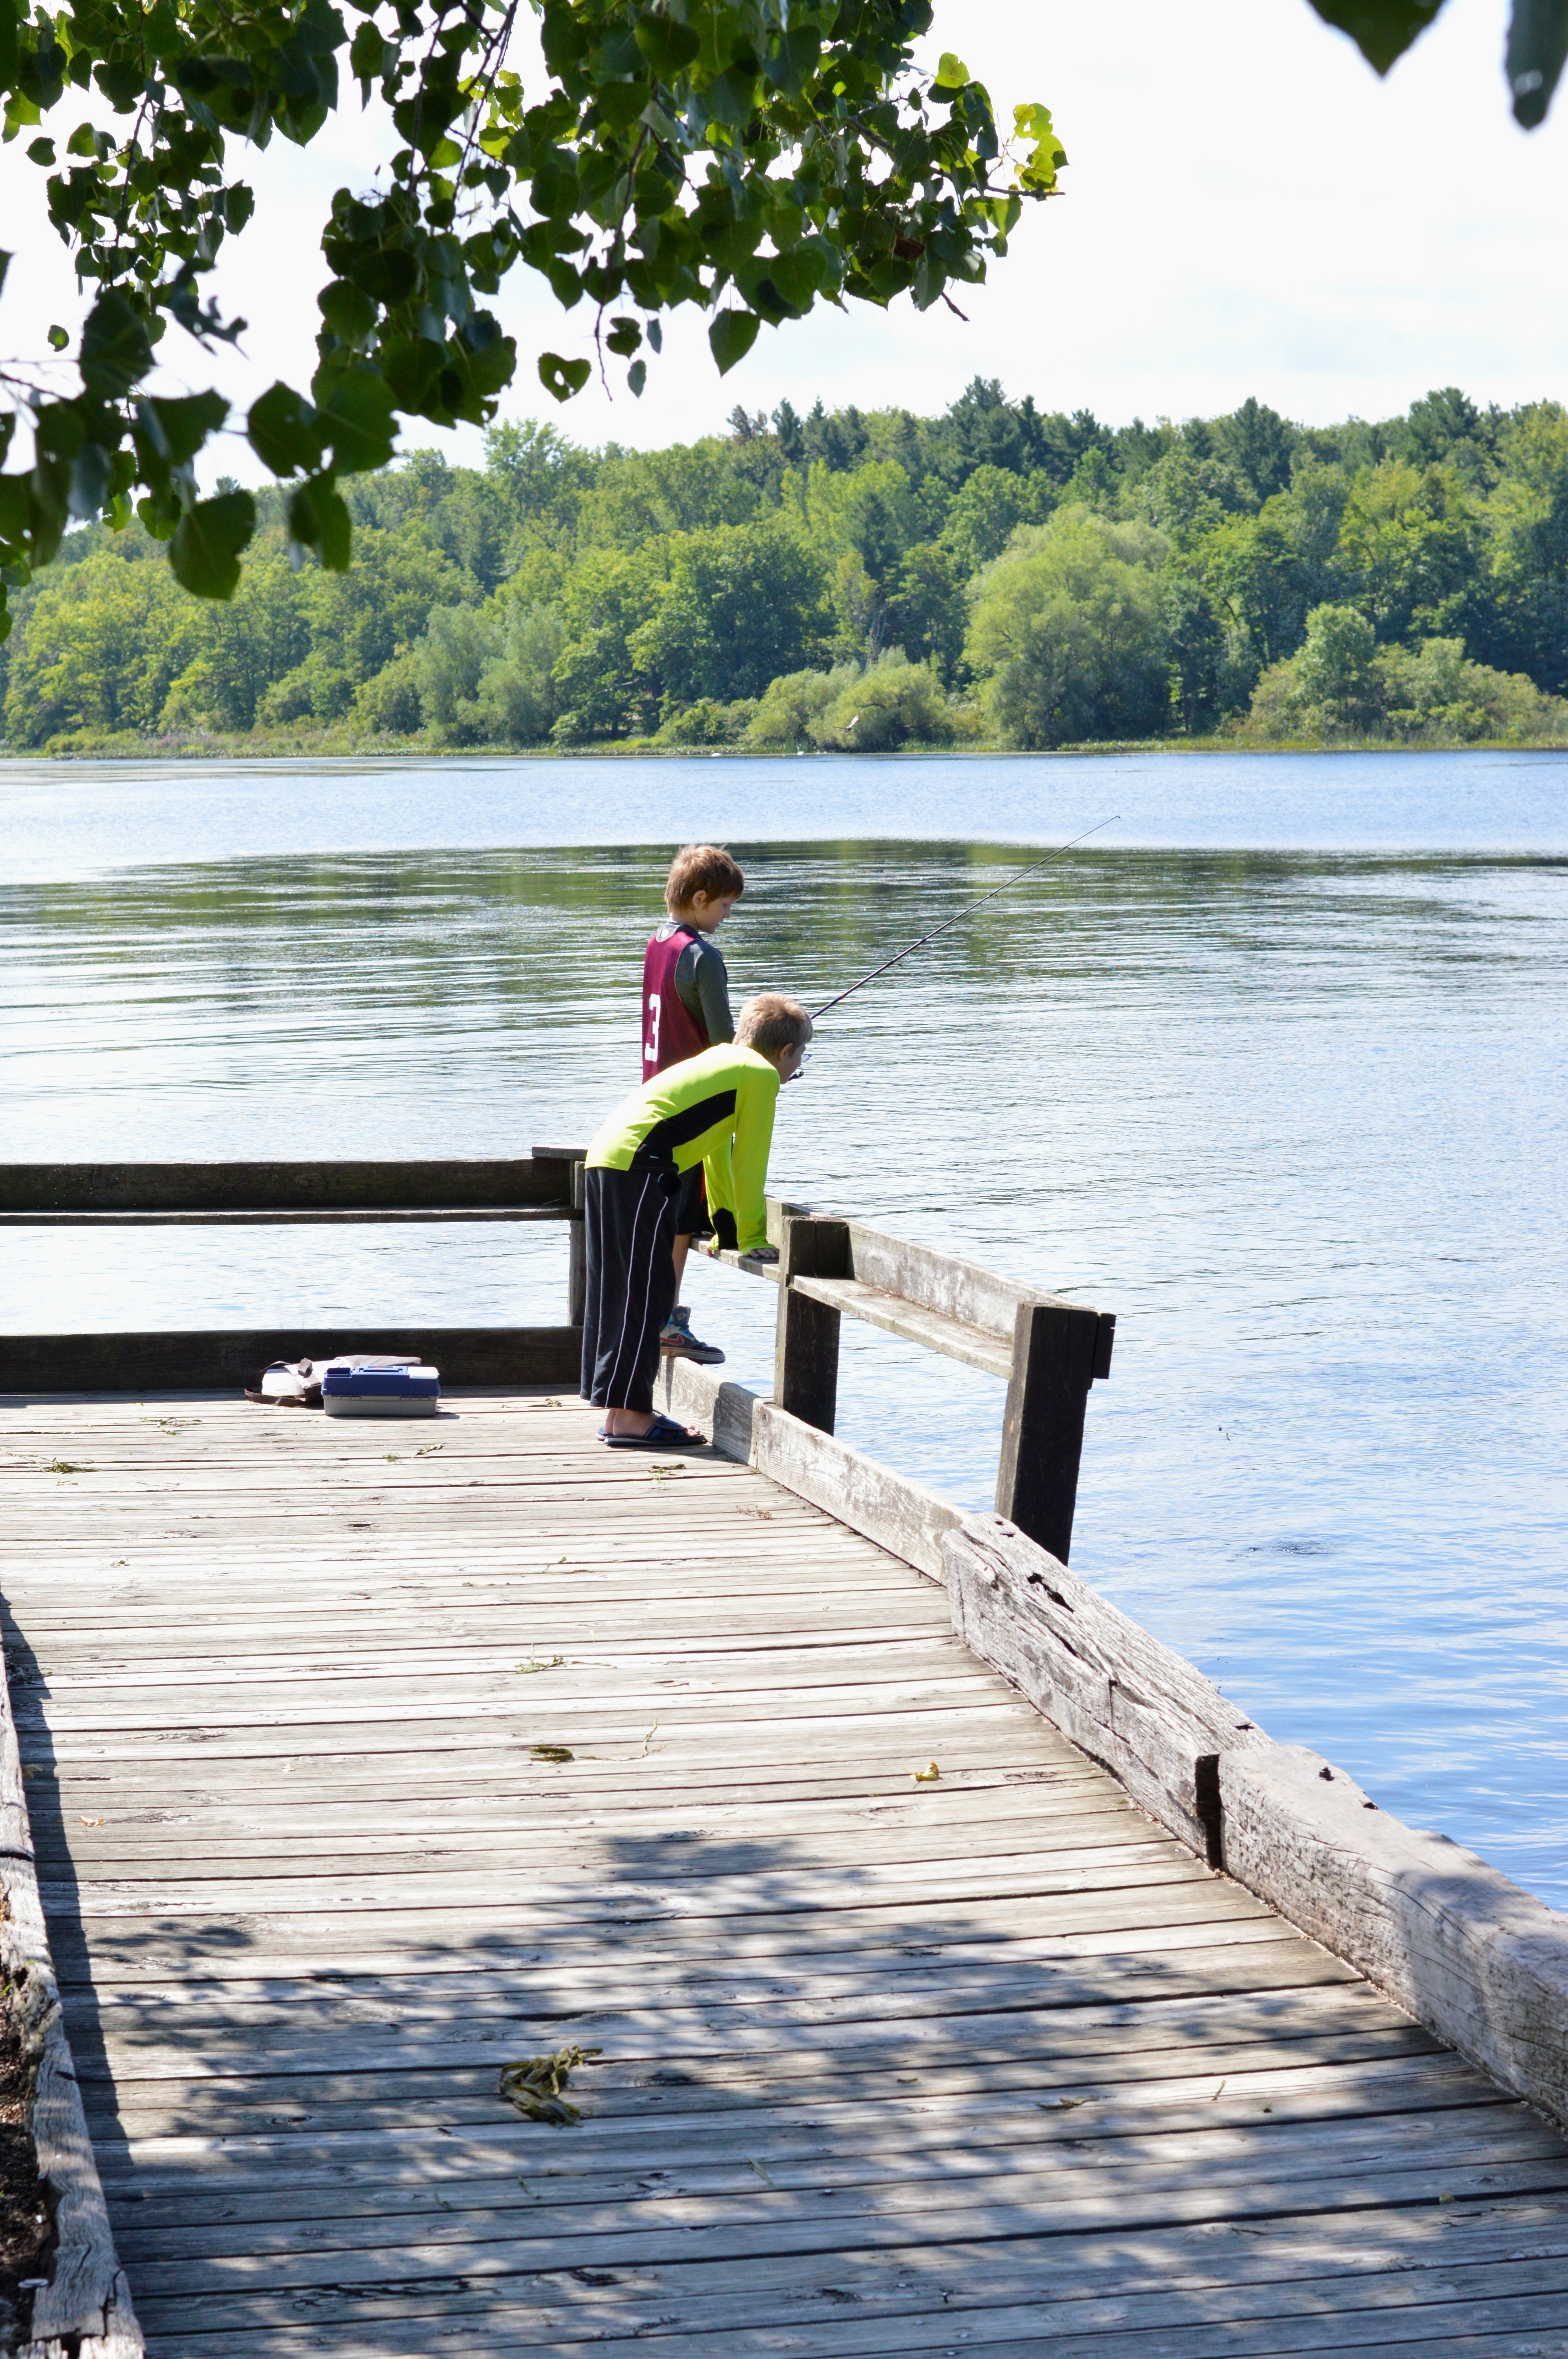
The day I made them was absolutely gorgeous though, and Russell and I had the day to ourselves to wander Brooklyn and frolic in the sunshine.

grilled shrimp tacos with cilantro pesto and jalapeno crema | Brooklyn Homemaker

So frolic we did.

grilled shrimp tacos with cilantro pesto and jalapeno crema | Brooklyn Homemaker

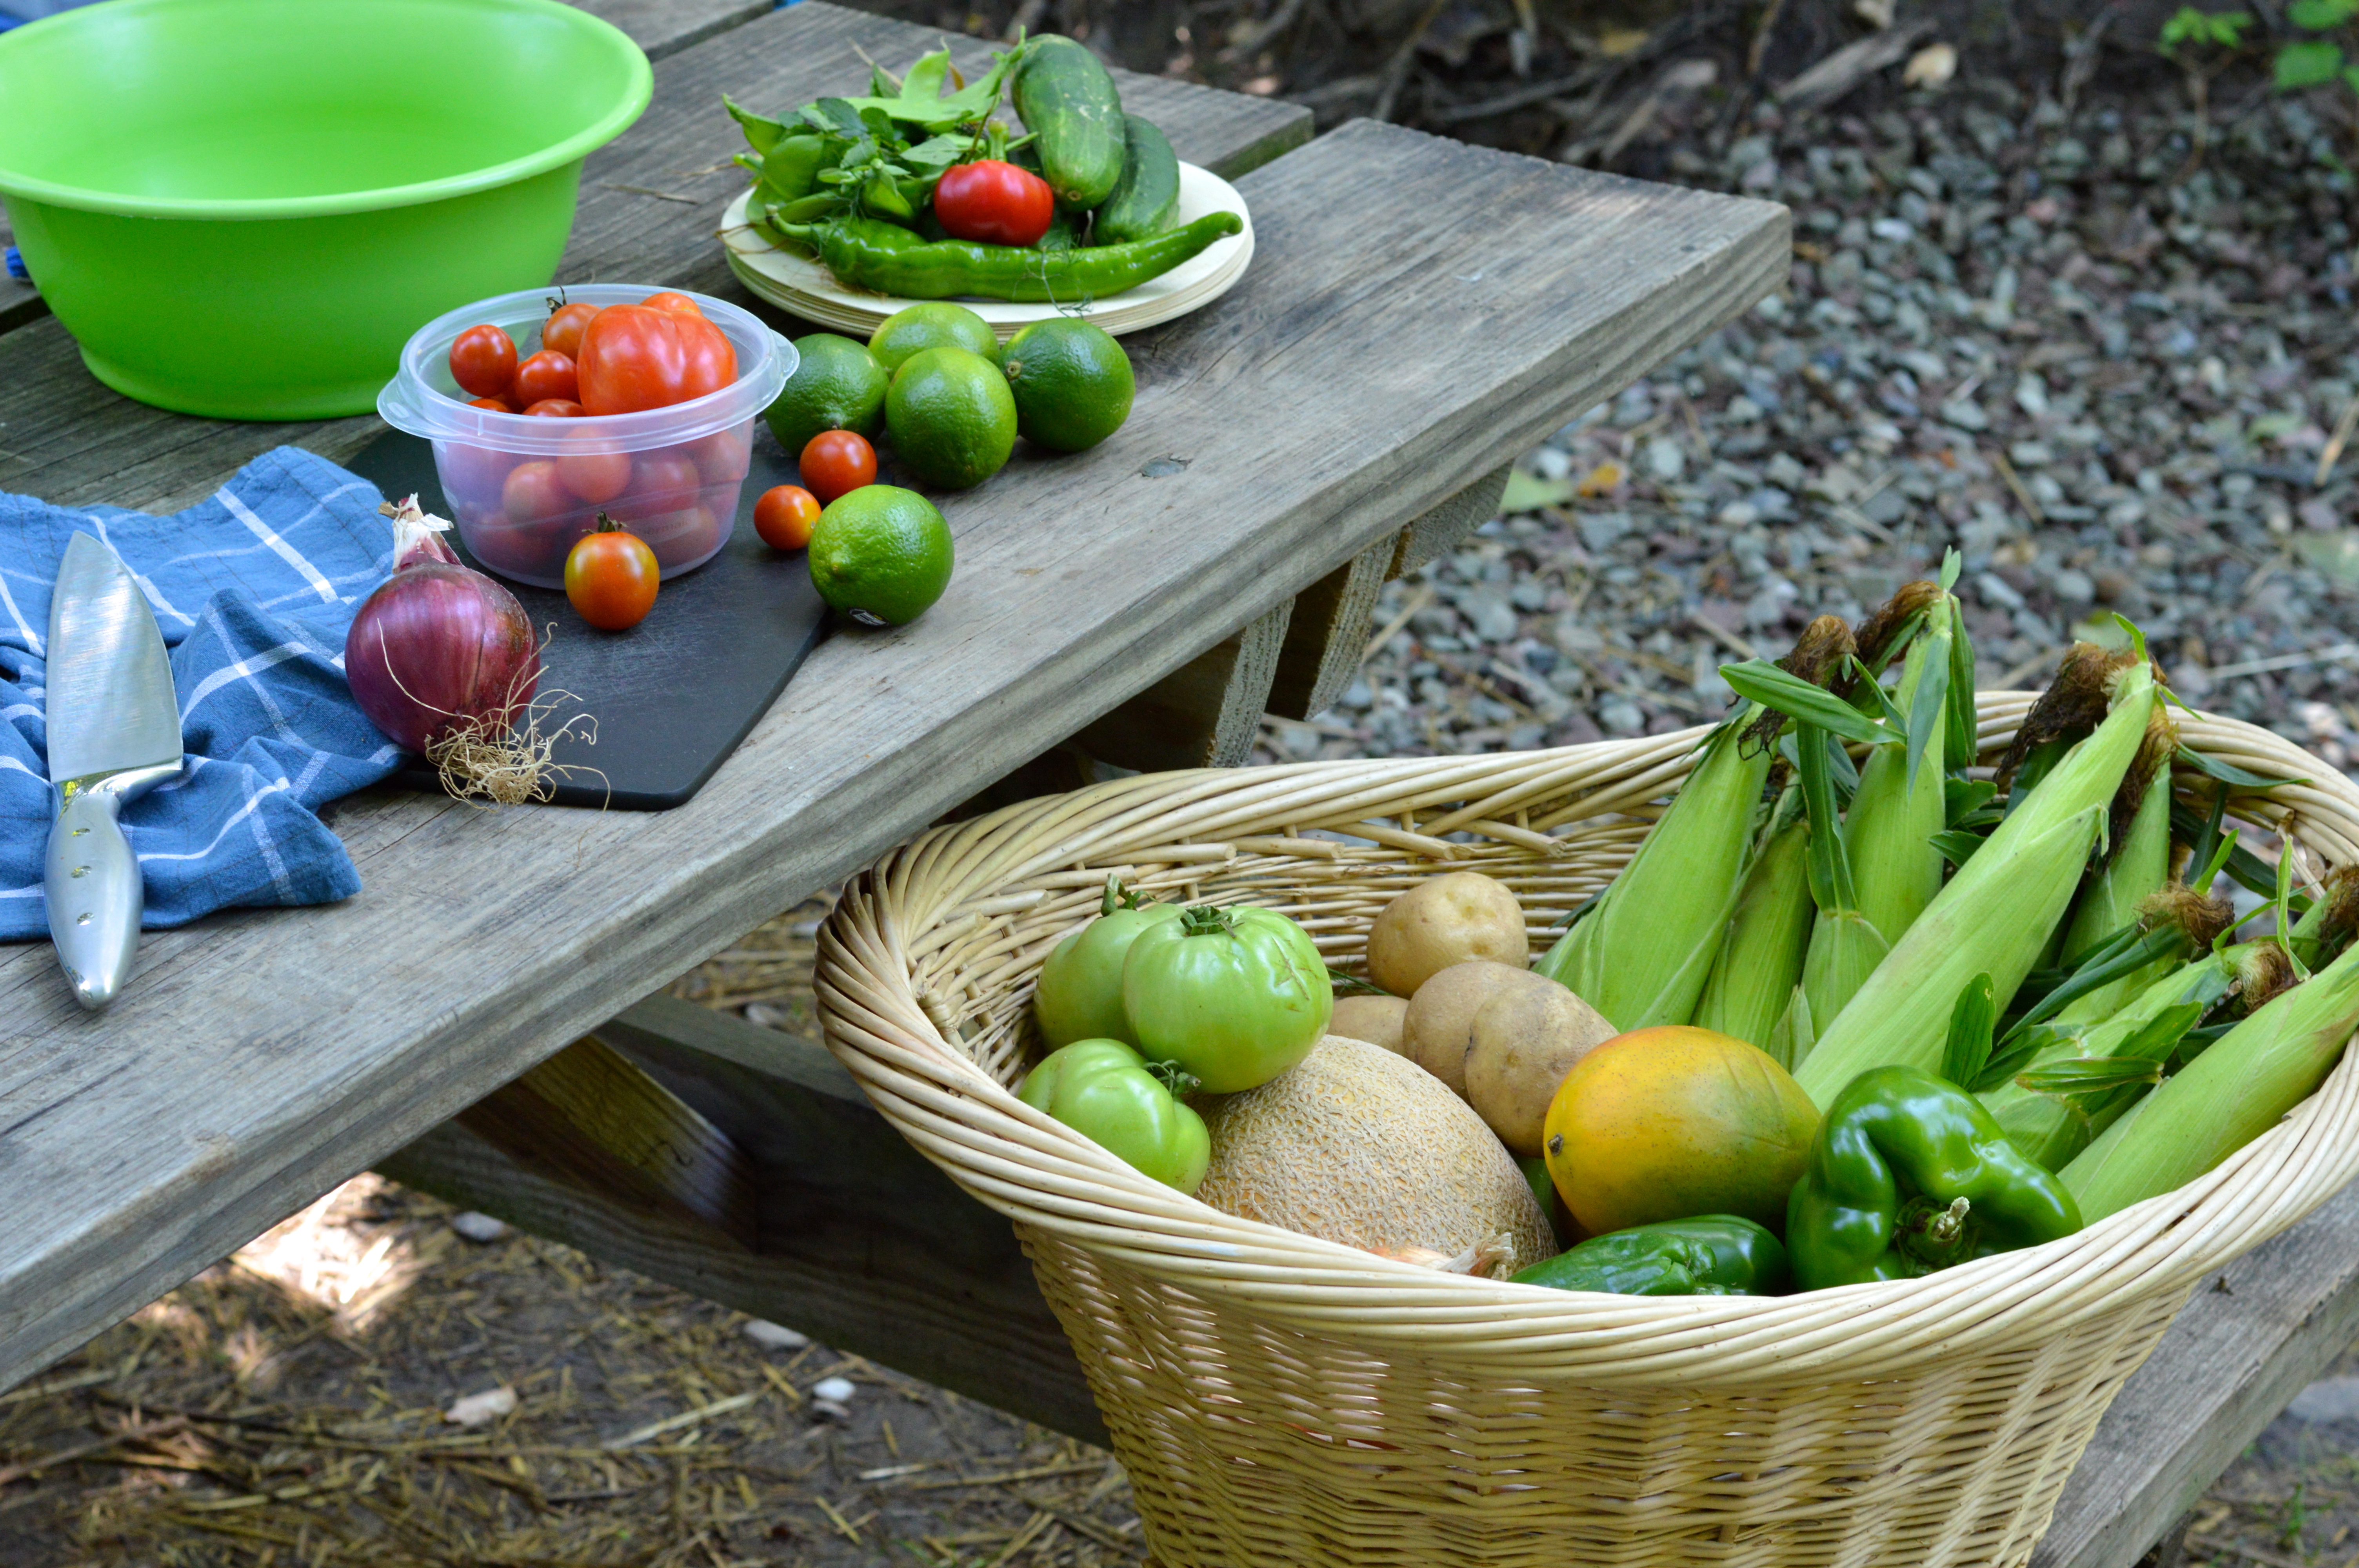
We walked into Williamsburg and found a cute little place to have brunch, and afterward we went to a local nursery and got some new plants for the yard. It was still pretty early in the season so they didn’t have a huge selection, and our yard has the perfect combination of total shade, no hose hook-up, and super dry crappy soil; so we have to be careful about what we plant. About 60% of what I experiment with back there doesn’t make it through the first year, but we’re hoping the pachysandra we picked up will be hardy enough to survive our humble little wasteland.
So… fingers crossed!
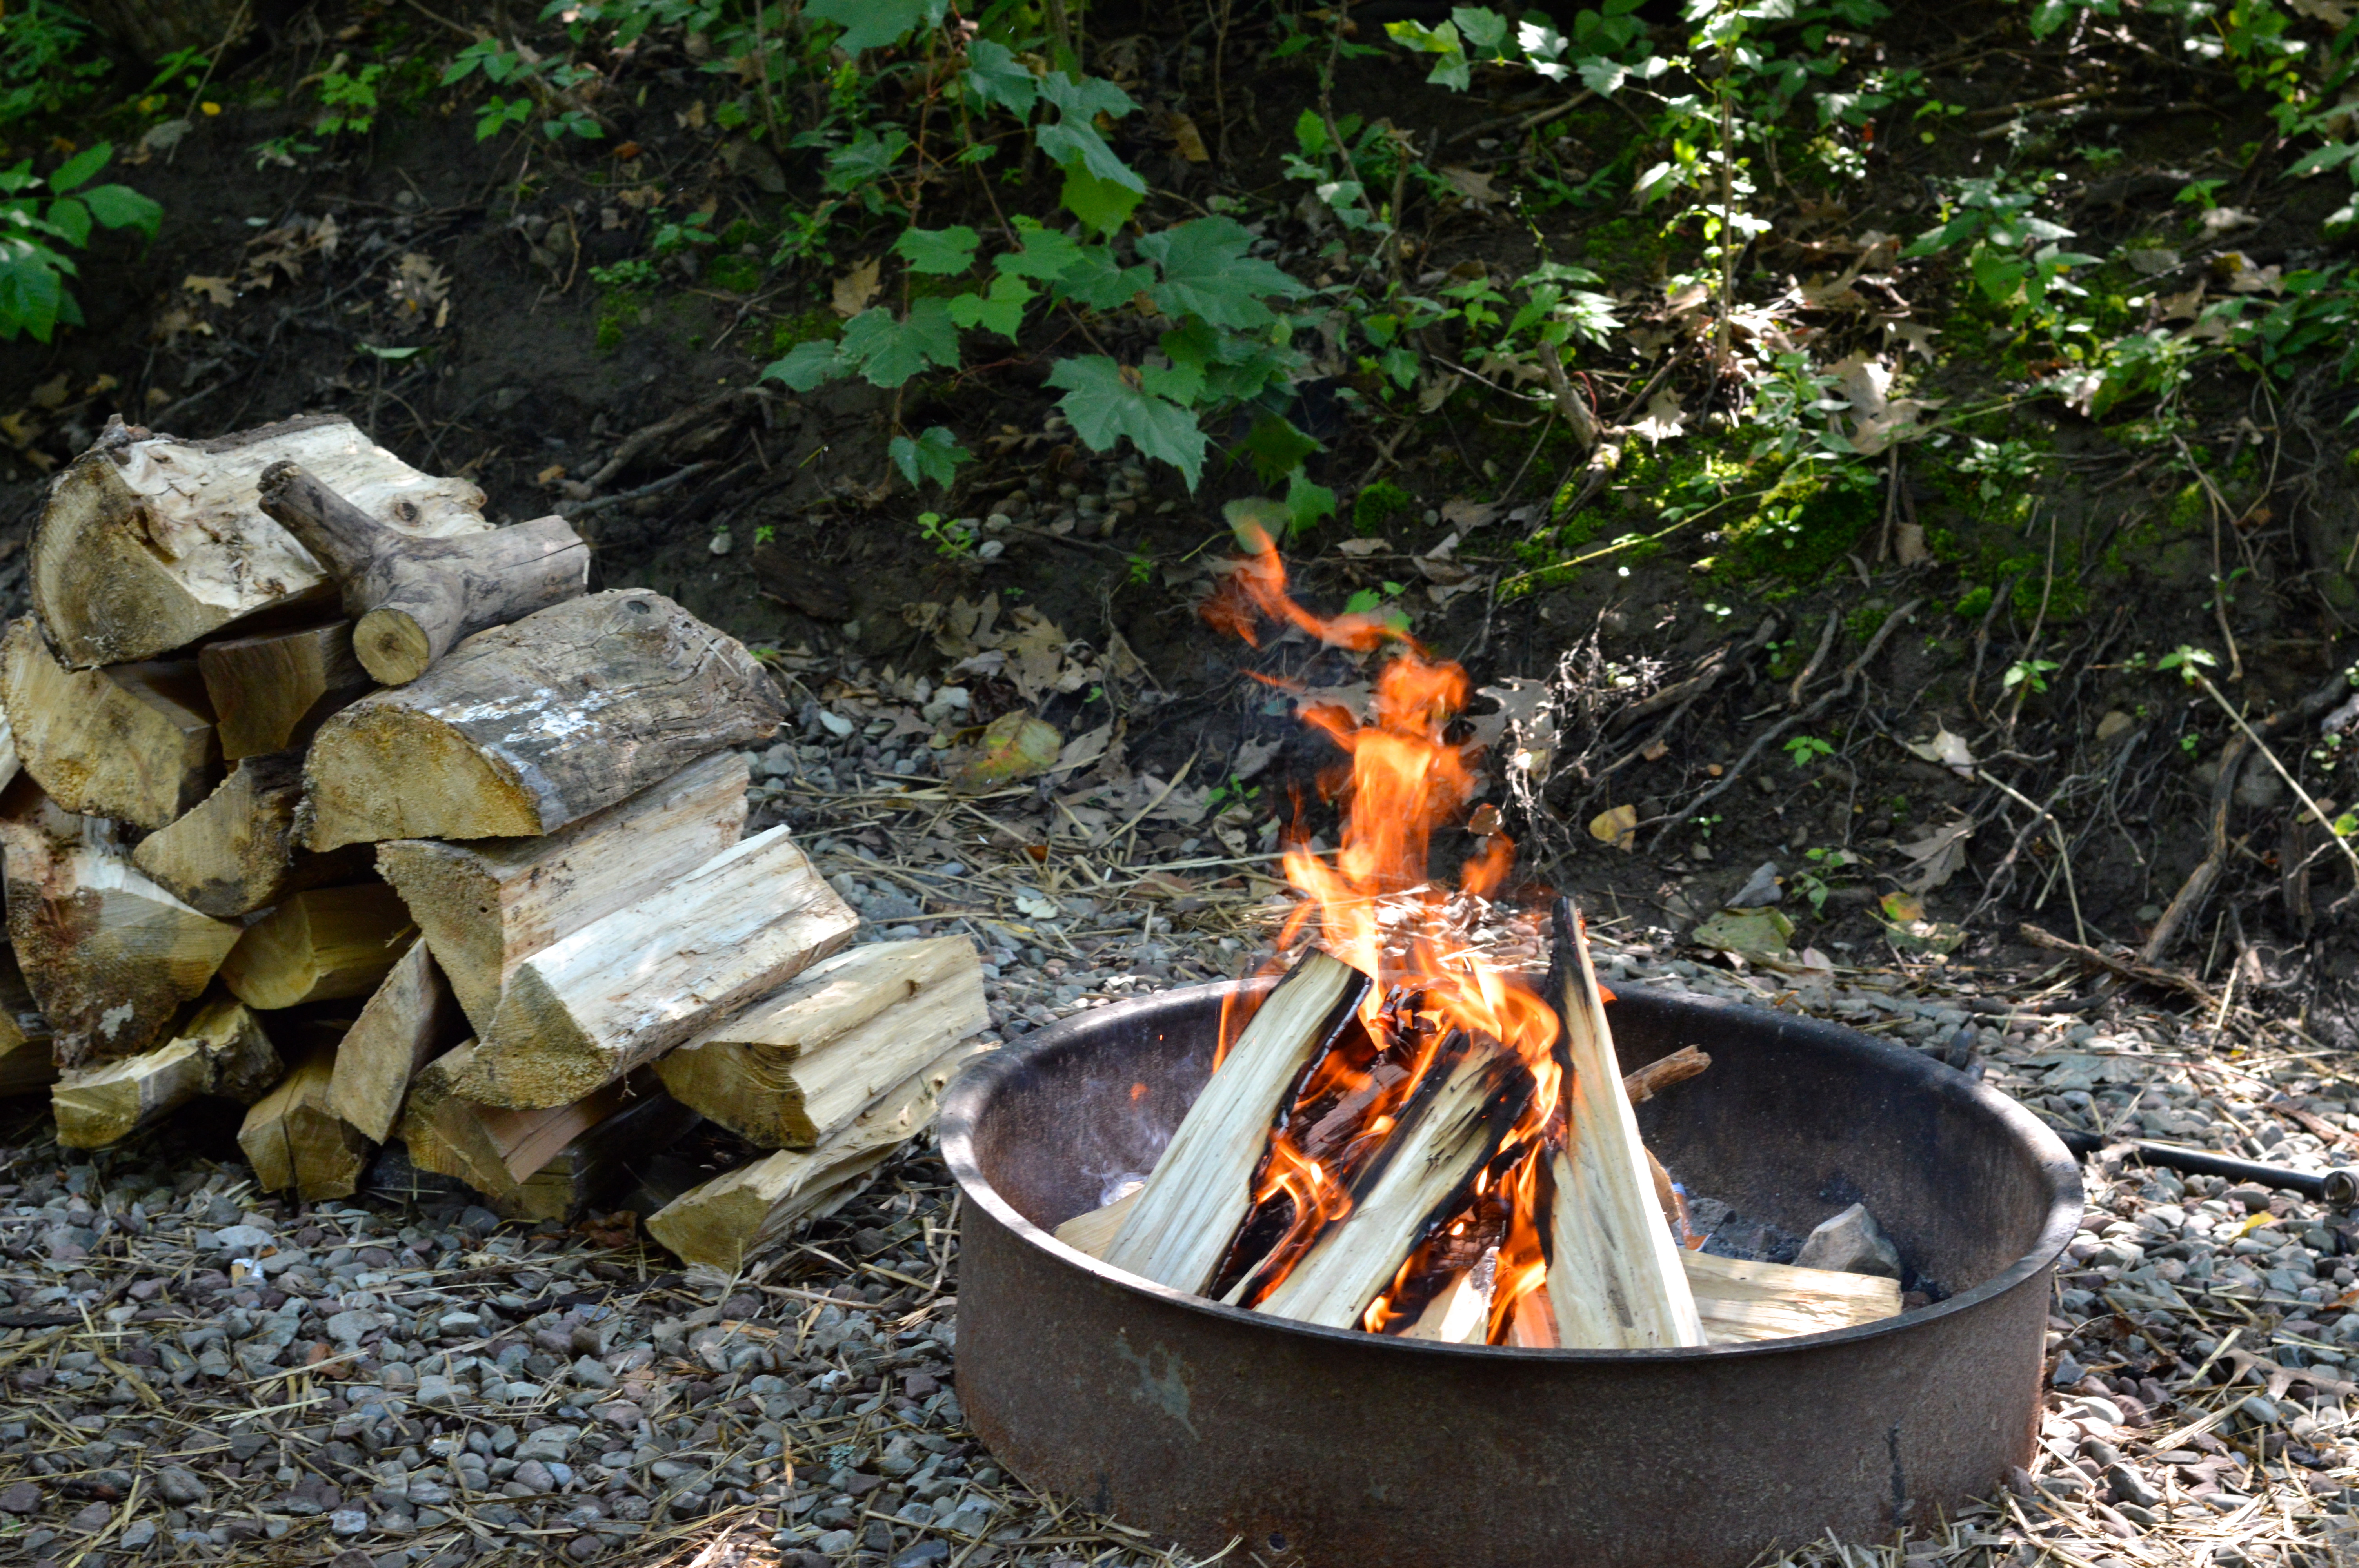
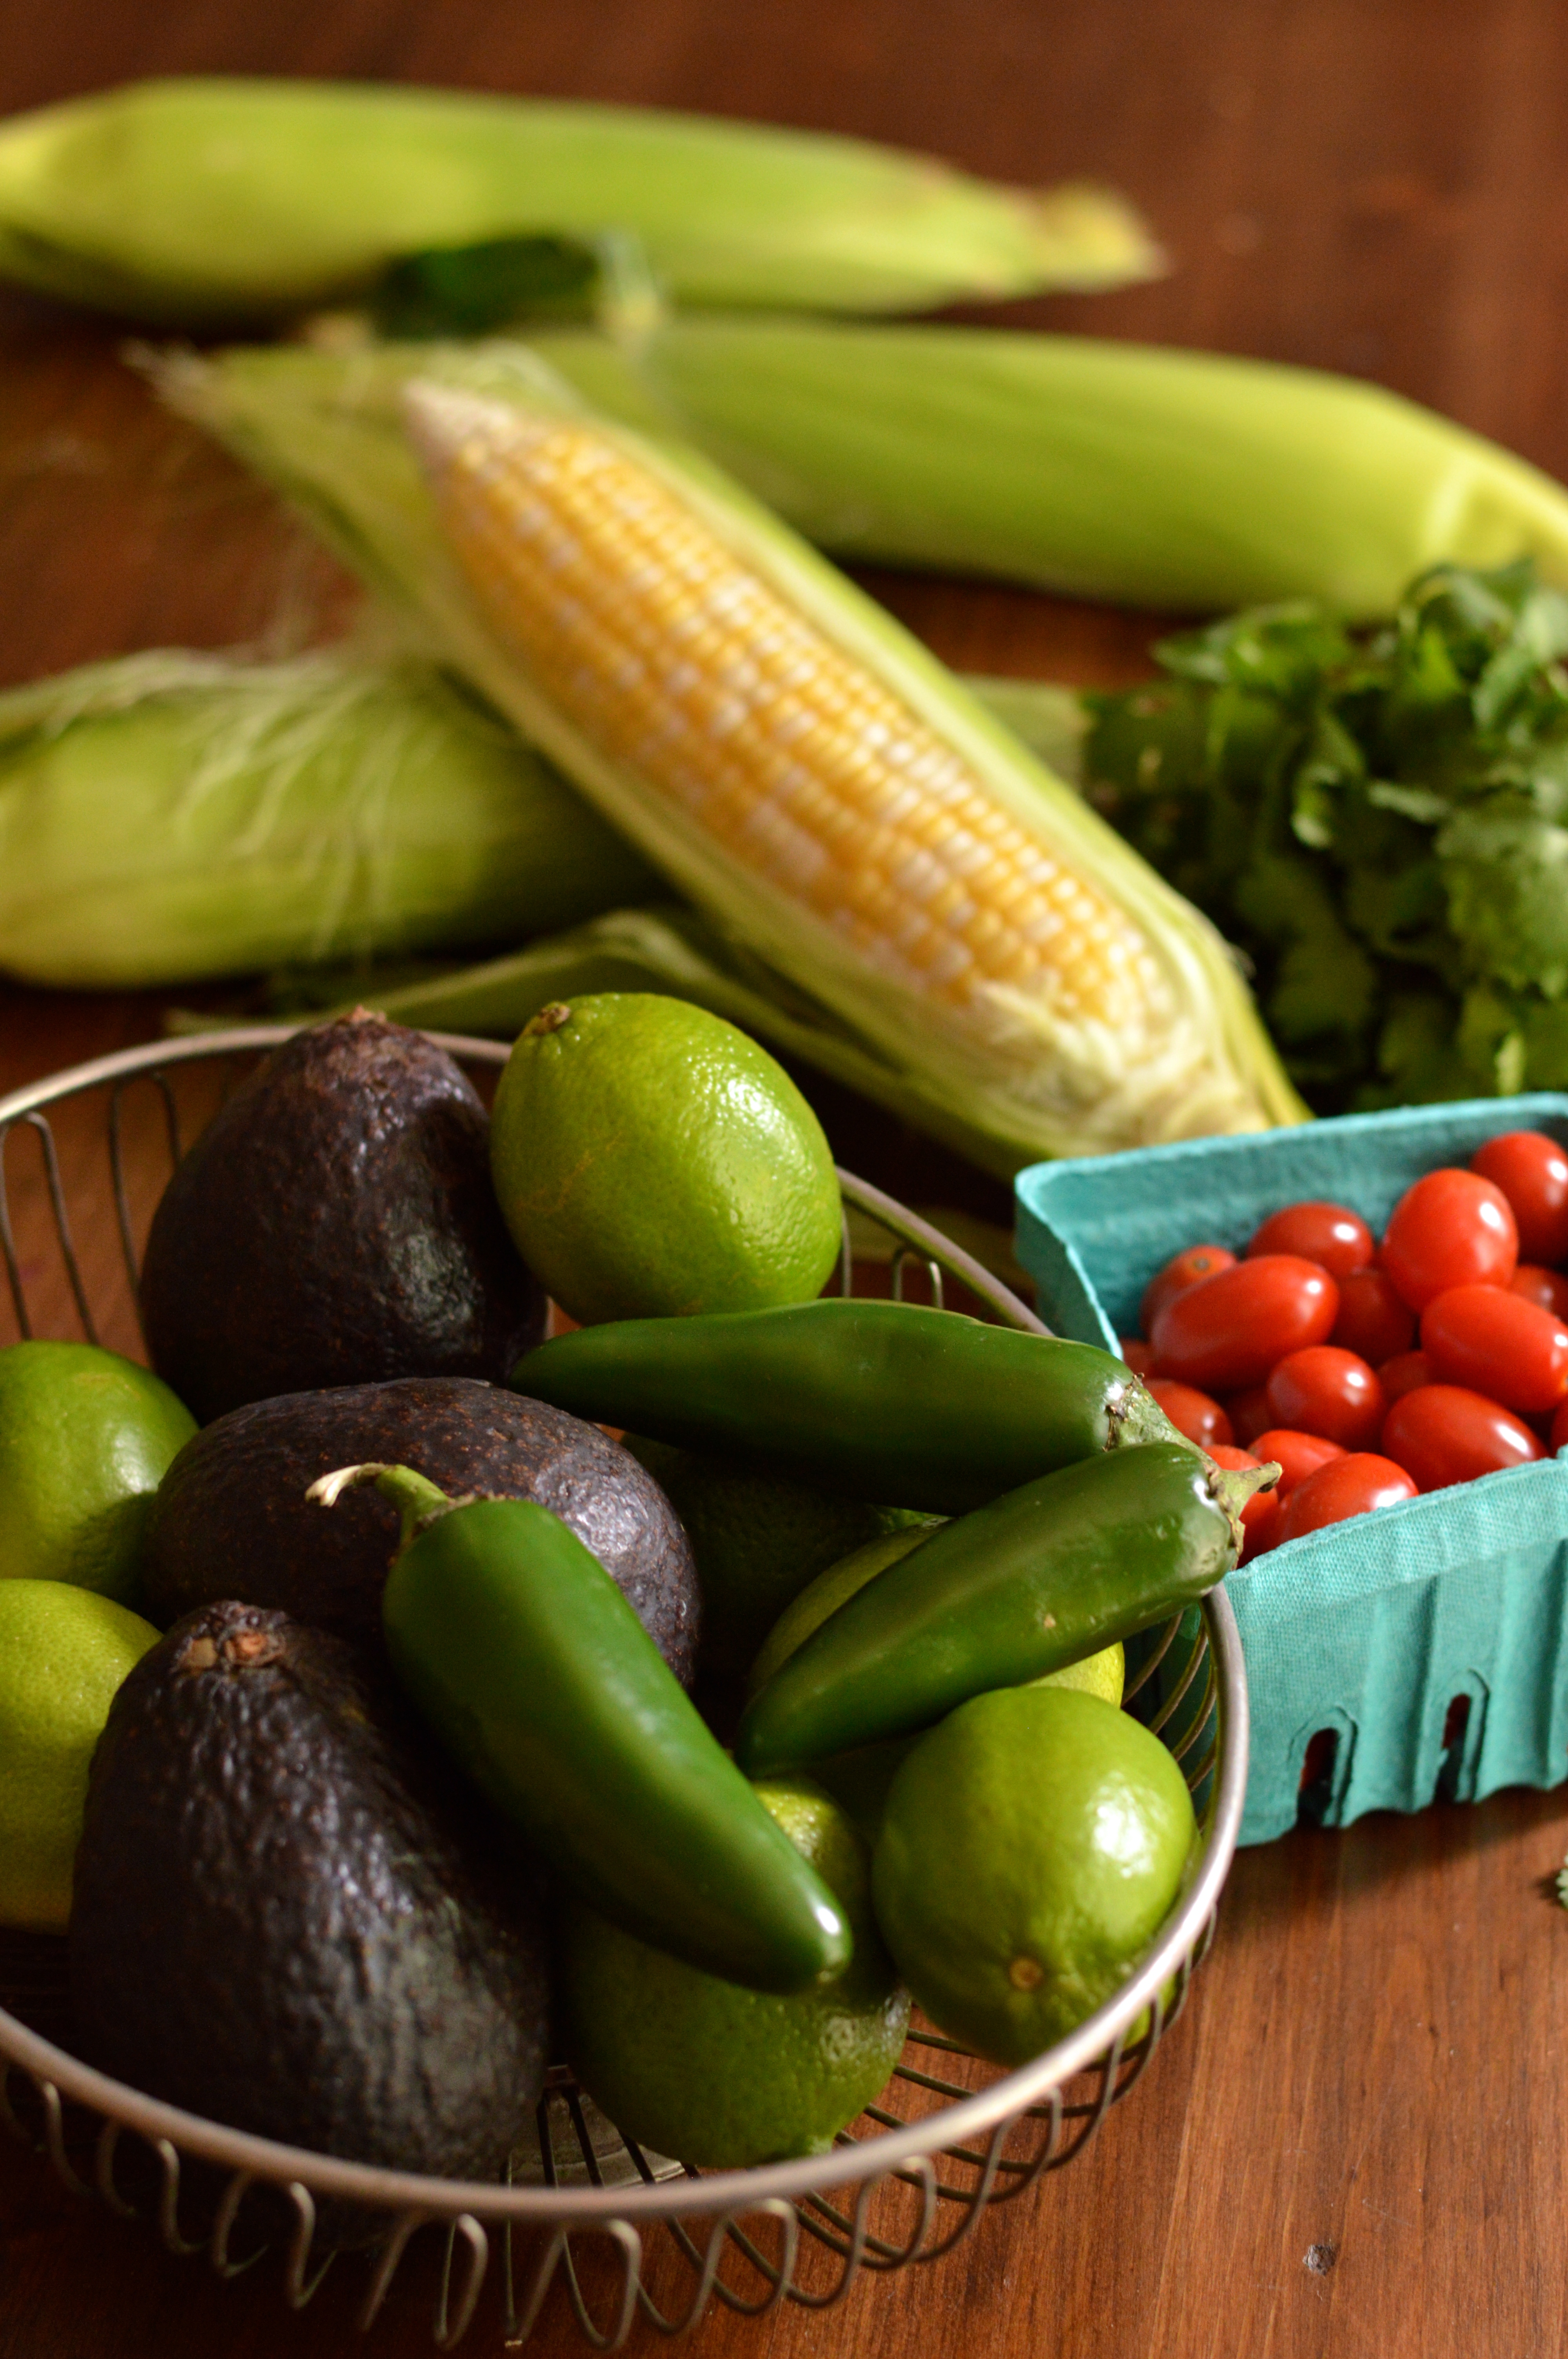
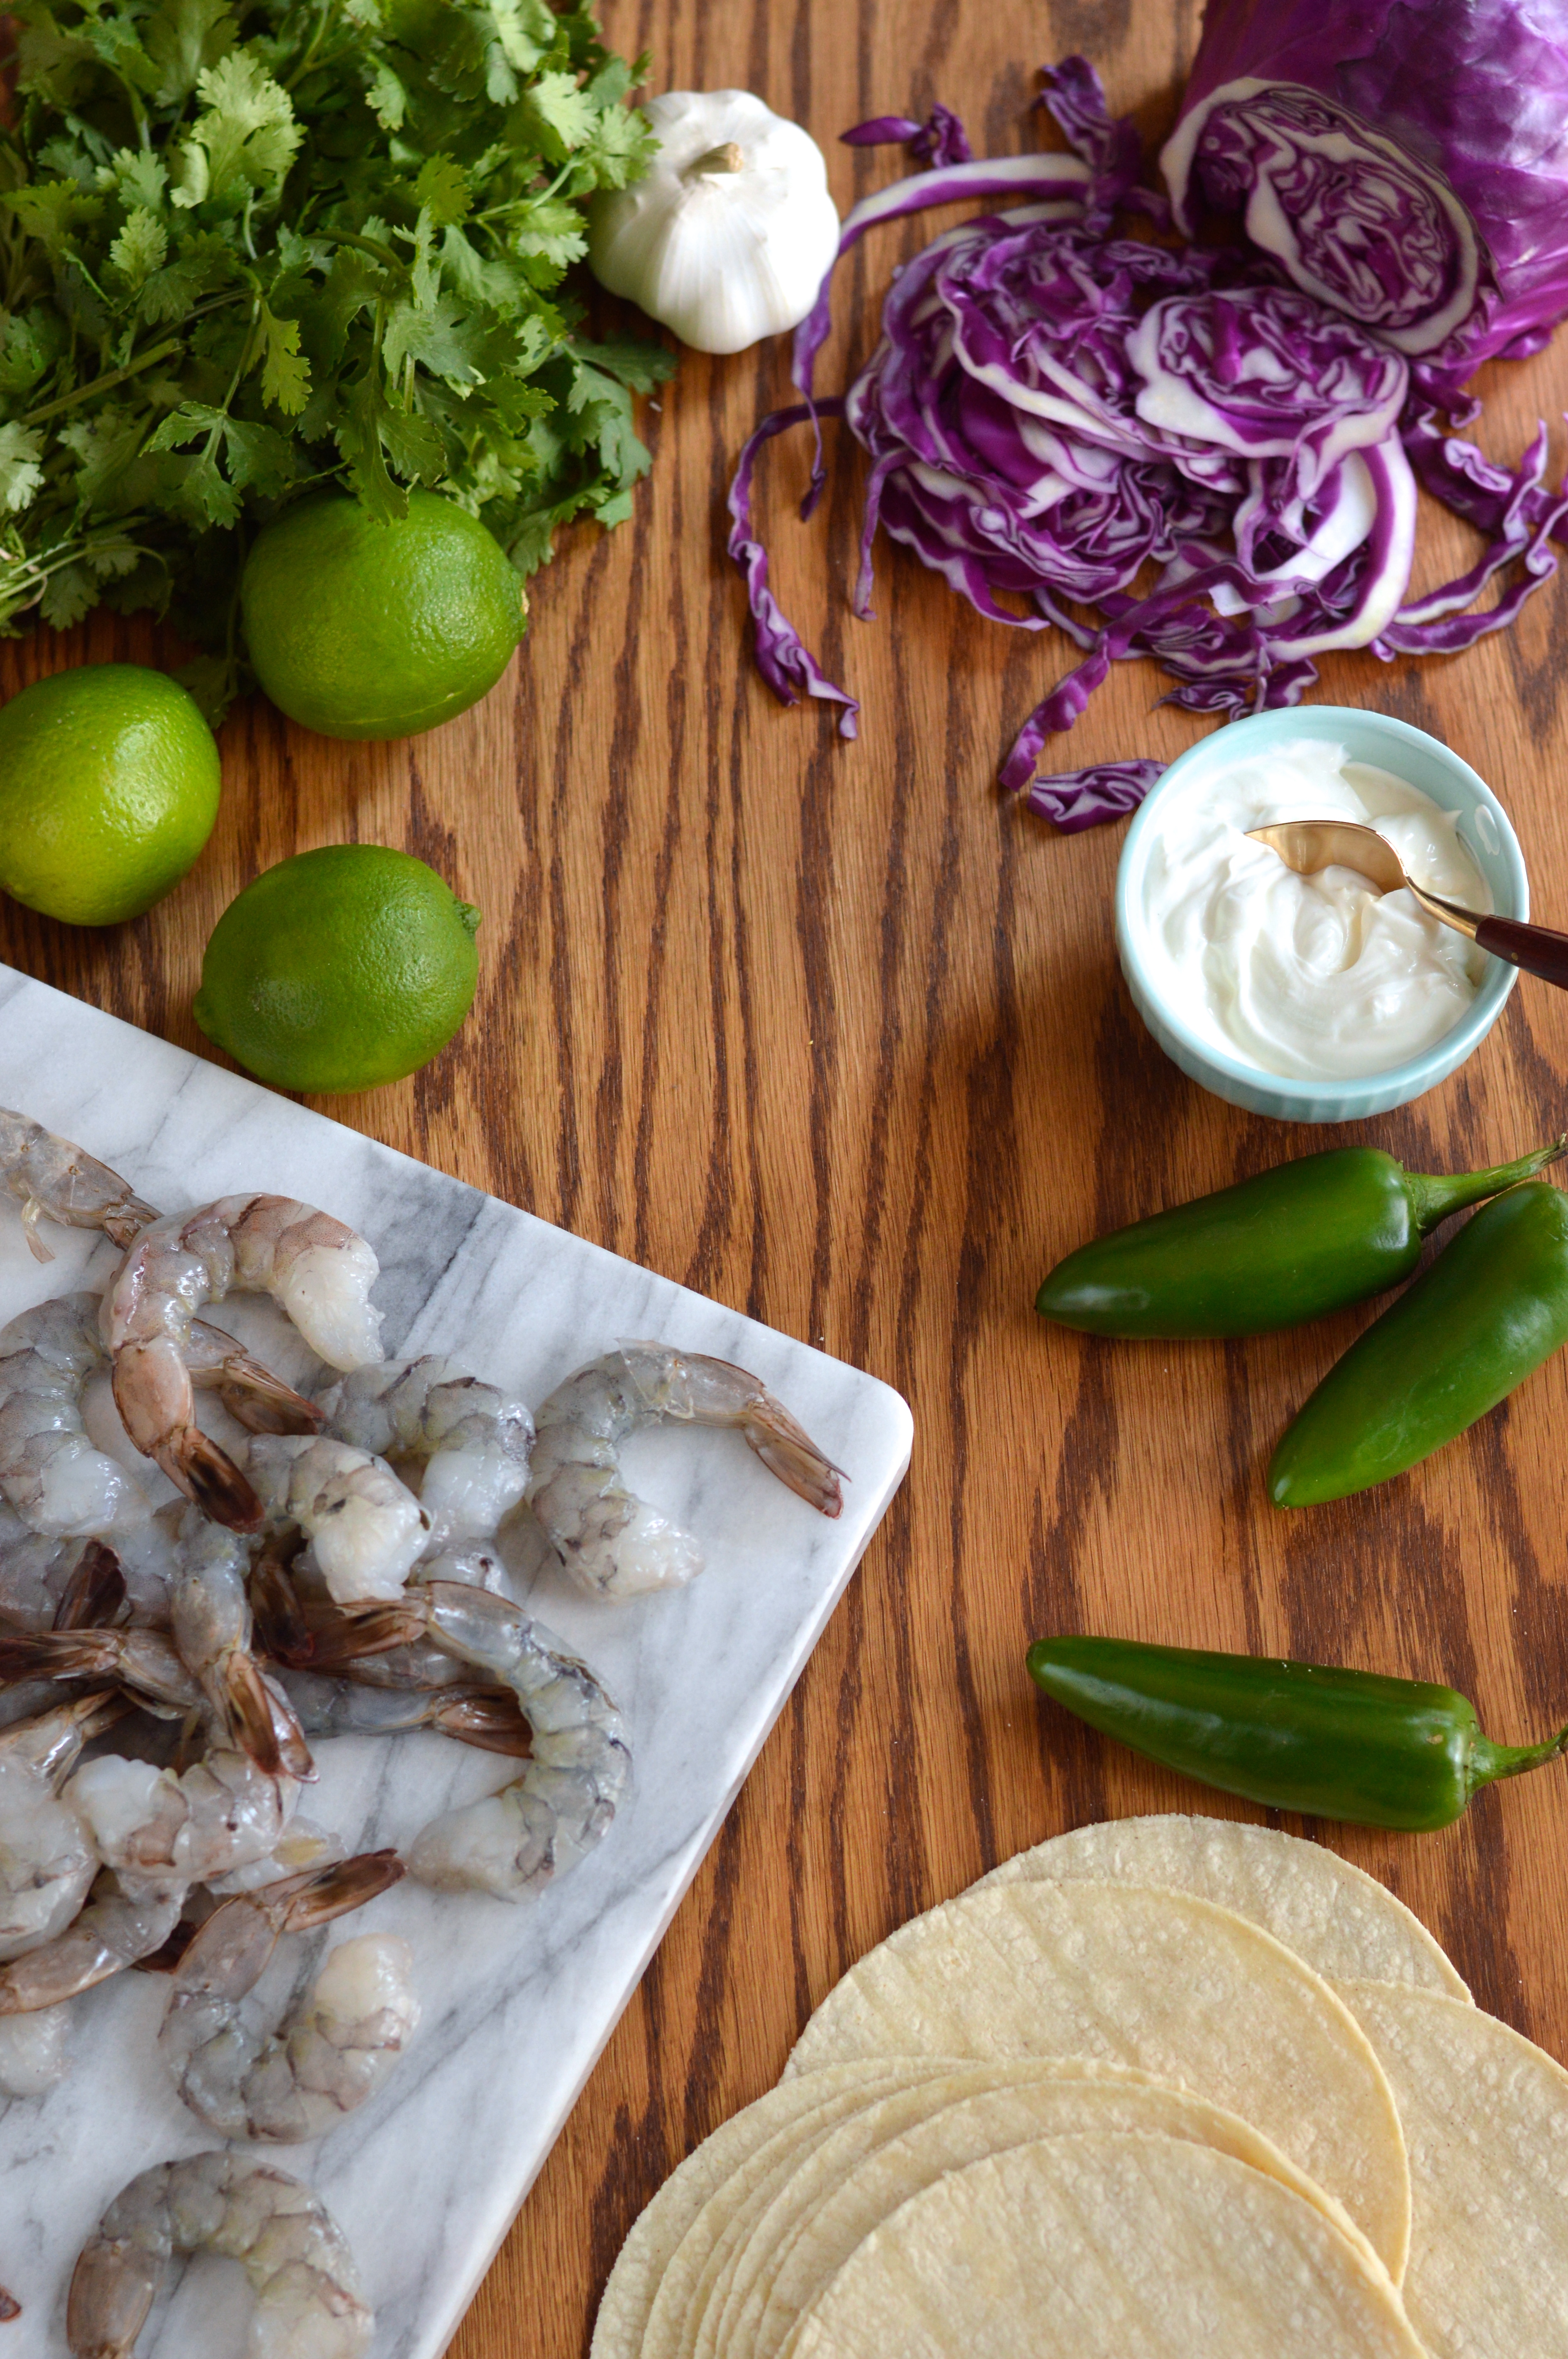
After that we stopped by an old family fish market to get some shrimp to grill for dinner.

grilled shrimp tacos with cilantro pesto and jalapeno crema | Brooklyn Homemaker

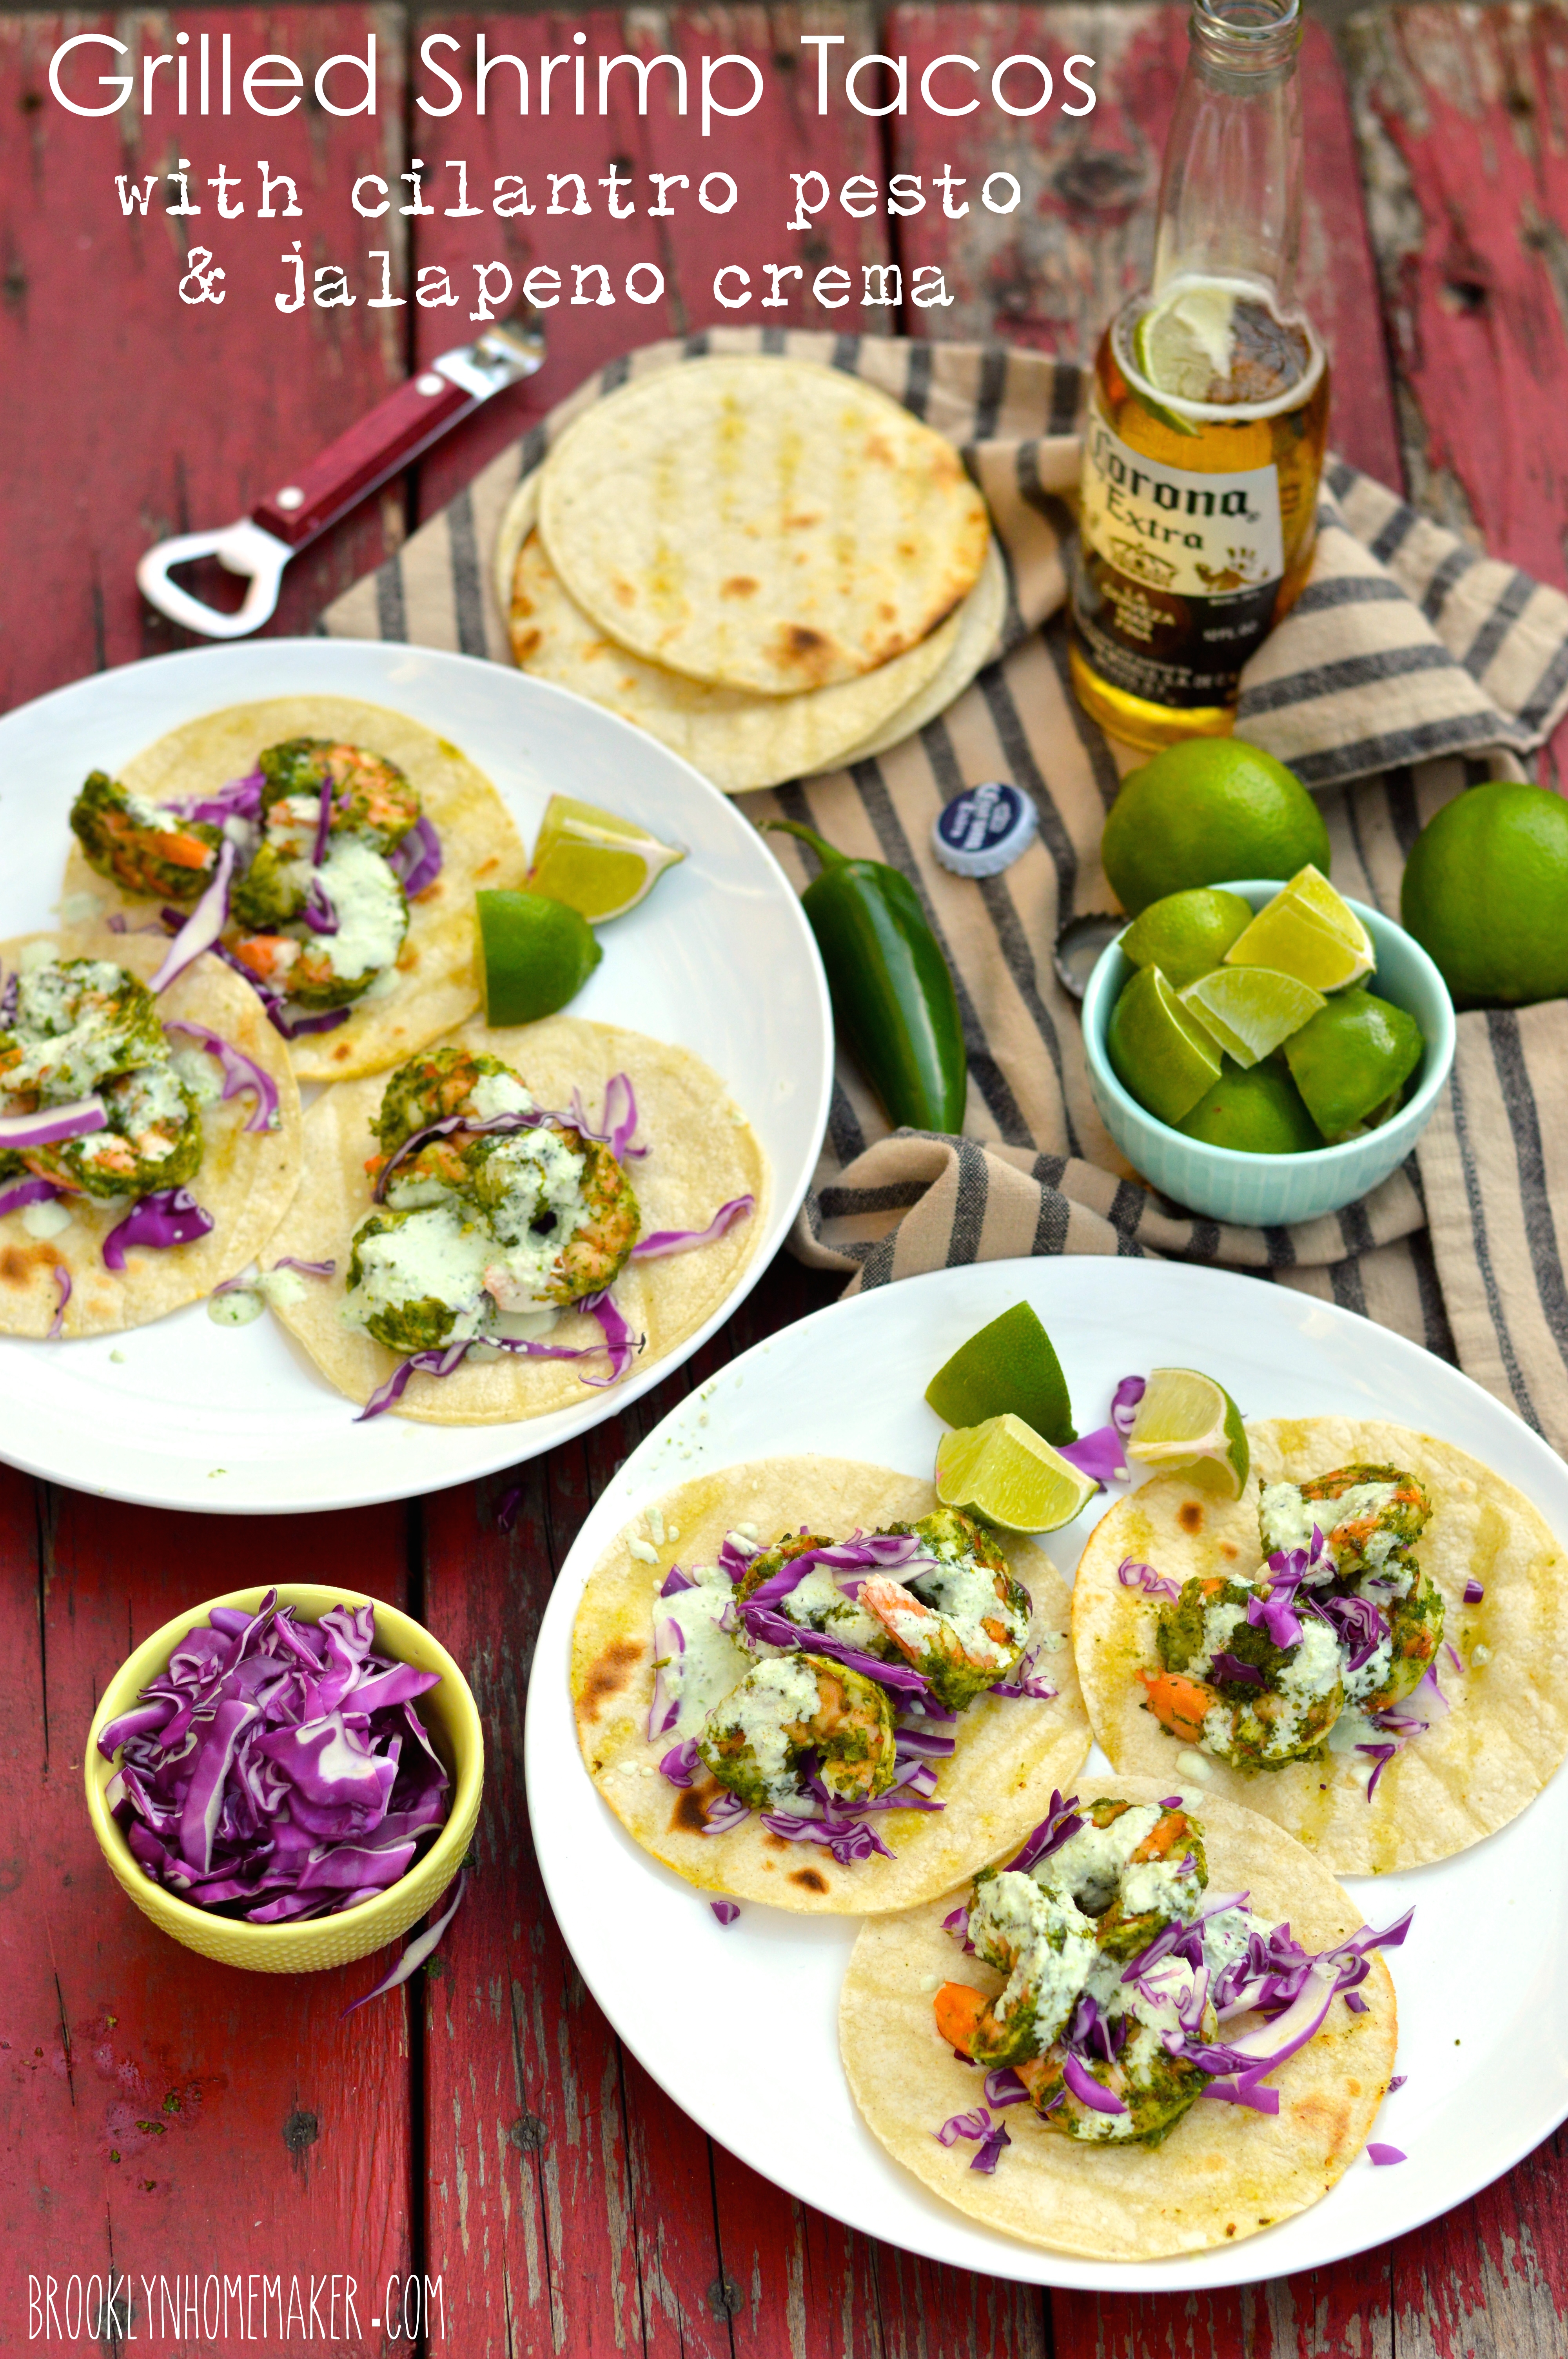
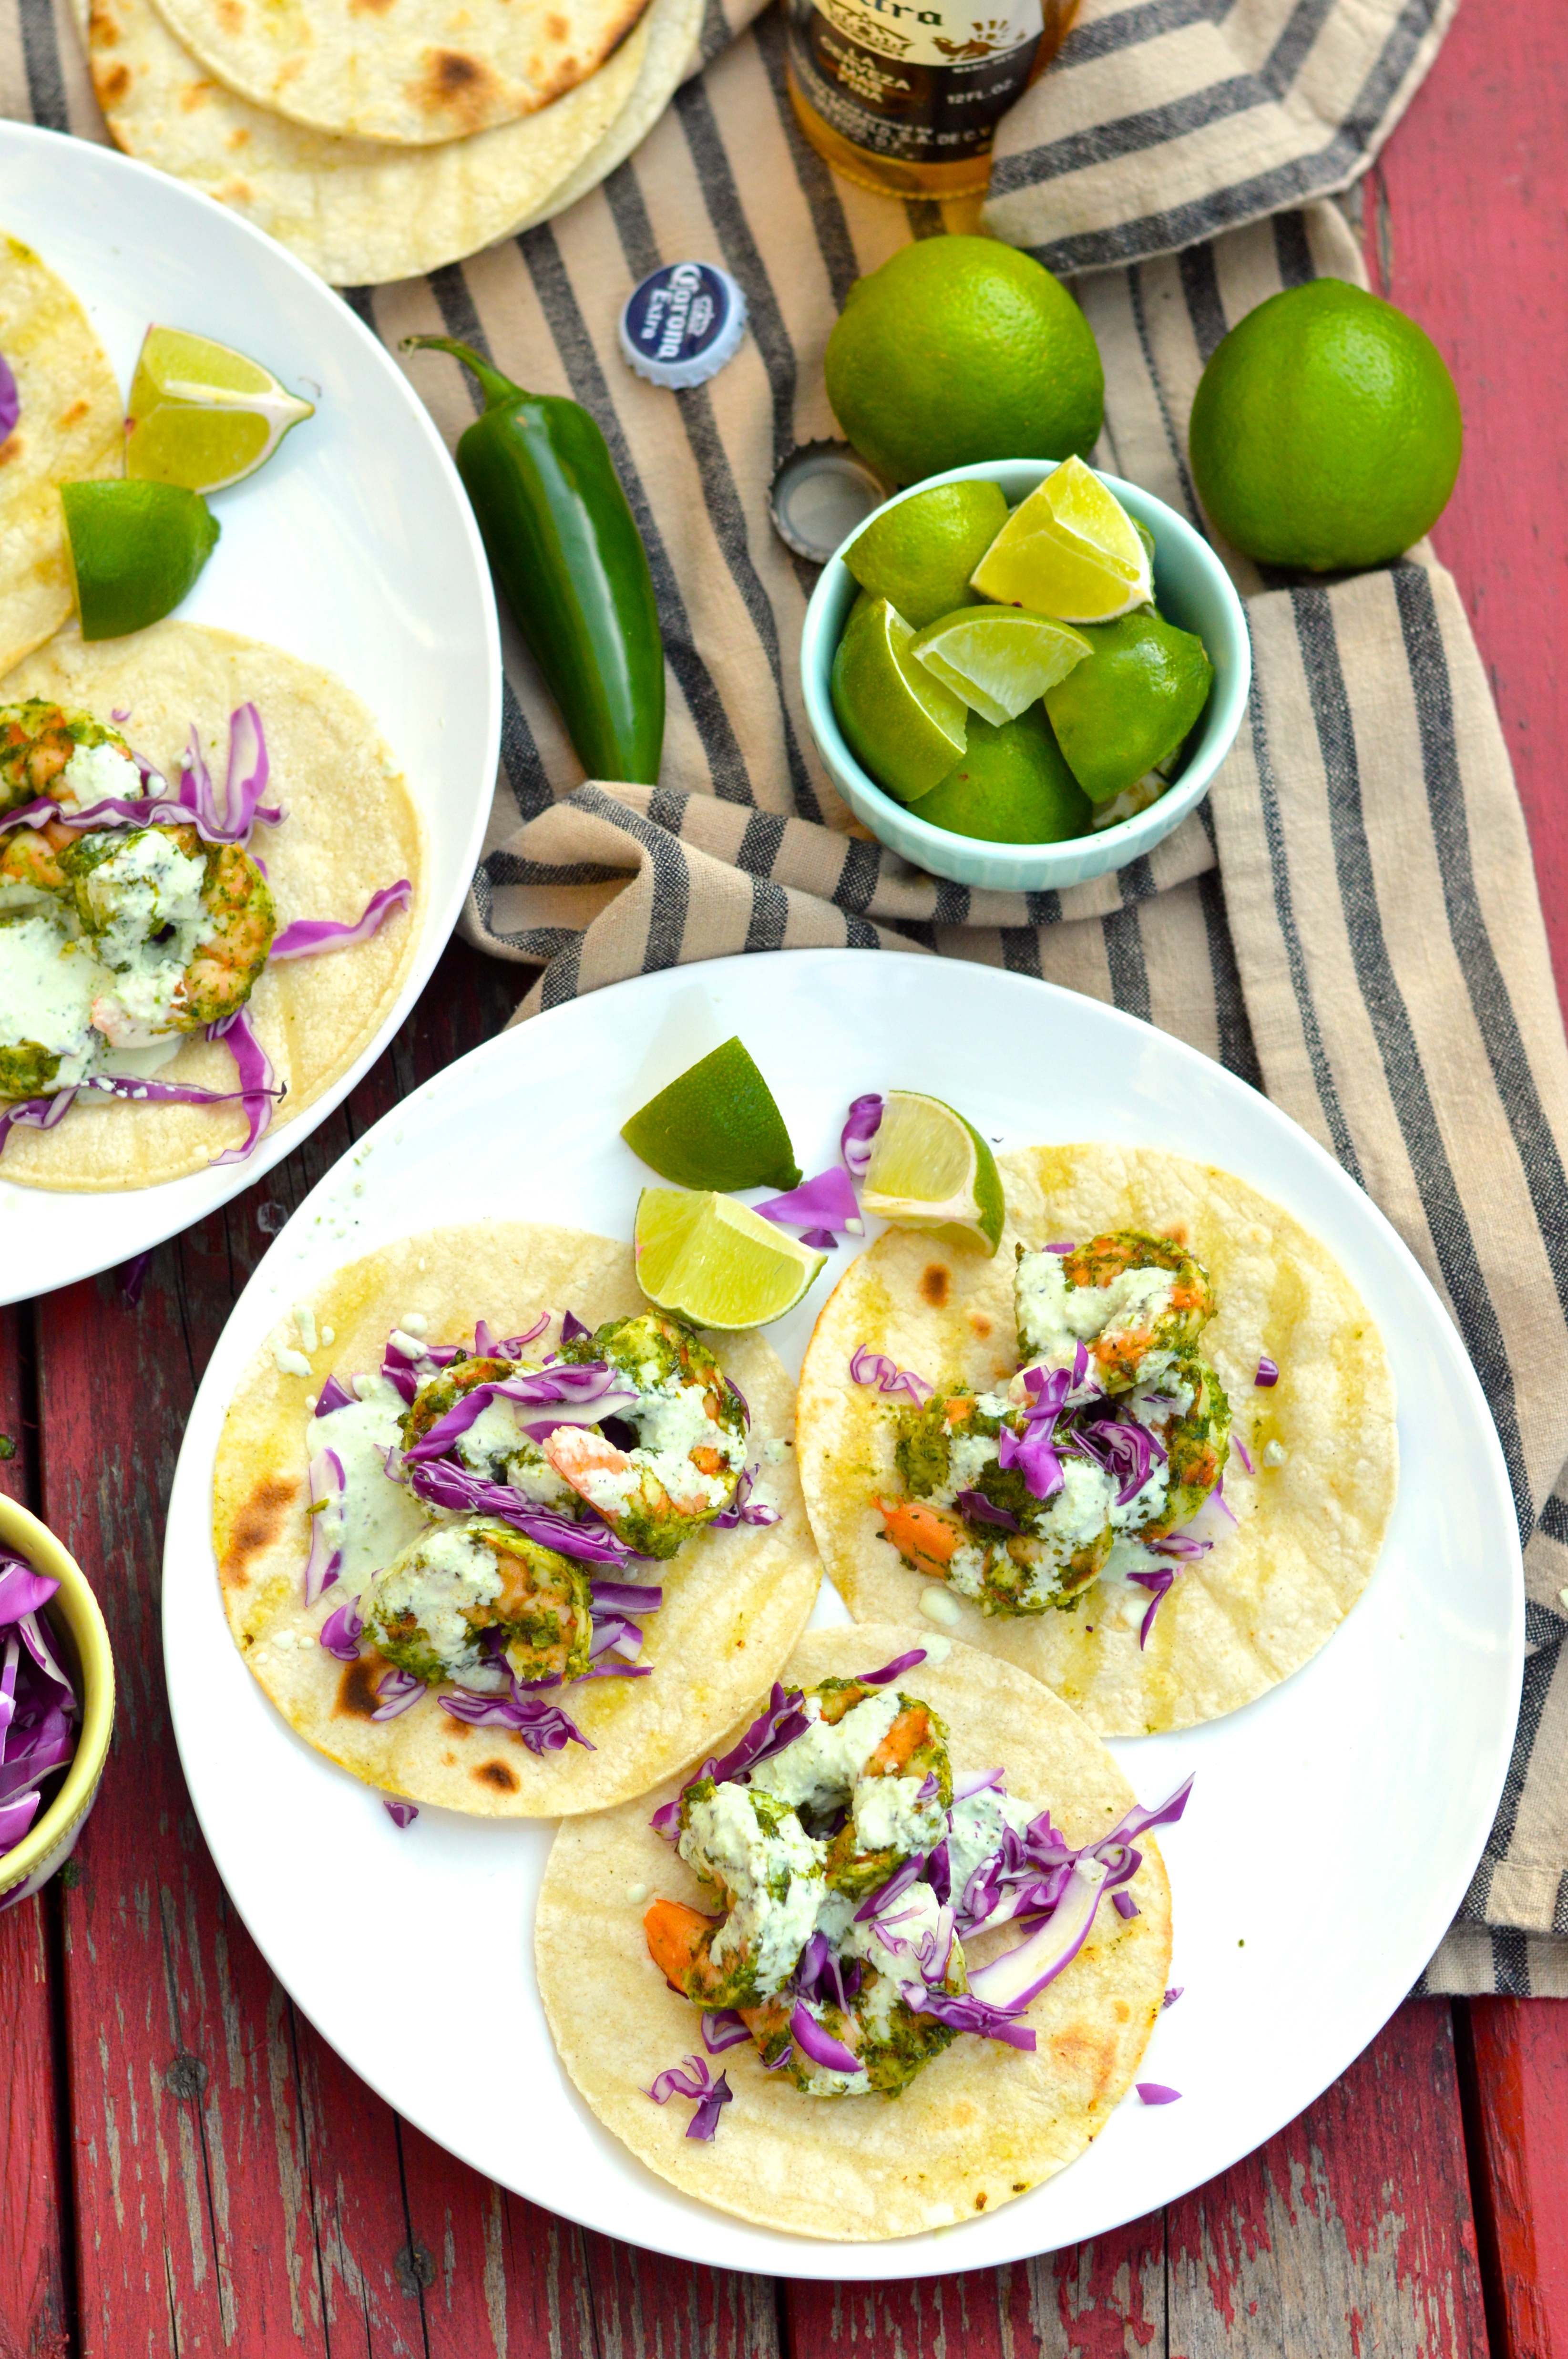
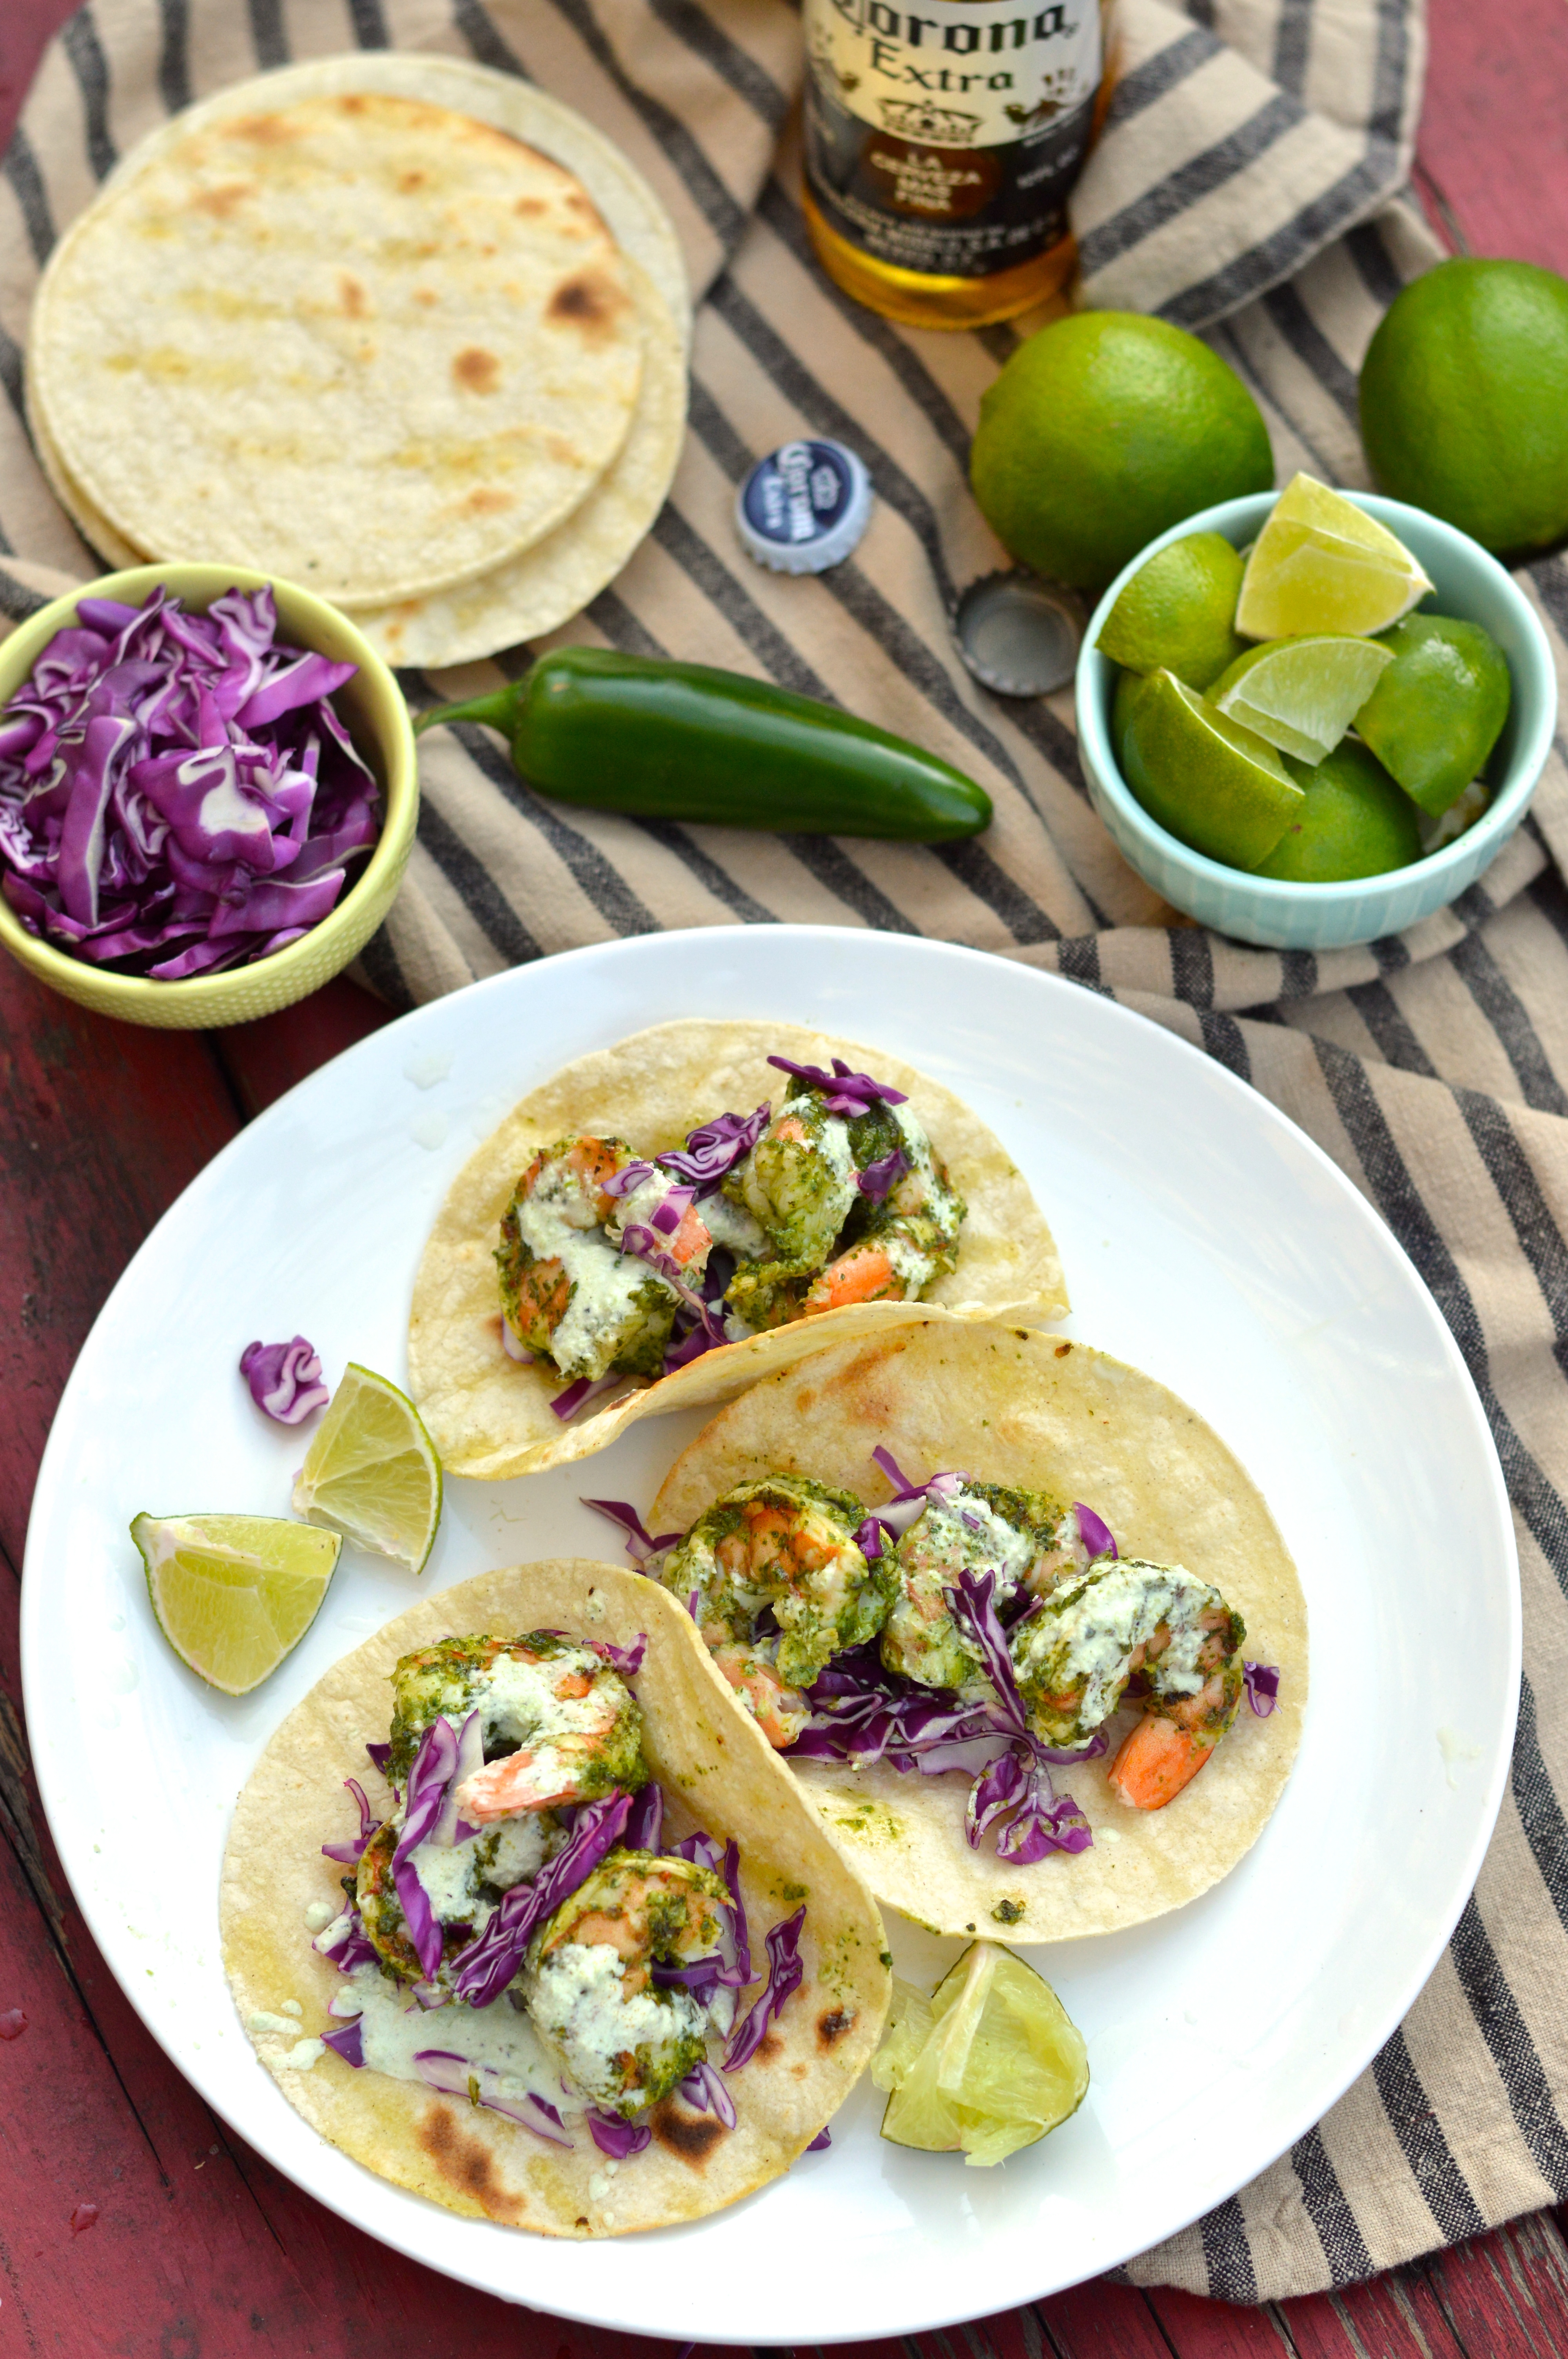
When Russell makes fish tacos he usually makes a quick sauce with plain greek yogurt and sriracha, but this time I wanted to try something fun and a little different. I made a quick cilantro pesto to marinate the shrimp, and then made a jalapeño crema to add some creamy zip.

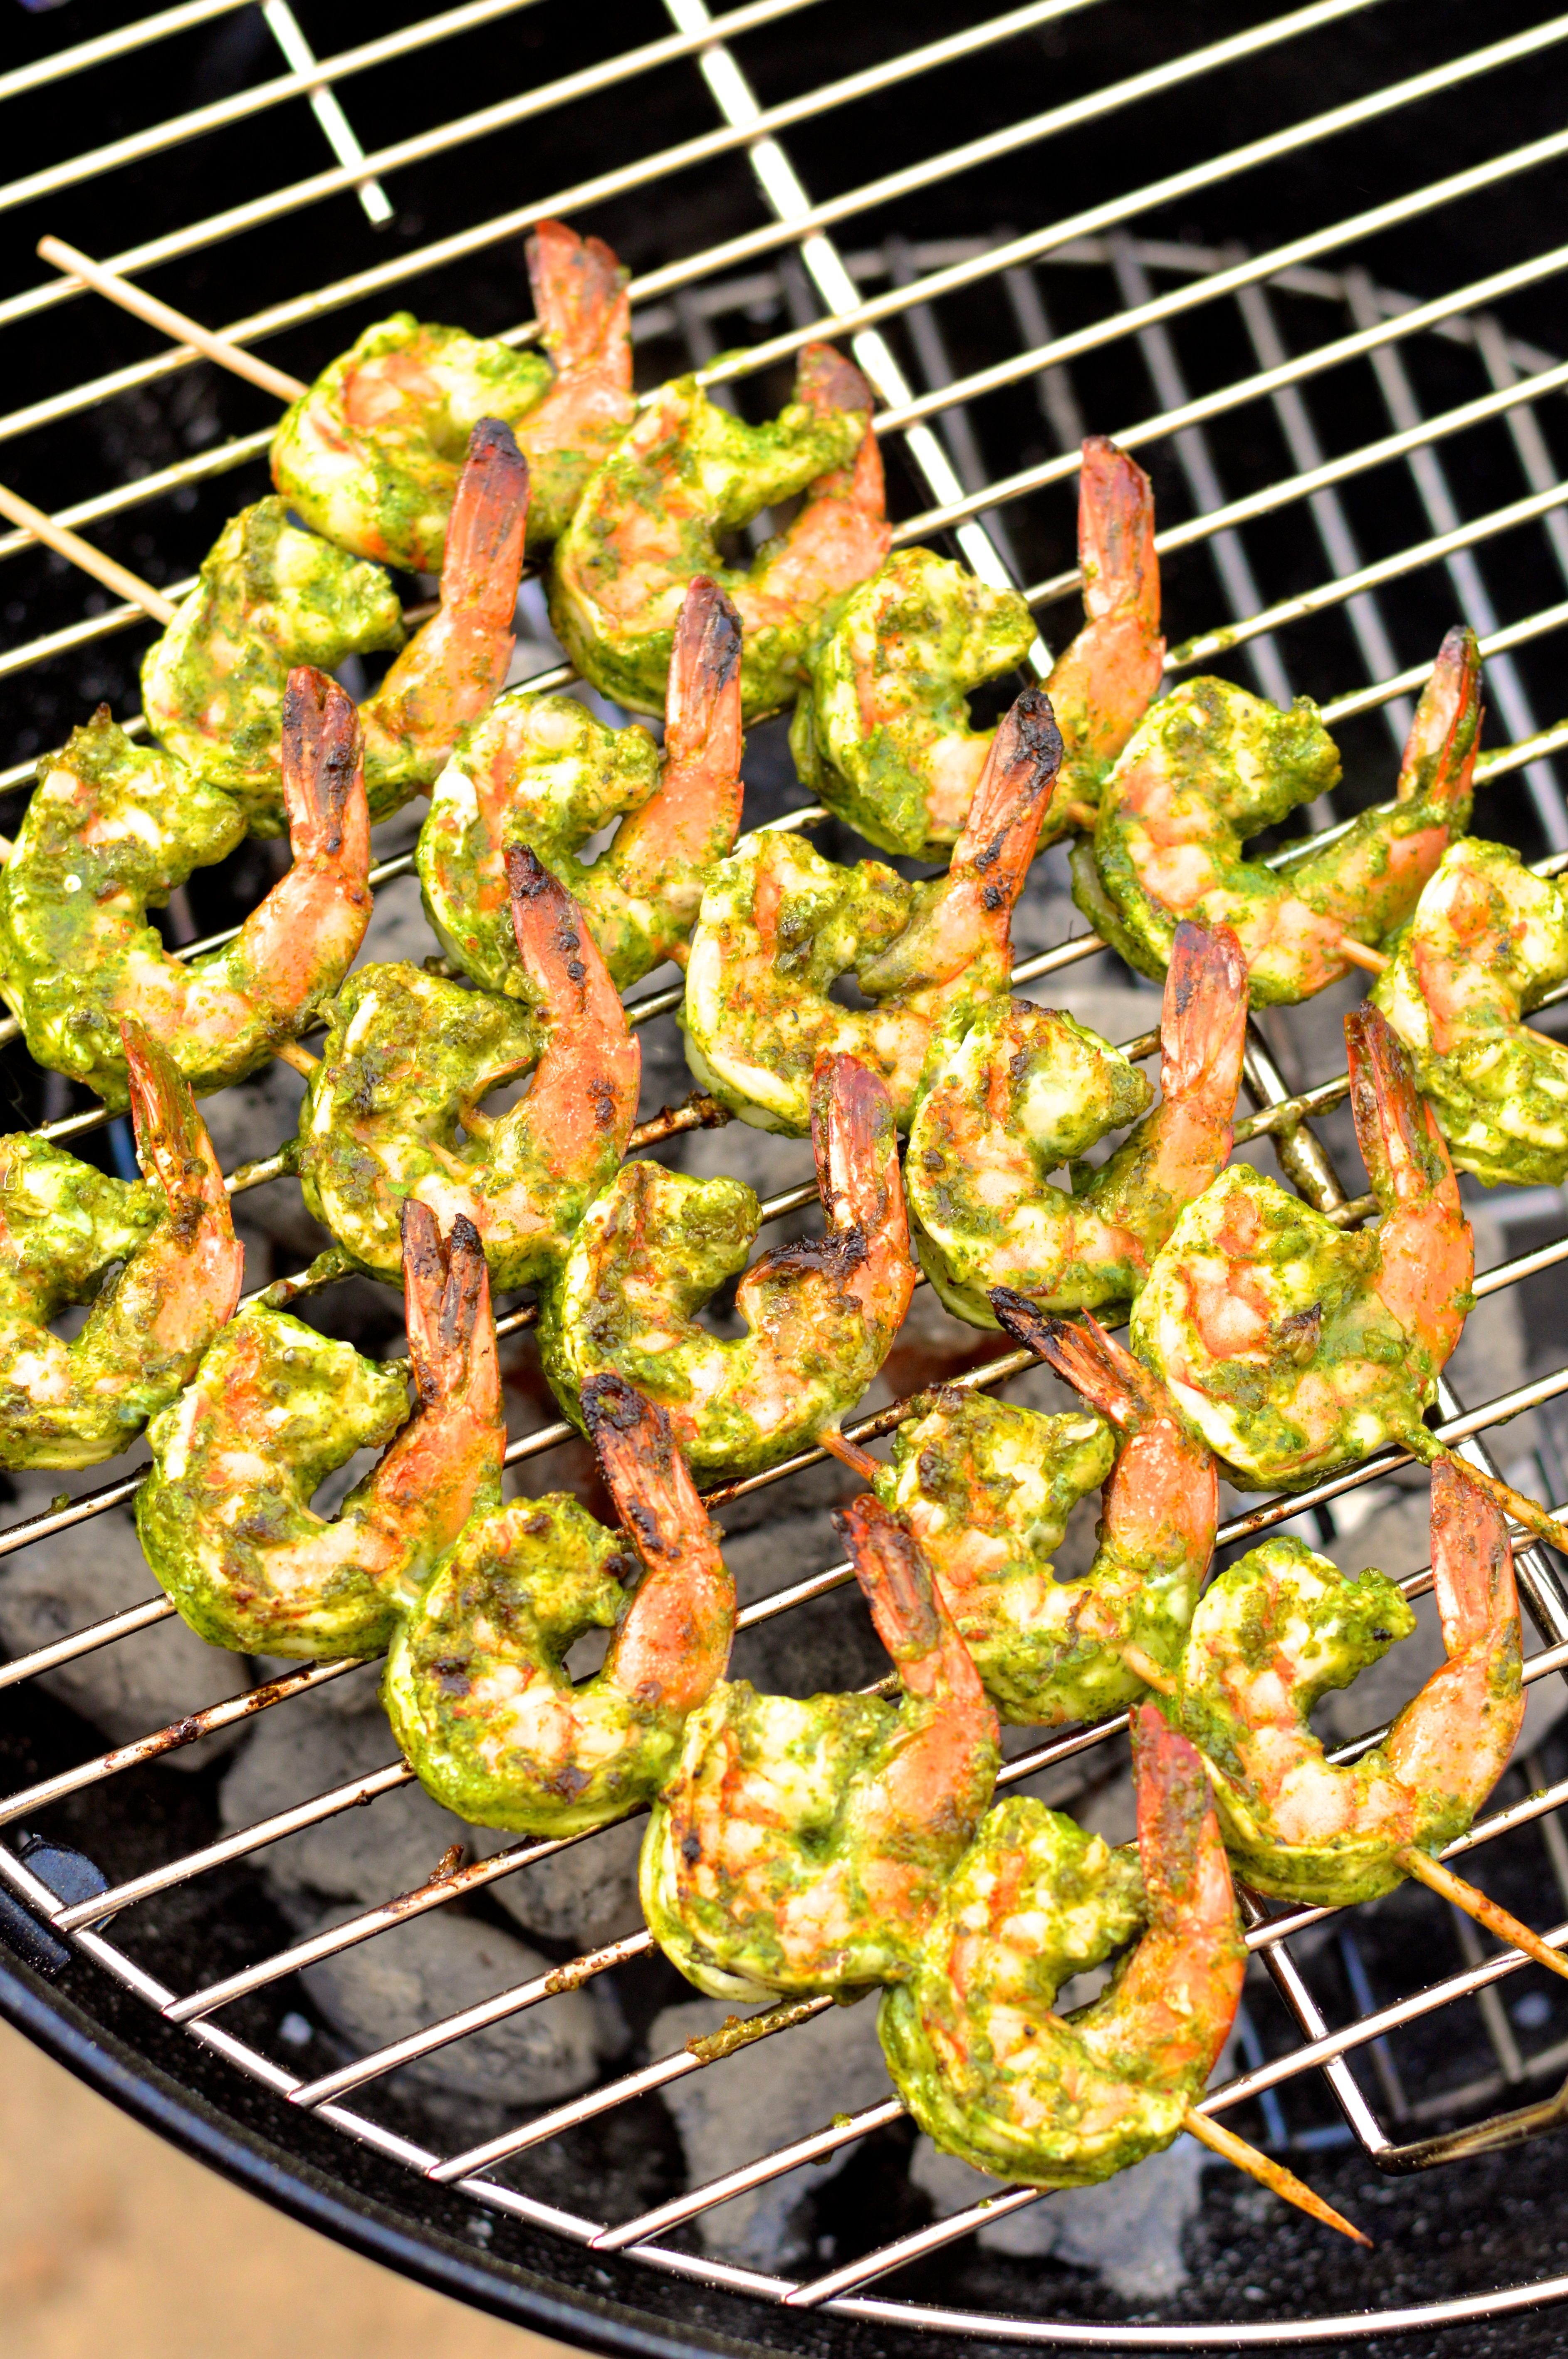
Both these sauces are super simple and easy to make if you have a food processor, so don’t be intimidated that you have to make two sauces. I also recommend skewering the shrimp to make them easier to flip on the grill and make sure they don’t fall through into the fire, but if you don’t have skewers it’s not impossible to grill the shrimp without them.

grilled shrimp tacos with cilantro pesto and jalapeno crema | Brooklyn Homemaker

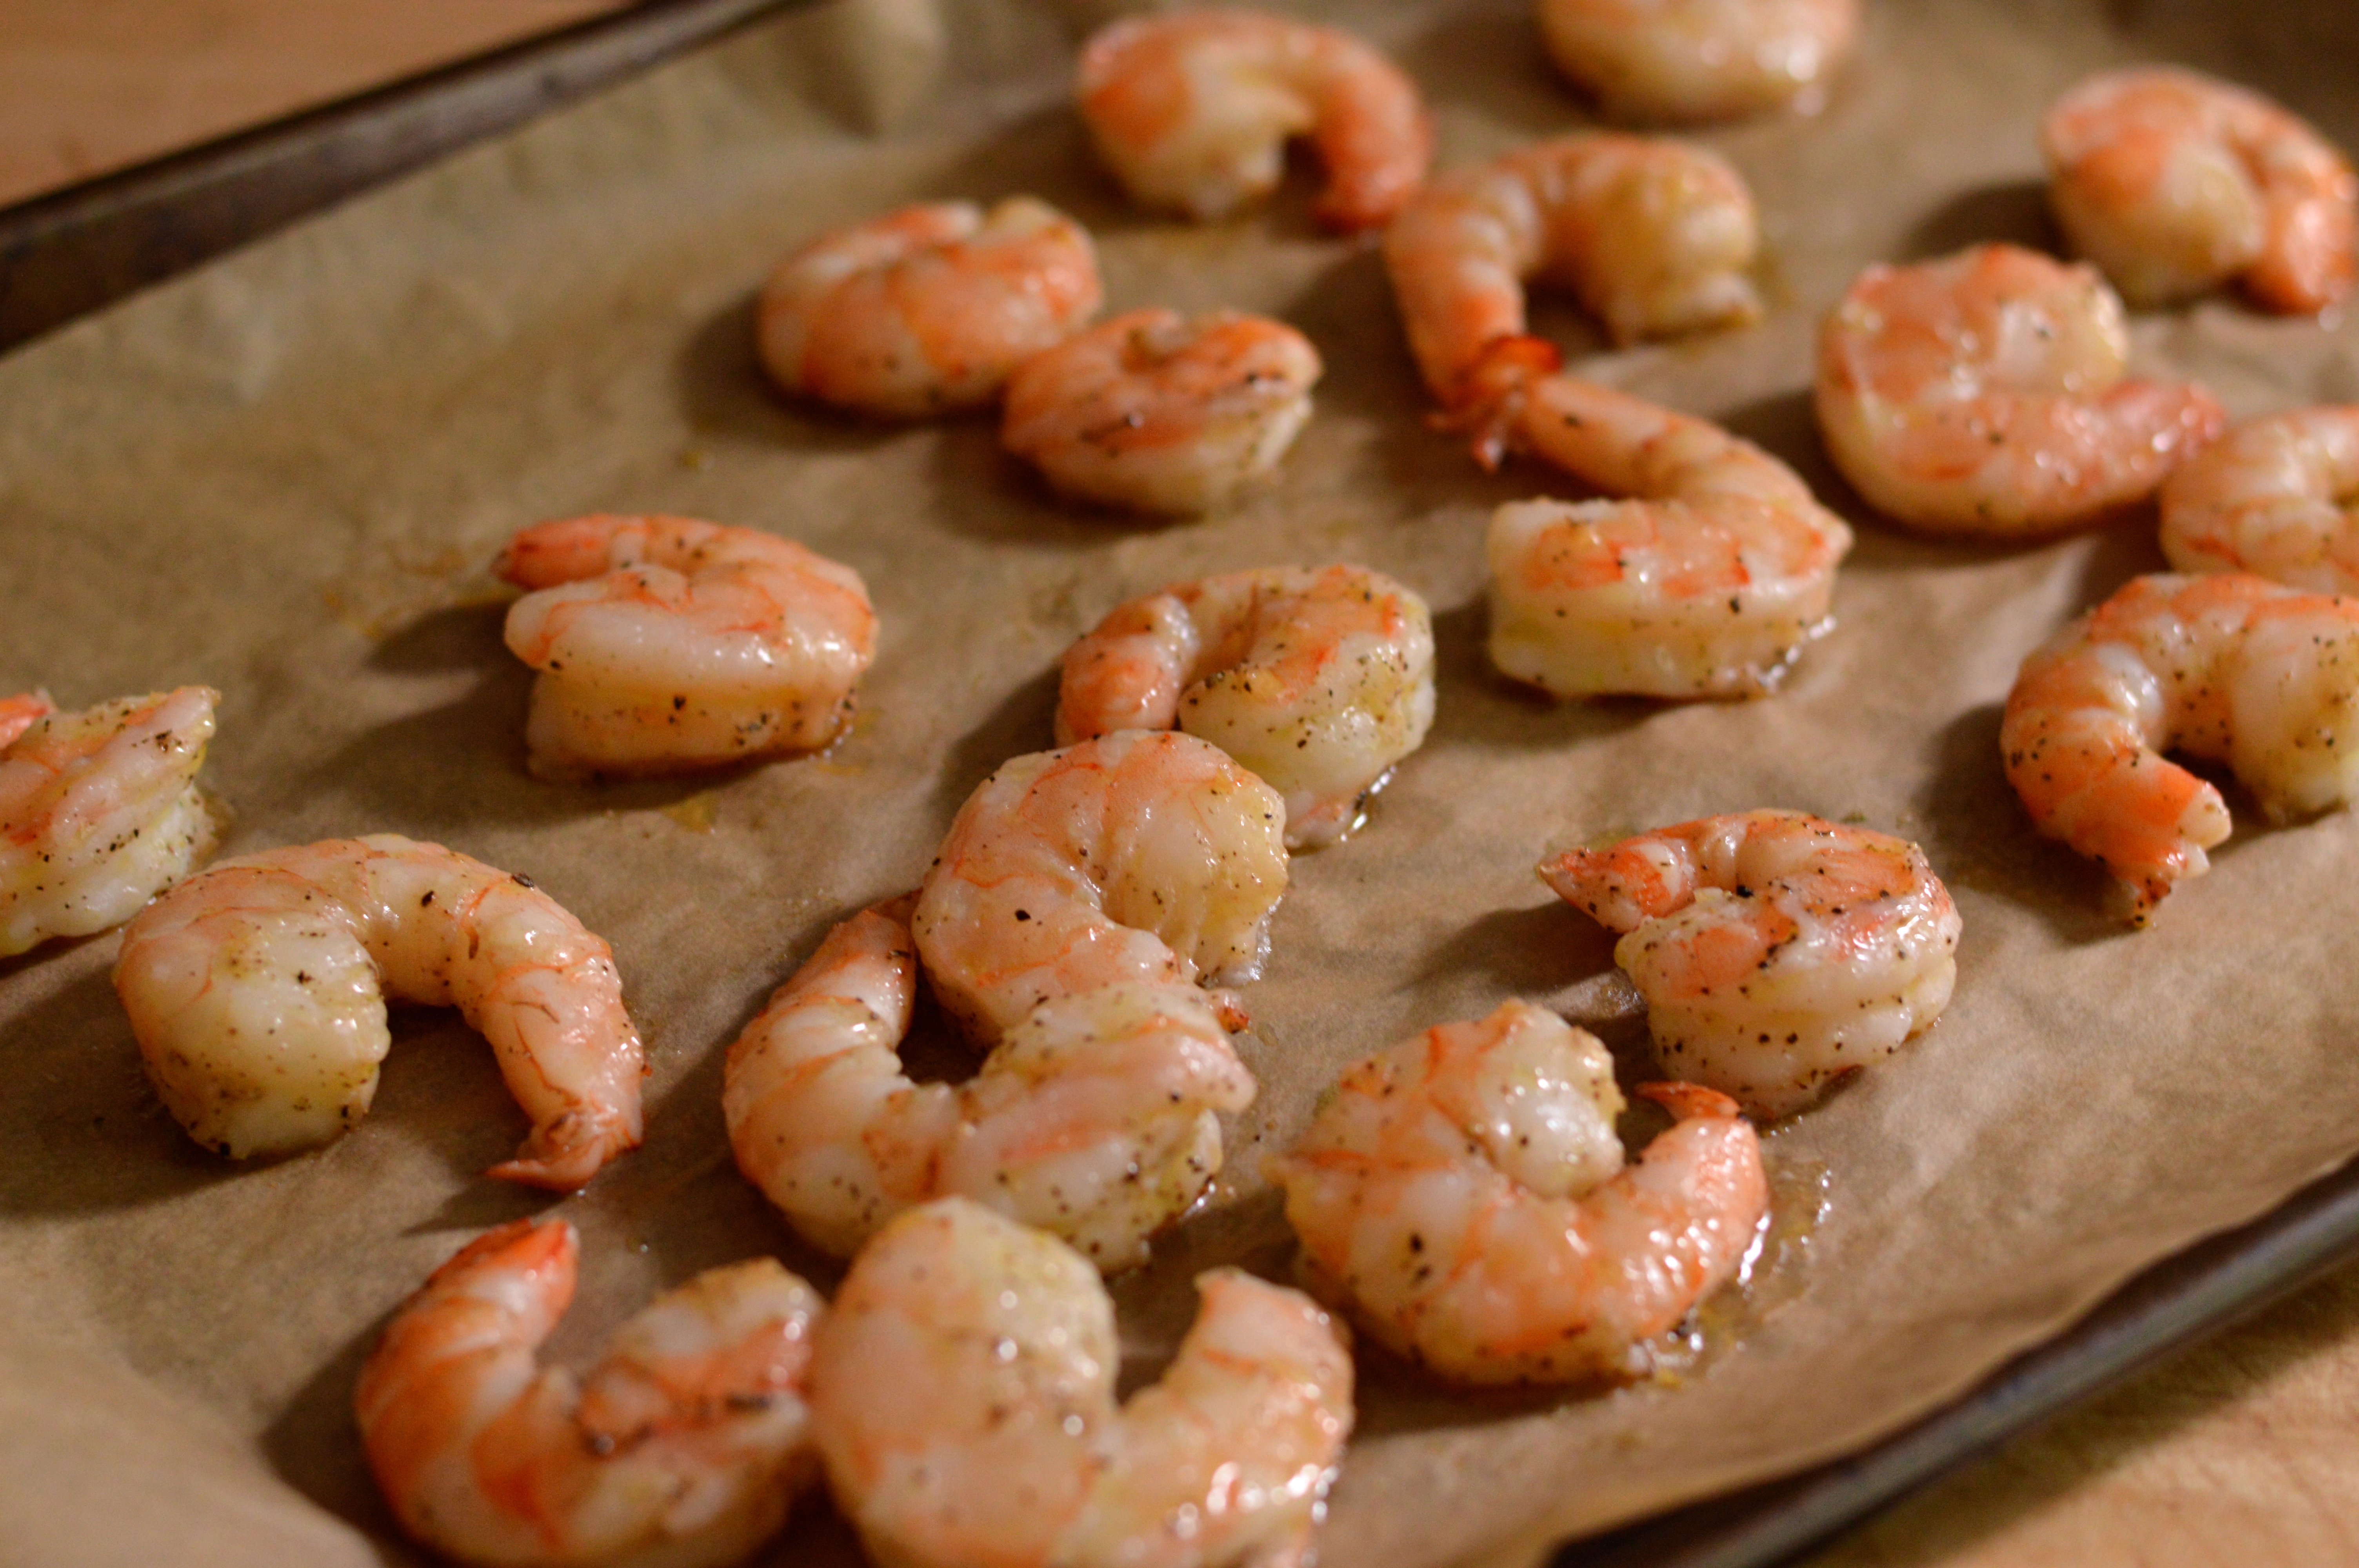
My playing around really paid off. The shrimp came out tender, smoky, herby, tangy and perfect. Grilling them over a charcoal fire rather than gas definitely adds a lot of extra smokiness, but if you have a gas grill you can add a smoke box with wood chips to replicate the same flavor.

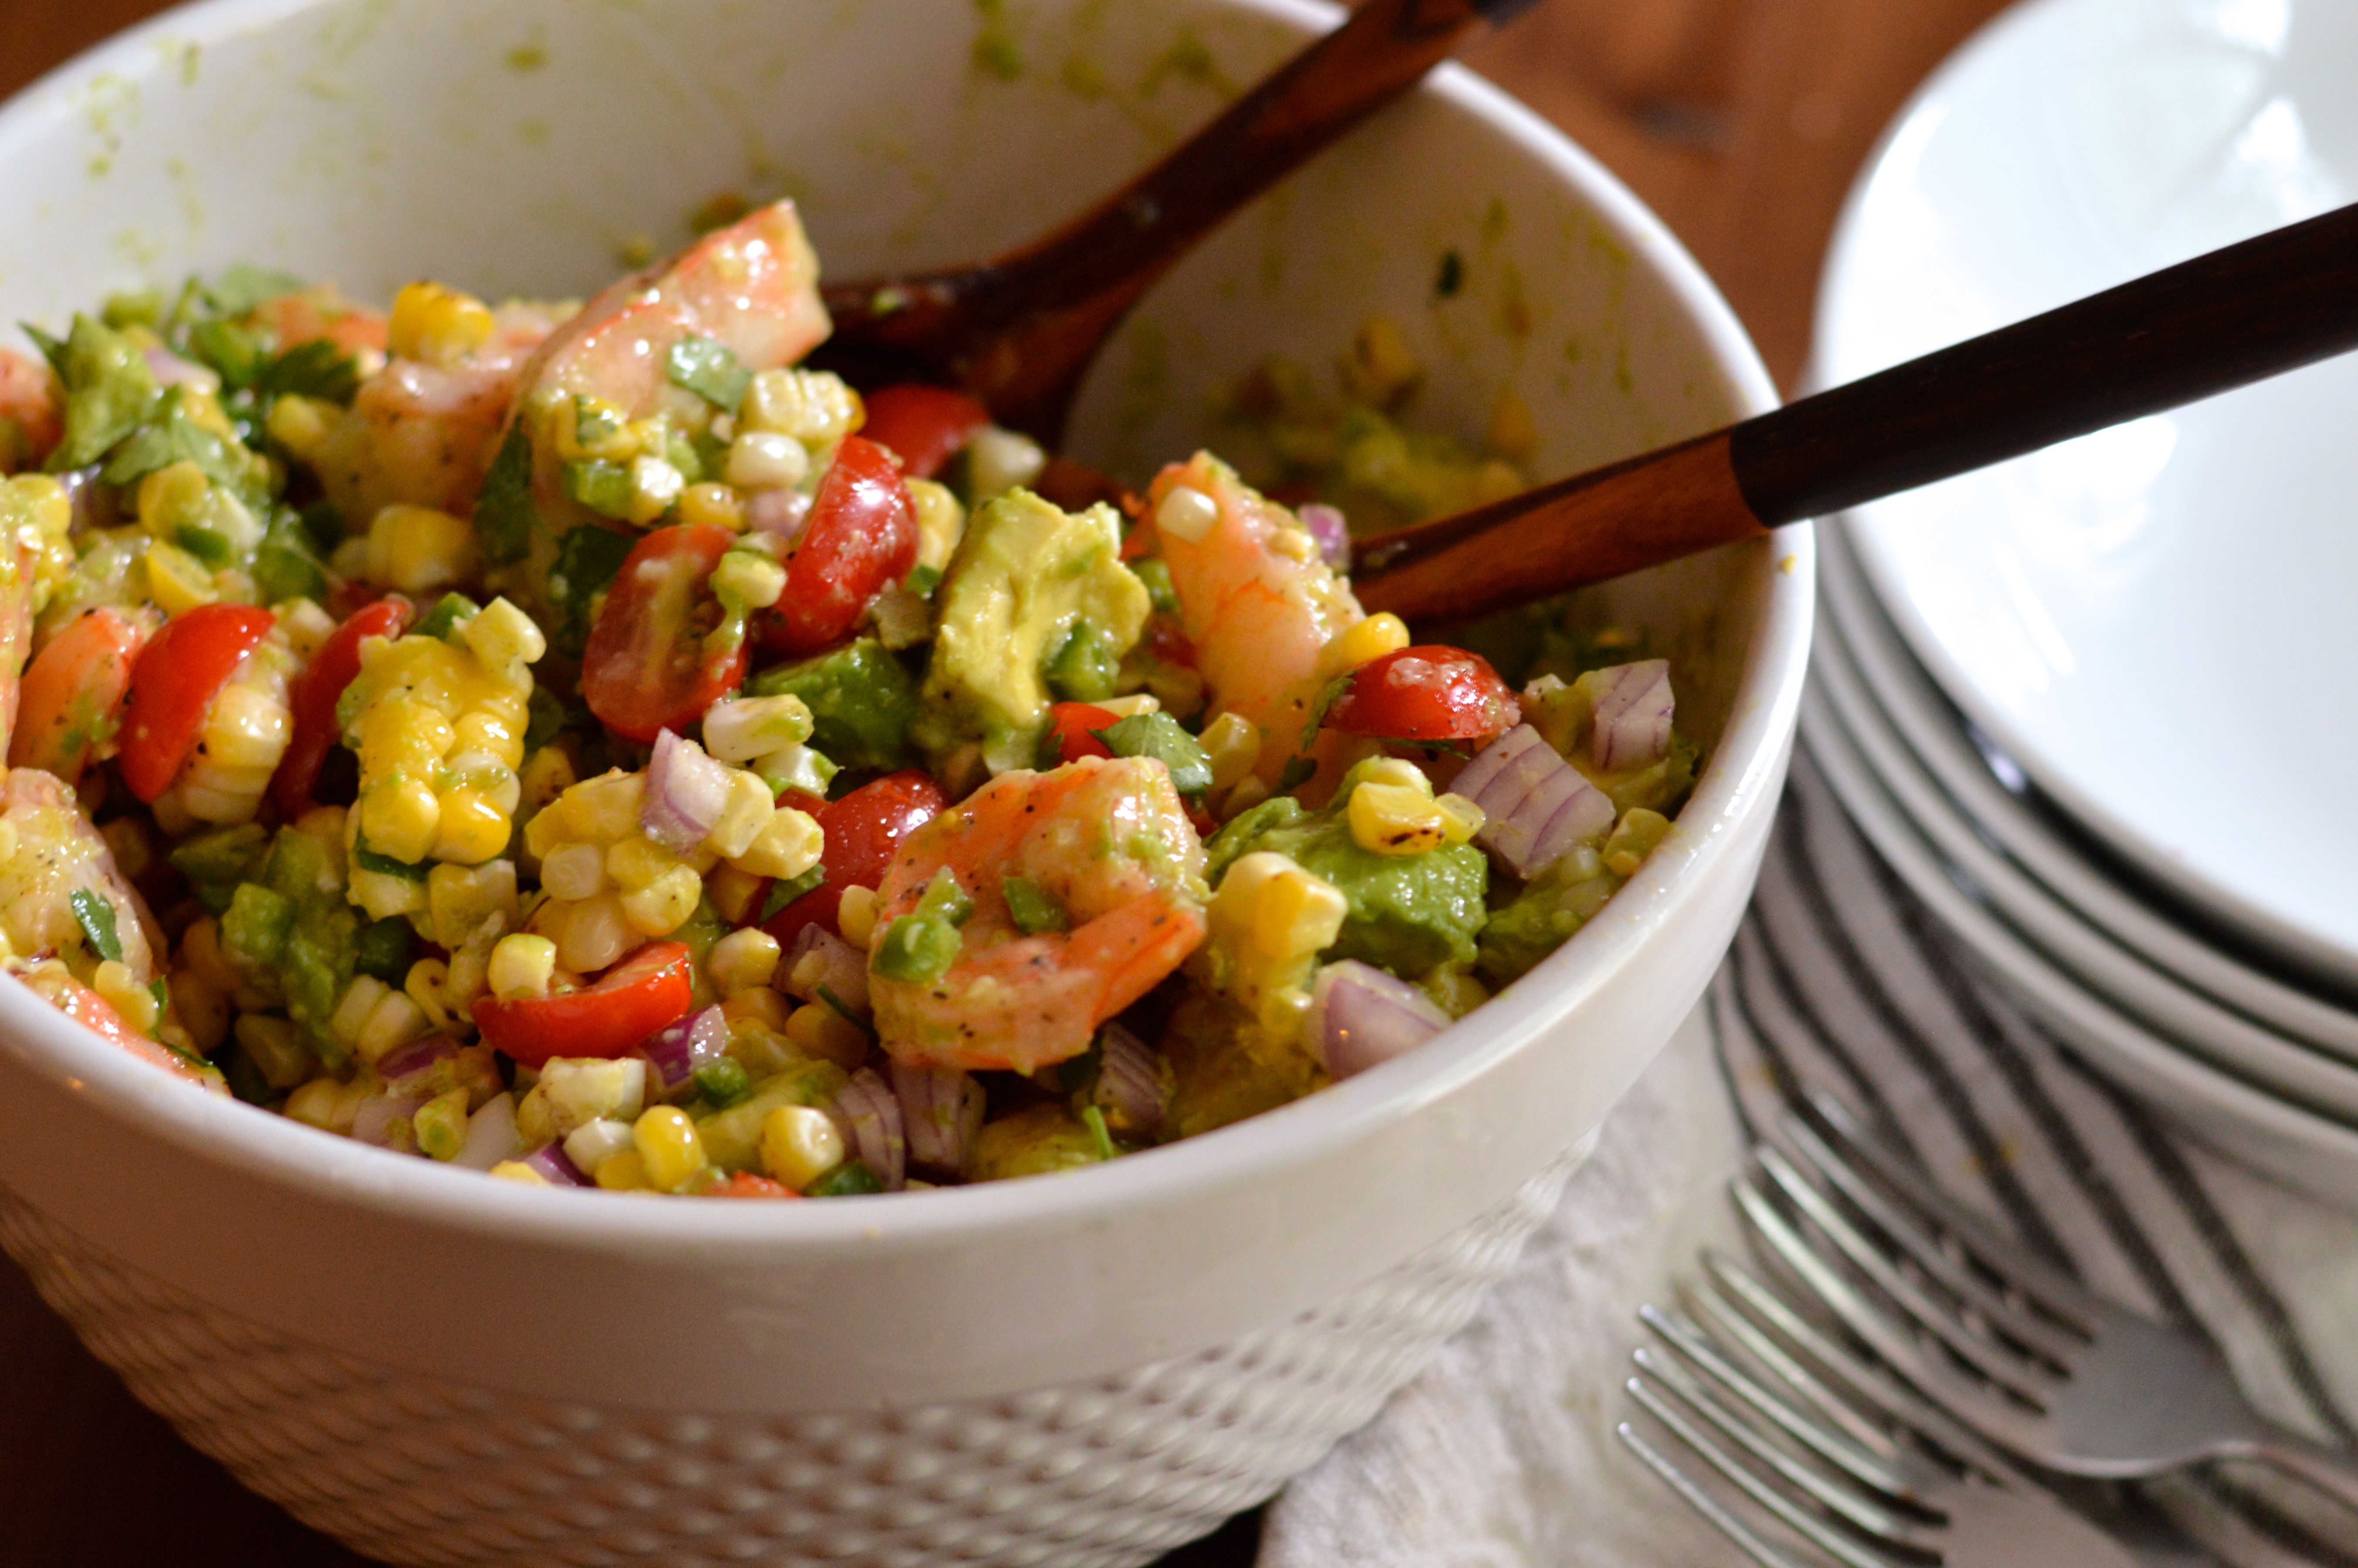
The bright fresh red cabbage adds a really nice crunch, and the jalapeño crema adds a welcome creaminess with a hint of spice. Mine actually wasn’t very spicy at all, but that will depend on your jalapeños. A nice squeeze of bright fresh lime juice and you’re in shrimp taco heaven!

grilled shrimp tacos with cilantro pesto and jalapeno crema | Brooklyn Homemaker

grilled shrimp tacos with cilantro pesto

3 cloves garlic
2 cups fresh cilantro, lightly packed
1/4 cup olive oil
2 tablespoons lime juice
1/2 teaspoon salt
1/2 teaspoon freshly ground black pepper
1 lb jumbo shrimp, peeled and deveined, tails removed
1/2 cup sour cream or Mexican crema
1/2 teaspoon lime juice
2 seeded jalapeños
1/2 teaspoon salt
1 cup shredded red cabbage
corn tortillas
1 lime cut into wedges

To make the cilantro pesto combine garlic, cilantro, olive oil, lime juice, salt, & pepper in a food processor and process until completely smooth. Transfer to a large bowl with shrimp and toss to combine. Cover and refrigerate for at least an hour or two, or overnight.
Clean the food processor and make the crema. Combine the sour cream or crema, lime juice, salt, and jalapeño and process until completely smooth.

I recommend using skewers to make the shrimp easier to flip and keep them from falling into the grill. If using wooden skewers make sure to soak them in water for an hour before use so they don’t burn up.

Add 5 or 6 shrimp to each skewer and try to leave as much of the pesto on them as possible. Grill the shrimp over a medium to high flame until just cooked through, flipping once. This should only take 3 or 4 minutes per side but that will depend on the heat in your grill. Warm your tortillas over the grill too, just until soft and warm, about a minute per side.

Assemble the tacos with two to three shrimp each, a sprinkle of shredded cabbage, a drizzle of crema, and a squeeze of fresh lime.

Advertisement

creole red jambalaya with chicken, shrimp, & andouille

Last Saturday when I got home from work I started making dinner.

creole red jambalaya with chicken, shrimp, & andouille | Brooklyn Homemaker

I cut up some broccoli, crisped up some bacon, made a béchamel, boiled some noodles, and grated a heaping pile of aged Irish cheddar. After mixing all the ingredients for my homemade macaroni & cheese together I turned the oven on to preheat while I melted a little butter for my bread crumb topping.

With the weighty casserole ready to go into the oven to bubble and crisp, I reached down to open the oven door. That’s when I noticed it wasn’t hot.
Panic.

creole red jambalaya with chicken, shrimp, & andouille | Brooklyn Homemaker

Though you wouldn’t know if from the number of baked goods I turn out of my kitchen, I have been having trouble with my oven for over a year. I won’t get into all the specifics, but it basically starts to preheat but will turn off before coming to temperature. After months of dealing with it I finally figured out that if I switched on the range it would trick the oven to turning back on and I’d be in business.
That is, until the night that I had a big dish of macaroni and cheese waiting to bake. No amount of trickery or tinkering could induce my ancient apartment oven to turn on.

A broken oven. My worst nightmare.
I wanted to cry.

creole red jambalaya with chicken, shrimp, & andouille | Brooklyn Homemaker

I wrapped the macaroni and cheese up and put it into the refrigerator, crossing my fingers that it would miraculously work again the next day. Nope.

Of course my landlord is dragging feet his feet about getting it fixed too. Doesn’t he know who I am?

creole red jambalaya with chicken, shrimp, & andouille | Brooklyn Homemaker

A few days later we finally got a repair man in to take a look. After less than five minutes of tinkering he blithely says, “Oh it’s just a blown fuse.”
I had just enough time to breath a sigh of relief before he continued, “Of course I don’t have one with me, and it’s out of stock. We’ll have to order it. We’ll call you in a few days.”
Way to toy with my fragile emotions Mr. Evil Repair Man. After he left I microwaved a bowl of never-baked macaroni and cheese and cried into it.

Another day passed before I heard back from them, and just my luck, this tiny stupid fuse is backordered from the manufacturer and they don’t know when it’ll be back in stock. What are the chances?
When it’s my oven we’re talking about? 100%.

creole red jambalaya with chicken, shrimp, & andouille | Brooklyn Homemaker

I could use this as an opportunity to make no-bake recipes and experiment with any number of savory stove top recipes. But, of course in the absence of my oven, all I want to do is bake. I even want to bake things I would normally do on the stove top! I’m suddenly overwhelmed by cravings for baked eggs, roasted chicken, twice baked potatoes, roasted cauliflower. My urge to bake cookies, usually strong enough already, is suddenly all consuming. I’m overcome with worry that I won’t be able to participate in this month’s #bundtbakers, which is fast approaching.

Wallowing rather than overcoming, I can’t think of a single thing that I could share here that wouldn’t require a functional oven. Forget the fact that at least half or more of the recipes I’ve posted up until now haven’t.

creole red jambalaya with chicken, shrimp, & andouille | Brooklyn Homemaker

Then, one morning I wake up and suddenly I NEED to make jambalaya. I consult my favorite recipe to make a few tweaks. I consult other recipes to see what else could be improved on. Oddly enough, I discover a few recipes that call for the jambalaya to be assembled on the stovetop and finished in the oven! WHAT?!?! WHY!?!!?! Okay, forget that. Back to the original stovetop recipe I was looking at.

creole red jambalaya with chicken, shrimp, & andouille | Brooklyn Homemaker

My recipe hunt turned up so many different variations on jambalaya that I decided to turn to Wikipedia for some clarification. As it turns out, there are actually three distinct varieties of jambalaya, depending on the regions they come from and the ingredients used.

The style I made is called a red Creole jambalaya, or a city Creole jambalaya. This is the most common style, and the main difference between this and other varieties is the use of tomatoes. The less common rural Creole jambalaya is almost identical but uses no tomatoes in the recipe. The third, and even less common variety is the Cajun or “white” jambalaya, in which the rice is cooked in broth separately from the meat and vegetables and combined just before serving.

Most people believe Creole red jambalaya was created as a way to make Spanish Paella without using saffron which was very hard to come by at the time. Tomatoes were added in place of the saffron for flavor, but eventually the other two styles came about without the tomatoes.

creole red jambalaya with chicken, shrimp, & andouille | Brooklyn Homemaker

The house smells completely heavenly while this bubbles away on the stovetop (and not in the oven), and the flavor could not be more amazing. Tender rice, perfectly cooked shrimp, soft cooked vegetables, and andouille with a nice bit of bite. The fresh herbs, crushed tomatoes, and spices combine to make one of the most flavorful dishes I’ve had in a good long time. Using smoked paprika really makes a difference to impart a nice smoky depth to the dish and the cayenne adds a welcome bit of heat.

Depending on how spicy you like things, the heat level can definitely be adjusted to your taste. I like mine quite spicy so I used the full teaspoon of cayenne. One teaspoon might not sound like much, but a little goes a long way and gave this big pot of jambalaya some serious heat. Feel free to scale it back to 1/2 or even 1/4 teaspoon if you can’t take the heat, but I beg you not to skip it altogether or you’re not doing it right!

creole red jambalaya with chicken, shrimp, & andouille | Brooklyn Homemaker

Creole Red Jambalaya with Chicken, Shrimp, & Andouille

  • Servings: about 8 to 10
  • Print
adapted from Spoon Fork Bacon for the Fix

1 tablespoon olive oil (or bacon grease, if you have it, will add a bit of welcome smokiness)
12 to 16 oz. Andouille sausage, thinly sliced
1 lb boneless skinless chicken thighs, cut into small bite sized cubes
1 medium yellow onion, diced
1 red bell pepper, seeded and diced
1 green bell pepper, seeded and diced
2 to 3 ribs of celery, diced (about 1/2 cup)
4 garlic cloves, minced
1 1/2 cups of corn kernels (fresh is best but frozen is fine)
2 cups long grain rice
2 tablespoons parsley, finely chopped
1 tablespoon thyme, minced
2 1/2 teaspoons smoked paprika
1/4 to 1 teaspoon ground cayenne pepper (to your taste)
2 teaspoons cumin
1 (15 oz) can, crushed tomatoes
3 cups chicken stock
1 lb. shrimp, cleaned peeled and deveined

garnish:
fresh thyme, parsley, or green onion

Preheat 1 tablespoon of oil or grease in a heavy stockpot or dutch oven over medium-high heat. Brown andouille for about 5 minutes, remove from oven, leaving grease, and set aside.
Add chicken thighs, season with salt and pepper, and cook about 5 minutes. They don’t need to be cooked through, just have a bit of color on them. Remove and set aside with sausage
Add onions, bell peppers, and celery and sauté for 4 to 5 minutes or until onions barely begin to look translucent.  Season with salt and pepper. Stir in garlic and corn and continue to sauté for 2 minutes more.
Add rice, herbs and spices and sauté for 4 to 5 minutes. Season well with salt and pepper.
Stir in crushed tomatoes, stock, chicken thighs, and sausage. Bring mixture to a boil, then reduce the heat to simmer and cover. Cook for about 15 to 20 minutes or until cooked about 2/3 of the way, then add shrimp by gently pressing shrimp slightly into the mixture. DO NOT STIR while rice is cooking.
Cover again and continue to simmer for 7 to 10 minutes or until rice is cooked through and the liquid has evaporated.
Gently toss jambalaya together to incorporate shrimp and fluff the rice. Top with chopped parsley or sliced green onion, and serve.

I went camping!

A couple weeks ago I pulled a Snake Plissken and escaped from New York.

Brooklyn Homemaker goes camping!

I’ve mentioned this before, but my mom is in the process of renovating an old house upstate. I am a weirdo masochist so rather than using my vacation time this year to go to Europe of the Caribbean, I opted to go upstate and spend my vacation time sanding ceilings on a ladder, getting drywall dust in my eyes and lungs, breathing paint fumes, and working 10 hour days in an empty 100+ year old home with no air conditioning or functioning plumbing.

Brooklyn Homemaker goes camping!Brooklyn Homemaker goes camping!

When my mom said her contractor was almost finished putting up her new drywall and that she could use help sanding and painting, it didn’t take much arm twisting to get me on board. I totally love those kinds of projects and not-so-secretly wish that I had the opportunity to do them in a home I owned myself. She also needed some help choosing fixtures and finishes for her bathroom and kitchen, which is something I already spend countless hours doing on Pinterest, planning for my non-existent future home. The opportunity to actually do this for real, even if I wouldn’t get to live with the finished product, was a total dream.

My only stipulation for doing all that sweaty manual labor was that I would get to take off for two days with my older sister and her kids to go camping. Sorry house! I needed those two days to at least pretend this was an actual vacation! My mom needed the break just as much as I did, so she even joined in the fun and drove up to relax (and drink) with us on our second day.

Brooklyn Homemaker goes camping!Brooklyn Homemaker goes camping!Brooklyn Homemaker goes camping!

Before I moved to Brooklyn I used to camp, like, a lot. For most of my life I’ve lived either in the Fingerlakes region or in the Adirondacks, so spending time outdoors has always been a major part of my life. Since moving here though, opportunities to get out into the wild have been fewer and farther between. Having grown up in southern California, Russell doesn’t really share my love of staring into a camp fire for hours on end, or my love of sleeping with nothing but a thin sheet of polyester protecting me from the nocturnal creatures outside, making camping trips even less likely.  What, to me, is the height of rest and relaxation, to him is a painfully boring way to feed mosquitos.

Since Russell was going to sit this trip out and stay home with the pups, it took me all of a quarter of a second to decide I wanted to go camping. I called my sister and begged her to come with me (she needed zero convincing), and we started making plans. Since we only had a couple days, and my niece and nephews would be with us, we decided pretty quickly on Fair Haven Beach State Park. It’s less than an hour from my home town, and since it’s an established camping park we could just roll up, set up the tent, and get down to the business of relaxing. It also has a number of amenities like playgrounds and fishing spots to keep the kids entertained while we were doing our thing. Not only that, but it’s absolutely gorgeous there, with scenic ponds, untouched wooded areas, zillions of deer running around, and a gorgeous sandy beach on the shore of Lake Ontario, all just a short walk from the camp.

Brooklyn Homemaker goes camping!Brooklyn Homemaker goes camping!Brooklyn Homemaker goes camping!

Once we set up camp, and opened some wine, we set to building a fire and setting up our temporary kitchen. With three kids to feed, my sister takes food just as seriously as I do. We brought a ton of fresh produce with us, some from her garden and some from the farmer’s market in my home town; along with plenty of supplies from the grocery store. We ate like kings (and queens) over the course of our stay, and I while I was there I was bound and determined to try to take some blog worthy camping food photos. Always thinking ahead, just before leaving Brooklyn I rolled a couple of my knives into some kitchen towels and stuffed them into my suitcase along with my camera equipment and a cutting board.

campfire grilled salmon with tomato mango salad | Brooklyn Homemakercampfire grilled salmon with tomato mango salad | Brooklyn Homemaker campfire grilled salmon with tomato mango salad | Brooklyn Homemaker

We had a ton of juicy ripe tomatoes, and she’s picked up a couple of mangoes, so just before we got on the road I decided we should pick up a nice piece of fish and some limes to pull everything together. The salmon at my hometown Wegmans looked beautiful so that was that.

campfire grilled salmon with tomato mango salad | Brooklyn Homemakercampfire grilled salmon with tomato mango salad | Brooklyn Homemaker

Truth be told, if I were making this at home I would have done things a little differently. We didn’t bring any oil with us and the pan I used to cook the salmon wasn’t really ideal, but that’s half the fun of cooking in the great outdoors. The recipe below should be used only as a guideline, as cooking times and your camping supplies will vary a lot. It was a bit hard to gauge when the fish was cooked because the coals weren’t as hot as I would have liked them, but in the end everything was absolutely delicious. The salad was bright and acidic and complemented the smoky fatty salmon perfectly. Sometimes kids can be picky eaters but all three of them loved it just as much as we did.

Then, afterward, we had smores. Duh.

The whole trip was absolute heaven and I’m so glad I made the time to go. Spending time with family, sunny days, starry nights, the smell of wood smoke, plenty of wine, and chipmunks making off with the marshmallows. The perfect trip for the end of the summer. What better farewell to the season than to fully immerse yourself in it?

campfire grilled salmon with tomato mango salad | Brooklyn Homemaker campfire grilled salmon with tomato mango salad | Brooklyn Homemaker

Campfire Grilled Salmon with Tomato Mango Salad

4 servings of salmon (at least 4oz each- I used one big fillet that I portioned myself)
salt & pepper to taste
juice of 3 limes, divided
1 pint cherry tomatoes
2 mangos
1 small red onion, finely chopped

Season the salmon with salt and pepper, and squeeze with the juice of 1. Brush the grill or the pan with some olive oil, if you have it. Place the salmon skin side down on the grill or pan. Grill or sear until the flesh on the cooked side is visibly turning pale and firm. You want it to be cooked about 1/2 way up the side. Depending on the heat of your fire, grill, or pan, the time this will take can vary quite a bit. Over a camp fire it took a long time, but in a hot cast iron on the stove top it would only take 3 minutes or so.

Flip the salmon over and cook until sides have visibly turned completely pale and firm.

Meanwhile, make the salad. Slice the cherry tomatoes in half and place in a large bowl with finely chopped onion. Remove skin and pit from mango and slice into bite-sized chunks, add to the bowl and squeeze the remaining two limes over everything. Toss it all together with a spoon and season with salt and pepper.

If not already portioned, slice your cooked salmon into individual fillets with a sharp knife. Spoon salad over salmon just before serving.

Serve with grilled corn, if desired.

roasted shrimp and charred corn salad with jalapeño lime dressing

Russell’s cousin was just here visiting us from Massachusetts.

roasted shrimp and charred corn salad with jalapeño lime dressing | Brooklyn Homemaker

This has been a really weird summer, both personally and socially, not to mention the fact that the weather has been all over the place. Back in May I was completely gung-ho about spending tons of time outdoors and hosting barbecues every weekend, but sometimes life gets in the way, you know? Russell left his job early this summer to move into a new career. He was comfortable but miserable at his last job and now he’s found something he totally loves. Things are looking up and he’s doing great now, but money has been a little tight over the past couple months. Even though feeding and hosting our friends has always been something we both love to do, we haven’t been able to justify the expense this summer. Beyond all that, we’ve both been working weird hours lately and have had a hard time getting days off together, not to mention the fact that this August has been unseasonably cool, grey, and fall-like.

While Russell’s cousin was in town though, we were determined to get outside, fire up the grill, and reclaim this summer. We worked out a day when we’d both be off of work and started making arrangements. A menu was planned, wine was bought, and a trip taken to the farmers market for ingredients.

roasted shrimp and charred corn salad with jalapeño lime dressing | Brooklyn Homemaker

One of my favorite quick summery meals to throw together for company (or for a weeknight meal) is a spicy & tangy salad with shrimp, corn, tomatoes, & avocado. Late in summer the tomatoes and corn are impossibly bright and fresh and juicy, so I knew this would be the perfect easy meal for entertaining.

roasted shrimp and charred corn salad with jalapeño lime dressing | Brooklyn Homemaker

And then the weather decided not to cooperate. It didn’t quite pour all day, but the sky was grey and dreary, the temperature brisk, and the weather bounced between drizzle and mist for most of the day. Even though the weather was working against us, we had everything we needed for our no-longer-to-be-grilled meal, so we forged ahead.

roasted shrimp and charred corn salad with jalapeño lime dressing | Brooklyn Homemaker

Instead of grilling the shrimp on skewers as planned, they were roasted on a sheet pan in the oven. To give the corn some color and flavor, I traded one open flame for another and attempted to “grill” the ears by resting them over the burner grates on the gas range. As the ears sizzled and popped I slowly rotated them until they were ever-so-slightly, but evenly, charred all over. The corn wasn’t cooked through but it definitely took on a good grilled flavor. The corn was super fresh from the farmer’s market, so it was sweet and crunchy enough that we could have eaten it completely raw if we’d wanted to.

roasted shrimp and charred corn salad with jalapeño lime dressing | Brooklyn Homemaker

Despite being super delicious and impressive, this meal comes together pretty quickly with very little fuss. It’s great for company, but works just as well as a simple weeknight meal for you and your family. The most time consuming step is prepping and chopping the vegetables and making the dressing, but there aren’t a ton of things to chop and the dressing is really simple, with only a few ingredients. If you want to get a head start, you could make the dressing a few hours ahead, or you could even make the whole salad ahead and serve it straight from the refrigerator.

roasted shrimp and charred corn salad with jalapeño lime dressing | Brooklyn Homemaker

Whether you make this indoors or out, it is unbelievably summery and totally delicious and satisfying. The combination of flavors and textures in this salad are perfectly married together, but since no one flavor overpowers anything else, each ingredient is able to stand out on it’s own and really shine.  Crunchy smoky sweet corn, plump sweet red cherry tomatoes, soft creamy unctuous avocado, biting bright red onion, tender perfectly-cooked roasted shrimp, and tangy spicy citrus dressing. Heaven.

Can you think of anything better to share with your family and friends on a summer night?

roasted shrimp and charred corn salad with jalapeño lime dressing | Brooklyn Homemaker

Roasted Shrimp and Charred Corn Salad with Jalapeño Lime Dressing

1/4 cup plus 1 tablespoons olive oil (divided)
zest and juice of 2 limes (you want at least 1/4 cup juice)
1/4 cup loosely packed cilantro, finely chopped (skip or replace with parsley if you don’t like cilantro)
2 jalapeños, seeded and very finely diced
1 large clove of garlic, crushed
salt & pepper to taste
1 lb peeled and deveined shrimp
3 ears of sweet corn, shucked
1 pint grape tomatoes, sliced in half lengthwise
1 red onion, diced
2 ripe avocados

Preheat oven to 425, or preheat a charcoal grill.

To make the dressing, add 1/4 cup olive oil and lime zest and juice to a mixing bowl. Mix in finely diced jalapeño, chopped cilantro, and crushed garlic. Stir well and season with salt and pepper to taste. Set aside.

Toss shrimp in 1 tbsp olive oil and season with salt and pepper. Arrange in a single layer on a parchment lined sheet pan. Roast for 5 or 6 minutes, or until the shrimp is cooked through. You could also arrange the shrimp on skewers and grill them for about the same time.  At the same time, lightly char the shucked ears of corn on the grill or over a high flame on the stove top. I found the best way to do this is to use metal tongs to hold the ears, and rotate every minute or so until the corn is just beginning to blacken all the way around the ear. Slice the corn off the ear with a sharp knife, by holding the ear straight upright and rotating the ear while shaving downward with the knife. (If desired, you could also slice the corn off the ear first, and roast it in the oven on a parchment lined sheet pan at the same time as the shrimp.)

Add corn, shrimp, tomatoes, and red onion to a large bowl. Just before serving slice your avocado up in bite sized chunks (*see cooks note) and add to salad.  Pour dressing over entire salad and gently toss, trying not to mash the avocado. Serve with a little chopped cilantro and a lime wedge if desired.

*Cooks Note: Be sure to wait to slice the avocado until the last minute, or it will turn brown. I like to slice my avocado in half and remove the pit with a chef knife, and then switch to a butter knife to divide it into chunks. A butter knife is sharp enough to cut the soft flesh, but won’t go through the skin as easily. Once divided into chunks, I scoop the avocado out with a big dinner spoon.