biscuits

flaky butternut squash & sage biscuits

I have a confession to make…

flaky butternut squash & sage biscuits | Brooklyn Homemaker

I’m a biscuit snob.

There.
I said it.

flaky butternut squash & sage biscuits | Brooklyn Homemaker

Over the past few years there has been a sudden explosion of “Southern” “Soul Food” restaurants in my little corner of North Brooklyn.

It would appear that fried chicken is the new cupcake. No, that’s not right. Gourmet doughnuts are the new cupcake.
Fried chicken is the new… burger?

Don’t get me wrong. I ain’t complainin’. I can’t fry chicken to save my life, and I LOVE fried chicken.
Every time I’ve tried to make it at home it’s come out under or over cooked, usually pretty greasy, and never as crispy as I’d like. There are very few recipes I’ve never been able to master, but I’d like to think I know when enough’s enough. At this point I’ve accepted defeat and decided it’s better to just leave the fried chicken to the professionals.

flaky butternut squash & sage biscuits | Brooklyn Homemaker

The problem though, is that for all of the fried chicken professionals we have running around, I haven’t yet found a place where their biscuits don’t feel like an afterthought. It’s as if they know they have to serve biscuits because, like, they’re a chicken joint, but they don’t actually care about making sure they’re just as good as the chicken.

flaky butternut squash & sage biscuits | Brooklyn Homemaker

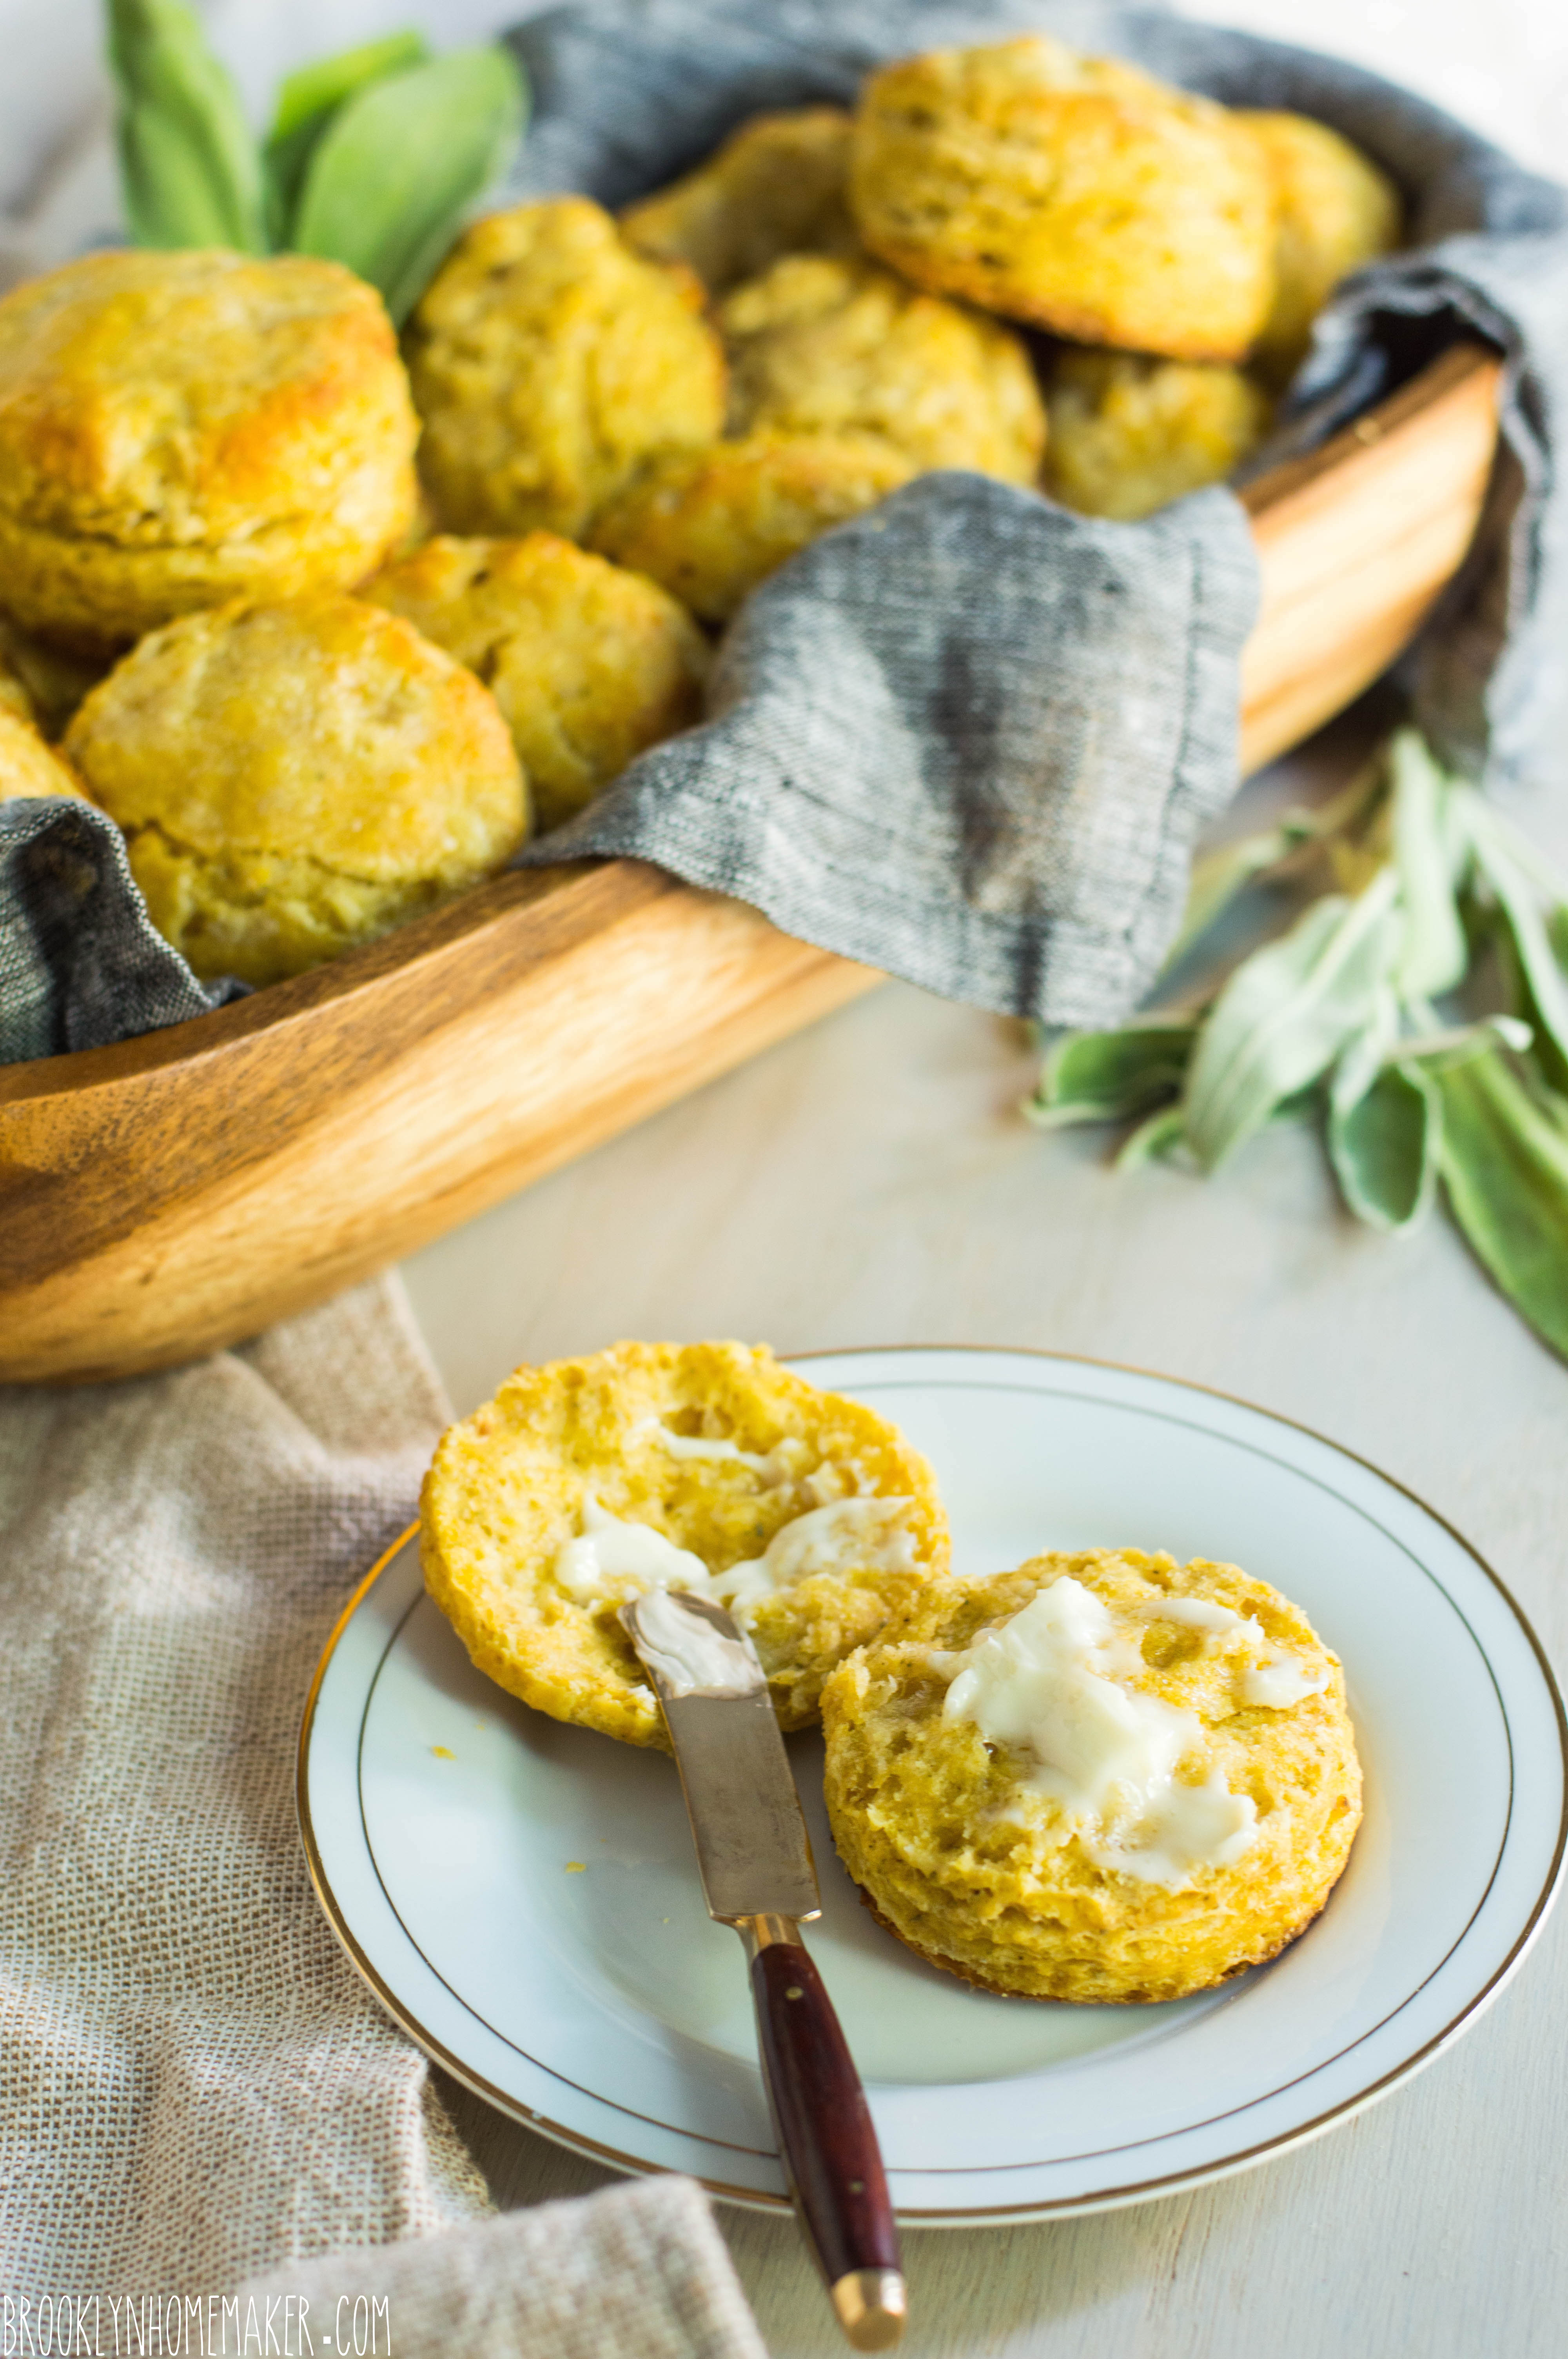
Instead of light, tender, flaky, delicate, pillowy, buttery little clouds of biscuits, most of the these so called chicken joints serve dense, tough little hockey pucks. Most of the time they serve them with a big ramekin full of honey butter, hoping you’ll slather so much on that you won’t notice there’s anything wrong. It makes me sad, and it doesn’t need to be this way.

flaky butternut squash & sage biscuits | Brooklyn Homemaker

I know a lot of people are afraid of making biscuits at home. I know it’s easy to screw them up if you don’t know to use a delicate hand. I know a lot of people think of biscuits the way I think of fried chicken. I’m reminded of the words of wise old G. Dubya, “Fool me once, shame on… shame on you. Fool me… you can’t get fooled again.”

Here’s the thing though. Biscuits are not that hard to get right. I promise you that they’re easier than frying chicken. Whether you’re at home on a Sunday morning, or slinging chicken in a busy hipster soul food restaurant, if you want a tender delicate biscuit the only trick is to treat them tenderly and delicately. It’s really that simple.

flaky butternut squash & sage biscuits | Brooklyn Homemaker

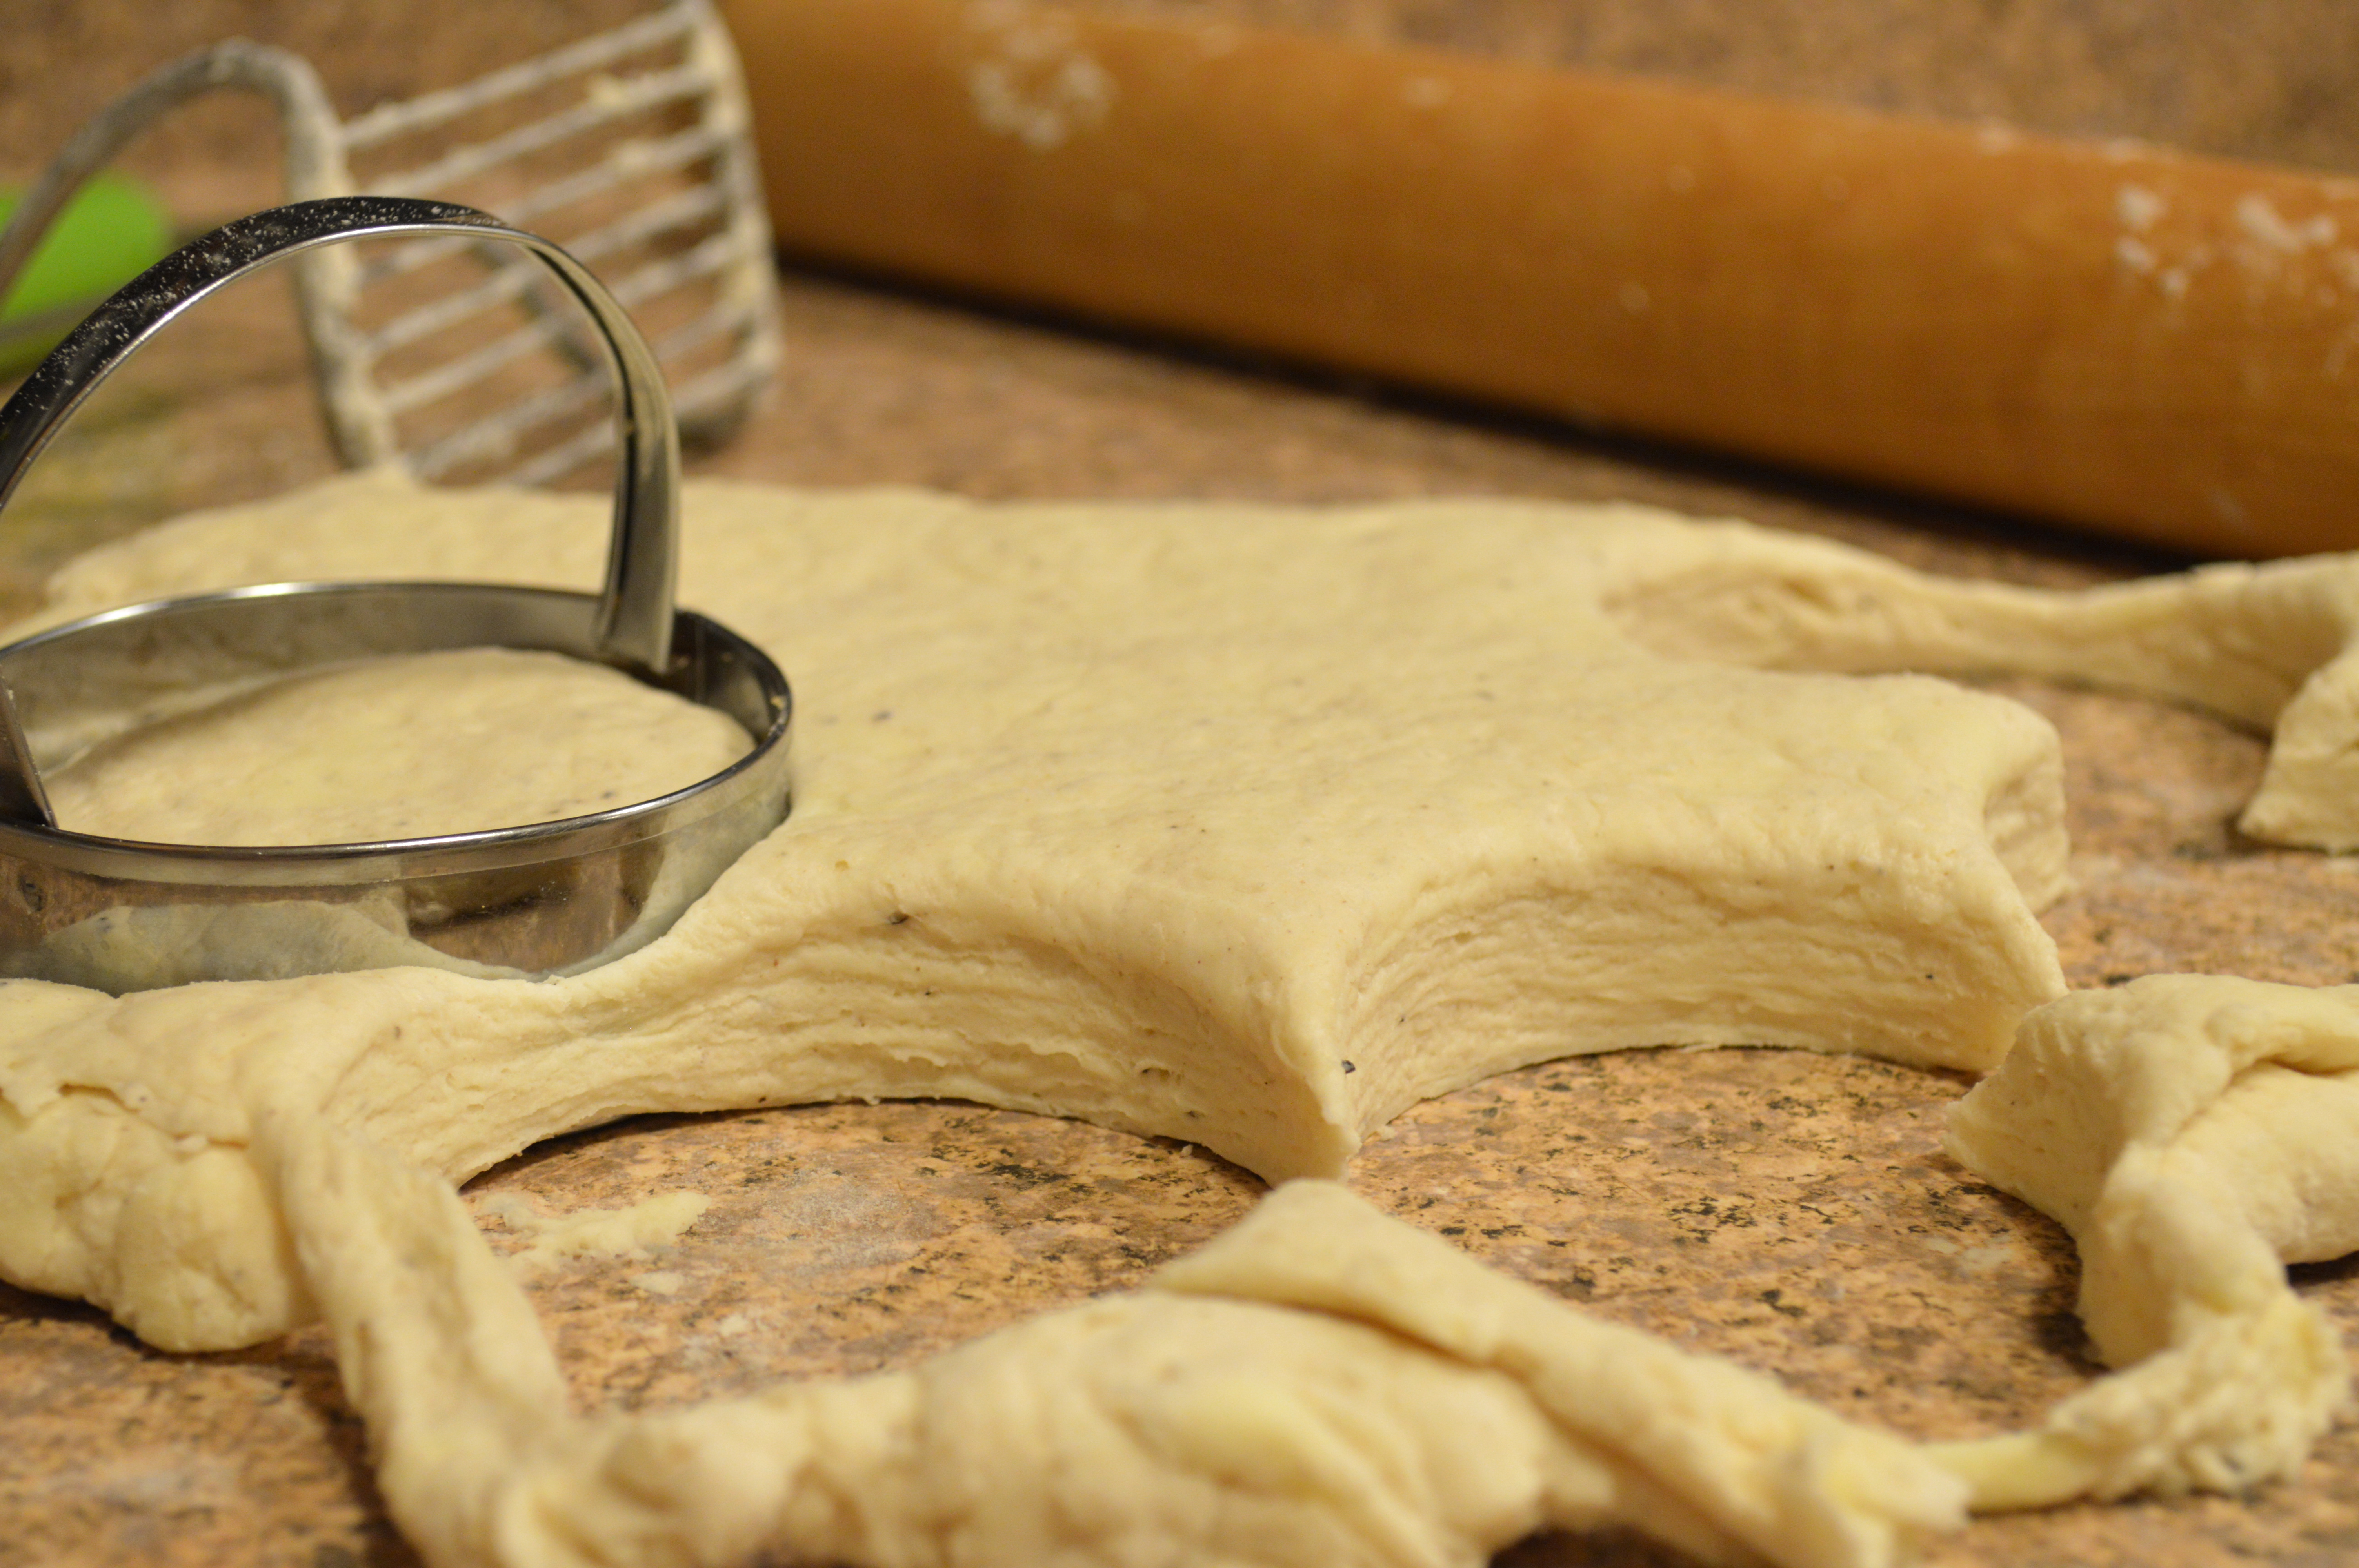
It doesn’t matter how you get the butter into the flour, as long as it doesn’t melt in the process. You always want to keep that butter cold. I used to think a pastry blender was the only method gentle enough for a tender biscuit, but I’ve tried pulsing the butter in with a food processor, cutting it in with two knives, even mashing it in with a fork, and they all worked just fine.

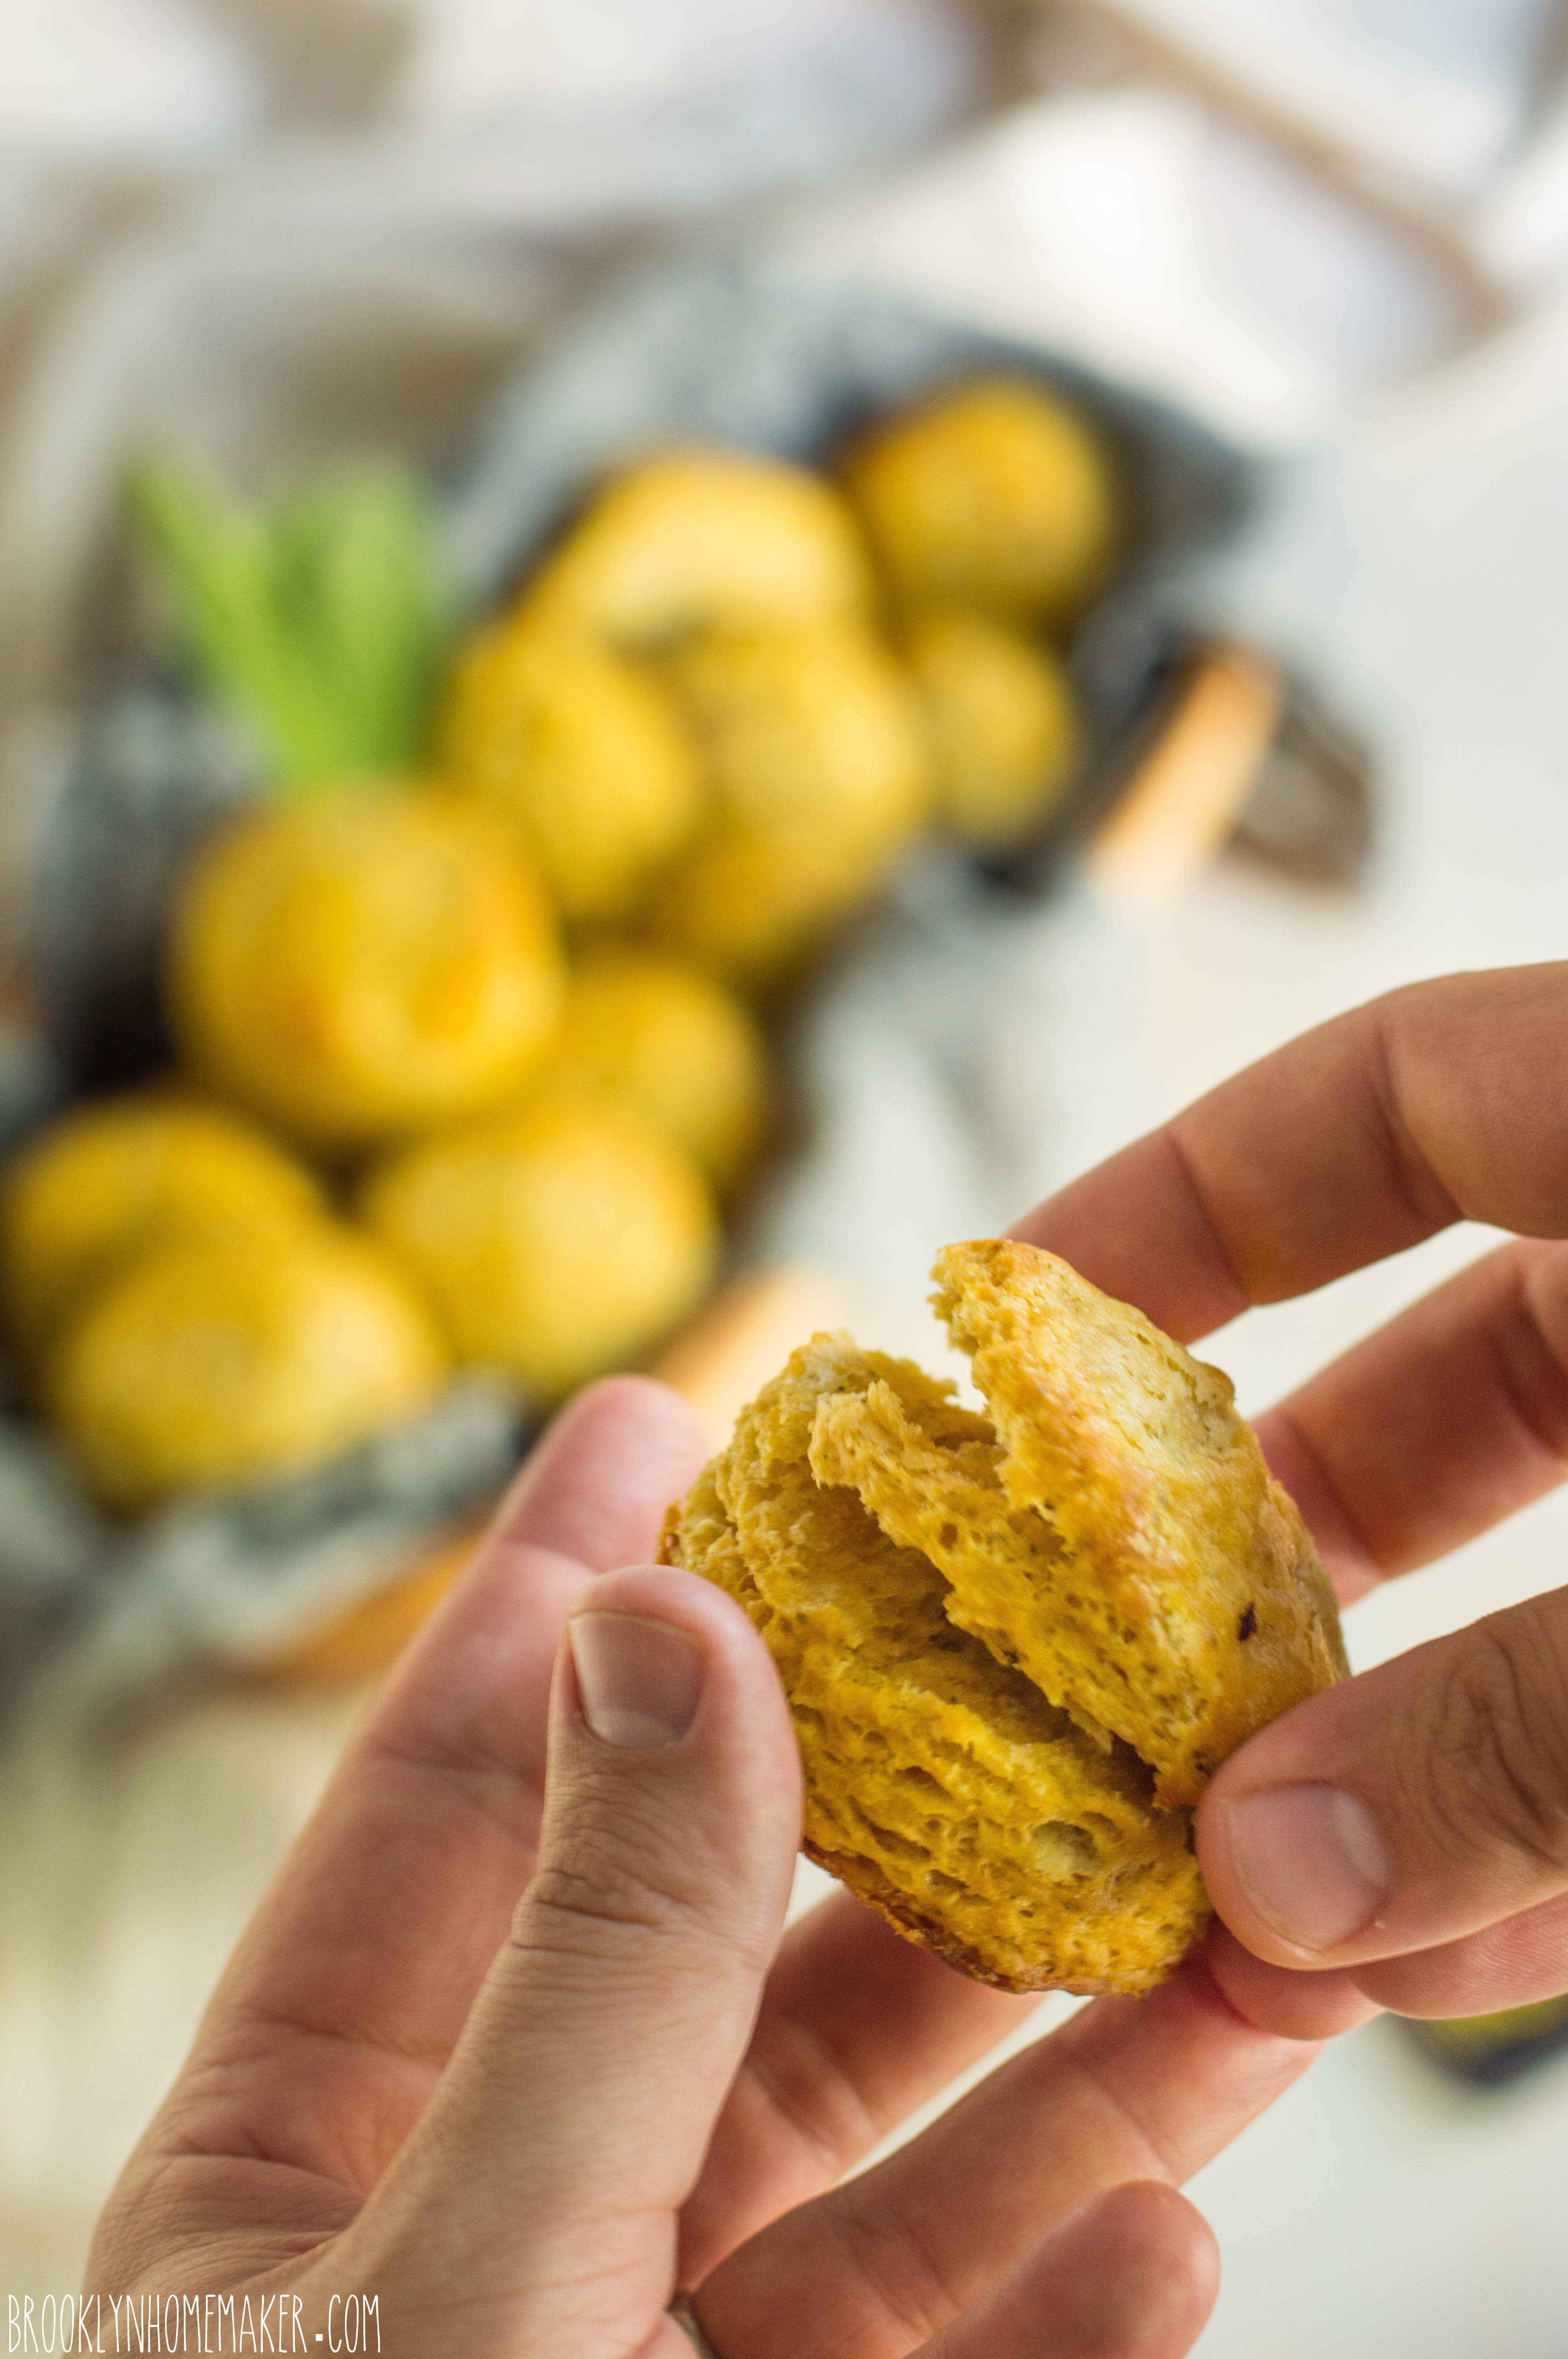
I think the thing that really makes the biggest difference is how you mix the liquid into the flour. You want to gently stir and fold the liquid and dry ingredients together to moisten as much of the flour as possible without over mixing it. If a bit of the flour doesn’t want to mix in, don’t sweat it. To make sure you have super flaky layers you’ll want to fold the dough over on itself a few times, so you can mix that little bit of extra flour back in then.

flaky butternut squash & sage biscuits | Brooklyn Homemaker

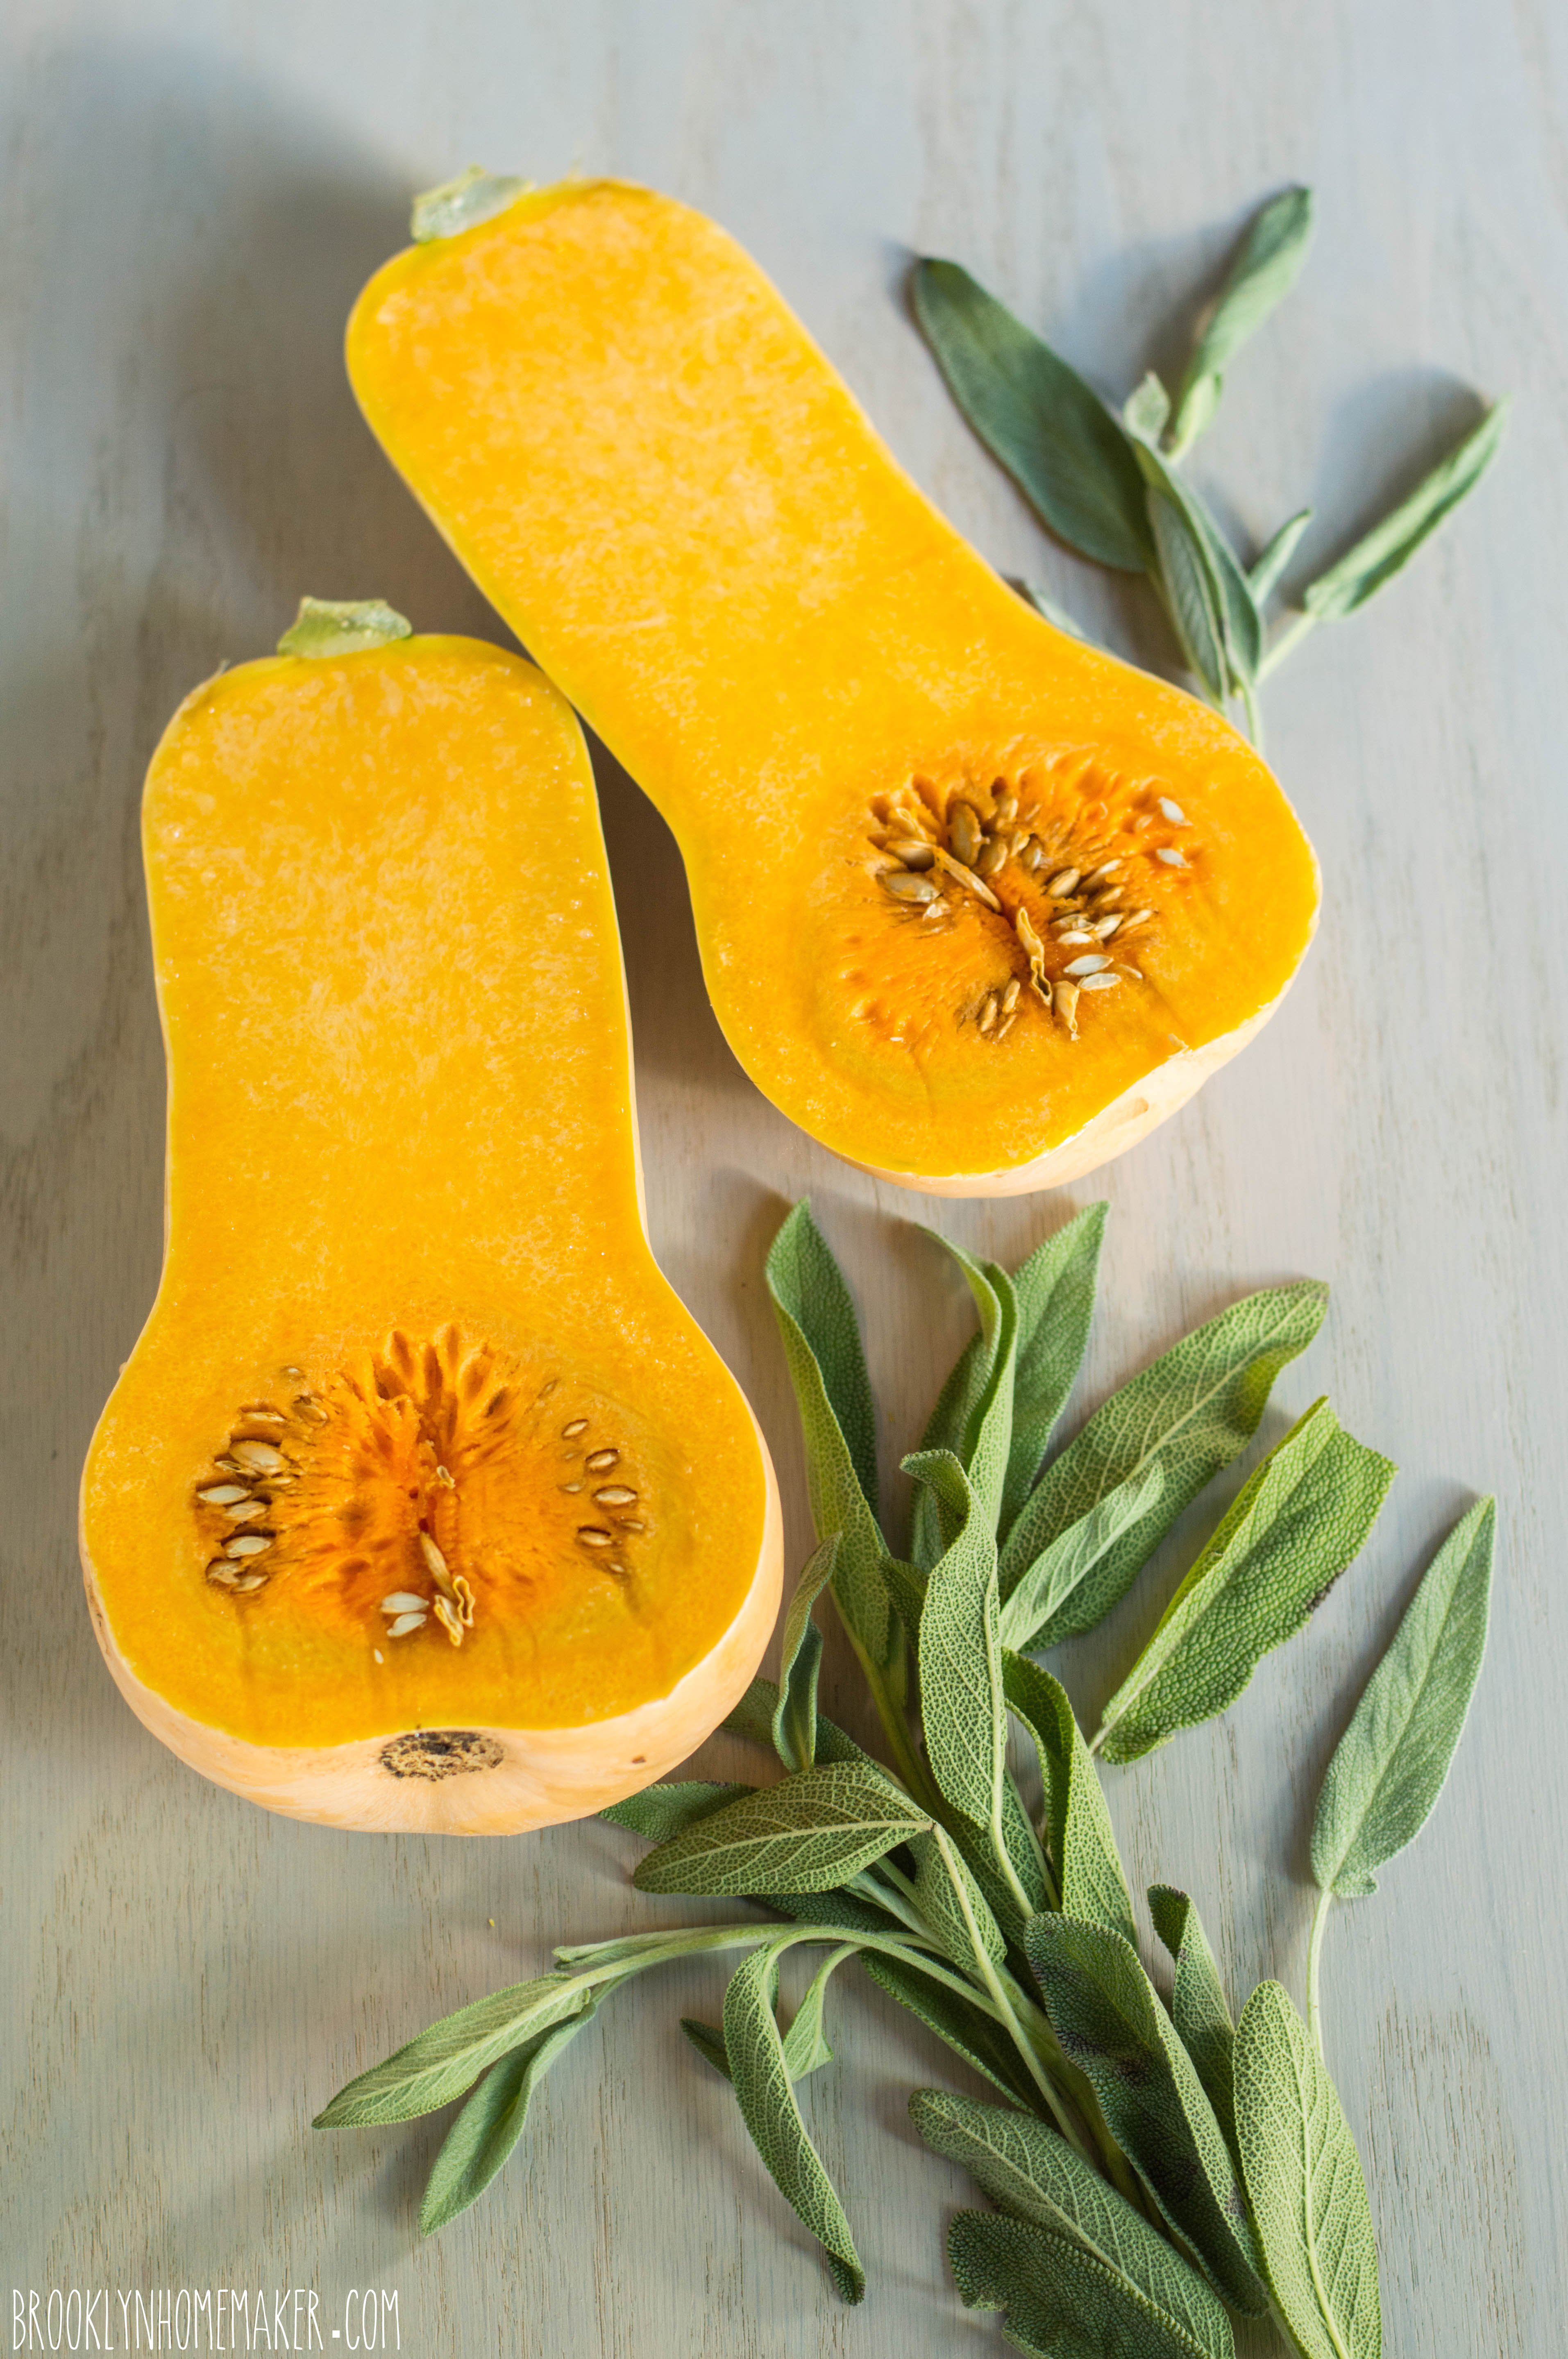
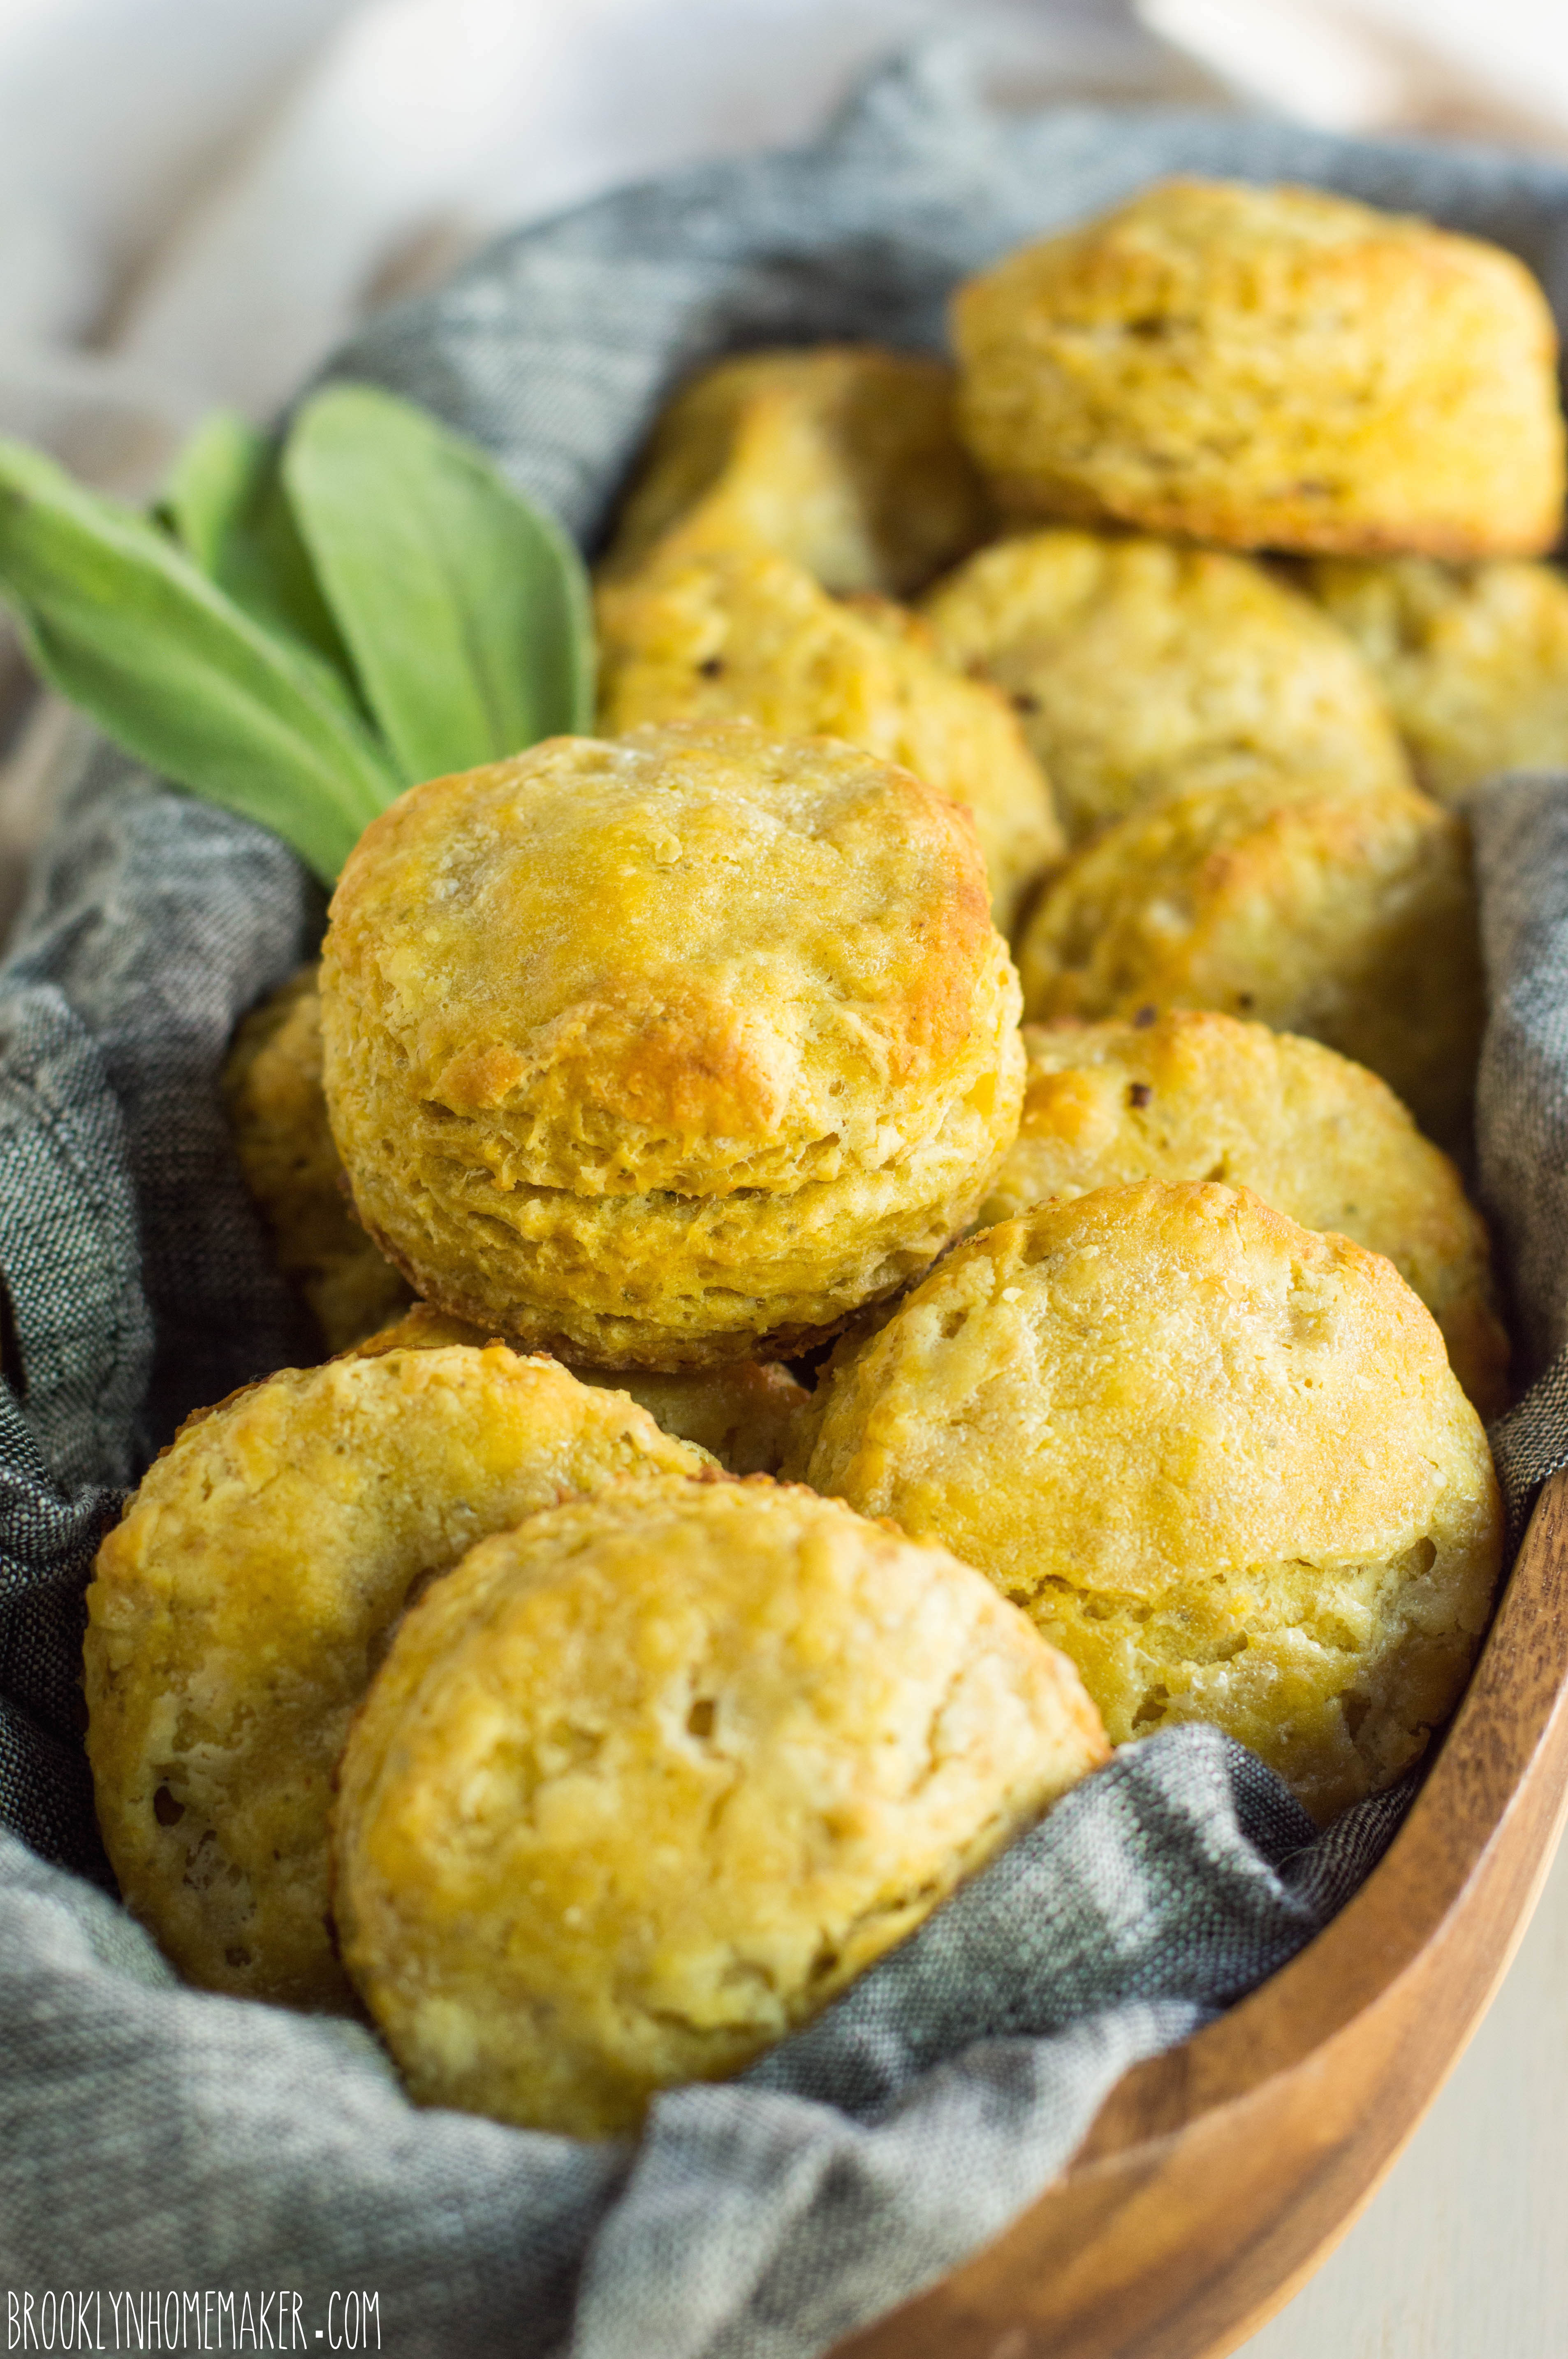
To add some extra flavor and interest, I took my old standard biscuit recipe and substituted some pureed roasted butternut squash for a bit of the buttermilk. This is a perfect recipe if you already plan to serve butternut squash at your Thanksgiving dinner. If you don’t, and you don’t want to take the time to roast the squash just for the biscuits, you can use canned squash if you can find it, or canned pumpkin if you can’t.

I also wanted to add the flavor of fresh sage to compliment the squash, but I didn’t really want to have large visible chunks of sage in the dough. I decided that the best way to evenly distribute the sage, and it’s fragrant earthy flavor, all throughout the biscuits would be to pulse the sage together with some brown sugar in the food processor. If you don’t have a food processor though, just try to chop the sage as finely as you can.

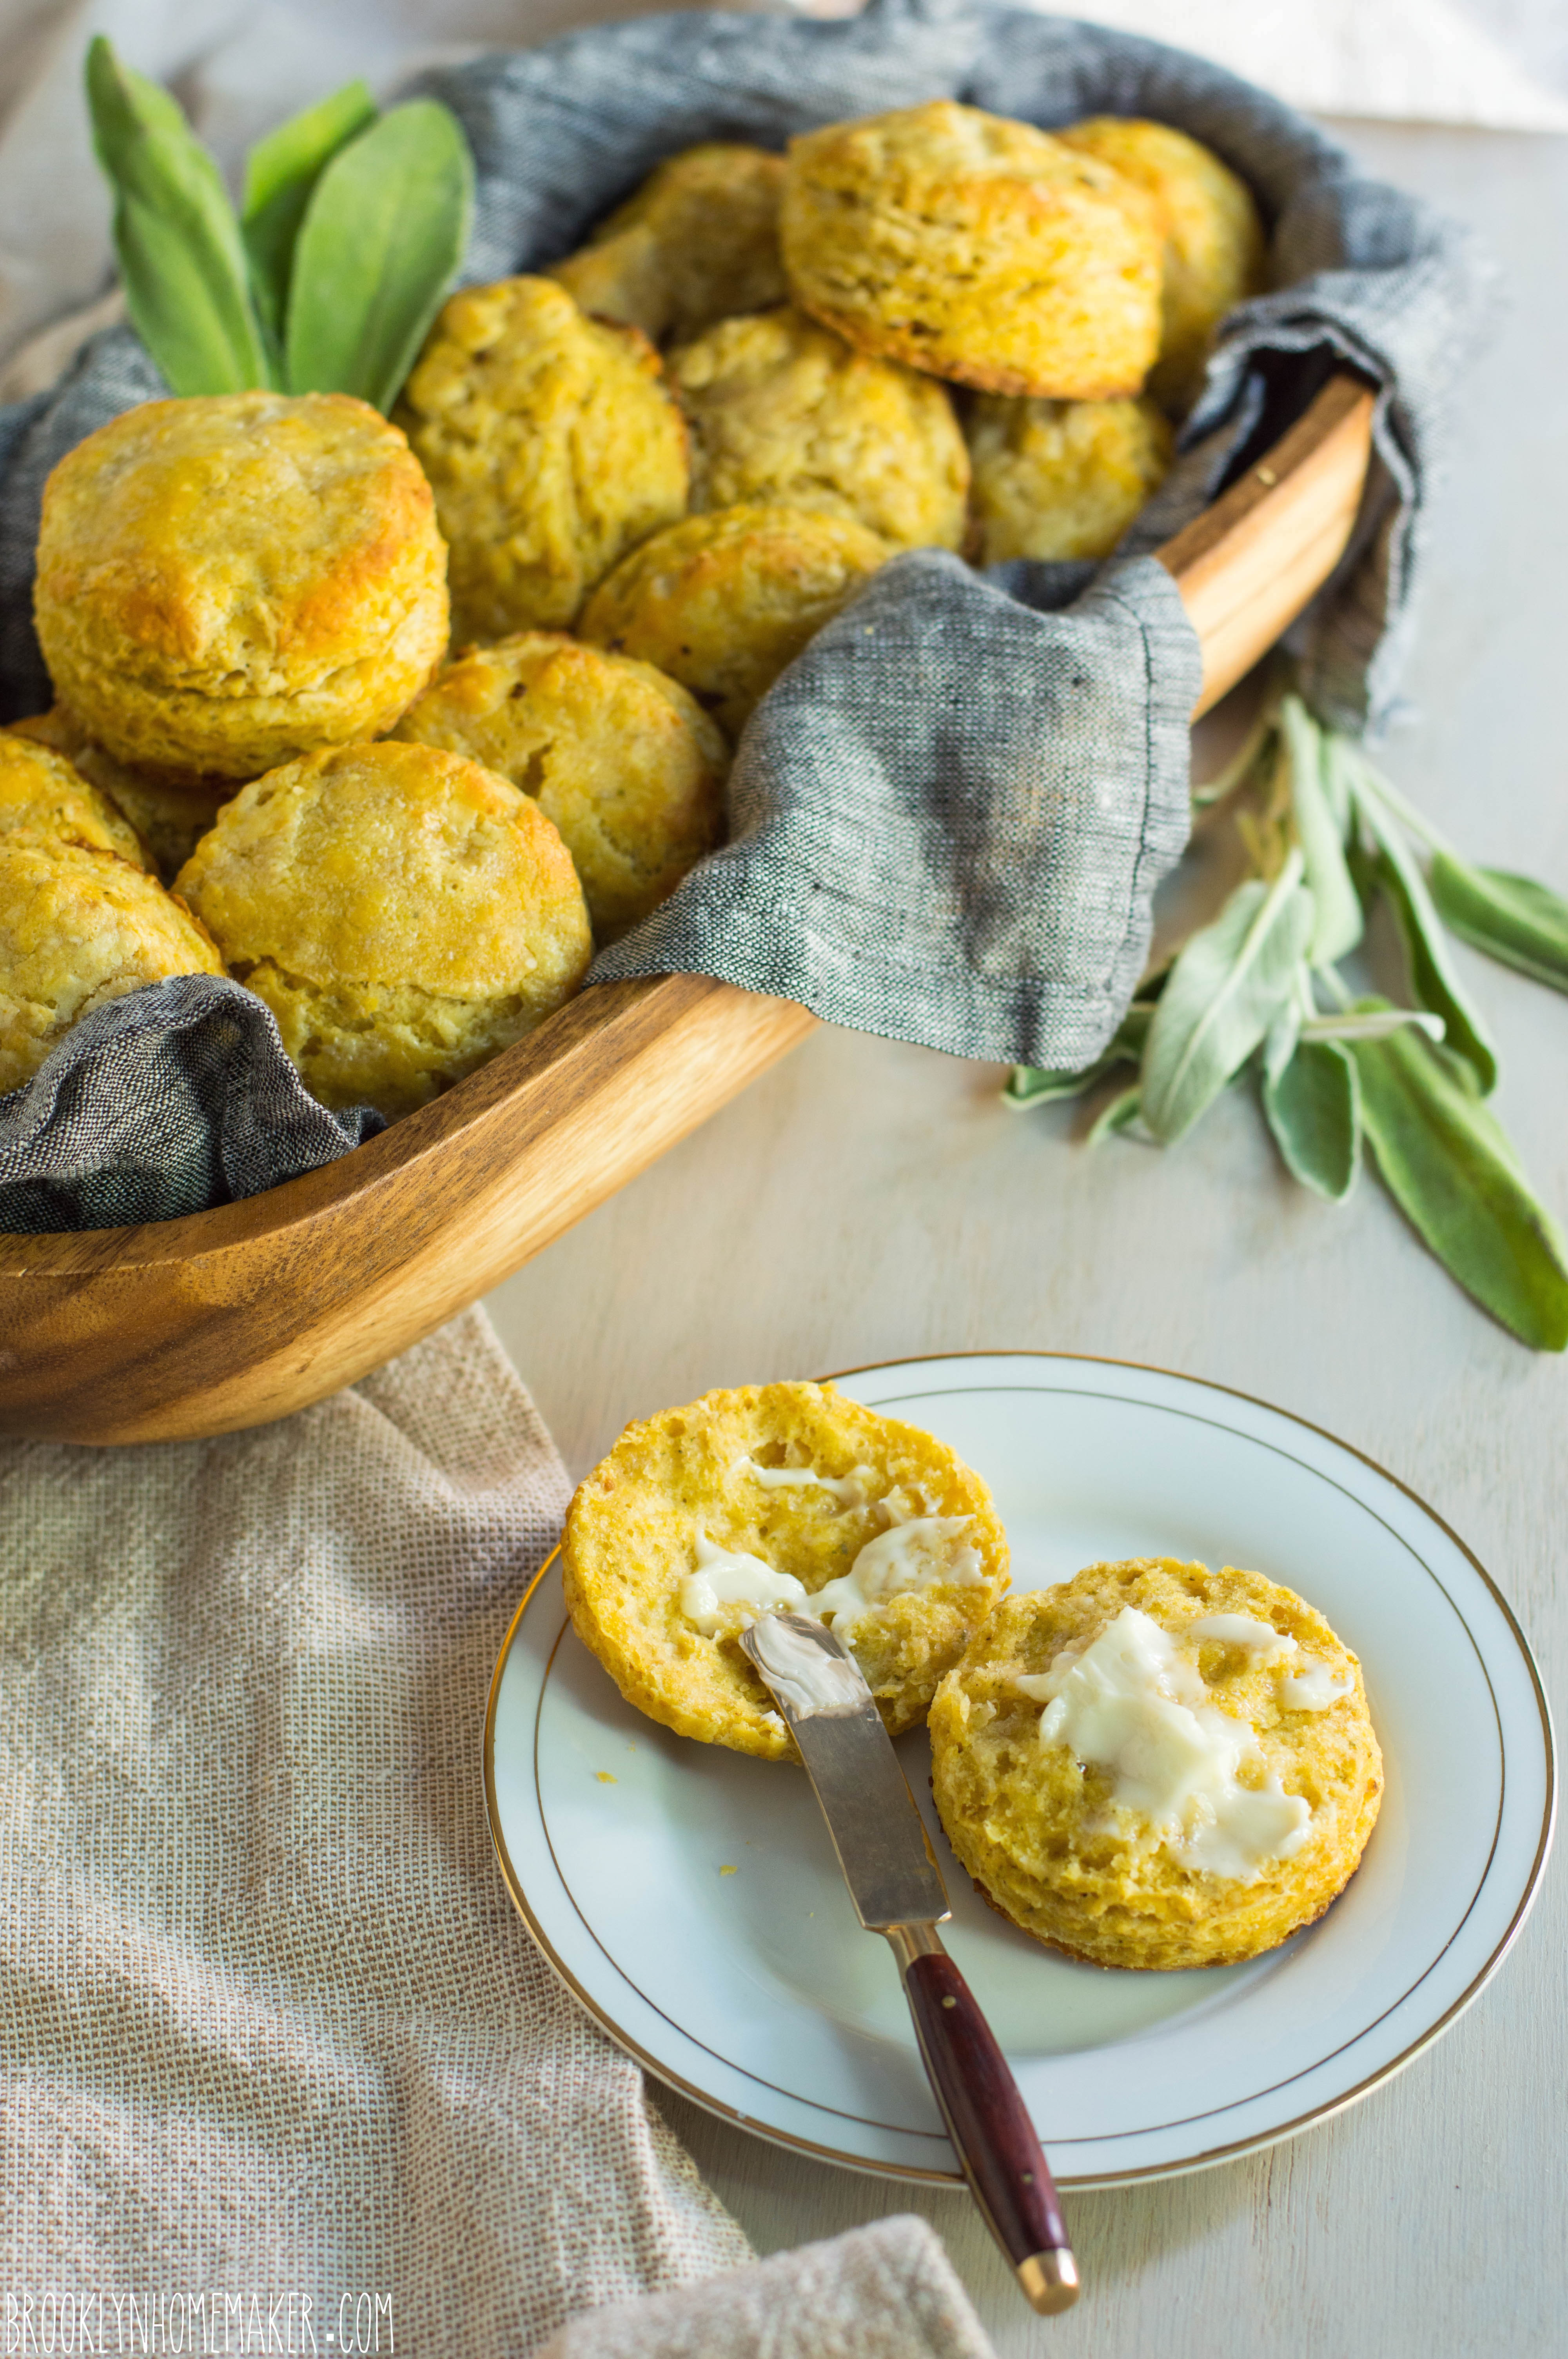
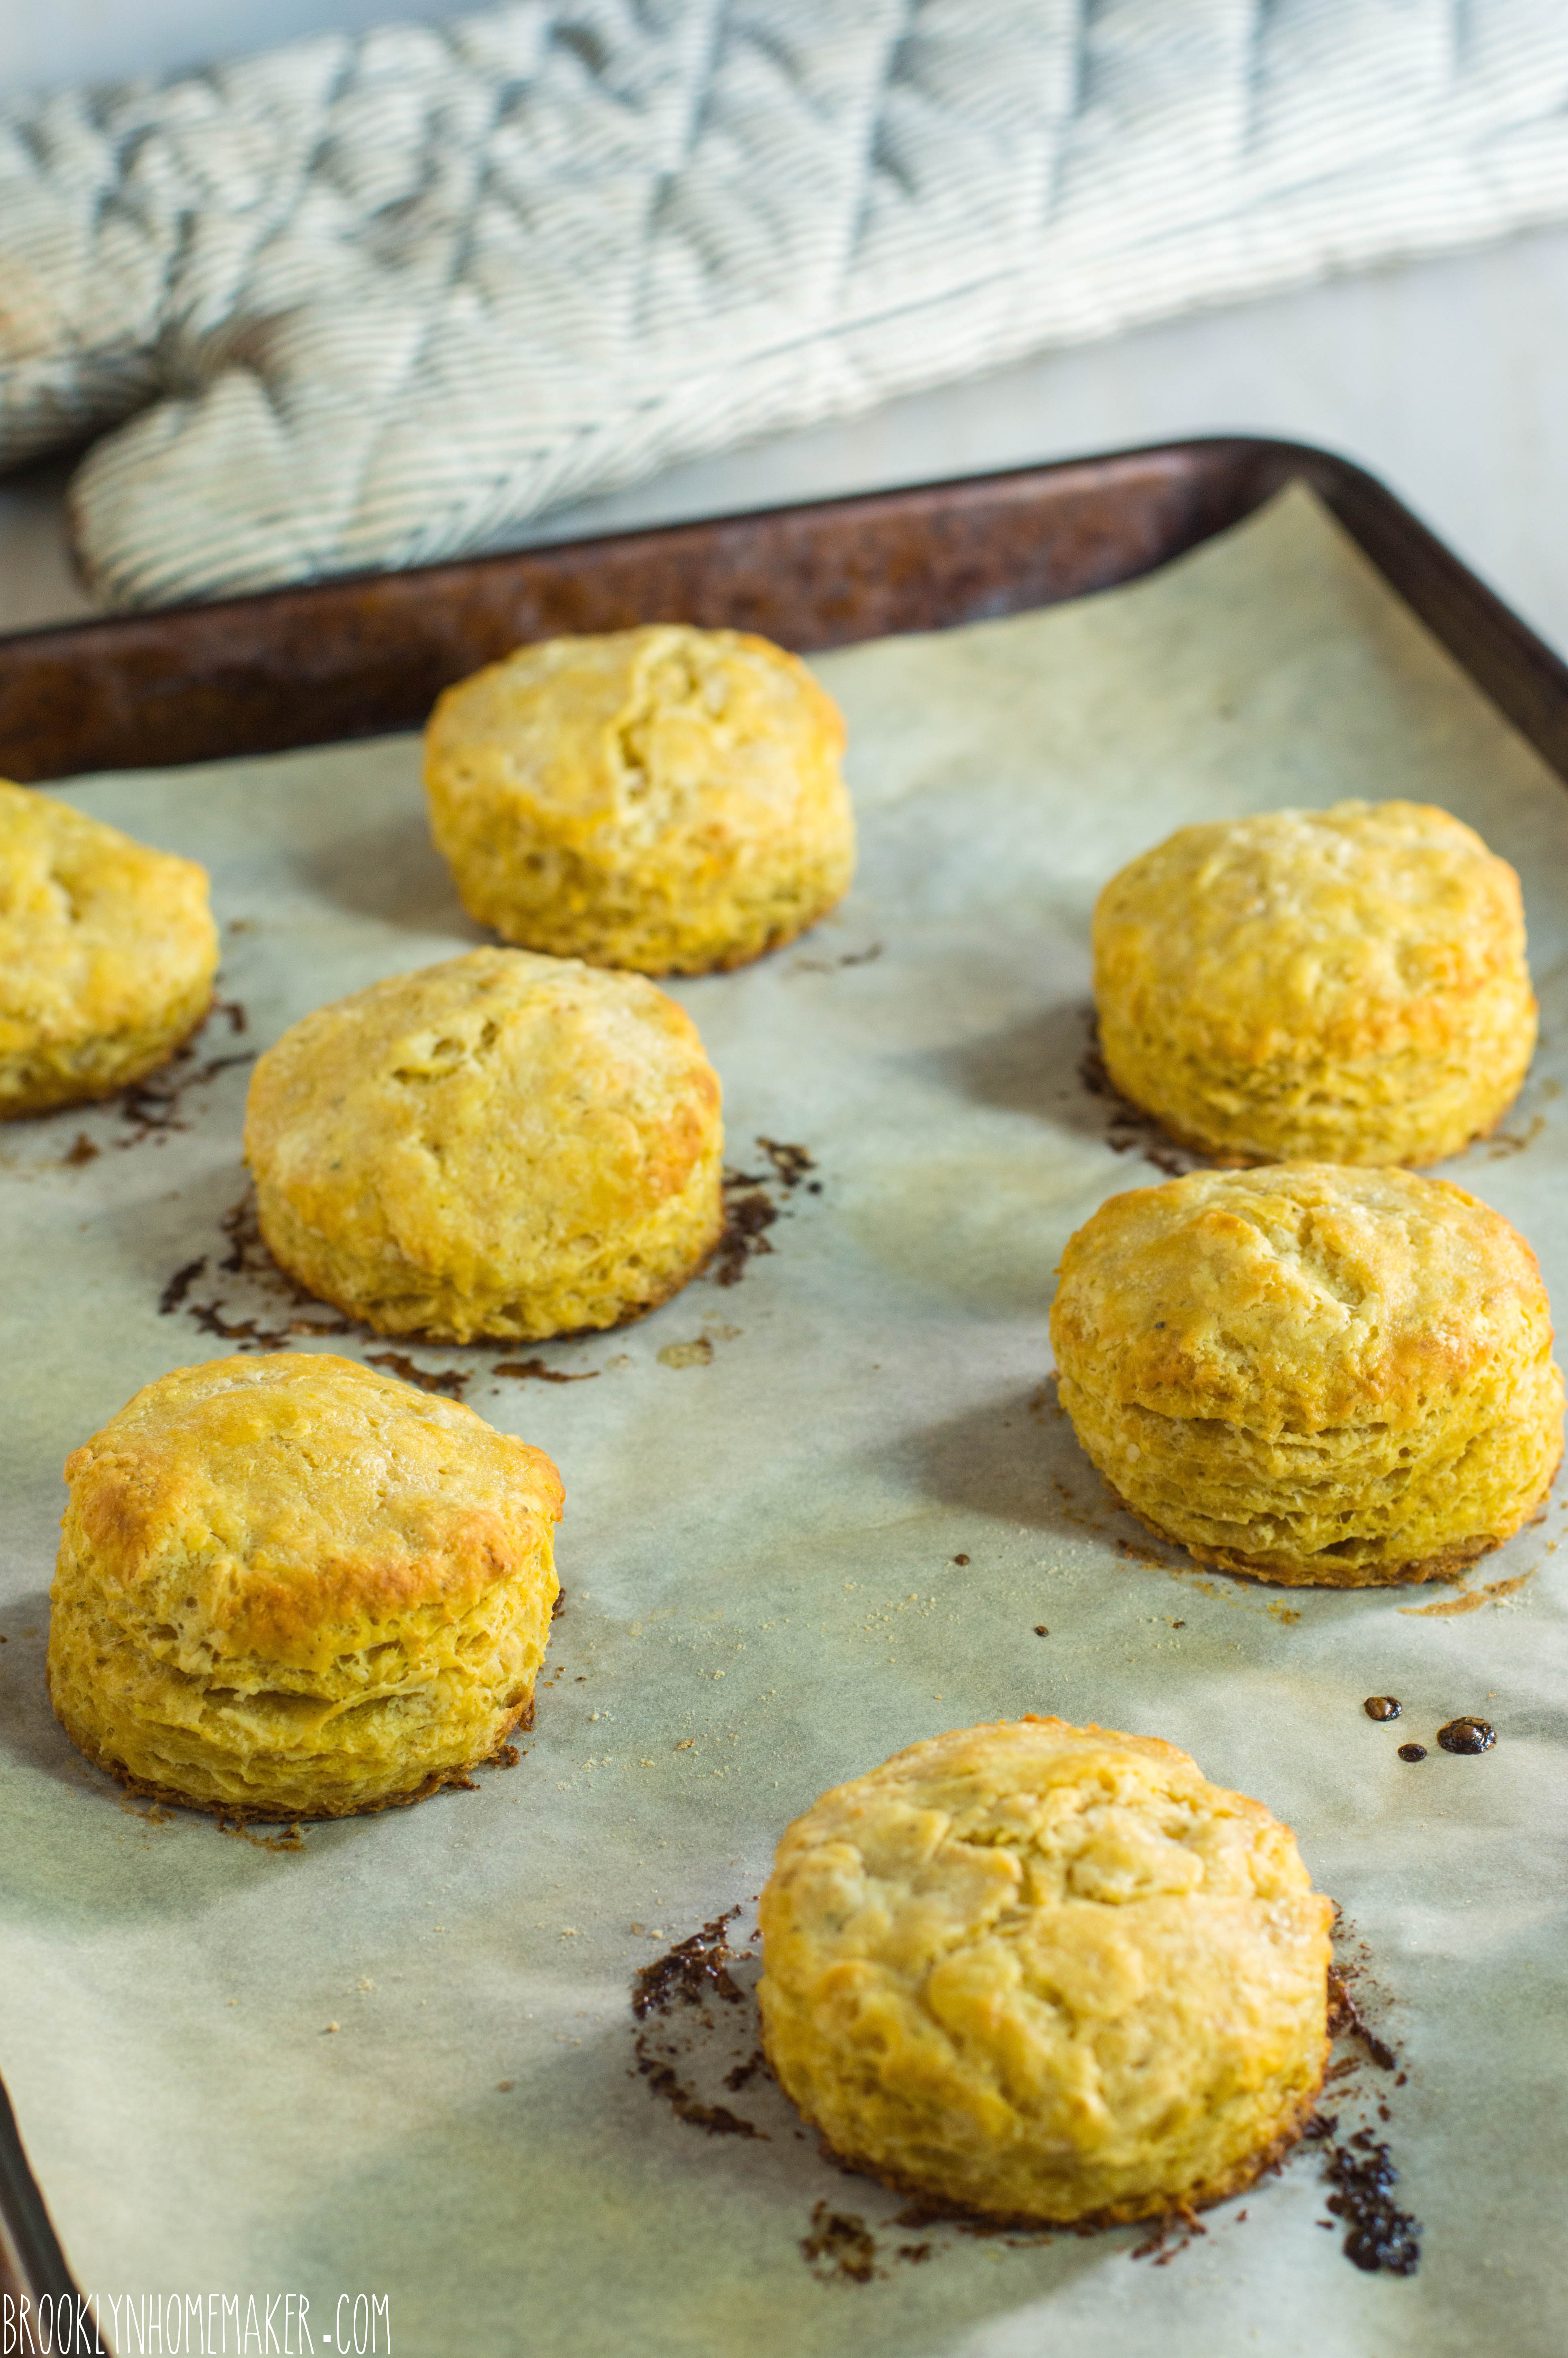
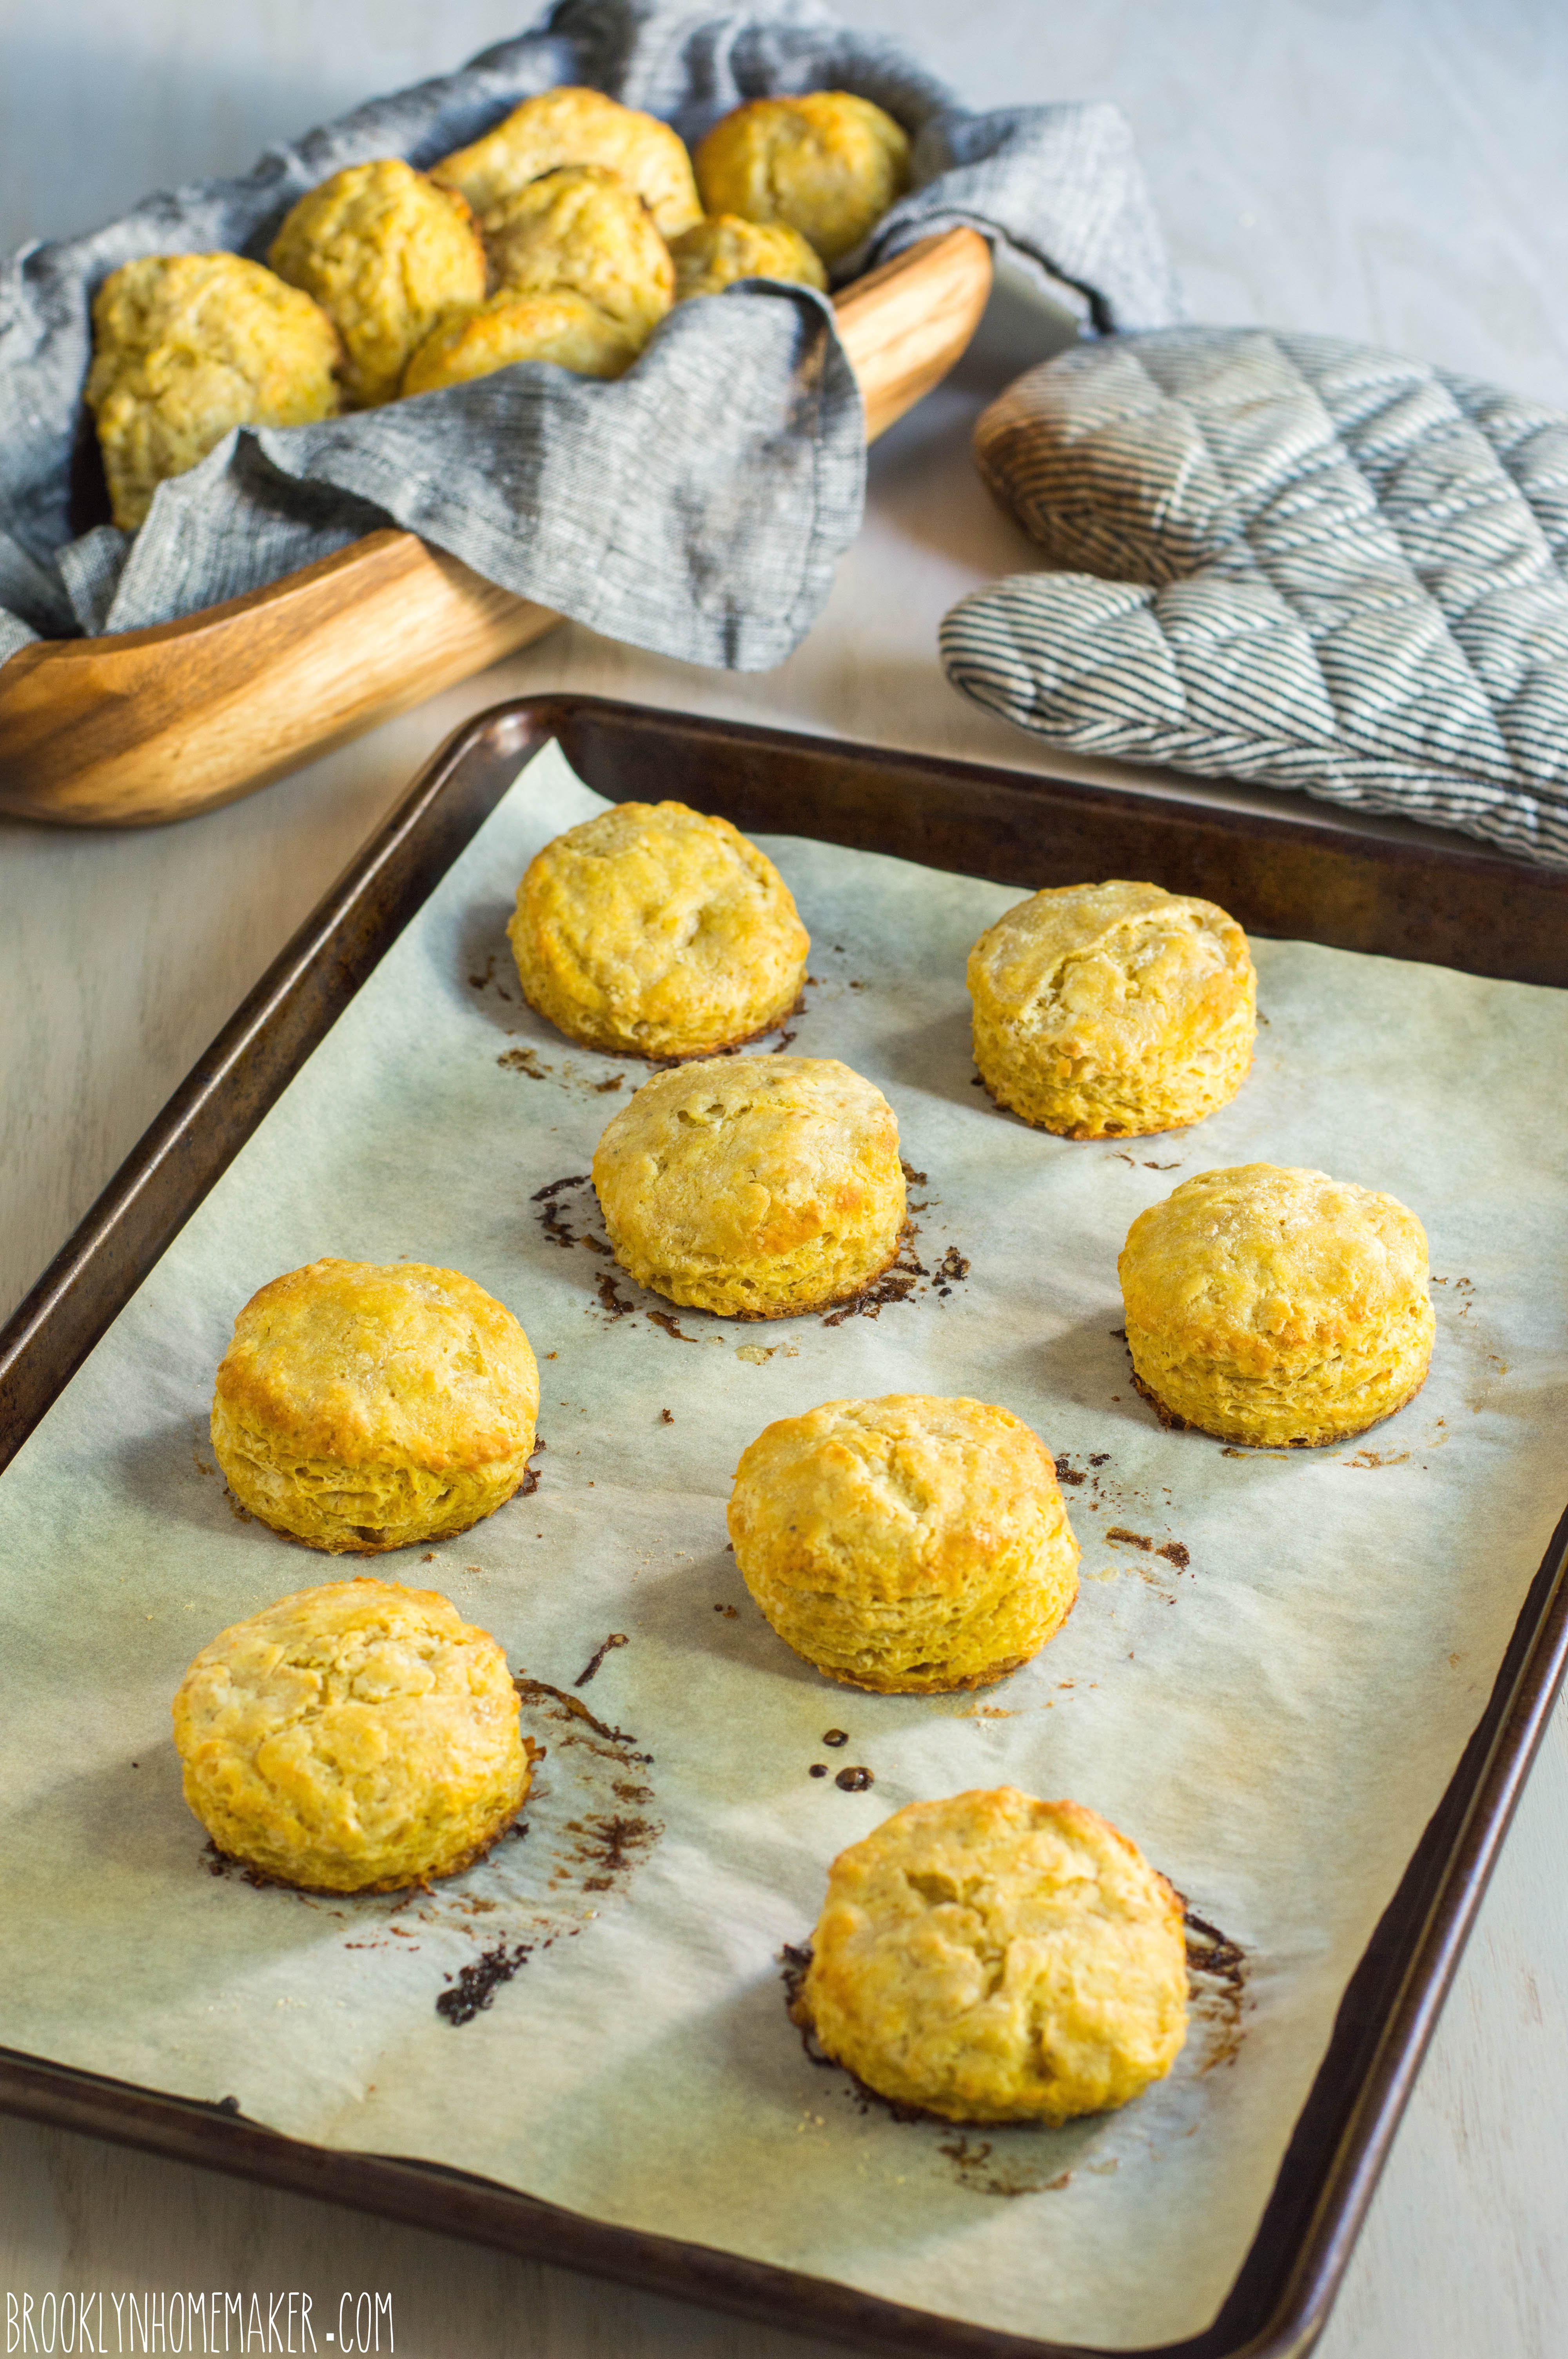
The combination of fresh sage and roasted squash really adds wonderful earthy sweetness and depth that, to me at least, just screams fancy pants Thanksgiving dinner. Homemade biscuits are always a welcome addition to any meal, but this recipe is so quintessentially Autumnal that you’re guests are sure to be ooohing and aaahing over them all through dinner.

flaky butternut squash & sage biscuits | Brooklyn Homemaker

Flaky Butternut Squash & Sage Biscuits

  • Servings: 12-16 biscuits
  • Print
Roasted squash:
1 small butternut squash
1 tablespoon peanut oil or vegetable oil

Biscuits:
12 to 15 sage leaves
1/4 cup packed brown sugar
2 3/4 cups all purpose flour, plus more for dusting
4 teaspoons baking powder
1 1/2 teaspoons salt
3/4 teaspoon cream of tartar
1/2 teaspoon ground pepper
1/4 teaspoon cinnamon
3/4 cup butter (1 1/2 sticks)
1 cup butternut squash puree (or pumpkin puree)
1/2 cup buttermilk
2 tablespoons heavy cream or melted butter

Preheat oven to 400.

Slice the squash in half, lengthwise, and scoop out seeds with a spoon. Rub the cut side of the squash flesh with oil and place cut side down on a parchment lined baking sheet. Roast squash for about 40 minutes or until fork tender. Cool completely, remove the skin, and mash the flesh with a fork, or puree in a food mill or food processor.

Turn oven up to 450.

Combine the sage leaves and brown sugar in the bowl of a food processor and run until the sage is very finely chopped (you can also just chop the sage very very finely with a knife). Add flour, baking powder, salt, cram of tartar, ground pepper, and cinnamon and pulse to combine. Cut the cold butter into 1 inch chunks, add to flour, and pulse into small pea sized pieces (if you don’t have a food processor use a pastry blender). Transfer to a bowl, cover, and chill for at least 30 minutes (or overnight). Mix squash puree and buttermilk together, make a well in the center of the flour, and pour in buttermilk all at once. Gently stir and fold together with a fork until just moistened, and bring together in a ball with your hands. Do not try to mix the liquid into the flour in the food processor or your biscuits will be tough and dense.

Turn dough out onto a lightly floured surface. Gently push dough out into a flat disk using your hands (or a rolling pin). Dust lightly with flour, fold in half, and gently roll or press back out. Repeat 5 or 6 times to create layers in your biscuits that will separate when baked. Roll or pat dough out to about 3/4 inch thick and cut into circles using a 2.5 inch biscuit cutter. Remaining dough can be recombined once, but no more or it will get tough. Recombined biscuits will not be as pretty or as flaky as the first batch, but they’re still worth it. Transfer biscuits to parchment lined baking sheets and brush tops with cream or melted butter. Bake for 12-15 minutes, or until golden brown on top.

Advertisement

flaky salt & pepper buttermilk biscuits

Remember that time that I promised you a buttermilk biscuit post? Like New Year’s day? Yeah. I’ve been a very naughty blogger.

flaky salt & pepper buttermilk biscuits | Brooklyn Homemaker

Biscuits shouldn’t be rushed though. Flaky, buttery, light-as-air, homemade buttermilk biscuits are representative of a bygone era, an era when people took their time on the things that matter, and didn’t give me guff for taking too long to talk to them about biscuits.

The thing about homemade buttermilk biscuits is, well, that they’re freakin’ amazing. Those dense doughy things that come in a can from the grocery store shouldn’t be allowed to go by the same name. If you can master making a buttermilk biscuit from scratch, you’ll pretty much own the world. People will do things for you. Things that you can’t even imagine. People really don’t understand the power of a good biscuit. Where I live in Brooklyn there are just as many Southern restaurants as in the actual South, and while the food is legitimately amazing, the biscuits are decidedly sub-par. I’m convinced that this is NOT because biscuits are too difficult for them to master, but instead because they don’t understand the importance (and power) of good biscuits. They think of biscuits as an after thought, a less than, and something not worth their while to make well. Their loss. Our gain. We’ll stay in and make our own biscuits!

flaky salt & pepper buttermilk biscuits | Brooklyn Homemaker

A few decades ago, everyone’s grandmother knew how to make biscuits, and make them well, but increasingly, it’s a dying art. I think that these days people don’t make them because they’re afraid or intimidated by the process. I promise you though that biscuits are not that difficult to get right if you can get over the fear. It can take some practice to get them perfectly light and fluffy, but as long as you’re gentle and respectful of the dough, and don’t manhandle them too much, they’ll come out better than you can imagine. As you make them more and more often, the process will get easier and easier, and they’ll come out better and better.

flaky salt & pepper buttermilk biscuits | Brooklyn Homemaker

The trick to giving your biscuits flaky layers is to roll the dough out to about 1/2 inch thick on a floured surface, very lightly dust the dough with flour, and fold it over on itself. If you repeat this about 5 or 6 times (gently) you’ll have a good bit of nice tender layering. Simple.

Another thing I like to use to help make my biscuits impossibly light and airy is cream of tartar. Cream of tartar has absolutely nothing to do with tartar sauce, but is actually a bi-product of the wine industry. It has many uses in the kitchen, from stabilizing whipped cream to preventing sugar syrups from crystalizing; but for my purposes, in combination with baking powder, it helps baked goods rise Rise RISE .

One more thing I like to do to add a little something extra to my biscuits is to brush a bit of fat on top before baking. You can use melted butter or heavy cream, but either way this helps add an extra crunch to the tops of your biscuits, and helps make them come out slightly shiny, golden brown, and beautiful.

For this recipe I also added a little fresh cracked pepper to the mix, and topped them with pepper and coarse kosher salt for a bit of interest. Trust me though, without the salt and pepper these biscuits are still phenomenal. They really don’t need it, but I thought it would be a nice touch with the sausage gravy I was serving with them. You can leave out the salt and pepper if you like, and if you wanted to get crazy you could toss in something else. I’ve seen chives mixed into biscuits with excellent results, and I’ve even seen people mix in lemon or citrus zest! Yum!

One last thing that I think really helps make biscuits really special is a pastry blender. If you don’t have one you could also use food processor, a fork, or even your hands, but I really think you have more control with a pastry blender. The point is to cut the fat, in this case the butter, into the flour, and to do it with as little fuss as possible. Working the dough too heavily can cause the butter to melt or the gluten to form and make your biscuits tough, so I think a traditional pastry blender is the perfect way to cut your butter up into super tiny pieces without overworking the dough.
A pastry blender is basically just a series or wires or blades held together with a handle. I’ve used a few of them in my day, and my absolute favorite is this lil’ guy. I swear this pastry blender was sent to earth from heaven, just for me.  Some pastry blenders I’ve worked with in the past were a bit too flimsy to stand up to the beating I put them through, so I was thrilled when I found this one. The blades are thick and strong and don’t budge against even the coldest butter. The main difference between this and other blenders is that the blades are flat and straight instead of curved, but I don’t miss the curved design one bit.

flaky salt & pepper buttermilk biscuits | Brooklyn Homemaker

If you have a pastry blender you can throw a batch of biscuits together in 20 minutes or less. When we hosted Thanksgiving last year I spent the whole day cooking and cleaning and getting ready for our friends to arrive, but when the first guest rang the bell I realized I’d forgotten to make my biscuits. At first I thought I’d accept defeat and just skip them for the night, but then I thought twice and started pulling out the flour and butter. Even with guests milling around the kitchen, I had those biscuits in the oven so fast that my friend Isobel couldn’t believe it, and every time someone picked one up that night she’d proudly brag that I tossed them together in a flash at the last-minute.

I’m really not trying to toot my own horn though, I’m just trying to let you know that once you get the hang of doing this, it becomes second nature. The recipe I use is not some fancy Martha Stewart creation, or some decades old family recipe passed down from someone’s Southern grandmother, but a recipe I found in my 90s copy of the Better Homes and Gardens cookbook. It couldn’t be more simple. I’ve been making it for years, and while I’ve made some tiny tweaks, I think it’s totally perfect. I promise you that giving this recipe a try will be completely worth your while. So go ahead, impress your friends, and make some homemade biscuits.

flaky salt & pepper buttermilk biscuits | Brooklyn Homemaker

Salt and Pepper Buttermilk Biscuits

adapted from the Better Homes & Gardens Cookbook

3 cups all purpose flour, plus more for dusting
2 teaspoons fresh ground pepper, divided
4 teaspoons baking powder
1 tablespoon sugar
1 teaspoon table salt
3/4 teaspoon cream of tartar
3/4 cup butter (1 1/2 sticks)
1 1/4 cups buttermilk
2 tablespoons heavy cream or melted butter
1 teaspoon coarse kosher salt

Preheat oven to 450. In a large bowl whisk together flour, 1 teaspoon pepper, baking powder, sugar, table salt, and cram of tartar. Cut the cold butter into 1 inch chunks and add to flour. Cut butter into small pea sized pieces using a pastry blender, fork, or food processor. Make a well in the center of the bowl, pour in buttermilk all at once, and stir together with a fork until just moistened.

Turn dough out onto a lightly floured surface. Gently push dough out into a flat disk using your hands or a rolling-pin. Dust very lightly with flour, fold in half, and gently press it back out. Repeat 5 or 6 times to create layers in your biscuits that will separate when baked. Roll or pat dough out to 1/2 inch thick and cut into circles using a biscuit cutter. Remaining dough can be recombined once, but no more or it will get tough. Transfer biscuits to a baking sheet and brush tops with cream or melted butter. Sprinkle with salt and remaining pepper. Bake for 10-12 minutes, or until golden brown on top.

Chicken Pot Pie with Buttermilk Biscuit Crust

Updated with new photos and a slightly revised recipe on 9/29/2014 here.

This is not your standard chicken pot pie. There is only top crust here, just resting on top of the filling; and this is no standard pastry crust, but a thick island of tender buttermilk biscuit. If you wanted to complicate things, this could be called a chicken and biscuits pie, or maybe a southern style chicken pot pie. To me, this is what chicken pot pie is supposed to be. This is chicken pot pie the way my grandmother made it, and this was the meal of choice for me and my sisters on birthdays and special occasions.

chicken pot pie with buttermilk biscuit crust | Brooklyn Homemaker

This was a staple of my childhood and making it is an exercise in nostalgia. When Grandma made it she would boil chicken breasts in bouillon, thicken with a flour & water slurry, add some canned peas and carrots, and top it with Bisquick. When I was learning to cook this was one of the first recipes I tried to master, and as I became a better cook the recipe started to change.

chicken pot pie with buttermilk biscuit crust | Brooklyn Homemaker

The recipe I’m sharing with you is very different from the one Grandma used to make, but the end result is just as homey and comforting. This is not a quick weeknight dinner, but more of an all-Sunday-in-your-PJs kind of meal. Making fresh chicken stock is probably the biggest change between Grandma’s recipe and mine. I like to start late in the morning, browning the chicken, adding some aromatics, and letting it simmer slow and low for a couple of hours while I go about my day.

For this recipe I used a whole chicken that came cut up and wrapped from my grocery store, but you can use whatever chicken you like. I think a whole chicken or a mix of breasts and thighs will give you the most flavorful end product, but if you or your family only like breast meat, use all breasts. If you’re like me and roast a lot of chickens at home, odds are that you might have some bones or gizzards lying around in the freezer. That’s not weird is it? Anyway, if you do, toss them in too.

chicken pot pie with buttermilk biscuit crust | Brooklyn Homemaker

Next I go for fresh veggies, cut rough and rustic, and brown them in the same pan that was used for stock. This is by no means a one dish meal, but unless you want to transfer it to a pretty oven safe bowl for baking and serving, this whole meal from start to finish can be cooked in one pot. After the veggies are cooked I thicken the stock with a roux, add everything back to the pan along with some frozen peas, and top the whole thing with one giant buttermilk biscuit. I think that the gravy should be super thick to work well as a pot pie, so a roux is a perfect solution. With the amount of flour needed to thicken this recipe, you’d be able to taste the raw flour if you used the flour and water method.

chicken pot pie with buttermilk biscuit crust | Brooklyn Homemaker

Don’t be afraid to make your own biscuits from scratch. If you mess them up, they’re usually still pretty good; and once you master them, you’ll wonder what you were doing with your life before. If you don’t have a pastry blender you can use a food processor, or a fork, or even your hands. If you don’t have cream of tartar, don’t freak. It helps the biscuits rise and get super fluffy, but they’ll still be great without it. The buttermilk however is a must. Trust me.

chicken pot pie with buttermilk biscuit crust | Brooklyn Homemaker

By the way, this recipe is also PERFECT for leftover turkey. I have a hunch you might have some soon. Pull the meat off first and make your stock with the bones and any extra bits and pieces. Tada!

chicken pot pie with buttermilk biscuit crust | Brooklyn Homemaker

Chicken Pot Pie with Buttermilk Biscuit Crust

filling:
4-5 lbs of chicken pieces, skin-on, bone-in. *see note
salt & pepper
2 tablespoon olive oil, divided
1 bay leaf
2 onions, 1 large, 1 small
3 carrots
3 celery stalks
1 1/2 cups frozen peas
10 tablespoons butter
1 cup flour

biscuit crust:
3 cups flour
4 teaspoons baking powder
1 teaspoon salt
1 tablespoon sugar
3/4 teaspoon cream of tartar
12 tablespoons (1 1/2 sticks) butter
1 1/4 cups buttermilk

Make the filling:
Generously season your chicken with salt and pepper. In a large (at least 6 qt) heavy stockpot or dutch oven, heat 1 tablespoon olive oil over medium high heat. Add your chicken parts and brown them for about 5 minutes on each side. This doesn’t have to be perfect, it’s just to add flavor, but you can do this in stages if everything won’t fit. Roughly chop 1 small onion (skin on), 1 carrot, & 1 celery stalk (leaves on), and add to pot along with one bay leaf. Top with 8 cups of water, and cover the pot. Turn the heat down to medium and bring to a boil. Once the pot reaches a boil, turn the heat down again and let the pot simmer for at least an hour. If you have the time, another hour at a low simmer will only help build the flavor of your stock.

Remove pot from heat and let cool for 10 minutes or until you’re comfortable handling it. Using a large colander fitted inside a larger bowl, strain out the stock. You can use a strainer or sieve to skim the stock for anything that got through the colander. Measure out 6 cups of stock and keep any remaining for another use. Cover and set aside.

Let the chicken pieces cool for about 30 minutes or until you can handle them. You can use this time to chop the remaining vegetables for the next step. Remove the bones and skin from the chicken and discard along with boiled veggies & bay leaf. Pull the chicken into bite sized pieces and be careful to find and remove any small remaining bones. Place your cooked chicken in a bowl, cover and set aside.

Wipe your pot clean. You don’t have to wash it, just make sure there’s nothing in there you don’t want in the finished product. Dice the large onion, and cut your remaining carrots and celery into small pieces.  Heat remaining tablespoon of oil over medium high heat and add your chopped vegetables. Season with salt & pepper and cook until onions and celery are translucent and carrots are completely tender. Transfer to the bowl with the pulled chicken.

Back in your pot, melt the butter (you could also use some chicken fat skimmed from your stock) and whisk in flour. Cook until the flour just barely starts to brown. Slowly whisk in about half a cup of your stock, making sure there are no lumps of roux. Repeat twice more and then add remaining stock.  Whisk out any lumps and bring to a boil, whisking regularly. When the gravy is well thickened, remove from heat, taste and adjust your seasoning if necessary. Add the chicken, cooked vegetables & frozen peas.  Set aside.  If your pot is oven safe you can bake your pie in it, or you can transfer to an oven safe bowl for a nicer presentation.

Make the biscuit crust:
Preheat oven to 450 degrees.
In a large bowl sift together flour, baking powder, sugar, salt & cream of tartar. Using a pastry blender, cut the butter into the flour until it resembles coarse pea-sized crumbs. Form a well in the center of the bowl and in buttermilk. Use a fork to stir until just moistened. Do not over mix.

Turn the dough out onto a floured work surface and knead lightly 5 or 6 times, or until it just holds together. Pat or lightly roll dough out to 1/2 of an inch. Form a circle about the size of a your pot or bowl.  If you have any remaining dough you can cut it into biscuits and bake separately. You can double the biscuit recipe if you definitely want more on the side. Carefully transfer your biscuit round to the top of your filling and score it with an X in the center using a sharp knife. Bake for 25-30 minutes or until the crust is golden and the filling is bubbling. Any extra biscuits should be rolled to 3/4 of an inch and baked on a sheet pan for 10 to 12 minutes or until golden.

Remove from oven and allow it to cool for 15 minutes before serving. Serve with a nice chunk of crust.

*You can use whatever parts you like best, but I think an entire chicken, cut up into pieces, is perfect. If you like all white meat, use all breasts. If you can’t find an entire chicken cut up and don’t want to get into butchering, I think a mix of breasts and thighs has the best flavor.