Well hello there! Welcome to Brooklyn Homemaker!
I’m Tux. I live in Bushwick, Brooklyn with my husband Russell and our two miniature schnauzers, Doris and Betty. Nothing makes me happier than cooking, baking, and making our home a beautiful comfortable place.
Over the weekend we hosted a brunch for our friends who were recently engaged to discuss wedding planning, and see if they wanted to take any of our wedding supplies off our hands and free ups some space in our guest room. After brunch and a few cocktails I sliced into a cake I’d baked and our friends DEMANDED that I start blogging. They would not take no for an answer and all my excuses and what if’s were ignored and met with more insistence. This is not the first time I’ve been told I should blog, and It’s not the first time I’ve considered it. I’m really good at talking myself out of things in the name of being “realistic”, but my friends helped me break through that this weekend. I don’t know if it was their enthusiasm, the unearthly delicious cake, or the multiple cocktails consumed over the course of a few hours, but here I am.
As much as I love cooking, especially baking, turning a bag of groceries into a meal is not my only interest. Since blogging tends to be an exercise in self-indulgence, I’ve decided that I’m not going to limit the subject of Brooklyn Homemaker to any one subject. Along with cooking, I also love interior design, gardening, furniture restoration, event planning and party hosting, and a number of other things that manifest themselves in my life and home on a daily basis. I’d love nothing more than to share all of those interests with you here, so please, keep coming back and seeing what I’m up to!
So here I am, writing my first official post on Brooklyn Homemaker.
After months of drooling over photos of Baked’s Aunt Sassy Cake, I decided to go for it. It was clear from the recipe that this cake was to be saved for a special occasion, and from the day this cookbook came into my home I would look a this recipe and think, one day. This past weekend, one day finally came and I have to say that this 3 layer pistachio cake with honey buttercream was worth the wait.
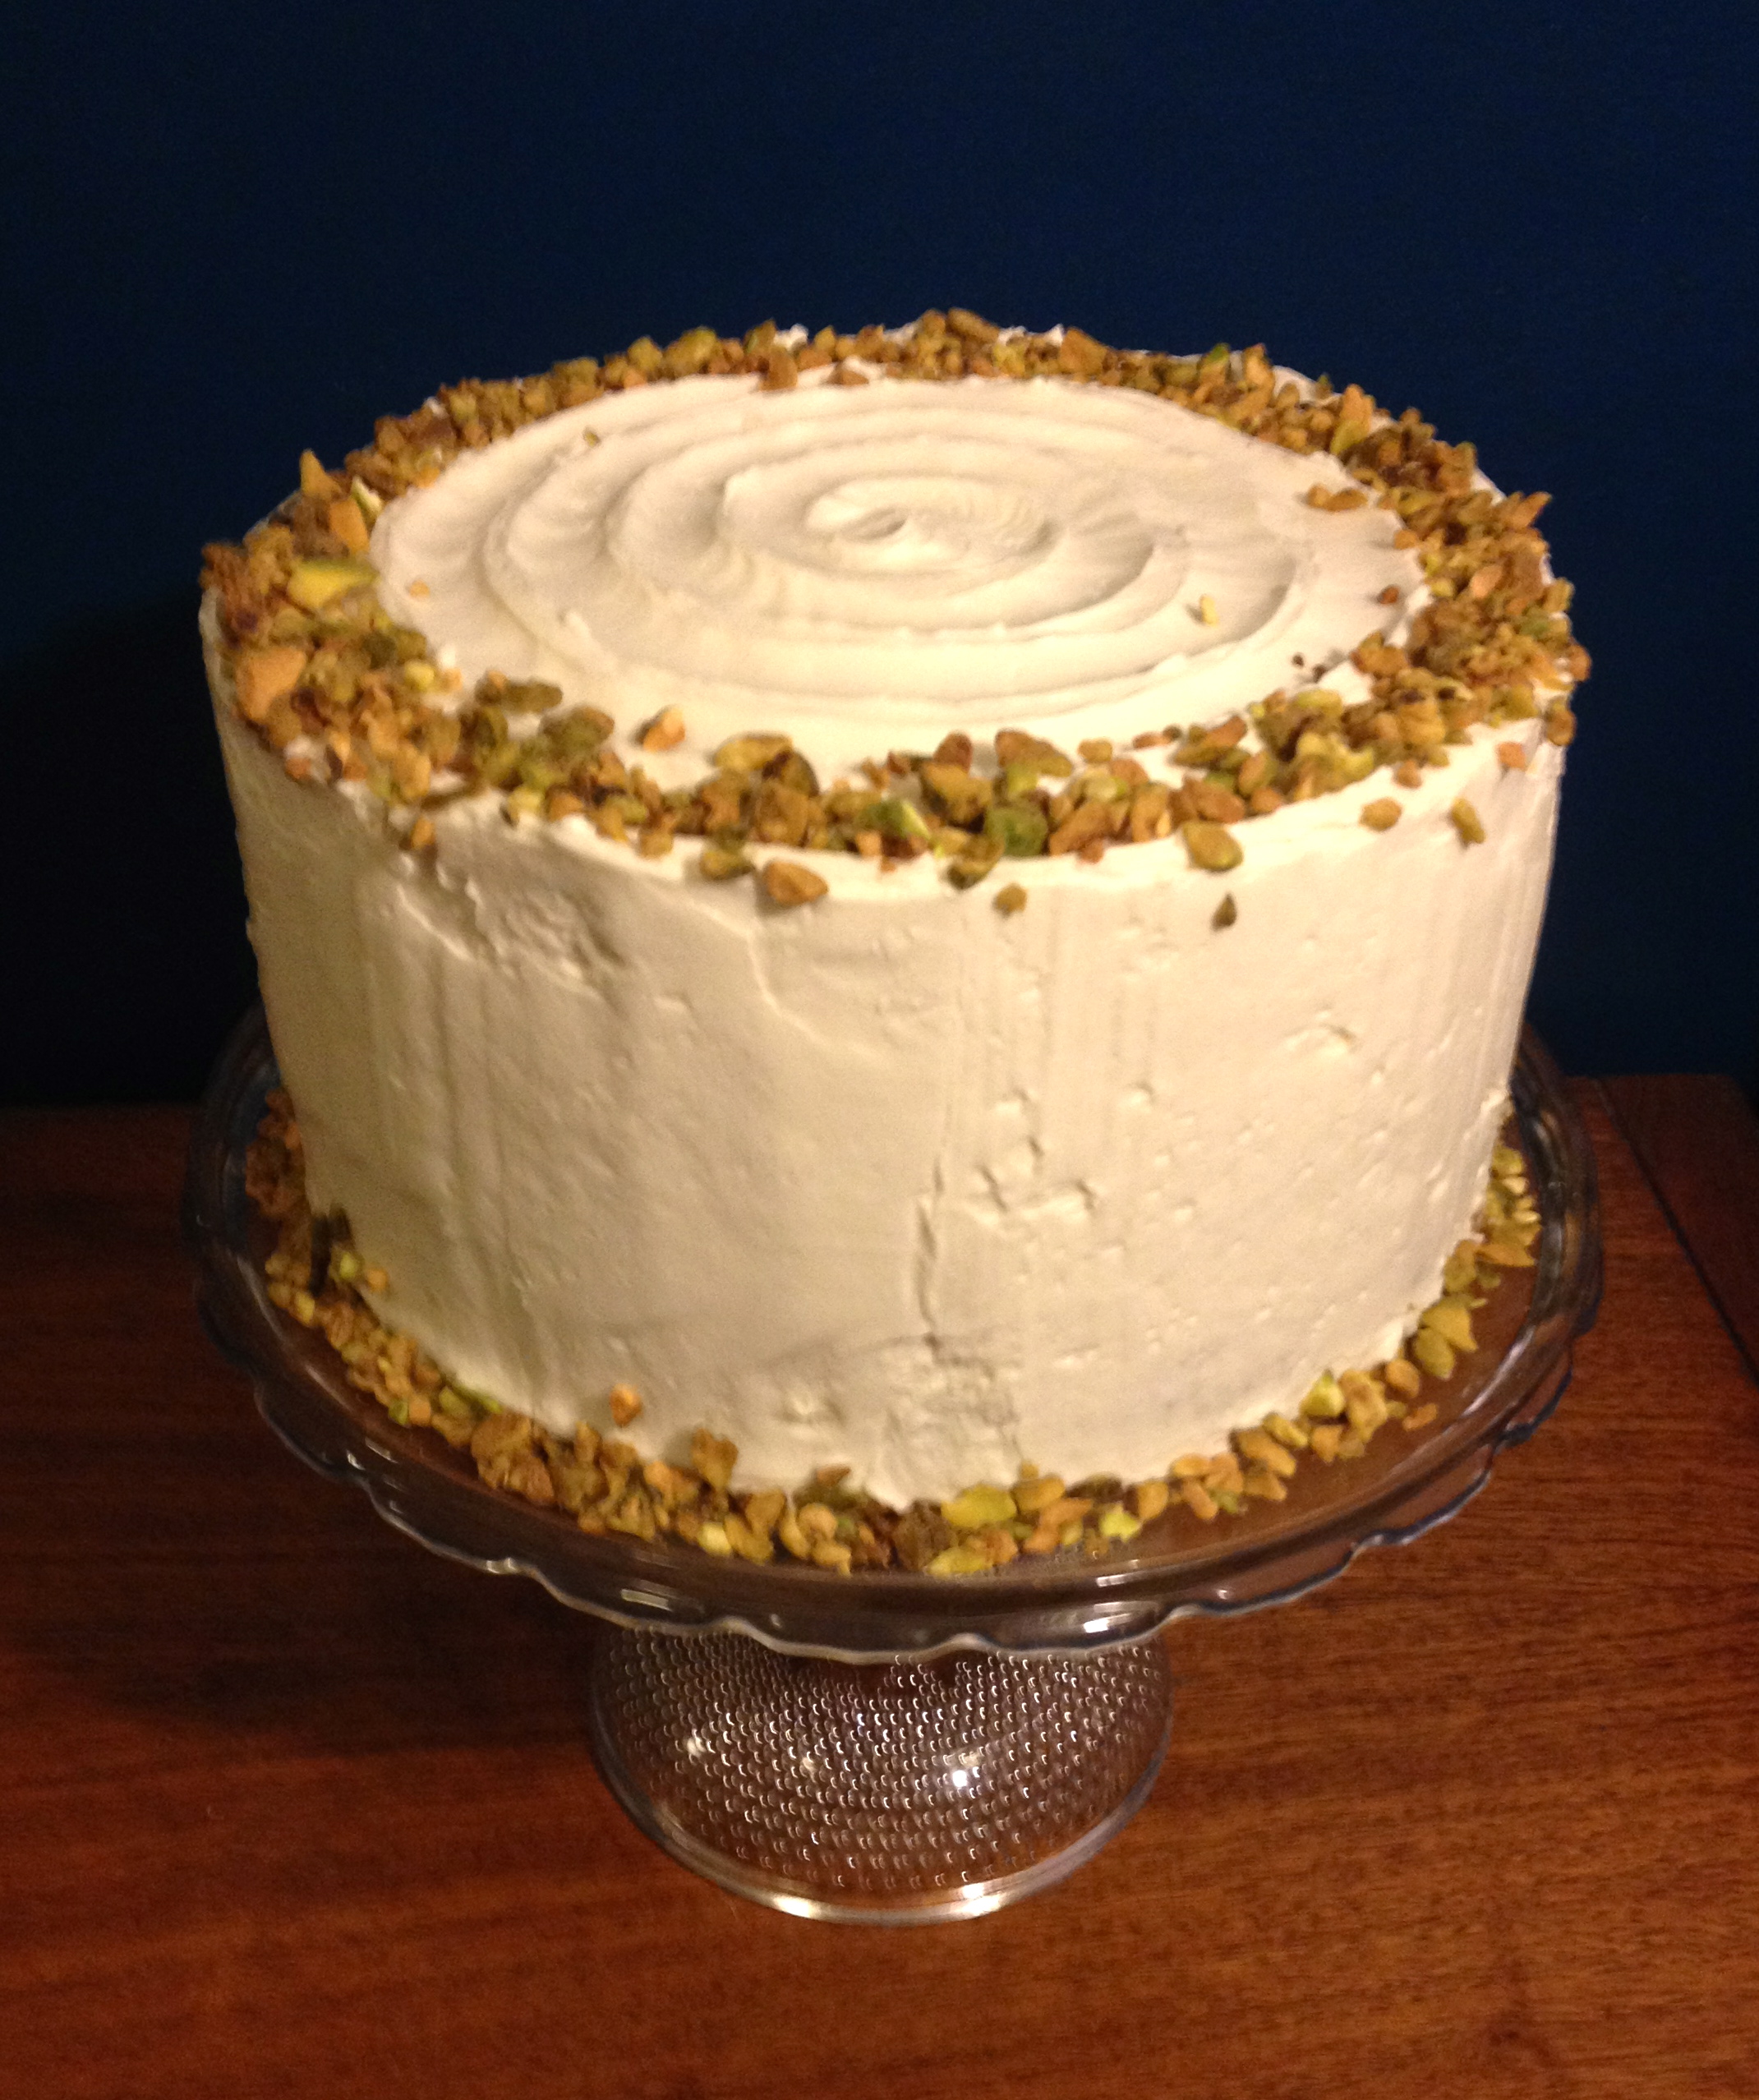
This cake is filled with ground pistachios but somehow manages to be heavenly light and fluffy thanks to the addition of whipped egg whites that are folded in at the end. Be careful not to over mix the batter after they’re combined or you can squeeze out some of that airy lightness. The fluffiness of this cake really takes it to an almost ethereal place, so you want to make sure keep it as light as possible.
Full disclosure: I had a little bit of trouble getting my cakes out of the pans. I have pre-cut parchment rounds that fit 9 inch pans, but had to cut my own for the 8 inchers and they came out a little too small and they didn’t reach the edges of the pans. Since this cake is so fluffy and moist it wants to stick to the pans, so I’d suggest taking the extra time to make sure your parchment fits properly so you can get it out. They came out mostly fine but one of the layers got a little bit stuck and I had to do some quick cake surgery to get it back together. Once the crumb coat went on the cake everything was hidden. I firmly believe that beyond keeping a cake from drying out, icing helps hide a multitude of sins. That was certainly true with this cake, and when the cake was sliced there was no telling that anything had happened.
I brought my icing opinions up during brunch and may have inadvertently made the bride-to-be think twice about her dream for a naked wedding cake. I think naked cakes can be gorgeous, but if the cake layers are not completely perfect the cake will look messy, and if the cake isn’t super moist it can dry out since it’s not encased in layers of fat and sugar.

Speaking of layers of fat and sugar, the honey buttercream icing on this cake is unbelievable. This is not like any icing I’ve ever made before, but I will definitely be making it again. This is a cooked icing with an end result similar to a meringue buttercream, stable and thick, but at the same time creamy and smooth. Instead of cooked egg whites though, this frosting uses flour for thickening. It’s a similar concept to the old school Ermine icing traditional for red velvet cake, but instead of just boiling the flour and milk, the sugar also gets boiled in this recipe. This means that the sugar completely dissolves and begins to cook so that gluten isn’t the only thing thickening this icing. Once the boiled milk mixture is whipped cool, unsalted butter is whipped in until silky smooth. Last, a bit of honey goes in with vanilla to add some depth and an almost floral quality.

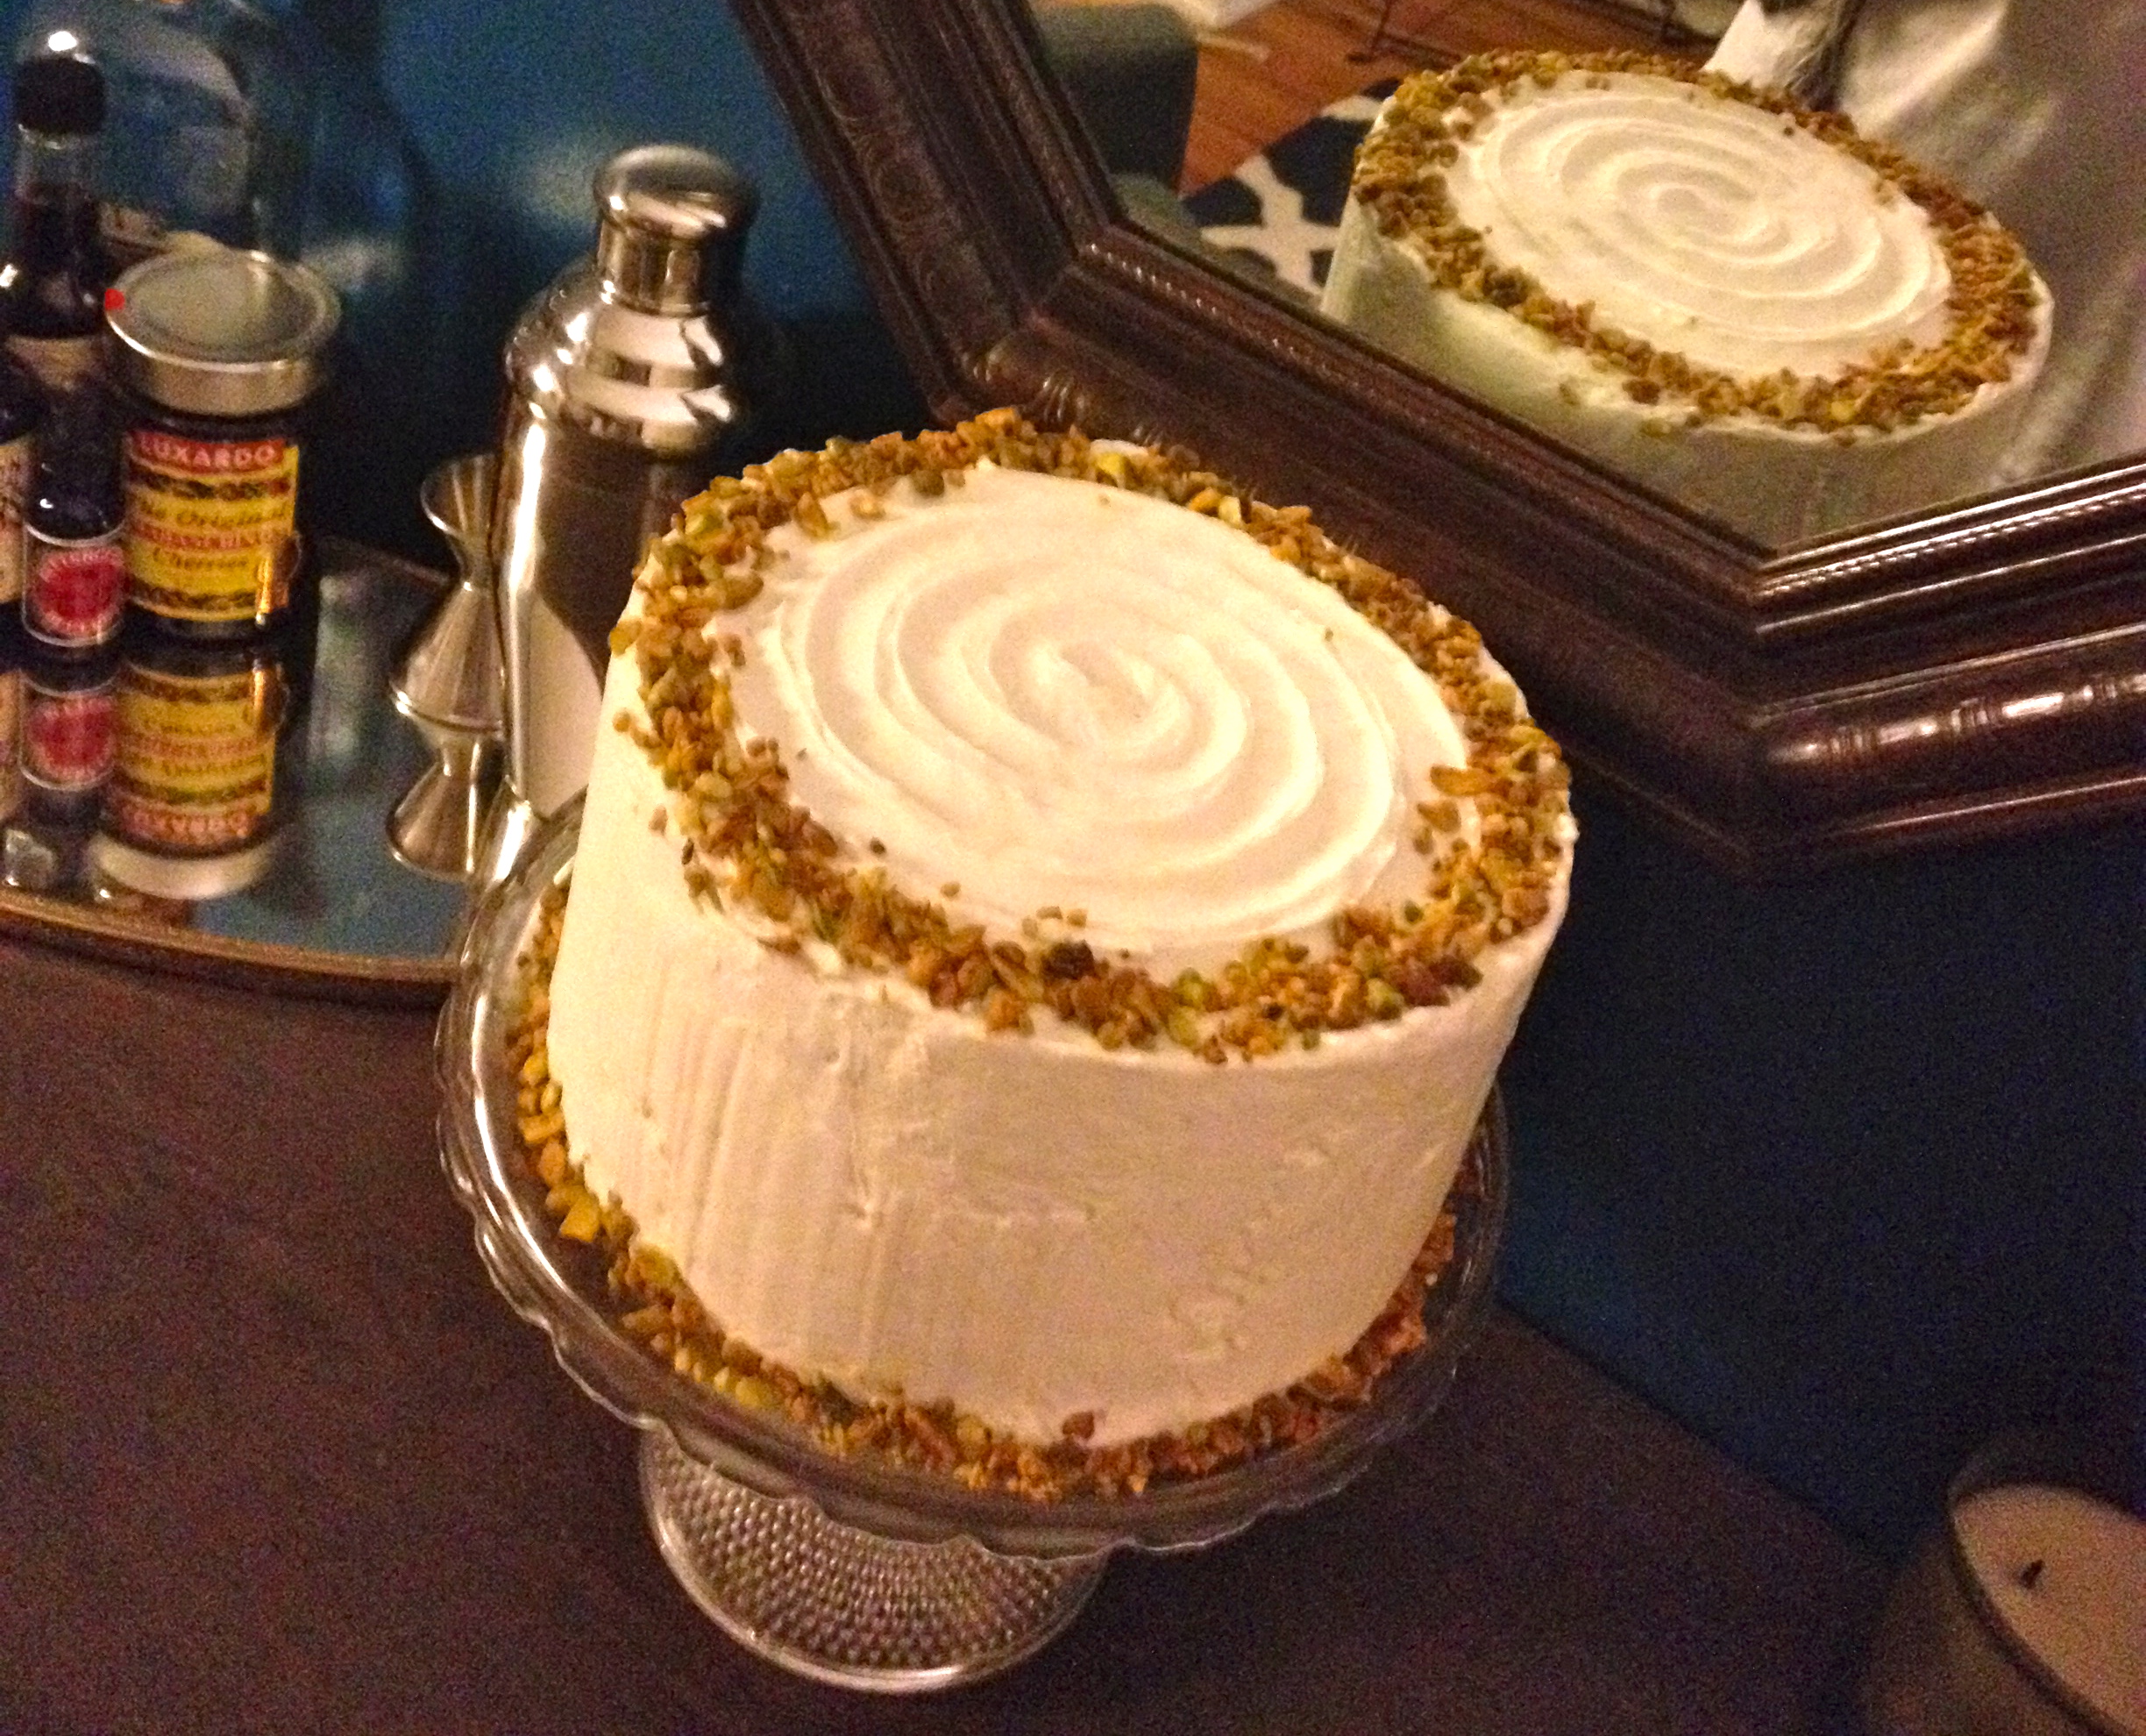
Obviously I took these pictures with my iPhone. I know they’re not great, but they’re the only evidence I have of the amazing Aunt Sassy Cake. Now that I’m going to start blogging I’m looking into buying a real camera, but I need to weigh my options and see what I can afford and what would work best for my needs. I live in a railroad apartment with no window and no natural light in my kitchen, so that can be tough. I also have a benign tremor in my hands that means I have a very slight but rapid shake that makes getting a camera to focus challenging. Does anyone out there have any suggestions?
Aunt Sassy Cake
Cake:
1 cup shelled pistachios (plus 1/3 cup for decorating)
2 1/2 cups cake flour
3/4 cup all-purpose flour
1 tablespoon baking powder
1 teaspoon baking soda
3/4 teaspoon salt
1 cup (2 sticks) unsalted butter, softened
1 3/4 cups sugar
1 tablespoon pure vanilla extract
1 large egg
3 large egg whites, at room temperature
1 1/2 cups ice-cold water
1/4 tsp cream of tartar
Honey Vanilla Buttercream:
1 1/2 cups sugar
1/3 cup all-purpose flour
1 1/2 cups whole milk
1/3 cup heavy cream
1 1/2 cups (3 sticks) unsalted butter, soft but cool, cut into small pieces
1 teaspoon pure vanilla extract
3 tablespoon honey
Make the cake:
Preheat the oven to 325° F. Butter three 8-inch round cake pans, line the bottoms with parchment rounds, butter the parchment, and lightly dust with flour. Knock out any excess flour.
Pulse the pistachios in a food processor until they are coarsely chopped. Reserve about 2 tablespoons of coarsely chopped pistachios in a large bowl. Process the rest of the pistachios until they are almost powdery. Stir the pistachio powder in with the reserved coarse pistachios; add the flours, baking powder, baking soda and salt; and whisk well to combine.
In the bowl of a stand mixer fitted with the paddle attachment, beat the butter on medium speed until light and creamy, about 3 or 4 minutes. Add the sugar and vanilla and beat until fluffy, about 3 minutes. Scrape down the sides of the bowl, add the whole egg, and beat until just combined. Turn the mixture to low.
In a measuring cup, measure out 1 1/2 cups ice water. Add the flour mixture to the mixer in three parts, alternating with the ice water, beginning and ending with the flour mixture. For each addition, turn the mixer to low to add ingredients, then up to medium speed for a few seconds until incorporated. Scrape down the bowl, then mix on low-speed for a few more seconds.
In a medium bowl, whisk the egg whites and cream of tartar until soft peaks form (I promise you can handle doing this by hand. Don’t be intimidated, it should only take 5 minutes max, probably less). Do not over beat. Gently fold the egg whites into the batter.
Divide the batter among the prepared pans and smooth the tops. Bake for 40-45 minutes, rotating the pans halfway through the baking time, until a toothpick or cake tester inserted into the center of the cakes comes out clean. Transfer cakes to a wire rack and let cool for at 20 to 30 minutes. Line your cooling rack with parchment and turn the cakes out onto the rack. Let cool completely. Remove the parchment rounds.
Make the honey vanilla buttercream:
In a medium sized heavy-bottomed saucepan, whisk the sugar and flour together. Add milk and cream and cook over medium heat whisking regularly, until the mixture comes to a boil and thickens, about 10 to 15 minutes.
Transfer the mixture to the bowl of a standing mixer with paddle attachment. Beat on high until cool (this should take about 10 or 15 minutes of mixing). You may want to cover the mixer with a towel to keep the mixture from splashing your kitchen. Add the softened butter and mix until thoroughly incorporated. Increase the speed to medium-high and beat until frosting is light and fluffy, 1 to 2 minutes.
Add the vanilla and honey and mix until combined. If the icing is too soft, you can put the bowl in the refrigerator to chill slightly, then beat again until it is proper consistency. If the icing is too firm, you can set the bowl over a pot of very gently simmering water and beat with a wooden spoon until it is the proper consistency.
Assemble the cake:
Place one cake layer on a serving platter. If necessary, trim the top with a cake leveler or sharp serrated knife to create a flat surface. Evenly spread just over a cup of icing on top. Add the next layer, trim and frost it with the same amount of icing, then add the third layer. Spread a very thin layer of frosting over the sides and top of the cake and put it in the refrigerator for about 30 minutes to firm up. (This is known as the crumb coating and will help keep loose cake crumbs from showing in the final layer of icing.) Spread the sides and top of the cake with the remaining icing. Garnish the cake with crushed pistachios and refrigerate it for 15 minutes to it firm up before serving. If you want to refrigerate it longer before serving, take it out to come up to room temperature at least an hour or two before serving.
This cake will keep well in a cake saver at room temperature for up to 3 days, if the weather is not too hot or humid. Otherwise, put the cake saver in the refrigerator for up to 3 days.

2 comments