3 layer cake

butter pecan layer cake

I can’t even believe it friends.

Brooklyn Homemaker turns three years old this weekend!

butter pecan layer cake | Brooklyn Homemaker

They grow up so fast!
Sniff.

butter pecan layer cake | Brooklyn Homemaker

This year has been sort of crazy with the whole Maxwell’s thing and all the time I’ve had to spend away from Brooklyn Homemaker, and I’m so thrilled to finally be getting back into the swing of things just in time to celebrate my anniversary!

butter pecan layer cake | Brooklyn Homemaker

I probably said this last year too, but I never would have believed you if you’d told me three years ago that I would have started doing this and kept with it for three whole years.
When I first started I didn’t even have a real camera, and for the first few months I shot all of my photos on my iPhone in my dimly lit kitchen at weird, unflattering angles. If you’d told me three years ago that I would not only get a real camera, but also get pretty good at figuring out how to use it, I definitely would have had my doubts.
If you’d have told me that some of my photos would be even half as good as the ones I spent hours drooling over on Pinterest, or that people would actually want to pin my photos and recipes for themselves, I probably would have laughed in your face!
If you’d have told me that people would actually want to cook my recipes, and would enjoy them enough to share with their friends and families, I’d have been absolutely floored!
Naaahhhhhh! No friggin’ way!!!

I still wake up sometimes and want to pinch myself.

butter pecan layer cake | Brooklyn Homemaker

It seems like I start having these thoughts around the same time every year, as my blog anniversary approaches, about all the things I’ve accomplished and how far I’ve come. The friendships and bonds I’ve built, the skills I’ve gained, and how my goals and priorities have changed over these past few years.

butter pecan layer cake | Brooklyn Homemaker

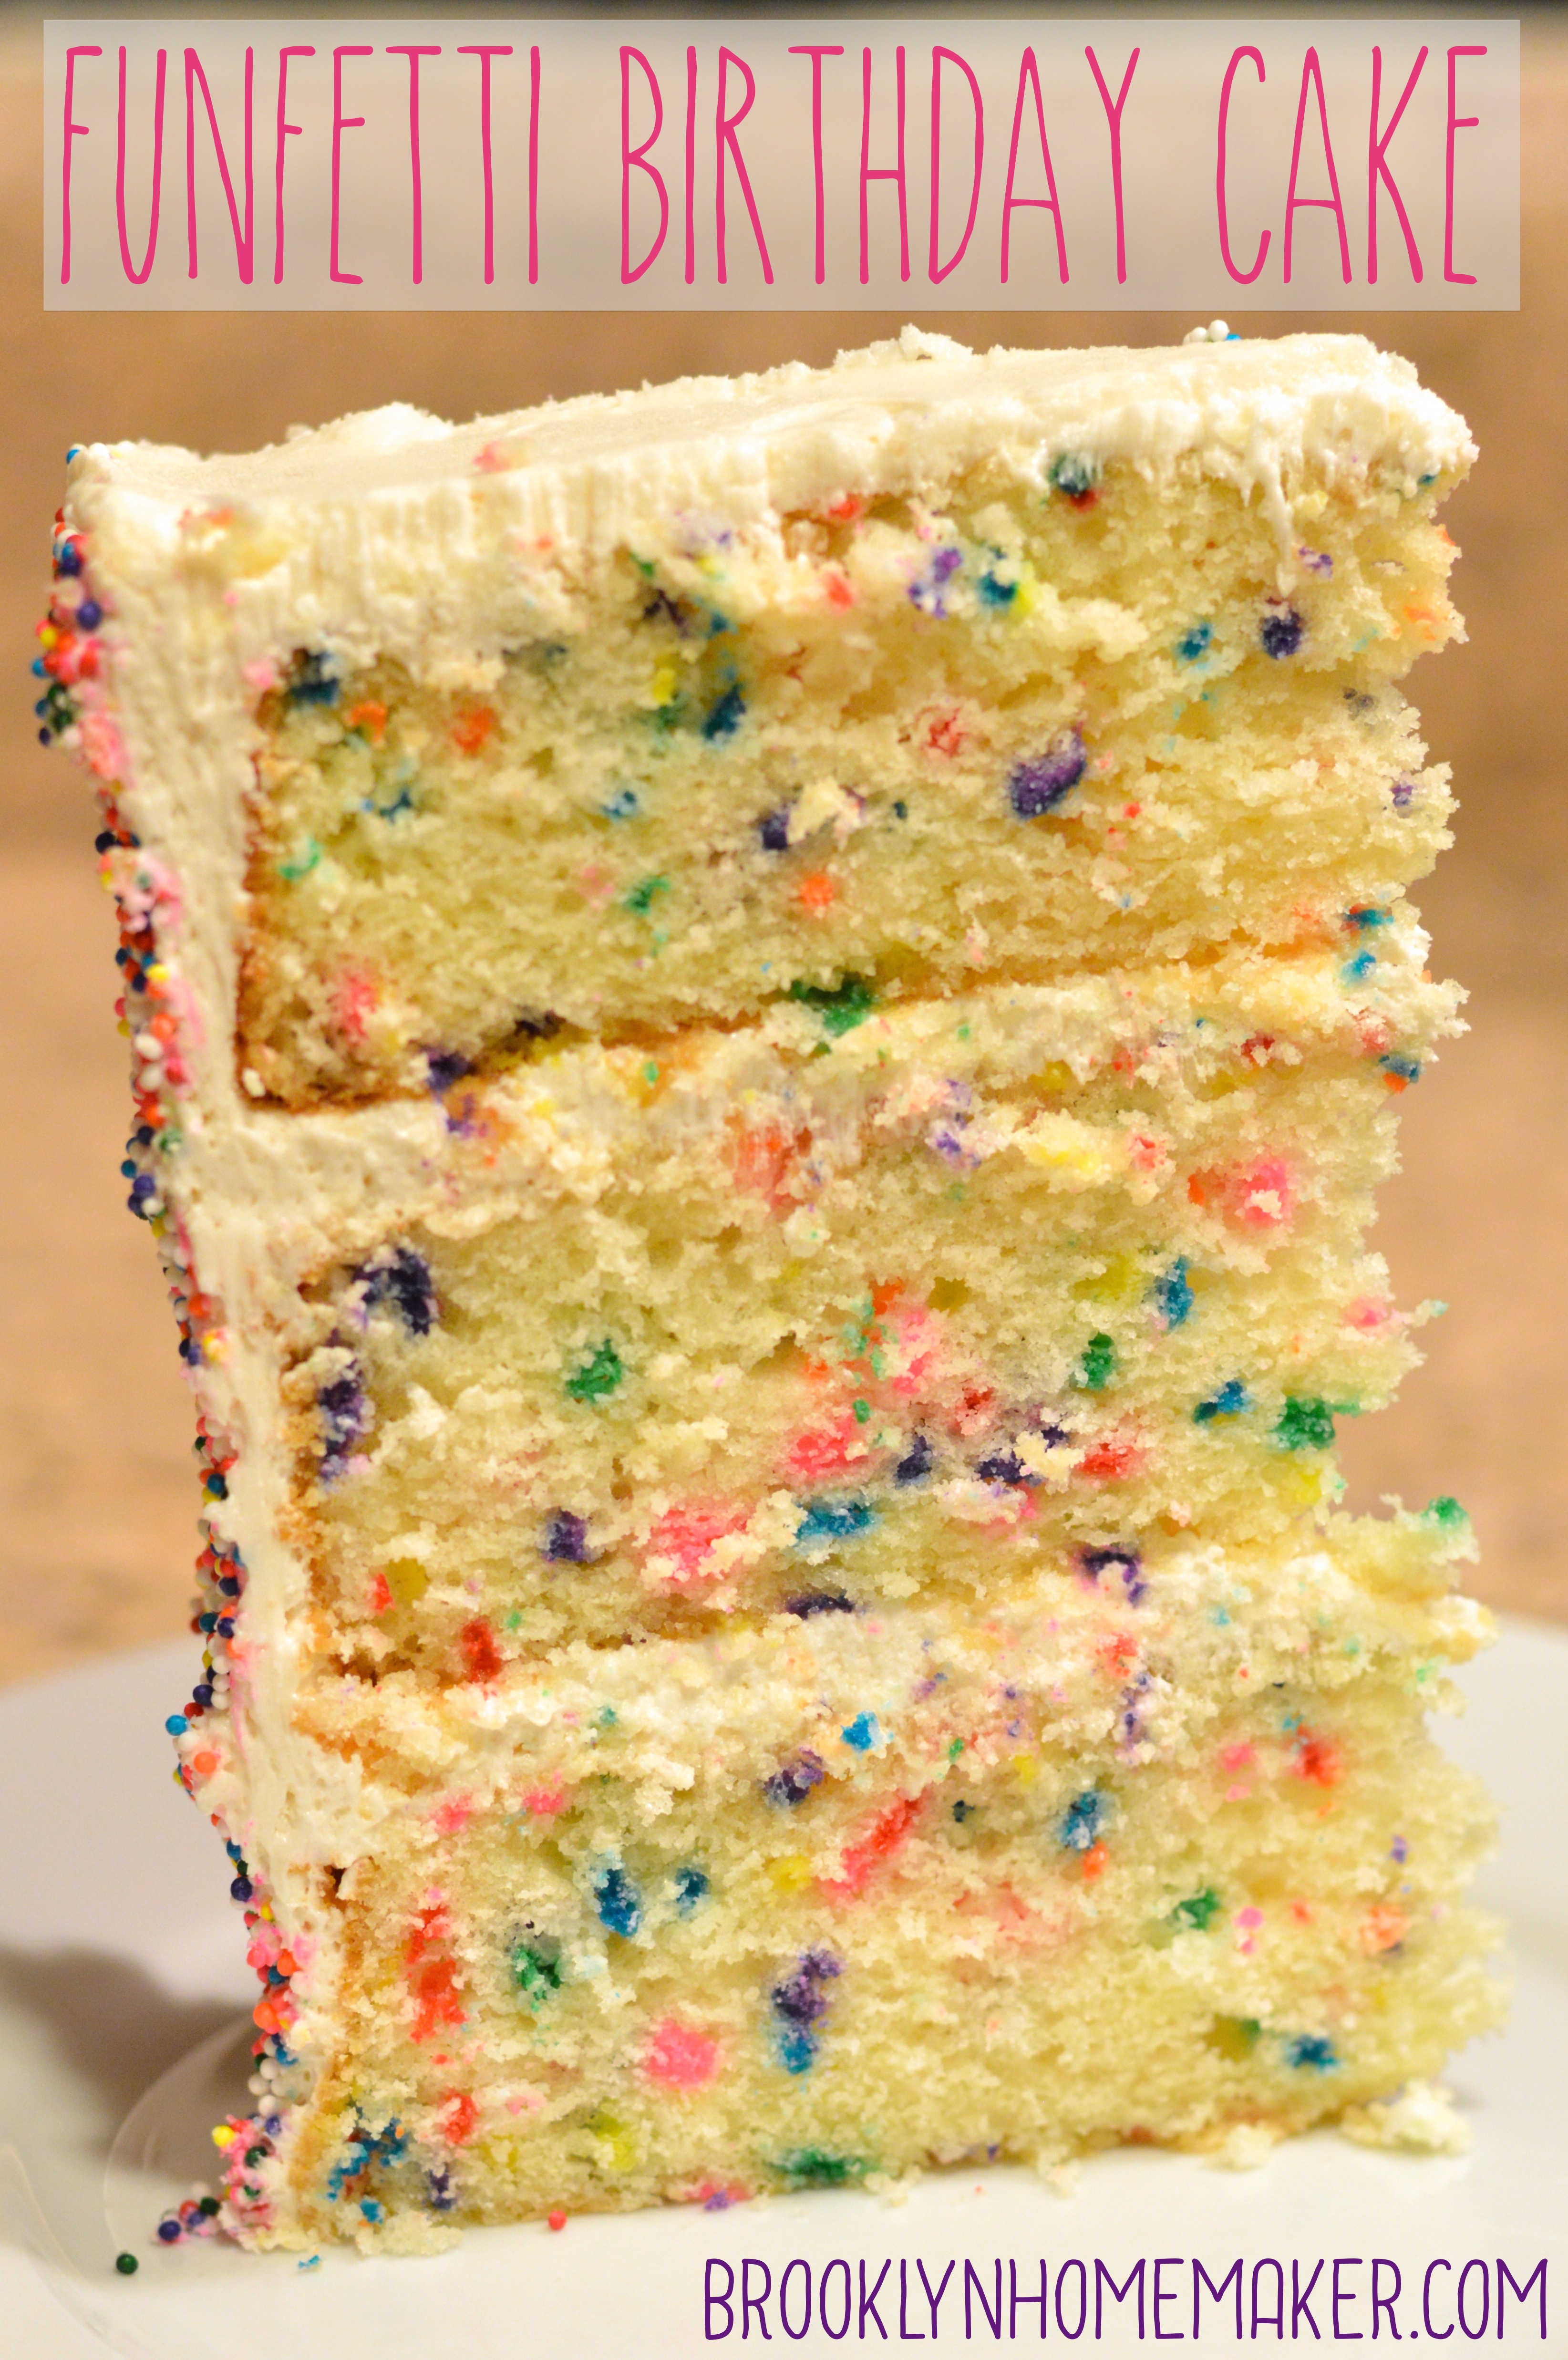
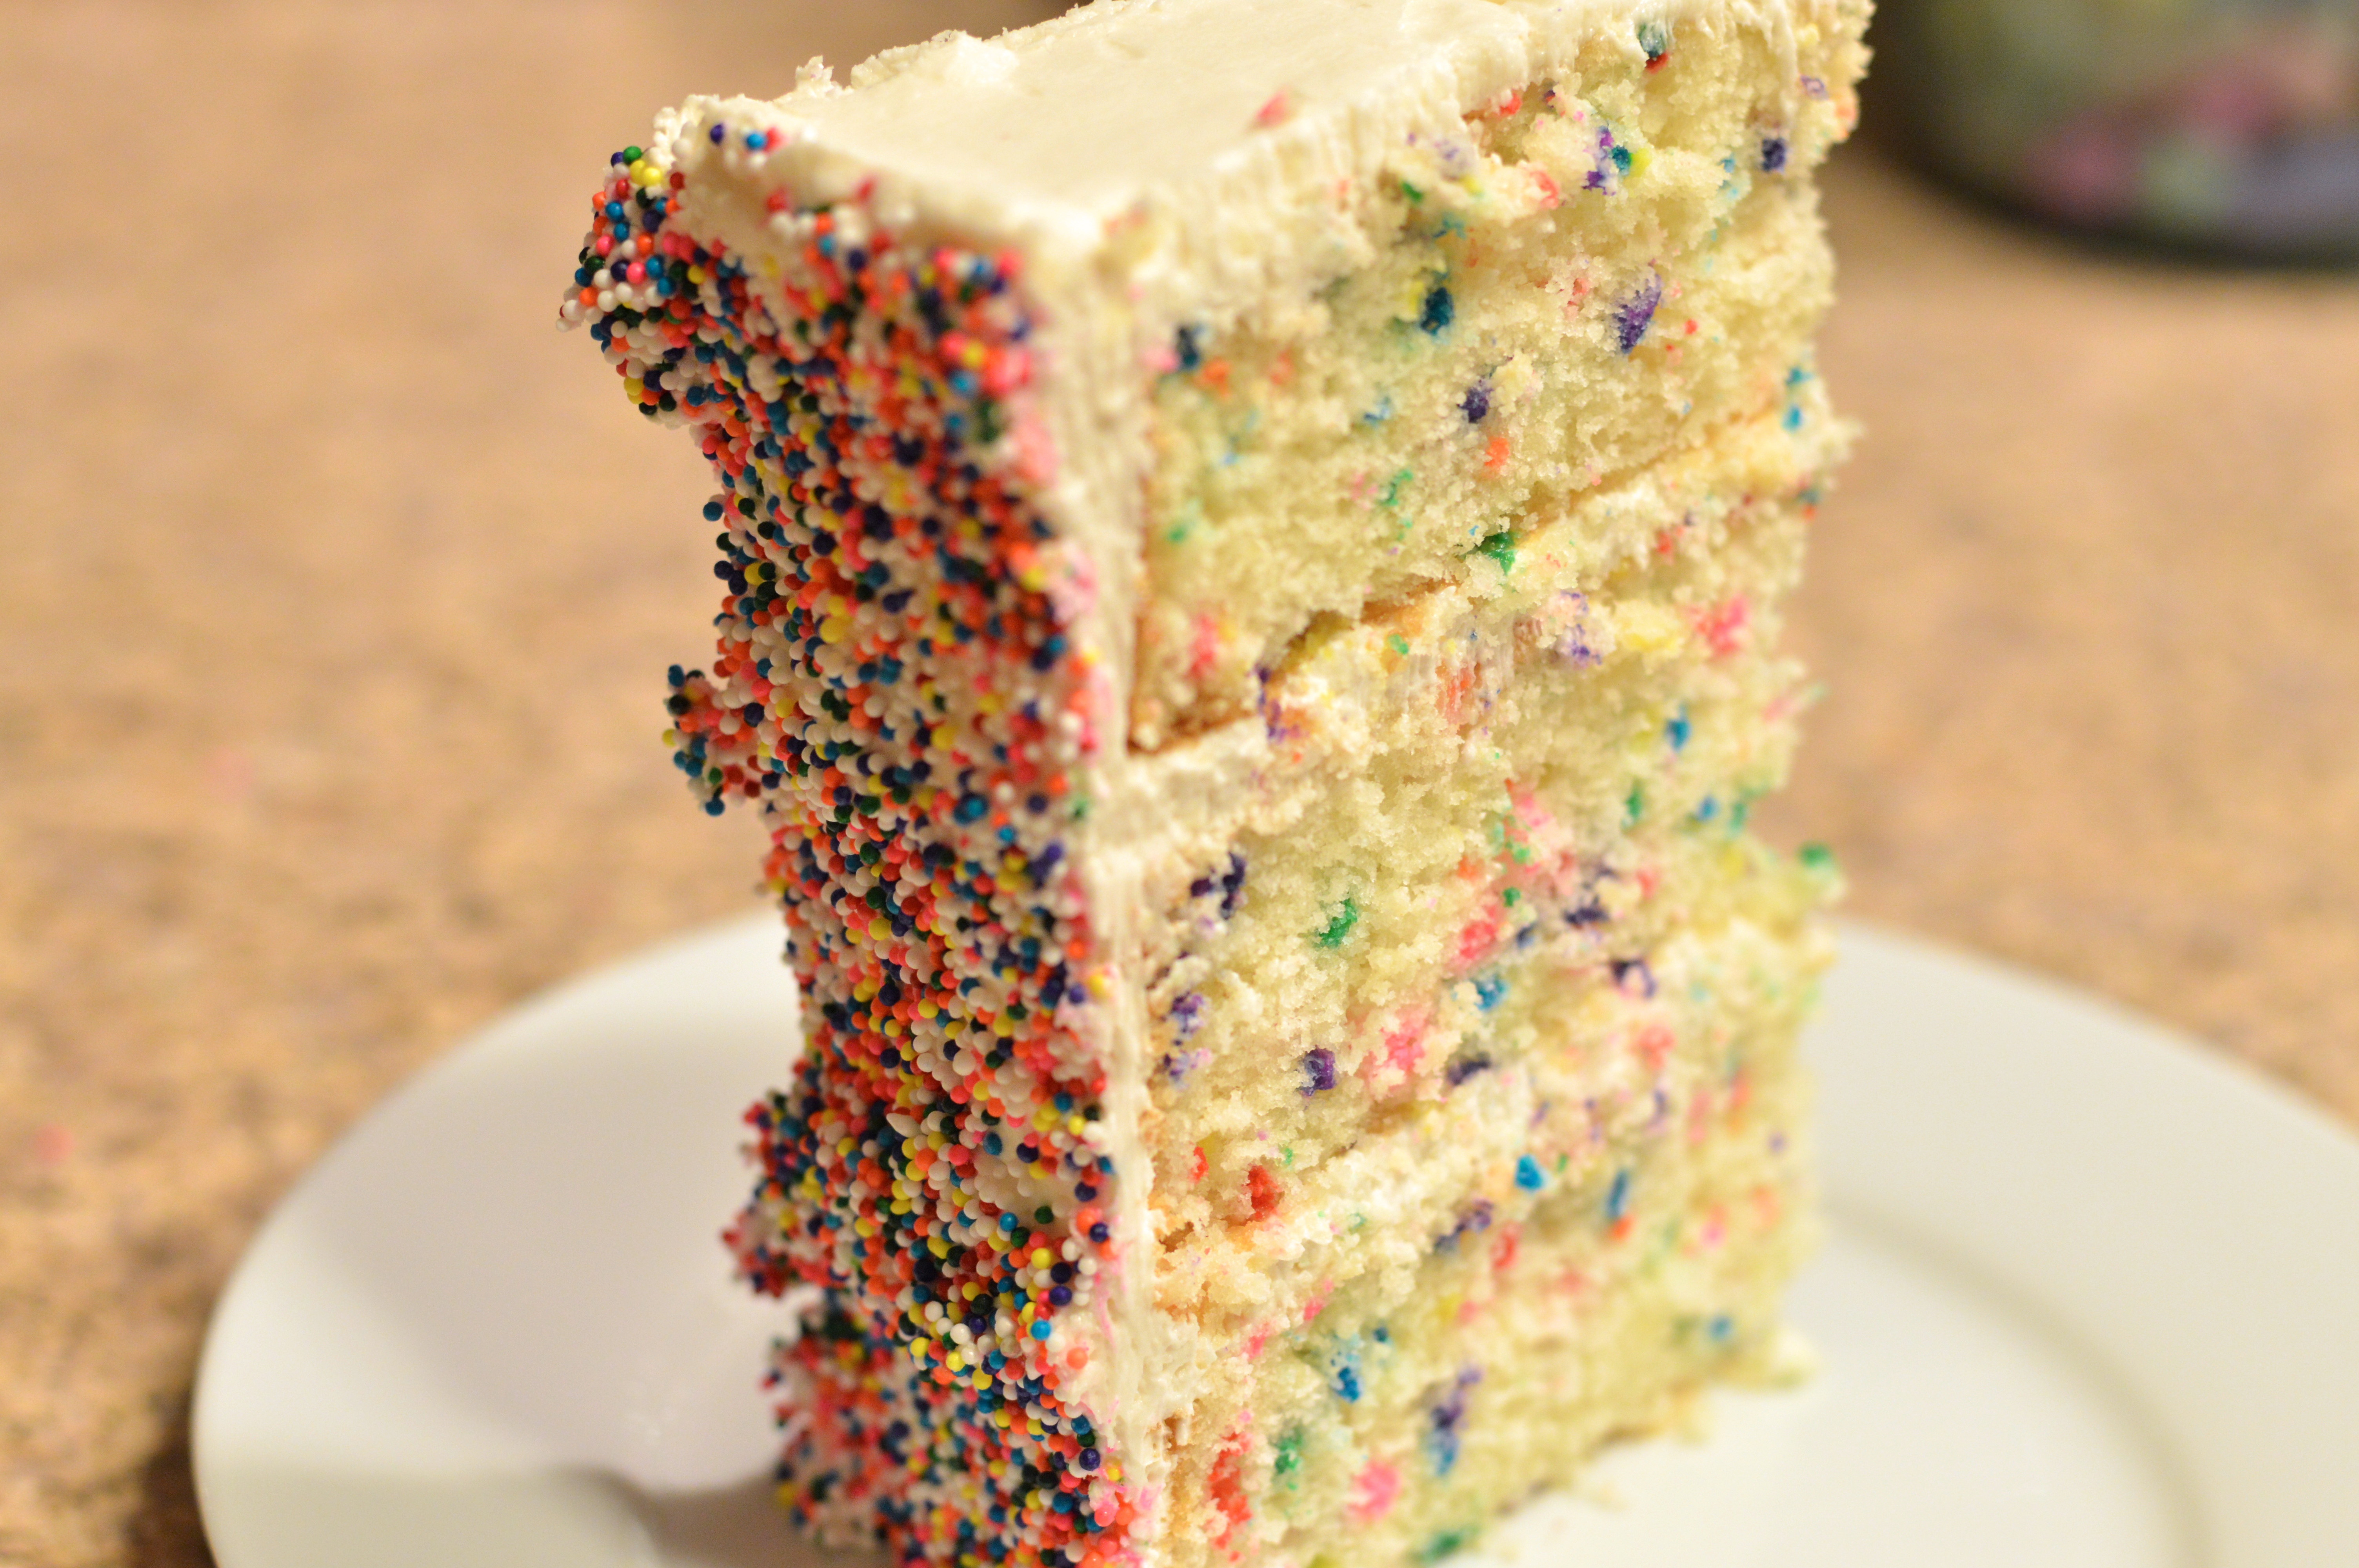
This is definitely a time to for reflection, a time for appreciation, and a time to be grateful. Perhaps most importantly though, it’s a time for cake!

butter pecan layer cake | Brooklyn Homemaker

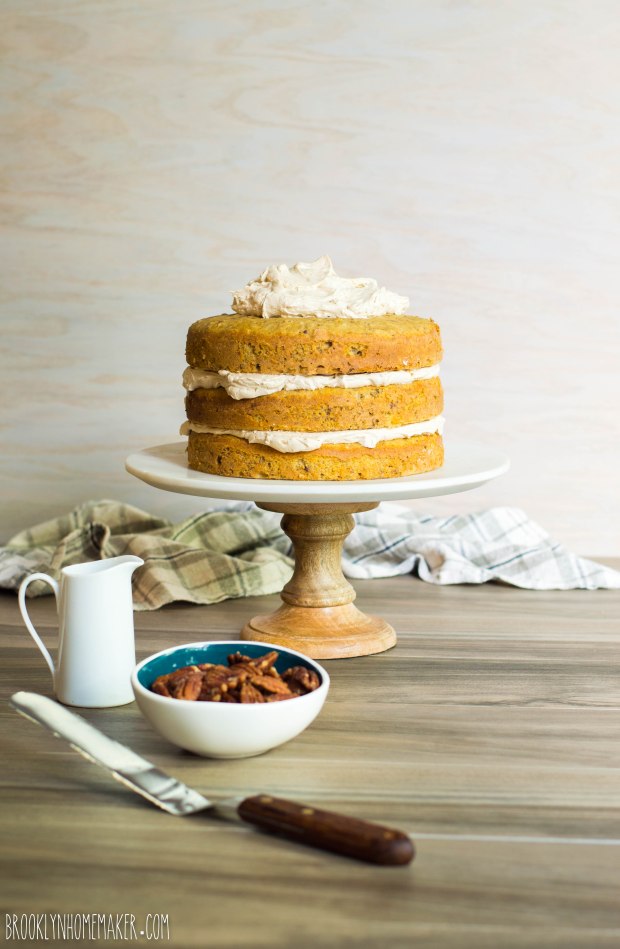
The idea of this cake was a bit of a throw back to the very first cake that inspired this whole blogging adventure, the Aunt Sassy Cake from Baked.

I knew I wanted to make another big ass fancy celebration cake filled with nuts and covered in a velvety icing, but I didn’t want to just make the same cake all over again.
I did that already! haha!

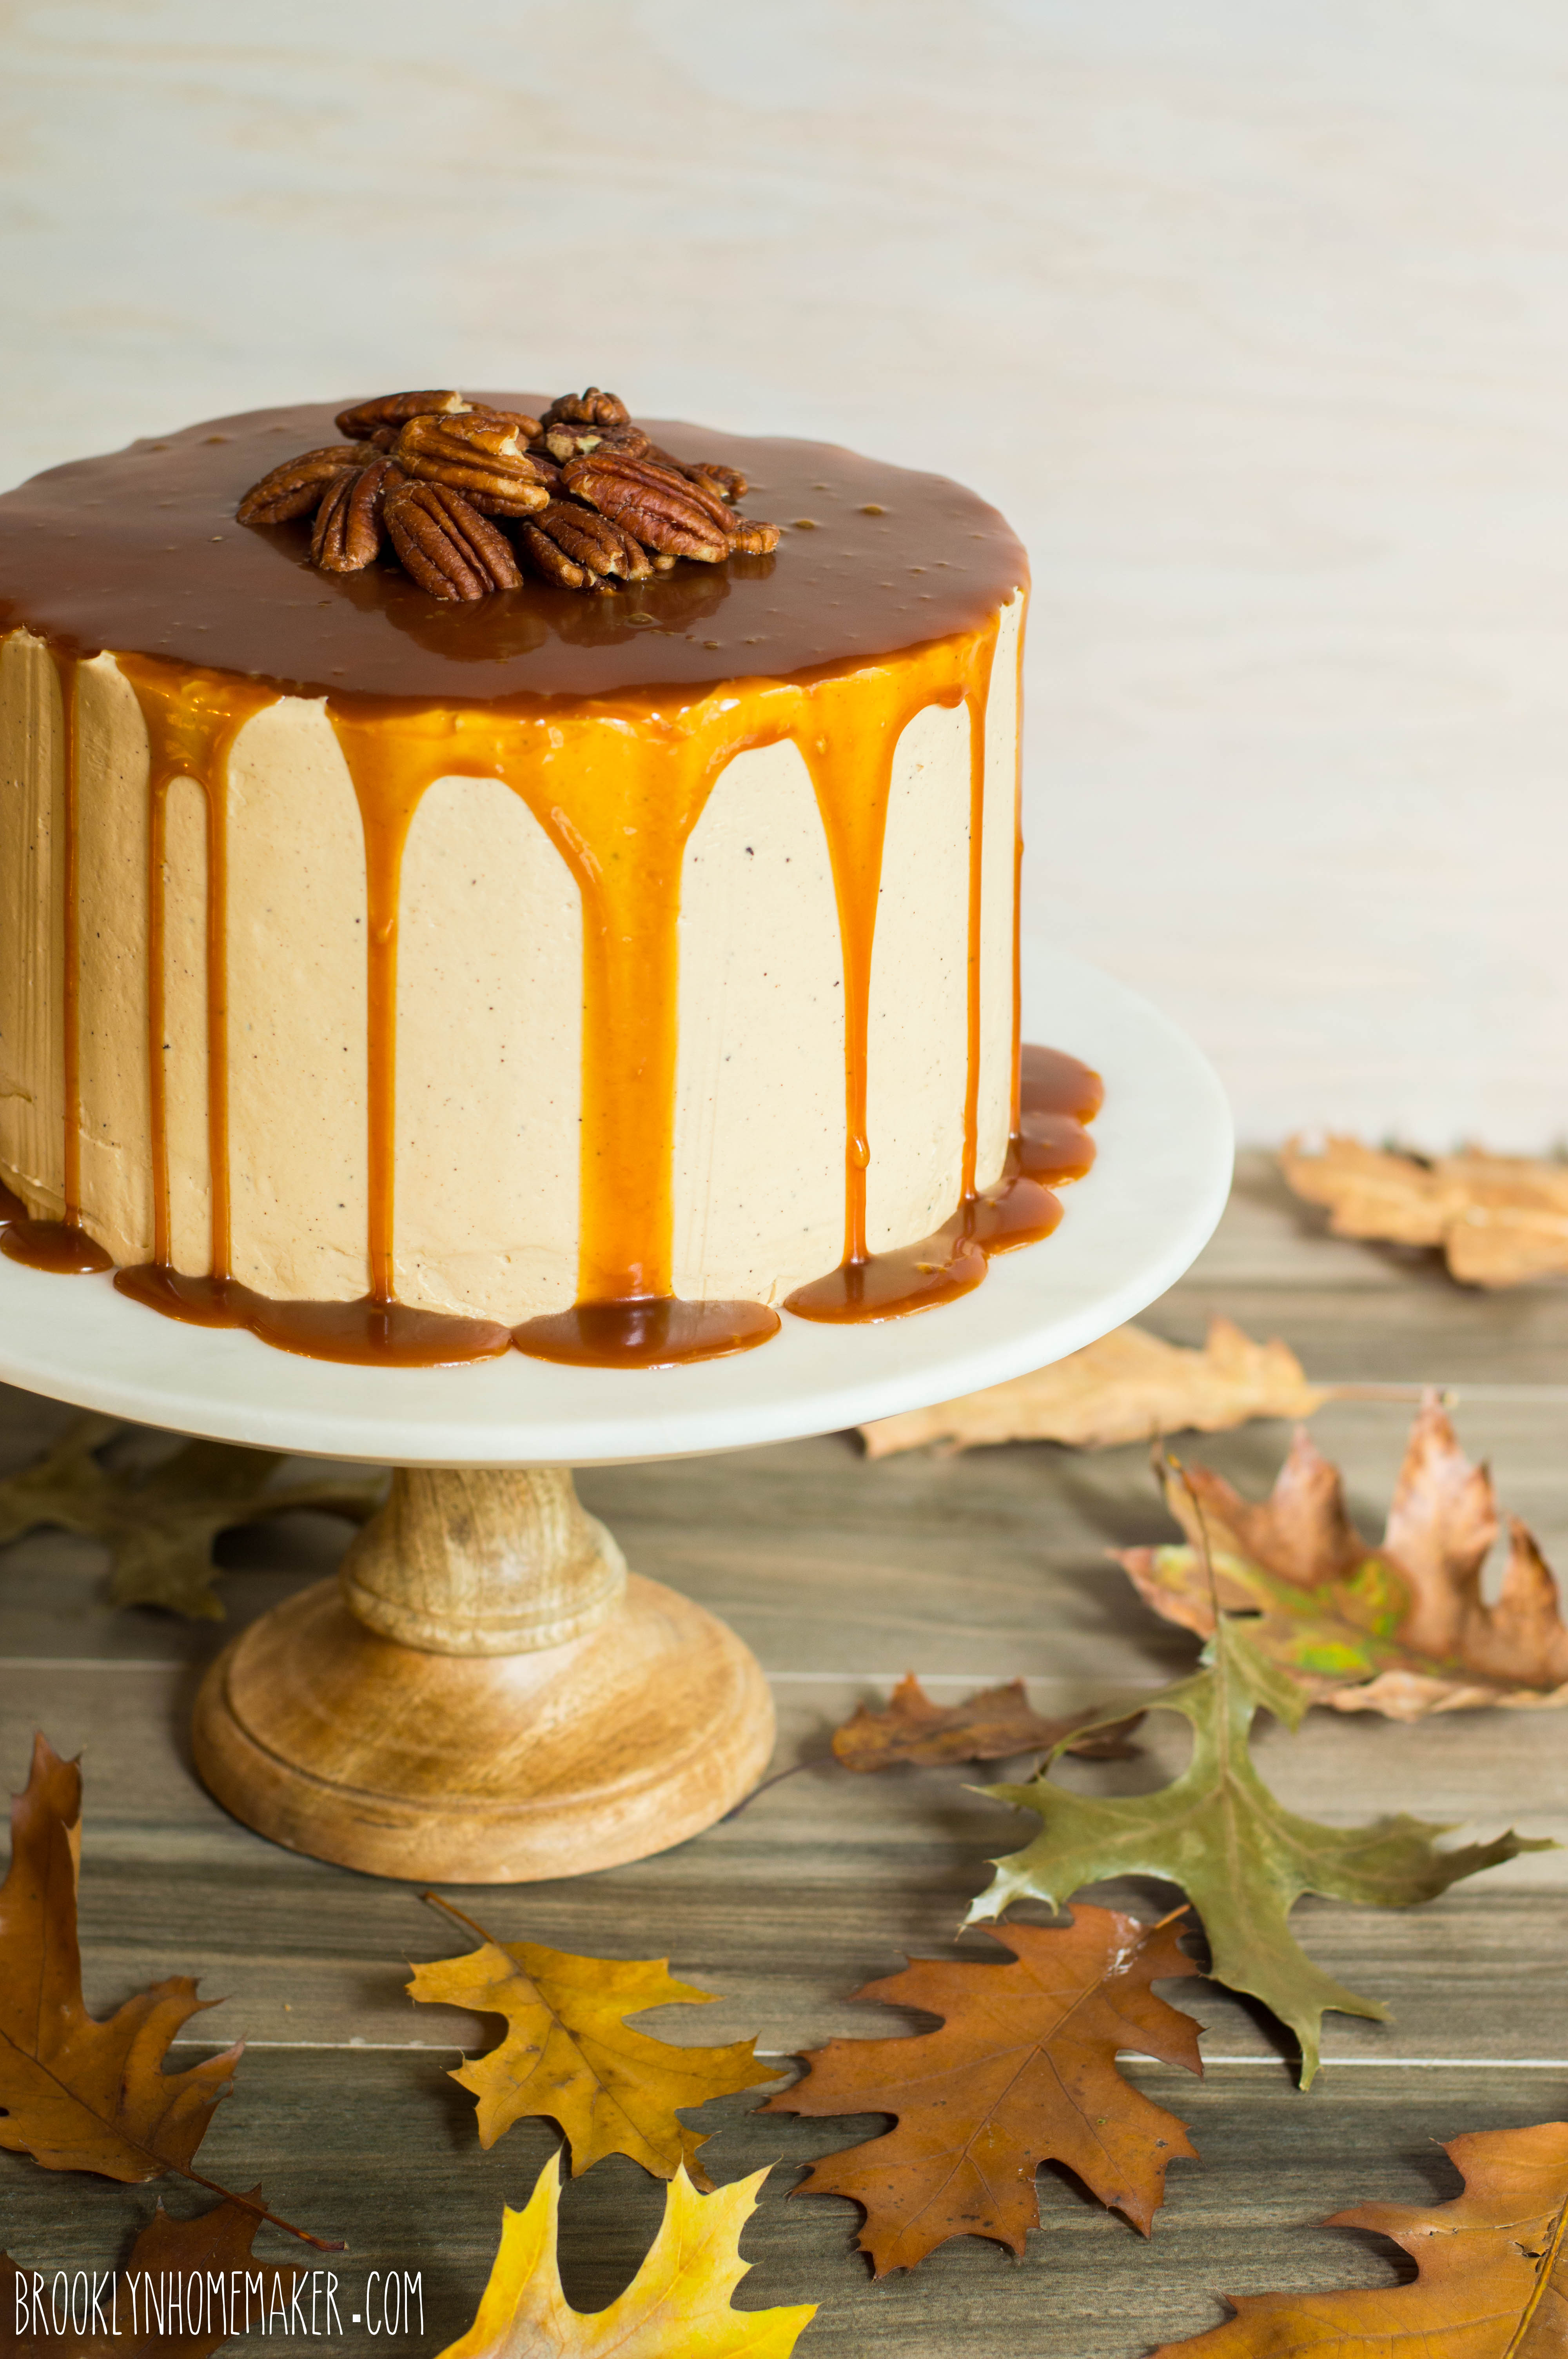
I thought that a play on the Aunt Sassy Cake with a fun, autumnal twist would be a great way to pay homage to the cake that started it all, while also making it feel little more seasonally appropriate this time of year.

butter pecan layer cake | Brooklyn Homemaker

I played with a few ideas in my head, but the inspiration really came when I was flipping through the channels one day and happened to catch a few minutes of Jeopardy.

When my sister and I were little, we used to spend a lot of time at our grandmother’s house. If we’d stay after dinner, we’d sit next to grandma on the couch and watch Wheel of Fortune and Jeopardy, and if we were good, grandma would fix us a bowl of ice cream.

Thing is, at the time I hated the ice cream flavors she tended to keep in the house. All I wanted was chocolate, or maybe mint chocolate chip, but grandma usually only had maple walnut or butter pecan. Garbage ice creams in the eyes of a child, and ones that i lovingly referred to as old lady flavors in my teen years.
As I got a little older I finally learned to appreciate those “old lady” flavors, and eventually I even learned to love them.
These days I can’t get enough of them, and even get into trouble with Russell when I come home from the store with a pint of butter pecan, when he’d have preferred chocolate, or maybe mint chocolate chip!

butter pecan layer cake | Brooklyn Homemaker

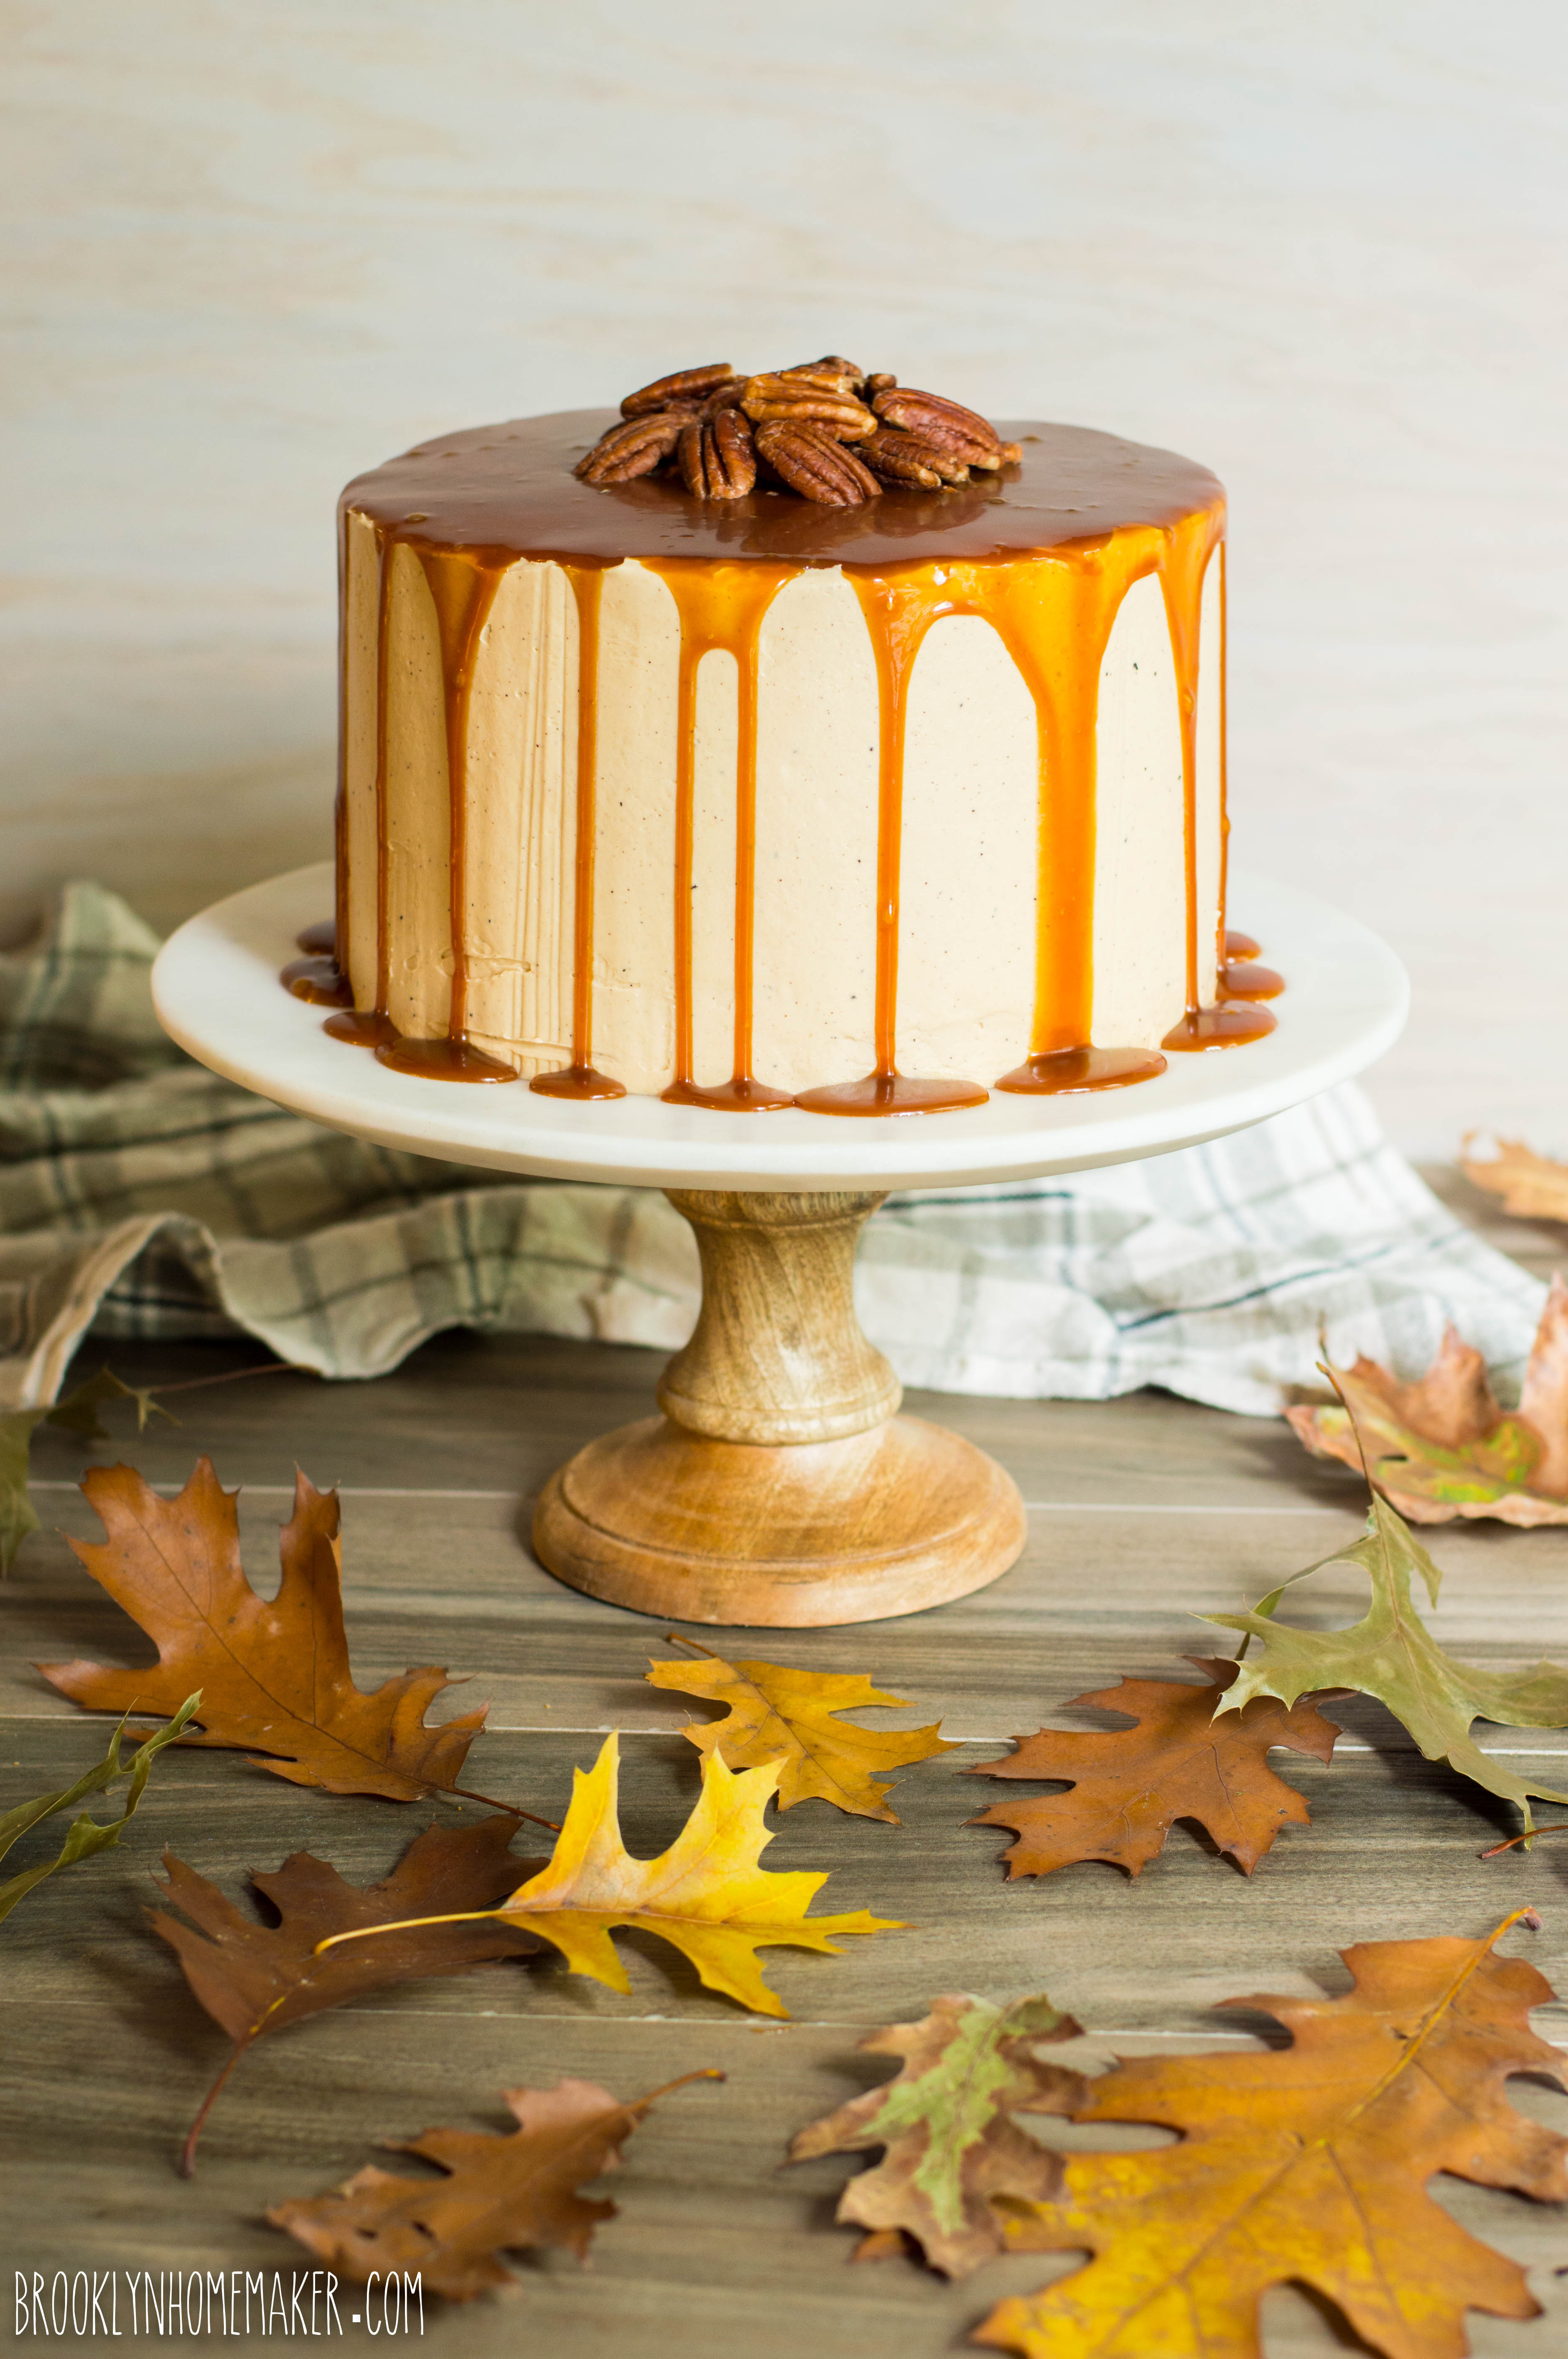
With butter pecan in mind, I decided to go for a tender pecan layer cake, and I opted to brown the butter to amp up the nutty flavor. Browning butter only takes about 10 minutes with some stirring and a watchful eye, and it adds an incredibly rich, earthy, nutty flavor to regular everyday unsalted butter. It has such an amazing flavor that I decided to brown a little extra to mix into some silky Swiss Meringue Buttercream I wanted to use to ice the cake.

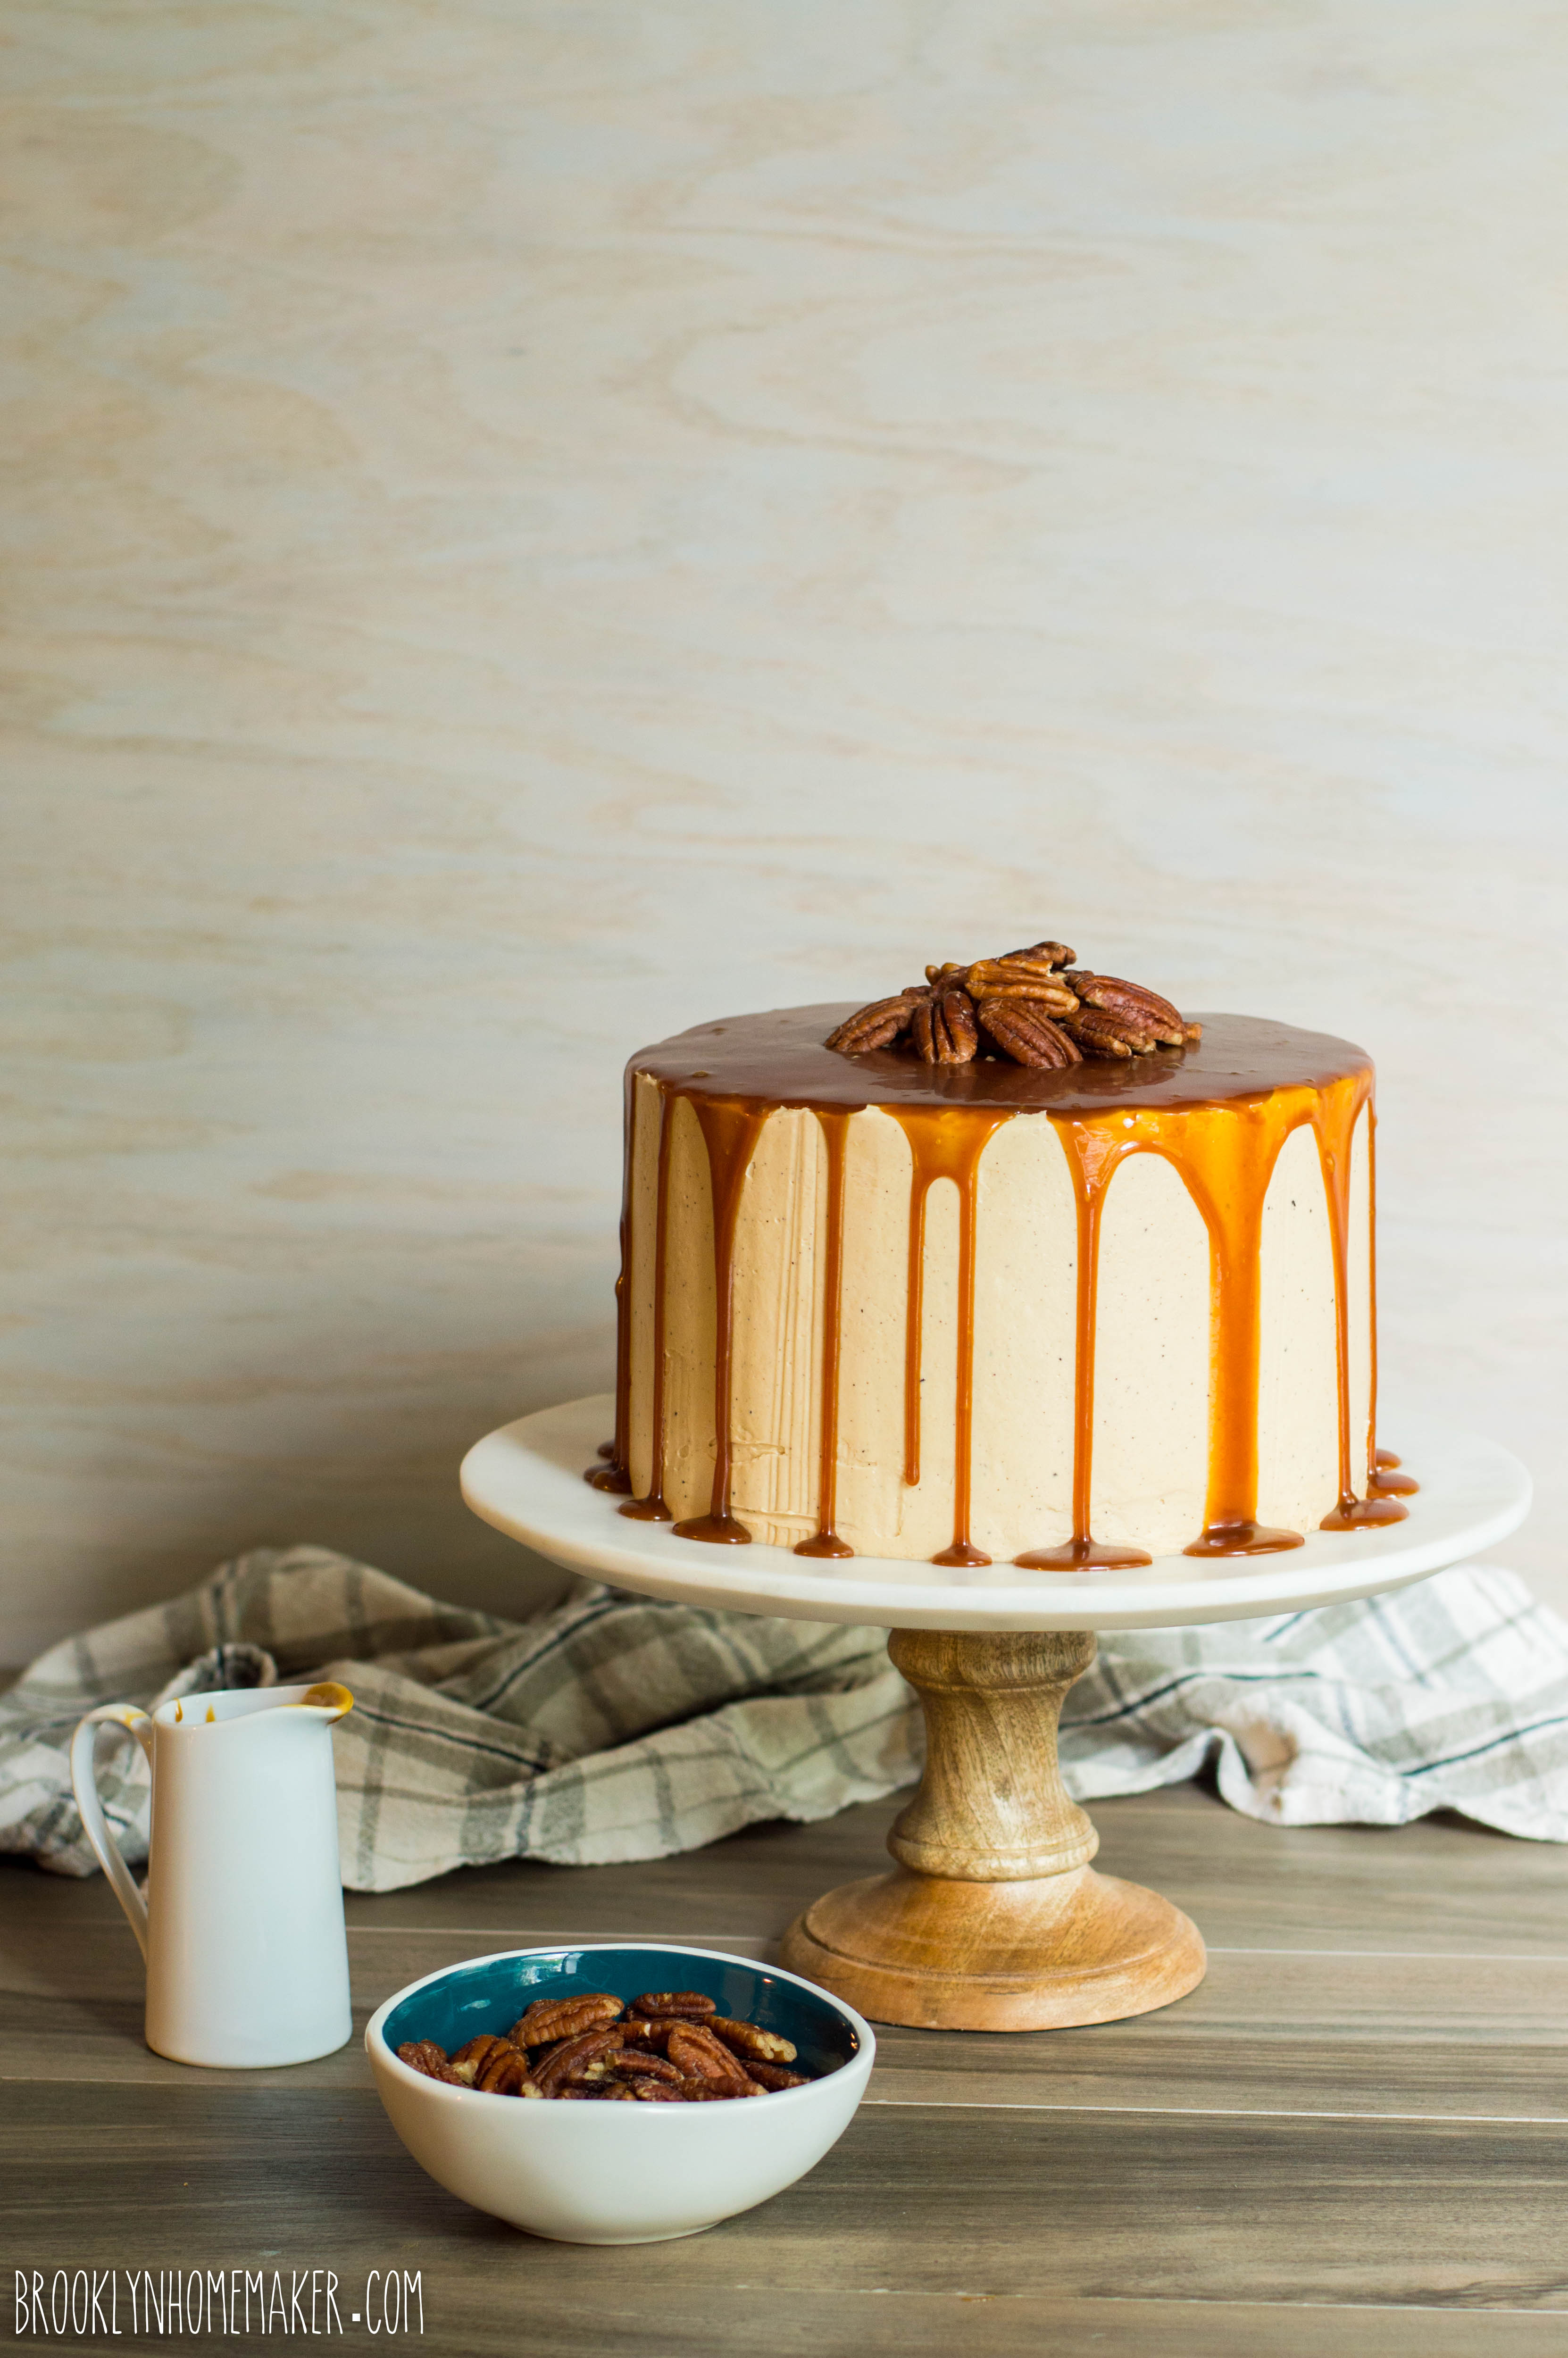
To make things even richer, and fancier, and prettier, I went ahead and drizzled the whole kit and kaboodle in some heavenly homemade caramel with a splash of (optional) bourbon.

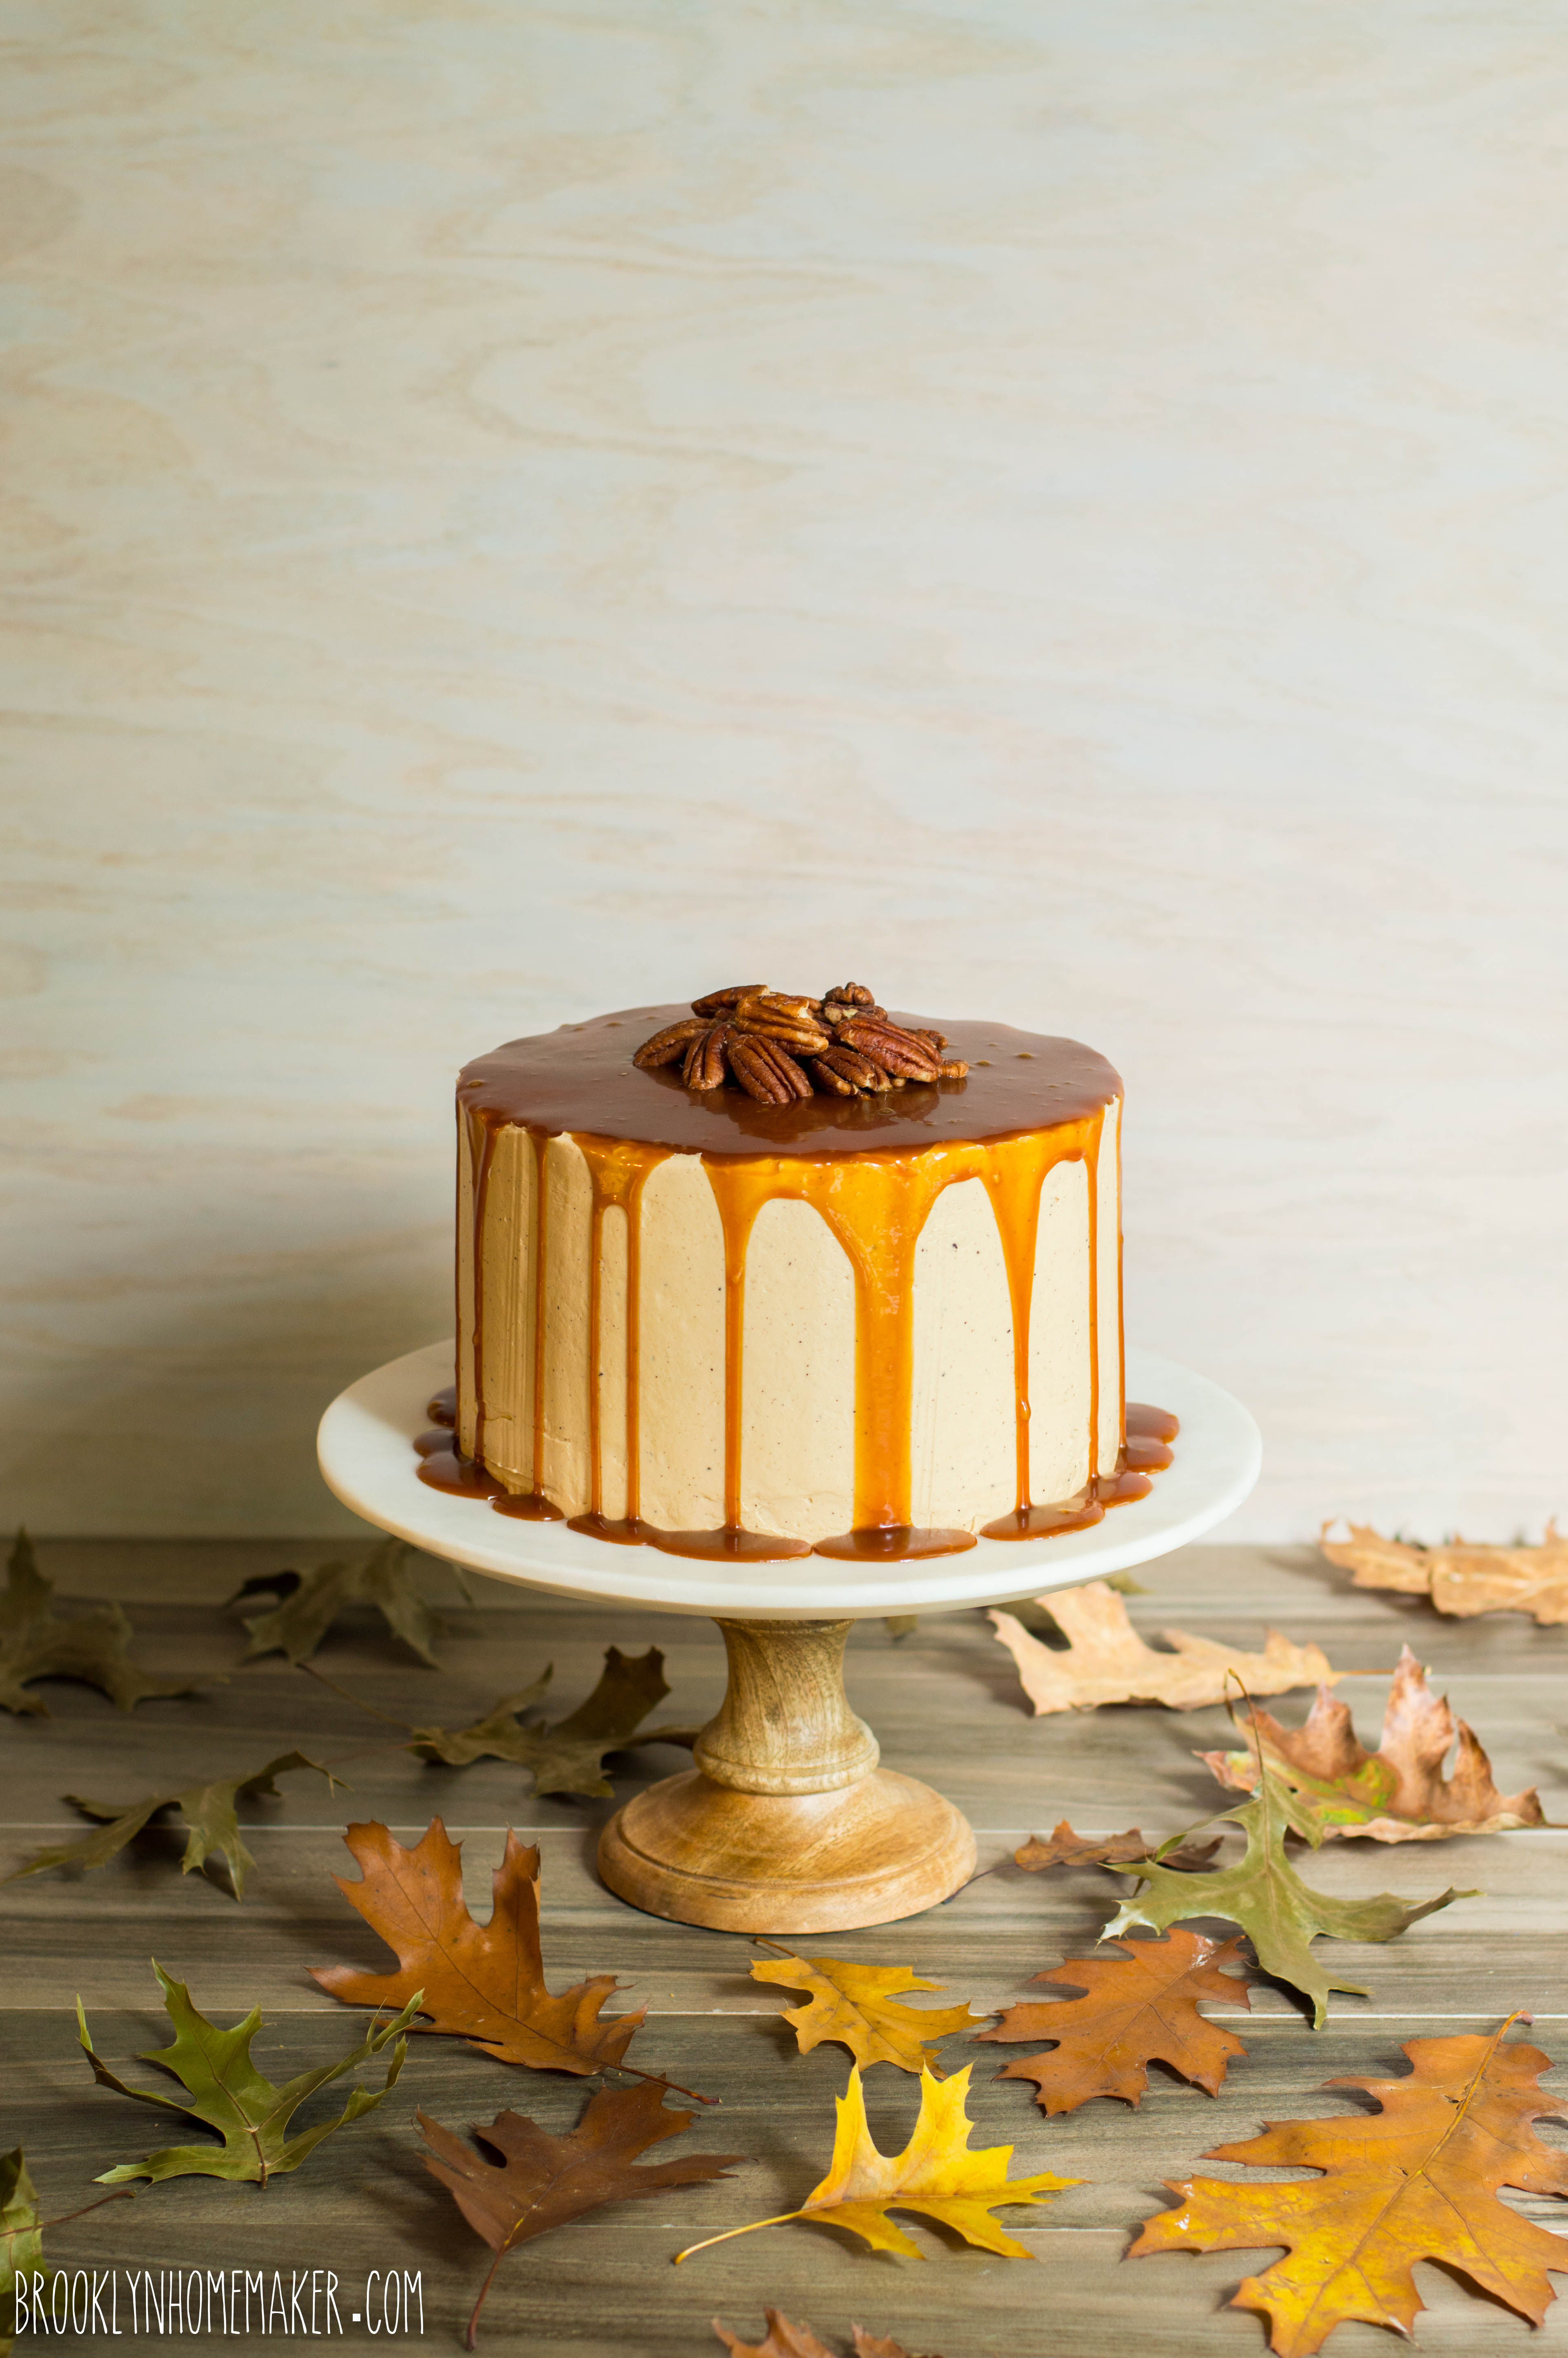
This cake is the freakin bomb. Perfect for fall. It could even work as an elegant alternative to pecan pie at Thanksgiving!

butter pecan layer cake | Brooklyn Homemaker

It’s been a wild ride so far, and hopefully this is just the beginning.

I’m so honored and grateful for all of you guys out there. I’m so so luck to have so many amazing friends out there in the world who have been so encouraging and engaging through everything that I’ve done so far. I’m looking forward to many more recipes and posts and years ahead, and I hope you’ll all be along for the ride too!

Love you guys! Thanks for everything!

butter pecan layer cake | Brooklyn Homemaker

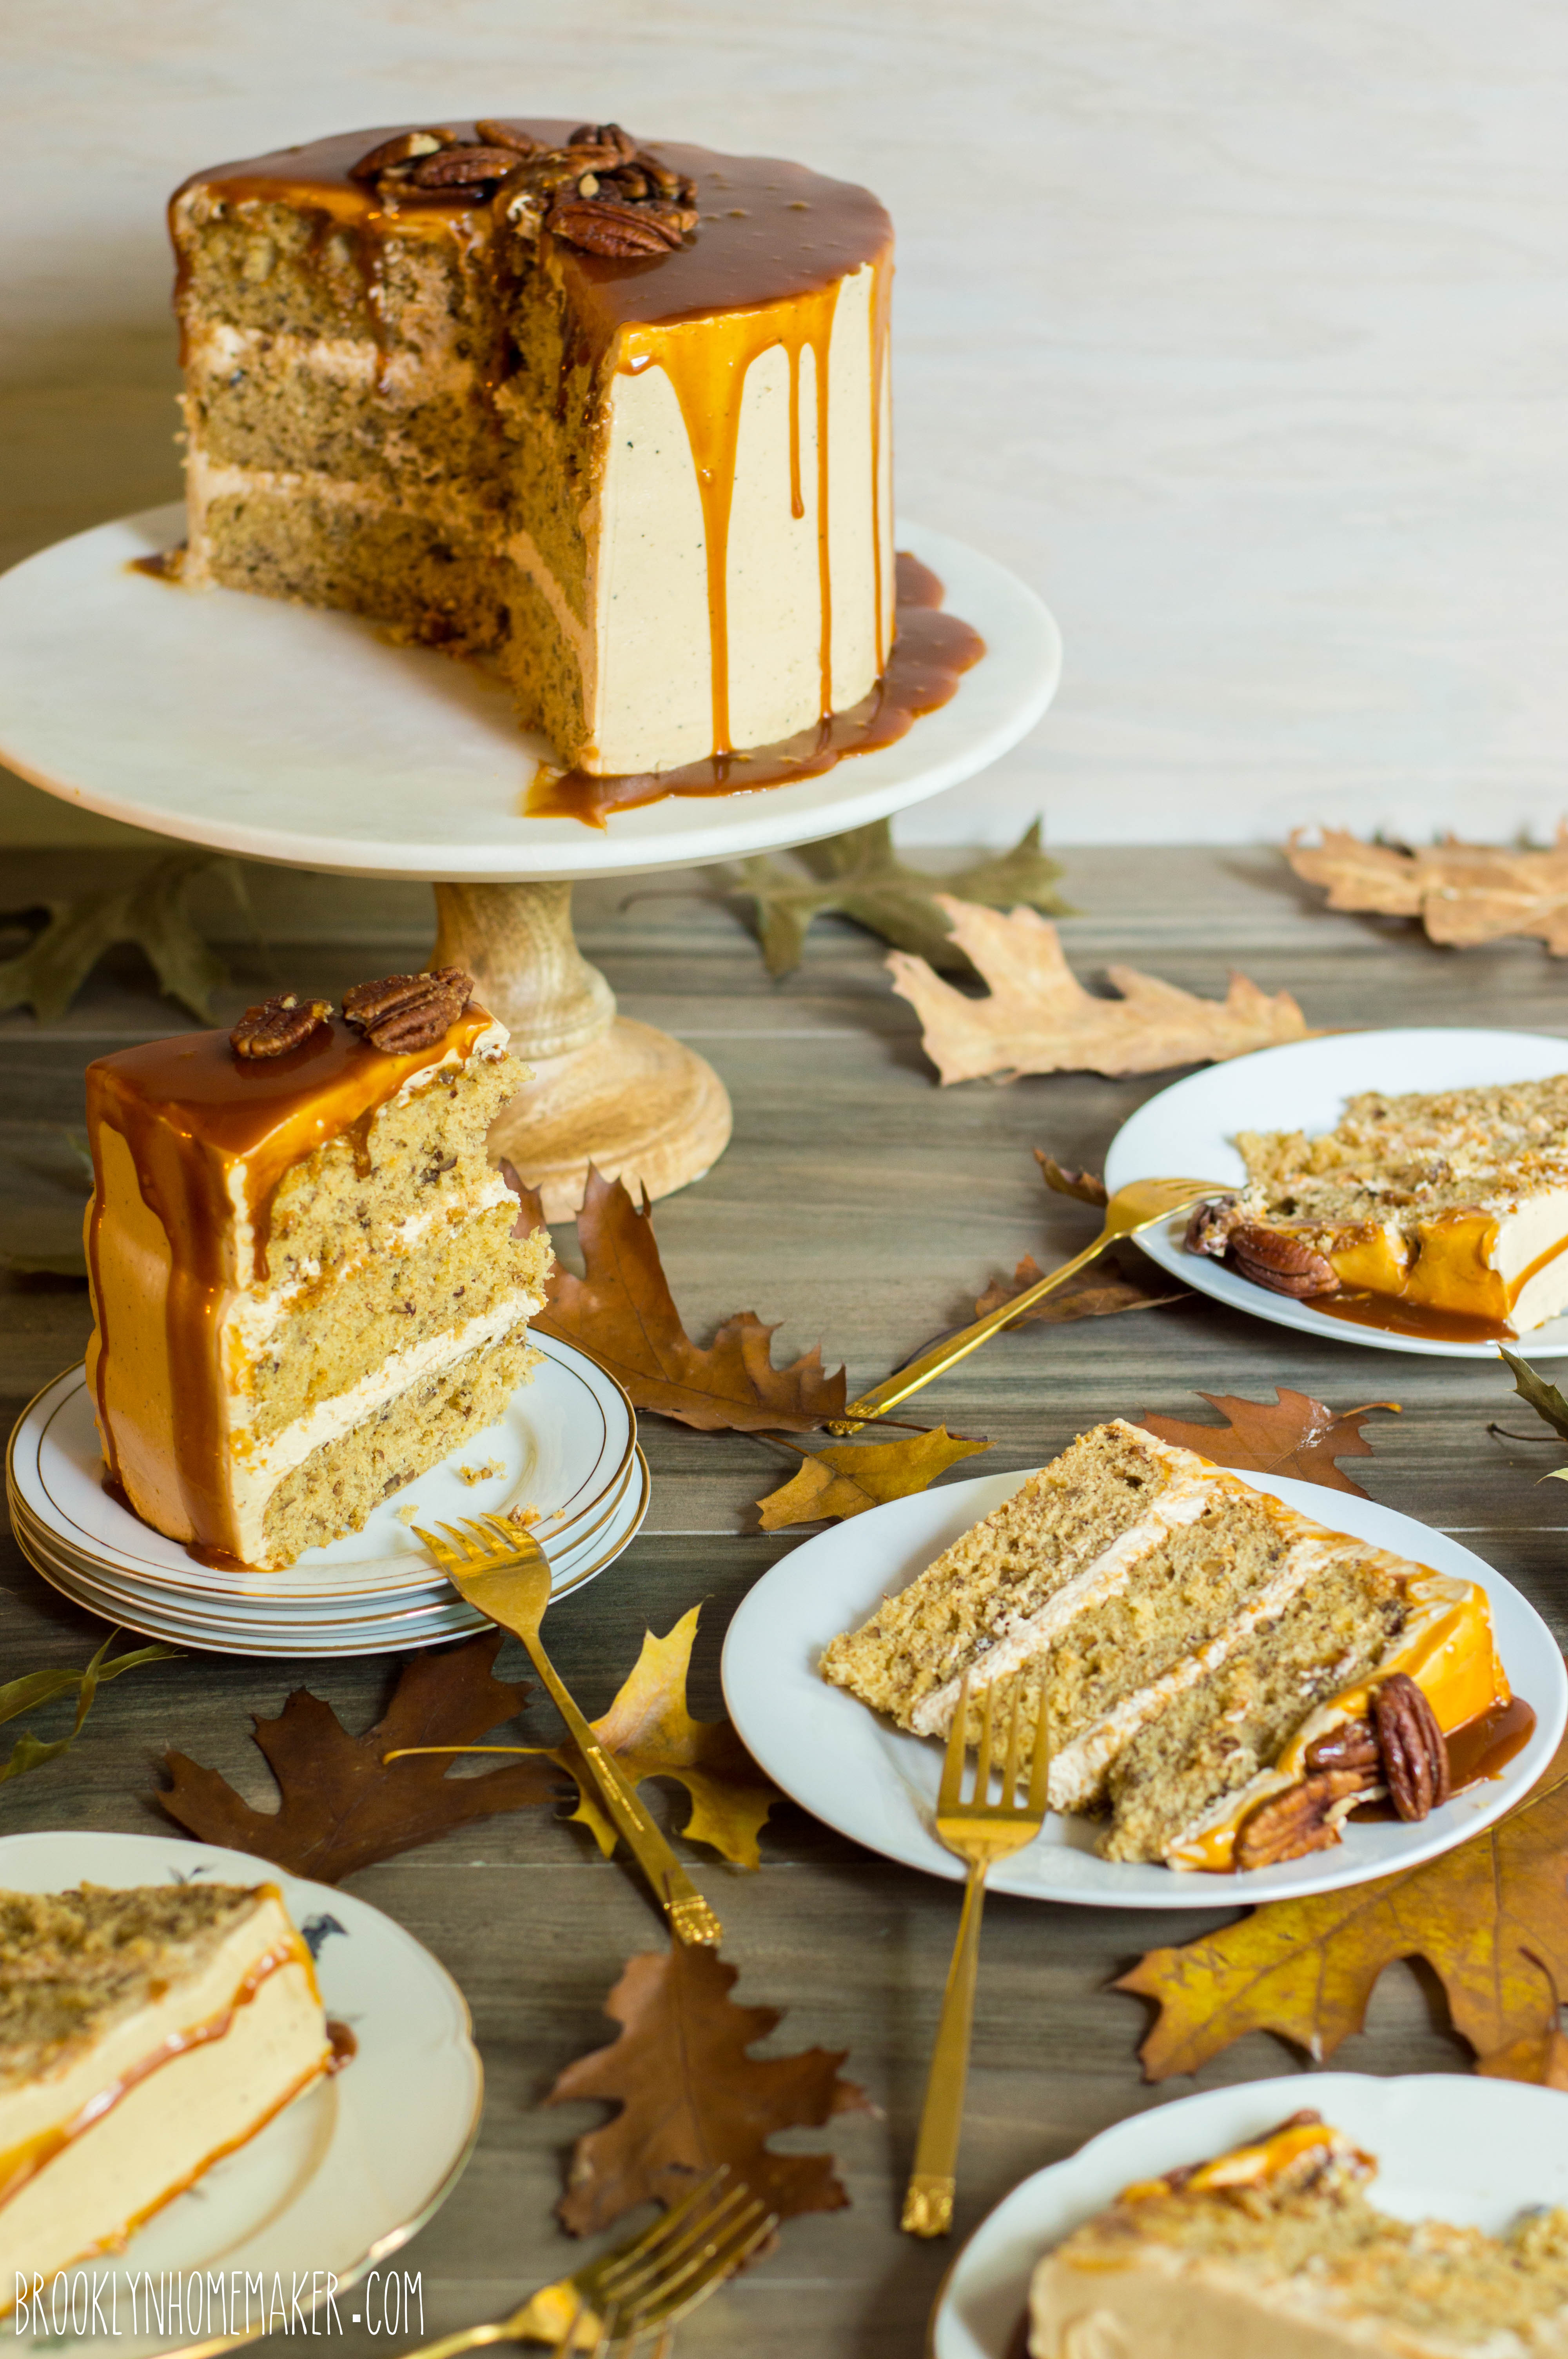
Butter Pecan Layer Cake with Brown Butter Swiss Meringue Buttercream and Bourbon Caramel Sauce

Brown Butter
(Make ahead if possible)

4 sticks of unsalted butter

Melt butter in a large stainless steel (or light colored) sauce pan over low to medium heat. As the water cooks out, the butter will sizzle a lot. Stir frequently with a silicone spatula.

Once the butter starts to foam, usually about 5 minutes in, you want to watch it very carefully so it doesn’t burn. You’ll also want to use your spatula to scrape the sides and bottom of the pan often. This will promote even browning and help prevent the milk solids from sticking to the pan as they brown. They’re delicious so you want them in your finished butter, and if they do stick they’ll be a pain in the butt to clean.

The foam may make it hard to see, but as you stir you’ll begin to see the milk solids in the butter begin to turn brown. Once the milk solids are brown and the butter smells toasty and nutty, you’re done! Immediately pour the butter, milk solids & all, into a heatproof dish to prevent it from further cooking. The milk solids can go from nutty and golden to black and burnt in less than a minute!

For the recipes below, you want the butter to be soft, but you don’t want to use the butter while it’s still hot and melted. Refrigerate the butter until solid, then let it soften at room temperature. If you want to make it ahead, it’ll keep for a long time if stored in an airtight container.
Butter contains a good amount of water which cooks off when you brown it, so after browning your 4 sticks of butter won’t measure 2 cups. Since the cake and the icing require the same amount of butter, I just say 1/2 the brown butter in each recipe for simplicities sake.


Brown Butter Pecan Cake
Adapted from Cooking Classy

3 Tbsp unsalted butter
2 cups finely chopped pecans
1/3 cup whole pecan pieces for decorating (optional)
3 cups all-purpose flour
2 tsp baking powder
1/2 tsp baking soda
1 tsp salt
1/2 of the brown butter (will be a bit shy of 1 cup), softened
1/4 cup peanut oil (or canola or vegetable oil)
1 cup granulated sugar
1 cup brown sugar, firmly packed
3 large eggs
2 large egg yolks (reserve whites for icing)
2 tsp vanilla extract
1 1/4 cup buttermilk

Preheat oven to 350 degrees.

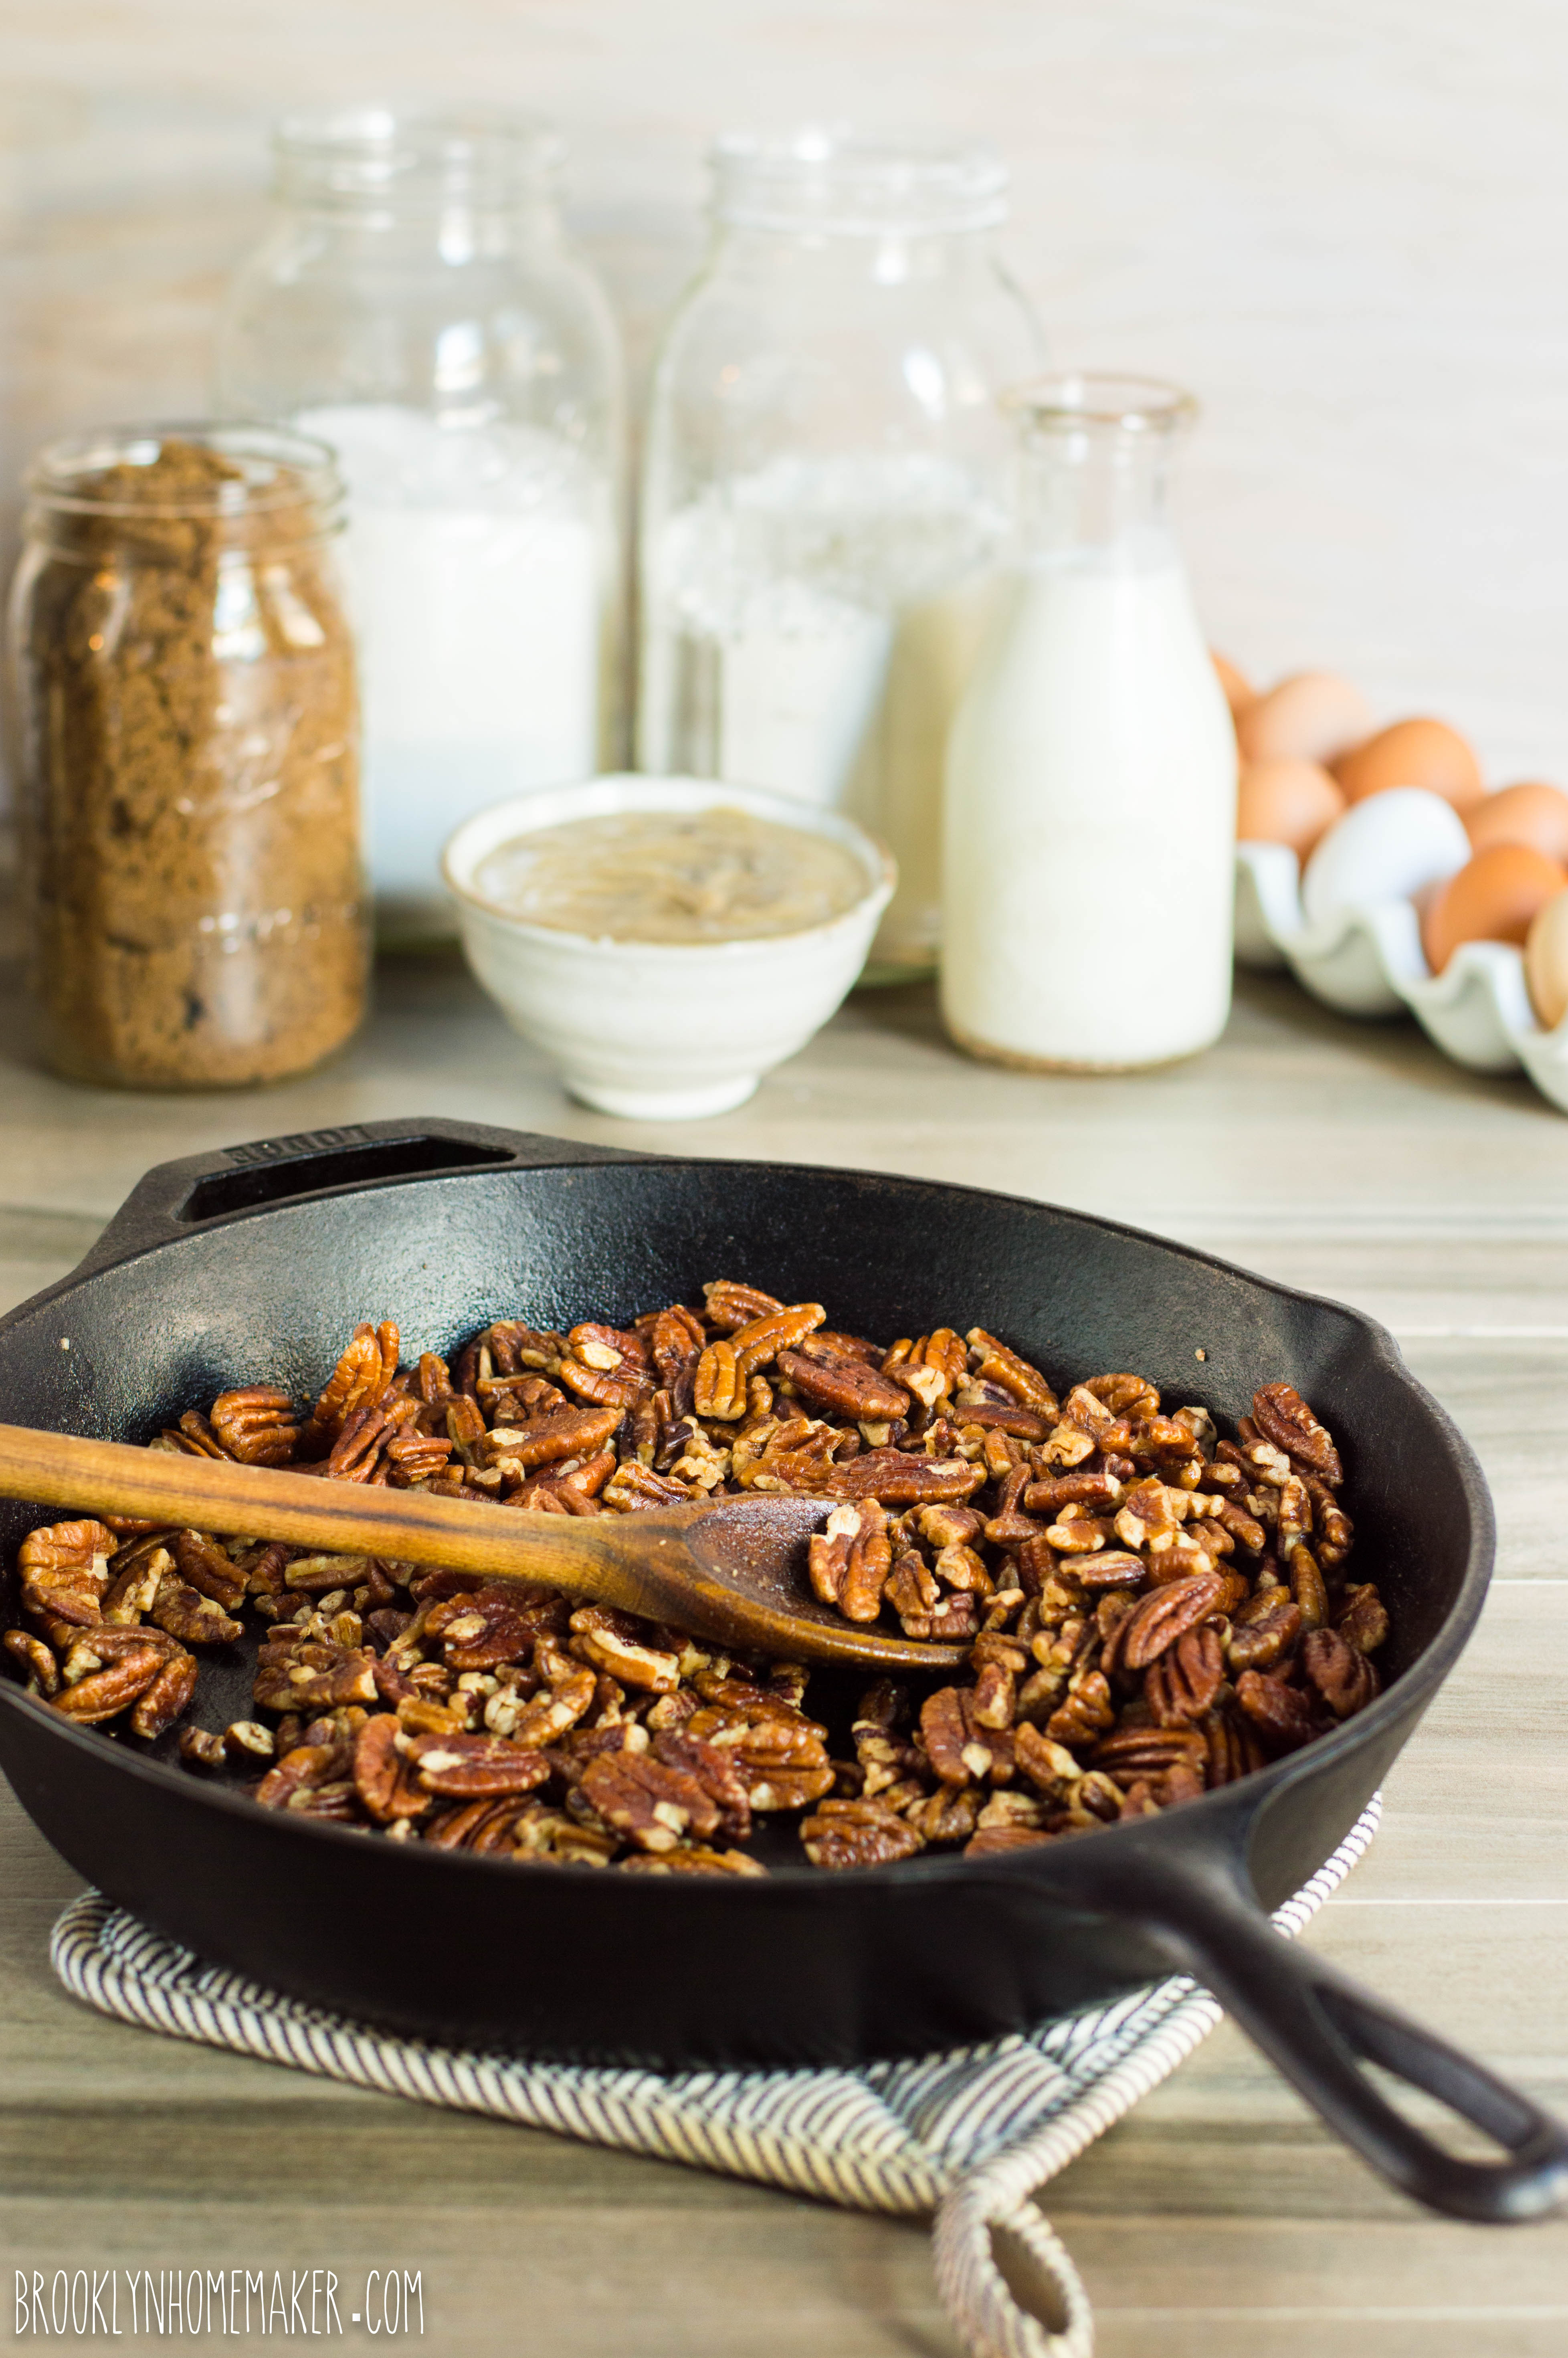
Melt 3 Tbsp butter in a skillet over medium heat. Add pecans, toss to coat, and cook until slightly browned and fragrant, stirring frequently, about 5 minutes. Transfer to a bowl or dish to stop cooking and set aside to cool. If using whole pieces for decorating, separate them from the chopped pecans and reserve for later.

Butter 3 8-inch round cake pans and line with parchment paper, butter parchment paper and then lightly dust pans with flour shaking out excess. Set pans aside.
Whisk together flour, baking powder, baking soda and salt in a medium bowl and set aside.
In the bowl of an electric stand mixer fitted with the paddle attachment, beat butter, oil, and sugars together until very pale and fluffy, about 5 minutes. Mix in eggs and egg yolks, one at a time, adding in vanilla with the last egg.
Add 1/3 of the flour mixture to the butter mixture and mix on low speed just until combined, then add in 1/2 of the buttermilk and mix just until combined. Repeat alternating flour and buttermilk, ending with the final 1/3 of the flour. Remove the bowl from your mixer and fold in pecans until they’re evenly distributed. Divide batter evenly among the 3 prepared baking pans, using a kitchen scale for accuracy if desired.
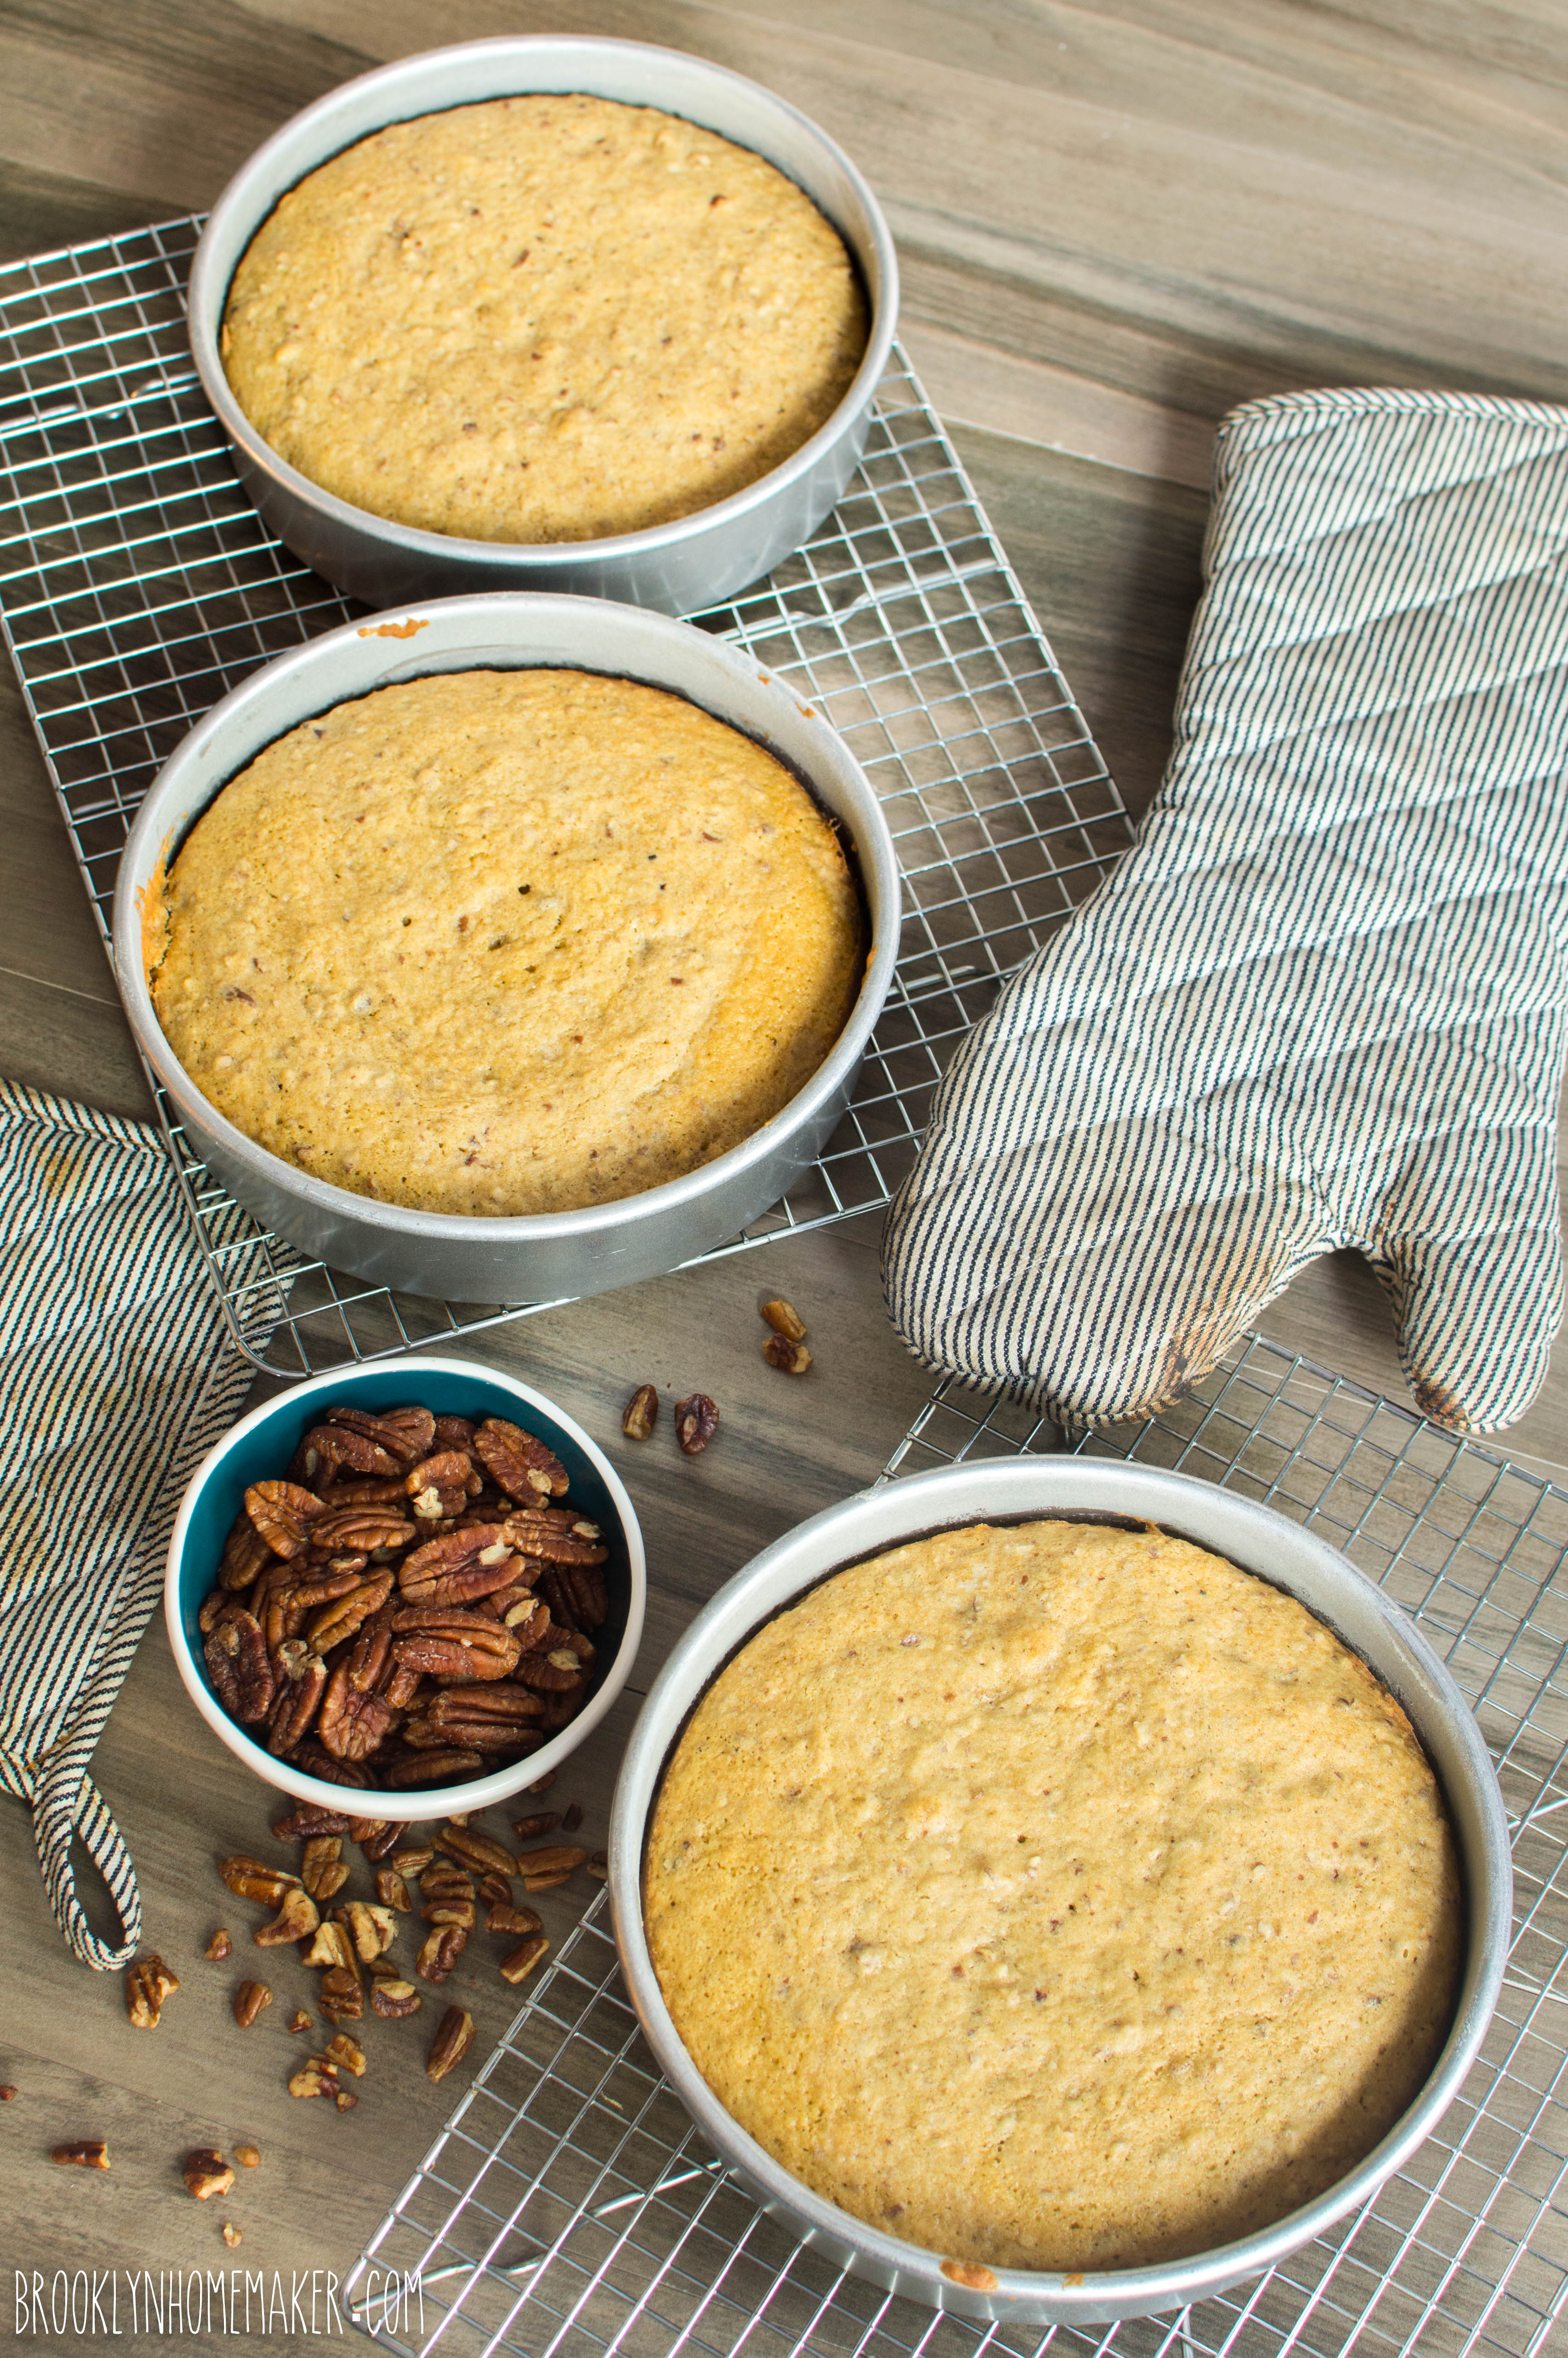
Bake in preheated oven 25 – 30 minutes, or until a cake tester or toothpick inserted into the center of the cakes comes out clean.
Remove from oven and cool for 10 to 15 minutes on a wire rack, then run a knife around edges of the pans to ensure the cakes are loosened, and invert them onto the racks to cool completely.


Bourbon Caramel Sauce
Adapted from Minimalist Baker

1 cup sugar
1/4 cup water
1/4 cup unsalted butter (4 tablespoons, or 1/2 stick)
1/4 cup heavy cream
1 Tbsp bourbon (optional)
pinch of salt

Place sugar and water in a large saucepan over medium heat, gently swirling the pan (not stirring) to combine. Simmer (not stirring) for about 15 minutes or until a rich amber color is reached. It should look almost a reddish-brown, and have a slightly toasty aroma. Once the sugar starts to go from clear to golden, watch it very closely as it can go from perfect to burnt in under a minute. If you want to use a thermometer, cook until the sugar reaches 350 degrees.
Remove the pan from heat and slowly stir or whisk in the butter. It will bubble up a lot so be careful. Once the butter is combined, repeat the process with the cream. Then add the bourbon and salt stir or whisk to combine.
Place the pan back over the heat and simmer for another minute or two while stirring continuously.
Remove from heat and let it cool for about 15 minutes before pouring into a heat-safe dish or jar to cool to the touch. Then close or cover the container and transfer it to the refrigerator to cool completely before use. Any leftover caramel (I didn’t have much) can be stored in the fridge in an airtight container for several weeks.


Brown Butter Swiss Meringue Buttercream
Adapted from Martha Stewart 

6 large egg whites
1 cup granulated sugar
1 cup packed dark-brown sugar
1/2 teaspoon salt
2 sticks (1 cup) unsalted butter, room temperature
remaining 1/2 of the brown butter (will be a bit shy of 1 cup), softened
1 teaspoon vanilla extract

Wipe the bowl of an electric mixer with paper towel and a small amount lemon juice or vinegar to remove any trace of fat or grease. Make a double boiler by placing the mixer bowl over a saucepan of gently simmering water, making sure the bowl doesn’t touch the water.

Place egg whites, sugars, and salt into the bowl and whisk gently but continuously until the sugar is completely dissolved and the egg whites reach between 150 and 160 degrees F.
Attach the bowl to your mixer and use the whisk attachment to whip the egg whites on high speed until thick, glossy peaks form and the bowl no longer feels warm to the touch, about 7 to 10 minutes.
Switch to the paddle attachment and reduce speed to medium-low. Add butter, about 2 tablespoons at a time, beating after each addition. The meringue will deflate slightly as butter is added, don’t worry. Once all the butter is added, beat until the icing is smooth and silky, usually about 3 to 5 minutes.
Add the vanilla and beat on low just until combined.

If the buttercream curdles, don’t worry! Just keep mixing and it will come back to smooth.
If the buttercream is too thin and runny, refrigerate the bowl for about 15 or 20 minutes before mixing again with the paddle attachment until it comes together.


Assemble cake:

Remove parchment from each layer, and trim the domed tops off with a cake leveler or sharp bread knife if necessary. Flat layers will definitely result in a much prettier & more professional looking finished cake. My cakes didn’t dome much, so you may not need to do this step. Make sure the layers are completely cool (or cold) before you proceed.

If you’re not serving the cake the same day it’s baked, I recommend you brush each layer of cake with two or three tablespoons of simple syrup before assembly to keep it nice and moist for days. Just heat 1/3 cup sugar and 1/3 cup water together until the sugar is completely dissolved.

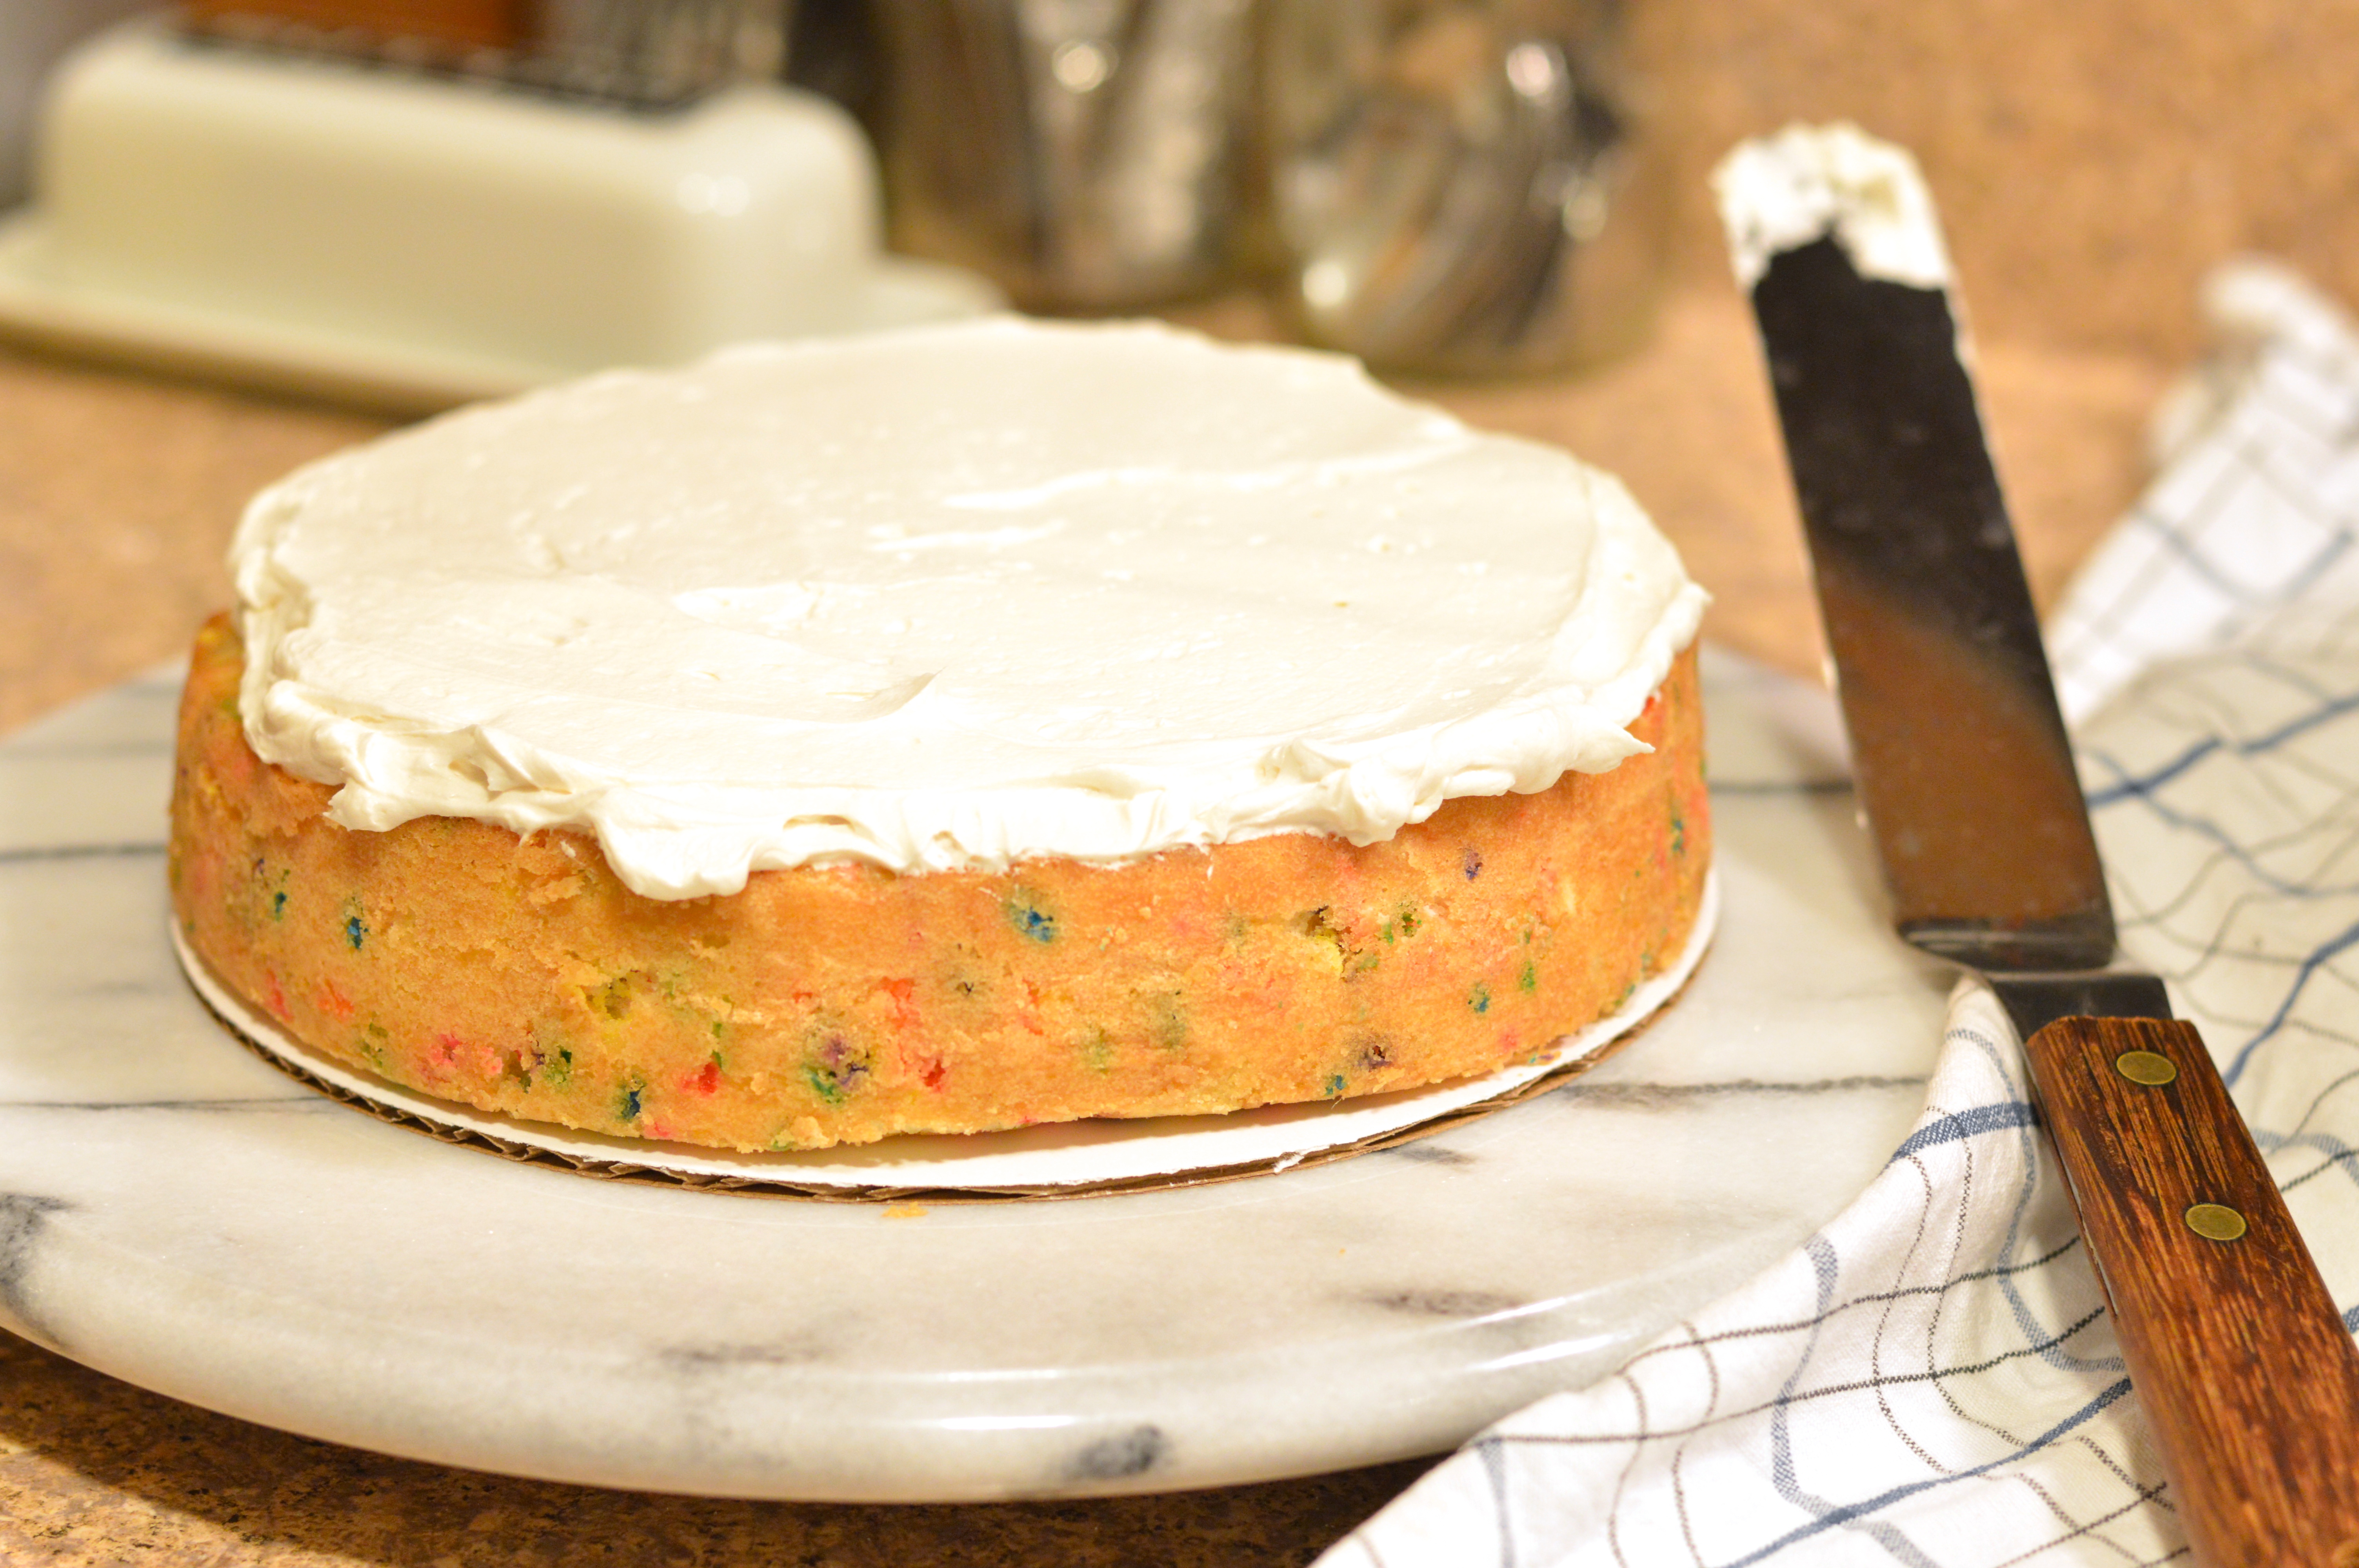
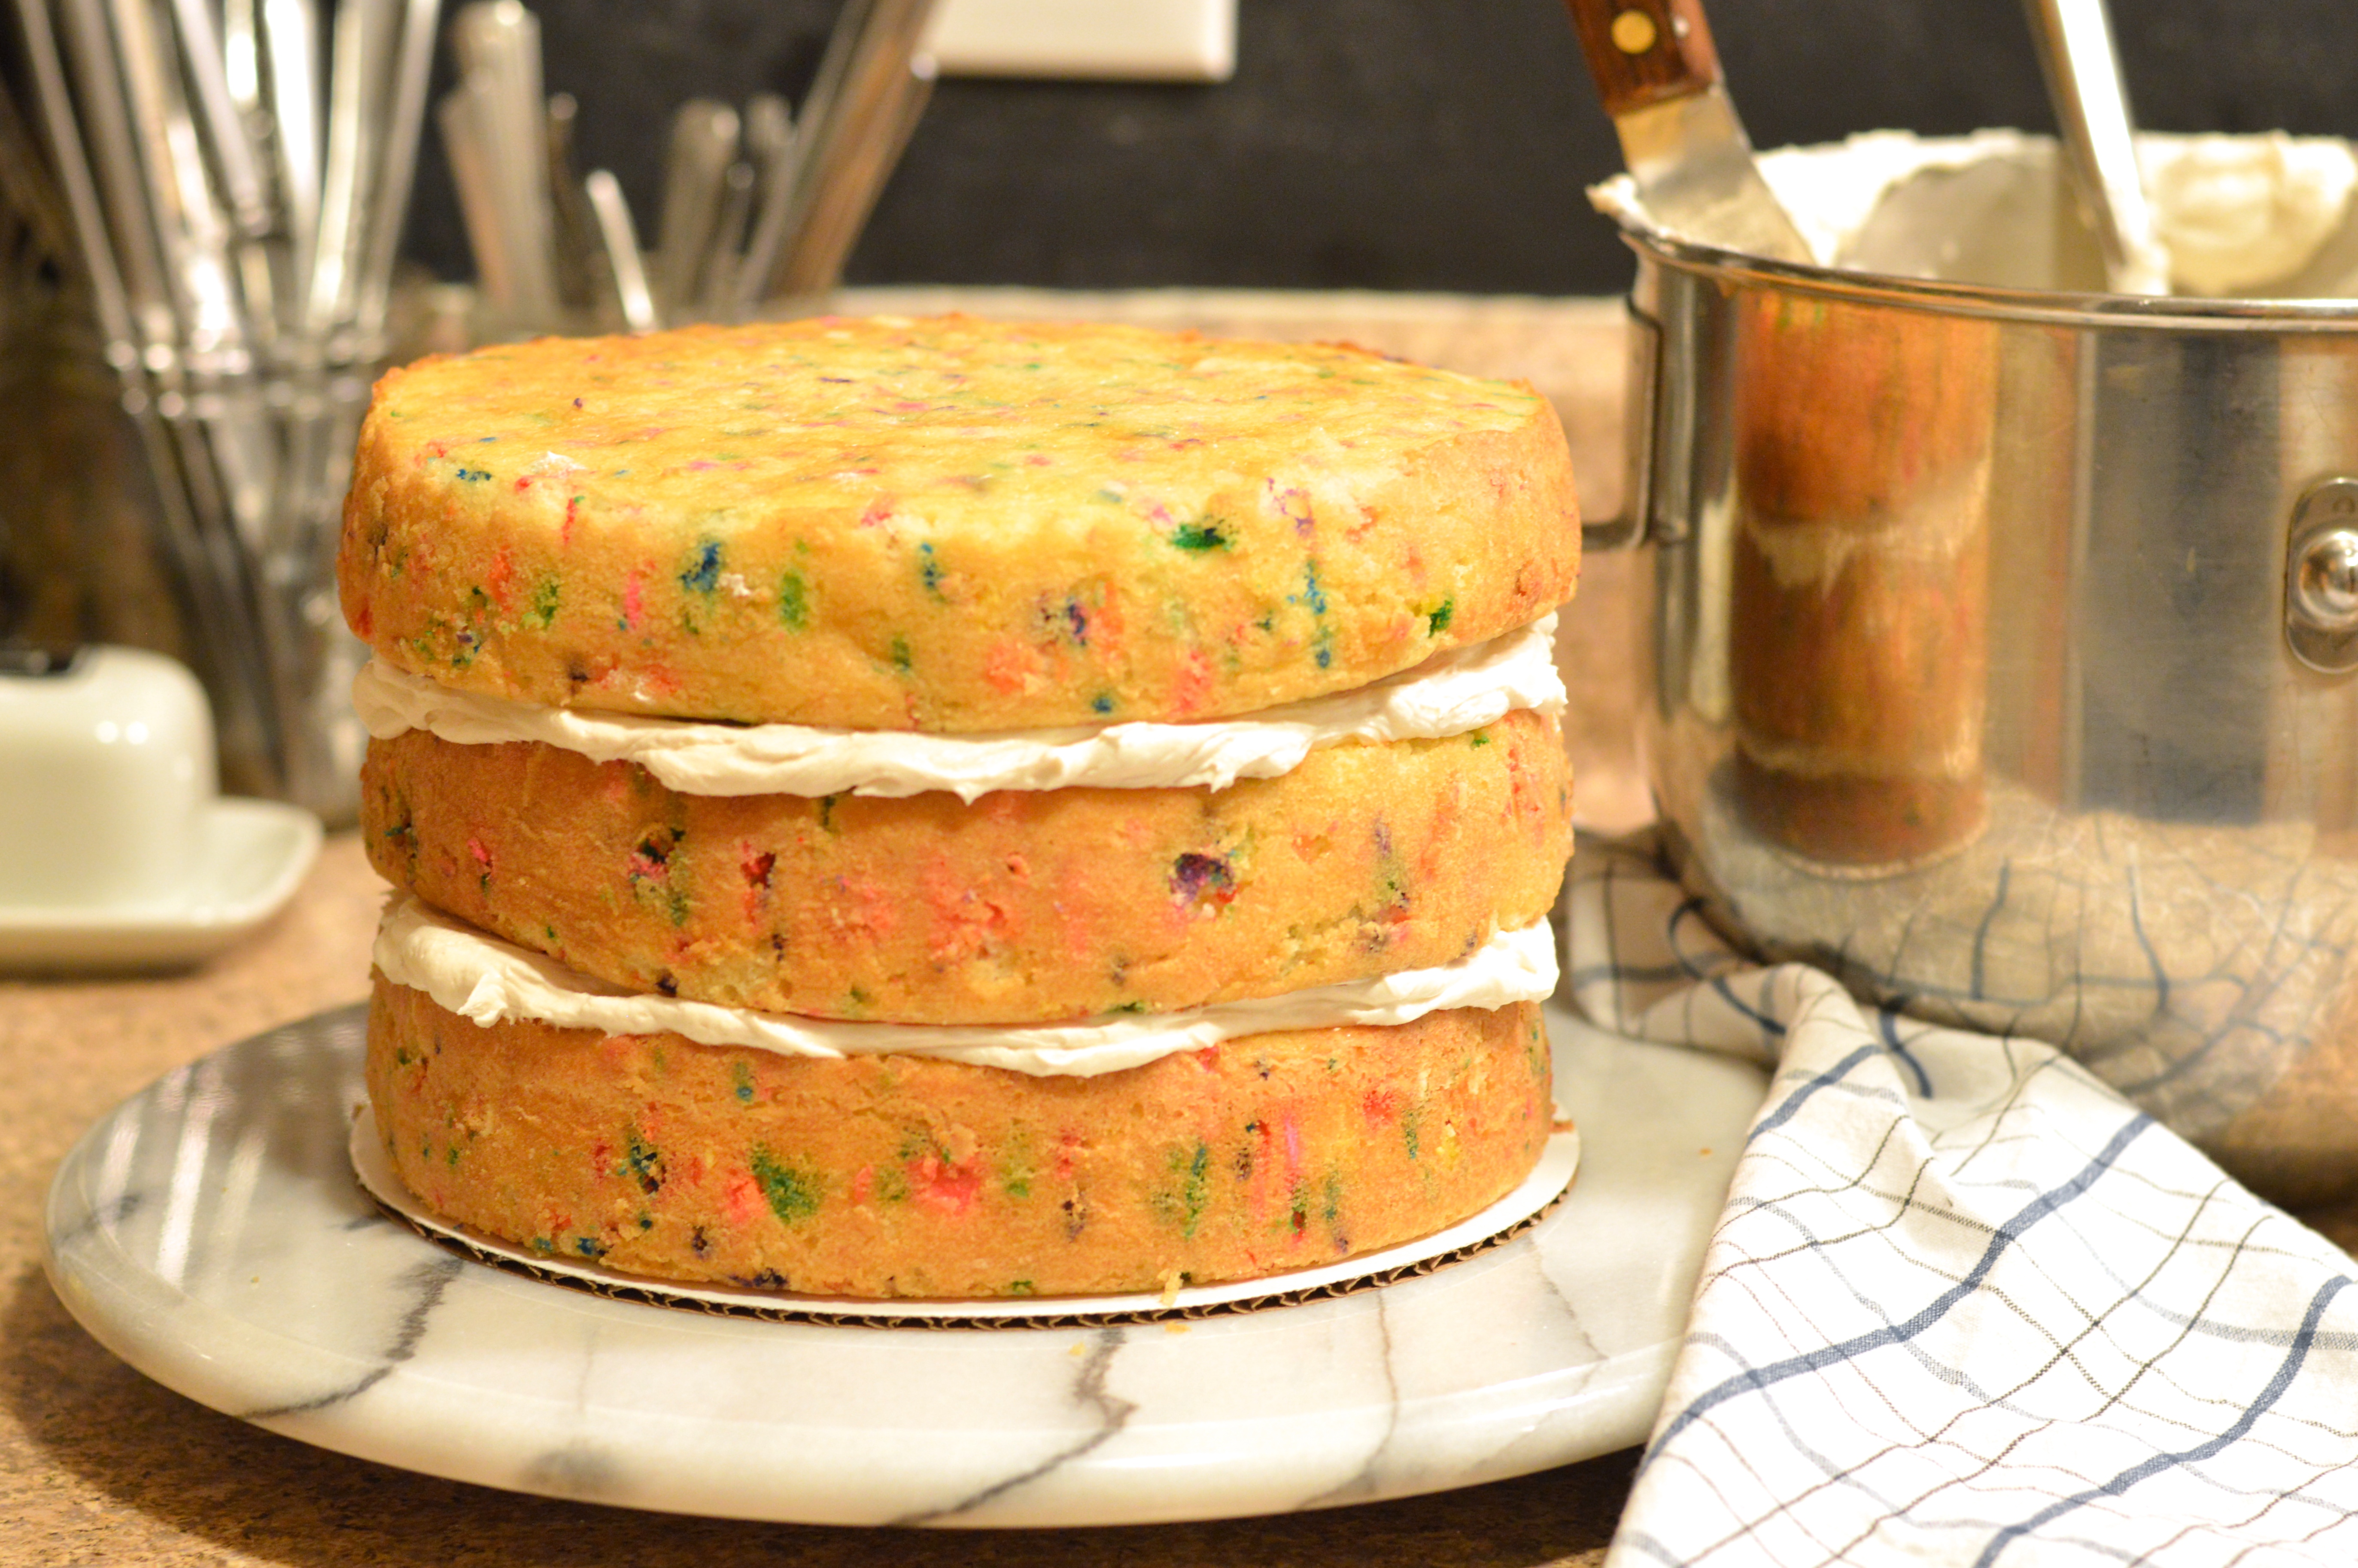
Place first layer on a cake stand, serving platter, or cardboard cake round. Top with roughly 1/4 of your icing (about one generous cup), and spread the icing out with an offset icing spatula, in as even and level a layer as possible. Place the next layer on top and check from above and from multiple angles to make sure it’s stacked perfectly centered with the layer below, and that it’s flat and level. Adjust if necessary.
Add another 1/4 of the icing, smooth it out, add the top layer, and check and adjust if necessary.

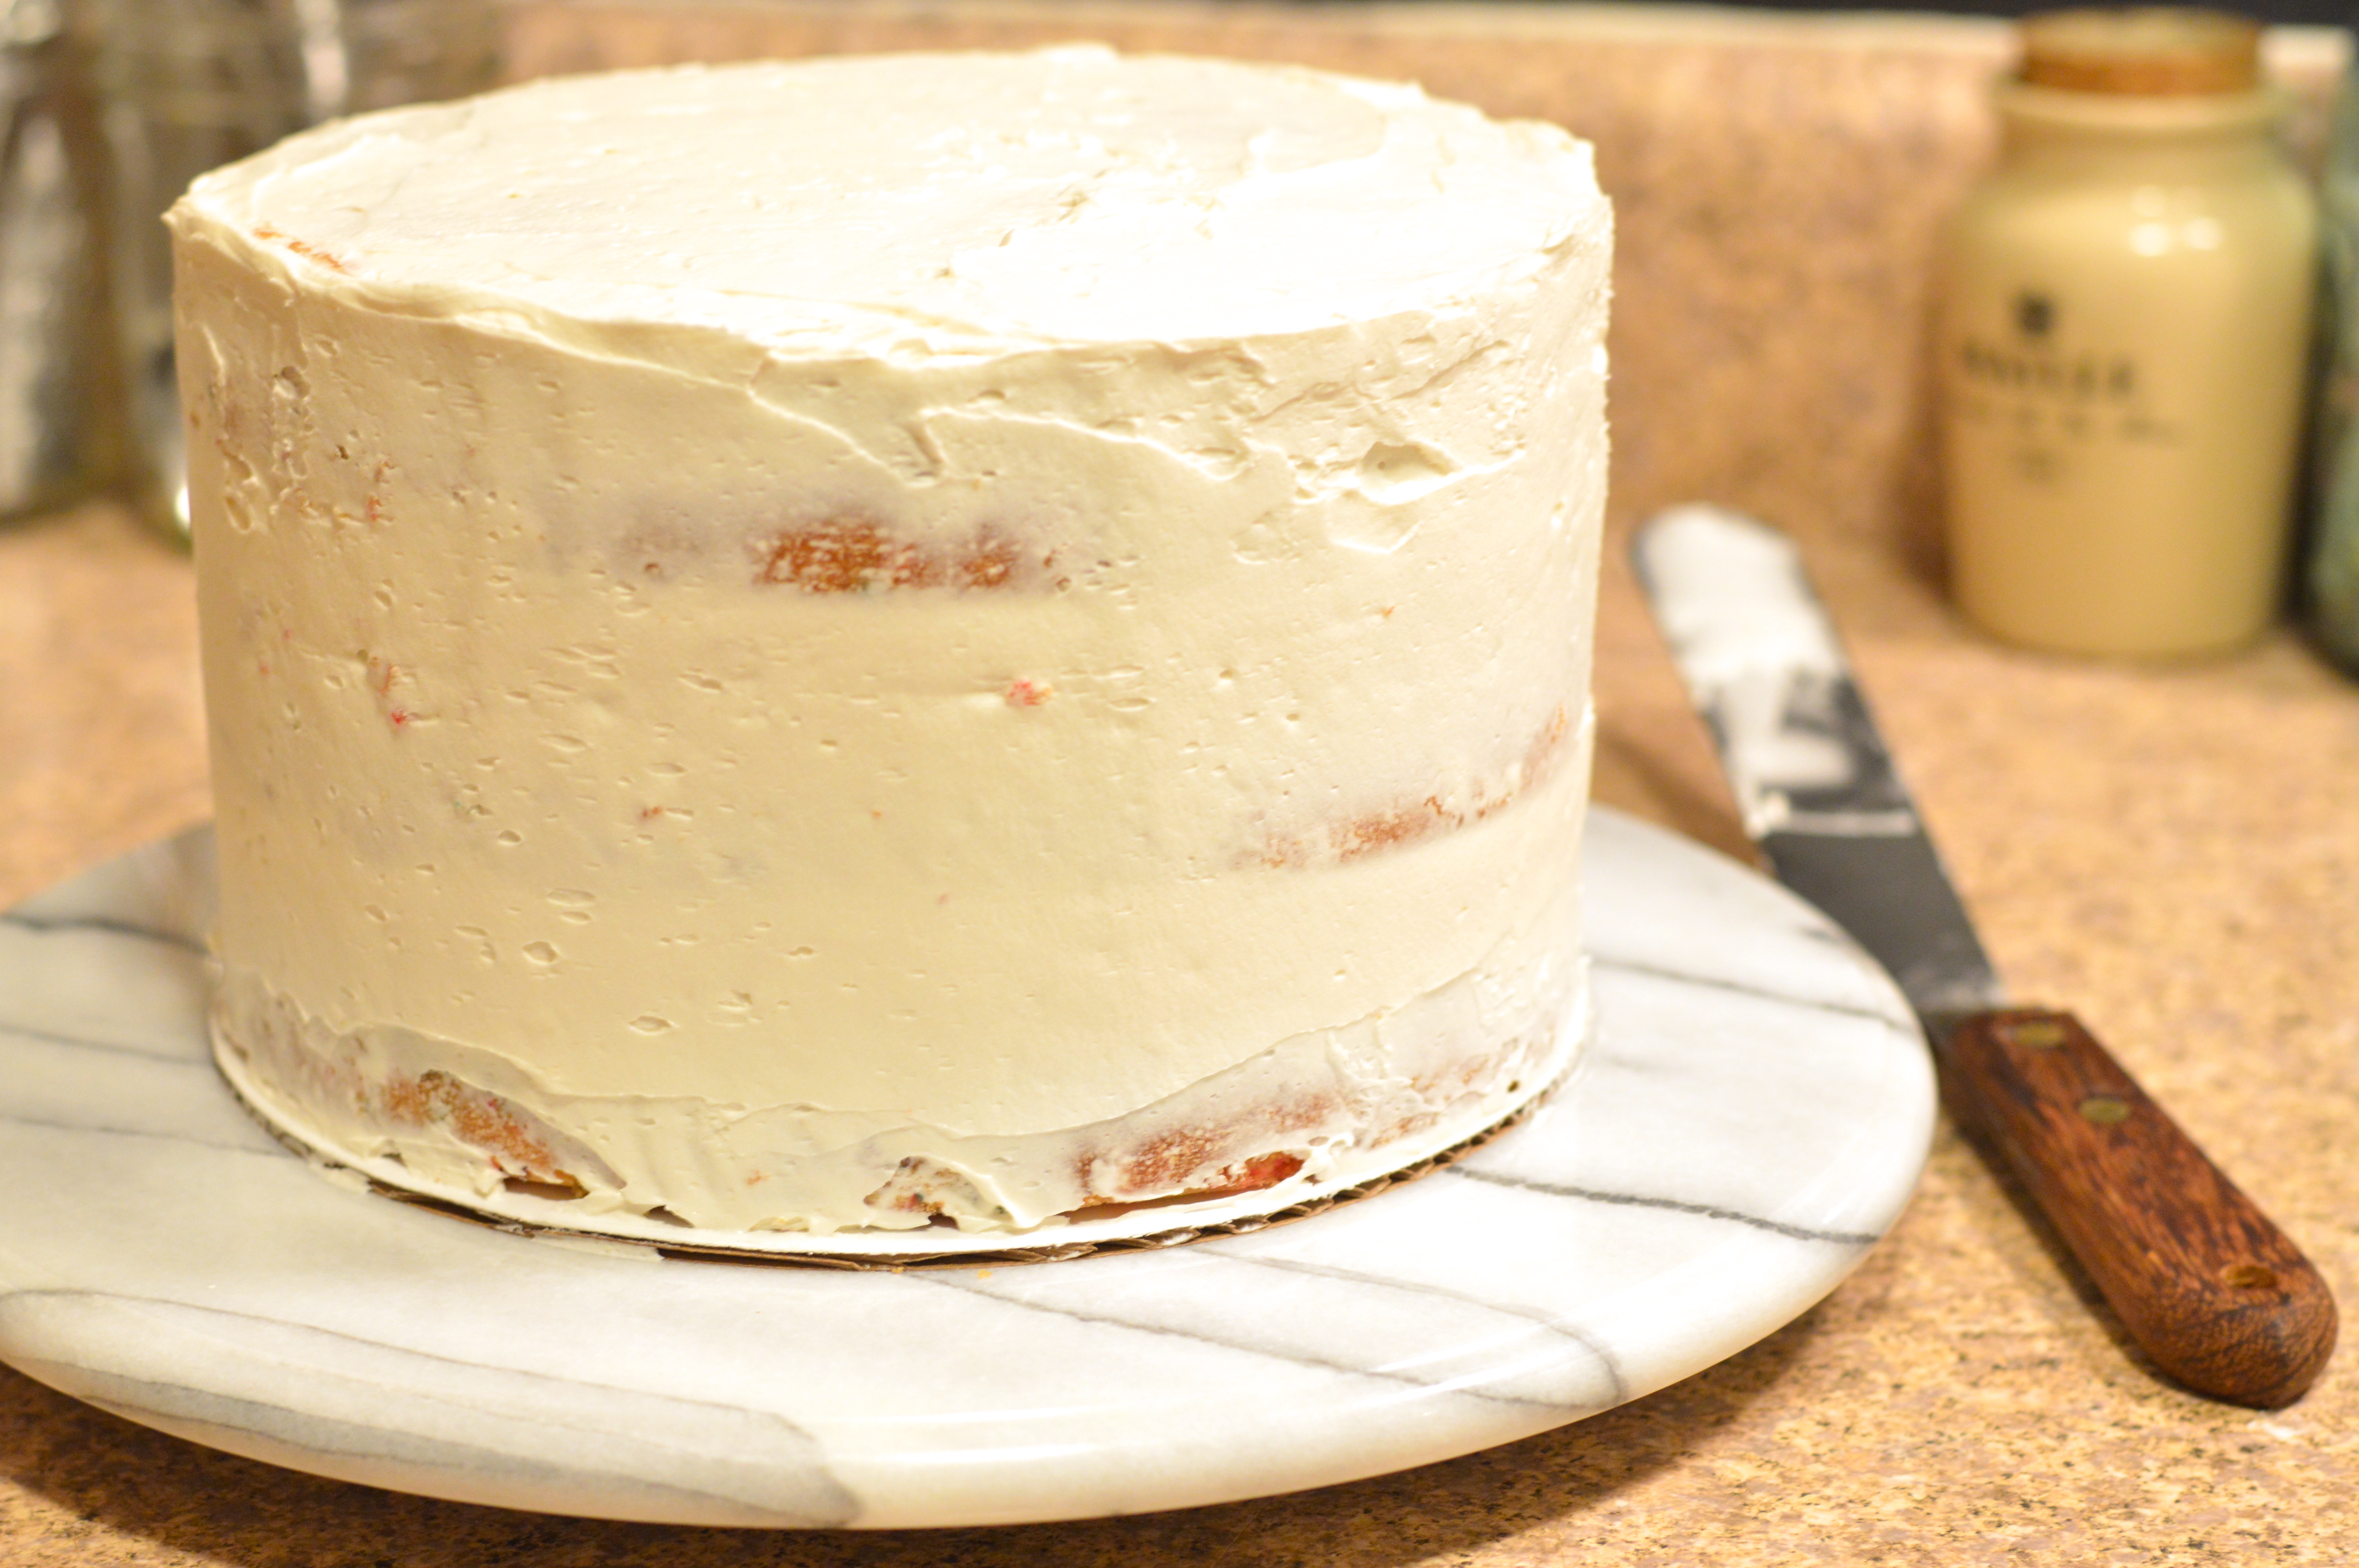
Using another 1/4 of your icing, spread a thin layer of icing over top and sides of cake with an icing spatula. I like to start at the top and slowly work my way down the sides. Be sure to fill in any gaps between layers and make the sides and top is as smooth and flat as possible. This thin layer of icing is referred to as the “crumb coat” and is meant to seal in any crumbs so they’re not seen in your final layer of icing. Refrigerate the cake for 30 minutes to an hour to set the icing before you proceed.
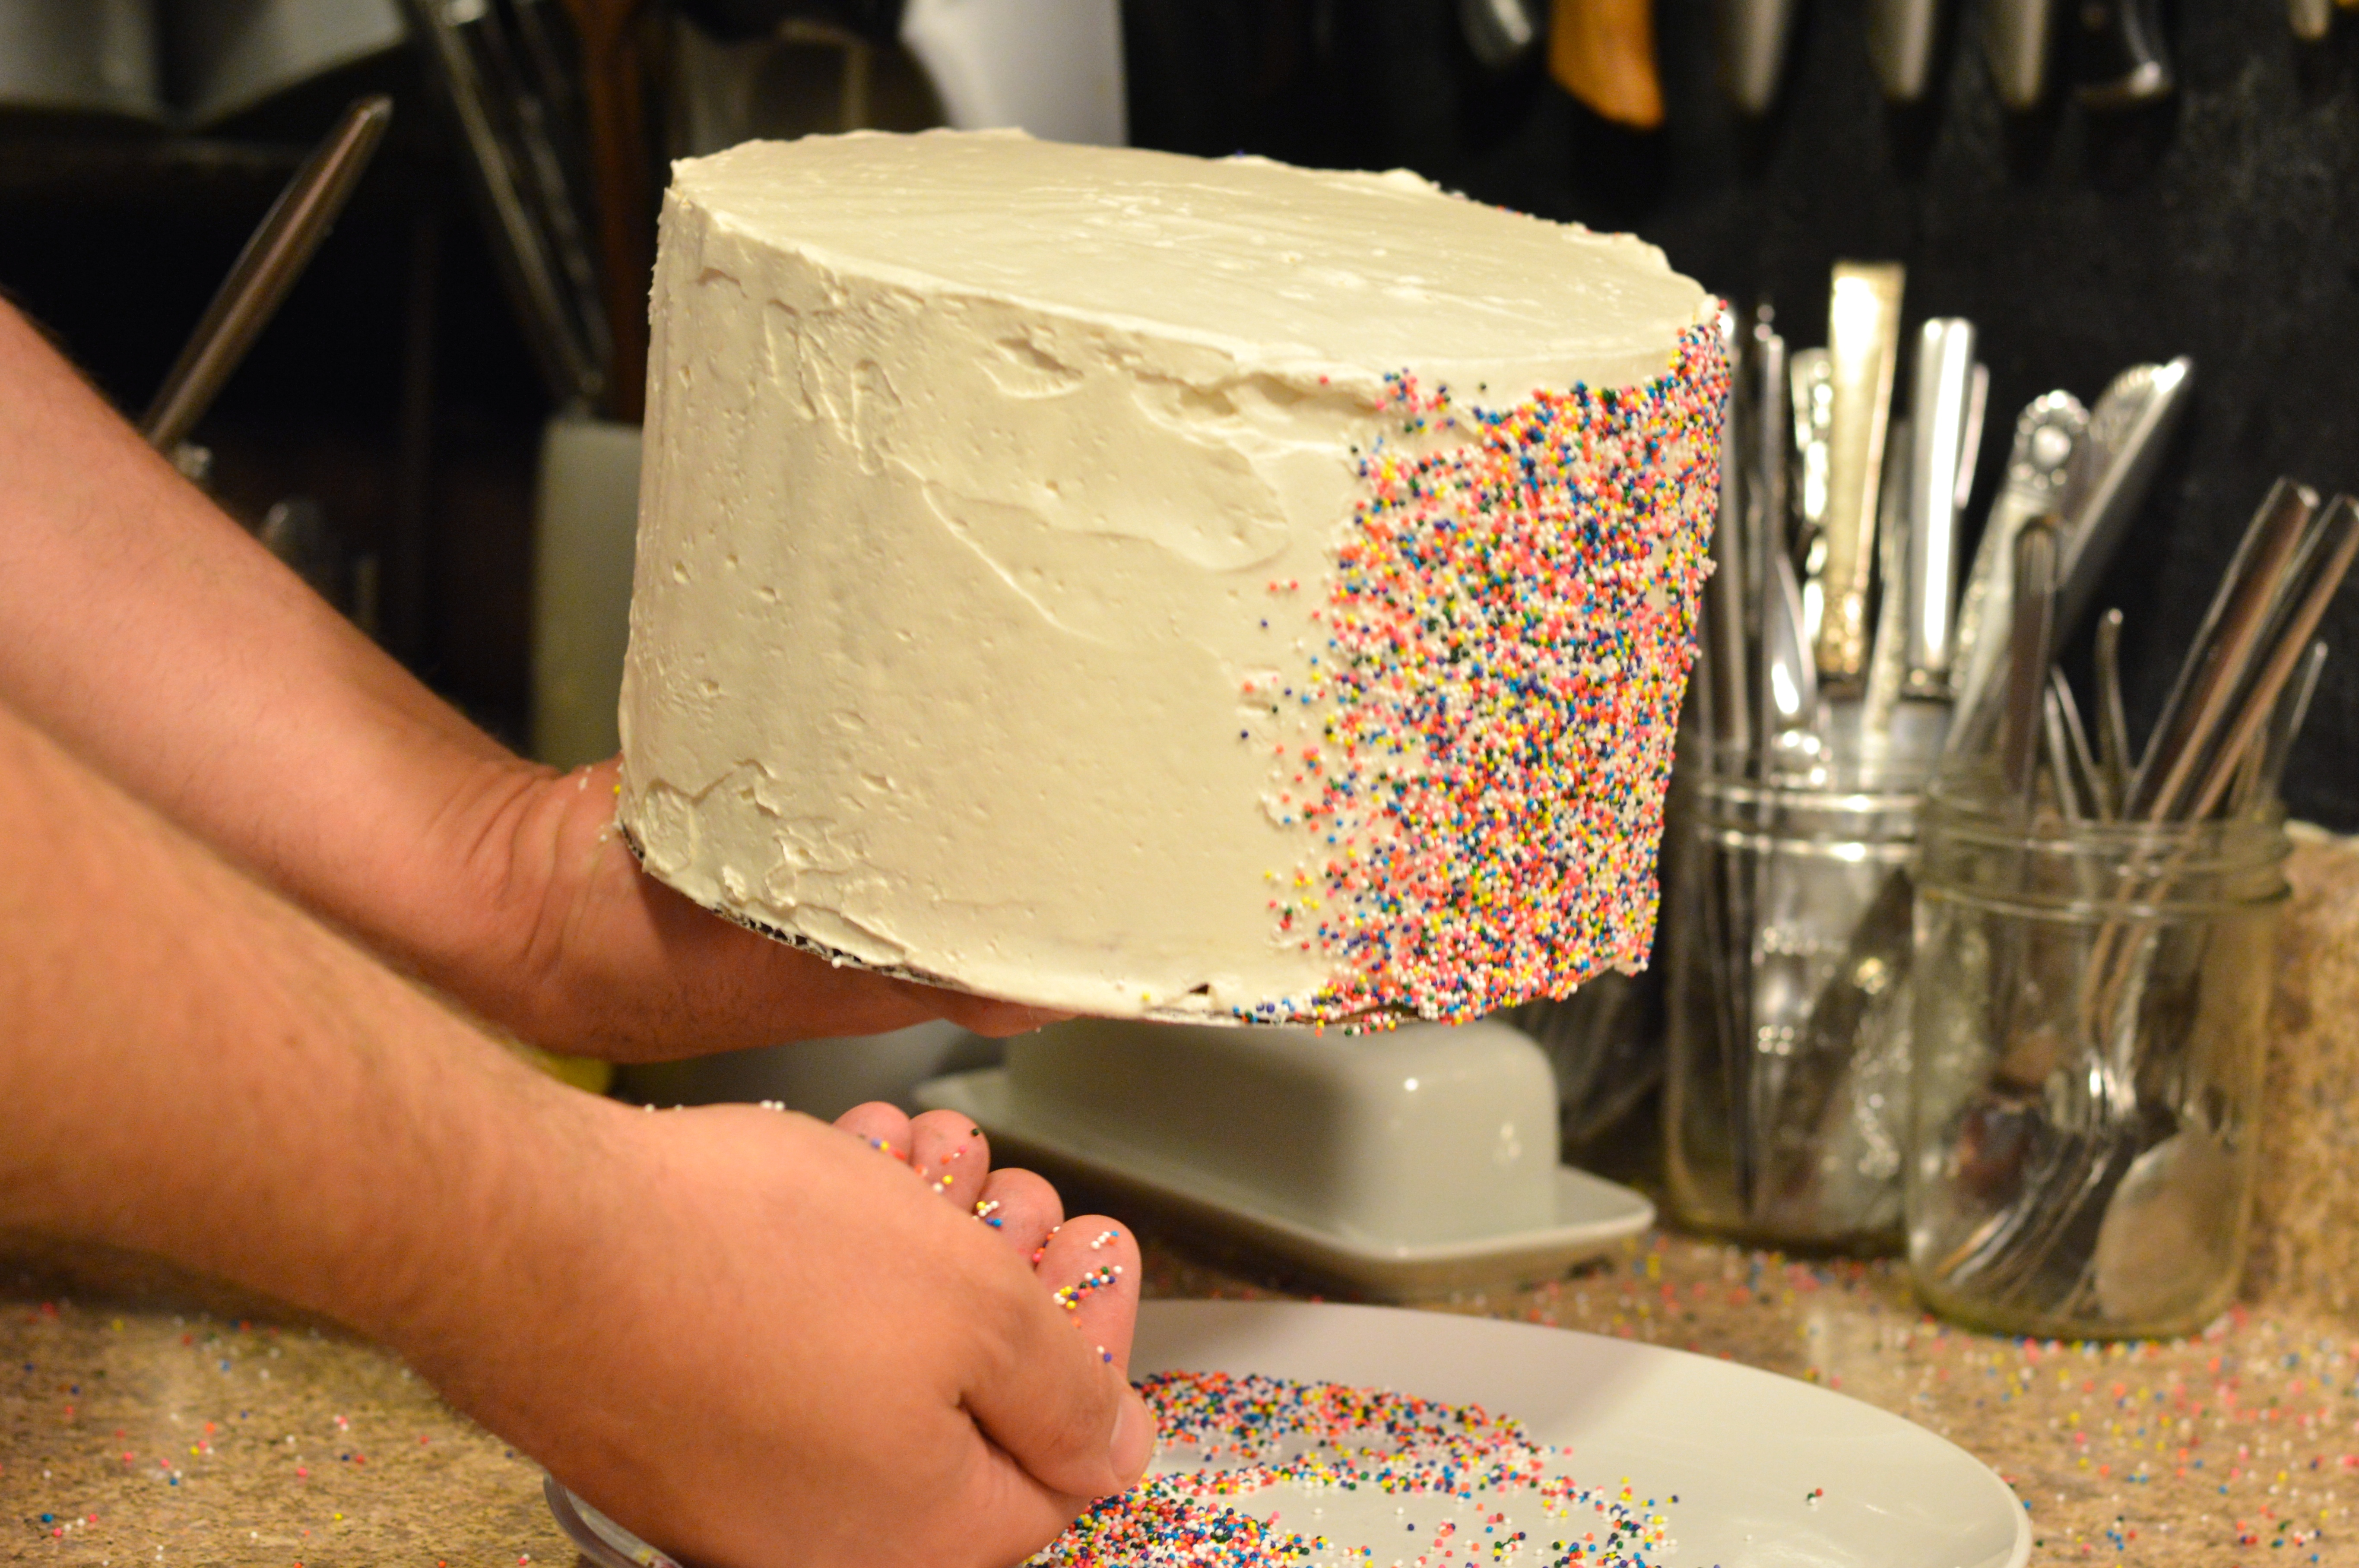
Spread the remaining icing evenly over top and sides of cake, trying to get as smooth a surface as possible.

Top the cake with about 3/4 to 1 cup of the cooled caramel sauce, carefully and evenly drizzling some down the sides.
If desired, top the finished cake with the optional 1/3 cup of toasted whole pecans from above.

This cake is best the day it’s baked, but will keep well in a cake saver at room temperature for up to 2 days, if the weather is not too hot or humid. Otherwise, wrap tightly and store in the refrigerator for up to 3 days. If refrigerated, you’ll need to let it come up to room temperature for at least an hour before serving.

Advertisement

funfetti birthday cake

So, I guess May is cake month here at Brooklyn Homemaker.

funfetti birthday cake | cake construction tips | Brooklyn Homemaker

Sunday was my birthday. We had a cookout in the yarden with a bunch of friends and copious amounts of food and booze. Russell offered to buy me a cake, but I insisted on making my own. I know that you’re, like, “not supposed to” make your own birthday cake, but I love to bake, and I’m pretty good at it. Any cake he could find locally wouldn’t be half as good as what I could make myself, and anything he ordered from a fancy specialty bakery would cost a small fortune. So I won. I made my own birthday cake, and I went all out and did a super colorful funfetti cake with rainbow sprinkles inside and out.

funfetti birthday cake | cake construction tips | Brooklyn Homemaker

The only weird part of making my own cake was that I wanted to share it with you here, so after candles and singing I rushed the cake back into the house to cut and photograph it before reemerging 20 minutes later to ask for help carrying the sliced cake back outside. It’s a funny thing to have to stop and remove yourself from a party to stage and photograph a cake, especially when it’s your party (and you’ve had a few cocktails).

I’m committed though. What can I say? You’re welcome.

funfetti birthday cake | cake construction tips | Brooklyn Homemaker

A few friends and fans have been asking me lately about tips on constructing layer cakes, so I’m going to share some today. I’m really not a professional baker (more like a talented amateur), so I’m sure there might be easier or better ways of doing things, but these techniques have worked well for me over the years, and I think they’ll really help you up your cake baking game. If you really want even more in-depth training from a real professional, I’d suggest checking out this great “Modern Buttercream” class from Craftsy. It’s really helpful and informative, and free!

Anyway, one of my favorite things to do when baking a layer cake is to turn off the damned TV and put on some great music. I’m partial to Dolly Parton’s All I Can Do album, just in case you were wondering.

funfetti birthday cake | cake construction tips | Brooklyn Homemaker

The first step in making a layer cake is choosing the size. If you visit the site regularly, you’ve probably already noticed that I’m very partial to three layer cakes. Two layer cakes already require more effort than bundt or sheet cakes, so I think adding that third layer makes a cake much more impressive without adding much more work. I think a three layer cake looks, I don’t know, fancier, because of its impressive height and multiple layers of cake and filling when sliced.

I also tend to lean toward 8 inch cakes rather than 9 inch because, again, I think they look fancier. The same amount of batter poured into a 9 inch pan will spread thinner, where an 8 inch layer will be thicker. If your goal is height, obviously the 8 inch pan will get you closer, but there’s also an optical illusion at work that makes a skinnier cake look taller.  Obviously the difference is slight, and a 9 inch cake will still be pretty damned impressive and just as delicious, so if that’s all you have, go for it.

This may sound like a no brainer, but when you bake your layers, make sure you’re using 3 cake pans at once, not baking each layer individually. Cake batter has leavening agents in it that will weaken if they’re left sitting around too long, so if you want a 3 layer cake, you need 3 pans. If you only have 2 pans, another option would be to bake two layers and slice them in half to give you four layers. Extra fancy! Obviously baking times will need to be adjusted if you go this route.

funfetti birthday cake | cake construction tips | Brooklyn Homemaker

To make sure my cakes release easily, I always butter my pans before baking, then add a pre-cut parchment round to the bottom of the pan. Then I butter that and dust the whole pan with flour. After baking I usually place my cake pans on wire racks to cool for 20 or 30 minutes, or until I can see that the sides of the cake are pulling away from the pan. A super hot cake will fall apart if you mess with it too early.

To get the layers out once they cool a bit, you can use an offset icing spatula to loosen them, but I have this weird little trick I use. I try to gently bounce the pan on one side, almost like the motion of tossing food in a sauté pan, to see if I can feel the layer lift off the bottom. Then I rotate the pan and do it a few times until I’m sure it’s going to release easily. To remove it I firmly but gently press one hand on the top of the cake, and flip the pan upside down with my other hand. Another way of doing this would be to press your cooling rack against the top of the pan and flip the cake directly onto the rack.

Once you have your layers out of the pan, it’s important that they’re completely cool, if not cold, before moving forward. Even barely warm cake layers will begin to melt and thin out your icing, and the filling can get slippery making the layers slide around when you’re trying to put on your crumb coat. It’s annoying and unnecessary and can make it difficult to get your icing smooth and professional looking. Don’t be impatient because you’ll just end up frustrated later.

For this cake I actually baked the layers at night the day before my party, let them cool most of the way, and then wrapped them tightly in Saran wrap and refrigerated them overnight before icing the next morning.

funfetti birthday cake | cake construction tips | Brooklyn Homemaker

Another important step in building a beautiful and professional looking cake is making sure that your cake layers are flat and level. If your cake layers are each domed, and you stack three of them up, you’re going to have a big weird hump on the finished cake. I use this special cake leveling wire, which is also great for cutting layers in half for filling. If you’re careful about keeping your cuts level though, a sharp bread knife will do the trick just as well.

It’s also really helpful to use a turn table or lazy Susan to help get your cakes picture perfect. They have specialized cake decorating ones like this, but you can use any small lazy Susan if you have one. I actually have a marble lazy Susan for cheese serving that I received as a gift a while back, and it sees way more action for cake decorating than it ever has for cheese.

Before you start building your cake, you might also want to put down a cake board. This is especially helpful if you want to transport the cake or if you want to be able to pick the cake up for decorating.

funfetti birthday cake | cake construction tips | Brooklyn Homemaker

When choosing what filling to use between your cake layers, your options are limitless. The easiest option would be to fill with the same icing you’re using on the outside of your cake. For an 8 or 9 inch round cake I usually use about 3/4 of a cup to 1 cup of icing between each layer. You could also fill with another flavor of icing or a ganache, just be careful to seal it in with your crumb coat so it doesn’t show through on the outside. Another great option would be a softer filling like jam, pudding or fruit curd, but for this you’ll need to pipe a thick border or dam of icing around the outside edge of each layer to hold the filling in the center. This way it won’t smoosh out the sides when you add the next layer.

When you stack each layer of cake, try to look at if from a few different angles, just to be sure everything is level and evenly lined up before moving on. Once you have all the layers stacked up and everything looks good and level, you’ll want to spread a thin even layer of icing over the cake to seal in the crumbs or any filling that squishes out from the layers. This is referred to as the crumb coat. When I first started baking I thought this step was unnecessary and silly, but I make enough cakes now to realize it actually does make a big difference in getting a smooth professional icing job. I like to start at the top, pile up some icing and push it toward the outside edge, and pull the icing down the sides with an icing spatula, rotating the cake as I go. It doesn’t need to be a thick layer, and it’s fine if the cake shows through a little. I try to just make sure everything is coated, and then go back around and smooth it out.

funfetti birthday cake | cake construction tips | Brooklyn Homemaker

Once the crumb coat is smooth and even, you’ll want to refrigerate your cake for at least 30 minutes, or up to an hour, to firm up the icing and filling so the cake layers don’t slide and the crumb coat doesn’t mix with the next layer of icing. When you ice the cake, you basically just do the same thing you did with the crumb coat, just thicker. Then once your icing is smooth, you get to move on to the fun part.

I usually like to keep things simple and do a small border of sprinkles or nuts around the edge of the top of the cake. You could also do a piped border around the top edge and base of the cake, but you’ll obviously need to reserve some icing for that. The icing recipe below left me just enough for a piped border, but I decided to skip it and keep it simple. To do a swirled design like I did here, start in the center of the top of your cake, and slowly turn your turntable as you pull the spatula out trying to keep the swirl as evenly spaced as possible. If it doesn’t come out as pretty as you want, you can always smooth it out and try again.

funfetti birthday cake | cake construction tips | Brooklyn Homemaker

For this cake I completely covered the sides with rainbow nonpareils. Fair warning, this is a challenging technique for beginners. It’s best to use a cake board for this so you can pick the cake up, but the cake gets heavy in your hand after a while. Basically you pick the cake up with one hand and try your best to hold it over a plate and not make a mess (look closely, I still made a mess), while you gently press the decoration into the icing with the other hand. Just slowly work your way around the cake, rotating as you go, until you’re finished.  It can be done without picking the cake up if you can’t get (or don’t have) a cake board, but it’s even messier.

funfetti birthday cake | cake construction tips | Brooklyn Homemaker

You could also do this with cake crumbs as I did with the Brooklyn Blackout cake, which is actually a great way to use up any cut cake you have leftover from leveling the layers. That is, if you didn’t already eat it all.

funfetti birthday cake | cake construction tips | Brooklyn Homemaker

Look how pretty it came out though! It definitely was worth the extra effort, even if I am still finding those little nonpareils hiding behind my butter dish.

funfetti birthday cake | cake construction tips | Brooklyn Homemaker

Happy birthday to me!

funfetti birthday cake | cake construction tips | Brooklyn Homemaker

I hope you learned something new and you’re feeling brave enough to try a layer cake for yourself! You should definitely give this one a shot the next time you want to do something special for someone’s birthday. The funfetti cake is super moist and delicious, with tons of bright vibrant color, and the classic american buttercream is the perfect sweet and creamy compliment to a fun and festive birthday cake.

funfetti birthday cake | cake construction tips | Brooklyn Homemaker

funfetti birthday cake

makes one 3 layer 8 inch cake
adapted from Sweetapolita

For the Cake:

3 cups cake flour
1 tablespoon plus 1/2 teaspoon baking powder
1/2 teaspoon salt
1 cup (2 sticks) unsalted butter, at room temperature
2 cups sugar
5 whole eggs, at room temperature
2 teaspoons vanilla extract
1/4 cup peanut (or vegetable) oil
1 1/4 cups buttermilk, at room temperature
3/4 cups rainbow sprinkles (or jimmies)

Preheat the oven to 350° F. Butter the bottoms and sides of three 8-inch round cake pans, line bottoms with parchment round, butter the rounds and dust with flour.
Sift together flour, baking powder, & salt. Set aside.
In the bowl of a stand mixer, cream the butter and sugar together at high speed until light and fluffy, 3 to 5 minutes. Beat in eggs until incorporated, one at a time, scraping sides of bowl between each addition. Add vanilla and oil and mix until thoroughly incorporated.
Add 1/3 of flour, and beat on low speed until just combined. Scrape bowl, mix in 1/2 of buttermilk, and scrape again. Repeat until all flour and buttermilk is mixed in. Gently stir in sprinkles until just combined. Do not over mix.

Divide batter evenly among the 3 prepared pan (I like to use a kitchen scale to ensure even layers). Bake for 28-32 minutes, or until a cake tester or toothpick inserted into the center comes clean and the cake begins to pull away from the sides of the pan. Let the layers cool in the pans for 10 minutes, then carefully turn out onto wire racks, peel of the paper liners, and let cool completely.

Classic American Buttercream:
adapted from Savory Sweet Life

2 cups (4 sticks) unsalted butter, softened and cut into cubes
6-8 cups confectioners’ sugar, sifted
3-6 tablespoons milk
2 tablespoons pure vanilla extract
1/4 teaspoon salt
rainbow non-pareils, or any sprinkles you like for decorating

In the bowl of an electric mixer fitted with the paddle attachment, whip butter for 5 minutes on medium speed. Butter will become very pale & creamy. Add 6 cups of powdered sugar and turn your mixer on the lowest speed until the sugar has been incorporated with the butter. Increase mixer speed to medium and add vanilla extract, salt, and 3 tablespoons of milk and beat for 5-7 minutes. If your frosting needs a more stiff consistency, add more sugar 1/2 cup at a time, until desired consistency is reached. If your frosting needs to be thinned out, add remaining milk 1 tablespoons at a time.

To assemble cake, make sure cake layers are cool or cold. If necessary, remove the domed tops of the layers with a cake leveler or sharp bread knife. Place one layer on a cake plate, serving plate, or cake board. Evenly spread about 3/4 cups of icing over the first layer. Top with another cake layer and another 3/4 cups of icing. Spread evenly and top with your final layer.

With an icing spatula, spread a thin layer of icing over top and sides of cake, Be sure to fill in any gaps between layers and make the sides and top smooth and flat as possible. This thin layer of icing is referred to as the “crumb coat” and is meant to seal in any crumbs so they’re not seen in your final layer of icing. Refrigerate cake for 30 minutes. Spread most (or all) of remaining icing evenly over top and sides of cake, trying to get as smooth a surface as possible. If desired, reserve some for piped decoration, otherwise, slather it all on. Decorate as desired.

This cake is at it’s best the day it’s baked, but can be covered and refrigerated for up to 2 days. If refrigerated, it will need to come up to room temperature before serving.