spring

strawberry basil layer cake

I’ve officially made it through another entire year of life.
(I recently celebrated a birthday.)

strawberry stuffed yellow layer cake with basil buttercream | Brooklyn Homemaker

I am a big fan of surprise parties, and I’ve thrown a couple for Russell over the course of our relationship, but Russell can’t keep a secret to save his life. If he ever decided he wanted to throw me a surprise party, he’d probably accidentally let the cat out of the bag before he invited any guests.
He’s the kind of person that wants to give me my Christmas presents the day he buys them, while I am the kind of person who staunchly refuses to even look in the general direction of my gifts until Christmas day. His eagerness and honesty are positive qualities in the grand scheme of things, but, like I said, I am a big fan of surprise parties.

strawberry stuffed yellow layer cake with basil buttercream | Brooklyn Homemaker

That means that I am usually responsible, to some extent at least, for the planning of my own birthday party each year. I asked Russell to take the lead in throwing the party this year, but he said he didn’t want to be in charge because I’m “too controlling” about parties. I was pretty annoyed at first, but then realized he’s probably right. I’m such a perfectionist, and love entertaining so much, that I do tend to get a bit uptight about wanting everything to be just right.

After making him feel appropriately crappy for calling me controlling, I assured him that this year I didn’t want to play any part in the planning, save for one single thing.

strawberry stuffed yellow layer cake with basil buttercream | Brooklyn Homemaker

I wanted to make my own cake.

I know.
I’m weird.

strawberry stuffed yellow layer cake with basil buttercream | Brooklyn Homemaker

Last year I made my own cake too, a 3 layer funfetti cake with the sides completely covered in tiny rainbow nonpareils. Most people, when told that I planned to make my own cake, reacted with a mix of sorrow and horror.

How depressing? Why?!?!? You’re not supposed to make your own birthday cake. That’s just sad!

But here’s the thing. I love to bake. I just do. It’s one of my favorite hobbies, and I’m pretty good at it. Birthdays are big festive events and I think they call for big festive baked goods. Russell isn’t much of a baker, and I know that anything from the grocery store wouldn’t be half as good as what I could make myself. I also know that a cake from fancy pants specialty bakery here in Brooklyn would cost an arm and a leg.

So, the so called “rules” against making your own birthday cake went out the window and it was game on. Again.

 strawberry stuffed yellow layer cake with basil buttercream | Brooklyn Homemaker

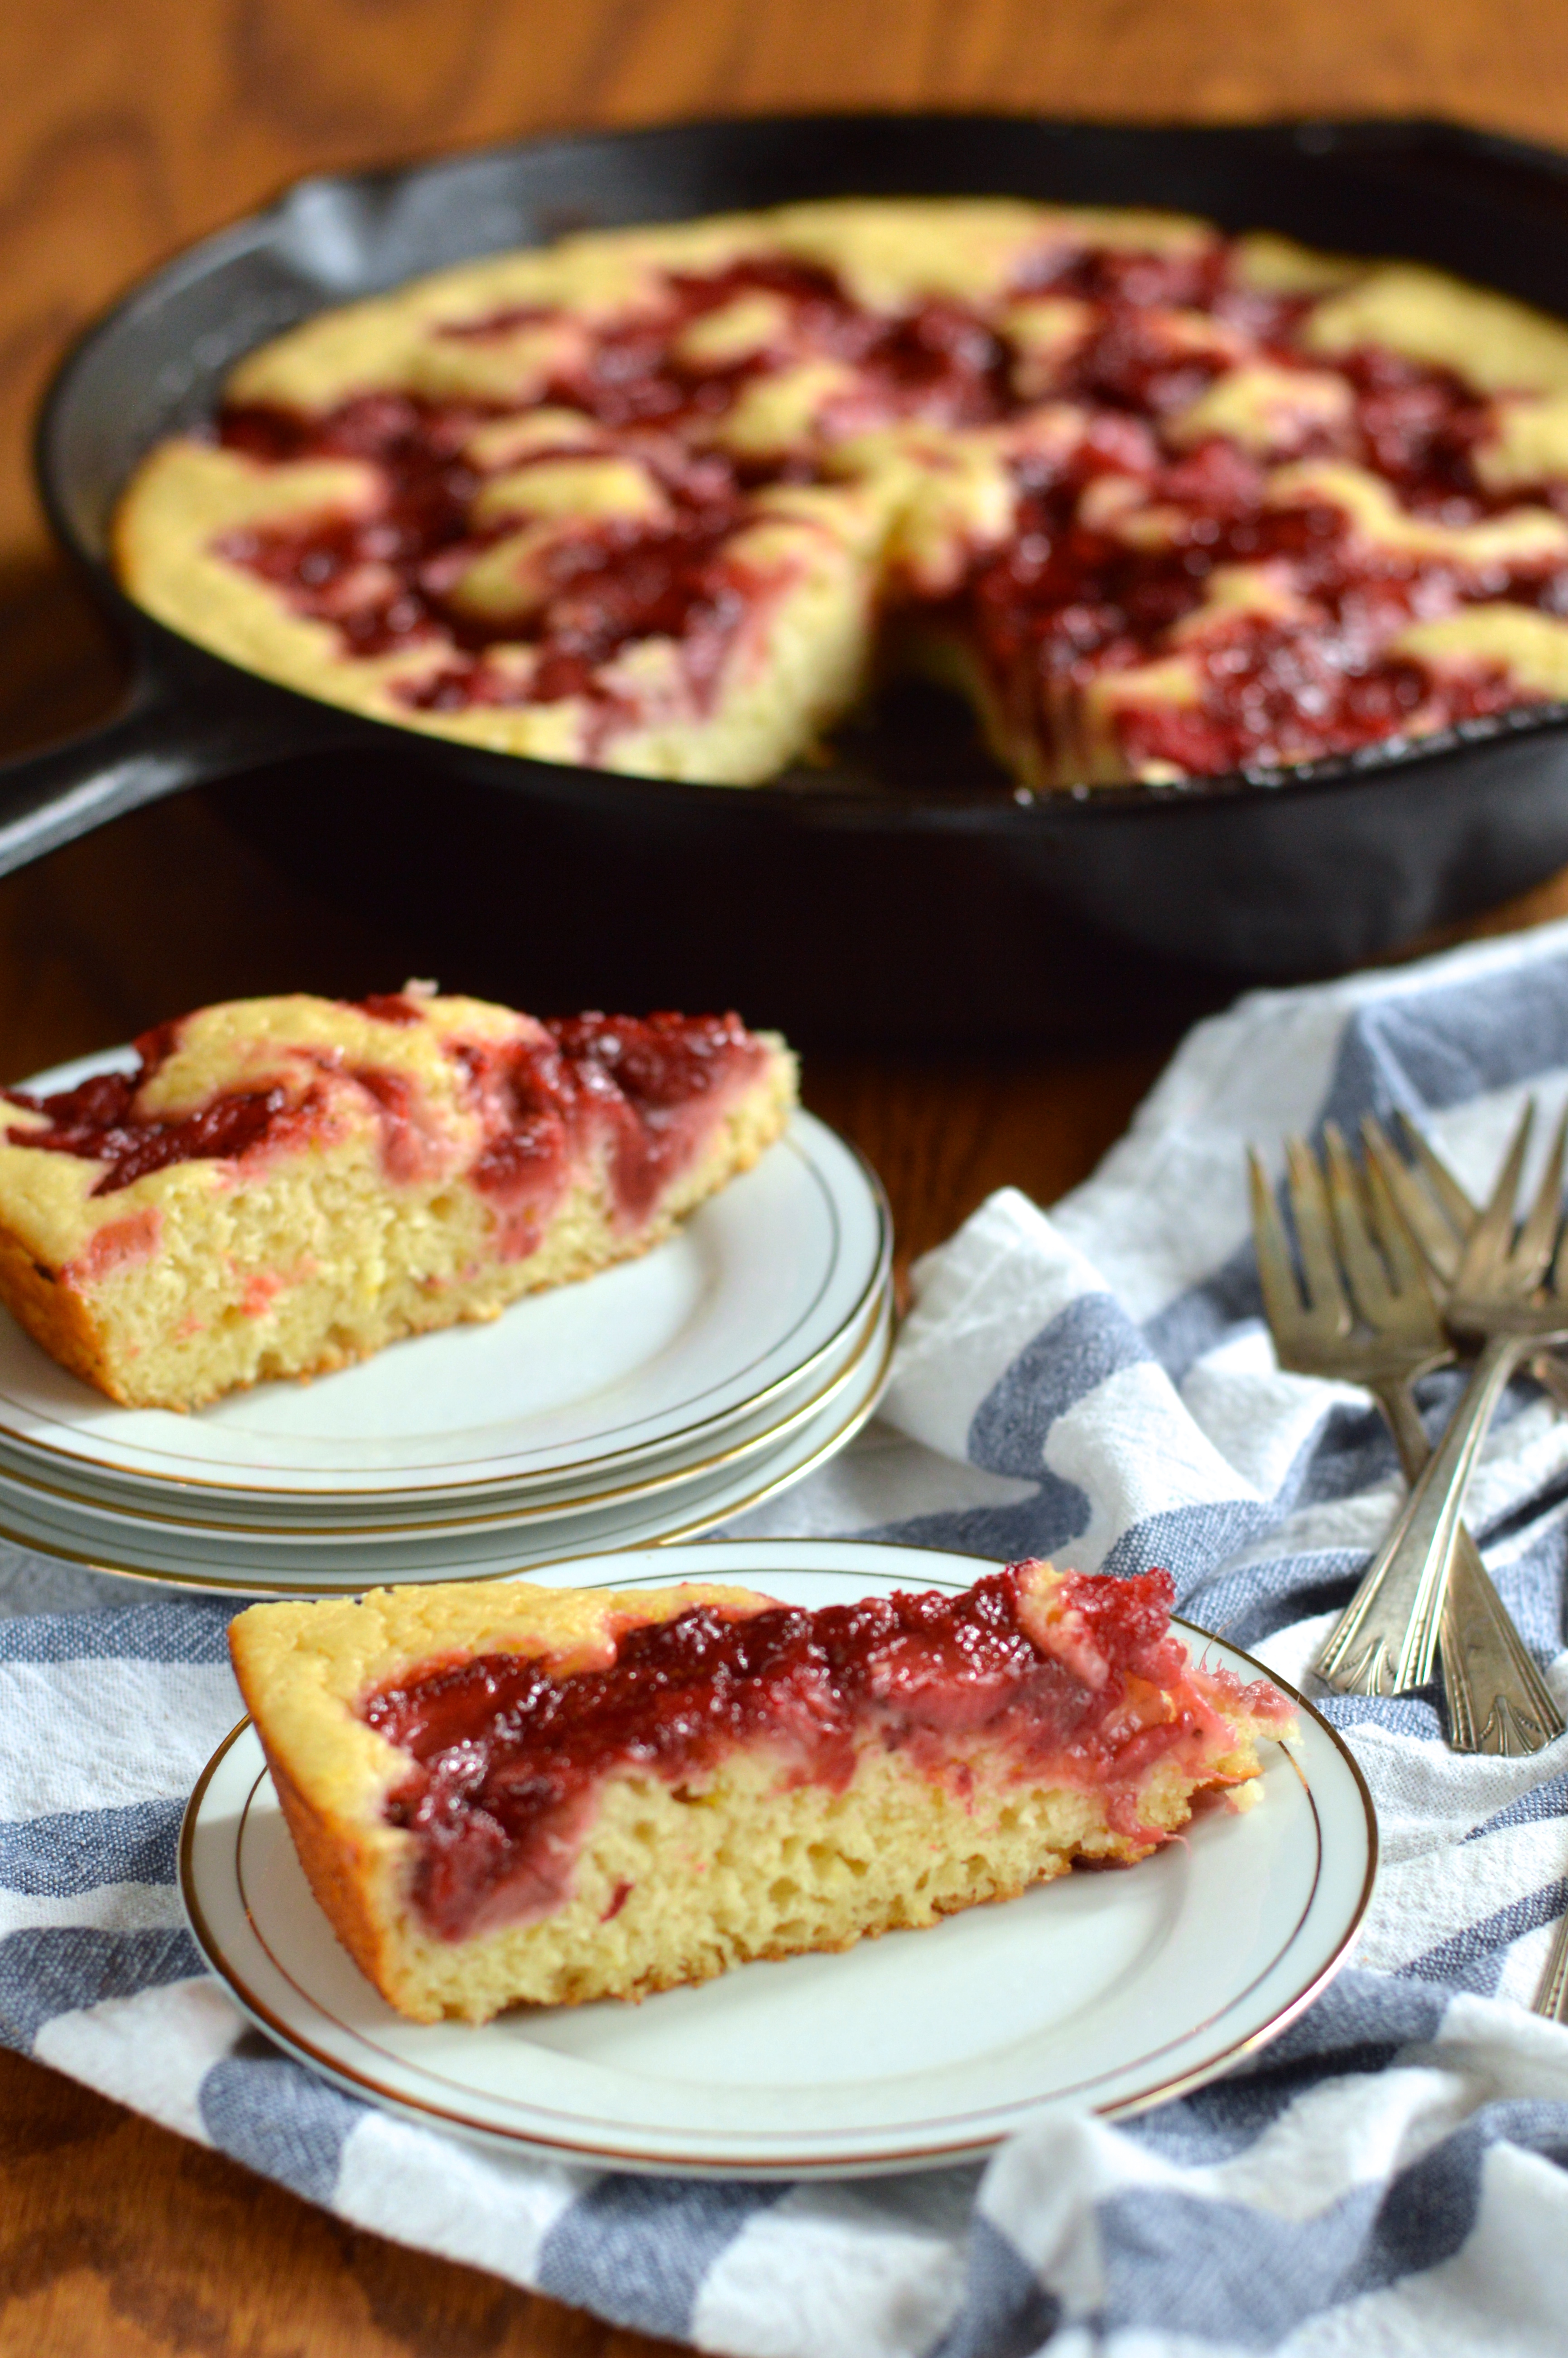
I’ve been thinking about what I’d do for months, and while I knew that I wanted to include the flavor of fresh strawberries, I wasn’t quite sure how I’d do it. I could bake the strawberries into the layers of the cake, or mix them into the icing, but after some thought I decided to just let them sing as fresh sliced berries stuffed between layers of cake.

Next I had to decide on cake and icing flavors. Originally I thought I might go in a kind of strawberry shortcake direction with yellow cake and whipped cream icing, but then I had to go and turn on the damned TV. There was some show on the cooking channel about a bakery using “basil sugar” made by grinding white sugar and fresh basil together in a food processor. The idea is that since the sugar absorbs the basil’s oils, baked goods made using the sugar taste fresher than they would if made with basil puree.

It didn’t take long for the wheels to start turning about a strawberry layer cake paired with the subtle summery flavor of basil.

strawberry stuffed yellow layer cake with basil buttercream | Brooklyn Homemaker

Knowing that I wanted this cake to be a real knock-out, I decided to test the idea out ahead of time. I found a recipe for basil sugar online and conducted an experiment with three different batches of cupcakes. The first batch was made with one of my favorite yellow cake recipes, the next with half of the white sugar substituted with basil sugar, and the third with an even higher basil sugar ratio.

To complicate my life even further, the pinterest gods had to go and show me a beautiful layer cake iced with a basil buttercream made from milk and cream steeped with fresh basil leaves.

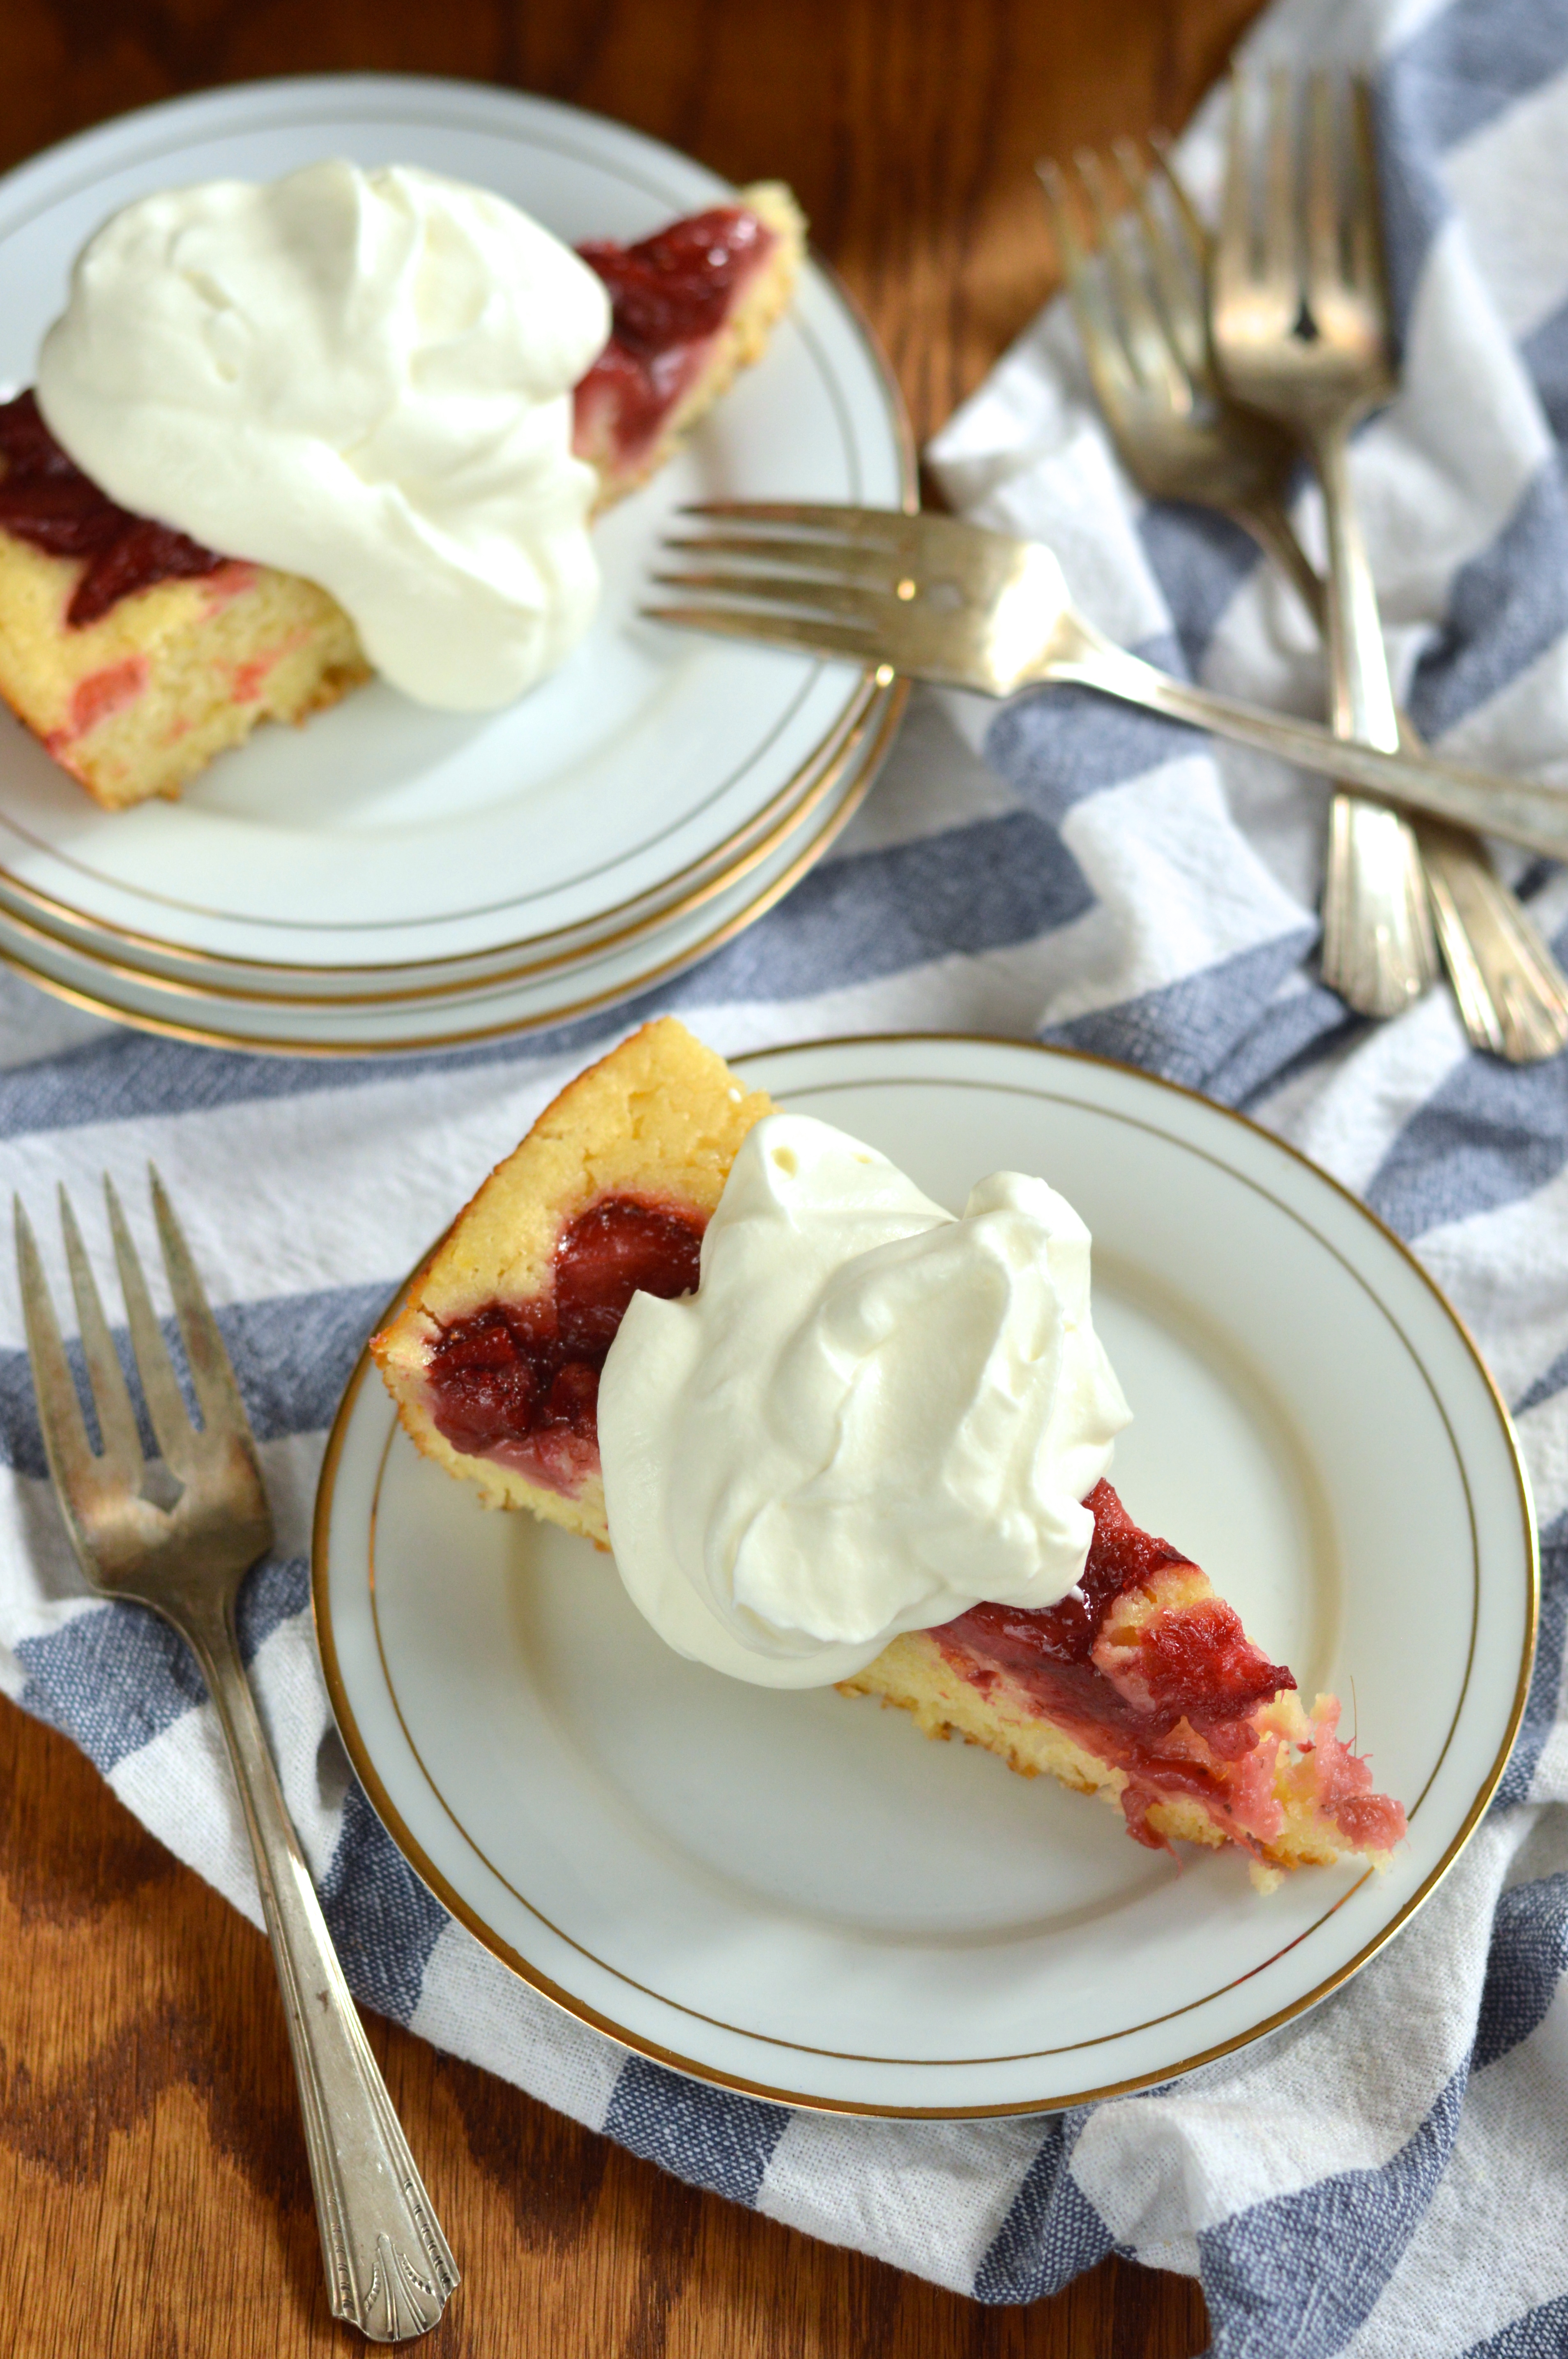
I decided, just in case, that I should try the basil buttercream out for my “control group” cupcakes, while the two batches of basil sugar cupcakes would be topped with stabilized whipped cream. All three versions were cored and filled with fresh strawberries, and I took a big tray of cupcakes to work and started taking votes.

As much as everyone loved the cakes made with basil sugar (the 1/2 basil to 1/2 white ratio worked best), I was surprised to find that the silky smooth texture and amazing flavor of the basil buttercream won by a landslide. I still love the basil sugar idea, and have a tub of it in my freezer waiting to line the rims of cocktail glasses or get sprinkled on vanilla ice cream or fresh berries.

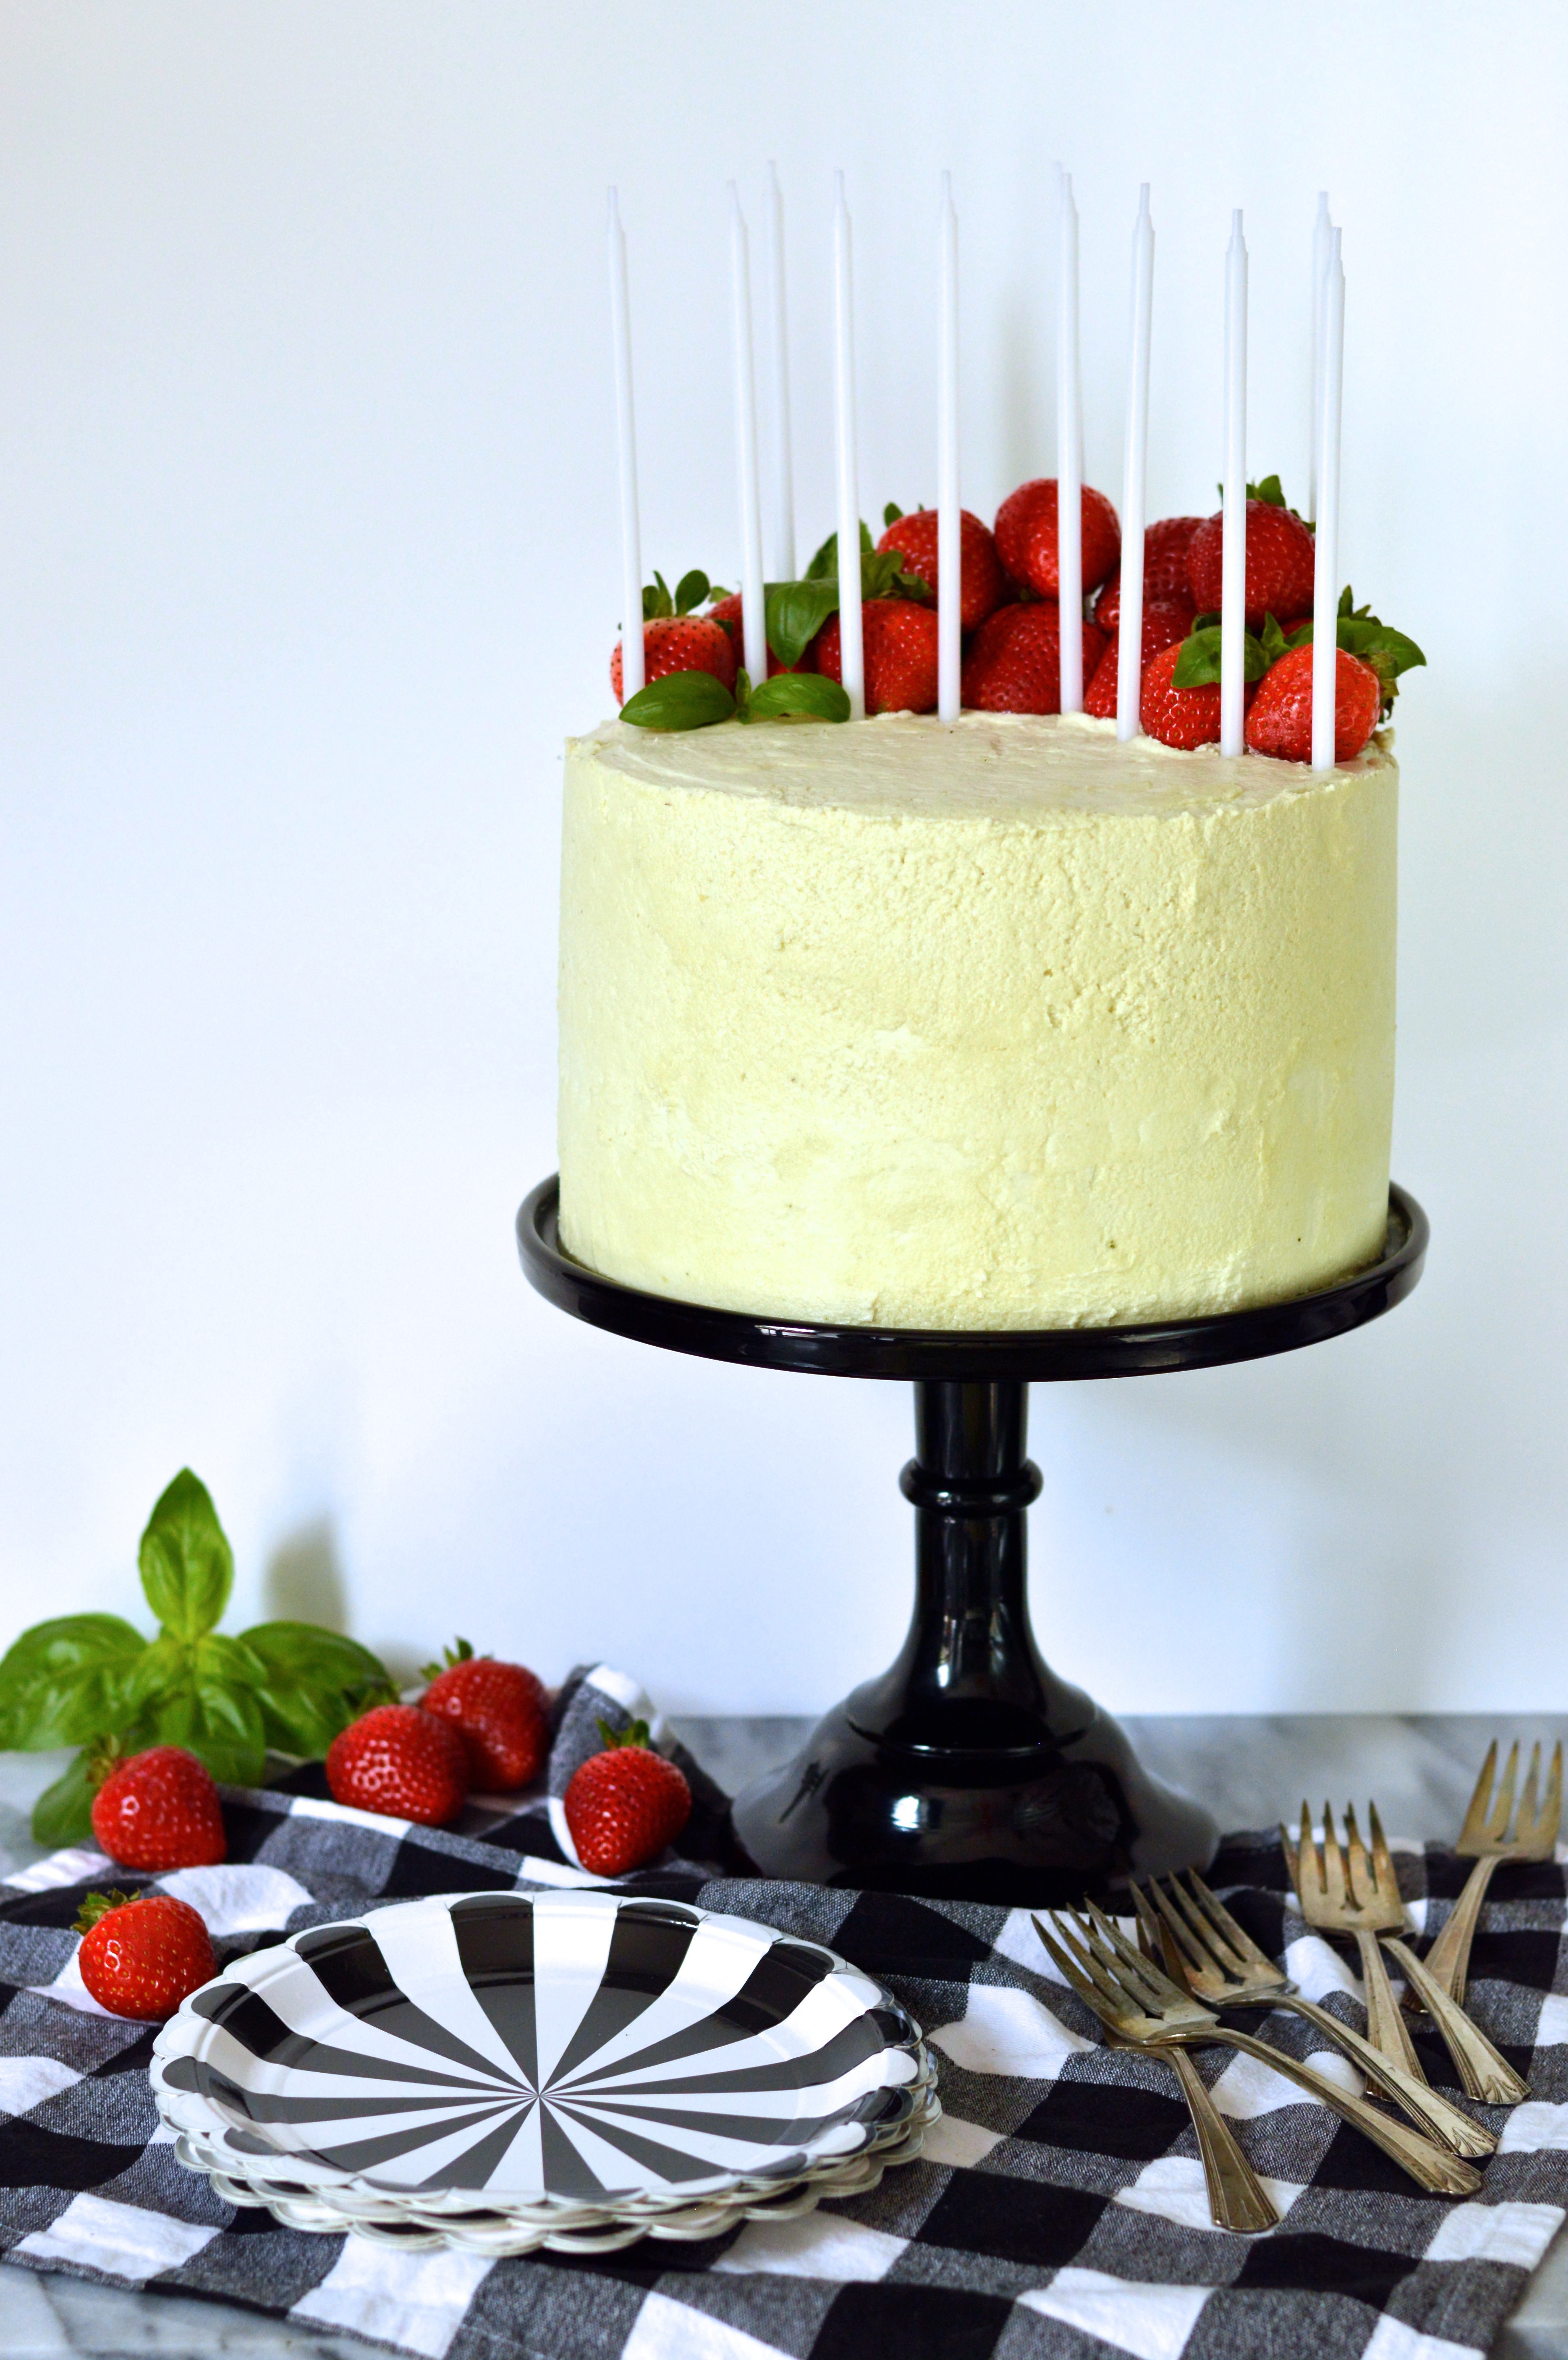
For my purposes though, the experiment gave me the results I needed and the plan for the cake was settled. Tender yellow cake layers would be stuffed with fresh sliced strawberries and everything would be coated in a satin layer of palest green basil buttercream.

strawberry stuffed yellow layer cake with basil buttercream | Brooklyn Homemaker

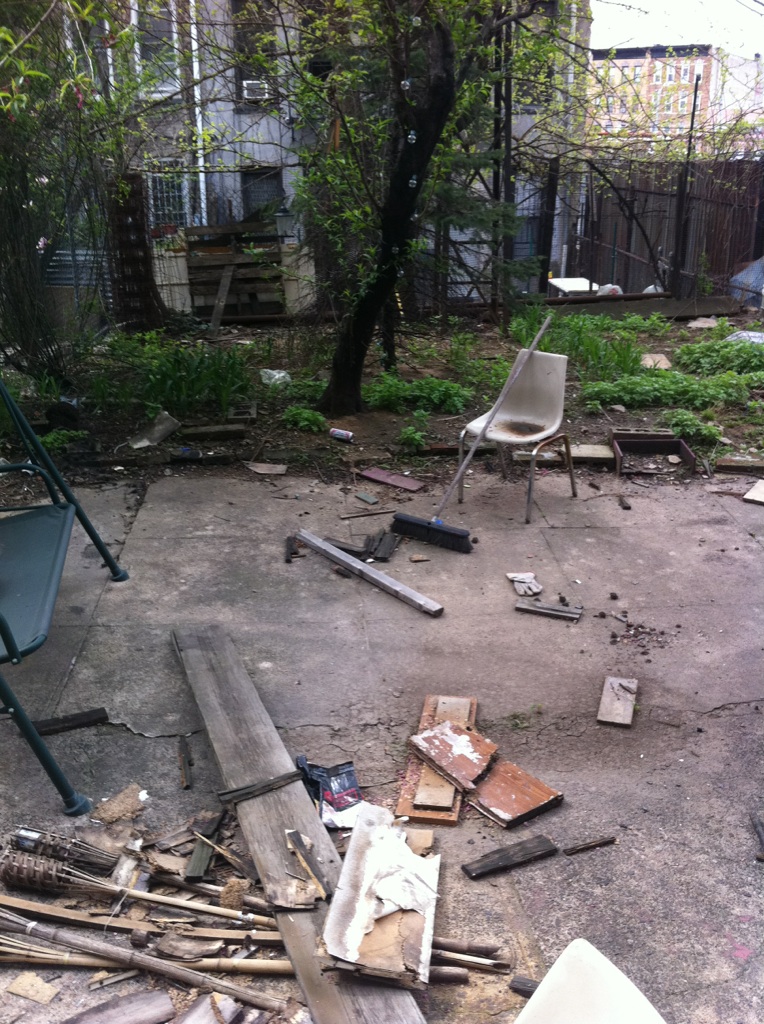
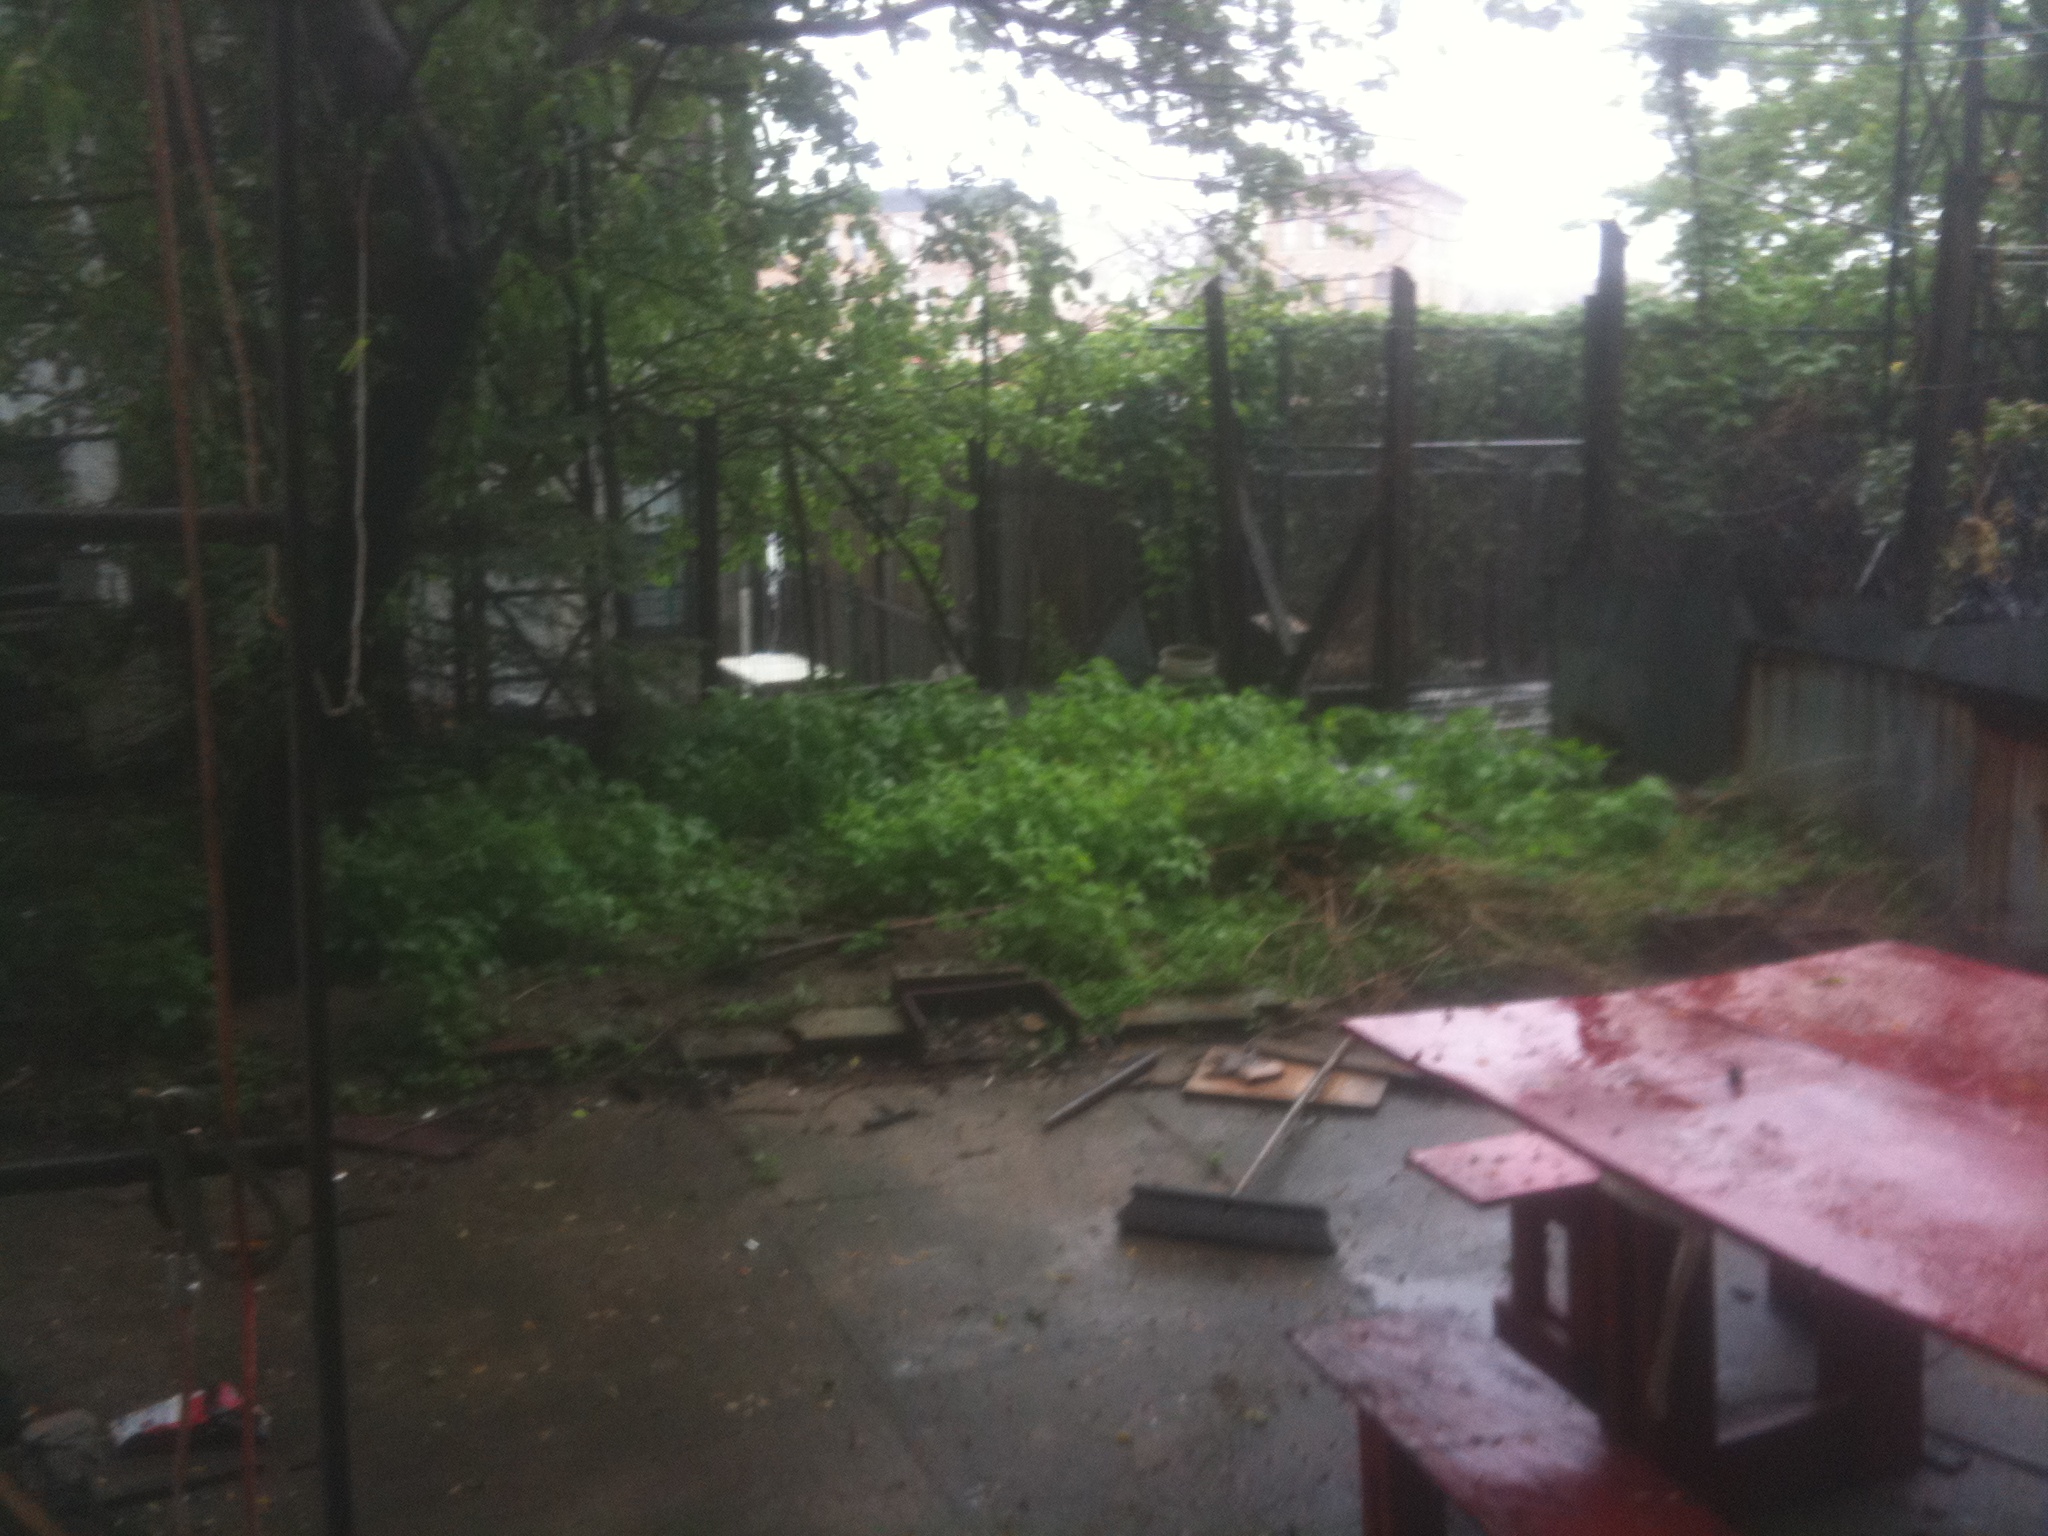
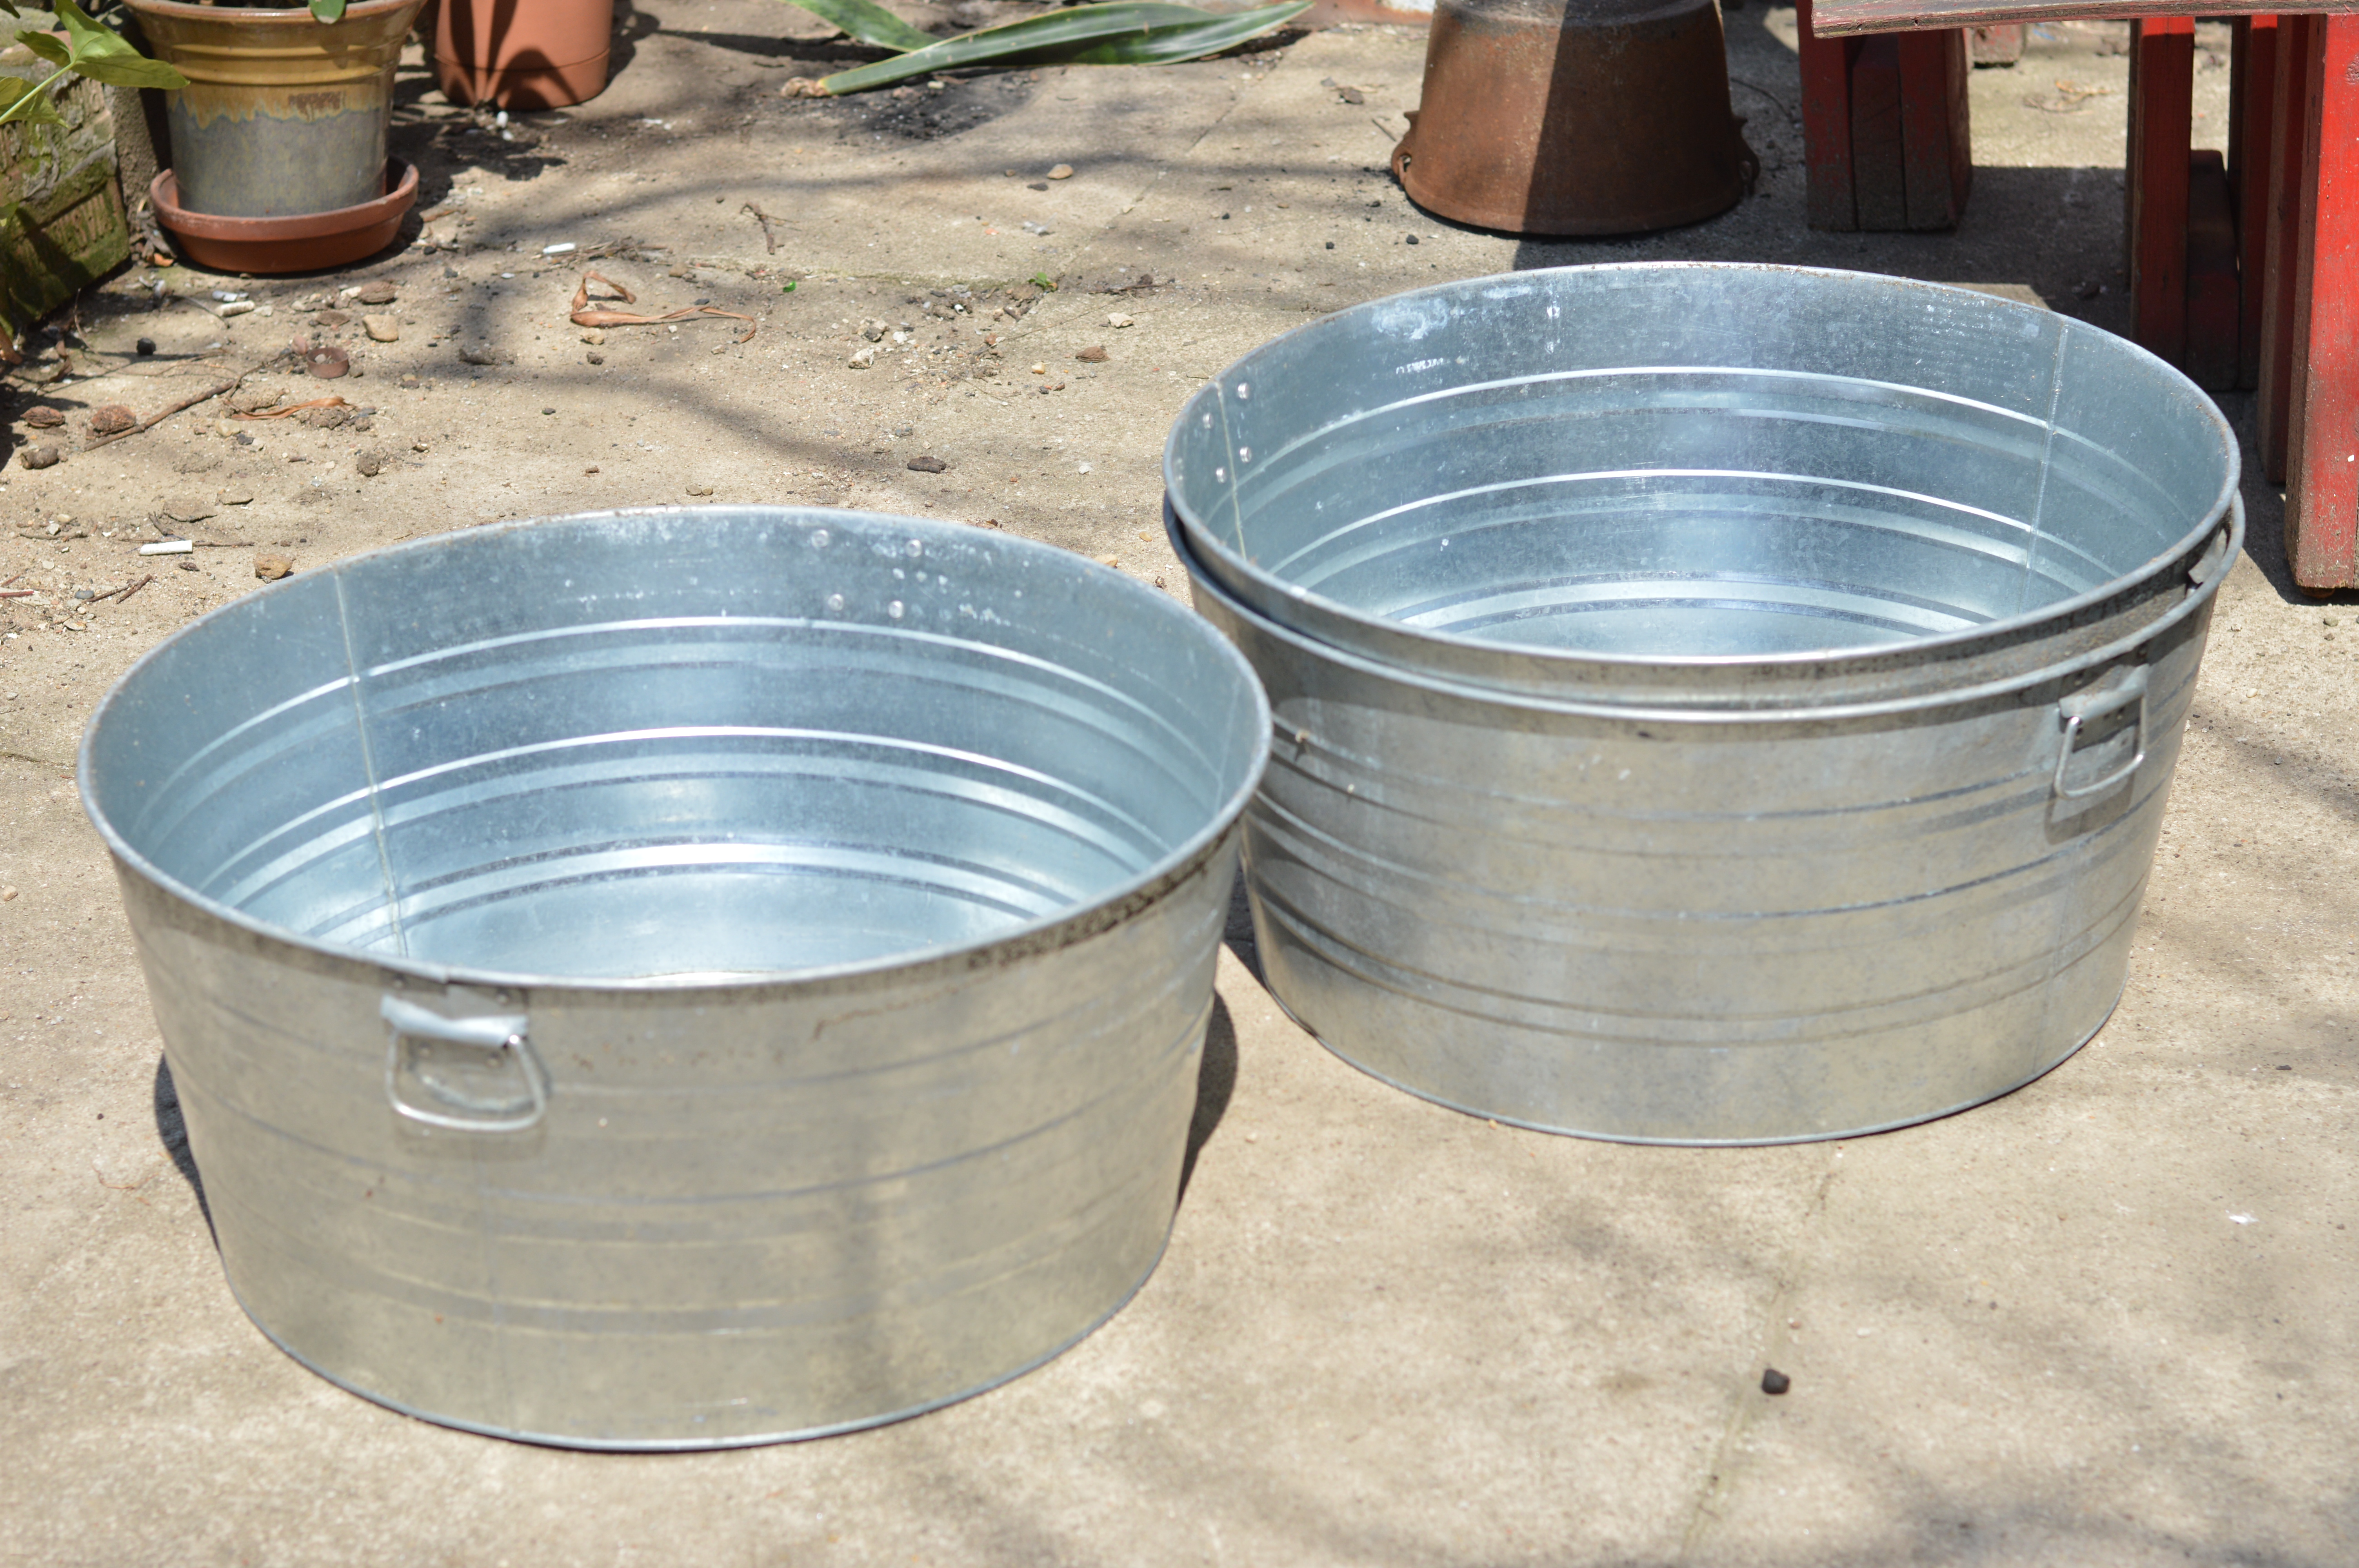
The day of the party came, and Russell did it up right proper. Good friends, good food, good music, good wine, and good weather on a good night in our backyard. A smoking grill and a big bowl of phenomenal homemade guacamole. Rosé by the bucket. It was perfect. Best husband ever. After all, he puts up with me, uptight perfectionist and all.

strawberry stuffed yellow layer cake with basil buttercream | Brooklyn Homemaker

Then, toward the end of the evening, there was the pièce de résistance.

While it’s true that I write a food blog (you may have noticed) and getting feedback and words of encouragement comes with the territory, getting compliments in person tends to make me feel more than a little uncomfortable.

When the cake was served I was made plenty uneasy by the barrage of positivity coming my way. Maybe it was the river of wine and whiskey that was flowing in the yard that night, but people were plenty free with the praise for this cake.
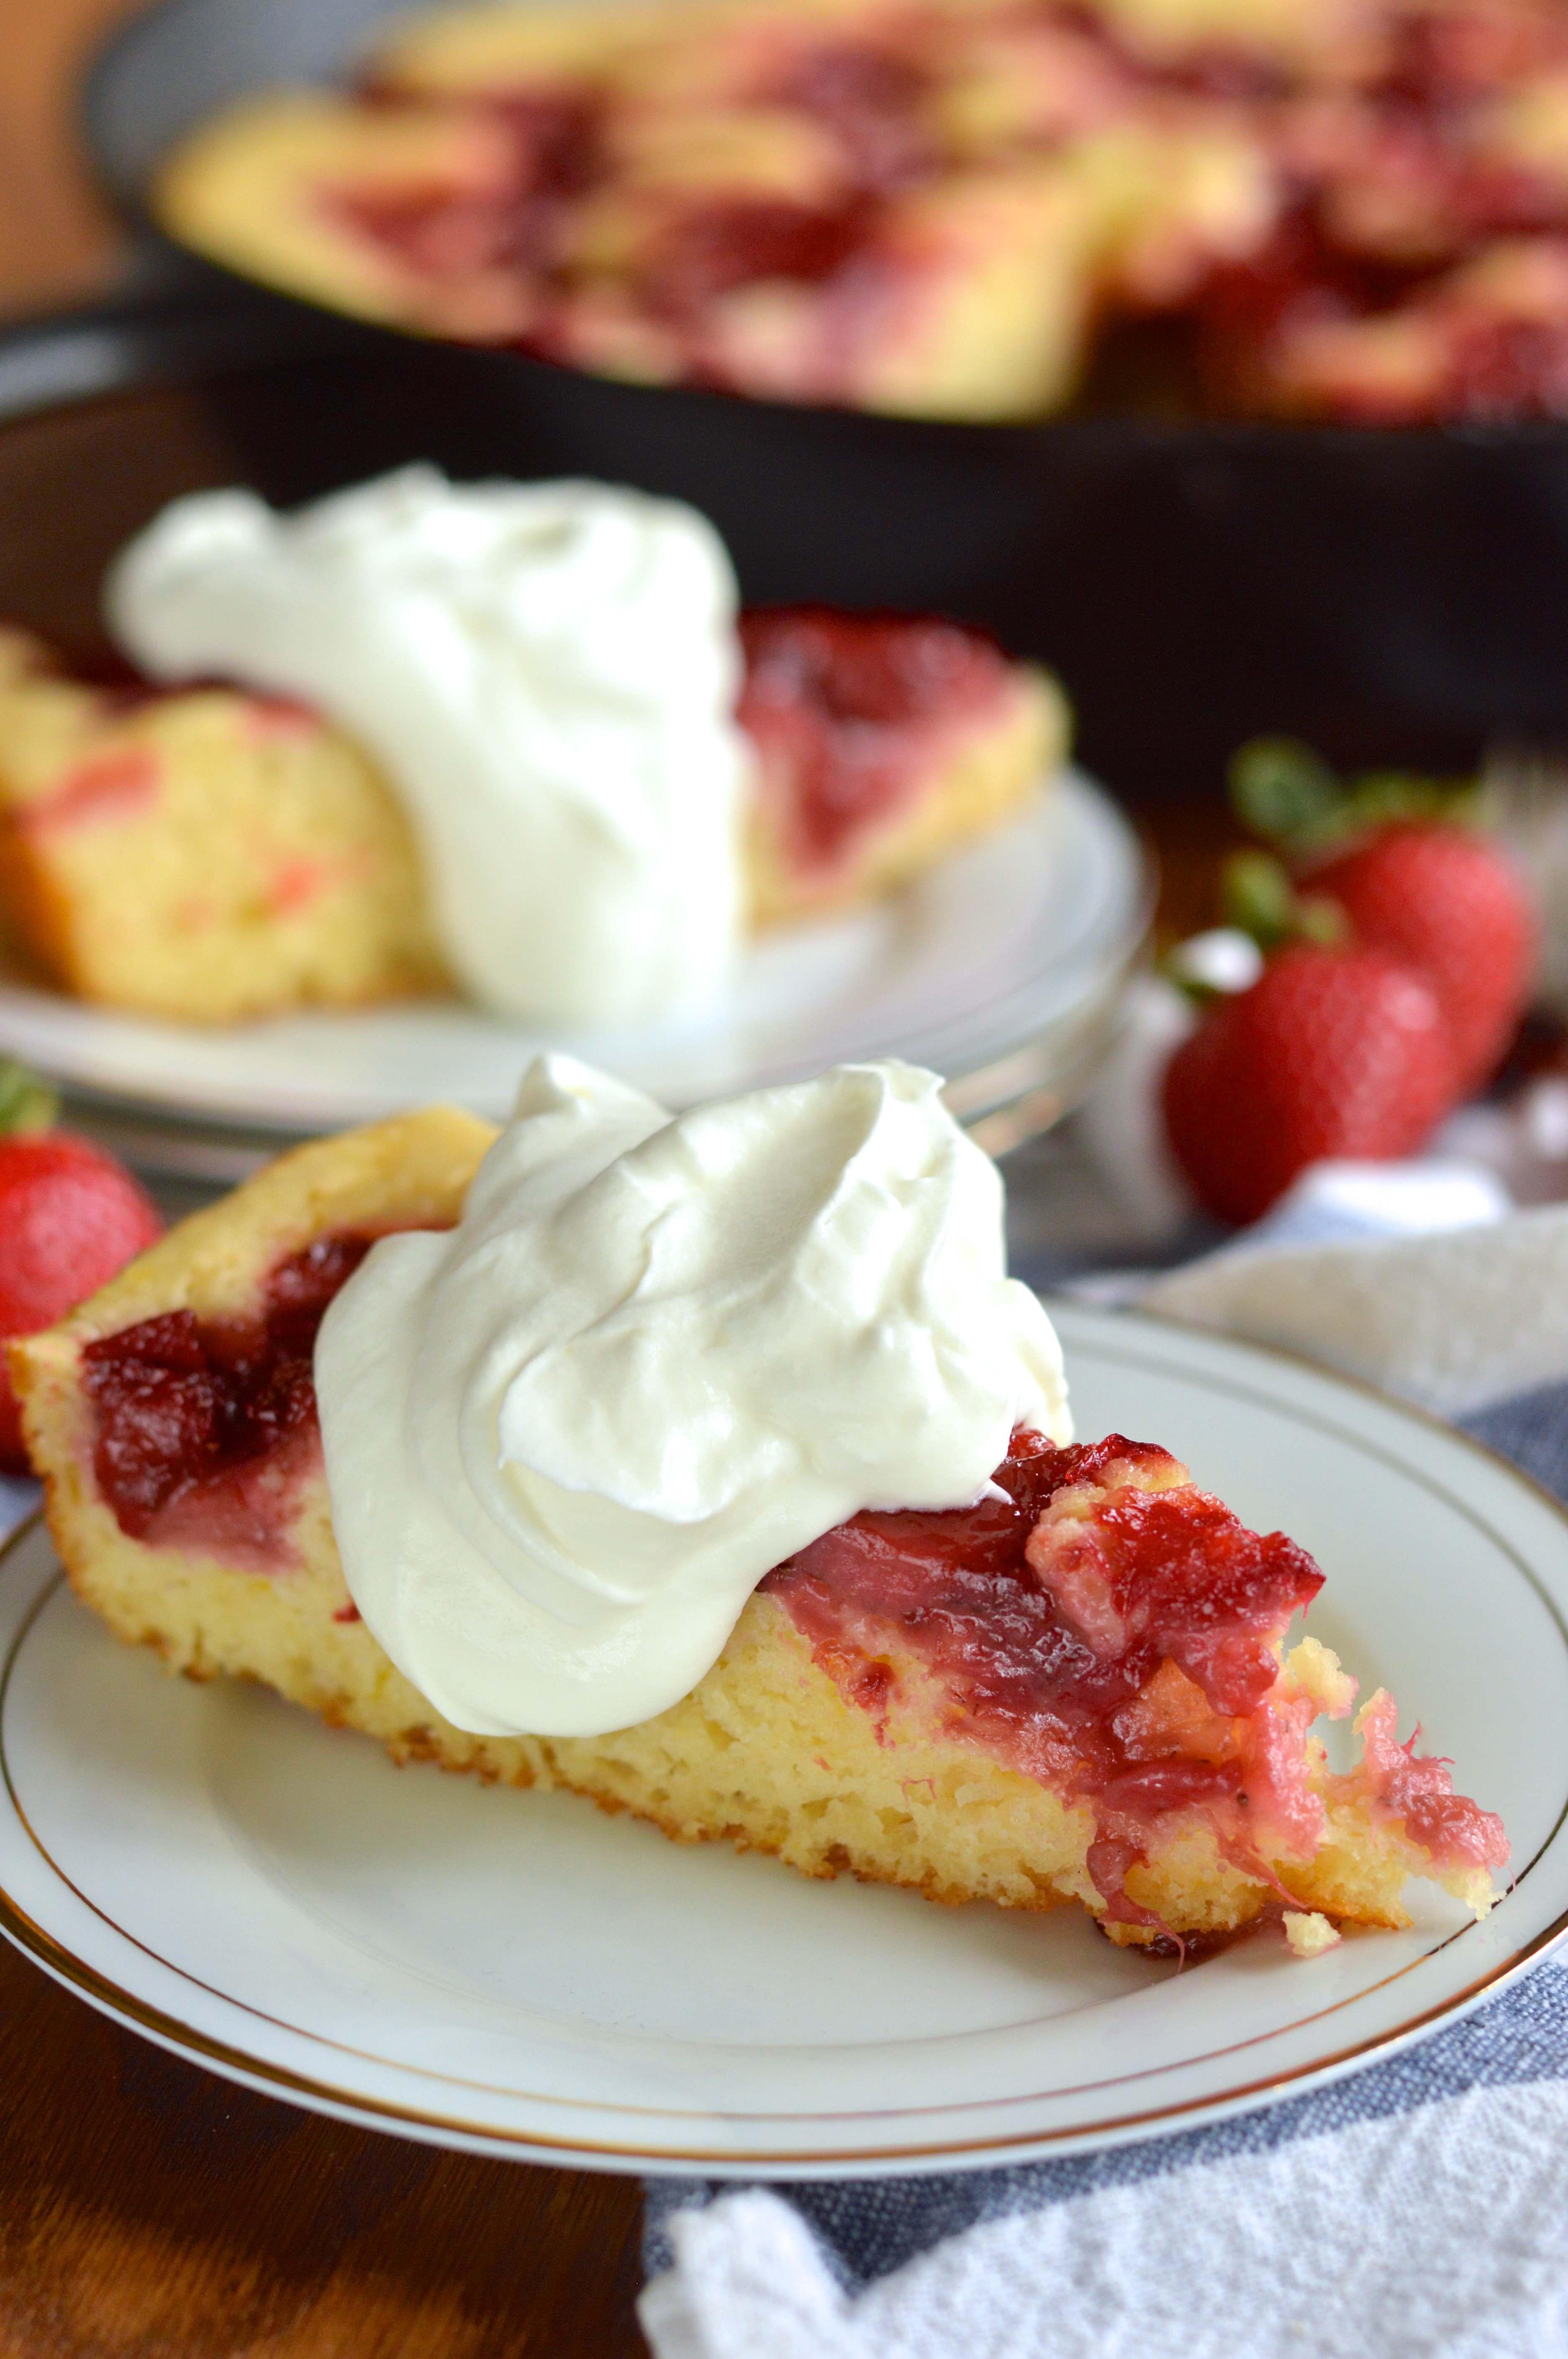
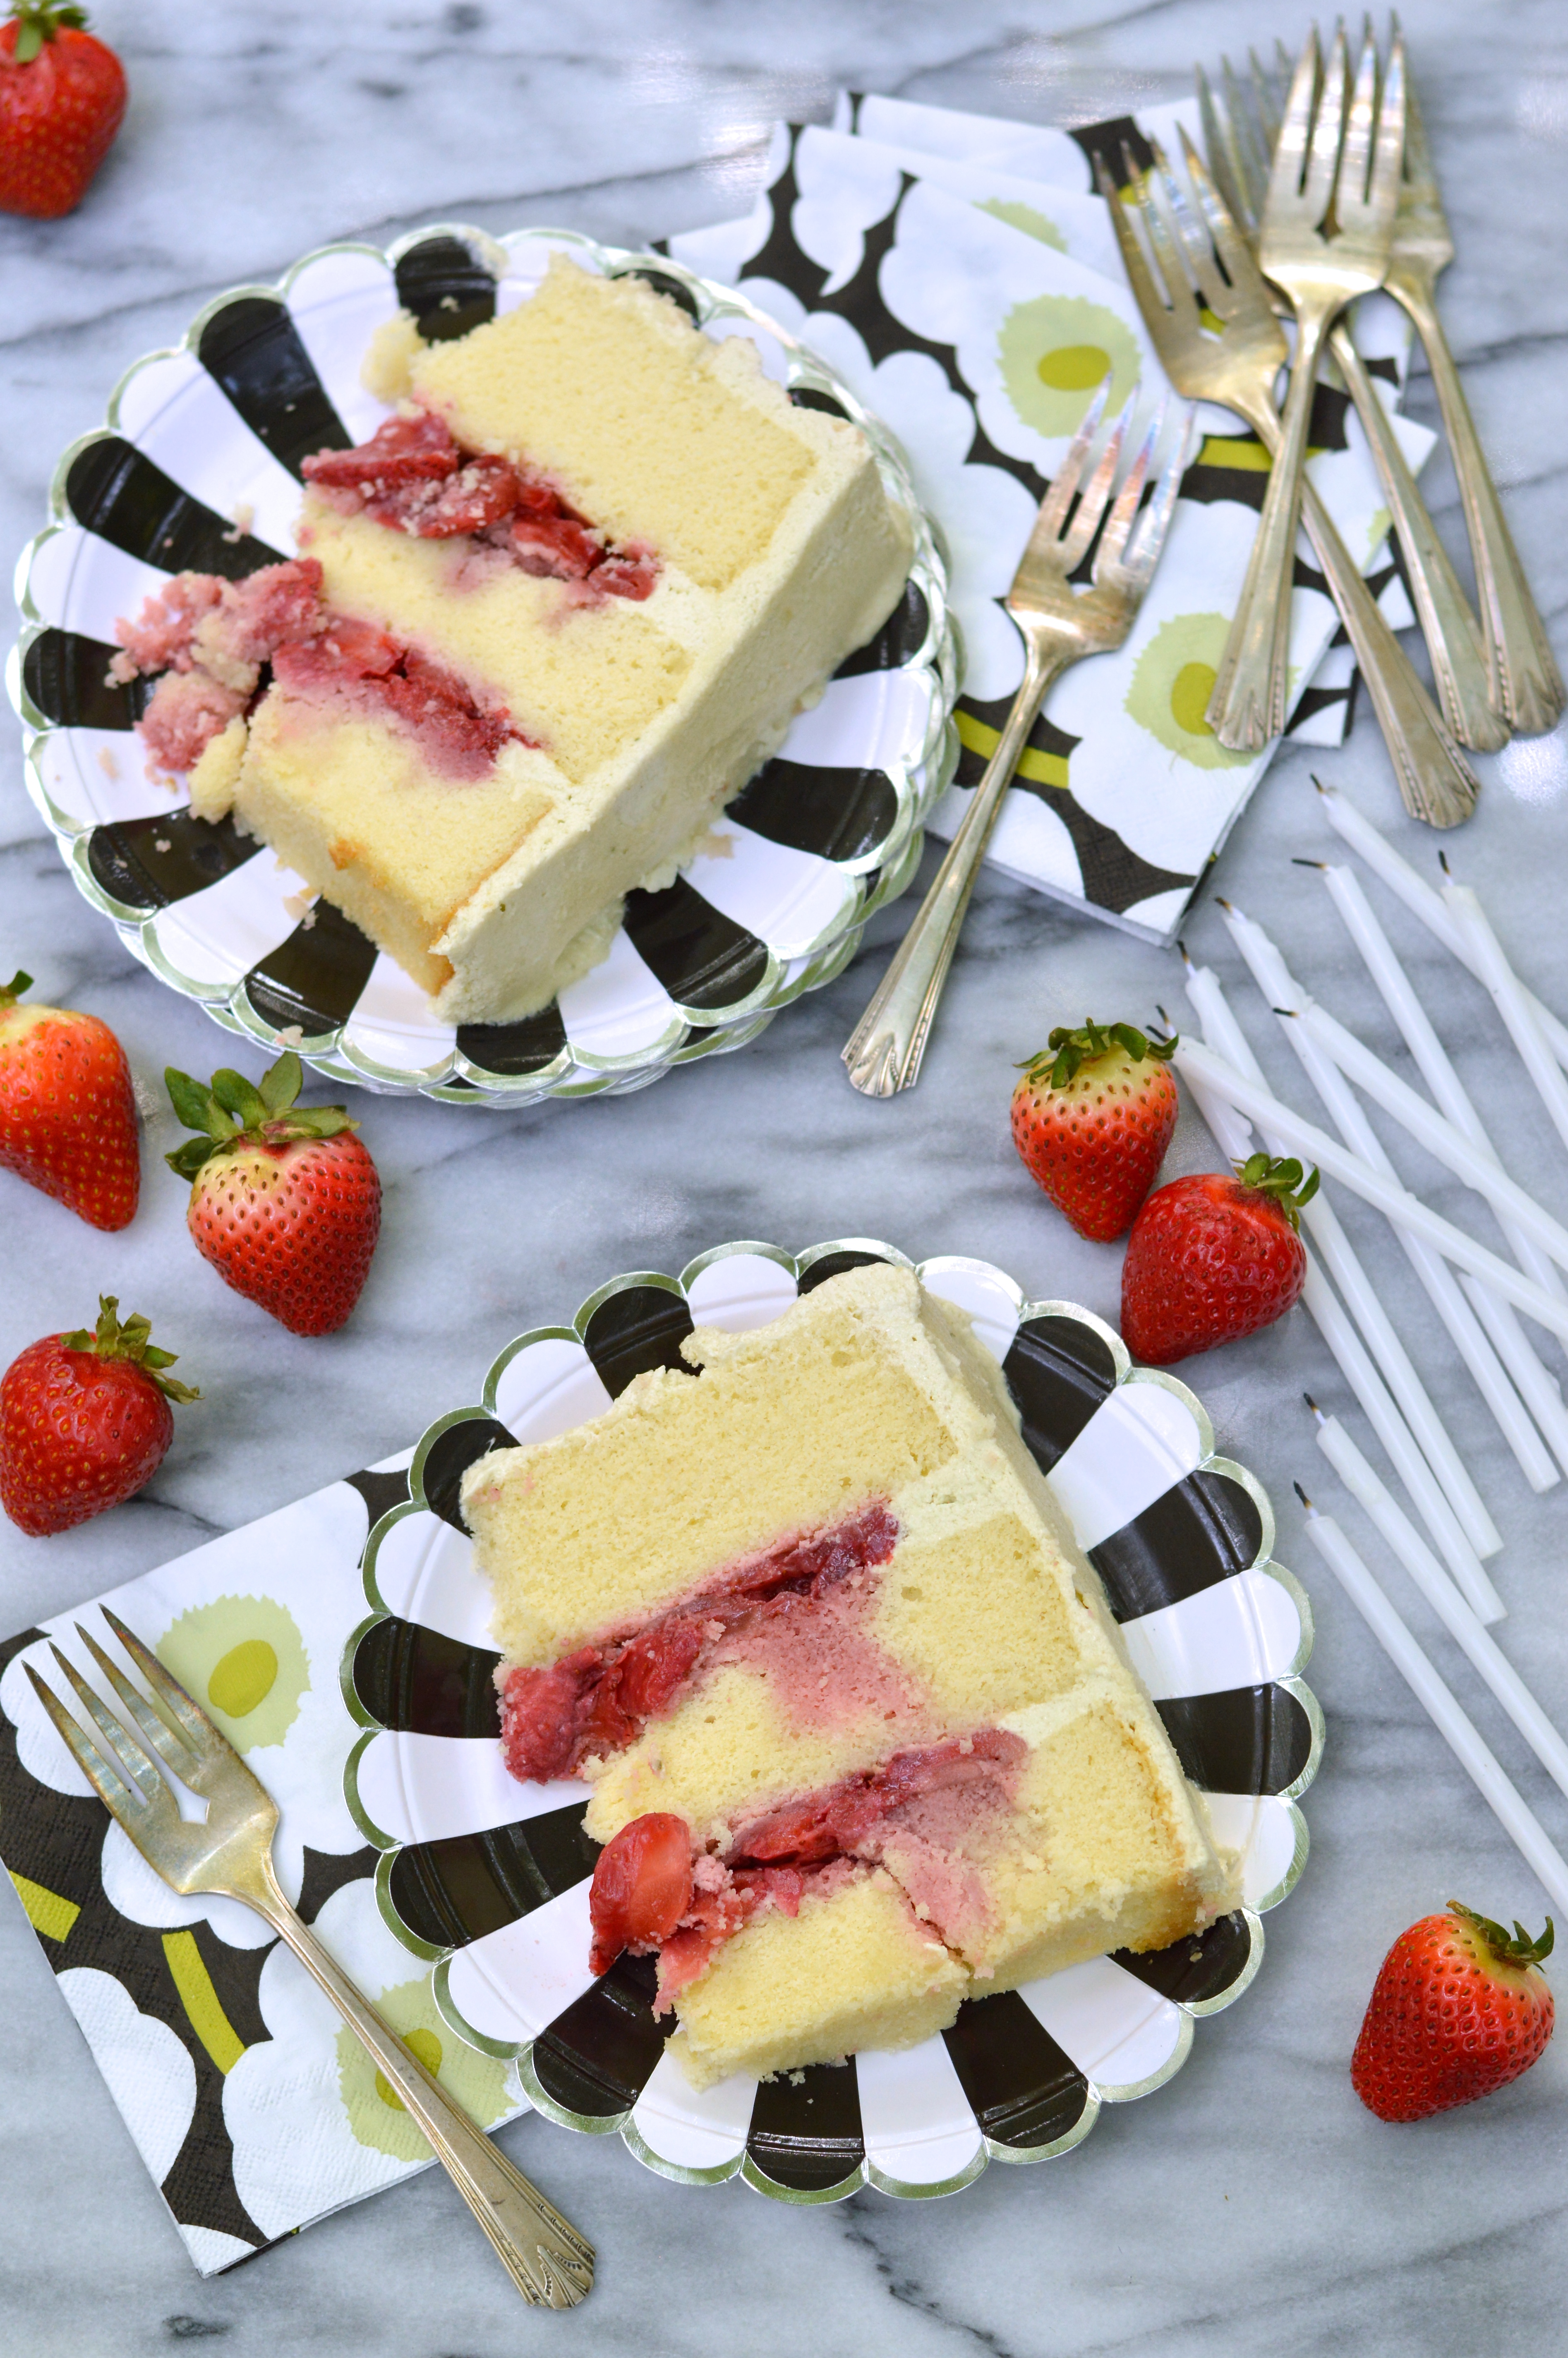
You made this?!?! The crumb is so tender! Those fresh strawberries!! And OMG that basil icing!!!
People are still talking about it almost two weeks later.

Happy birthday to me!

strawberry stuffed yellow layer cake with basil buttercream | Brooklyn Homemaker

Strawberry Stuffed Yellow Layer Cake with Basil Buttercream

Fresh Strawberry Filling:
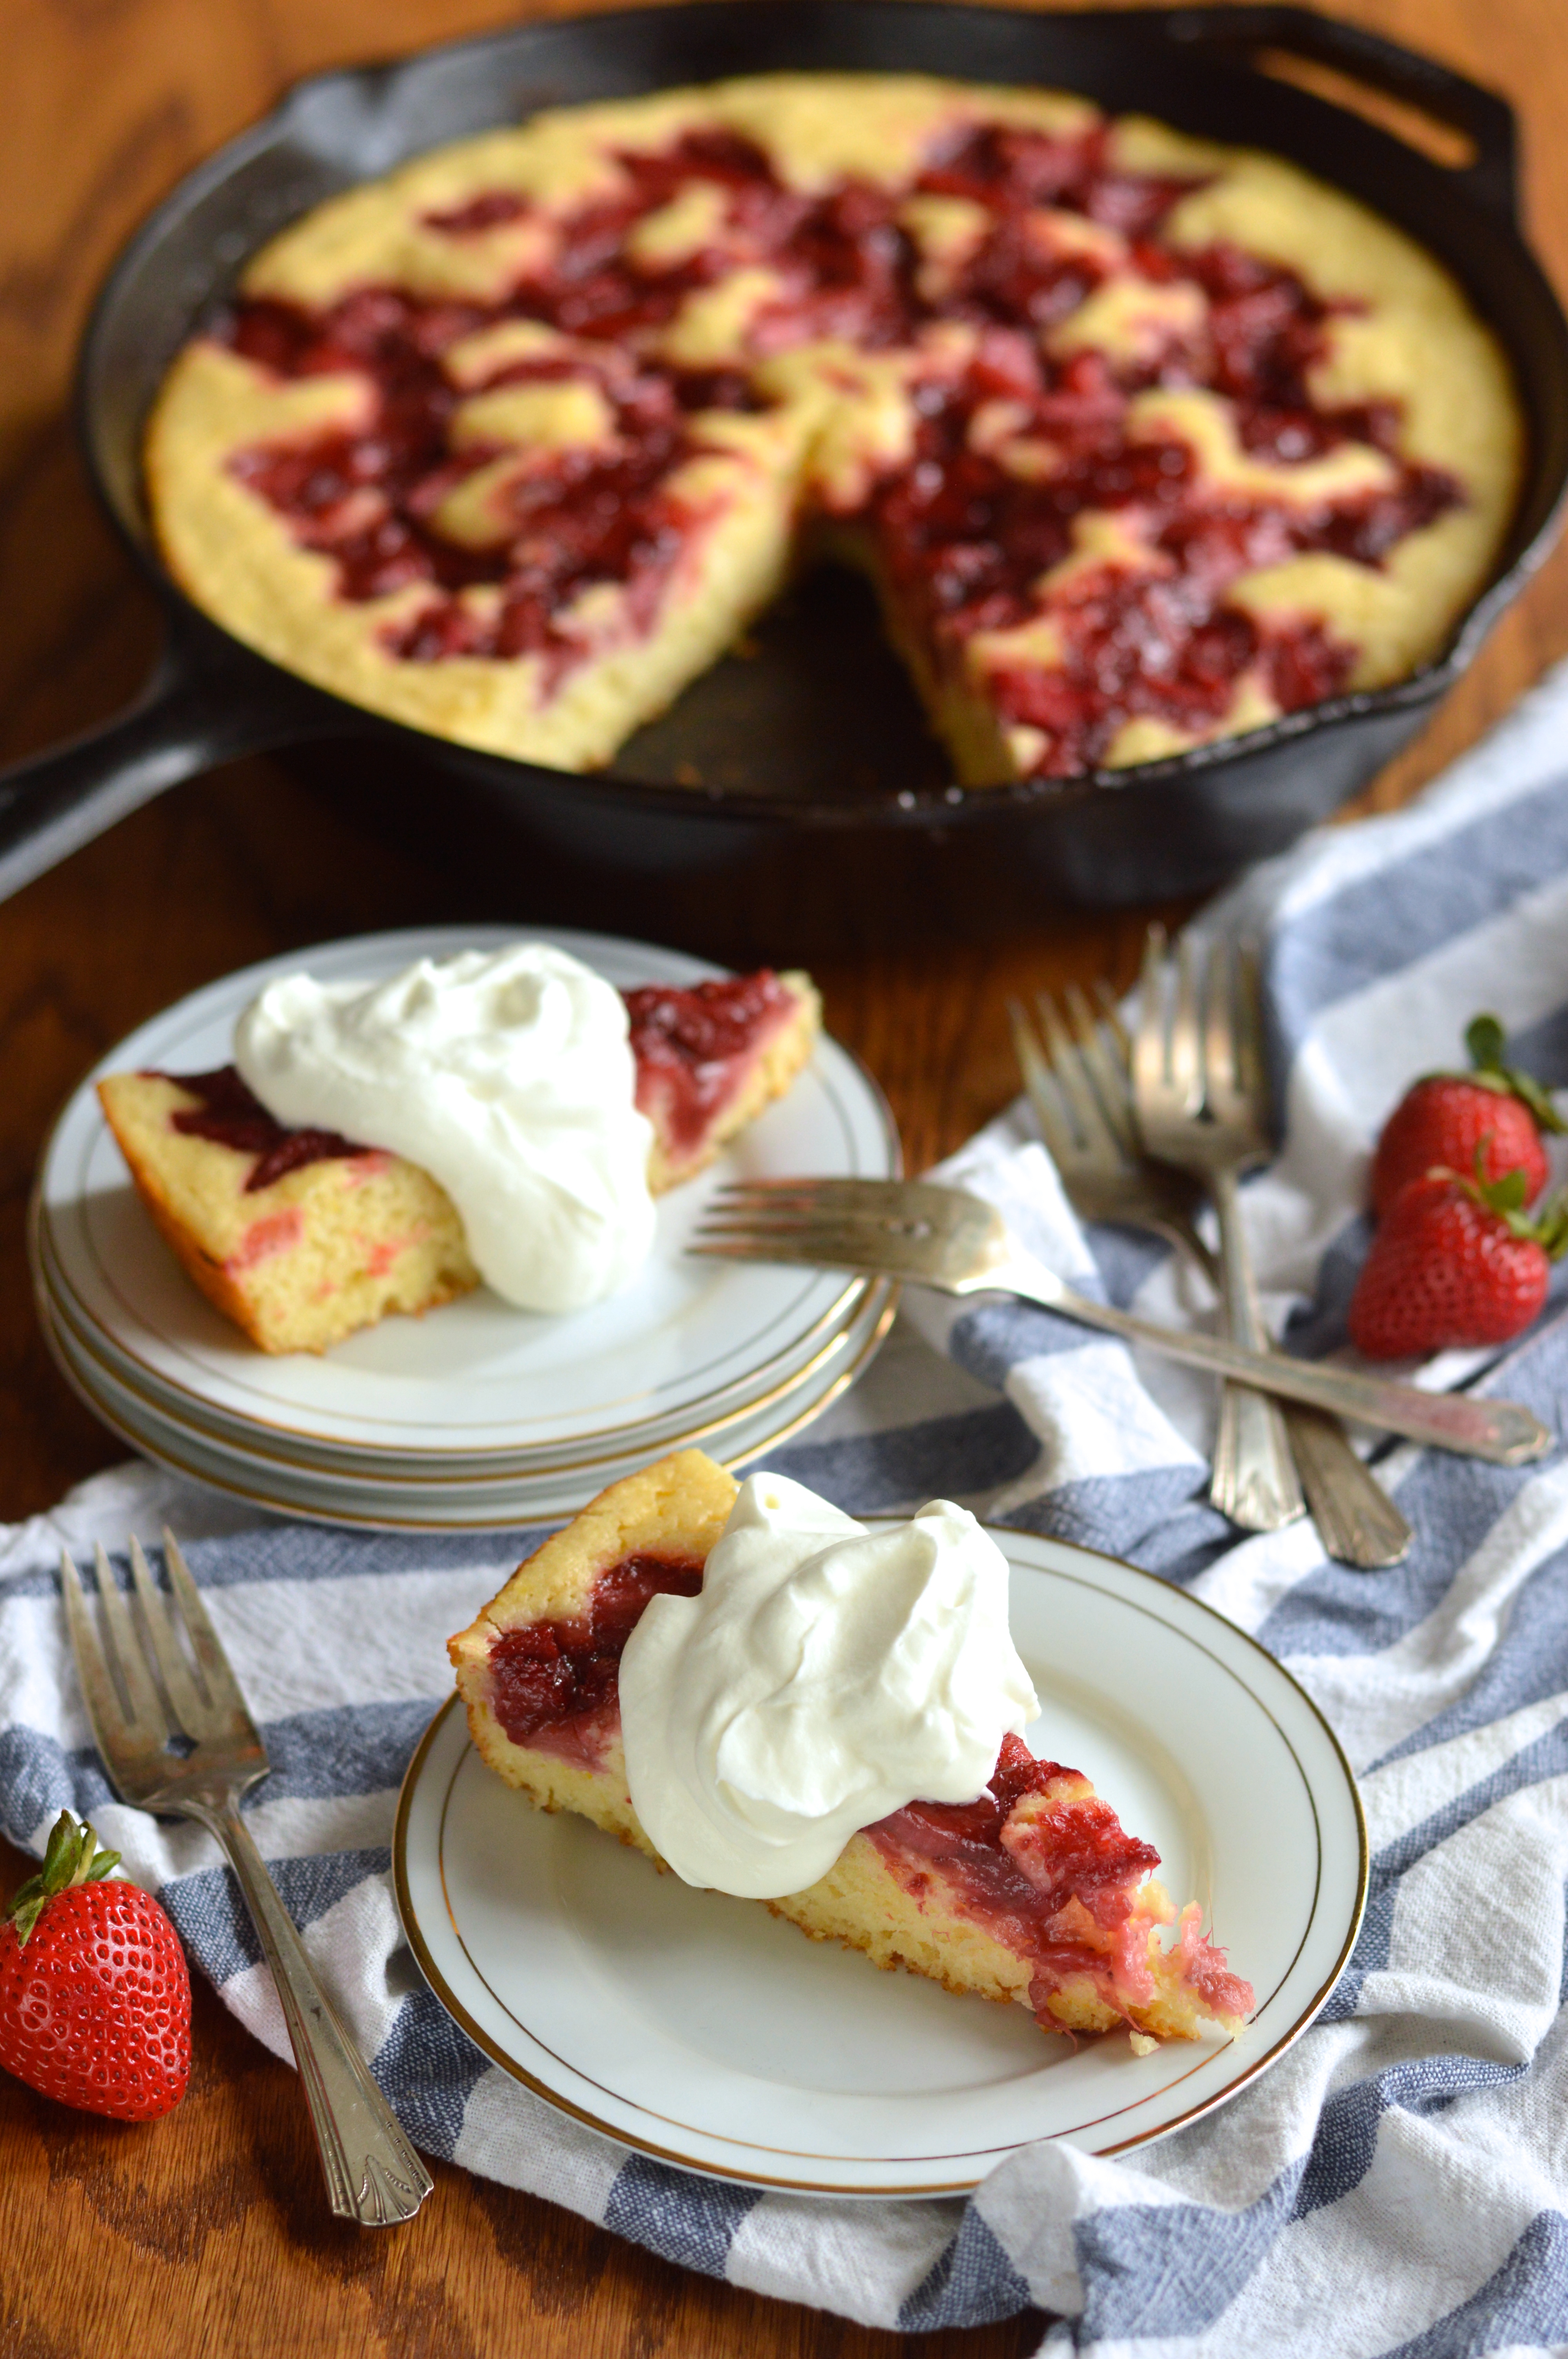
2 lbs fresh strawberries (plus another 1/2 lb for decorating if desired)
1/3 cup sugar
pinch salt
1 teaspoon vanilla extract

Wash strawberries and place let them drain in a colander or dry on a towel. Working only with the 2 lbs for the filling, hull the strawberries and slice them thinly. Place in a medium bowl and toss with sugar, salt, and vanilla. Allow the strawberries to macerate in the sugar for at least an hour or two at room temperature.
Drain the juices from the bowl into a small to medium saucepan. Over medium/high heat, reduce the strawberry juice by about half or a little more, stirring frequently. This should take about 20 minutes. Cool the reduced juice completely before pouring back over the berries and tossing to coat. Cover and refrigerate until ready to assemble the cake.

Yellow Cake:
adapted from Epicurious

4 cups cake flour
4 1/2 teaspoons baking powder
1 teaspoon salt
1 1/2 cups (3 sticks) unsalted butter, room temperature
2 1/2 cups granulated sugar
6 large eggs
1 tablespoon vanilla extract
1 3/4 cups buttermilk

Preheat oven to 350°F. Butter three 8×2-inch round cake pans and line with parchment paper. (I use pre-cut parchment rounds) Butter the parchment and lightly coat the interior of the pans with flour. Refrigerate until ready for use.

Whisk together the flour, baking powder, and salt in a medium bowl.
In the bowl of an electric mixer fitted with a paddle attachment, cream the butter on medium/high speed for 3 minutes or until light and creamy in color. Scrape down the sides of the bowl and cream the butter for an additional minute.
Add the sugar, about 1/4 cup at a time, beating for 30 seconds to a minute after each addition. Scrape the sides of the bowl occasionally. Once all sugar is added, scrape down the bowl and add the eggs one at a time.
Stir the vanilla into the buttermilk. Reduce the mixer speed to low or stir, and add the dry ingredients alternately with the buttermilk. Mix just until incorporated. Scrape the sides of the bowl and mix for 15 seconds longer.

Divide the batter evenly between the prepared pans and smooth the tops. If possible use a scale to ensure each pan has the same amount of batter.
Lift up each pan about an inch and let them drop onto the counter top to knock out any air bubbles and settle the batter.
Center the pans onto a rack in the lower third of the oven and let bake 45 to 50 minutes or until the cakes are lightly brown and a toothpick or cake tester inserted in the centers comes out clean.

Let cool on a rack for about an hour before removing from pans. Leave parchment rounds on the bottoms of the cakes until assembly, and return layers, parchment side down, to the rack until completely cool to the touch.

Basil Buttercream
adapted ever so slightly from the Vanilla Bean Blog

1 1/2 cups whole milk
1/3 cup heavy cream
1 cup fresh basil leaves, well packed
1 1/2 cups granulated sugar
1/3 cup all purpose flour
1 1/2 cups (three sticks) unsalted butter, soft but cool, cut into small pieces (about 70 degrees – butter should be  soft enough to mix well, but firm enough to give some structure to the buttercream)
1 tsp pure vanilla extract

Combine milk, heavy cream, and basil in a heavy bottomed saucepan. Heat gently, until just simmering, and remove from the heat. Let cool for about 30 minutes and pour the mixture in the bowl of a food processor. Process for about 30 seconds or until the basil is well chopped. Scrape all basil and liquid into a small bowl, cover and refrigerate for at least 2 hours, or ideally overnight.
Pour mixture through a fine mesh sieve into a small heavy bottomed saucepan. Use the back of a spoon to squeeze any ‘basil juice’ from the leaves into the milk/cream mixture. Whisk in the flour and sugar, and cook over medium heat, whisking occasionally, until the mixture comes to a boil and has thickened, about 10 or 15 minutes.
Transfer the mixture to the bowl of a stand mixer fitted with a paddle attachment. Place a kitchen towel over the top of the mixer to prevent splashing. Beat on high speed until the mixture has completely cooled, about 7-9 minutes. Reduce the speed to low and add the butter, mixing until thoroughly incorporated. At first it might not look right, but just keep going. Increase the mixer speed to medium/high and beat until the frosting is light and fluffy, about another 2 minutes.
Add the vanilla and mix until combined. If the frosting is too soft, put the bowl in the refrigerator to chill slightly, then beat again until it is the proper consistency. If the frosting is too firm, set the bowl over a pot of barely simmering water and beat with a wooden spoon until it is the proper consistency.

Assembly:
1) Level the tops of the cake layers using a cake leveler or a very sharp serrated knife.

2) Place the first layer on an 8″ cardboard cake round or on a cake stand.  Place the round or cake stand on a revolving turntable or lazy suzan.

3) Fill a piping bag with about one cup of the basil buttercream icing. It isn’t necessary to fit the bag with a decorating tip.

4) Pipe a tall border around the perimeter of the first layer, using about 1/2 of the icing in the bag.

5) Top the first layer with about half of your strawberries and reduced juice, staying within the icing border. Try to even the berries out so they’re in an even level layer.

6) Center the next layer over the first, checking from several angles to be sure the layers are perfectly lined up straight and evenly.

7) Repeat steps 4, 5, & 6.

8) Using about 1/3 to 1/2 of the remaining icing , cover the entire outside of the cake with a thin crumb coat using an icing spatula. I like to pile the icing at the top of the cake and work it down the sides little by little, turning the turntable as you go, until the entire cake is coated. I find that an offset spatula is easier to use, but that’s up to you.
This step ensures that any crumbs coming off the cake will be captured in this first thin layer of icing and will not show on the finished cake. I find it also makes it easier to get a smooth profession looking final layer of icing.

9) Refrigerate the entire cake for about 30 minutes to an hour. This step sets the crumb coat so it doesn’t mix into your final top layer of icing. I also find that it helps steady the filling and makes the layers of cake less likely to slip and slide around while you’re trying to ice or decorate.

10) Using the remaining icing, coat the entire cake using an icing spatula in the same way you did the crumb coat.

11) Try to smooth the icing as much as possible using your spatula or a straight bench scraper. I find that holding the spatula straight up and down, almost stationary, while turning the cake is the easiest way to get a smooth finish to the sides.

12) If desired, top the cake with the remaining 1/2 cup strawberries and a few leaves of basil. I think it looks more attractive if the stems and leaves are still attached to the berries, but that’s your call. It will mean that your guests will have to remove the stems themselves if they plan to eat the berries along with the cake.  If you’d prefer to do a piped icing border you will need to reserve some icing, or increase the recipe slightly.

For a more in depth tutorial, see my funfetti birthday cake recipe from last year. For an AMAZING how-to video on how to get a smooth and professional icing job, check out this “modern buttercream” class, completely free, from Craftsy.

If you need to refrigerate the cake, I recommend letting it chill in the fridge for about an hour to set the icing before covering in plastic wrap (so the wrap doesn’t stick to the icing and ruin the smooth coat you worked so hard to create.) This cake is at it’s best the day it’s baked, but once covered, it can be refrigerated for a day or two. The fresh berries may lose their freshness the longer it’s held. Bring completely to room temperature before serving, at least an hour or two.

Advertisement

strawberry rhubarb skillet cake

You guys. I have a confession to make.
I’m the world’s WORST blogger.

strawberry rhubarb skillet cake | Brooklyn Homemaker

It’s been sunny and warm for the past few days and I had to draaaag myself indoors to write this post. I’ve really wanted nothing more than to lay out in the yard after work and snuggle puppies and drink rosé.
Russell’s been visiting family in LA and I should be taking this opportunity to catch up on my writing, but once the sun goes down and the spring chill sets back in, I’d rather be watching reruns of the Walking Dead or RuPaul’s Drag Race with a pint of pistachio ice cream.

strawberry rhubarb skillet cake | Brooklyn Homemaker

In addition to laziness and springtime distractions, I’ve also fallen victim to springtime cravings. The arrival of warm weather and green leaves makes me crave fresh produce and bright spring berries like crazy. I mentioned last week that as much as I crave these foods, local production hasn’t caught up to my cravings just yet and so far the produce at the green markets leaves a bit to be desired.

strawberry rhubarb skillet cake | Brooklyn Homemaker

I’ve been trying to hold out, but the other day I caved. I’m really the worst.

Just awful.

strawberry rhubarb skillet cake | Brooklyn Homemaker

Wandering the aisles of the grocery store the other day I stumbled across a big bucket filled with rhubarb stalks. Conveniently located behind the rhubarb were stacks and stacks of organic strawberries fresh from the freight truck.

I tried to resist, but their strawberry siren song was too much for me and I circled the produce section twice before finding them in my basket at the checkout line.

strawberry rhubarb skillet cake | Brooklyn Homemaker

Truth be told, I had no damned clue what I would do with my pre-season berries and rhubarb but I just HAD to have them. There aren’t many things in this world that I love more than a strawberry rhubarb pie, but a pie is so filling-centric that I know I need to wait for strawberry season proper to go that route.

In terms of flavor, nothing beats a berry that was ripened in the sun, in season, a few miles (or footsteps) from your home. These bright red little berries however, fresh off the truck from California, travelled a looooong way before finding their way onto the shelves at the Food Town in Williamsburg, Brooklyn. They were pretty durn good, especially after not tasting a fresh strawberry for months, but they tasted nowhere near as fresh and flavorful as they will in a few short weeks.

strawberry rhubarb skillet cake | Brooklyn Homemaker

Tart rhubarb and a healthy bit of sugar would help doctor up my lackluster berries, but in this case they would need to be more of an accent flavor and less of the main attraction. I needed to come up with a recipe that would elevate them and let them shine without expecting too much of them.

strawberry rhubarb skillet cake | Brooklyn Homemaker

It didn’t take me long to think of a rustic skillet cake I made last summer, with caramelized peaches and cornmeal. Perfect! I didn’t want to go the cornmeal route this time, but the basic idea was spot on. I’d cook the sliced berries with the rhubarb, a bit of butter, and some sugar; and then I’d pour them over a tender buttermilk cake baked in a big ol’ cast iron skillet.

strawberry rhubarb skillet cake | Brooklyn Homemaker

This cake is perfect.

In another week or two, when strawberries are actually in season here, this will definitely be happening again because then it’ll be even more perfect than it’s current state of perfection.

Topped with fresh barely sweetened whipped cream, it’s like a jammy little slice of strawberry shortcake.
Rustic and unfussy. Sweet and tart. Fluffy and tender. The cooked strawberry rhubarb is sweet and bright and jammy and fresh. The cake is just sweet enough and a tiny bit tart from the lemon and buttermilk. It’s buttery and light and moist and just…

perfect.

strawberry rhubarb skillet cake | Brooklyn Homemaker

Strawberry Rhubarb Skillet Cake

adapted from Joy the Baker

Strawberry Rhubarb filling:
1 cup sliced rhubarb (from about 3 stalks)
2 cups hulled and quartered strawberries
2 tablespoons unsalted butter
3 tablespoons sugar
pinch of salt

Cake:
1/4 cup + 1 tablespoon unsalted butter
zest of one lemon
2 1/2 cups all-purpose flour
1 tablespoon baking powder
1/2 cup plus 2 tablespoons granulated sugar
1/2 teaspoon salt
2 large eggs
1 1/4 cups buttermilk
1/4 cup lemon juice
1 teaspoon pure vanilla extract
2 to 3 tablespoons turbinado sugar or coarse finishing sugar

Preheat oven to 350 and move a rack to the center position.

Combine strawberries, rhubarb, 2 tablespoons butter, 2 tablespoons sugar, and pinch of salt in an 11 or 12 inch skillet.* Place over a medium high flame and cook, stirring frequently, until fruit is soft and coming apart and juices have reduced to a thick syrup, about 10 to 15 minutes. Do not let juices burn.

Scrape strawberry rhubarb mixture into a bowl to cool and scrape skillet clean with a silicone spatula. It’s okay if a little residue remains.
Melt butter in skillet and pour out all but 1 tablespoon to cool. Coat skillet evenly with remaining tablespoon. Add lemon zest to cooling butter and stir to combine.

In a medium bowl, whisk together flour, baking powder, salt and sugar.  Set aside.
In a small bowl or large measuring cup, whisk together buttermilk, lemon juice, eggs, vanilla and butter.

Make a well in the dry ingredients and pour in the buttermilk mixture all at once.  Stir with a silicone spatula just until combined, scraping the sides of the bowl until there are no dry pockets of flour. Do not over mix.  Pour batter into the prepared skillet and spread (or shake) smooth.  Dot the batter with strawberry mixture as evenly as possible, and sprinkle generously with turbinado sugar.

Bake for 20-25 minutes, or until a toothpick or cake tester inserted in the center of the cake comes out clean.  Allow cake to cool for at least 30 minutes before serving. If desired, serve with a generous dollop of lightly sweetened whipped cream or a light dusting of powdered sugar.

Cake will last, removed from skillet and well wrapped in the refrigerator, for up to 3 days.

*If you don’t have a cast iron skillet you can cook the strawberries and melt the butter in any pan you have, and use an 11-inch round tart or quiche pan, or a 9×13-inch pan for the cake. The batter may spread more thin so you’ll need to keep a close eye on it in the oven.

blueberry buttermilk bundt cake

Okay. I think it’s officially safe to call it spring without fearing that it’ll snow tomorrow.

blueberry buttermilk bundt cake | Brooklyn Homemaker

Russell and I, along with our pups, have been spending a TON of time out in our little yarden lately. We plan to do a lot of entertaining back there this summer, so we’ve been trying to get the space lookin’ purdy and comfortable. As I said in my last post, we didn’t have stairs to get out there until the end of last summer, so now that we do, we really want to make the most of the space. I also mentioned in my last post that there used to be a big picnic table back there when we moved in, but it was really poorly built and rickety, and the heavy snowfalls this past winter finally caused its demise.

blueberry buttermilk bundt cake | Brooklyn Homemaker

For a while now we’ve been looking into getting a new table to replace it, and over the weekend we actually went and got one! A while ago we found a nice large (and relatively affordable) outdoor table at Ikea but we didn’t end up buying it because it was too big for us to get home. We don’t have a vehicle so trying to transport a big ol’ table takes some serious planning. Shipping would essentially double the price, renting a car in the city is outrageously expensive, and as soon as you utter the word, “IKEA”, car services and taxis see $$$ signs and find fun new ways to charge extra.

blueberry buttermilk bundt cake | Brooklyn Homemaker

We have some friends who have a truck, but at first we thought it was too big a favor to ask of them. If you’ve never been to the Ikea in Brooklyn, or driven home from it, let me tell you, it’s a serious ordeal. Basically it’s like asking someone to drive you into the center of hell and back. As much as I love Ikea, the Ikea in Brooklyn (especially on a weekend) is a total madhouse filled with pushy grumpy humans who would happily gouge your eyes out if it meant they got their swedish meatballs before you did. After much hemming and hawing, we finally we decided to swallow our pride, cross our fingers, and just ask them. Miraculously, they actually said YES!

blueberry buttermilk bundt cake | Brooklyn Homemaker

We knew that this big favor deserved a BIG thank you, so we decided that the best thing to do was to fill their bellies with something wonderful. Since the weather somehow seems to be getting warmer and warmer, I thought a nice summery blueberry bundt cake would be just the thing.

blueberry buttermilk bundt cake | Brooklyn Homemaker

I know I’ve said this before, but I really do LOVE bundt cakes. Perfectly impressive and elegant without being too much hassle or fuss. I think it might be their retro 1950s ladies-society-club kind of feeling that I find so charming about them. Or maybe it’s because they remind me of my grandmother. Do I really need a reason?

blueberry buttermilk bundt cake | Brooklyn Homemaker

I know it’s technically still Spring, but I just decided to dive straight into Summer with this cake. Unfortunately the markets aren’t as ahead of schedule as my appetite so I had a hard time finding fresh blueberries that weren’t a gazillion dollars. I suppose I could have tweaked my recipe a bit and used another berry, but I’m a taurus and my mind was set on blueberries. I ended up using frozen ones and was a little worried about how it’d come out, but they actually worked really well. I mixed them into the batter while they were still frozen so they wouldn’t be get mushy, and tossed them in a little flour first to make sure they were evenly distributed throughout the cake. You’ll want to do this step even with fresh berries, btw.

blueberry buttermilk bundt cake | Brooklyn Homemaker

Not to toot my own horn, but this cake is freakin’ incredible. It’s crazy moist, super delicious, and wonderfully tender. It’s a bit like a pound cake, but not quite as dense, and is full of ripe berry sweetness without being cloyingly sugary. The berries are juicy little flavor bombs that practically burst when punctured with your fork. The tang from the buttermilk pairs perfectly with the lemon, which is the ideal complement to the flavor of the blueberries, and the blueberry lemon glaze is the cherry on the sundae. Can you believe the color of that glaze by the way? I knew the blueberries would give the glaze some color, but I wasn’t expecting it to be such a bright vibrant pink!
Pretty and tasty! The total package!

blueberry buttermilk bundt cake | Brooklyn Homemaker

This cake is sure to be a hit at your next picnic or barbecue. If you’re like me, I’m sure you’re going to want to invent some occasion to have people over, just to have a reason to make this cake. I promise your friends won’t mind.

blueberry buttermilk bundt cake | Brooklyn Homemaker

blueberry buttermilk bundt cake

adapted from Smitten Kitchen

Cake:
2 1/2 cups all-purpose flour, plus extra for dusting pan and berries
2 teaspoons baking powder
1 teaspoon fine sea salt or table salt
1/2 teaspoon vanilla extract
3/4 cup buttermilk
juice of 1 lemon (about 2 tablespoons)
Zest of 2 lemons
1 3/4 cups granulated sugar
1 cup (2 sticks) unsalted butter, at room temperature
3 large eggs, at room temperature
2 1/2 cups blueberries (fresh or frozen)

Glaze:
2 1/2 cups confections’ sugar (or more, if desired)
Juice of 1 lemon (about 2 tablespoons)
1/2 cup blueberries (fresh or frozen)

Preheat oven to 350°F. Generously butter and flour a 10-cup Bundt pan.*see note.
In a medium bowl, whisk or sift flour, baking powder and salt together and set aside.
Add lemon juice and vanilla to buttermilk and set aside.
In the bowl of a stand mixer, mix sugar and lemon zest until well combined to scent the sugar. Add the softened butter and beat until light and fluffy, about 3 to 5 minutes. With the mixer on a low speed, add your eggs one at a time, scraping down the bowl between each addition. Alternate three additions of flour and two additions buttermilk, beginning and ending with flour, scraping the bowl between additions. Do not over-mix. Toss the blueberries with about 2 tablespoons of flour to coat, and gently fold them into the cake batter. The batter will be very thick so don’t worry if the berries squish a little.
Spread batter in the pan and smooth the top. Bake for 55 to 60 minutes, rotating the cake 180 degrees after 30 (to make sure it browns evenly). If using frozen berries, you may need to add 5 to 10 minutes more. The cake is done as soon as a cake tester or toothpick comes out clean. Set cake pan on a wire rack to cool for 30 minutes, and invert cake onto rack to cool the rest of the way.
When the cake is completely cool, prepare the glaze. Mash the blueberries in the lemon juice with a fork or potato masher. Press through a sieve or fine mesh strainer to remove the skins and get out the maximum amount of juice. Add the powdered sugar to the juice and whisk until smooth. Add more sugar if you like a thicker glaze.
Place cooling rack and cake into a clean jelly roll pan or baking sheet to catch any glaze that drips off the sides. Pour glaze over cake, letting it trickle and drip down the sides. If desired, you can collect any excess glaze in the baking sheet and pour another coat. Let the glaze set for at least 15 minutes before serving. Cake can be stored, covered, at room temperature for 3 to 4 days.

*To prevent sticking, I coat every inch of the pan with softened butter using a pastry brush, and then dust the inside with flour and tap out the excess. Refrigerating your pan while you prepare the cake will help firm the butter for extra insurance.

a little yardening

I’m aware that yardening isn’t actually a word (yet), but I don’t actually care. Our outdoor space doesn’t have a solid identity or clearly defined purpose, so rather than fight it, I just let it be what it wants to be, a yarden.

a little "yarden" tour from Brooklyn Homemaker!

Easter Sunday was warm and sunny here in Brooklyn so we spent the bulk of our day in the yarden and I thought I’d tell you a little bit about the space. I plan to do some work back there this year so I thought it would be nice to give you some back story and show you what it looks like now (and what it used to look like). About half of the outdoor space is made up of a cement patio, which is pretty great for entertaining, and a mix of exposed dirt and a few plants that I’m trying desperately to keep alive. There isn’t enough sun to sustain grass, so it’s not quite a “yard”, and there aren’t enough thriving plants or well-defined beds to call it a “garden” so I just combine the two terms and there you have it: Yarden.

When we chose our apartment, one of the biggest selling points was that we would have access to some outdoor space.  The house was a mess, as we discussed here, but the garden space was even worse. We knew it was going to be a lot of work, but the (relative) affordability, the prospect of outdoor entertaining, the size of the outdoor space, and the possibility of getting a dog, made us move quickly to sign the lease.

 backyard "before" | Brooklyn Homemaker

The first time we came to check out our apartment it was late in the spring, but the weeds had already grown high enough to disguise the heaps of nasty lurking back there. We arranged our lease agreement to give us access to our new place 15 days before we needed to leave our old digs. We used the bulk of that time to deep clean and paint the interior, but on a few occasions we ventured into the back yard to investigate. We immediately realized we hadn’t been paying very close attention on our first visit. We knew there was a lot of crud back there, some of it was in plain sight from our bedroom, but as we went further out into the garden area we realized it was much worse than we thought. I don’t know if the previous tenants were criminally insane, or just slobs or what; but there were literal bags of garbage, like big black contractor bags full of yuck, hiding between the weeds. Once we started clearing the tangle of weeds all sorts of disgustingness started turning up. Beyond bagged garbage, there were also rotting stuffed animals, rotting outdoor furniture cushions, rotting articles of clothing, rotting pieces of wood, rusting sheets of metal, various plastic bags and toys, and lots and lots of broken glass. LOTS of broken glass.

When it came to the plant life back there, there was (and still is) a huge old mulberry tree that basically shades the entire yard and drops big juicy disgusting mulberries all over for about a month out of our short summer, along with a small dying fur tree that I ended up deciding to cut down, a sickly plum tree that always tries to produce fruit that never quite gets ripe before they rot and fall off the branches, a gigantic climbing rose vine that was plagued with some kind of mildew which caused the flowers to shrivel and die before blooming, a large patch of old day lilies that refused to flower, and a 3 foot high jungle of assorted weeds. My first order of business was to cut down the dying fur tree and cut back and dig out the rose vine, which was so large and old that it had started to grow into the plum tree and choke it out. Once I got the vine out of the way, I also had to do some major trimming to the plum tree in the hopes of nursing it back to health.

backyard "before" | Brooklyn Homemaker

I’m no gardening expert, so the past few years have been a bit of trial and error. Even cleaned up and tidy, our outdoor space is a challenge. The two horrible words that have turned my green(ish) thumb into a brown(ish) one are… DRY SHADE. We have no connection for a hose, and the soil refuses to hold onto moisture. It’s full of sand and weird construction materials (I’m still digging up bricks and chunks of cement), and tends to go bone-dry very quickly in the summer. The mulberry tree shades about 95% of the yard so anything that needs good sun refuses to thrive. In the beginning I was simply focusing on the shade aspect and planting things like ferns and other lush leafy shade plants, but the dry soil has caused the untimely deaths of MANY innocent plants. A few things have done alright, but one of the only things that seems happy back there are hostas. This year I’ve decided to focus my attention on planting a jungle of big leafy hostas in many sizes and colors, so the yard at least appears to be lush and healthy. I’ve also been researching drought tolerant shade plants a lot recently, so hopefully I’ll have some better luck this summer than I have previously.

To get the year started right, Russell and I recently took a trip to the farmers market hoping to find some new plants, a flat of annuals, and maybe some herbs to plant in containers. Unfortunately it was a bit too early for plants at the market so we went to Home Depot to see what we could find there instead. Even there it was too early for most things, but we were able to find some pretty purple pansies and a few herbs.

a little yarden tour | Brooklyn Homemakera little yarden tour | Brooklyn Homemaker

When we were married last summer we used some big galvanized aluminum pails at the bar as ice buckets, and after the wedding we hung onto them. We also bought some nice rich garden soil to fill them with and have been hoarding it under our stairs and waiting for spring. So, when we came back from our plant hunt we busted out the drill and made some drain holes in the bottoms of three of the pails to turn them into planters.  I decided to use one of them to re-pot a lemon tree I planted from seed several years ago. It’s never given me any fruit, and since it needs to live in a pot and come indoors for the winters, I don’t know if it ever will. Regardless, I really like my little tree and decided it was time to give her a bigger home this year.

a little yarden tour | Brooklyn Homemakera little yarden tour | Brooklyn Homemakera little yarden tour | Brooklyn Homemakera little yarden tour | Brooklyn Homemakera little yarden tour | Brooklyn Homemakera little yarden tour | Brooklyn Homemaker

Now that things are warming up, the few plants that have survived the arid conditions are starting to poke their heads up to say hi. We have a few daffodils in bloom and the spiky points of the hostas are starting to push their way up through the soil. We’ve also done our best to improve the soil with composting, and the day lilies are doing better now too. For now they’re short and grassy looking, but a few of them flowered last year so I’m hoping this summer they’ll be even more productive.

It’s a bit too early to do much of anything else, but I hope to set to work beautifying the yard in the coming weeks. For now we’re doing our best to clean up anything the wind may have blown into the yard over the winter, make sure anything that is coming up is happy and healthy, and tidy up the patio space as much as possible.

a little yarden tour | Brooklyn Homemakera little yarden tour | Brooklyn Homemakera little yarden tour | Brooklyn Homemakera little yarden tour | Brooklyn Homemaker

As for the furniture and entertaining aspect of our outdoor space, we have a few chairs and benches and a swinging love seat that was back there when we took the apartment. There used to be a big table back there too, but it was really poorly built and basically fell apart over the winter, so we’re hoping to replace that very soon. When we first moved in the only way to access the yarden from our apartment was by hopping down onto a chair from our bedroom window, which is about 4 feet from the cement below.  For the first few years we and all of our guests would climb out the window and hop down onto that chair. We used to have to lean way out the window to set the dogs on the chair so they could go out and do the things they needed to do back there. Much alcohol has been consumed out there since we’ve moved in so, as you can imagine, there have been a few spills and tumbles. Thankfully none of our friends were ever seriously injured! My amazing mom came to visit last summer and helped me build a set of stairs, and we could not be more happy or grateful to have them. It’s hard to imagine a time without them now, but they have improved the function of the space more than you’ll ever know!

a little yarden tour | Brooklyn Homemakera little yarden tour | Brooklyn HomemakerDSC_0011

So there you have it, our humble little yarden.

Have any of you been working on any yard work our outdoor projects lately? Do you have any horror stories about disgusting yards, challenging soil conditions, or drunken tumbles out apartment windows?