And just like that, it was the end of August.

I can’t believe it’s been so long since I posted, but I guess that’s just the kind of blogger I am now. The kind who can’t (and won’t) let go, but also can’t get their shit together enough to post more than once or twice a year.

Looks like this is a two post year though, so I’m going to go ahead and give myself a nice little pat on the back.
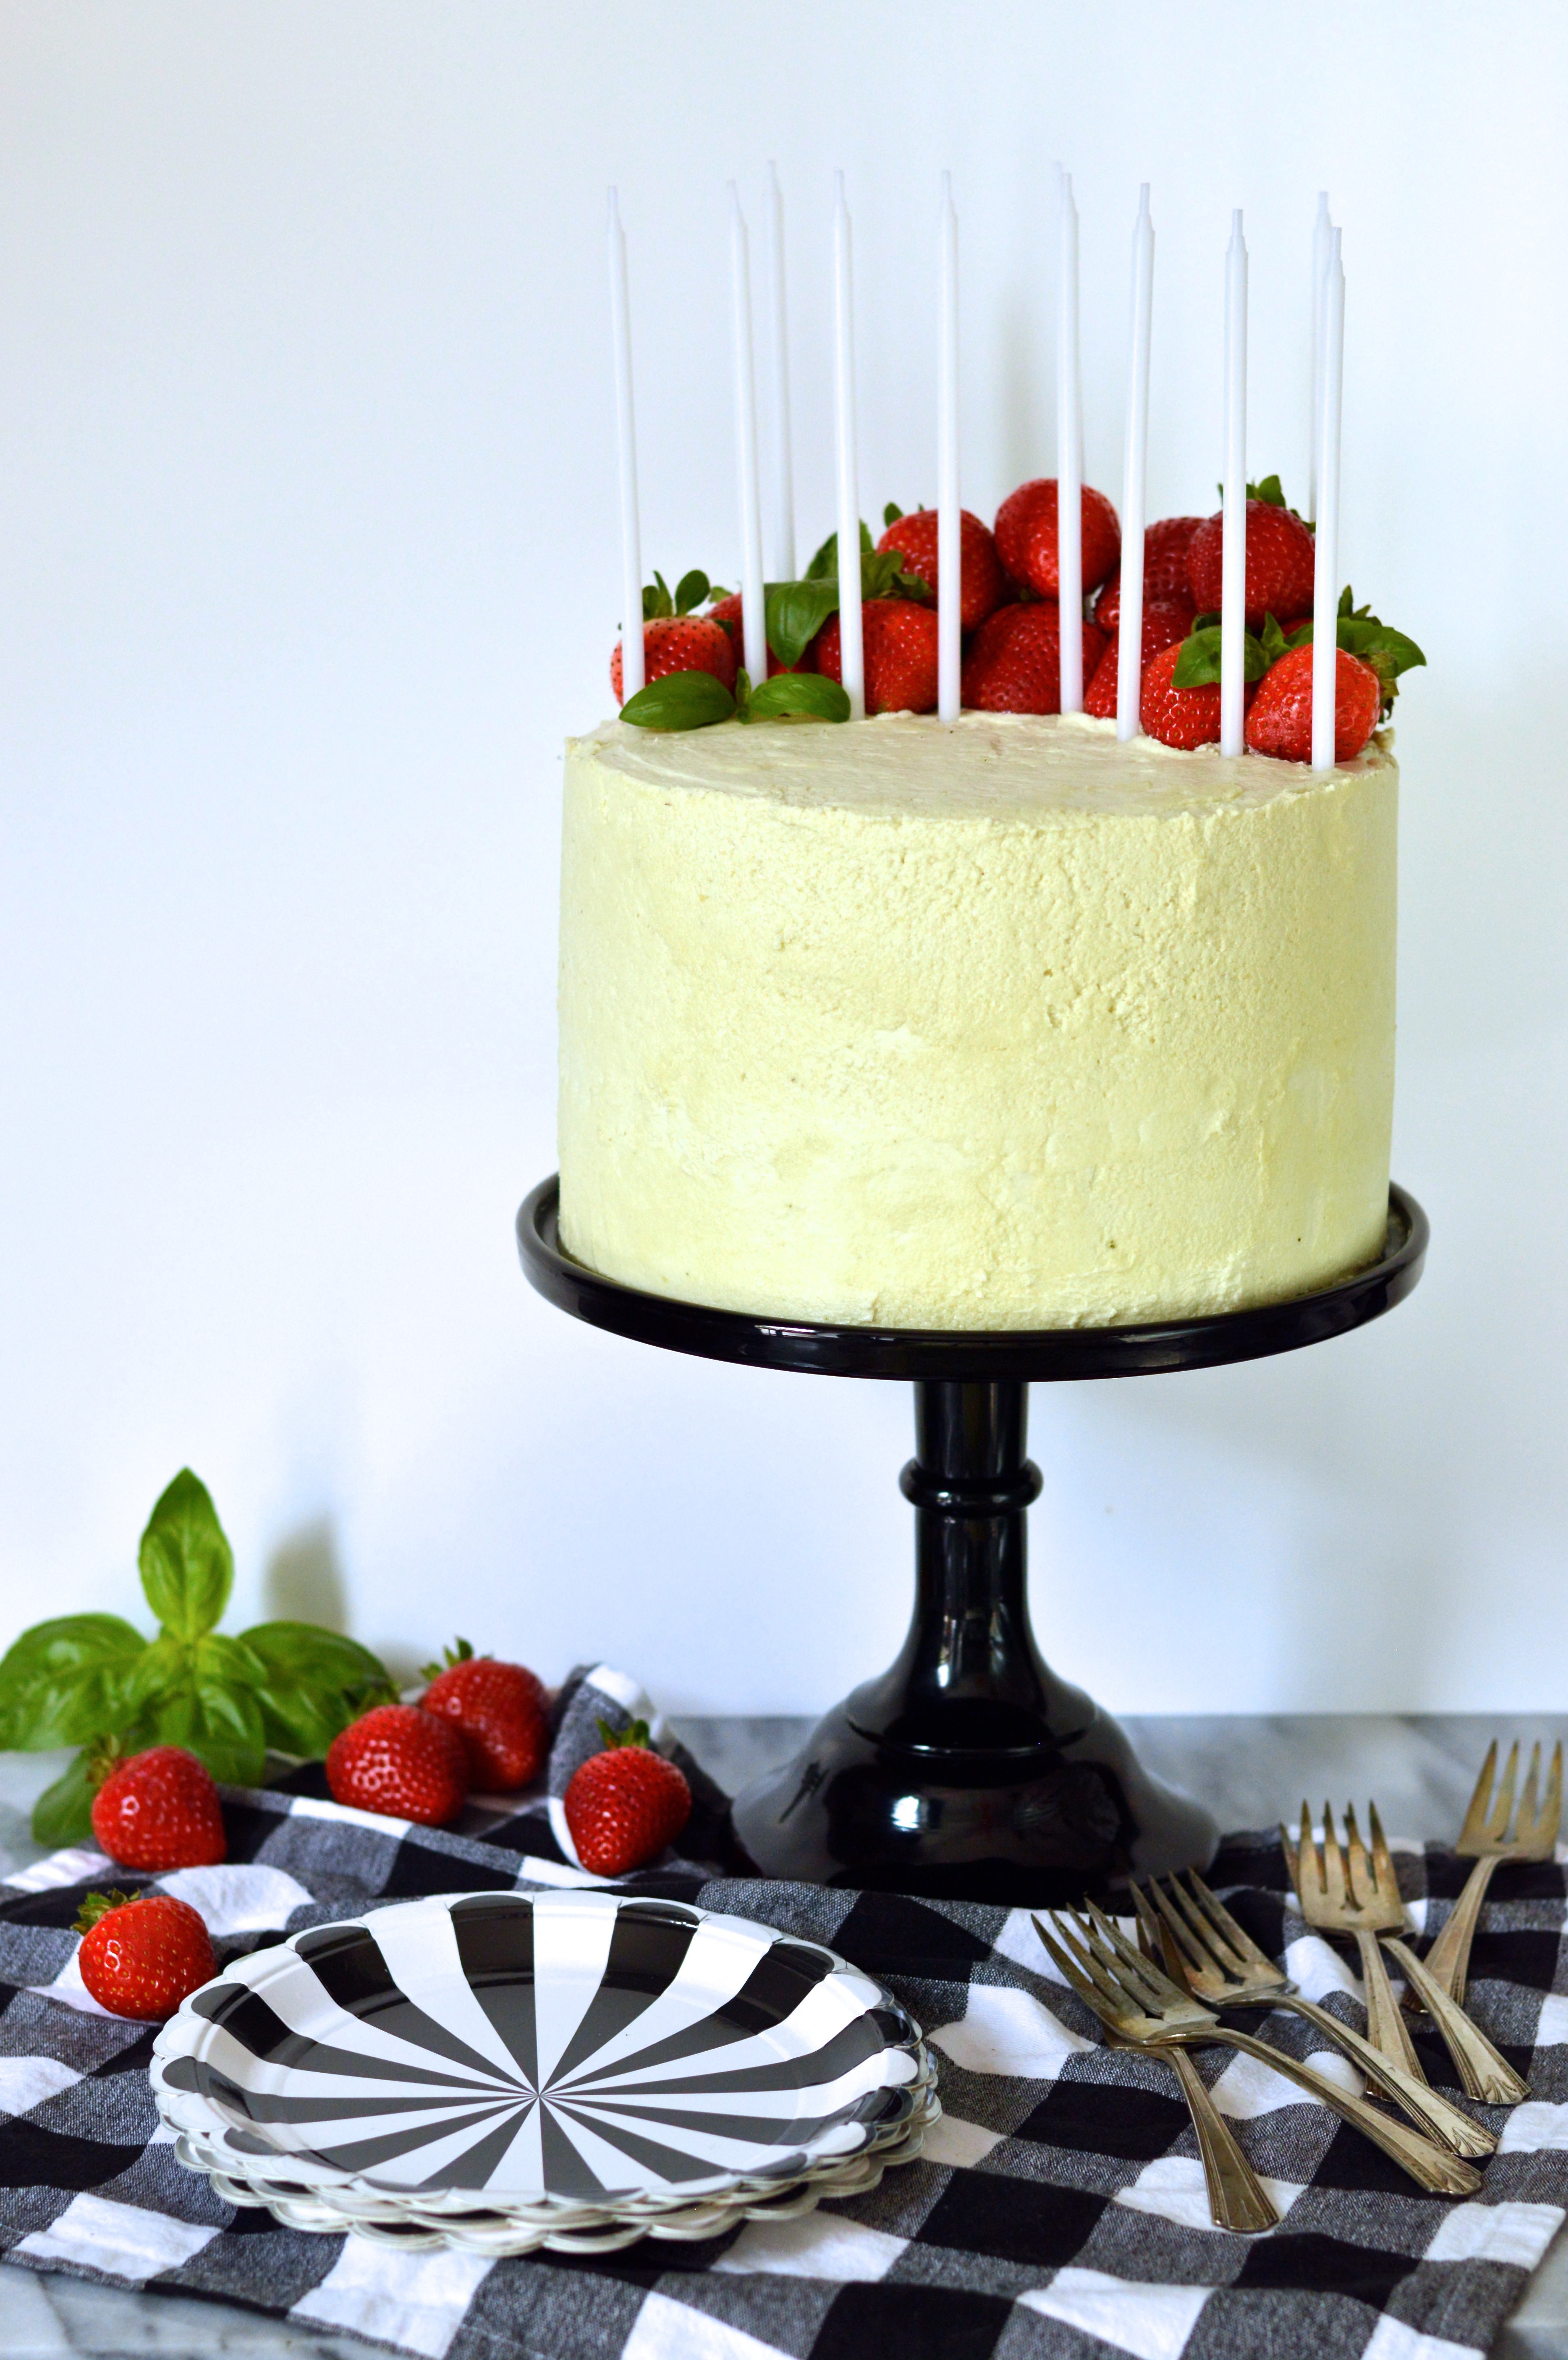
Anyway, one of my best friends in the whole wide world (who just happens to be my podcast co-host) just celebrated her birthday and I decided it was time to pull out the big guns. The big cake guns.

Usually we just go to brunch, or to a nice dinner to celebrate our birthdays, but hers is at the end of August and I believe this is what the French call the “Dog days of Summer” so we decided a bbq was in order.
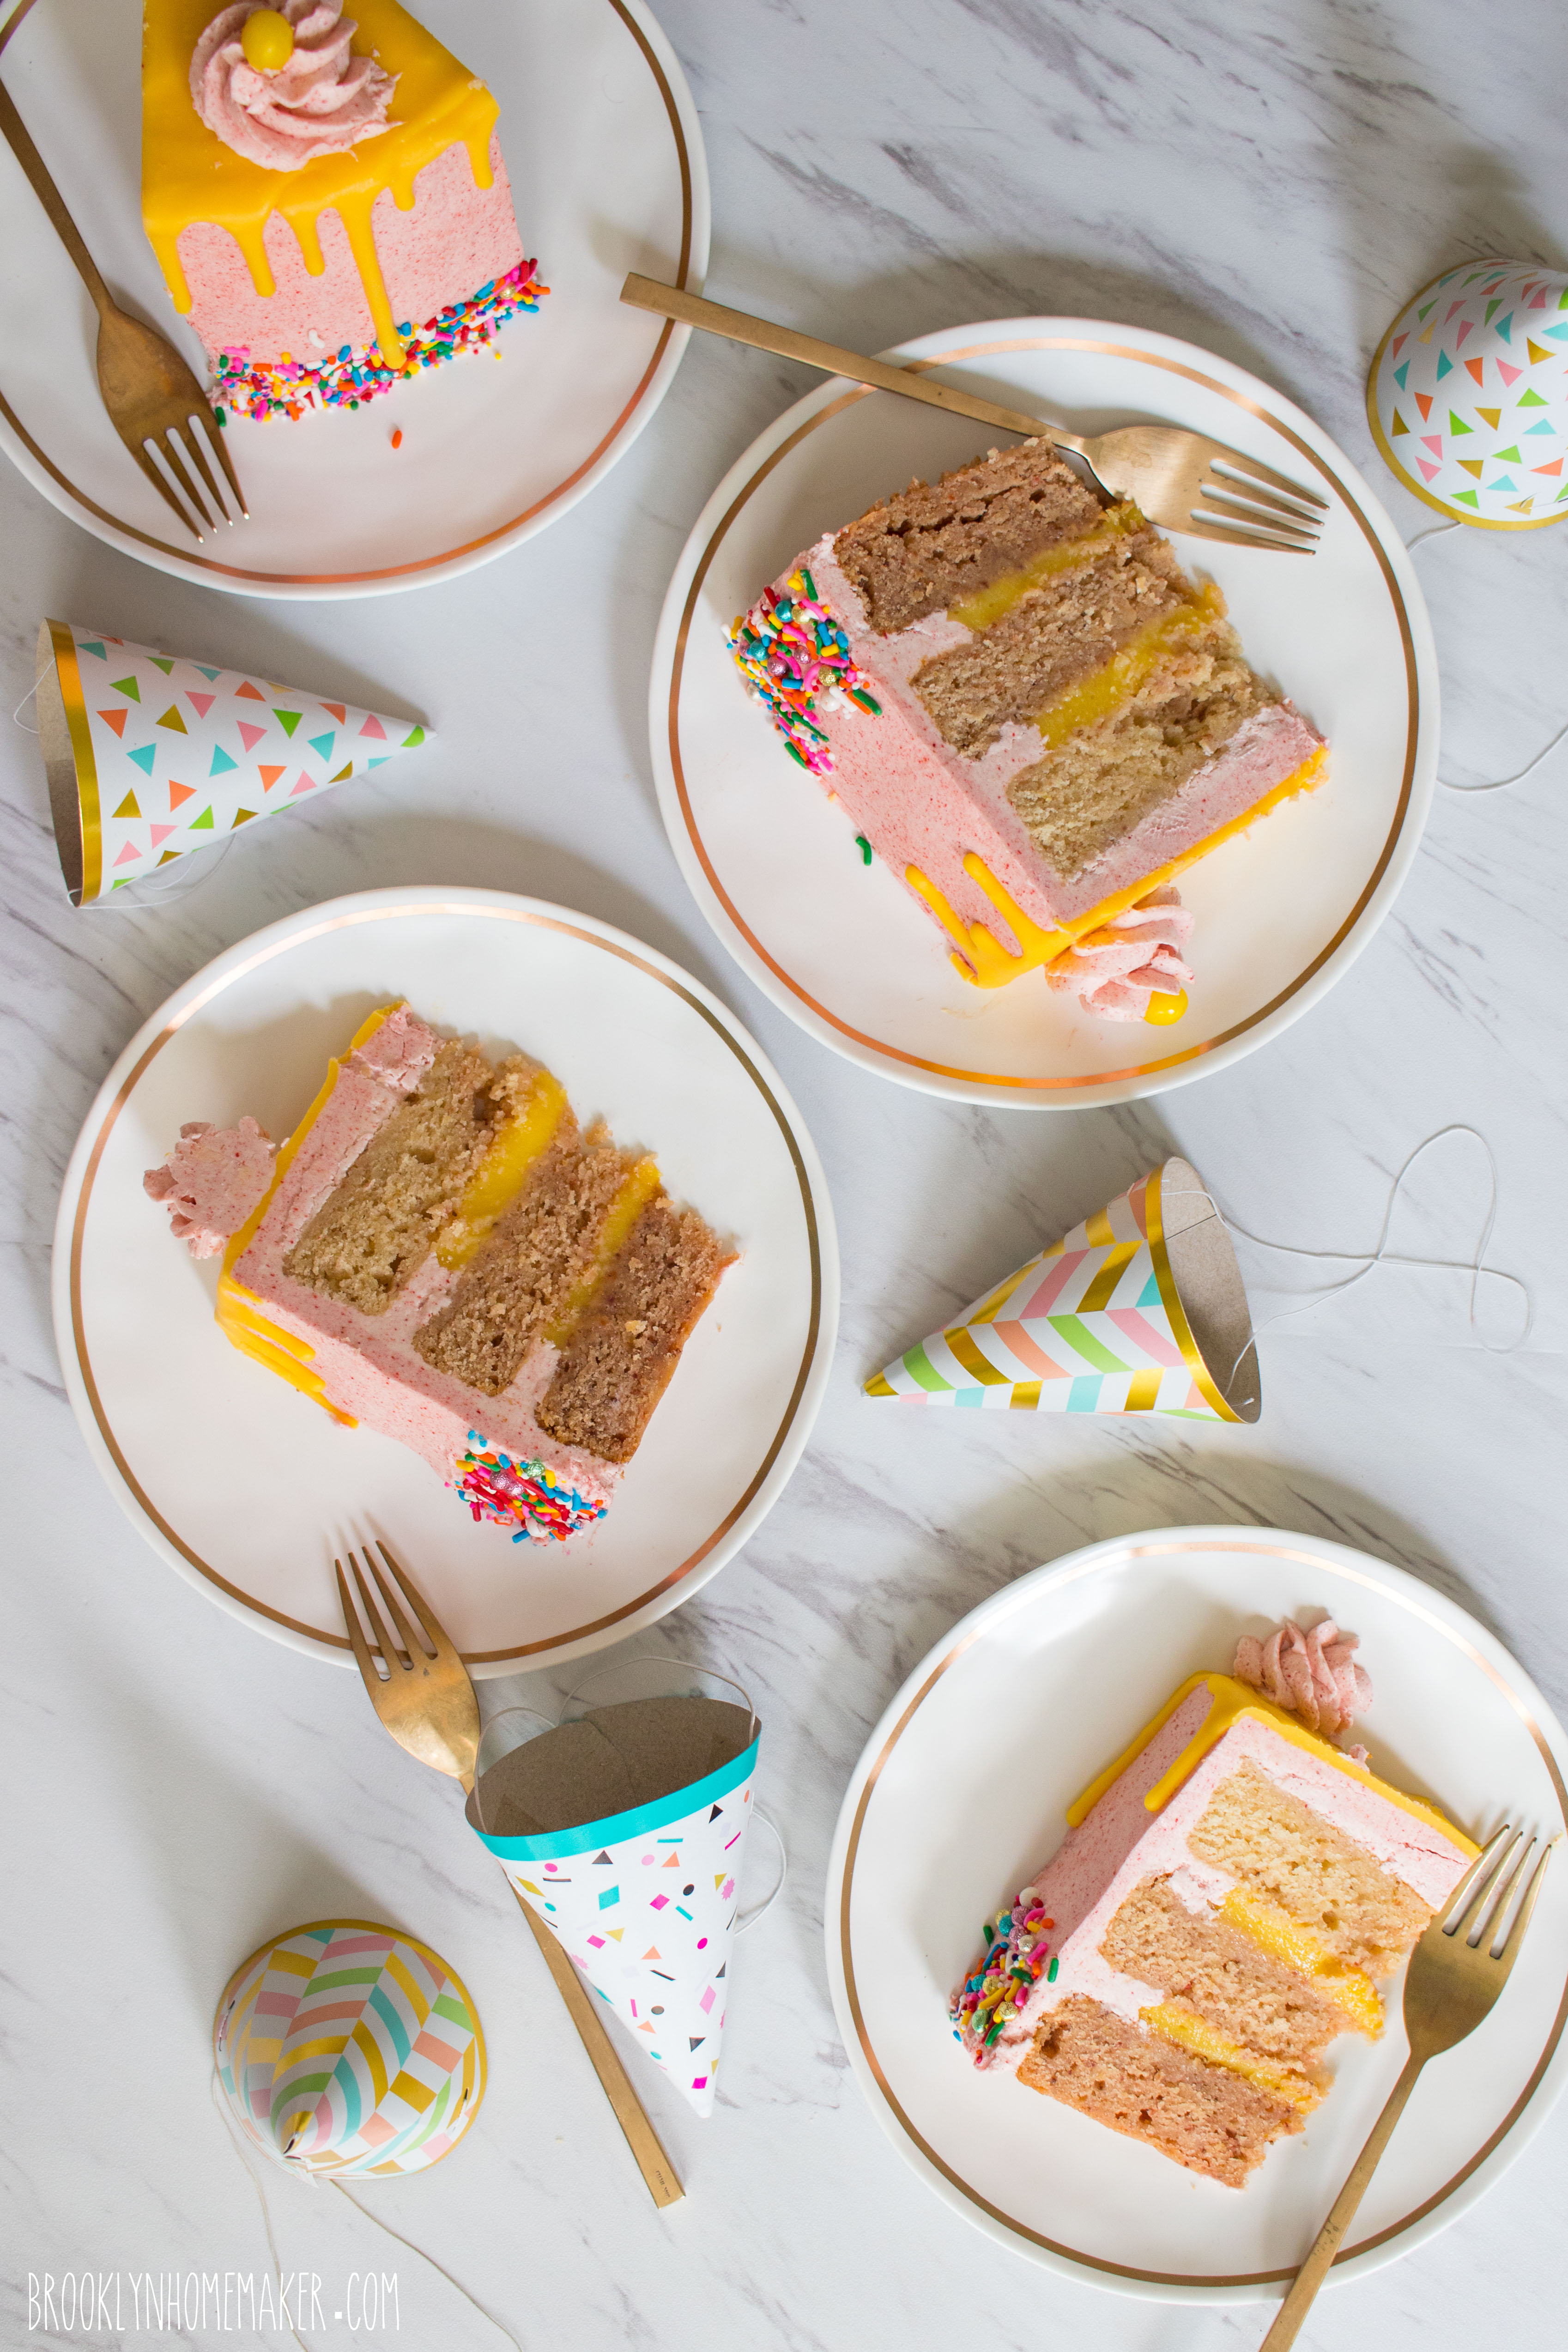
I decorated the back yard like an old school kid’s party with streamers and pennant bunting and the whole works. Even cute little party hats!
We grilled burgers, had potato salad, and a bartender friend of ours mixed an incredible citrusy spicy whiskey punch. In other words, we did it up right and proper.

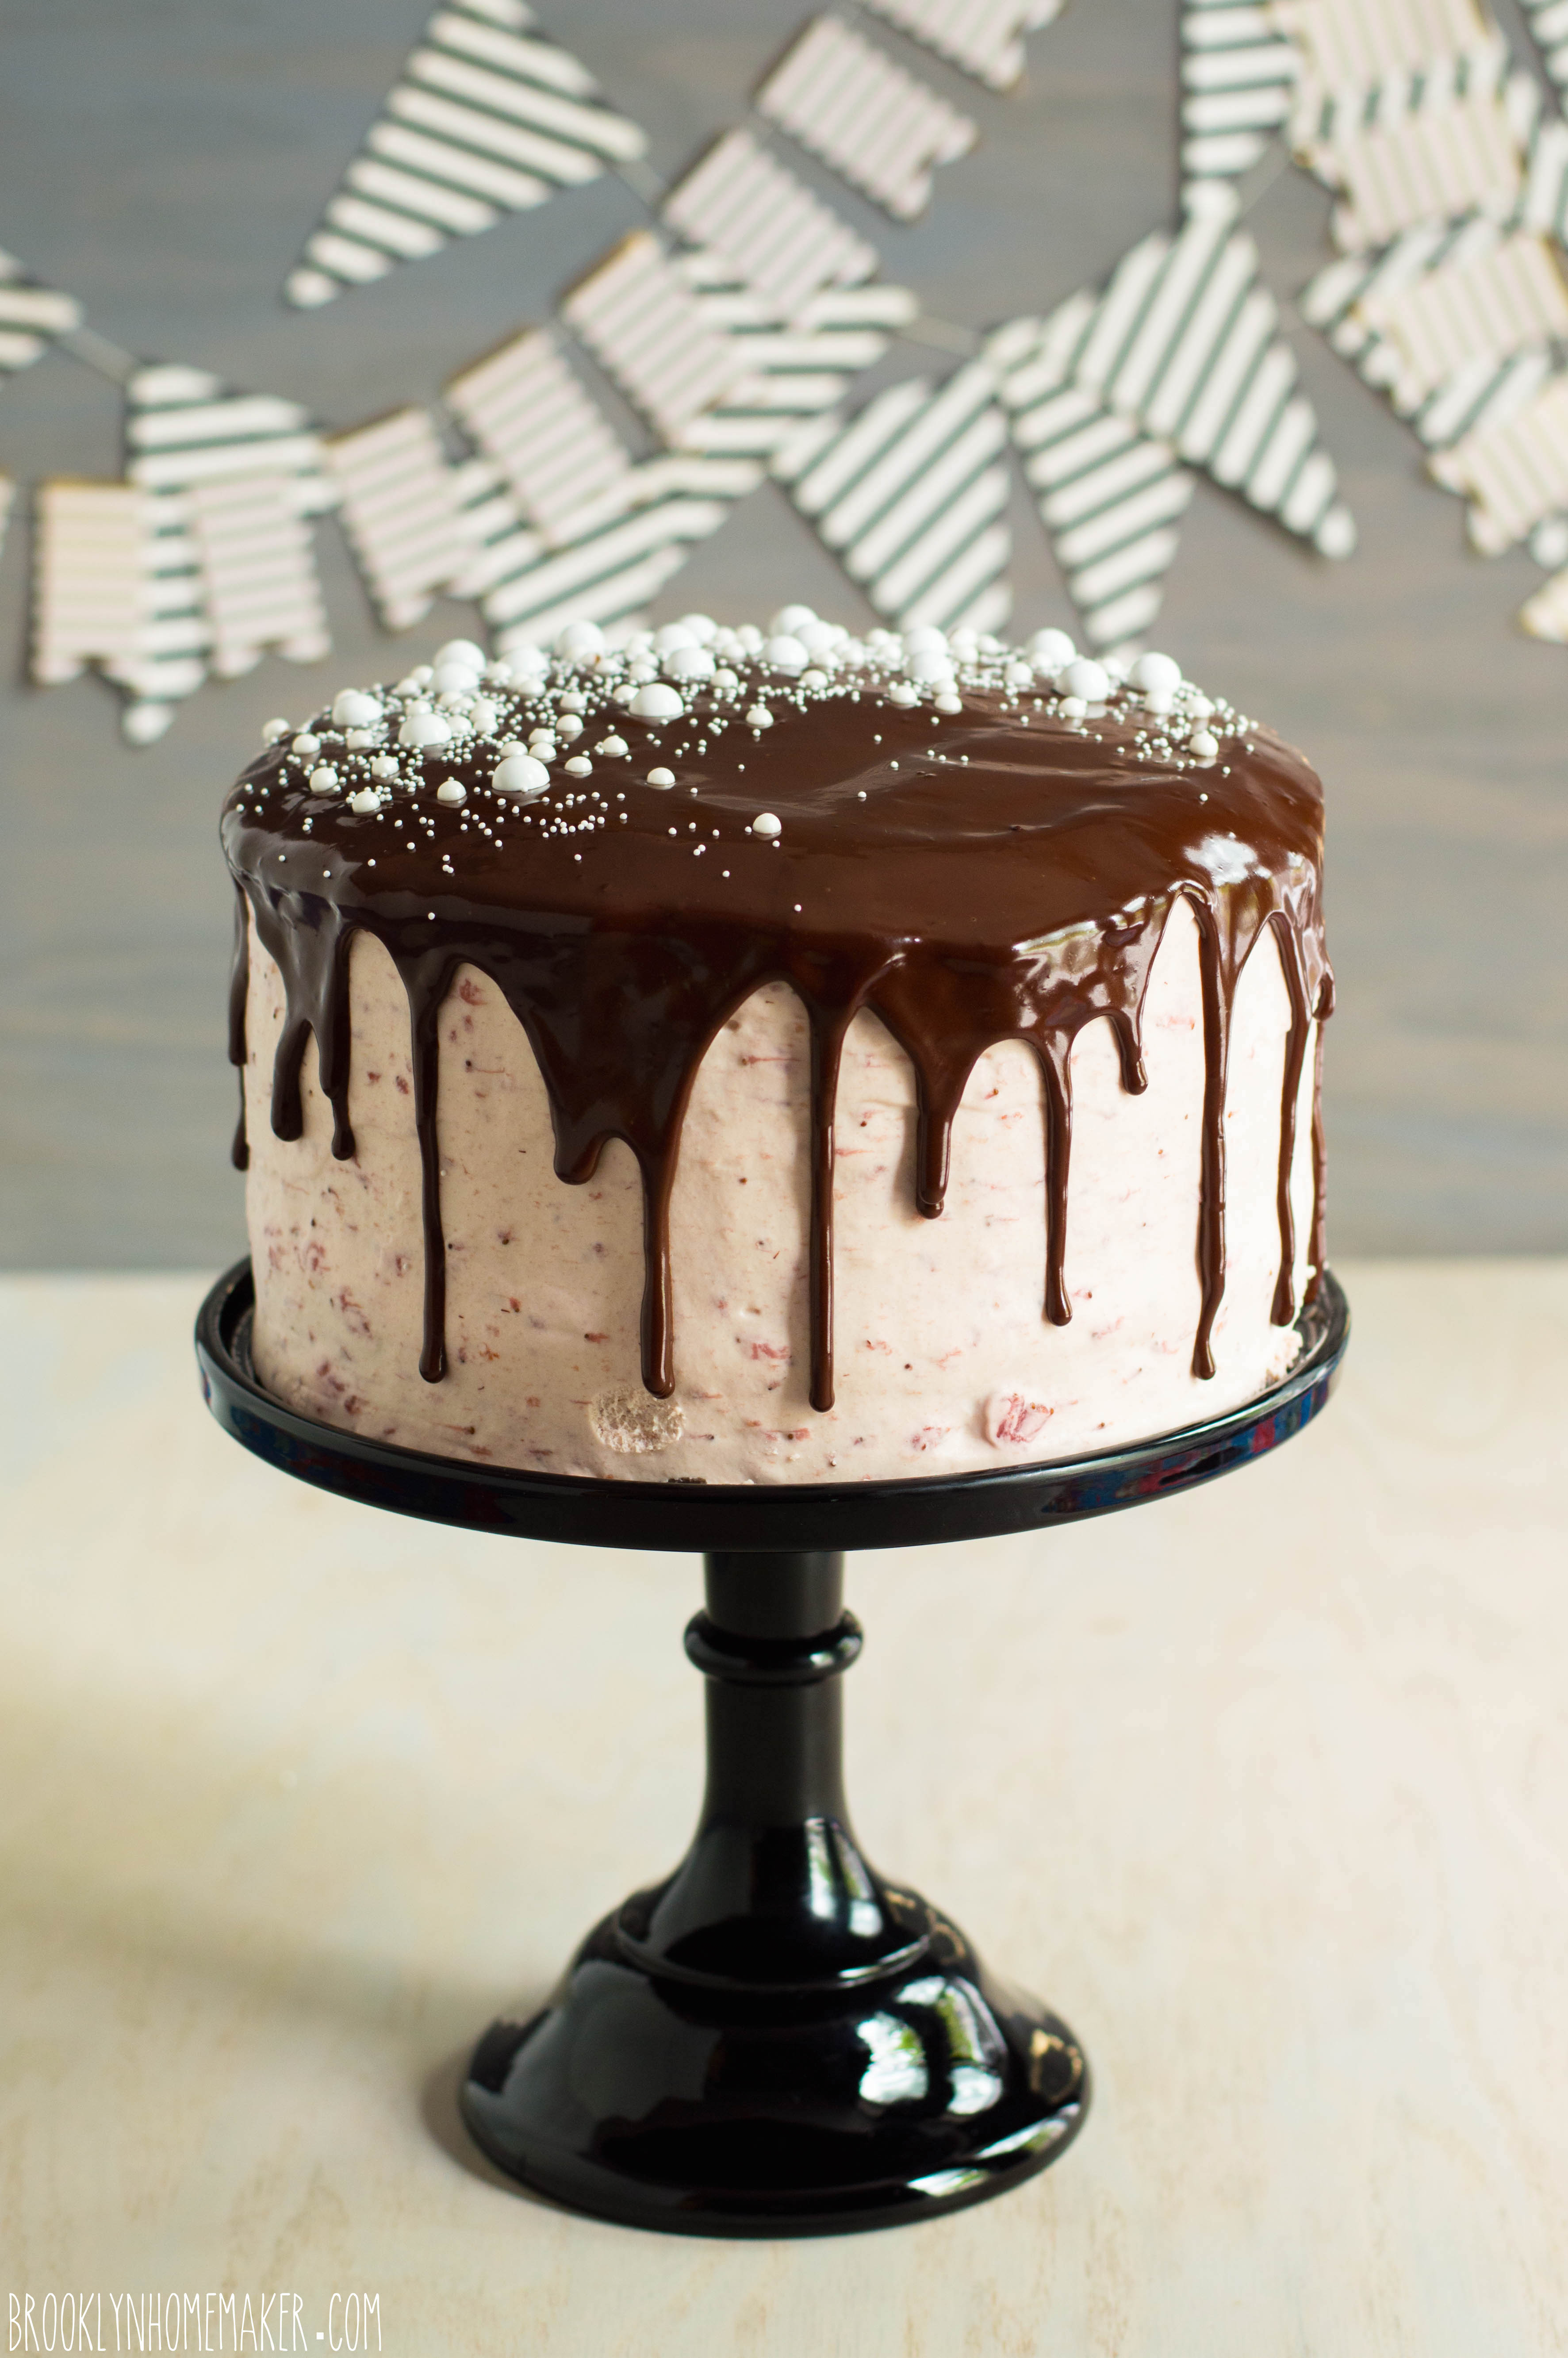
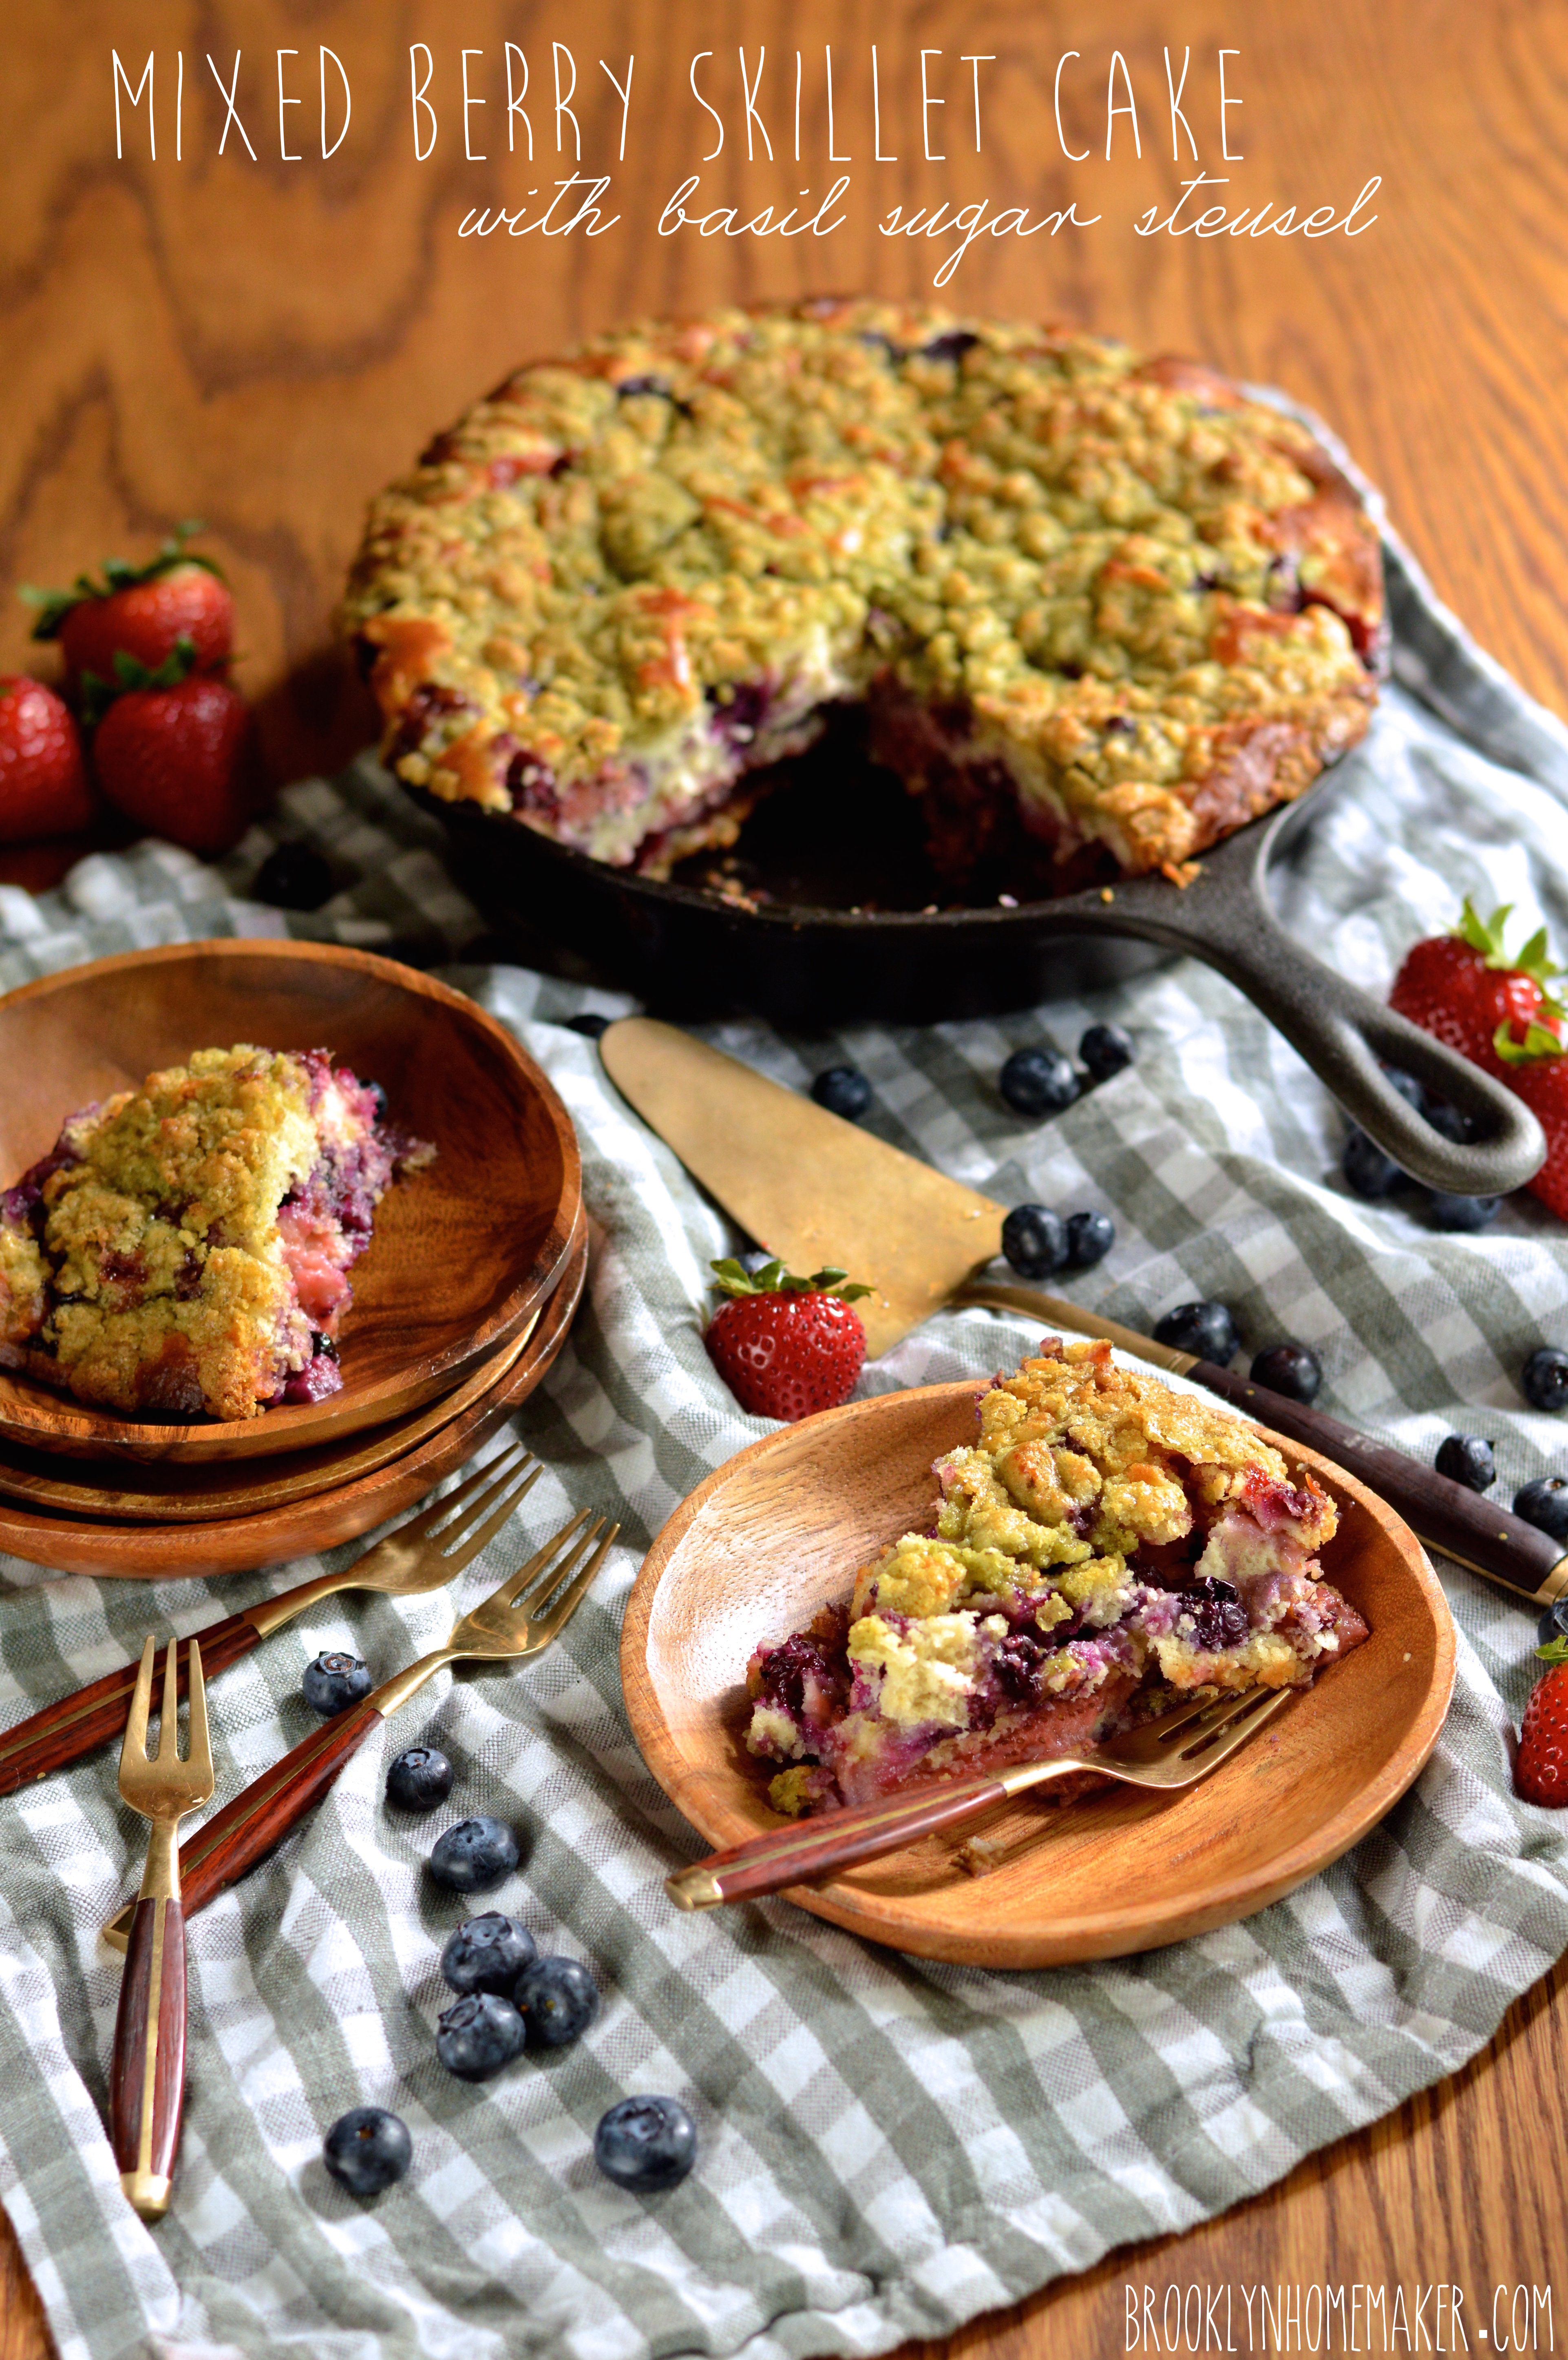
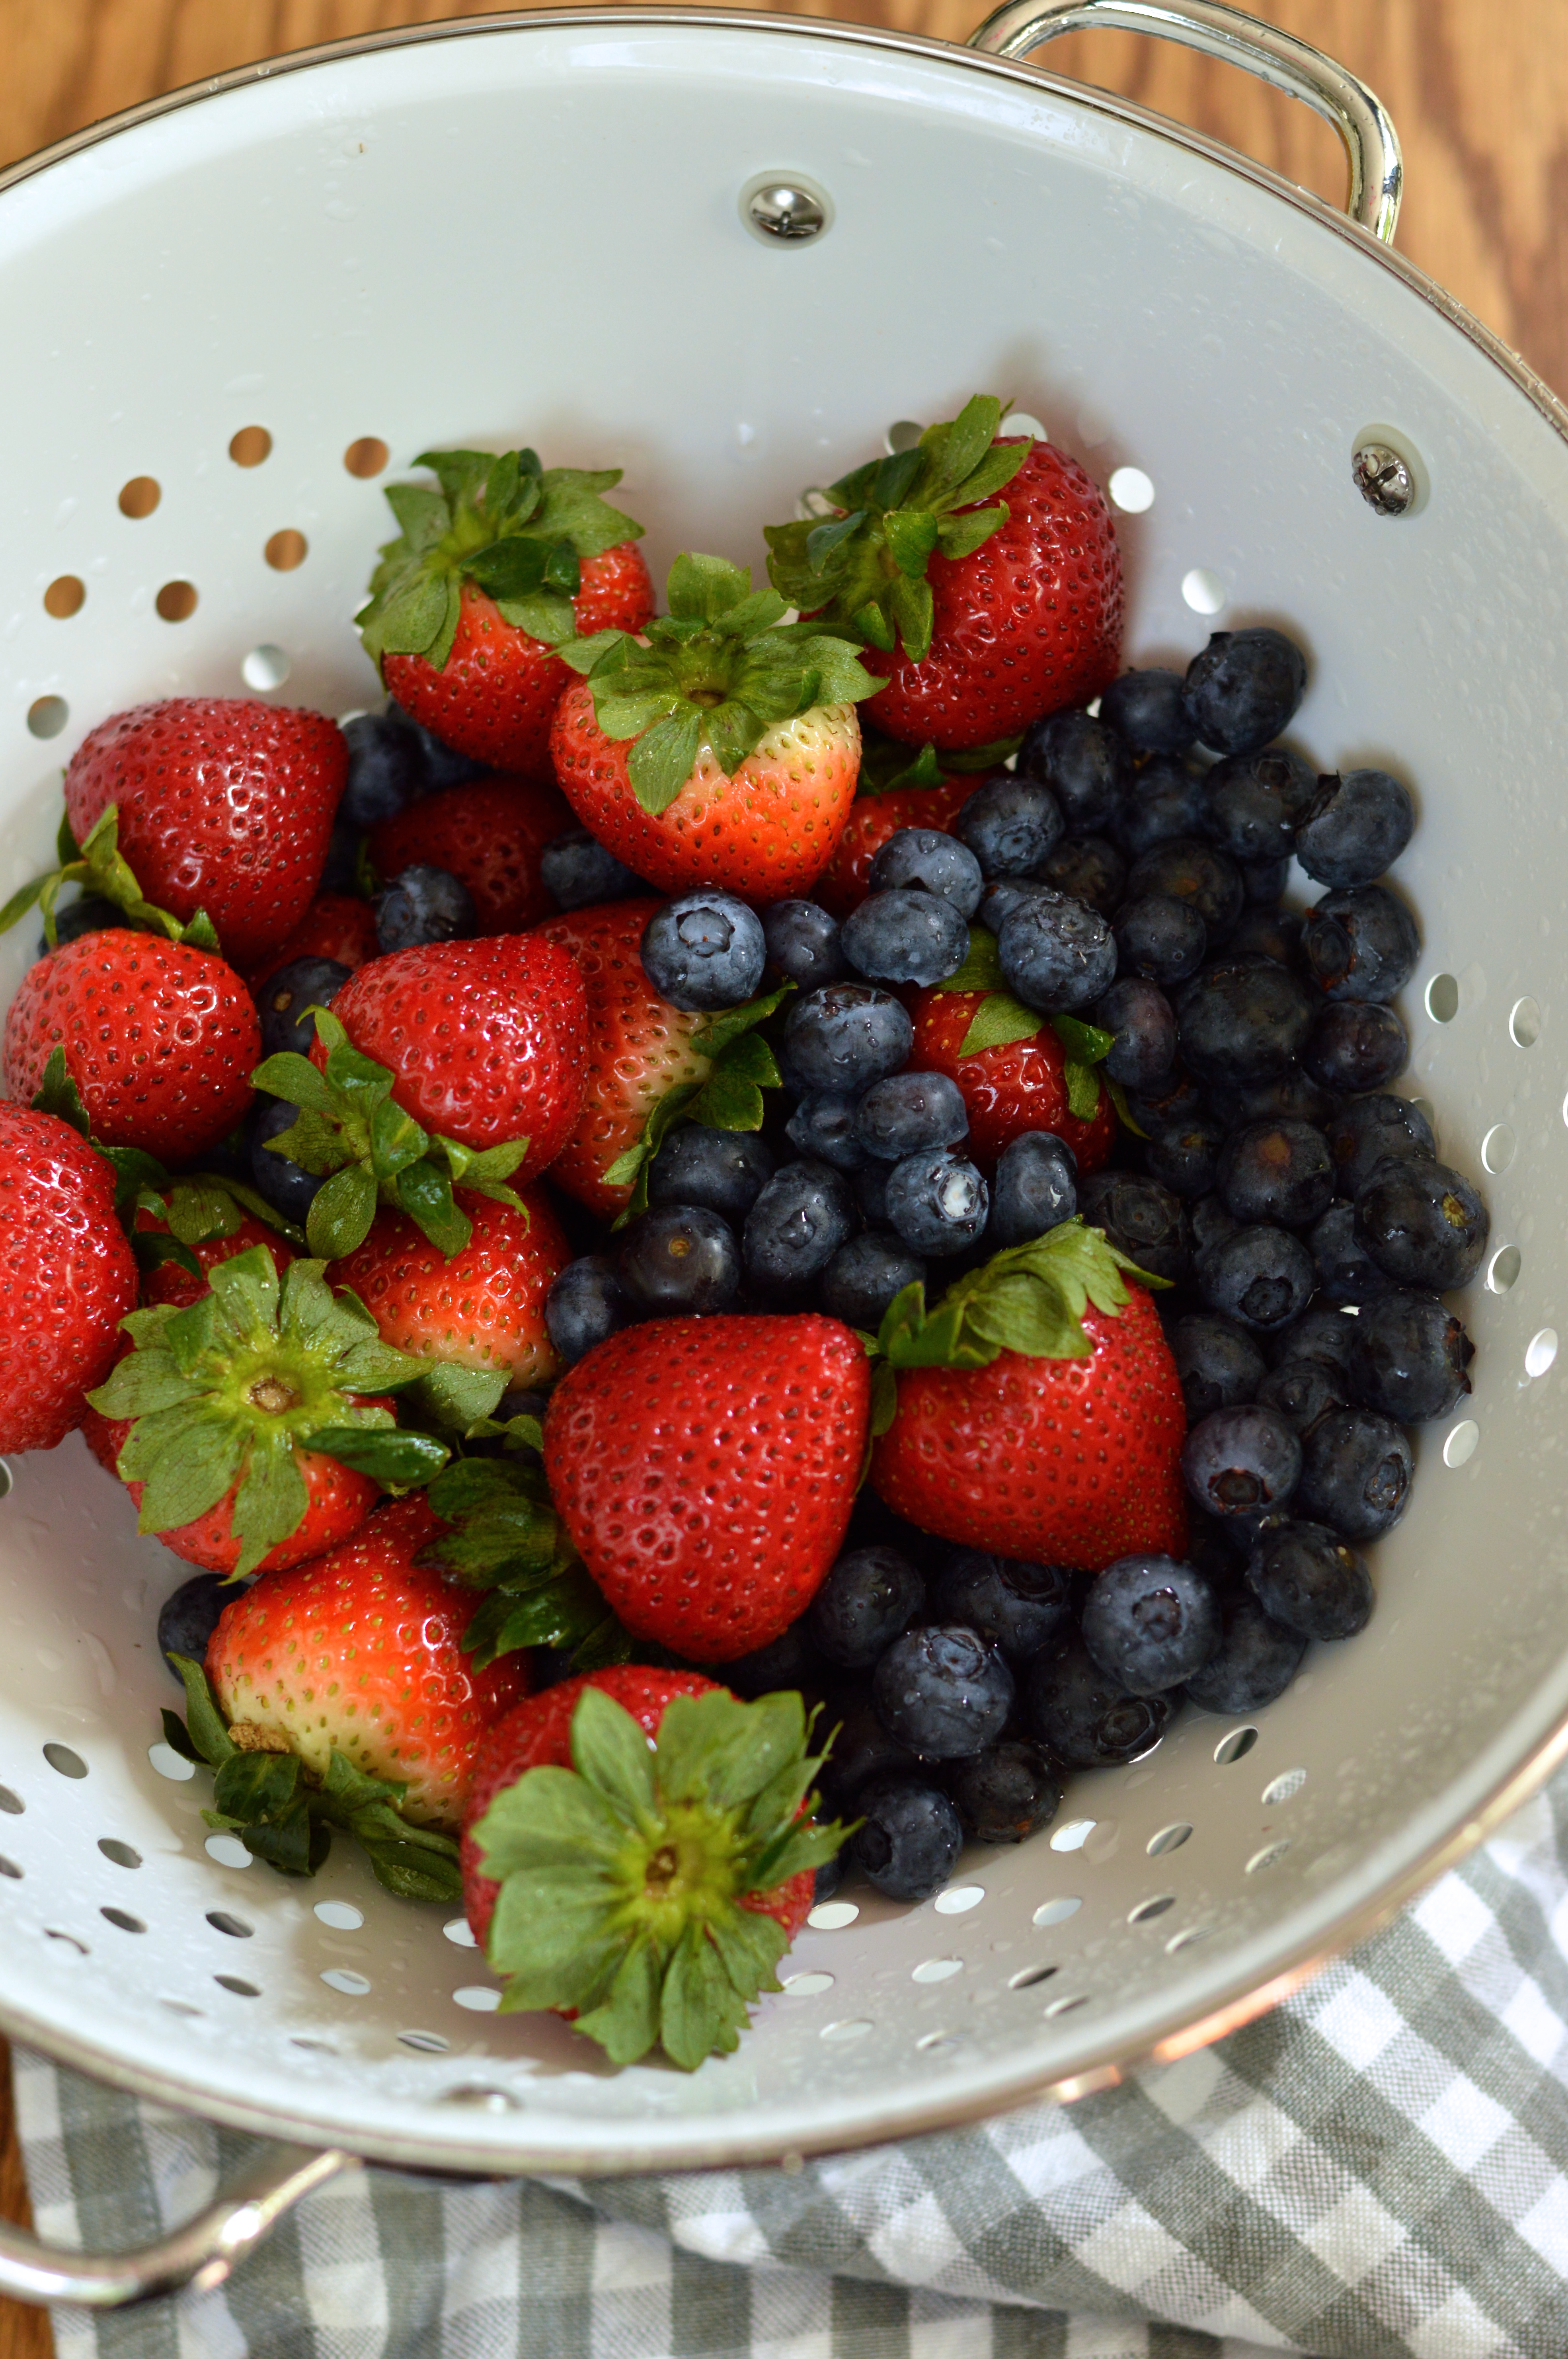
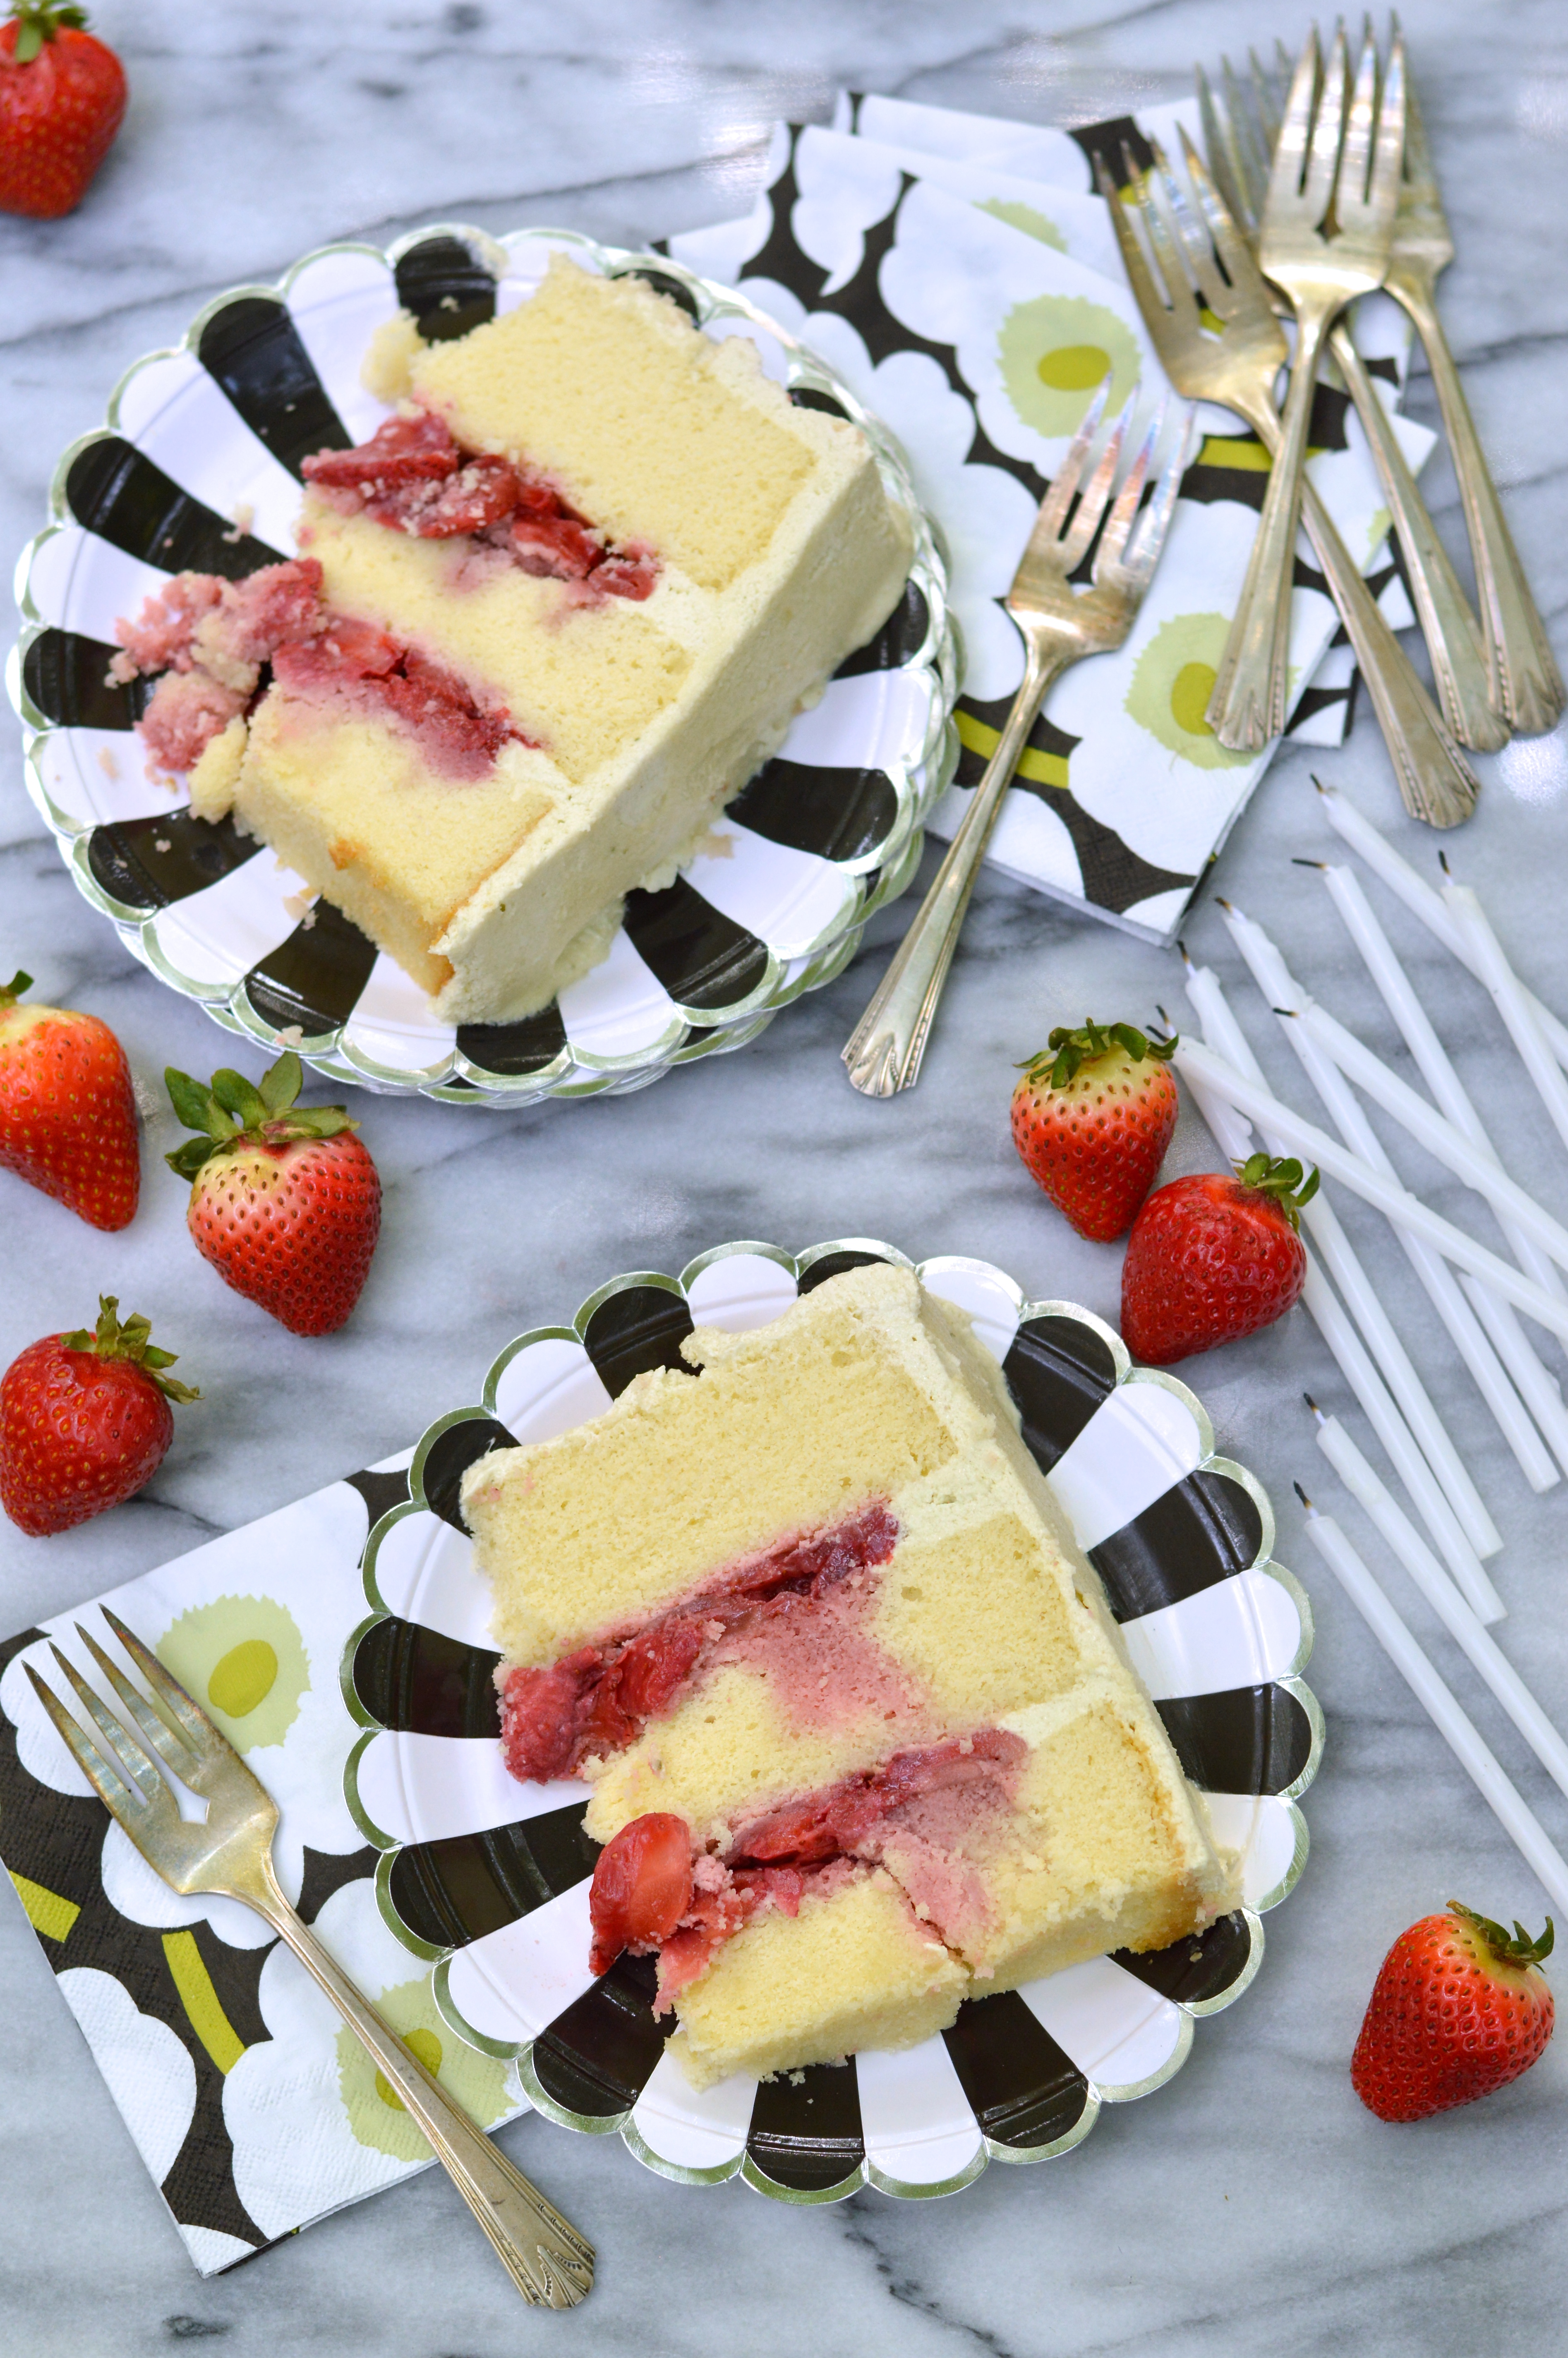
Since I’m telling you the whole story here, you’ve probably guessed by now that I also made a fancy pants birthday cake for her too. She loves all things lemon, so my first instinct was to go all out lemon on lemon on lemon. Then one night I was inspired and decided to throw some strawberries in the mix too, cuz why not? Since the party was going to be totally over the top, I figured the cake should be too, right?
I don’t usually go for frilly pink and girly decorations on my cakes, but if ever there was a time to go that direction, I figured this was it.

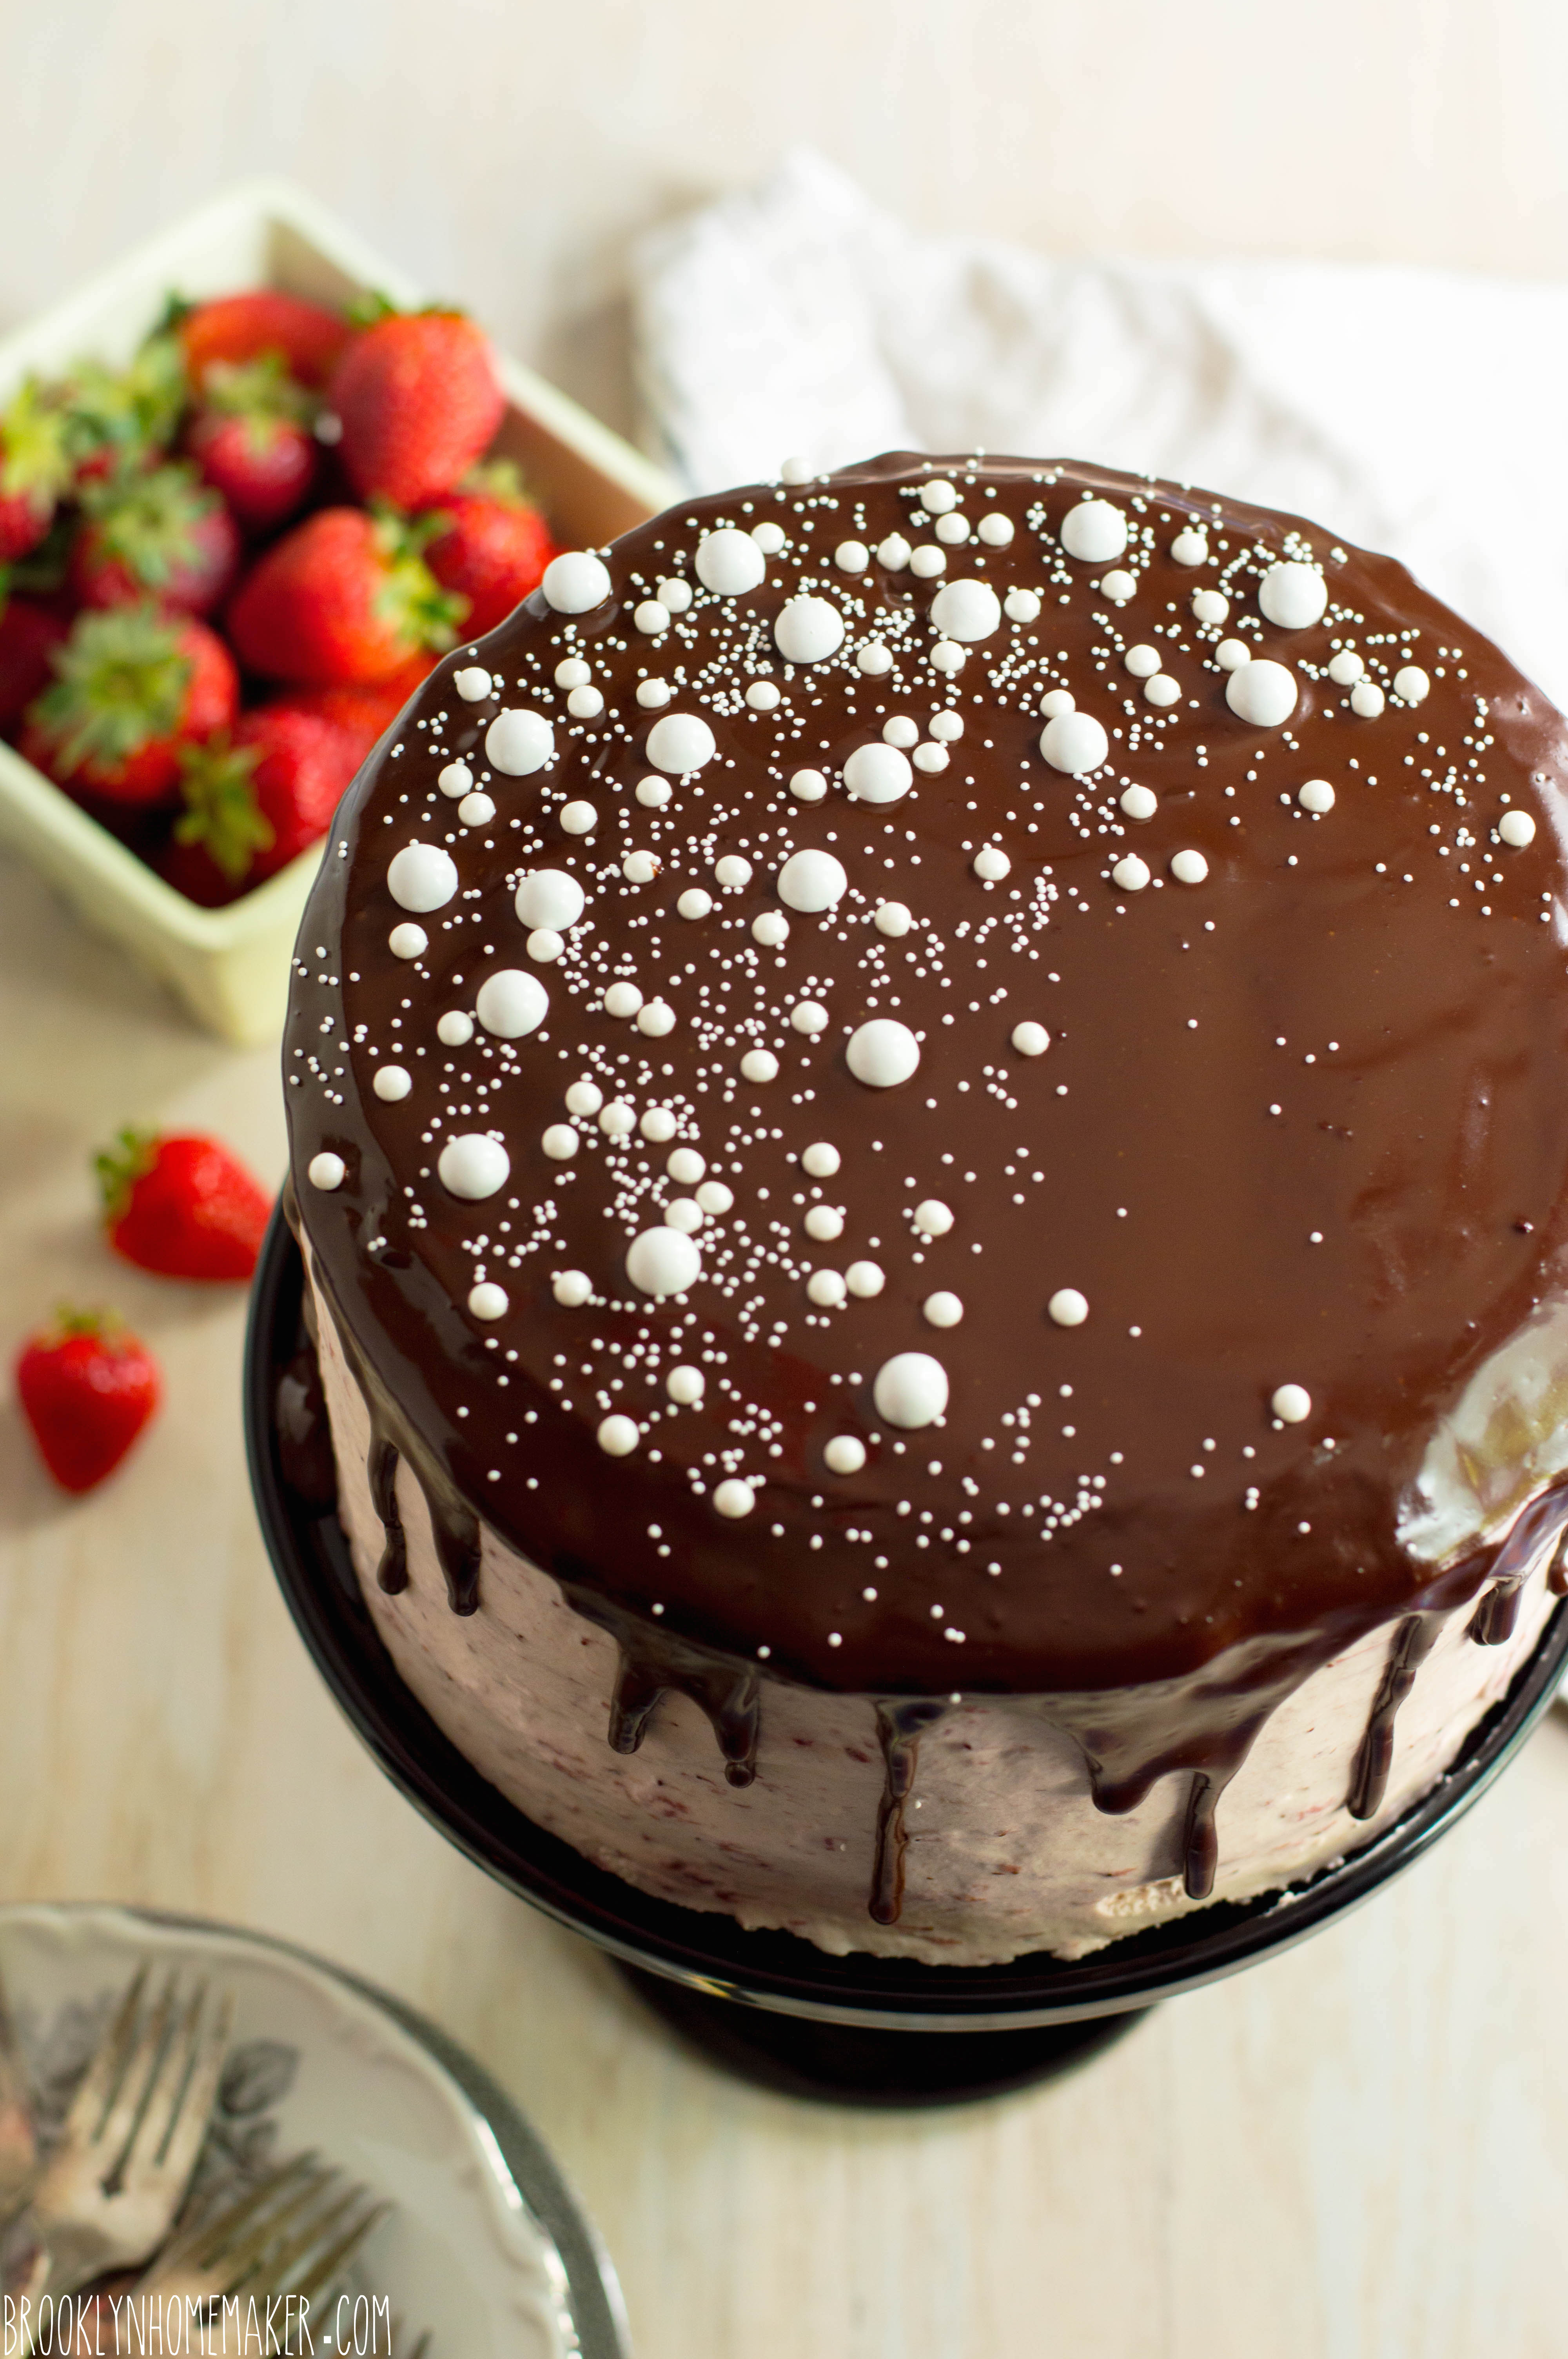
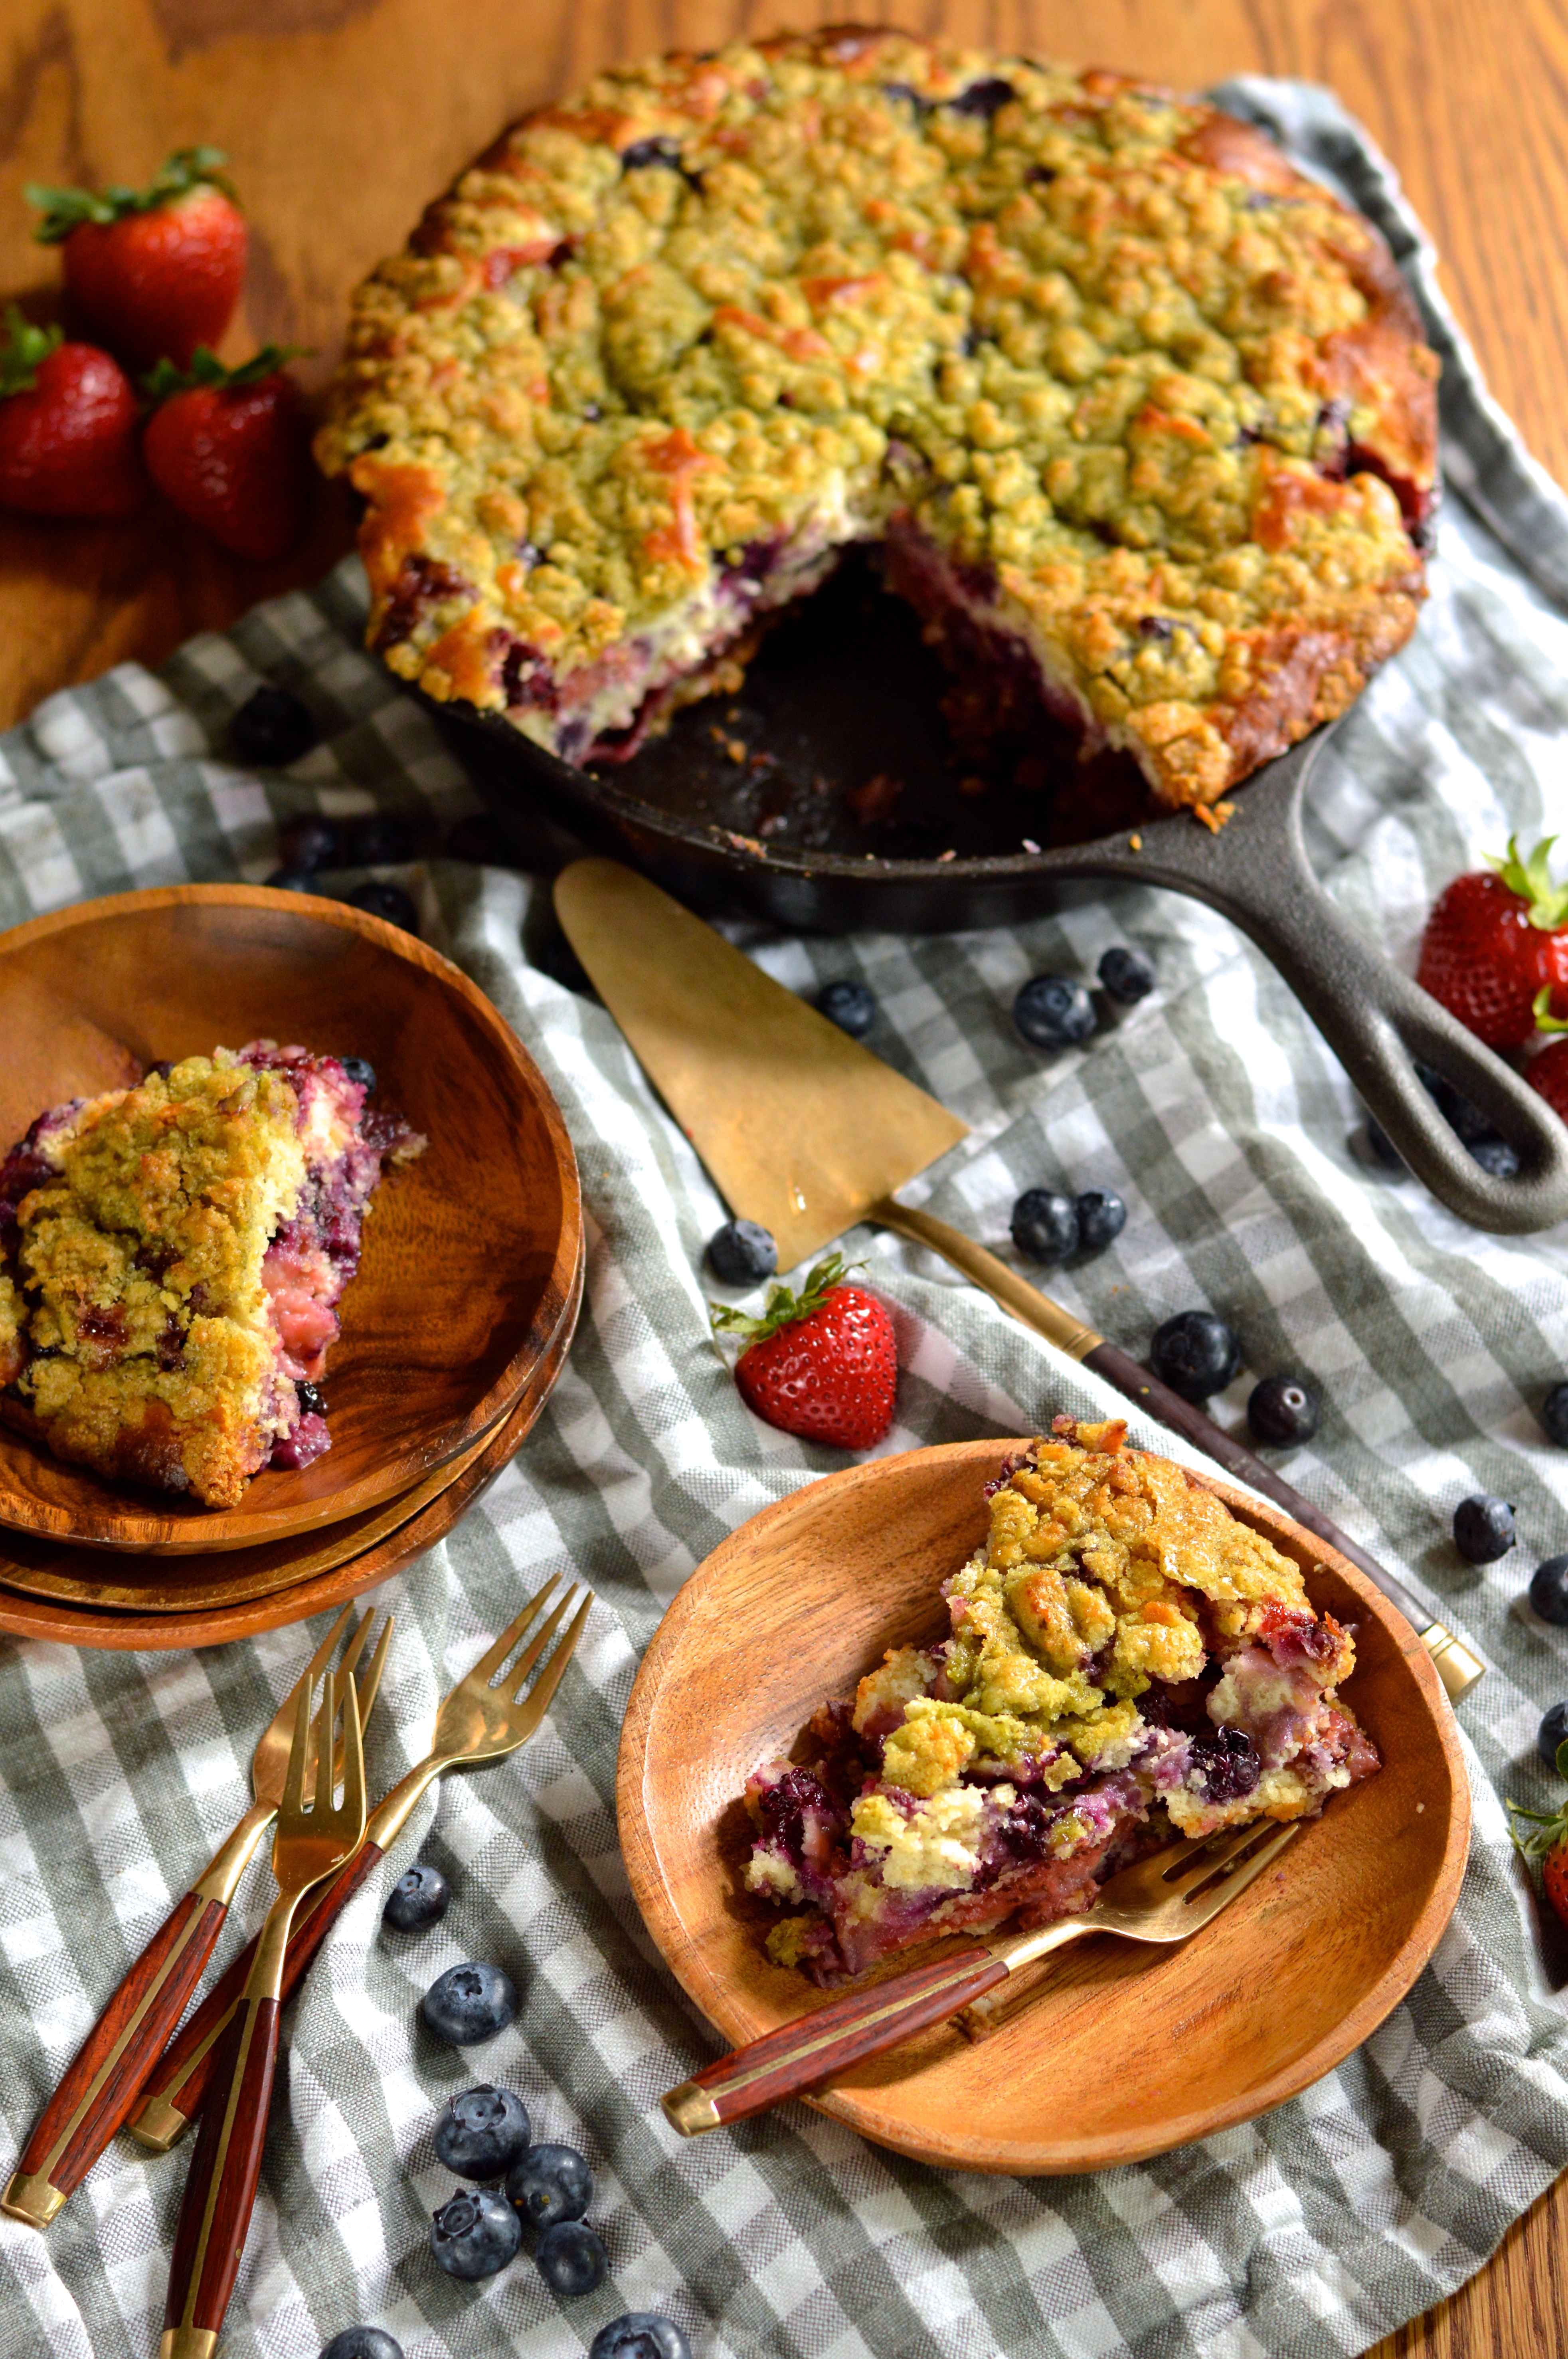
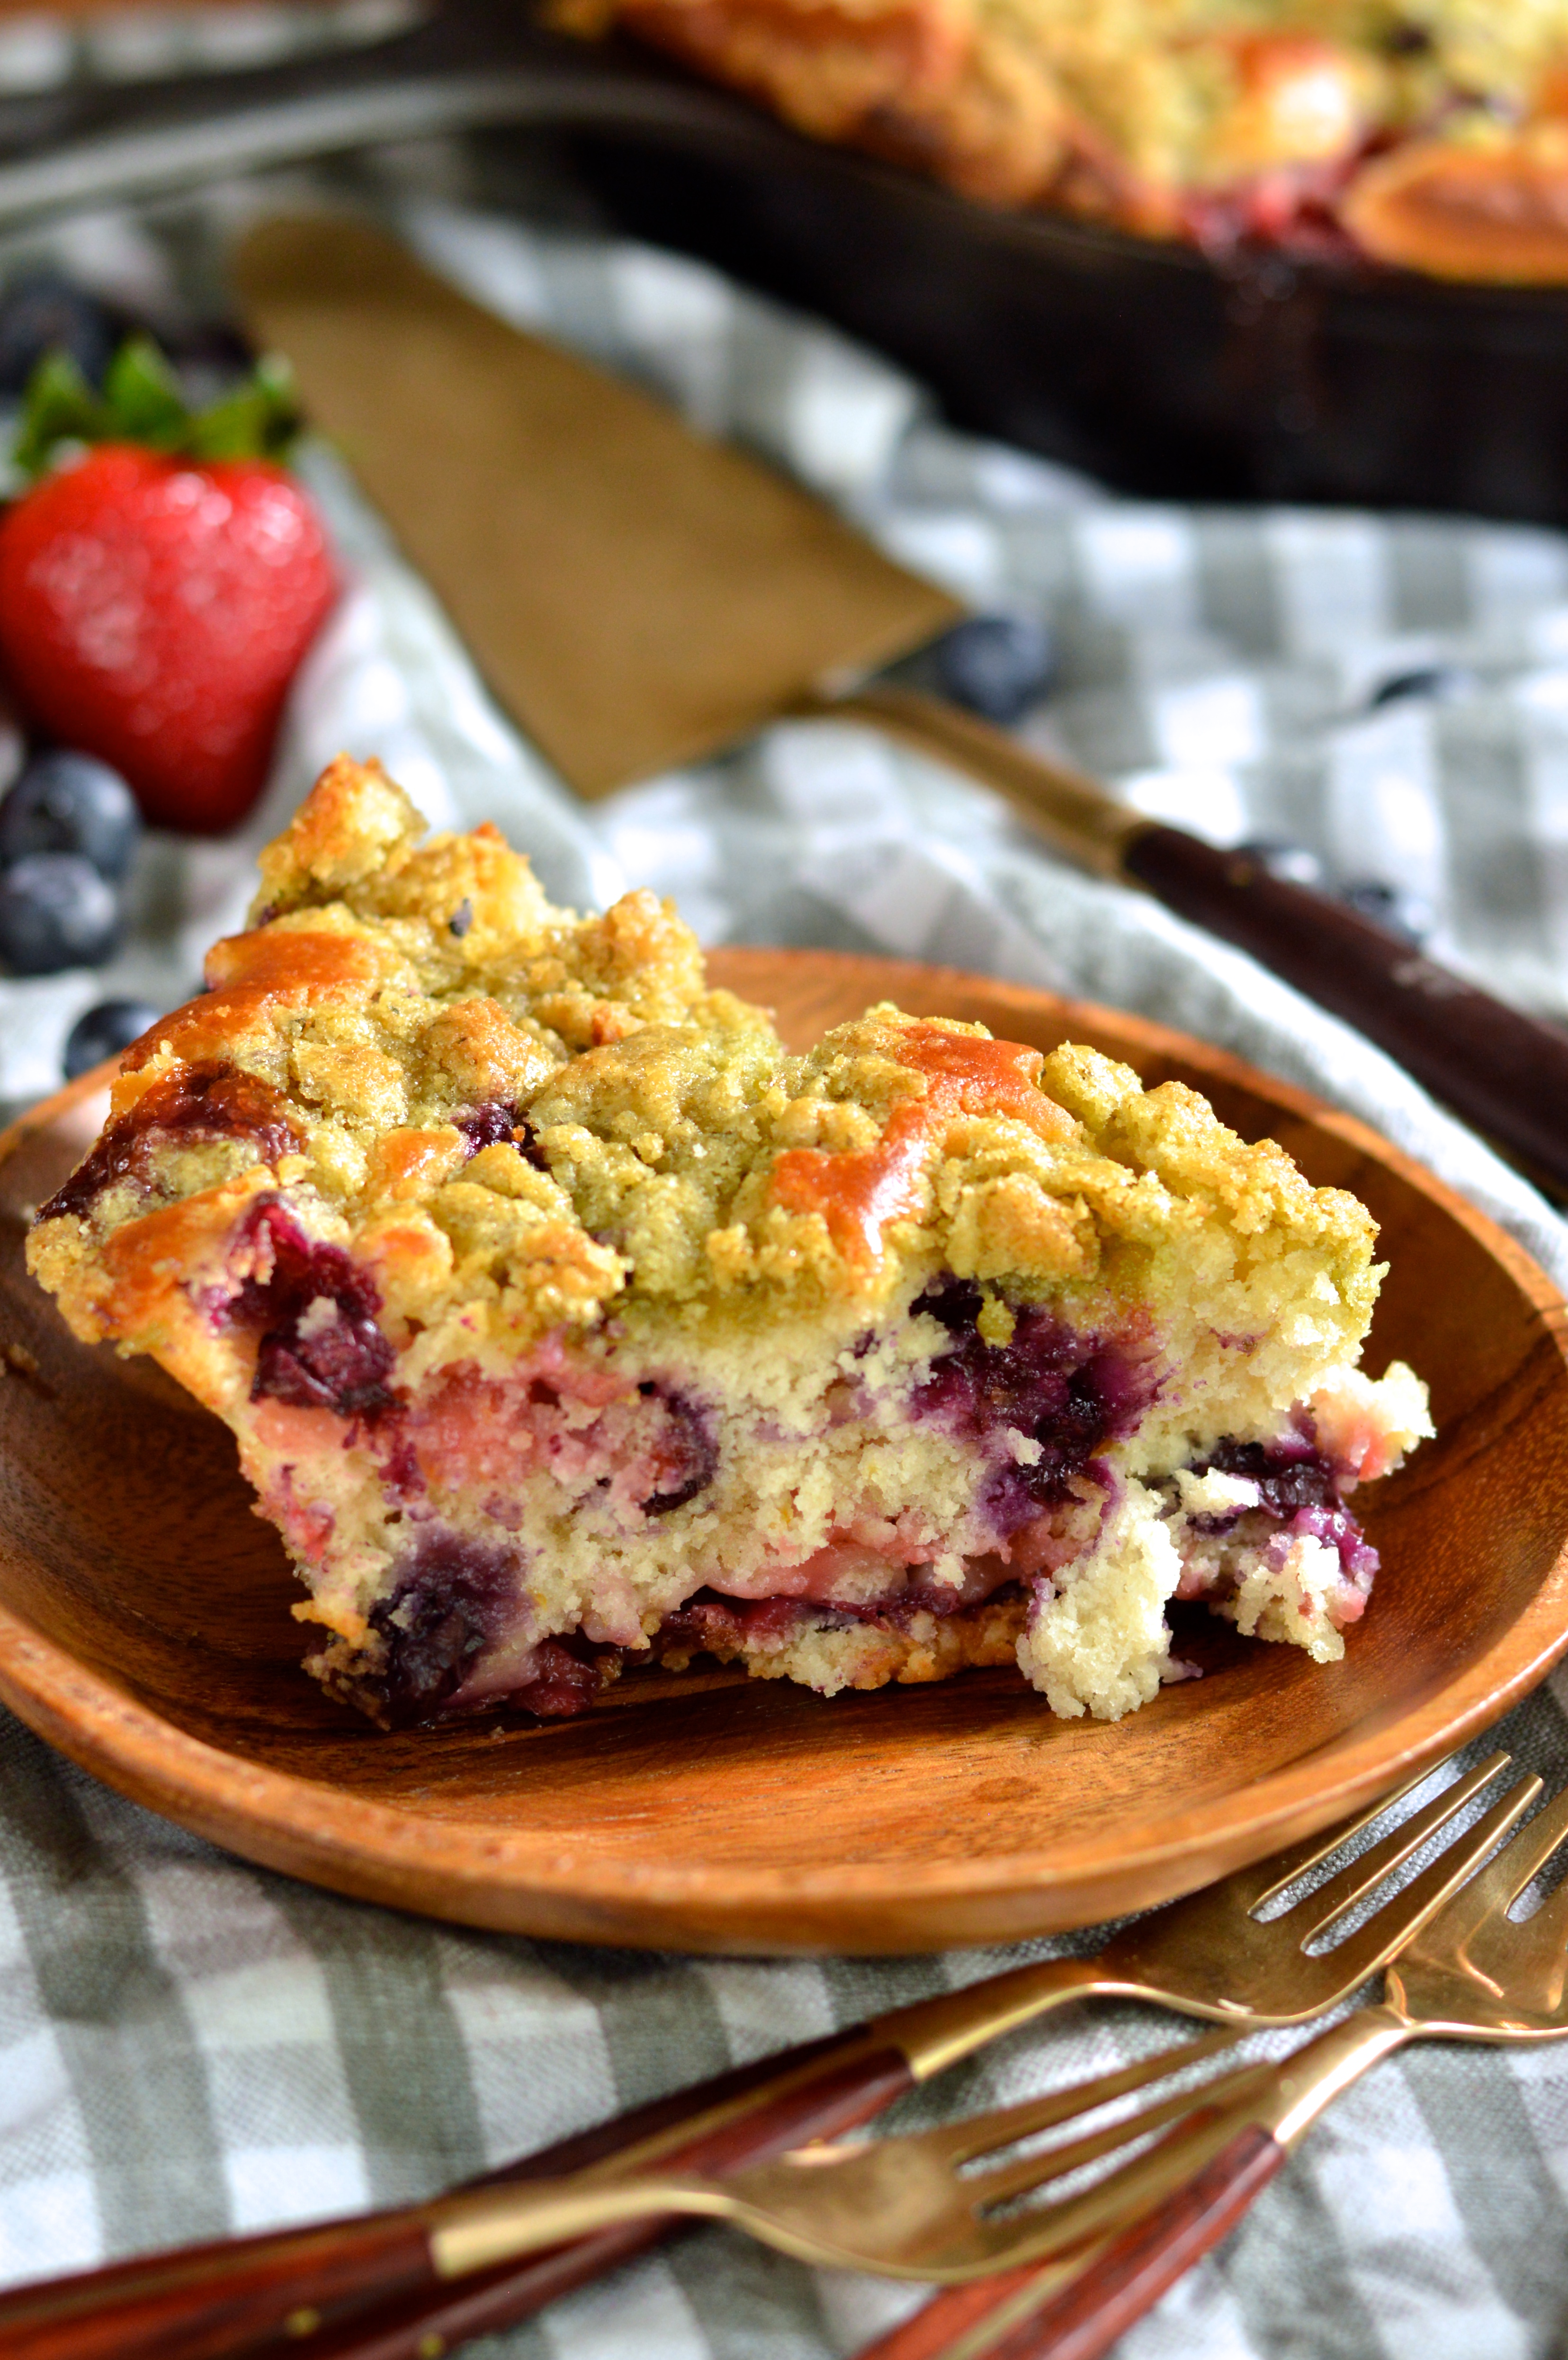
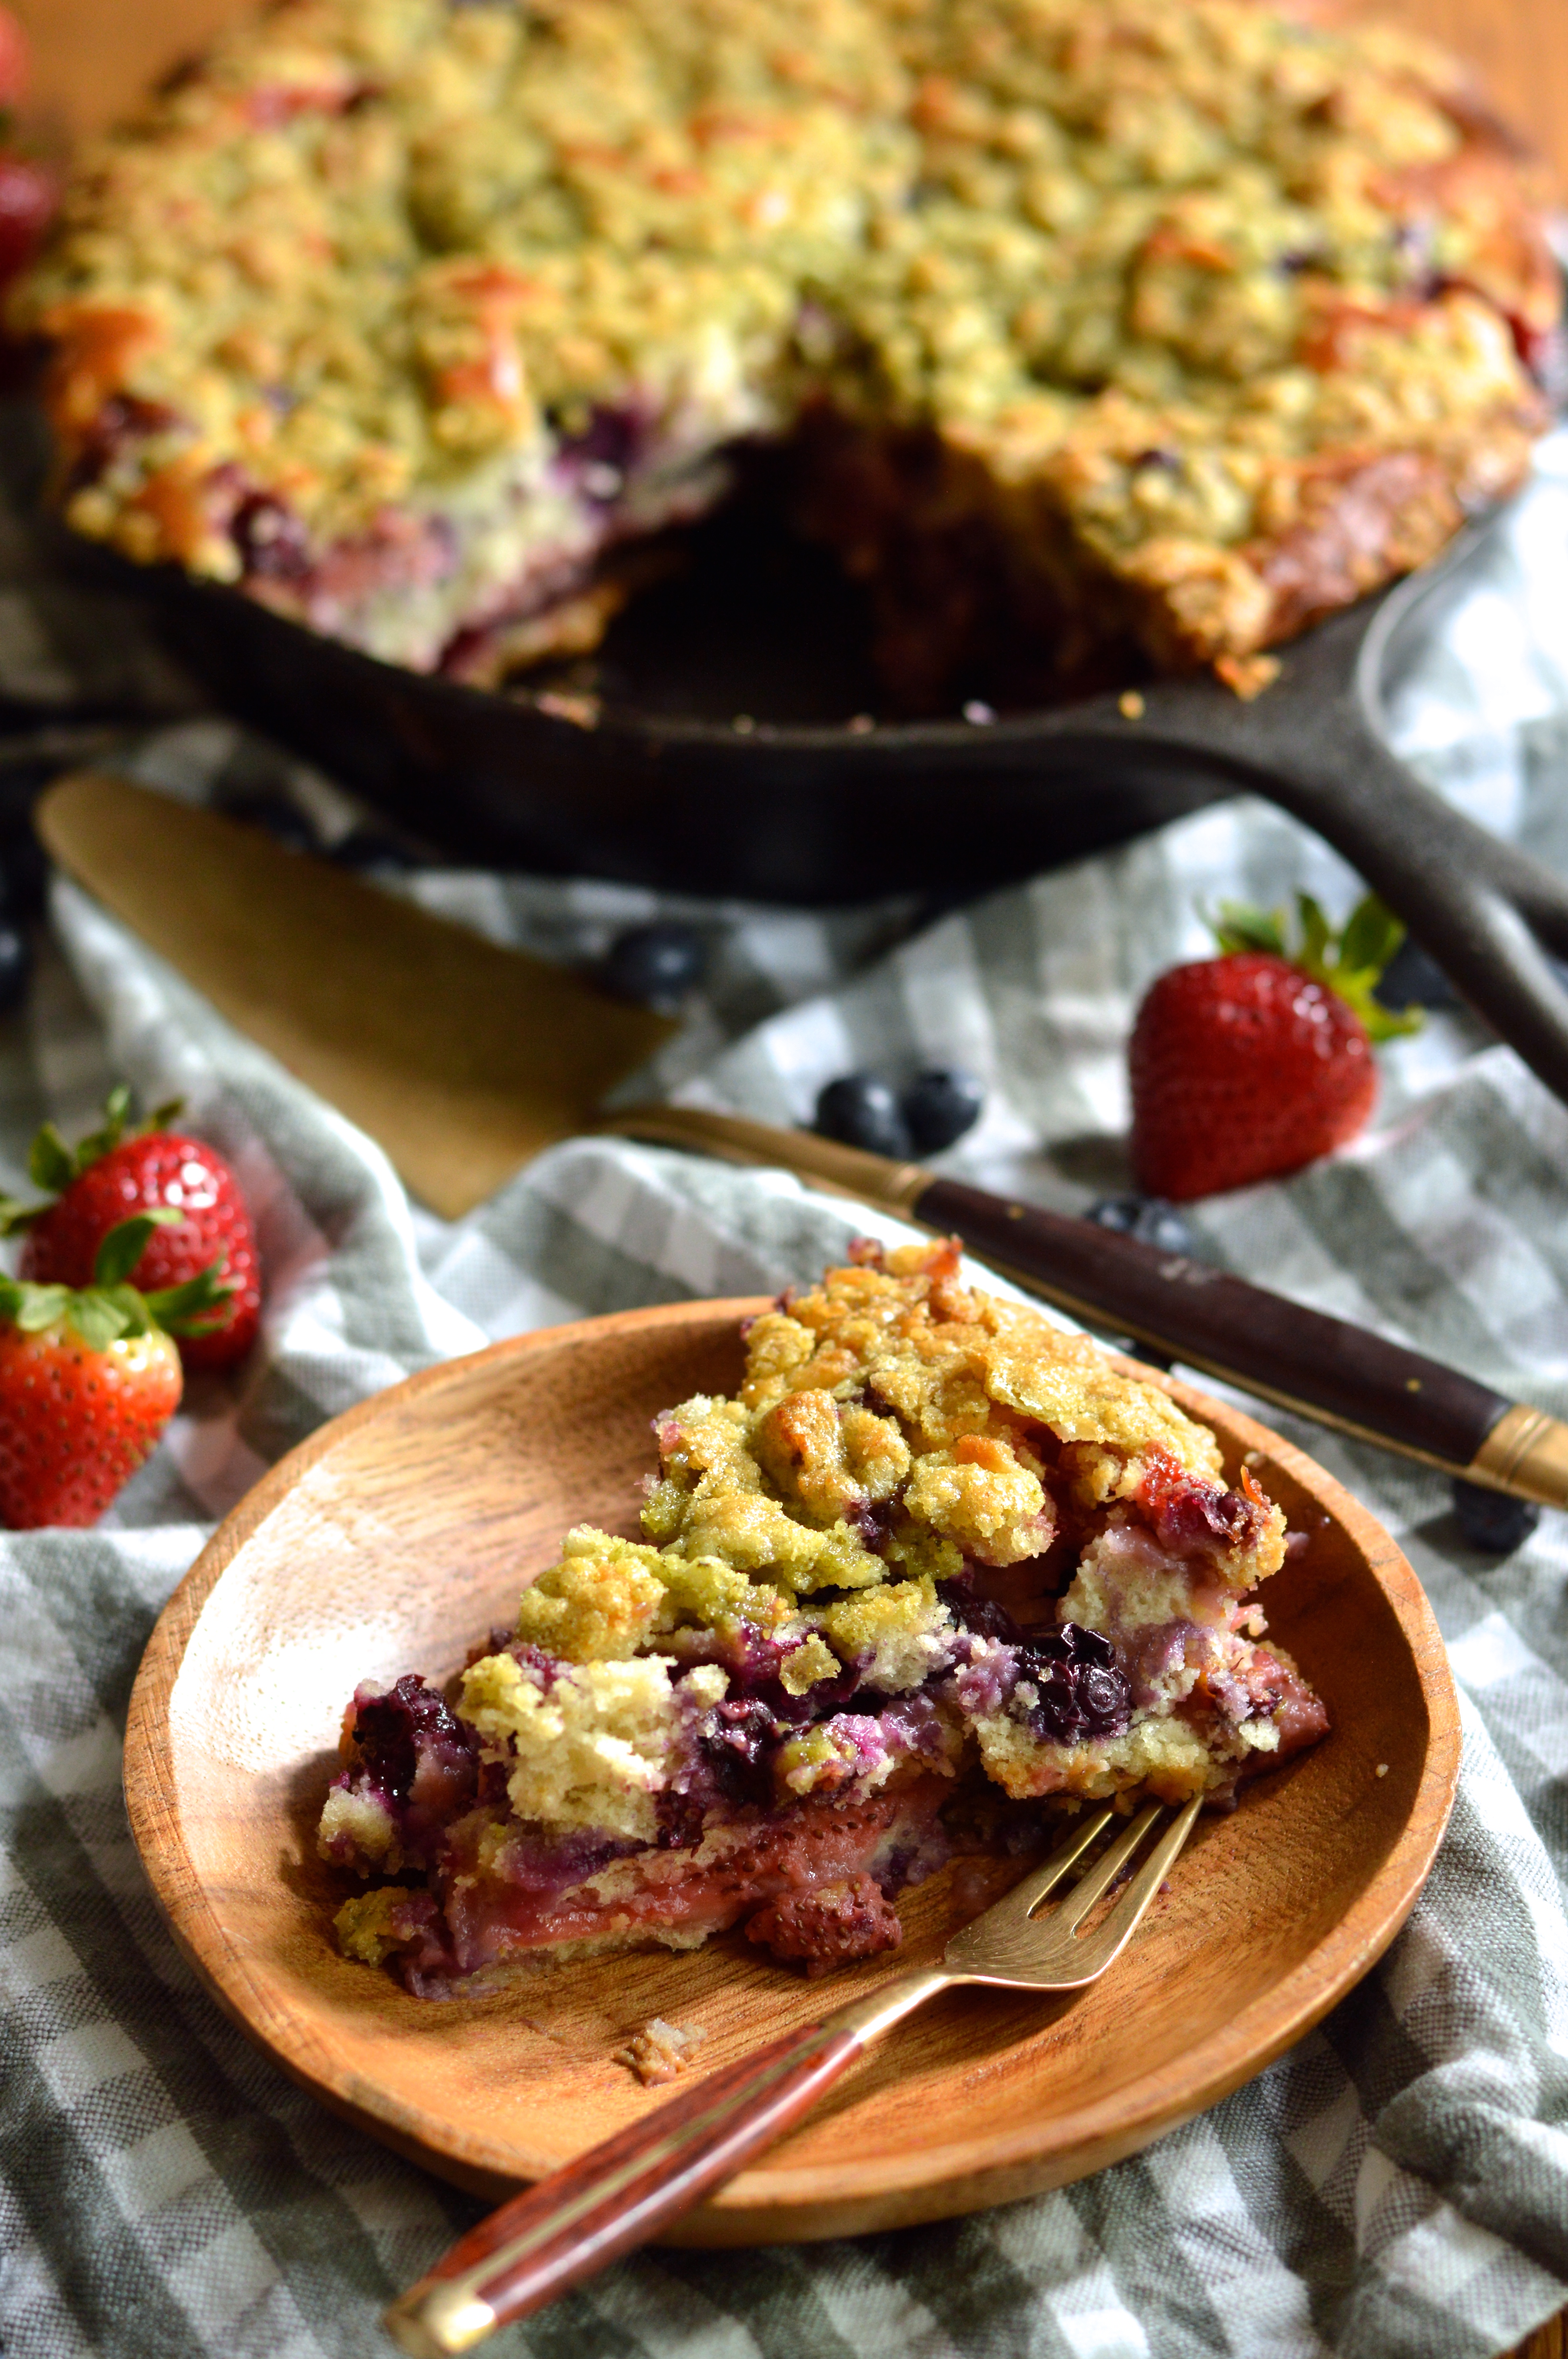
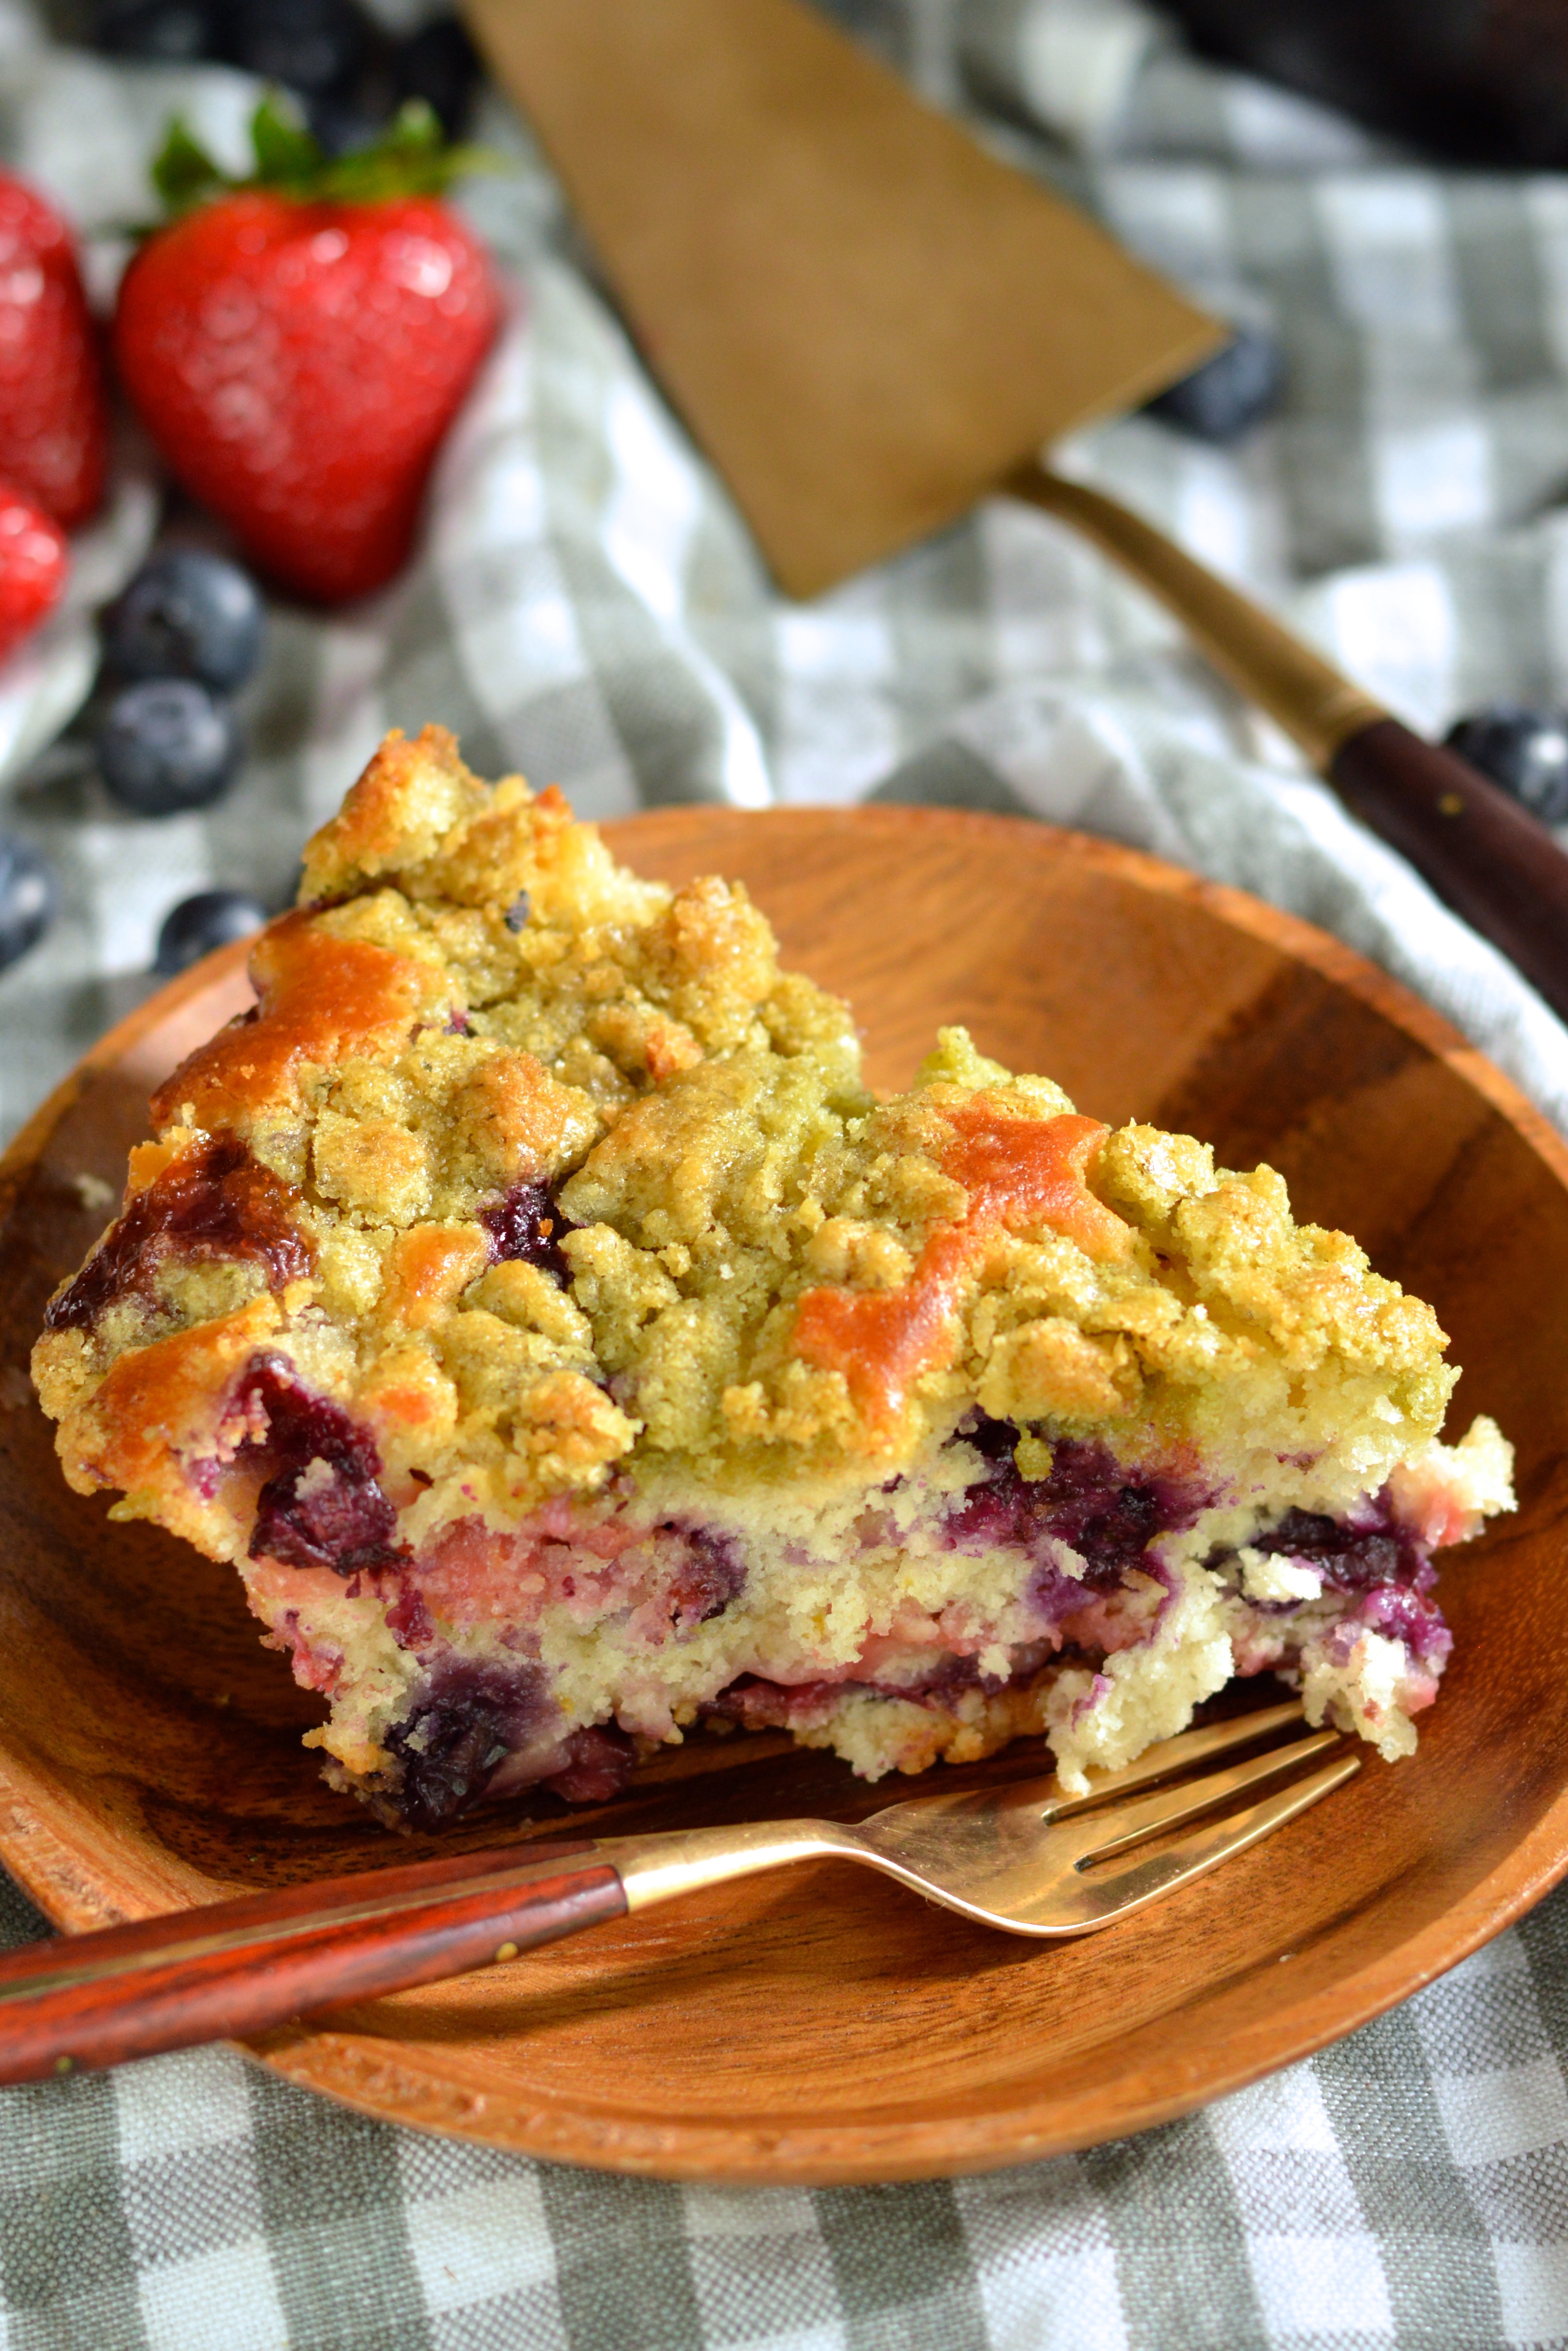
Not only did this cake turn out to be a real show stopper, but it’s pretty damn tasty too!
All the elements totally come together in perfect pretty-in-pink, strawberry lemonade harmony. The homemade lemon curd is tart and sweet and super lemony. The frosting is rich and velvety with a gorgeous strawberry flavor (and color!), and the cake is delicate and fluffy and perfectly sweet without being too much. I hate it when a cake is super pretty and then just tastes like a cloying sugar bomb, you know?

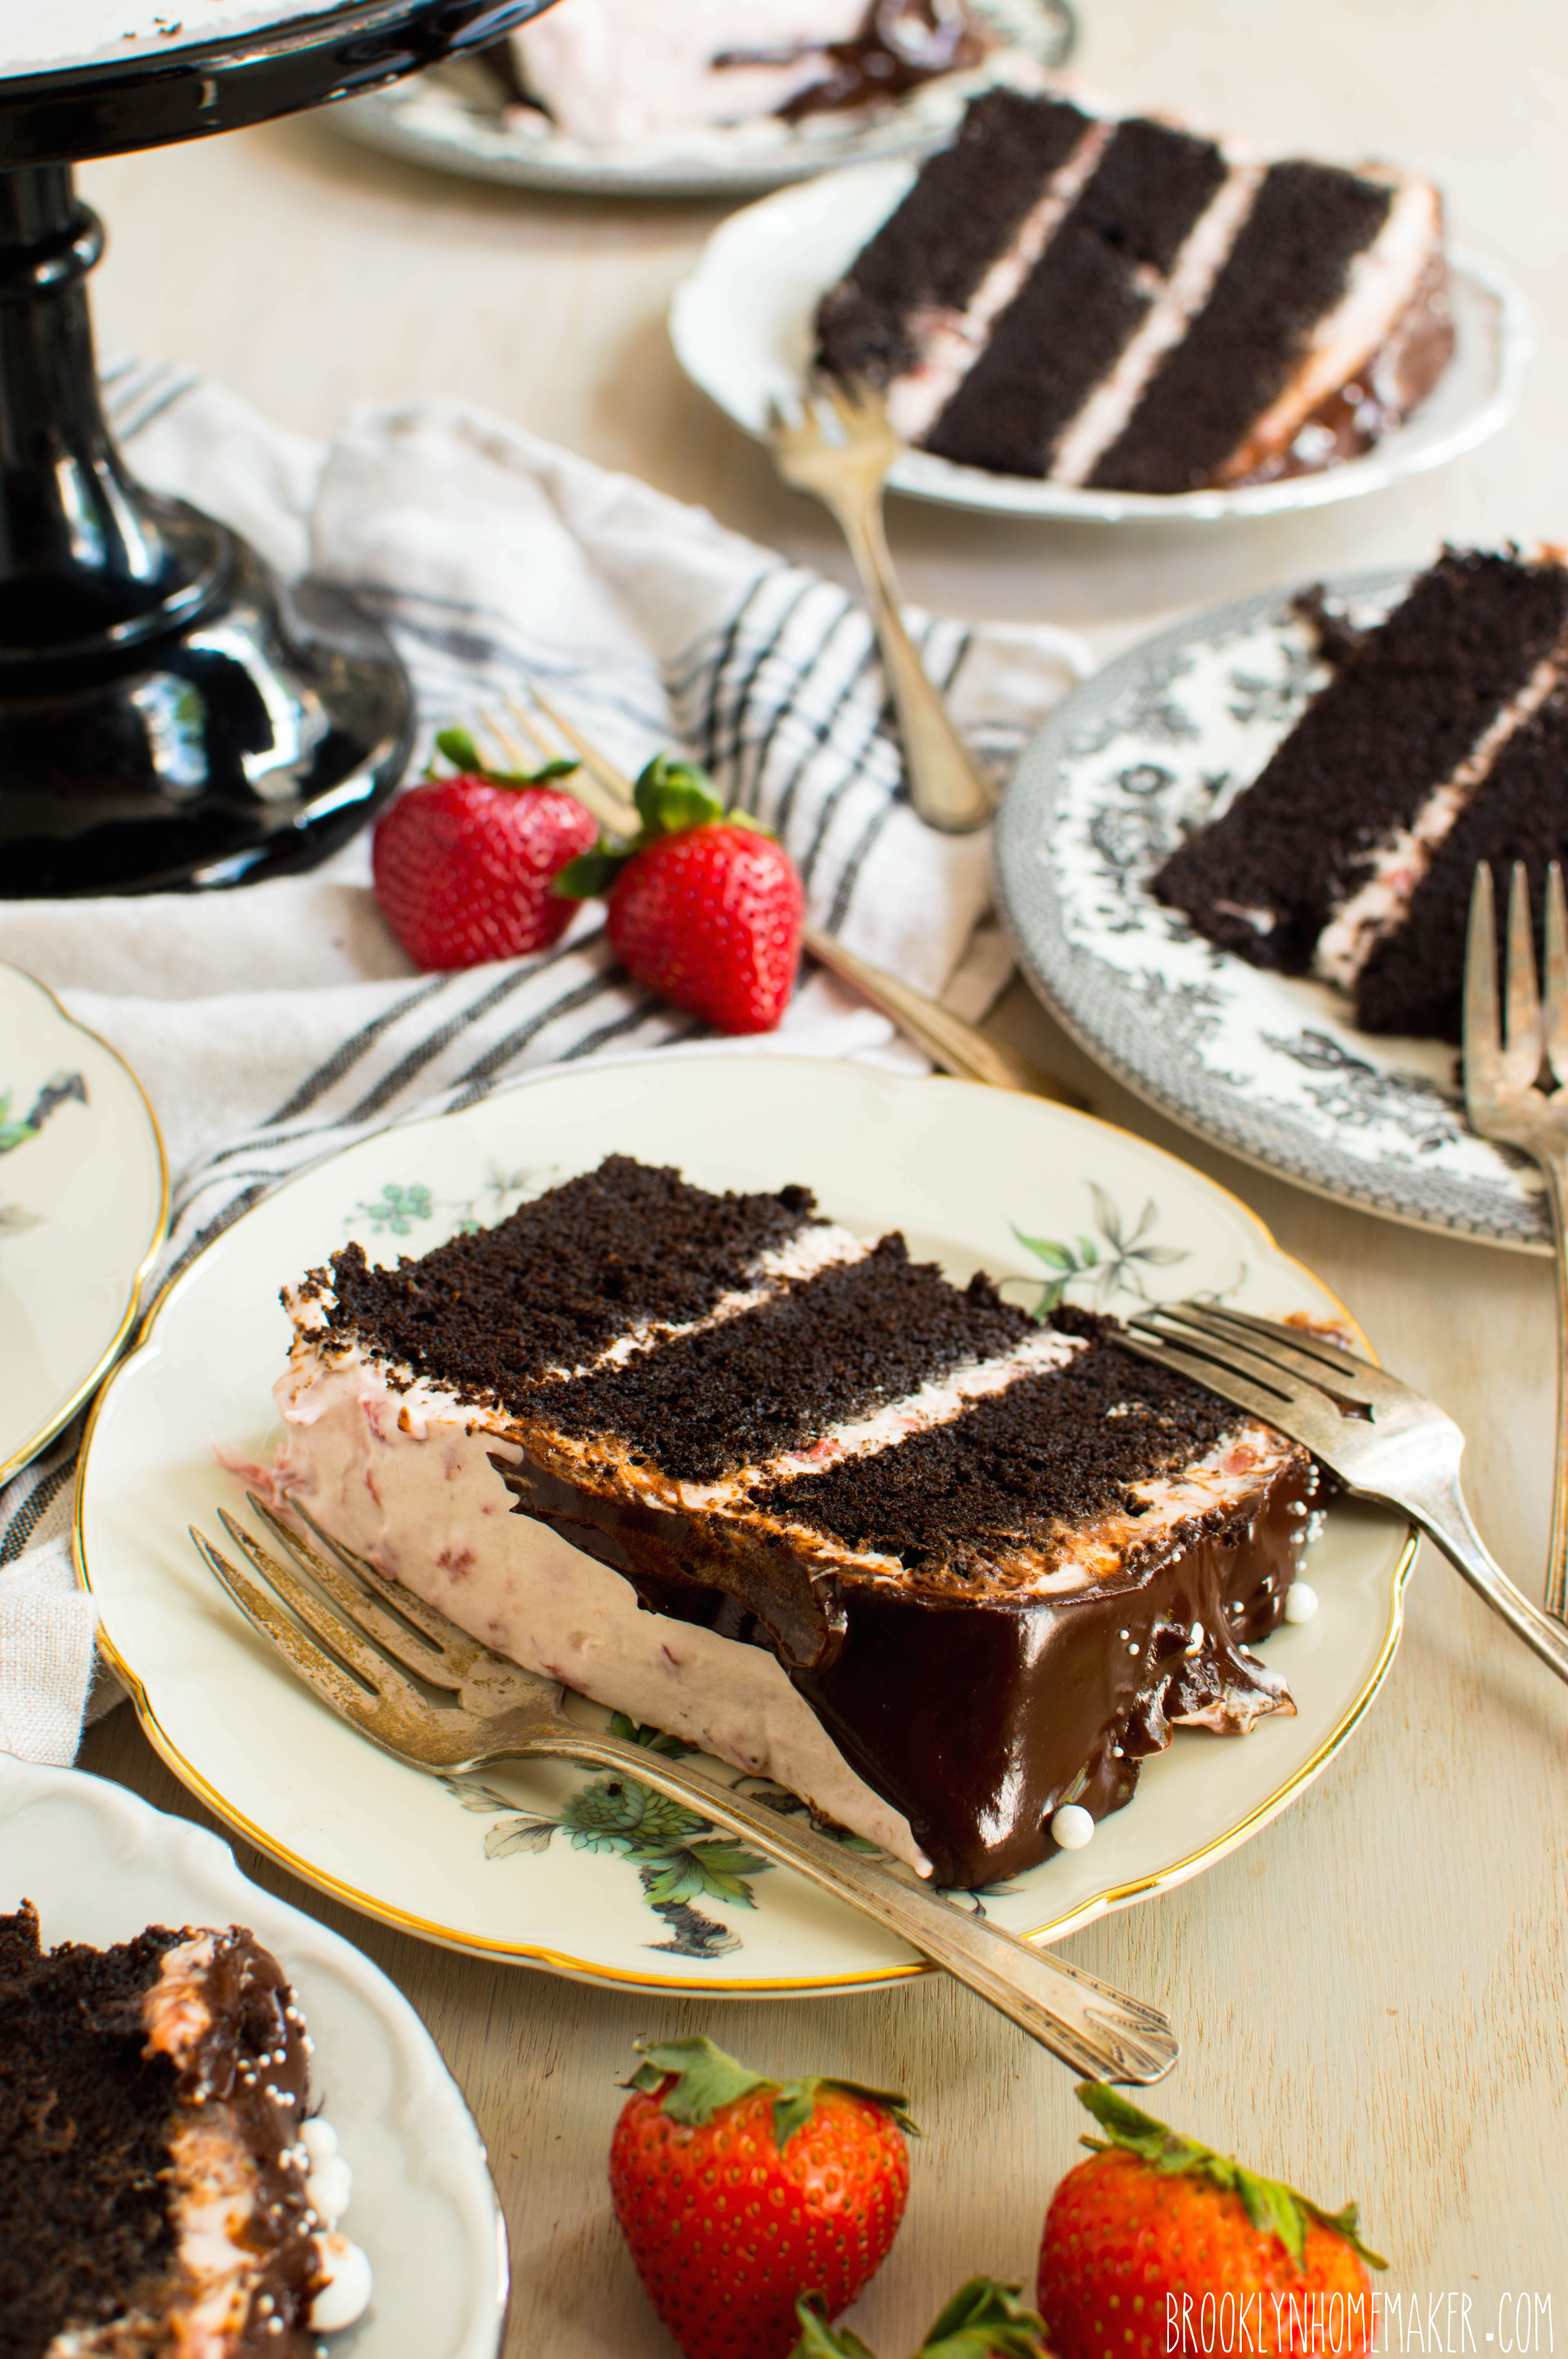
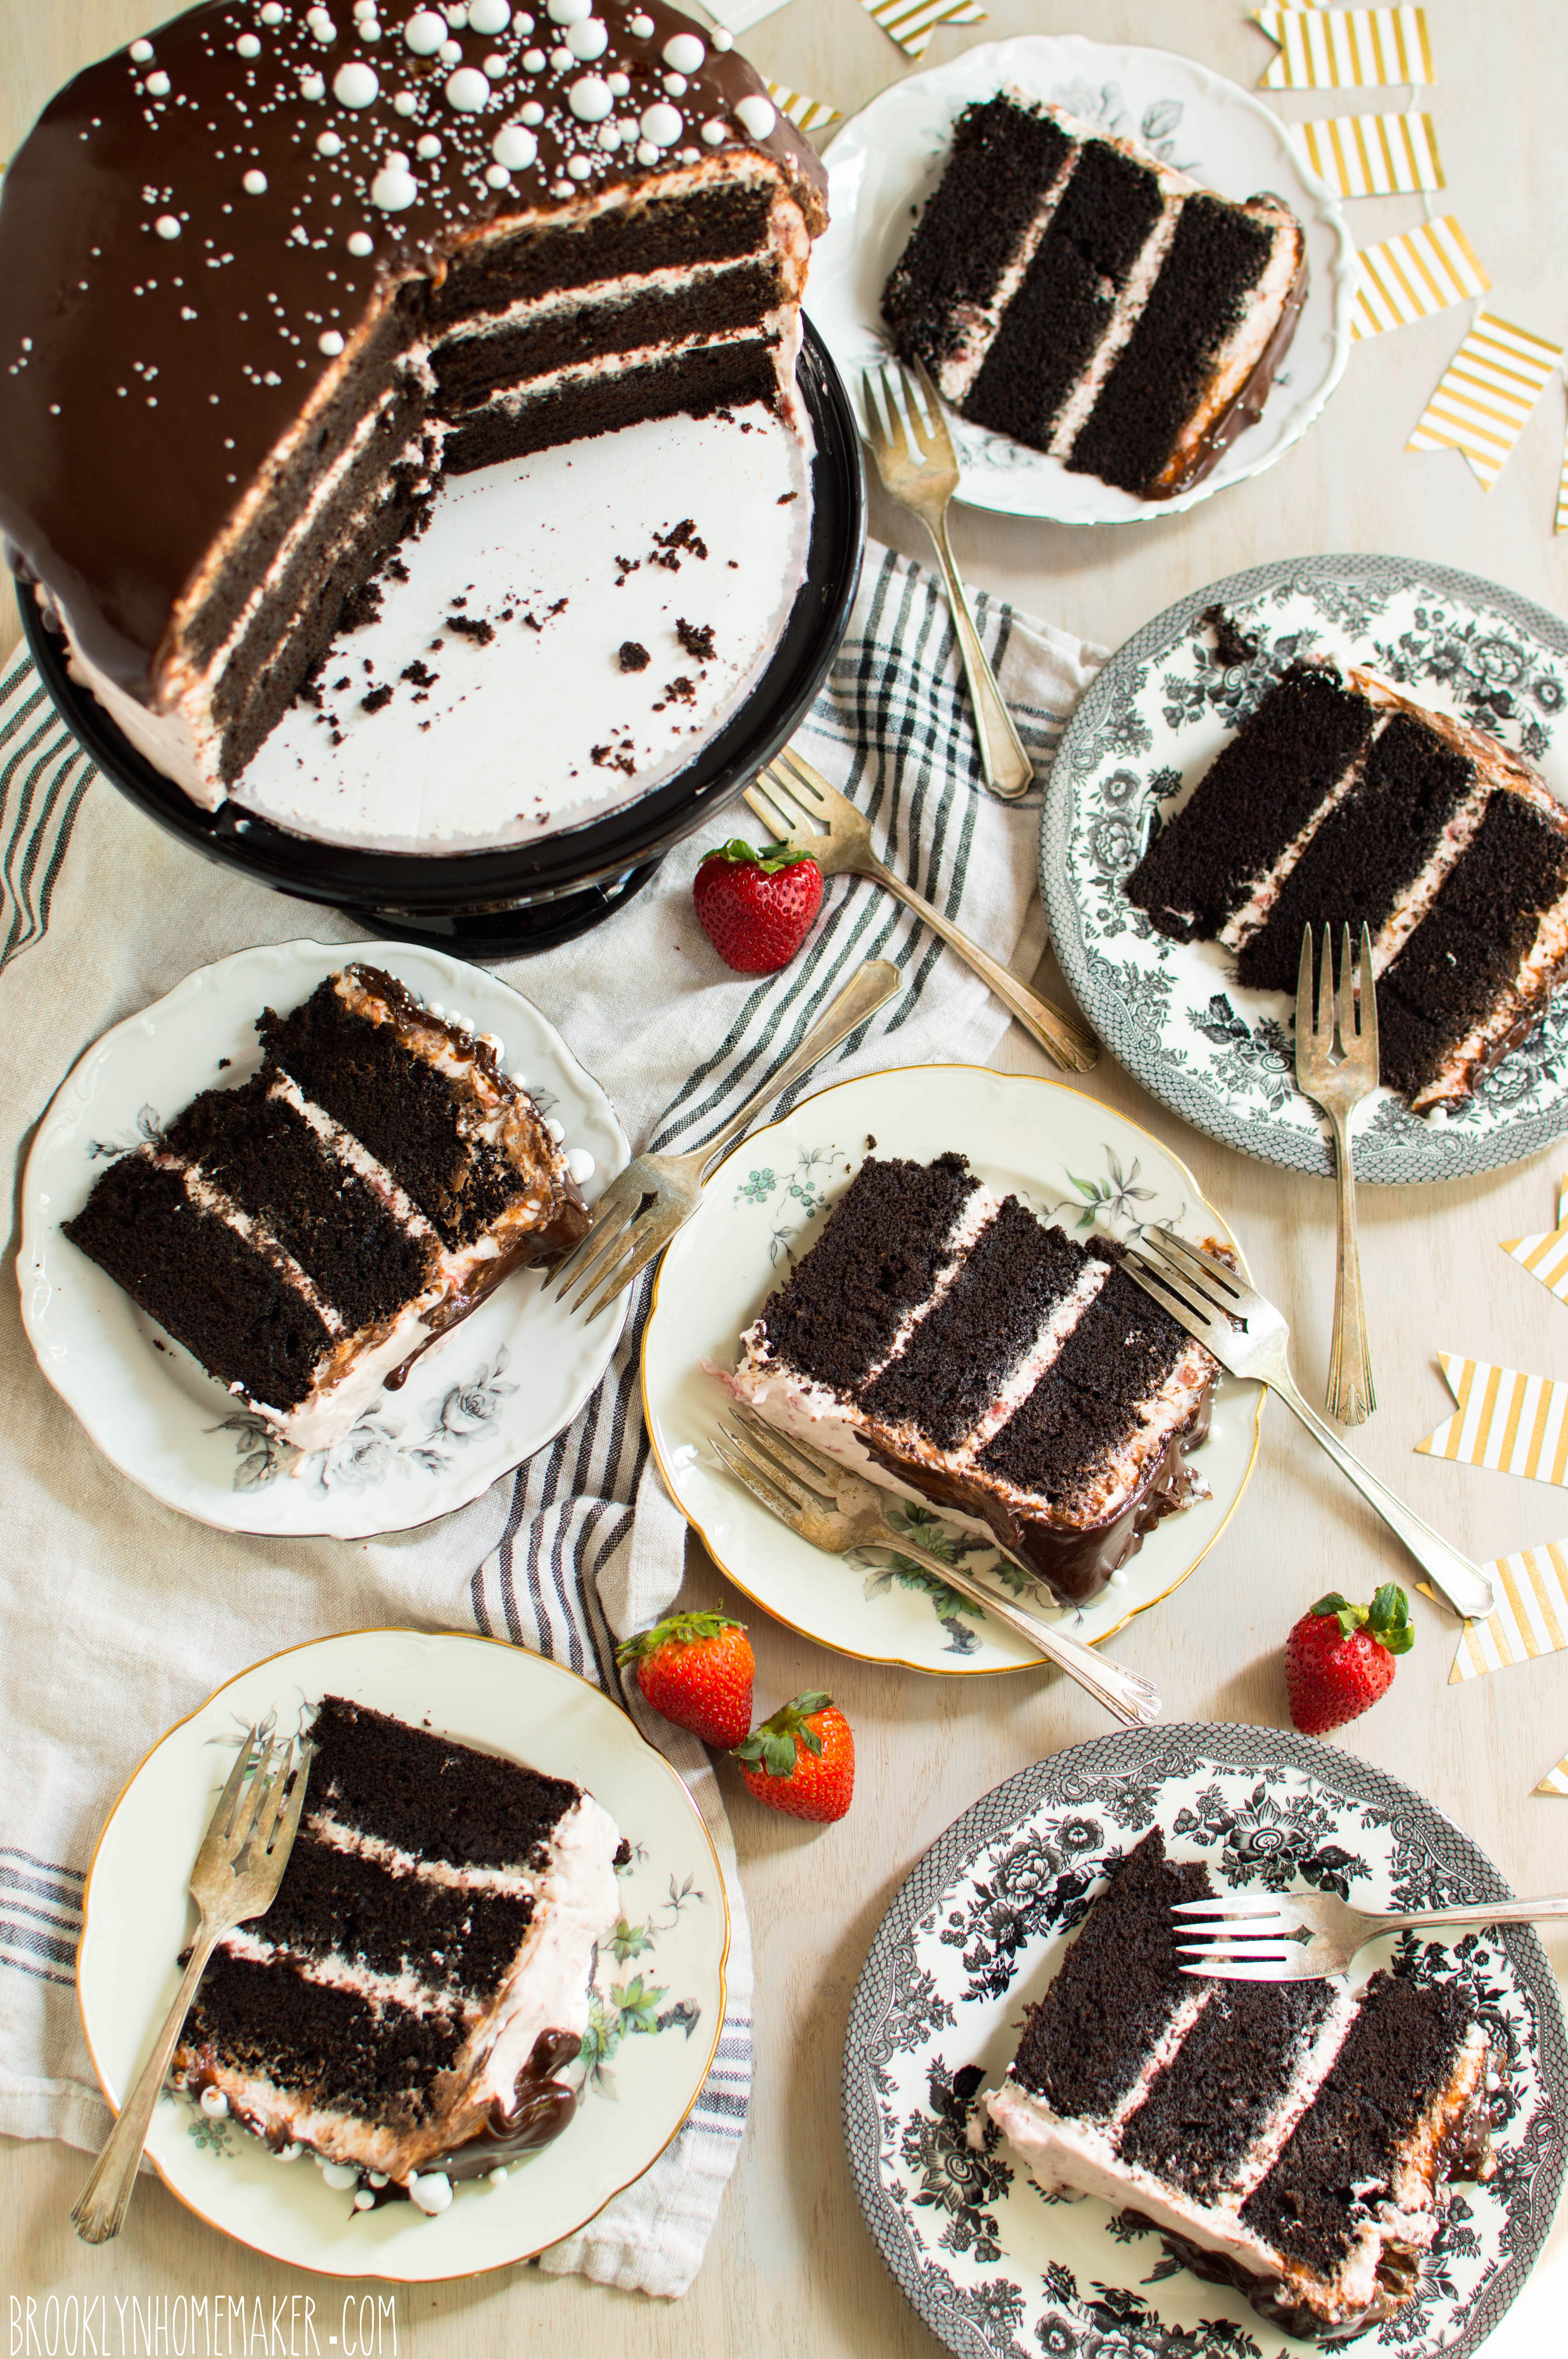
There’s only one small thing that I don’t think was as successful as I would have hoped. I adapted a lemon cake recipe I use all the time and added powdered freeze dried strawberries for a bright, fresh strawberry flavor without all the liquid of fresh berries that can sometimes make cakes dense and gummy. I decided to shoot for an ombre effect with the different layers of cake, so I added progressively more and more strawberry powder to each layer. I hoped there would be a beautiful gradient of different shades of pink when the cake was sliced, but looking back I realize I should have added a touch of food coloring too. The problem was that I’ve never used freeze dried strawberries in a cake like this before, and while the batter was a pretty pastel pink, it tuned a bit of a brownish hue when baked.
Womp womp. It tasted great so who cares.
Thankfully, you get to learn from my mistakes! I’d say that you should either A) skip the ombre gradient altogether and just add the strawberry powder to the batter all at once, B) leave it out entirely and just do lemon cake with strawberry icing, or, C) if you really want to go for the pink ombre effect, add a touch of red food coloring to the batters to make sure you keep that pretty pink color once the layers are baked.

The recipe below is super lengthy and probably looks a bit daunting, but I’m including recipes for the cake, the lemon curd filling, the icing, and the yellow candy melt drip on top. Then I include tips on how to do the pink gradient in the cake layers, how to assemble the cake, and even decorating instructions! So yeah, this recipe is basically the War and Peace of cake recipes.
You can totally scale back the decorations, forget the ombre layers, skip the candy drip, and use store bought lemon curd if you want to simplify things a little. I certainly couldn’t blame you!
Either way, no matter how you slice it, this cake is sure to be a hit for the lemon lovers in your life!
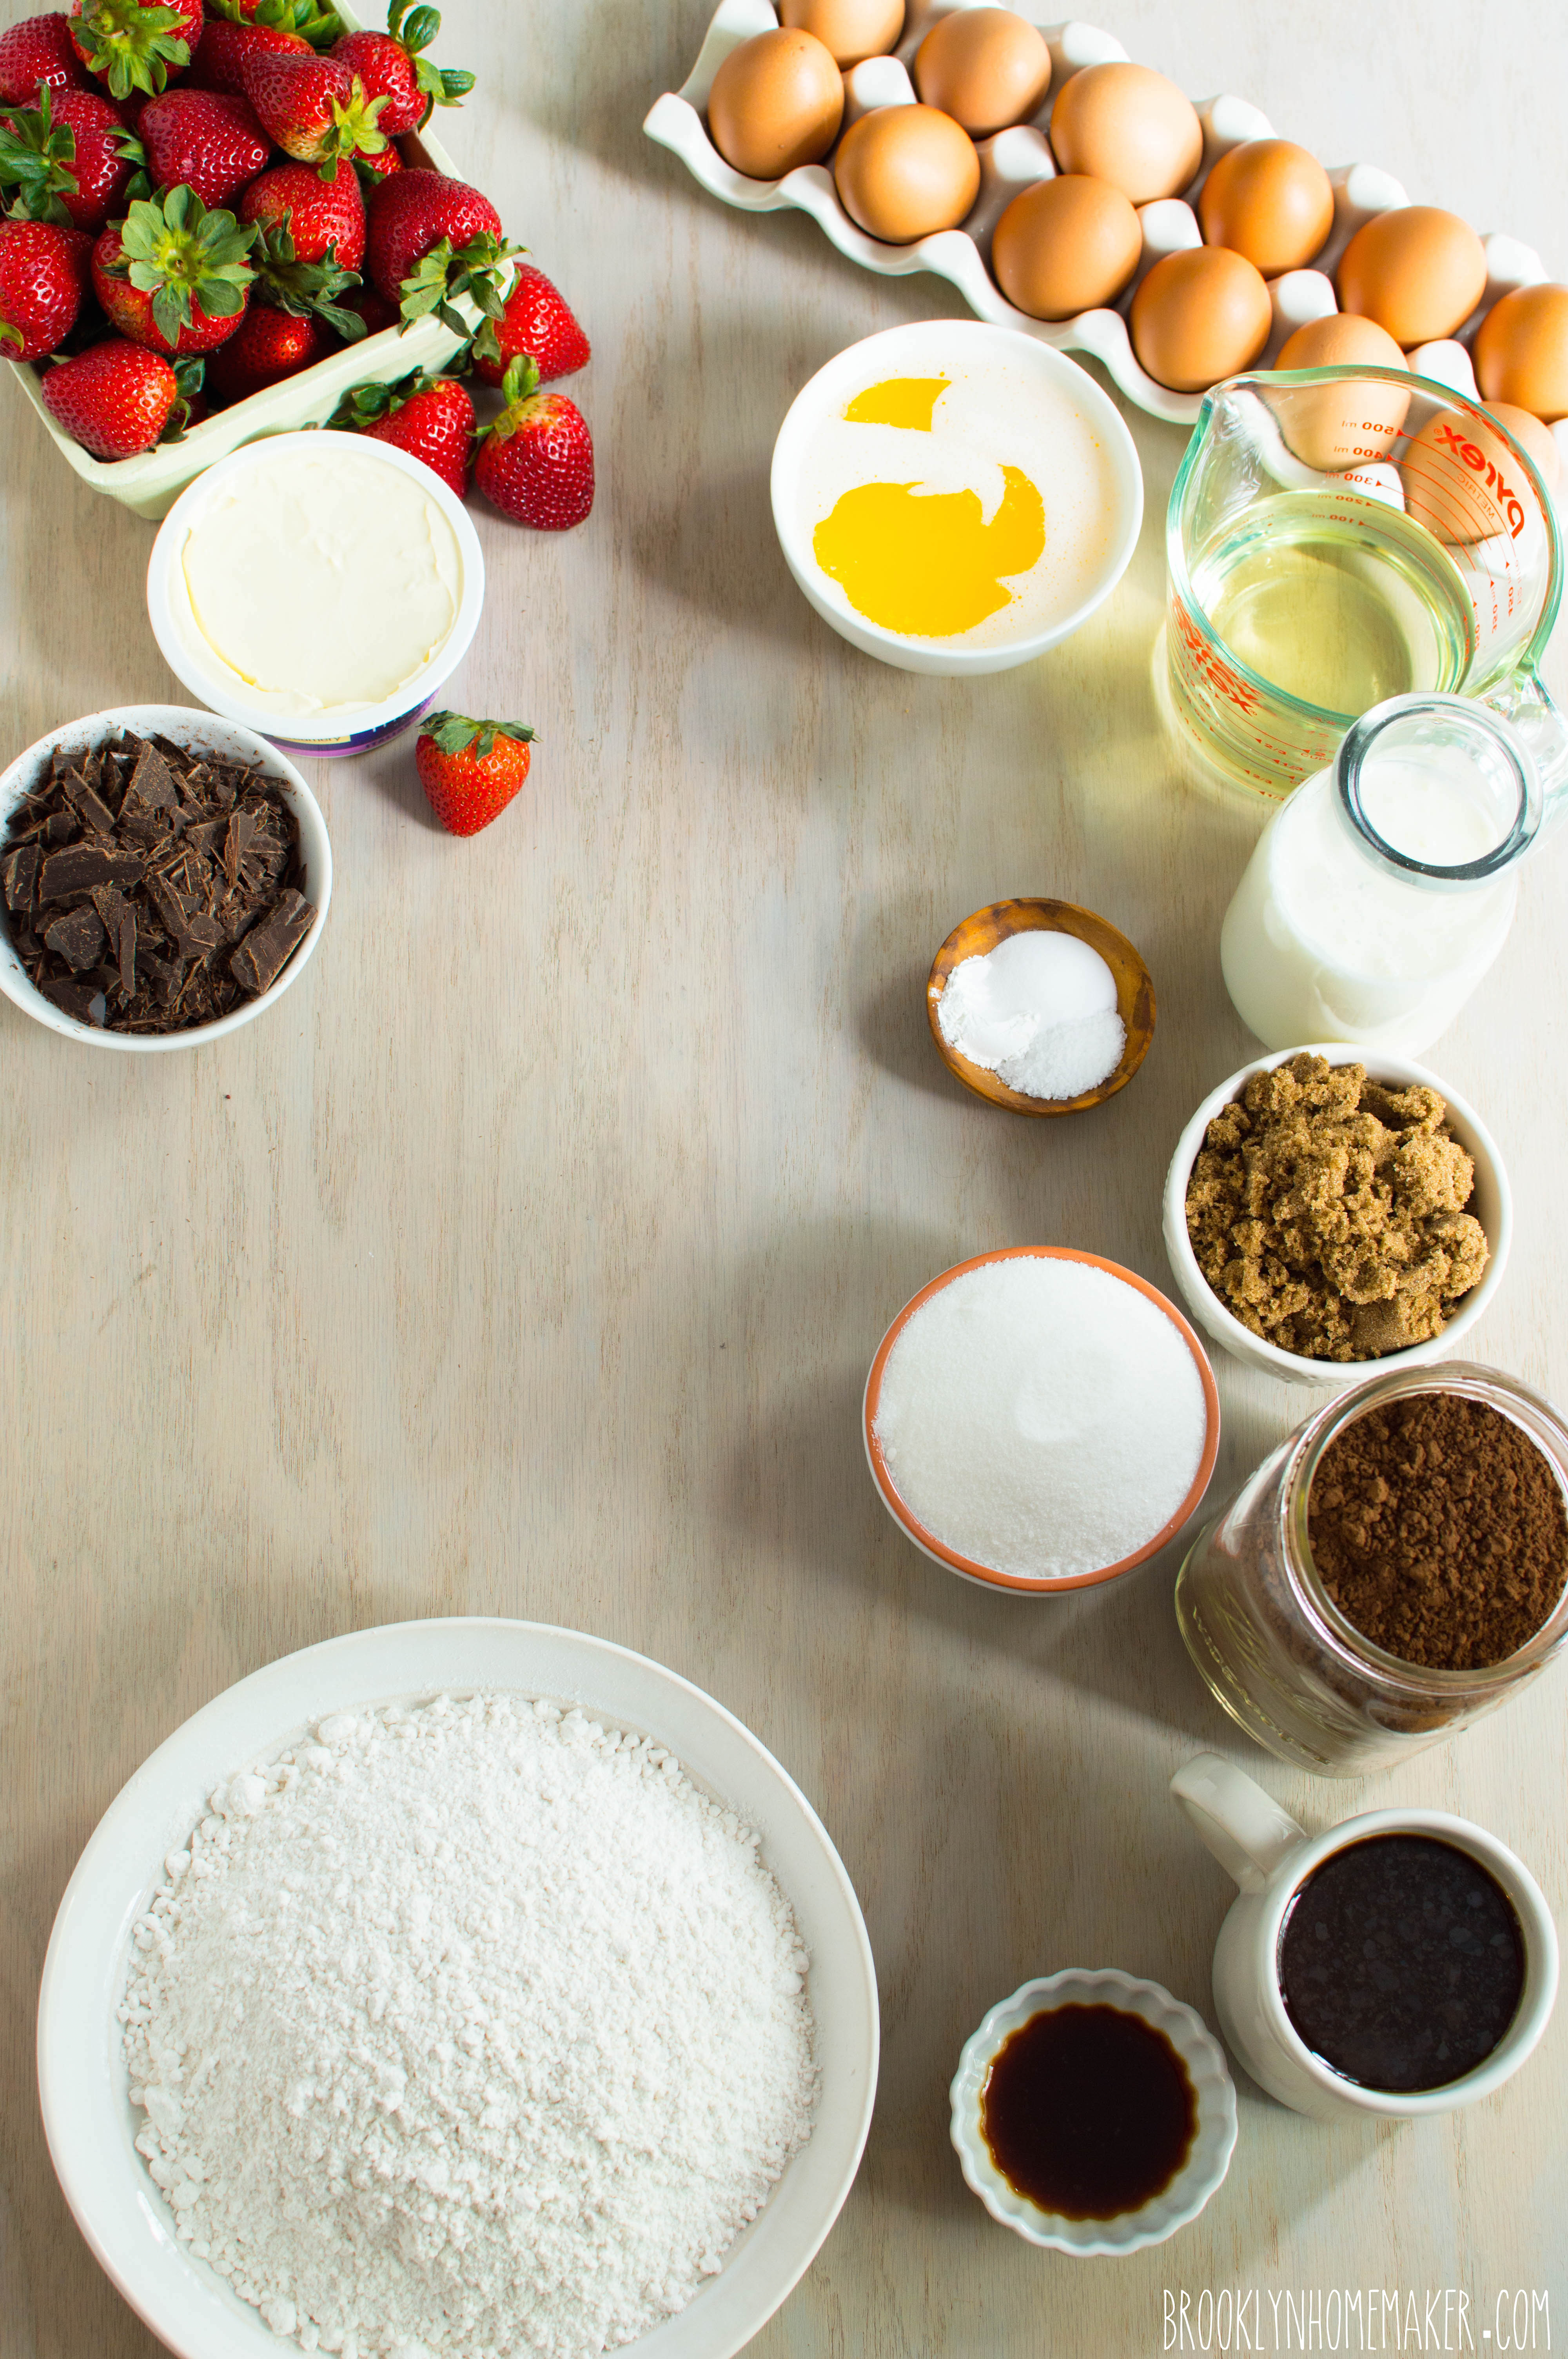
Strawberry Lemonade Layer Cake
Adapted from Life, Love, & Sugar
(You may also use store bought)
1/2 cup fresh lemon juice (about 3-4 lemons)
4 teaspoons finely grated lemon zest
2/3 cups sugar
1/4 teaspoon salt
8 egg yolks (reserve whites for icing)
6 tbsp unsalted butter
Combine all the ingredients in a double boiler (or in a non-reactive sauce pan with a heavy bottom). Heat over medium/low heat (or a light simmer in a double boiler). Whisk constantly until mixture thickens and reaches 170 degrees on a thermometer, or looks thick and pudding-like. Do not let it boil!
Strain curd through a fine mesh strainer into a heat proof bowl. Cover with plastic wrap pressed directly onto the the top of the curd to avoid a skin forming. Refrigerate until completely cold.
Any leftover curd is best when kept well covered and consumed within 1-2 weeks.
……..
Strawberry Lemon Cake
makes three 8-inch layers
3 1/3 cups all purpose flour
2 1/2 teaspoons baking powder
1/2 teaspoon baking soda
1 1/4 teaspoons salt
2 1/4 cup granulated sugar
2 tablespoons finely grated lemon zest (from about 3 to 4 lemons)
1/2 cup (1 stick) unsalted butter, room temperature
3/4 cup peanut oil or vegetable oil
4 large eggs
2 teaspoons vanilla extract
1 cup buttermilk
1/4 lemon juice
3/4 cups (approximately) powdered freeze-dried strawberries (optional) *see note
pink or red food color (if desired)
Preheat oven to 350 degrees.
Line the bottoms of three 8″ cake pans with parchment paper. No need to butter and flour the sides pans. **see note
In a medium bowl, whisk flour, baking powder, soda, and salt until well combined.
In the bowl of a stand mixer with the paddle attachment, combine lemon zest and sugar and mix for 30 seconds or so. Add butter to sugar mixture and cream them together on high for about 3 minutes, or until pale and fluffy. Reduce speed and add oil, then the eggs, one at a time, fully incorporating after each addition. Add vanilla until just combined.
Combine lemon juice and buttermilk in a small bowl or measuring cup.
Alternate adding flour mixture and buttermilk mixture, beginning and ending with flour (3 additions of flour and 2 of milk), fully incorporating after each addition.
At this point, if you’re using it, you can either add the strawberry powder all at once and mix just until combined, or if you want to, you can try to go for an ombre effect as follows:
Mix about 1/4 cup of the powdered strawberry into the batter and mix to combine. Pour out 1/3 of the batter into one of the prepared pans. Add another 1/4 cup of strawberry powder to the remaining batter, mix, and fill one more pan. Add remaining strawberry to remaining batter, mix again, and fill the the last pan.
For a nicer, brighter pink, you may want to add a few small drops of food color with each addition of strawberry, because the powder tends to brown a bit when baked.
Bake for 30-35 minutes or until a toothpick or cake tester inserted into the center comes out clean.
If using bake-even strips, they will likely need a few additional minutes.
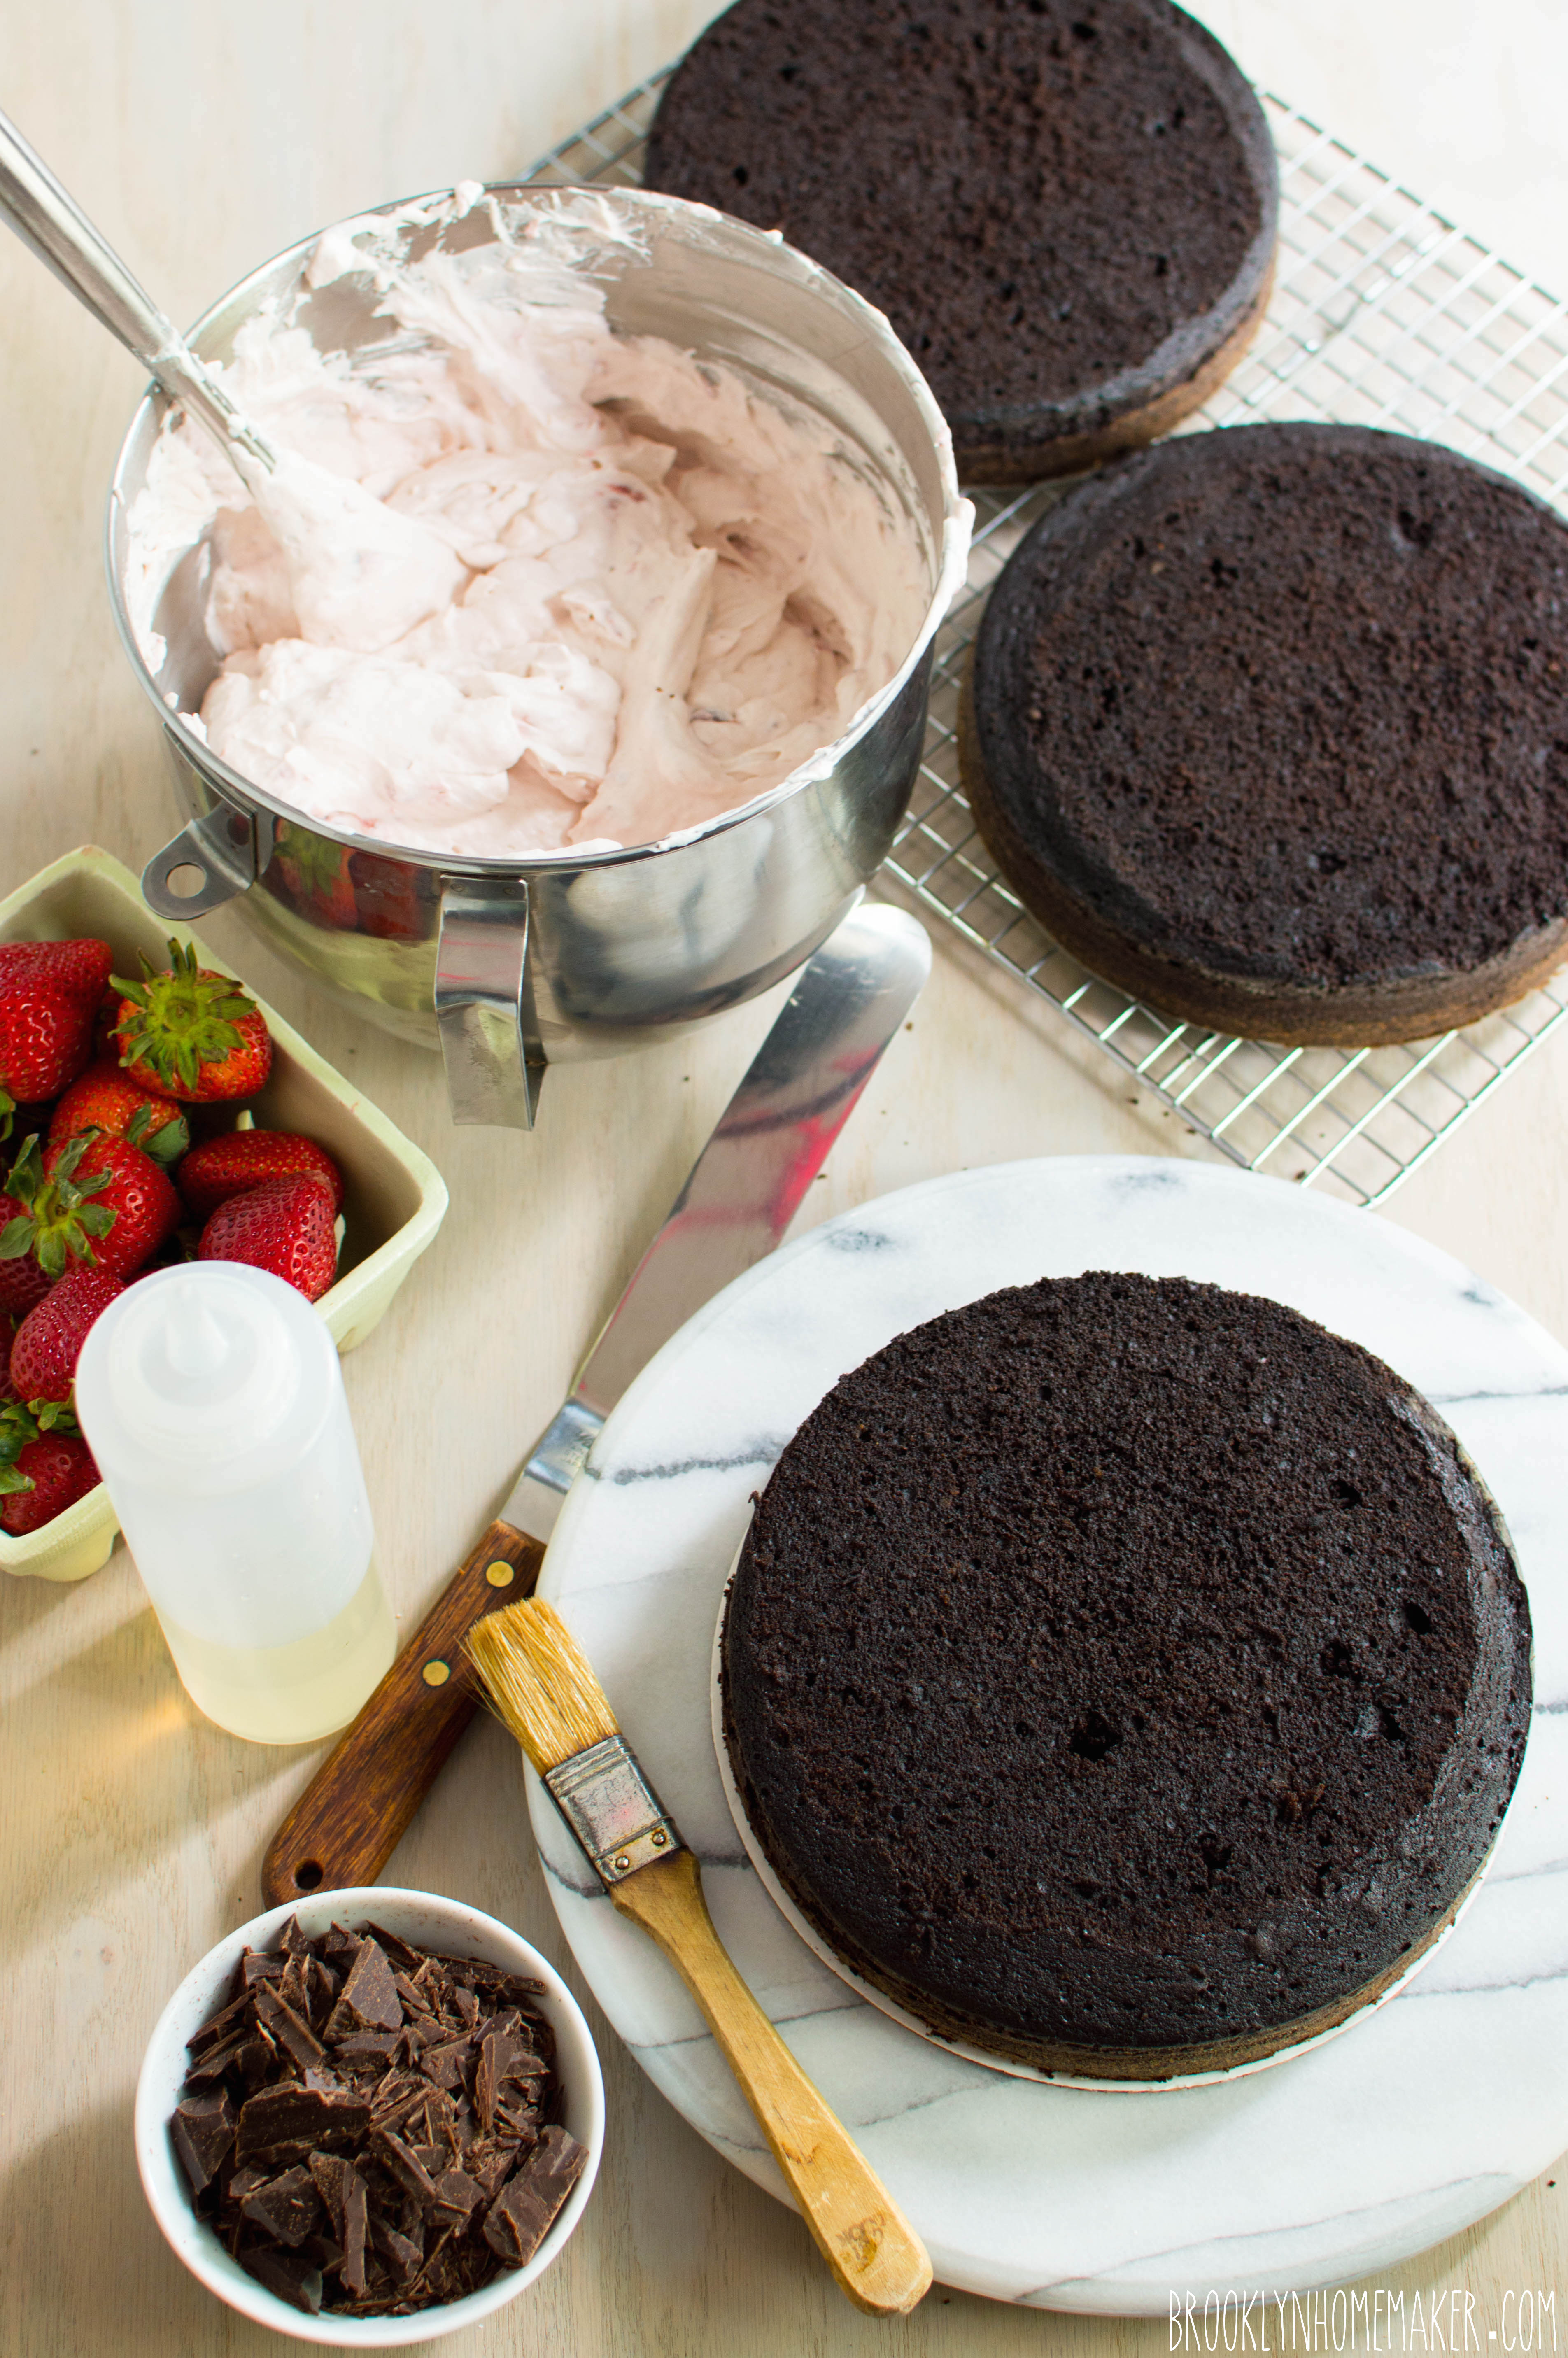
Transfer pans to a wire rack to cool for 30 minutes.
Invert cakes onto rack, peel off parchment, and let cool completely.
If the cakes domed in the oven, you’ll want to slice the very tops of the cakes off to make each layer completely flat and level for a more professional look. You can do this using a very sharp bread knife, or a cake leveler.
If you’re not assembling cakes right away, individually wrap each layer tightly in plastic wrap to prevent drying. Layers can be stored in the refrigerator for a day or two, or frozen (wrapped in plastic wrap first, then aluminum foil) for up to two weeks. You may want to consider brushing the layers with simple syrup if you’re freezing them.
Baker’s notes:
* I used 2x (1.2 oz) bags of freeze dried strawberries from the grocery store and pulverized them in the food processor, but you can also buy pre-powdered freeze dried fruit and skip the extra work. If you wanted to just go for a lemon flavor cake, you could leave this out.
** Not buttering or flouring your cake pans actually helps the cakes keep their shape better when cooling and helps prevent the outer edges of the cakes from overcooking. The parchment will allow the bottoms to release from the pans easily, but you will need to run a knife or a toothpick around the outside edge before turning out of the pans.
……..
Strawberry Swiss Meringue Buttercream Icing:
Adapted from “Layered” by Tessa Huff
1 1/4 cup fresh egg whites (not pasteurized egg whites)
2 1/2 cups sugar
1/4 teaspoon salt
3 cups (6 sticks) unsalted butter, at room temperature (cut into 1 tablespoon slices)
4 teaspoons pure vanilla extract
3/4 cups (approximately) powdered freeze-dried strawberries *see note
Place the egg whites, sugar, & salt in a very clean bowl of a stand mixer and whisk them together by hand to combine. Fill a medium saucepan with an inch or two of water and bring to a simmer over medium to medium-high heat. Place the mixer bowl over the saucepan to create a double boiler. Be sure that the bottom of the bowl doesn’t directly touch the water, and that the water doesn’t reach a full boil.
Heat the egg whites until they register 160F on a candy thermometer, whisking regularly to avoid cooking the whites. As soon as they’re at the correct temperature, carefully attach the mixer bowl to the stand mixer and add the whisk attachment.
Beat the egg whites on high speed for 8 to 10 minutes until they hold stiff peaks and the outside of the bowl is cooled to room temperature. Stop the mixer and swap the whisk attachment for the paddle.
On low speed, add the butter, a few tablespoons at a time, waiting for it to incorporate before adding more. Once all the butter is mixed in, add the vanilla extract and strawberry powder and mix in to incorporate. Turn the mixer up to medium-high and beat until the buttercream is smooth and silky, about 3 to 5 minutes.
If the mixture starts to look curdled, just keep beating. It’ll come together.
If the whites were still too warm when the butter was added and the buttercream is too thin and soupy, refrigerate the bowl in 10 or 15 minute bursts until it’s cool (but not cold) and beat again until smooth.
* Baker’s note: I used 2x (1.2 oz) bags of freeze dried strawberries from the grocery store and pulverized them in the food processor, but you can also buy pre-powdered freeze dried fruit and skip the extra work.
……..
Assemble cake:
Place the first cake layer on an 8″ cardboard cake round, serving plate, or cake stand. Using a cake round will make it easier to ice and decorate, especially if you have a revolving turntable for decorating (I use a lazy suzan, but you can also just spin your plate or cake stand while you work).
Fit a piping bag with a large star tip and fill with a two or three cups of the Strawberry Buttercream. Pipe a thick dam of icing around the outside of the cake to contain the curd filling. This will ensure that the filling stays in place and doesn’t squish out when the layers are stacked.
Place about 3/4 to 1 cup or so of the curd in the center of the cake and spread it smooth and even using an icing spatula. Add the next layer of cake, looking from directly over the top and from eye level at the cake to make sure each layer is directly one above the other, rotating the cake to be certain. Repeat the same procedure with the buttercream dam and another cup of the curd, then add the third and final layer of cake and check for straightness again. Reserve about a cup or so of icing in the piping bag for additional decorations later.
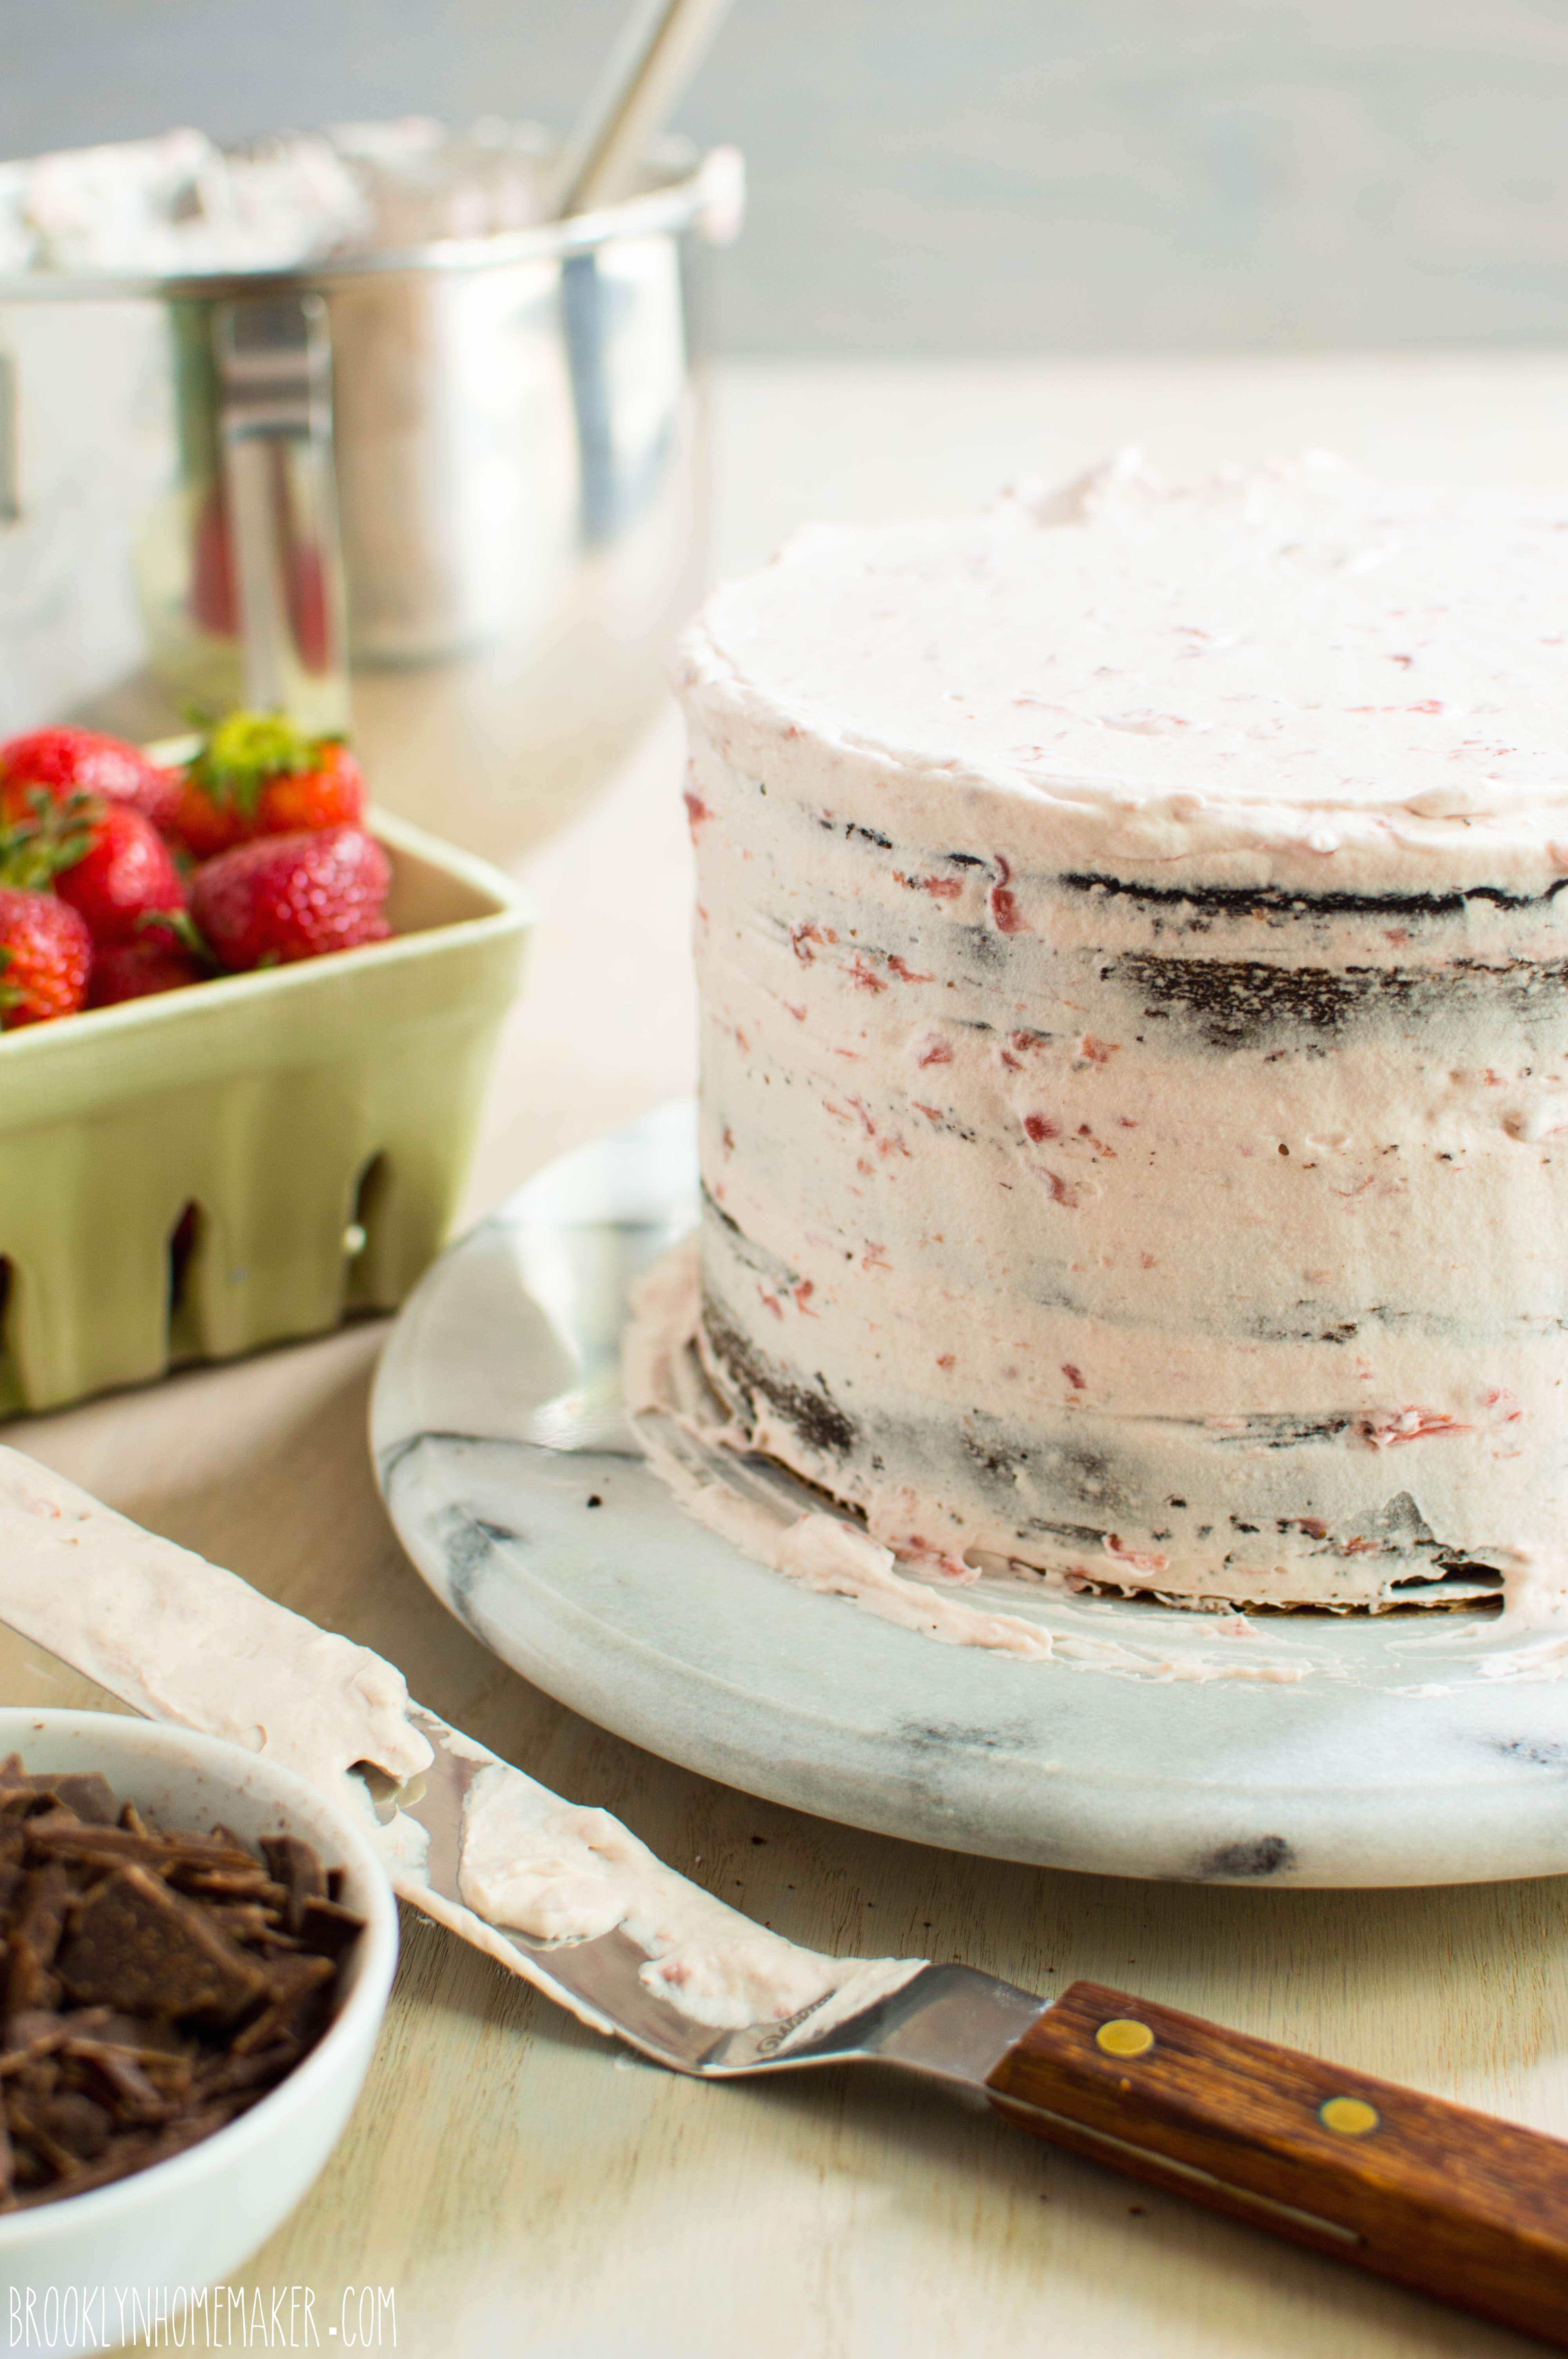
Using about a third or so of the remaining icing, crumb coat your cake. Starting with the top of the cake, spread the icing thin and work some of it down the sides of the cake to completely cover the whole thing in a thin, smooth, even coat of icing. This first layer of icing seals the cake and keeps crumbs from being visible in the outer layer of icing. It may seem like unnecessary trouble, but it really is worth it to get a smooth professional finish on the icing.
Place the cake in the refrigerator for about 30 minutes to an hour to help set the icing and firm up the cake.
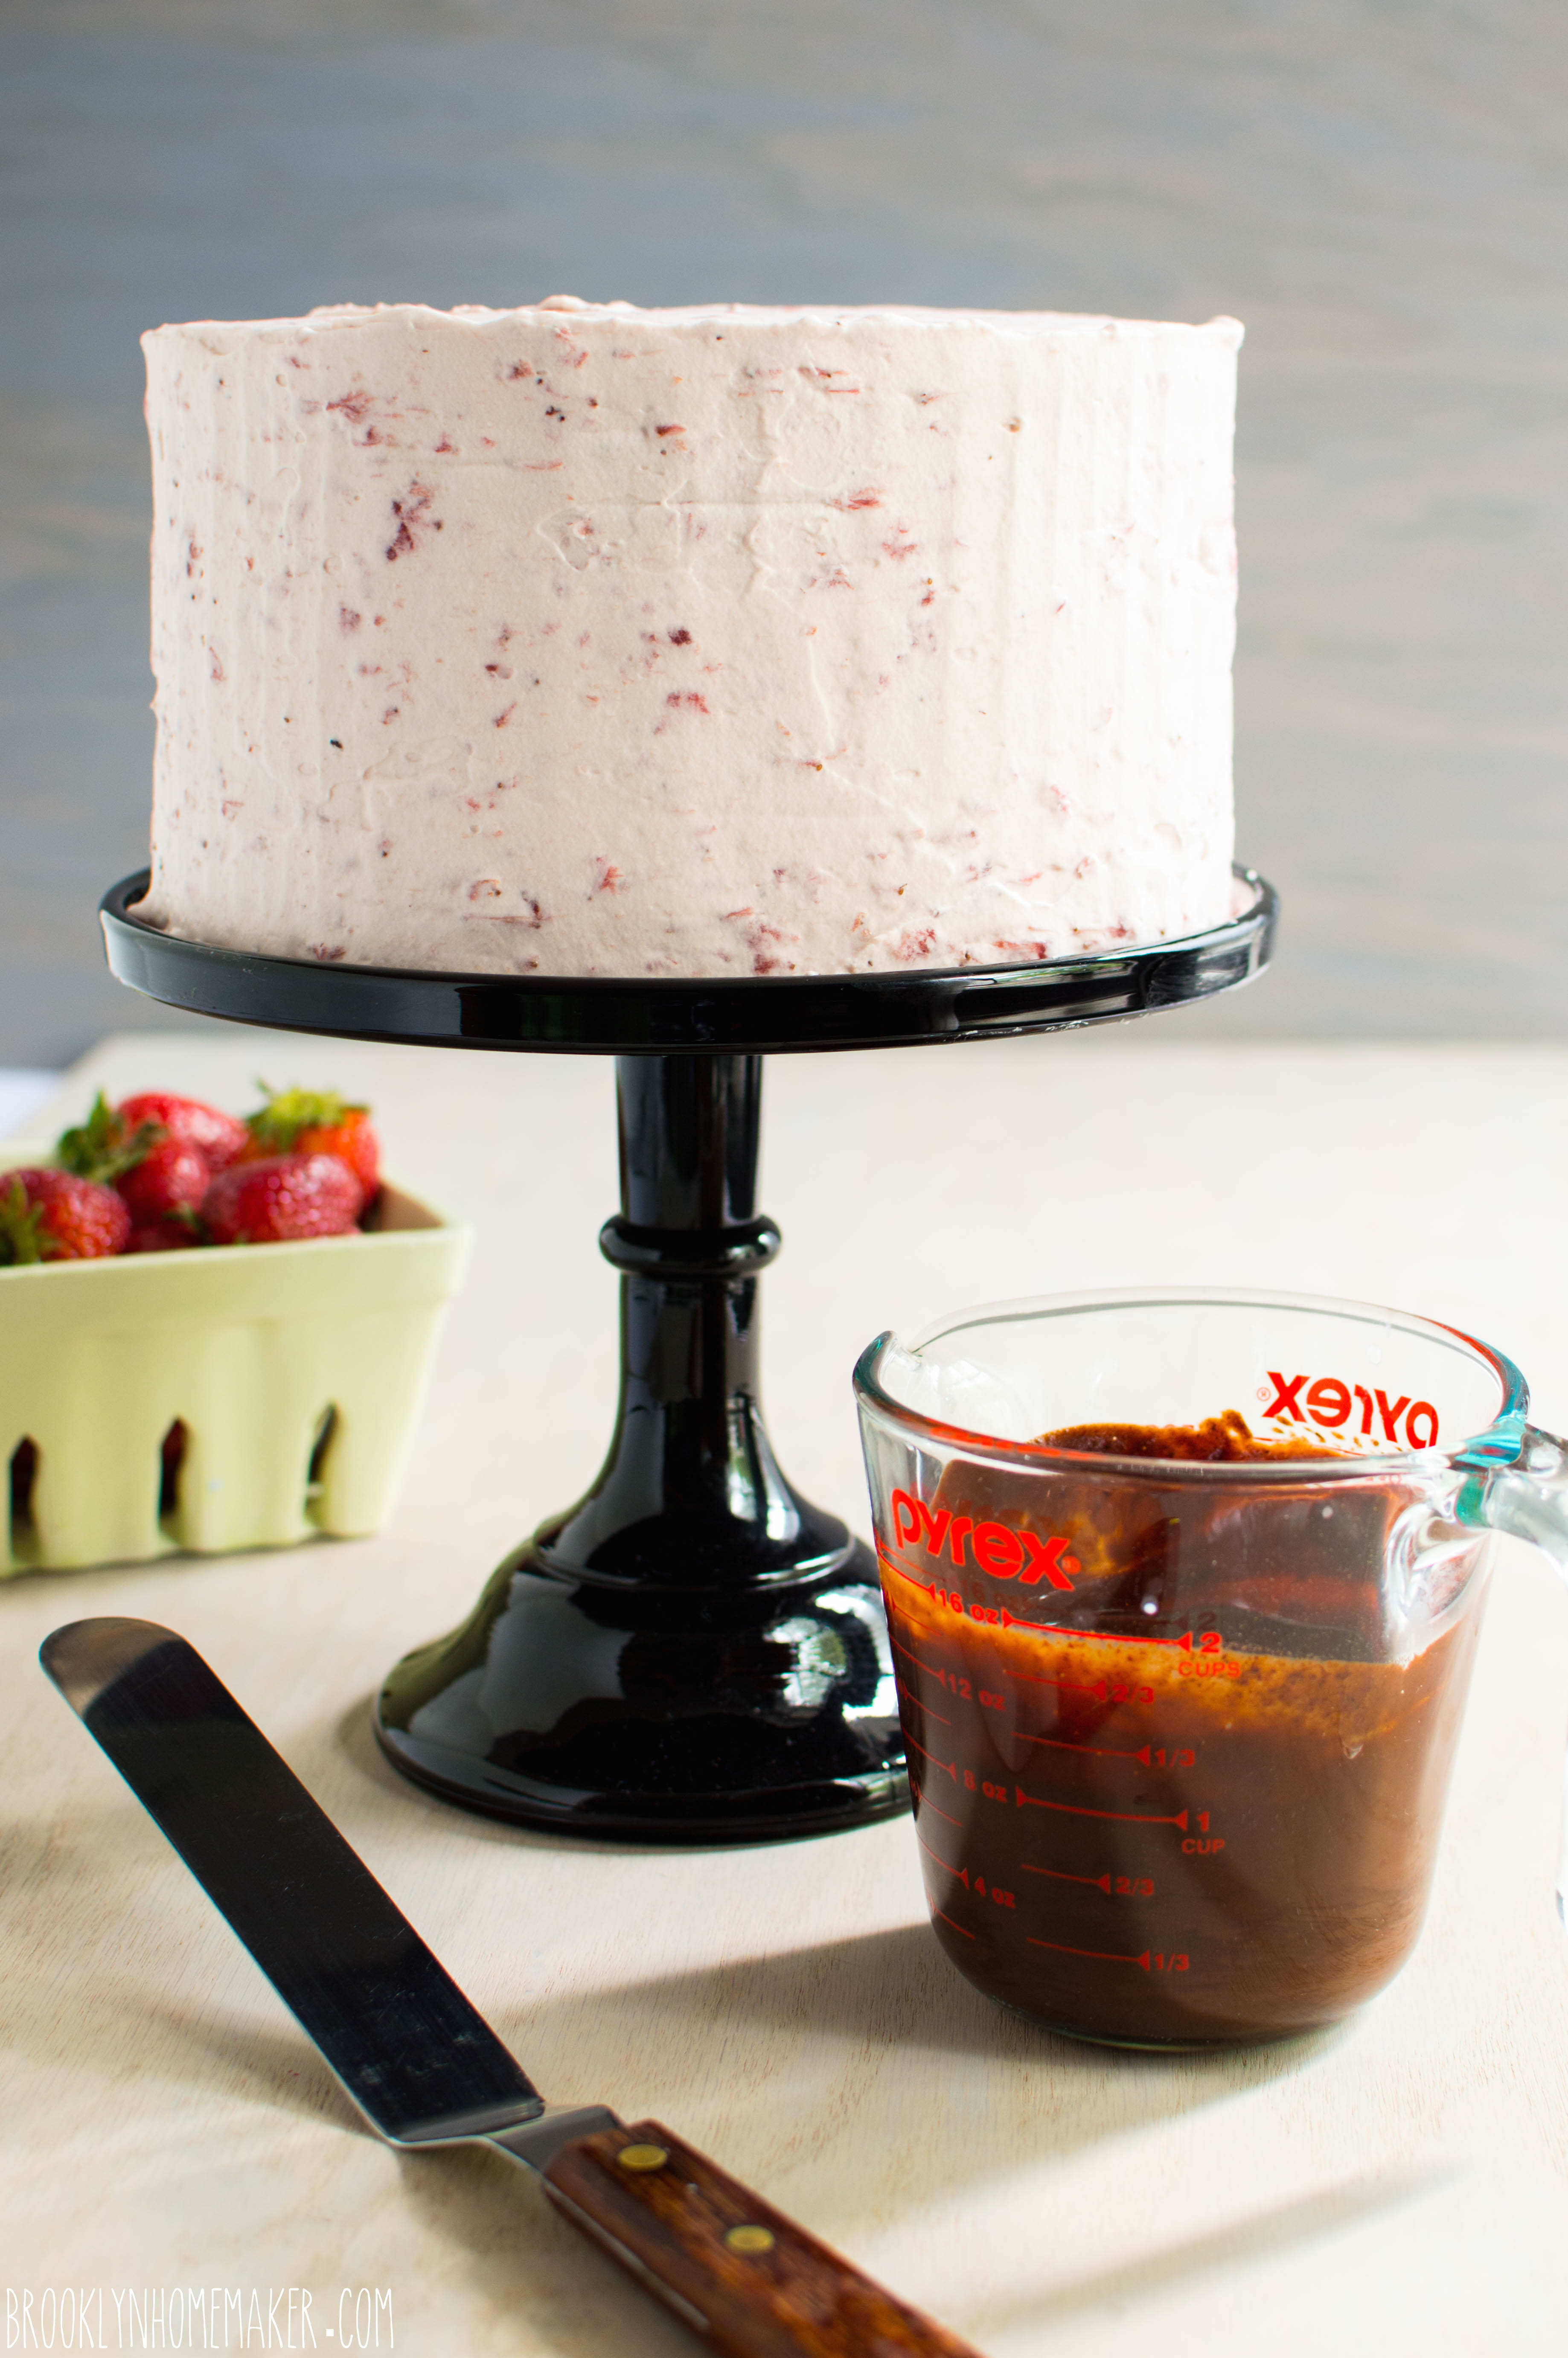
Spread another layer of the remaining buttercream over the whole cake the same way you did the crumb coat. Start by smoothing the top and slowly working the icing down the sides to cover the cake completely. Try to get the icing as completely smooth as possible with straight sides and a flat, level top. I use a long offset icing spatula and an icing smoother.
You may have a little icing left over but I thought it was better to have a bit more than you need to use for decorations just in case.
……..
Decoration:
(optional)
rainbow sprinkles
multicolor dragees
lemon head candies (small)
Candy Drip:
6 oz yellow candy melts (or white with a few drops of yellow candy color)
1 to 2 tablespoons heavy cream
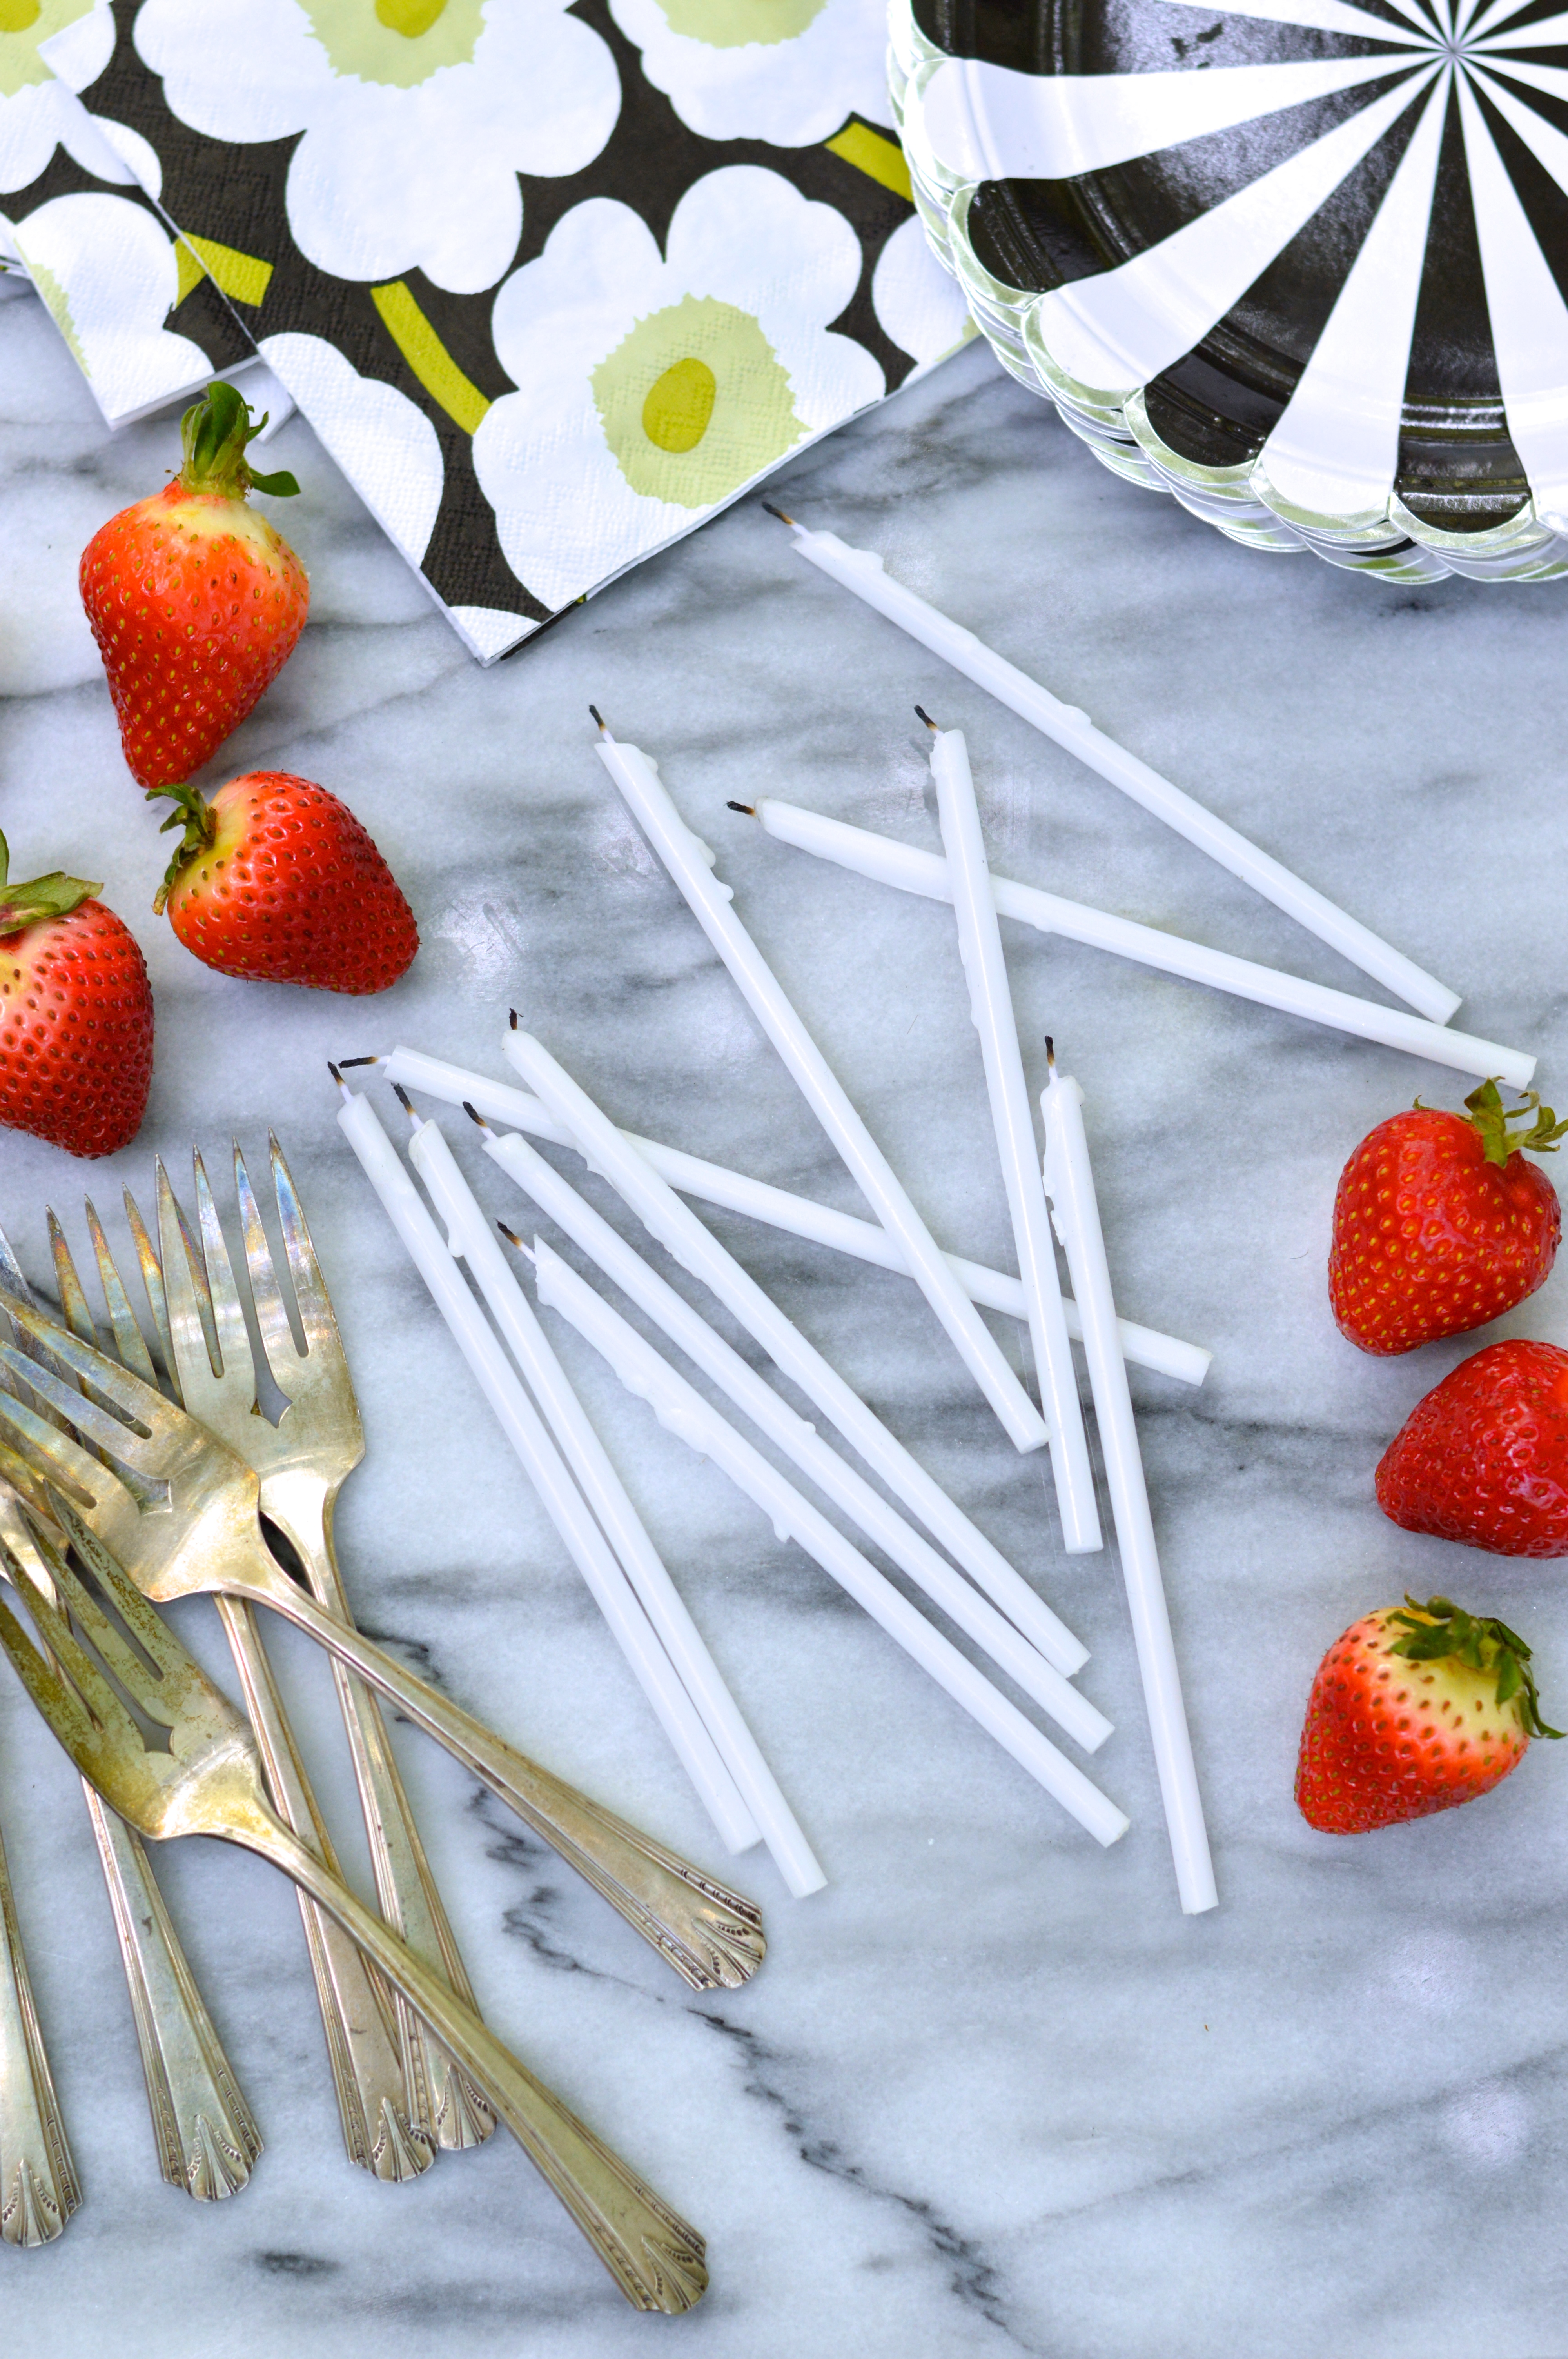
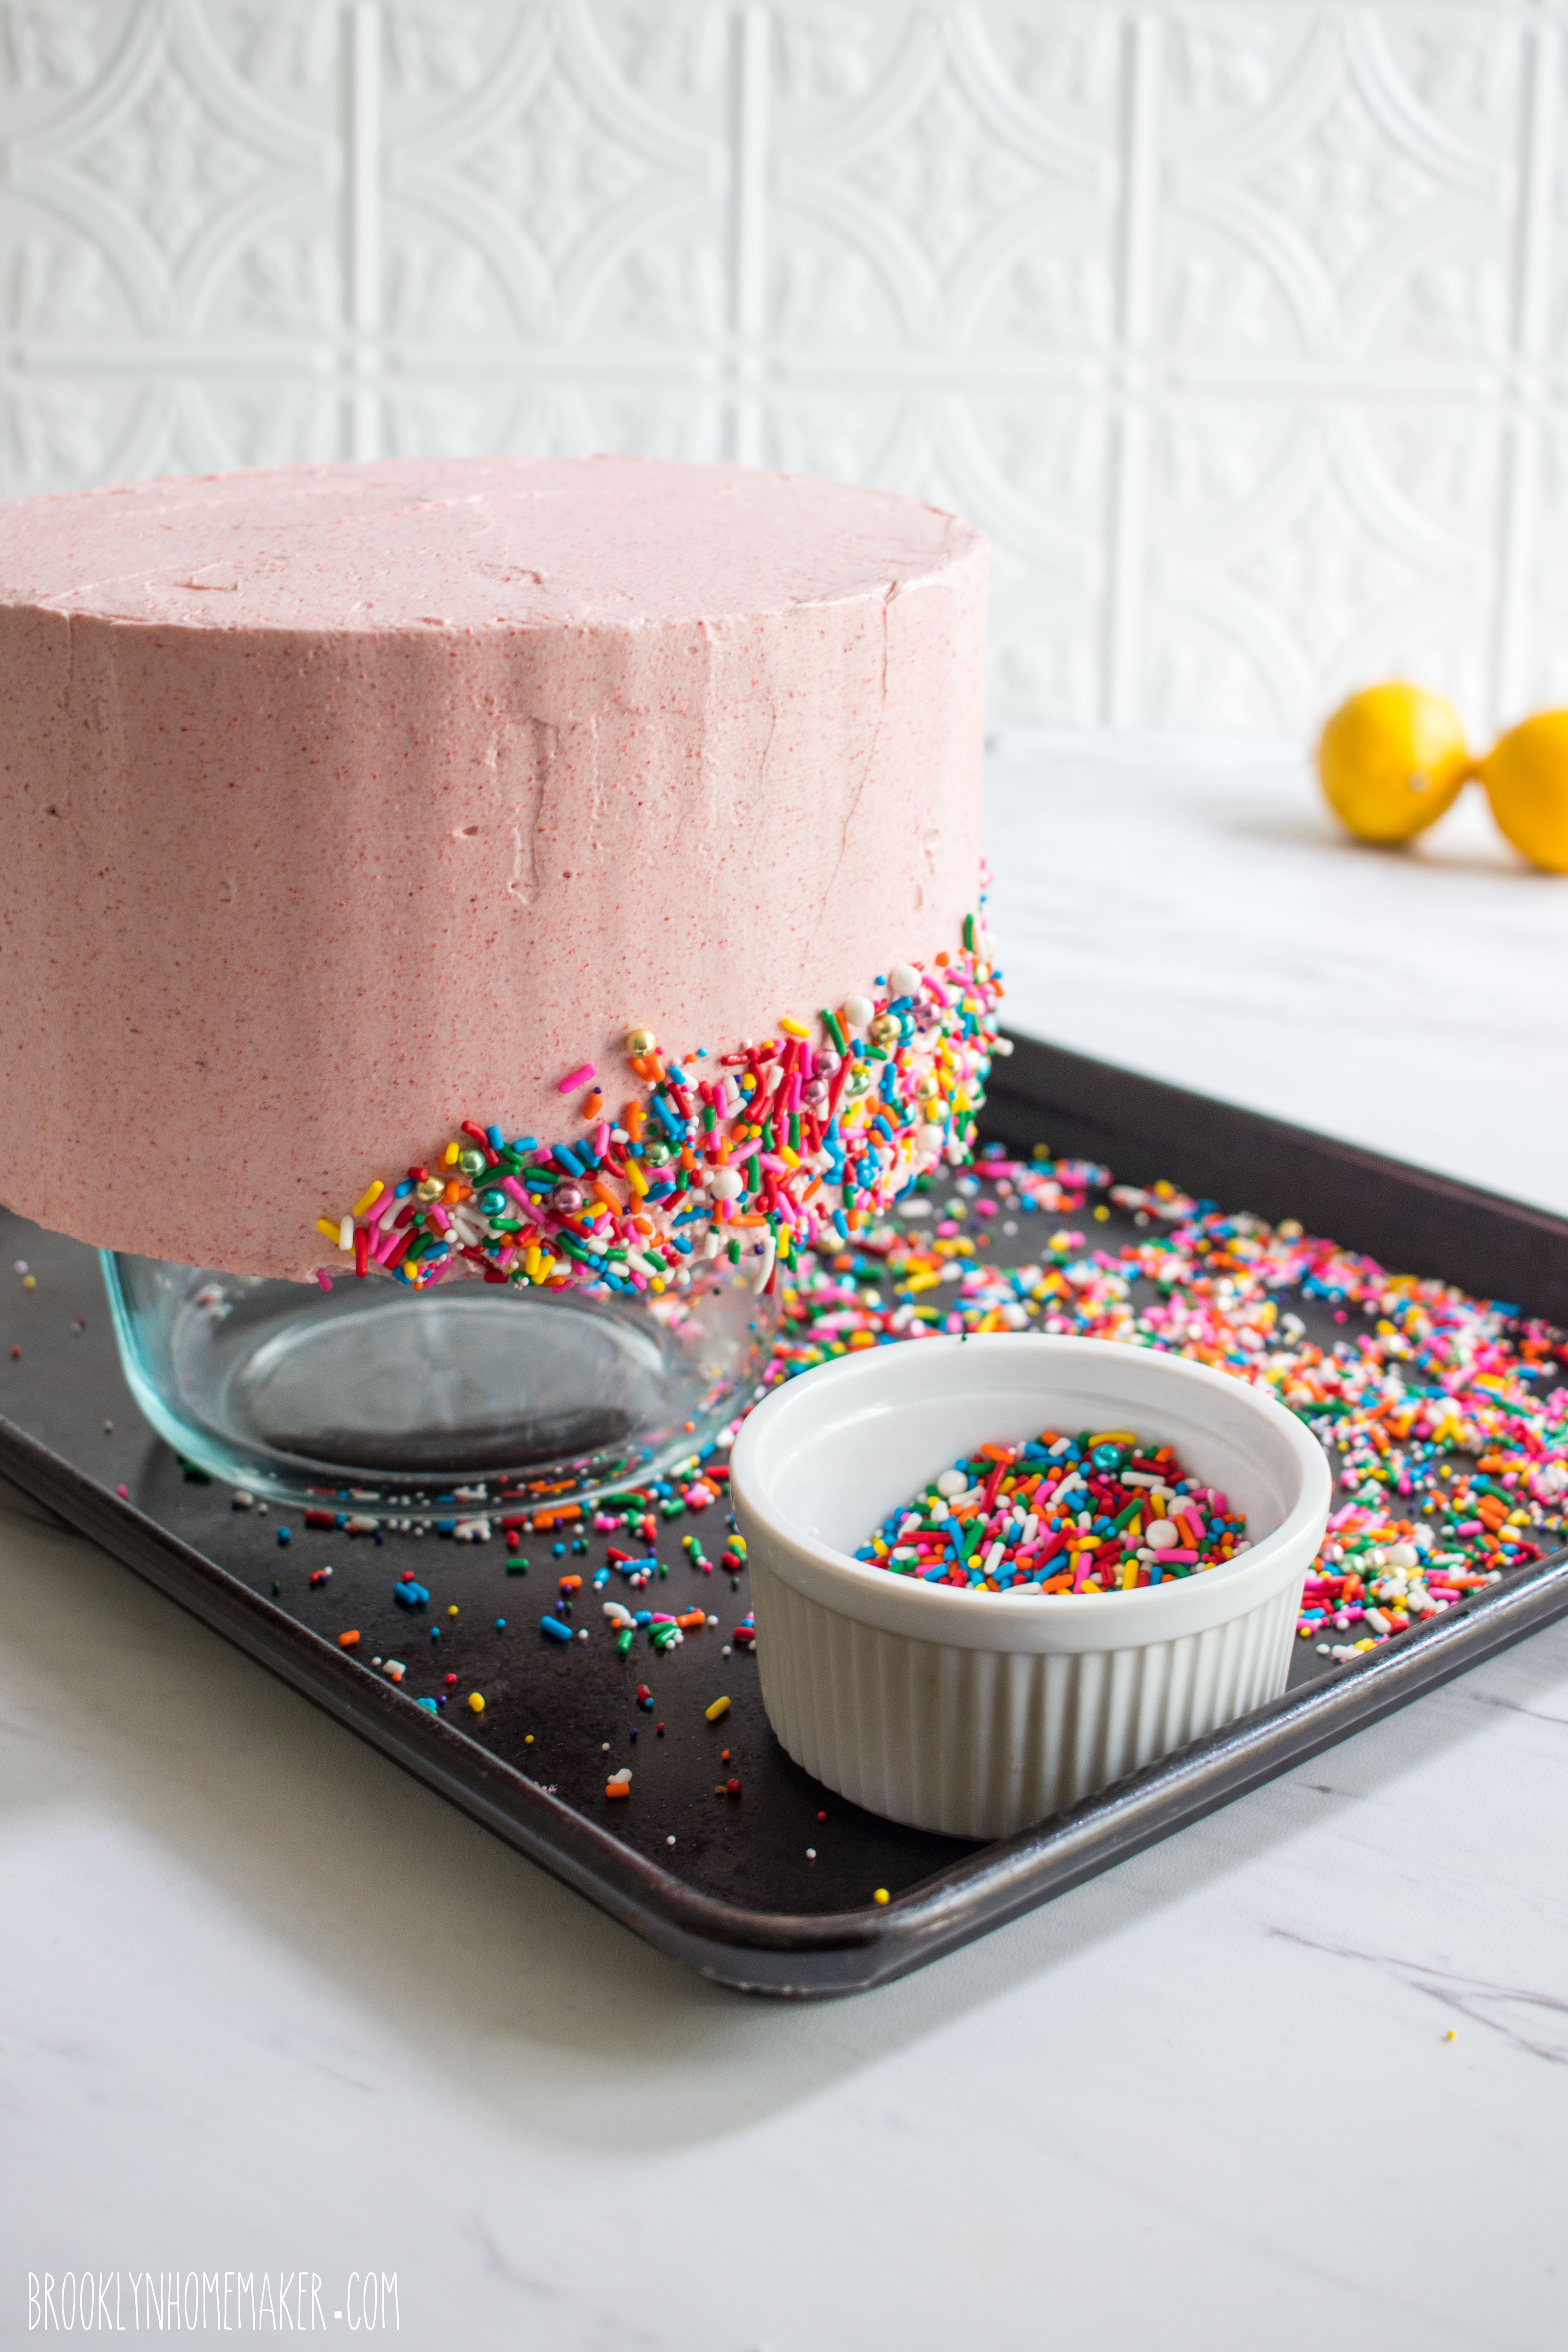
If desired you can add sprinkles to the lower half of the cake. Carefully lift the cake up and place the cake board on a bowl or container that is slightly smaller than the width of the cake, and then place the bowl on a rimmed baking sheet to collect falling sprinkles. Using clean hands, grab small handfuls of sprinkles and decorations and gently press into the icing on the lower half of the cake.
Refrigerate the cake again for at least another 30 minutes to set and chill the icing before adding the yellow candy drip. Once the cake is chilled, make the candy drip by microwaving the candy melts in a heat safe bowl or measuring cup in 30 second bursts until melted. Stir in heavy cream, a few teaspoons at a time, just until the drip is thin enough to pour from a spoon in a thin even stream, but don’t add too much or the drips won’t stay put and will pour right off the cake. It’s better to need to keep adding a little more, because you can’t take it out if you thin the drip out too much.
Starting at the outer edge of the top of the cake, start adding one drip at a time, rotating the cake until you’ve gone all the way around. I used a small squeeze bottle for extra control, but you can use a spoon as well. Once you’ve added drips all the way around the cake, fill in the center and smooth with a small spatula. Return the cake to the fridge for another 20 to 30 minutes to set the drips before proceeding.
Finish by piping small swirls of icing around the top of the cake, and top each swirl with a lemon head candy.
Cake will keep well covered in the refrigerator for up to 3 days.
If refrigerating, bring cake to room temperature at least two hours before serving.