Desserts

buttermilk vanilla ice cream

It’s no secret that I love buttermilk.

buttermilk vanilla ice cream | Brooklyn Homemaker

I love buttermilk so much, in fact, that when I read online about people substituting sour milk for buttermilk I actually get upset and maybe yell at the computer screen a little. When thekitchn recently ran an article about substitutions for buttermilk, I was beyond annoyed. I thought they were better than that. You know what I do when I don’t have buttermilk? I go to the damn store!!!

buttermilk vanilla ice cream | Brooklyn Homemaker

I know it’s hard to find buttermilk sold in small quantities, but I promise that it freezes really well, and then you’ll have it when you need it. In my opinion there’s just no excuse not to buy it when you’re shopping for a recipe. The main reason for my indignance is that buttermilk just turns everything it touches to gold, and so it seems ridiculous that anyone would work so hard to avoid using it. It’s mild acidity has the ability to loosen proteins in both meat and wheat gluten, making for fried chicken and biscuits that are equally tender and moist. It has a sour tanginess, but it’s not at all similar to milk soured with lemon juice. This tanginess is a cultured one, closer in flavor to yogurt or sour cream. Because it’s a cultured dairy product, it also has a light creamy thickness that you’ll never be able to achieve with sorry substitutes.

buttermilk vanilla ice cream | Brooklyn Homemaker

I’ve read that today’s commercial buttermilk doesn’t even come close to the real thing, the buttermilk our grandparents and great-grandparents used to use. I know it is possible to find buttermilk being made the old fashioned way, or even to make it yourself at home, but my fanaticism hasn’t gone that far… Yet. Ignorance is bliss I suppose because I’m perfectly happy using the stuff from the grocery store, and maintain that it has a flavor and viscosity unmatched by substitutes, resulting in baked goods and tasty treats with superior texture and taste you’ll never be able to achieve any other way.

buttermilk vanilla ice cream | Brooklyn Homemaker

I love buttermilk in everything but a drinking glass. That tanginess and viscosity is perfect for baking, but somehow doesn’t appeal to me for drinking. Not yet anyway. My great-grandmother used to drink the occasional glass when I was growing up. Her name was Opal, but we called her Nana, and at the time I thought she was out of her mind to drink the stuff. These days though, I think I almost get it. I love the smell now, and relish the occasional taste when it gets on my hands. When I first heard someone mention buttermilk ice cream, I knew I had to try it. I researched some recipes, did some reading, danced a little jig, dusted off the ice cream maker, and went to town.

buttermilk vanilla ice cream | Brooklyn Homemaker

I was so excited about tasting buttermilk ice cream that I accidentally mis-read the recipe. I skipped over the part about using half of a vanilla bean, and used the whole thing. It wasn’t until the bean was scraped and steeping in hot cream that I realized I’d messed up. You know what though, it was phenomenal! The recipe below is exactly as I made it, with plenty of vanilla.

buttermilk vanilla ice cream | Brooklyn Homemaker

This ice cream is serious business. I feel like people don’t give vanilla ice cream the credit it’s due, but I for one LOVE a good bowl of vanilla ice cream. This isn’t just any vanilla ice cream though. It’s BUTTERMILK FREAKIN VANILLA ICE CREAM. It’s every bit as creamy, custardy, sweet, and packed with all the vanilla flavor that you’d want it to be. Beyond all that though, it’s silky and rich, with a wonderful subtle tanginess that only comes from buttermilk. It’s almost lemony, but somehow not quite. It almost has a slight yogurt flavor, but again, that’s not quite it either. It’s buttermilk y’all, and it can’t be beat.

buttermilk vanilla ice cream | Brooklyn Homemaker

Buttermilk Vanilla Ice Cream

  • Servings: about 5 or 6 cups
  • Print
adapted from Smitten Kitchen

2 cups heavy cream
1 1/4 cup sugar, separated
6 large egg yolks*
2 cups buttermilk
1 tablespoon vanilla OR one vanilla bean, scraped and simmered with the cream
Pinch of salt

In a large, heavy saucepan, combine the heavy cream, vanilla bean (if using), and one cup of sugar and bring to a simmer over medium heat.
In a large bowl, whisk egg yolks and remaining 1/4 cup of sugar.
Remove the cream mixture from the heat and drizzle a small amount into the yolks, slowly, and whisking constantly to keep the eggs from curdling. Do this a few more times to warm up the yolks before pouring the yolk mixture back into the cream, whisking constantly.
Cook over low heat until the mixture is thick enough to coat the back of a spoon. Strain the mixture and whisk in the buttermilk, vanilla (if using), and salt. Cool completely and freeze according manufacturer’s directions. Serve with some fresh sliced peaches or strawberries.

* The original recipe called for 12 yolks. The ice cream would be outrageously rich and decadent if you wanted to use more, but with six yolks it’s still much much more rich than anything you can buy in a store.


our wedding

– Originally posted on June 1st, 2014 –

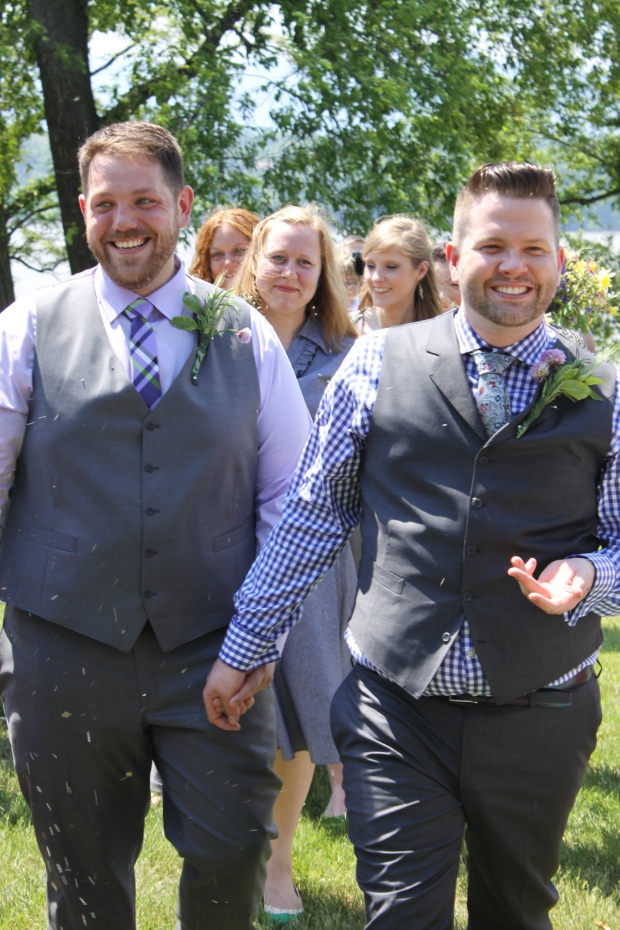
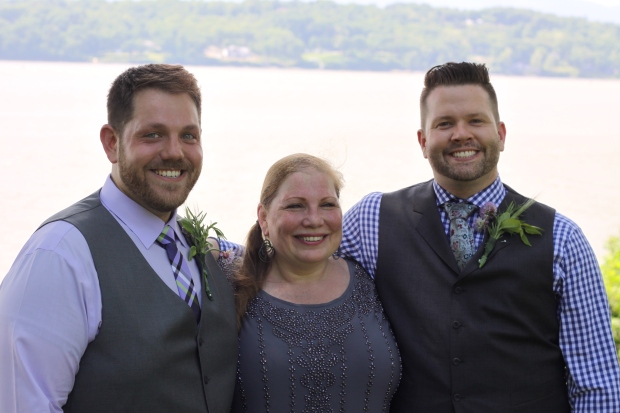
Exactly one year ago today I married my best friend.

Tuxedo & Russell's Hudson Valley June Wedding | marriage equality | Brooklyn Homemaker

Like so many modern Americans, Russell and I actually found each other through internet dating. In 2009, we turned to OkCupid and went on our first date in November. We were immediately inseparable and were planning our wedding color scheme within weeks.

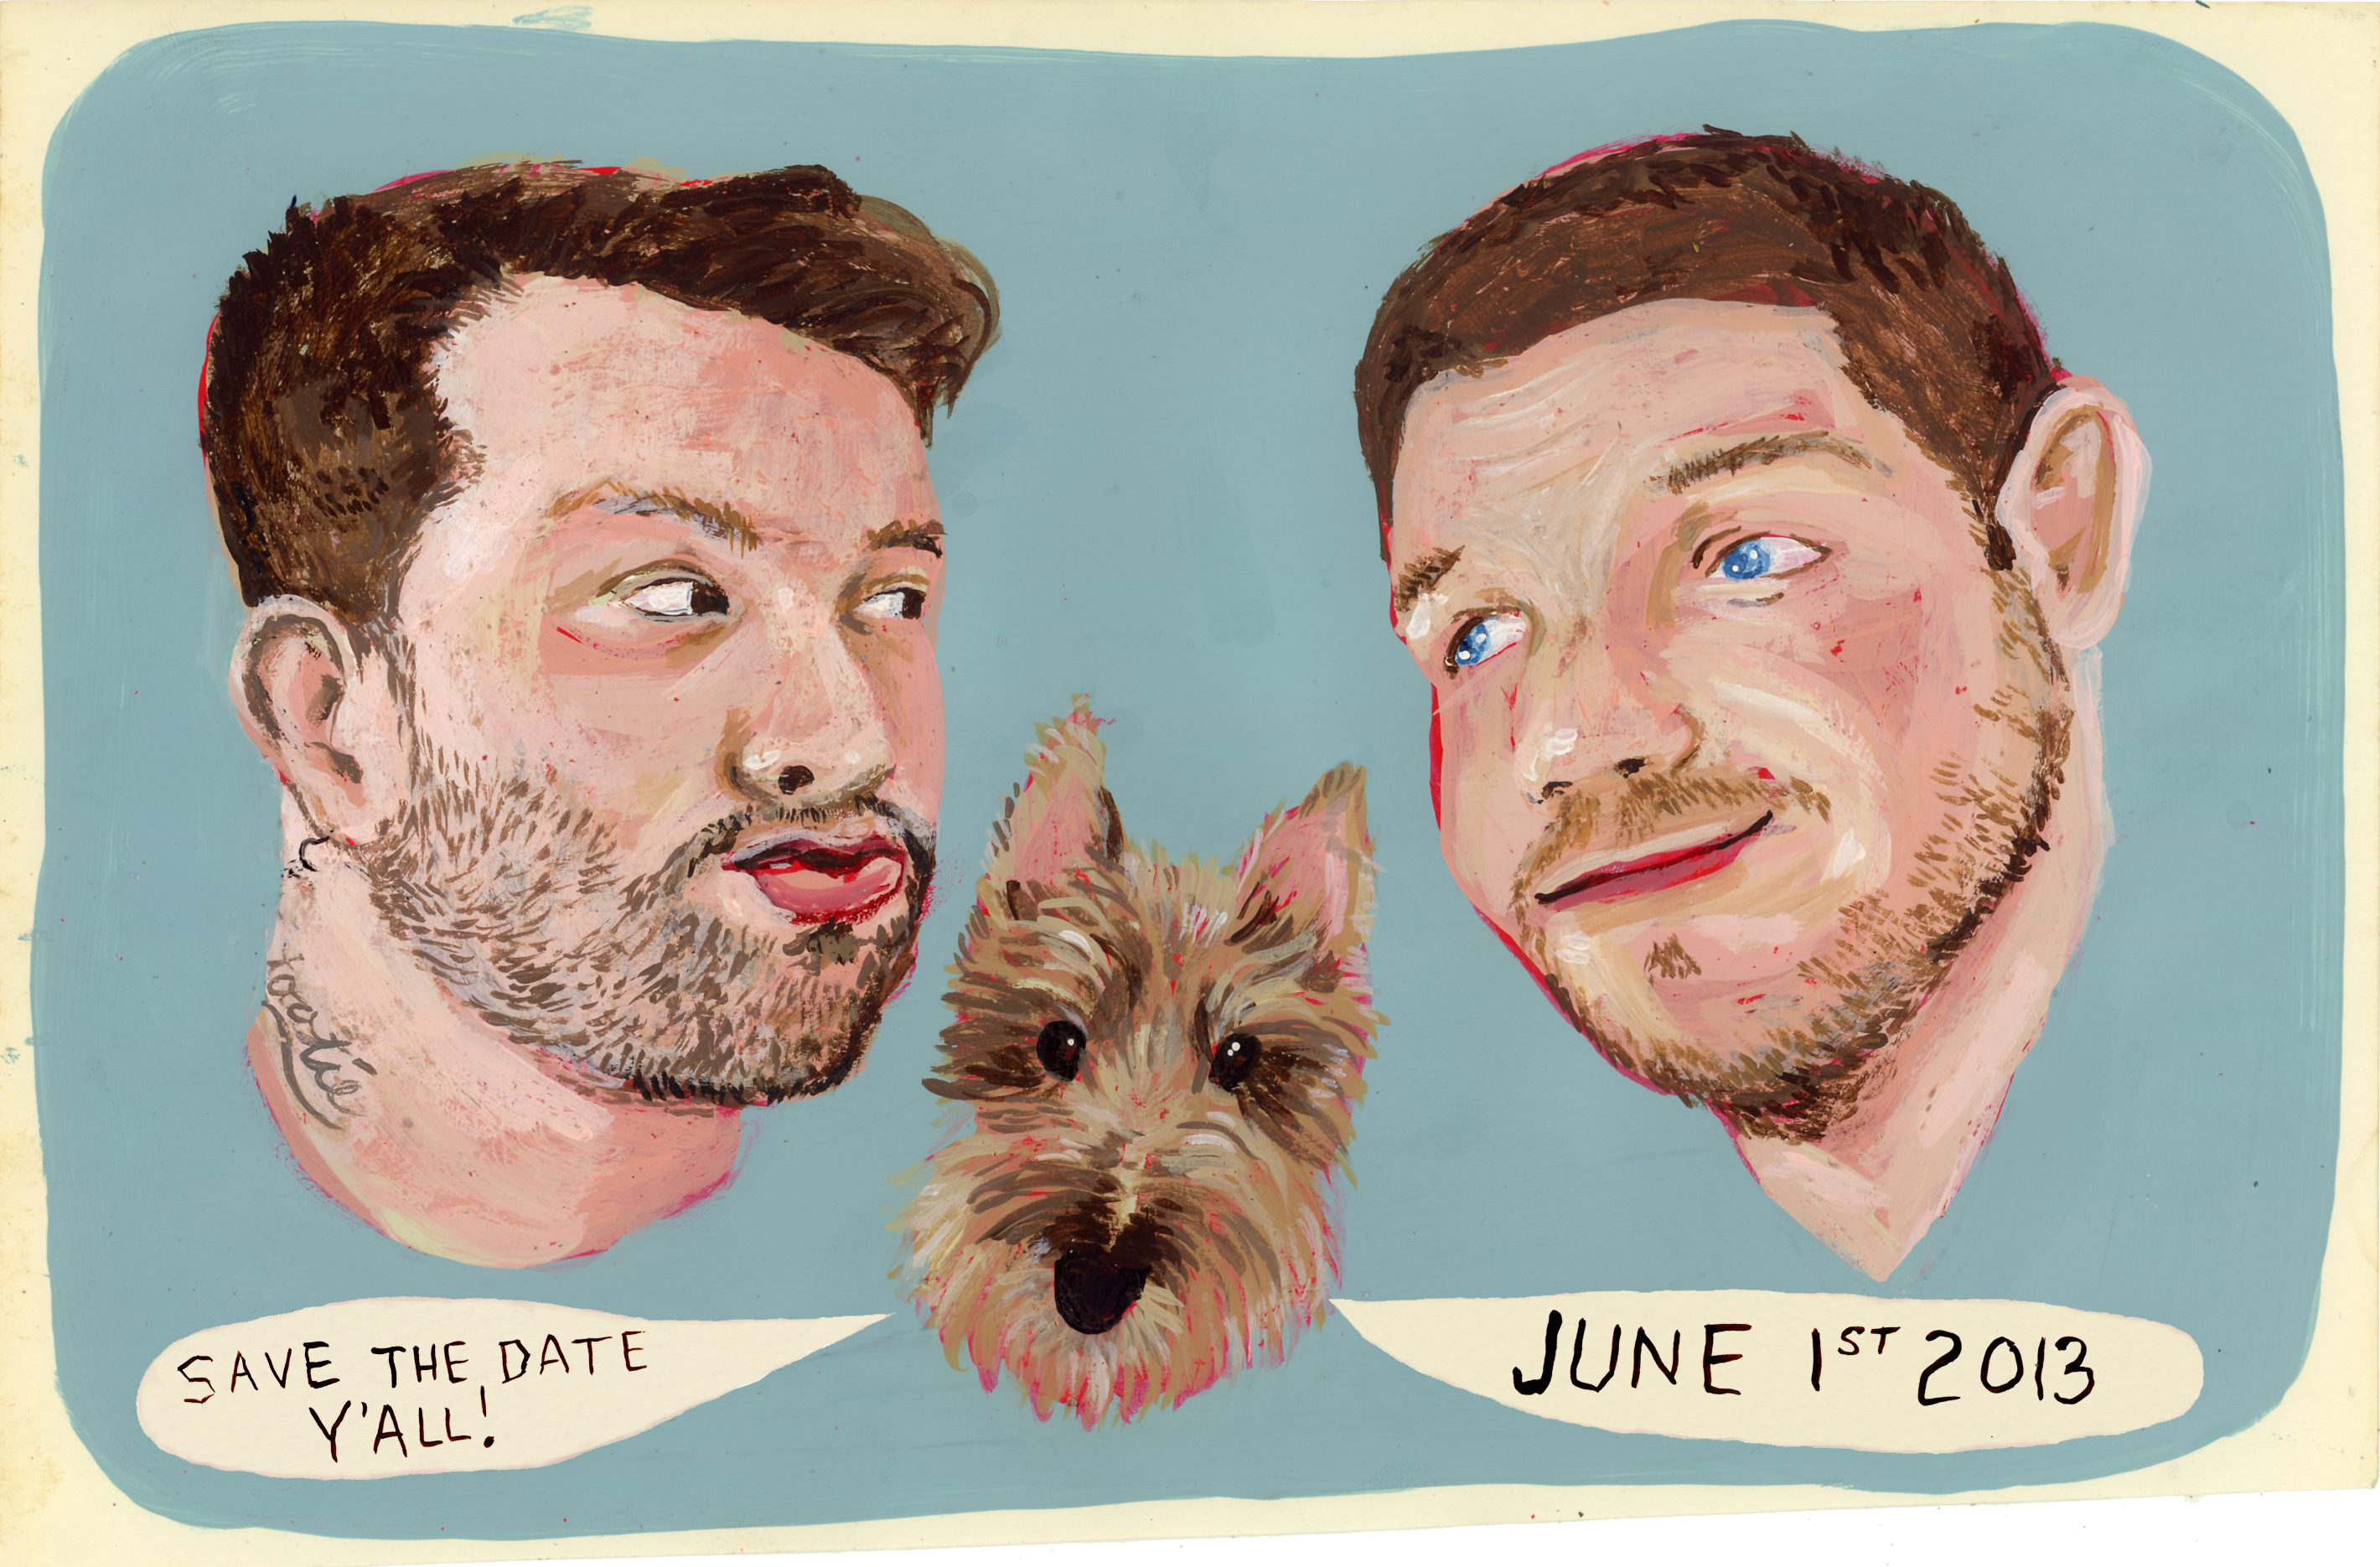
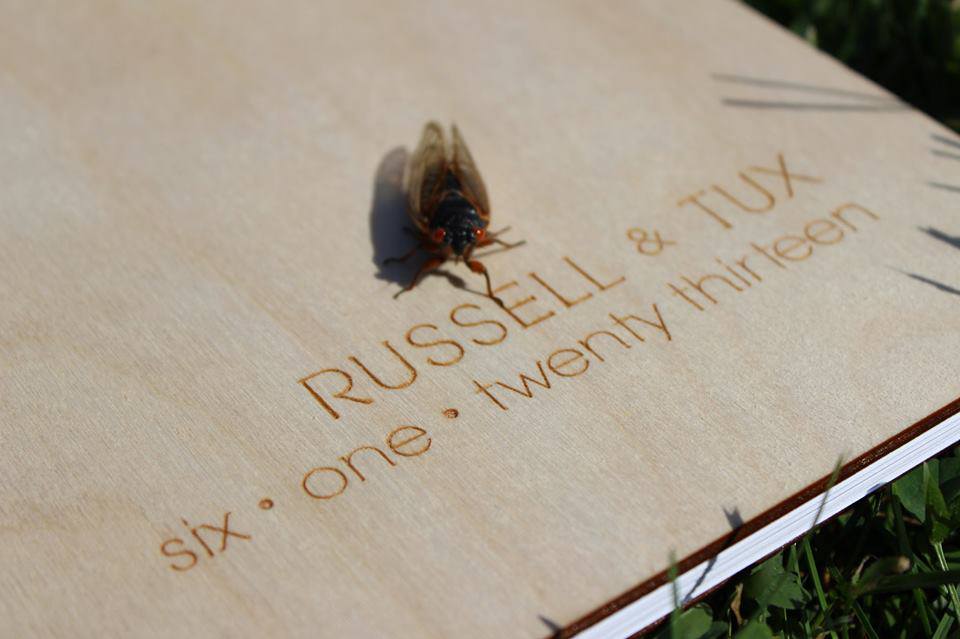
In 2011 I started planning the proposal, and at midnight on New Year’s eve I popped the question. As a special surprise, I reached out to Russell’s favorite artist and asked her if she’d be willing to make us a custom save the date.

custom save the date artwork by Martha Rich | Tuxedo & Russell's Hudson Valley June Wedding | Brooklyn Homemaker

When we were first engaged, I was working in event planning at AIDS Walk New York, so I tried to take advantage of my experience to plan and organize our wedding. We gave ourselves 17 months to plan, prepare, and save; and we tried to DIY as many of the elements as possible.

We knew we wanted to have a big wedding with lots of friends and family, but we also wanted it to be a relaxed & informal event. When it came time to choose a venue, we immediately ruled out Brooklyn because, well, because we’re not independently wealthy. As we started thinking about different regions in New York, the Hudson Valley quickly moved to the top of the list. No matter where we chose, most of our guests would have to travel, and we thought that the Hudson Valley would be easy to get to even if it was a short drive from the city.

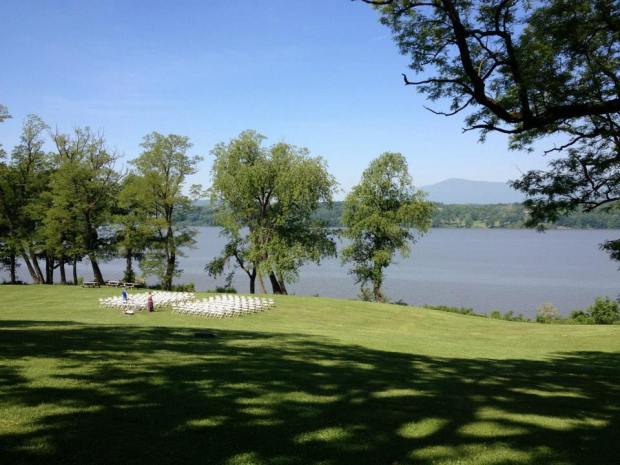
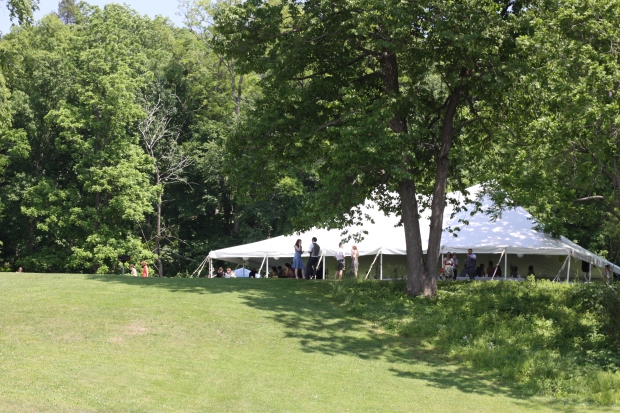
We found some venues in our budget, piled into a rental car with Doris, and drove upstate. After seeing a few places that looked great online but didn’t measure up to our expectations, we powered on to our last stop. When we got there we just knew. Not five minutes into the tour we were stealing glances at each other and nodding in agreement behind the wedding coordinator’s back. The place was a breathtaking estate with gorgeous sprawling lawns overlooking the Hudson river and the Catskill Mountains beyond. So, that was that. We were gonna get hitched in the great outdoors at the Clermont State Historic Site in Germantown, NY.

Tuxedo & Russell's hudson valley June wedding | Clermont State Historic Site | Brooklyn Homemaker

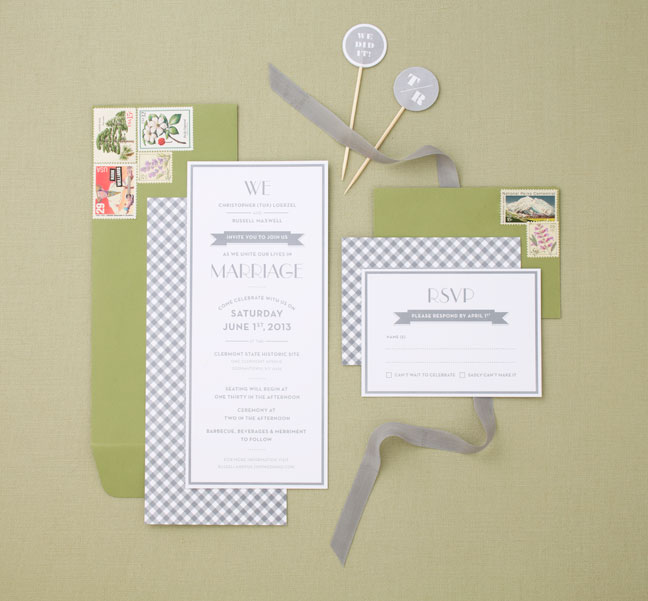
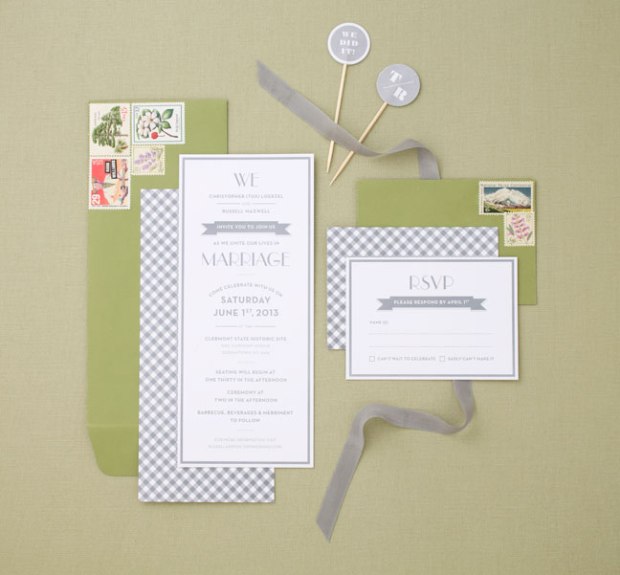
With the venue chosen, we asked my good friend Alix Sorrell to design our invitations and programs, and we were on our way.

grey gingham & green wedding invitations with vintage stamps | Tuxedo & Russell's Hudson Valley June Wedding | Brooklyn Homemaker

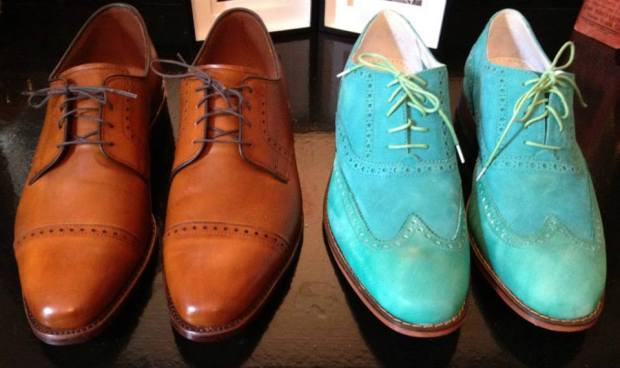
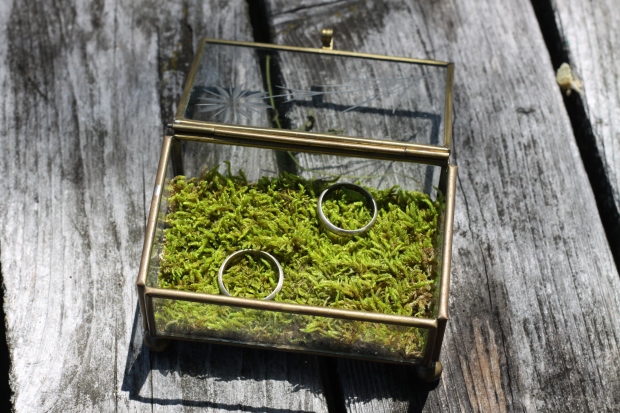
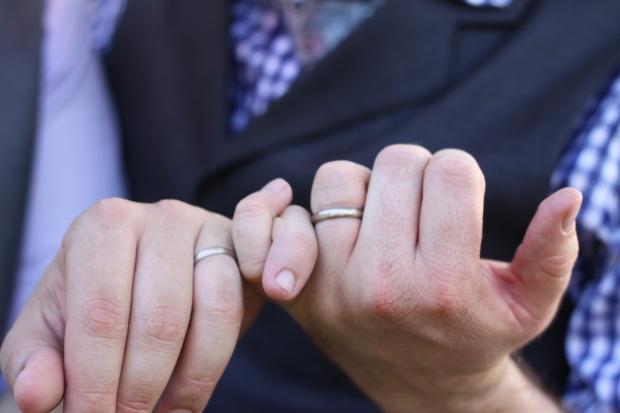
We started making decisions left and right, buying up string lights and chalkboards, hunting for shoes and rings, and looking into vendors and caterers.

grooms shoes | Tuxedo & Russell's Hudson Valley June Wedding | Brooklyn Homemakervintage glass ring box with moss

I was already completely addicted to Pinterest, but planning my wedding put me into overdrive. My wedding board quickly grew to over 500 pins, and it became a place I would store all sorts of design ideas and links to cheap supplies and DIY projects. I don’t think I could ever have made our wedding as beautiful as it was without all the inspiration I found on Pinterest.

I also used spreadsheets on google drive, like, A LOT. I made spreadsheets to organize our guest list, budget tracker, supply checklist, to do list, vendor contact info, project lists, etc., etc., etc. If you’re trying to plan and organize your own wedding without a professional planner, spreadsheets are sooo helpful. I would never have been able to keep track of everything without them, and I’m certain we would have doubled our budget if I hadn’t been so anal about it.

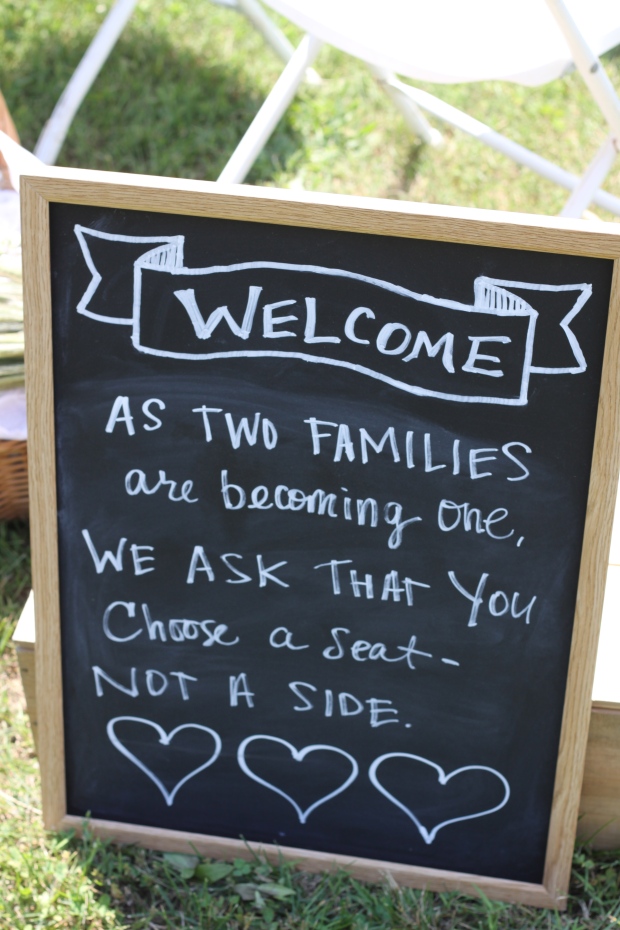
Speaking of sticking to a budget, some of the best advice I received came from a book called, A Practical Wedding. “F*ck ‘em if they don’t like chairs.” Those words really helped me to get over my anxiety about things we thought were expected of us but we simply couldn’t afford. We prioritized the things we thought would be important and memorable, and skimped on the things that we didn’t care so much about, like the chairs. Rather than gilded wooden chairs we opted for the white plastic folding variety, and I really don’t think anyone even noticed.

chalkboard welcome message | Tuxedo & Russell's Hudson Valley June Wedding | Brooklyn Homemakerwedding program hand fans | Tuxedo & Russell's Hudson Valley June Wedding | Brooklyn Homemaker

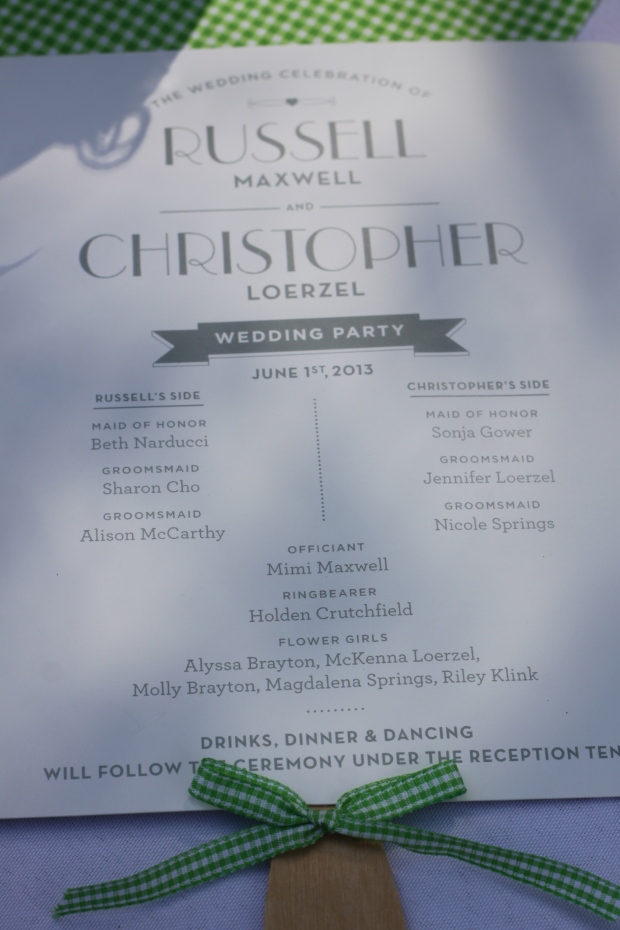
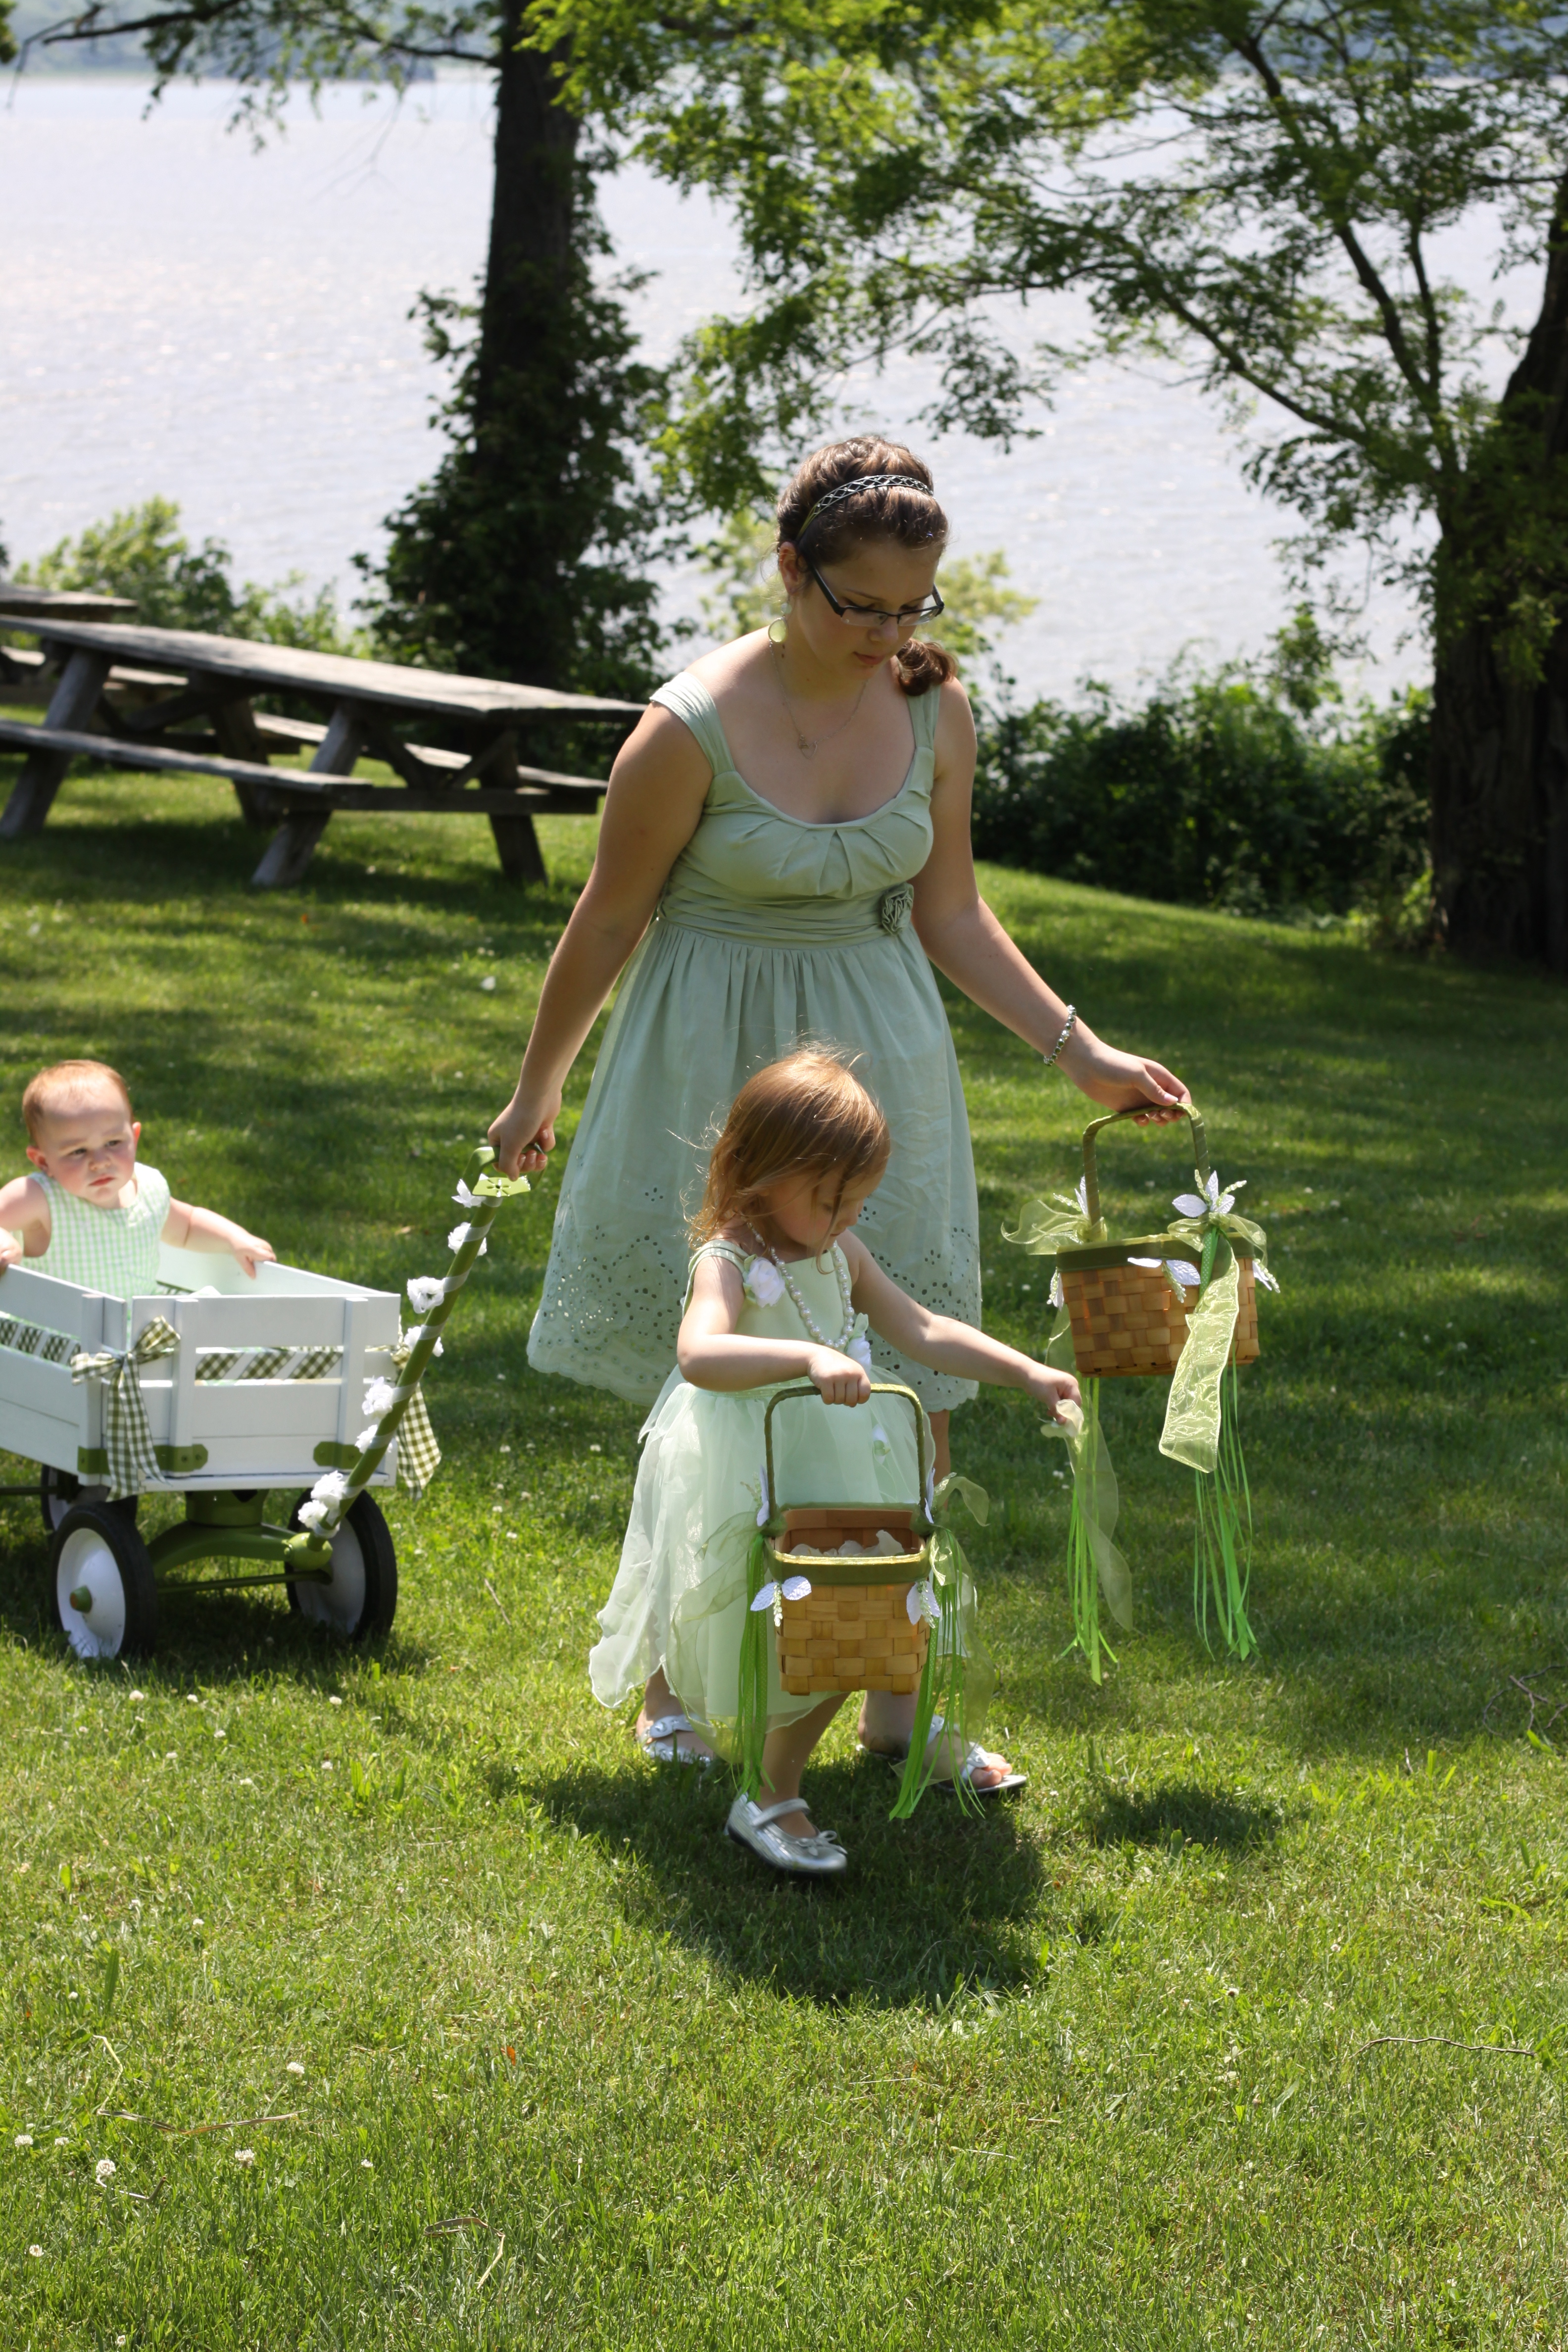
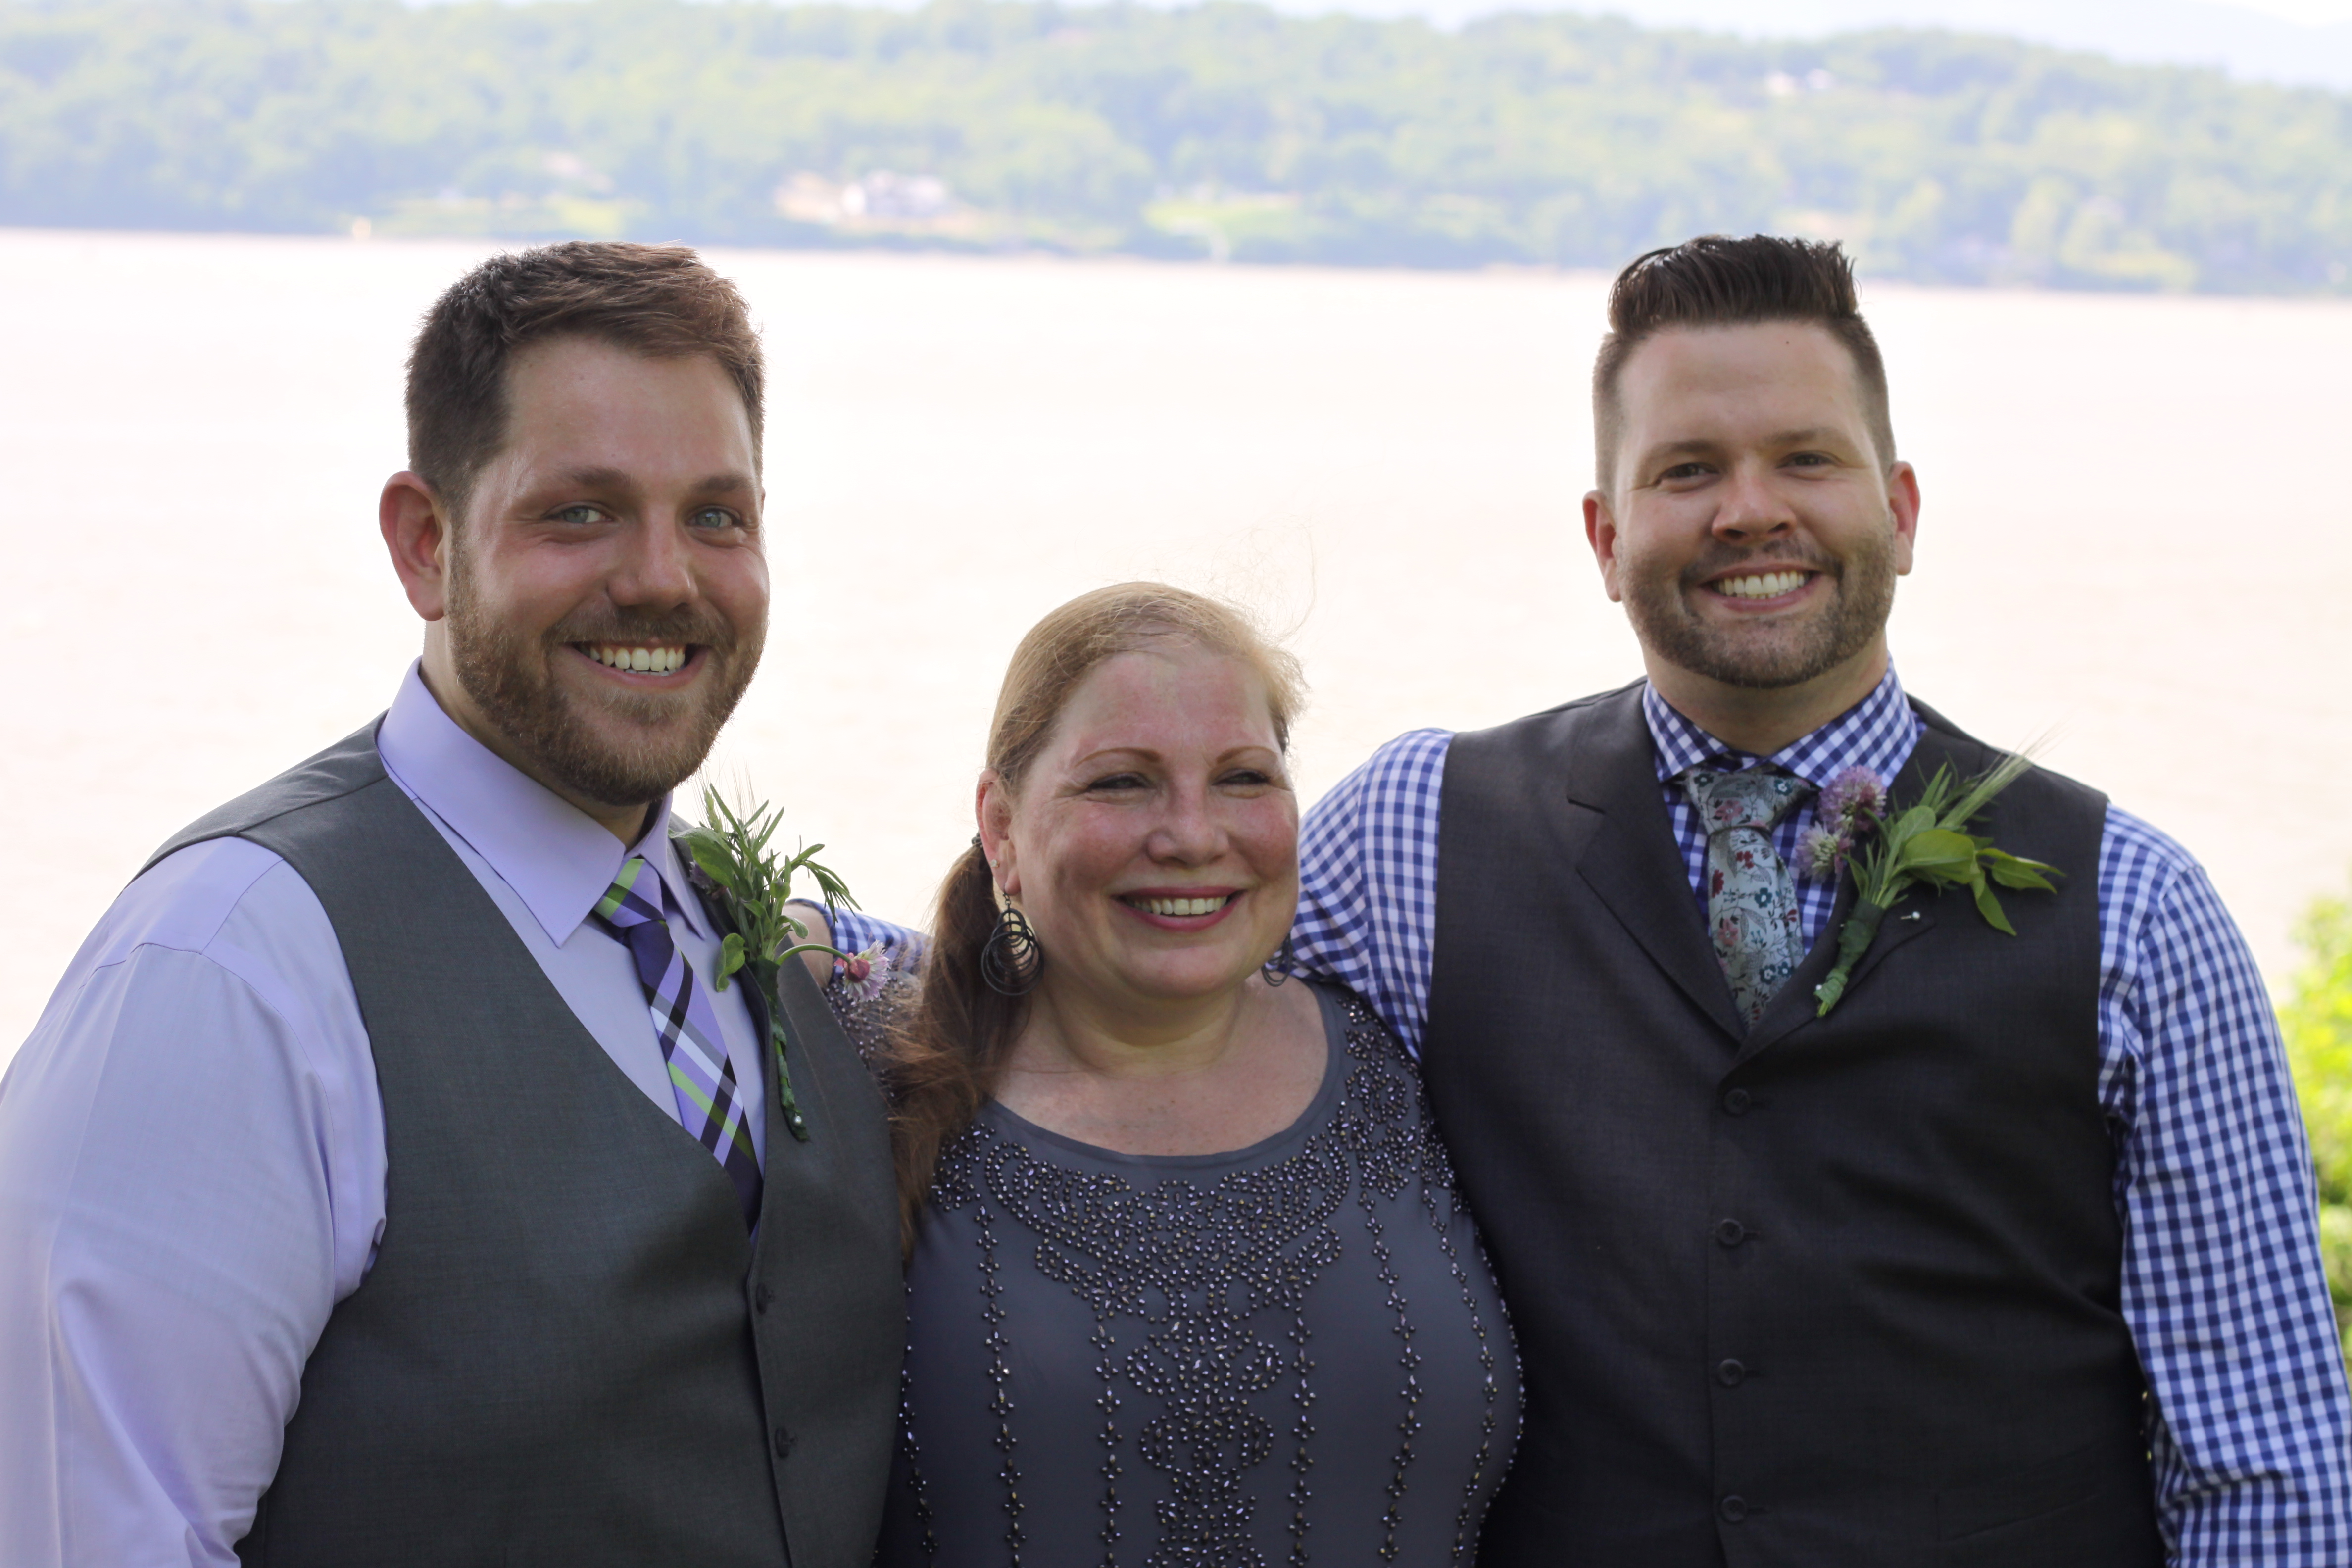
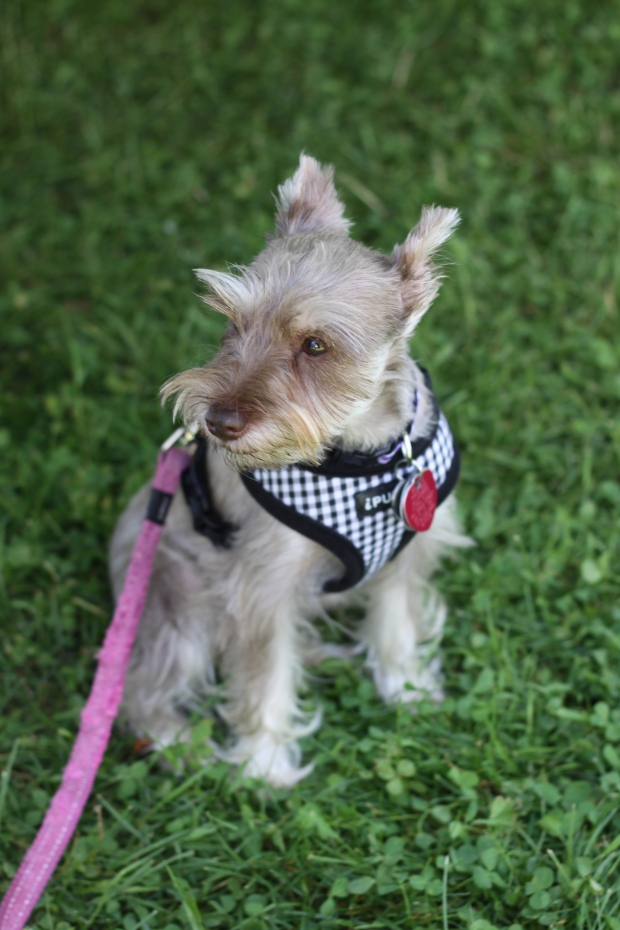
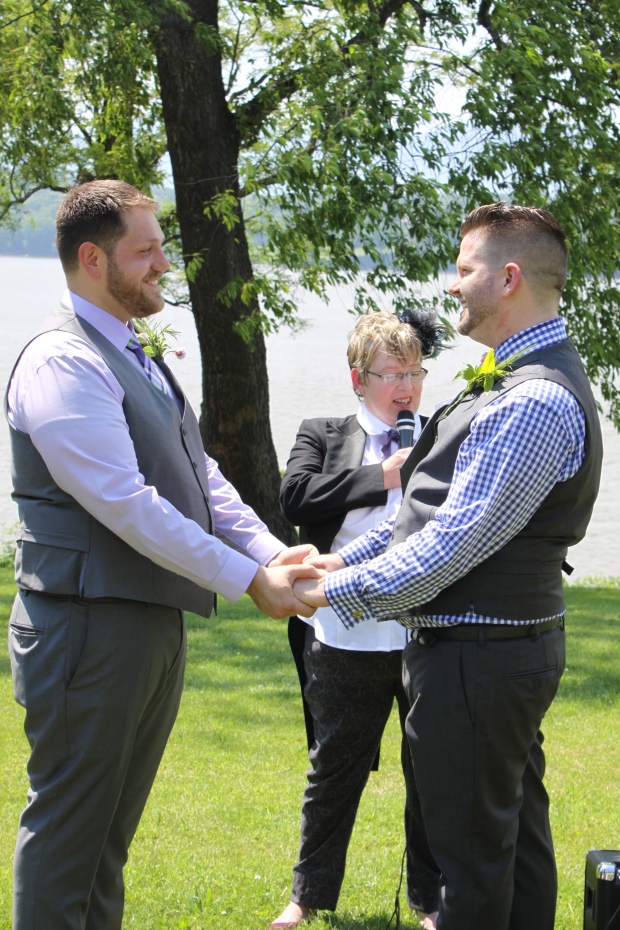
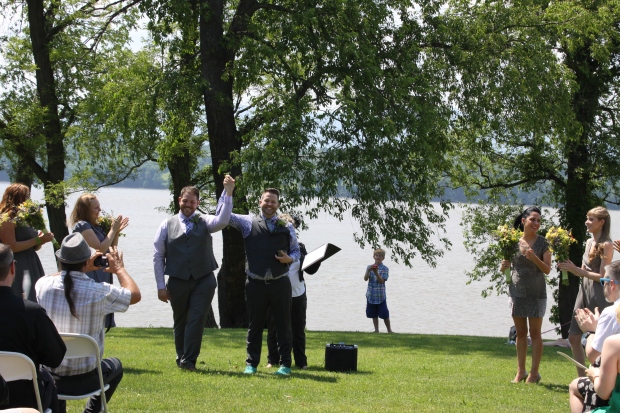
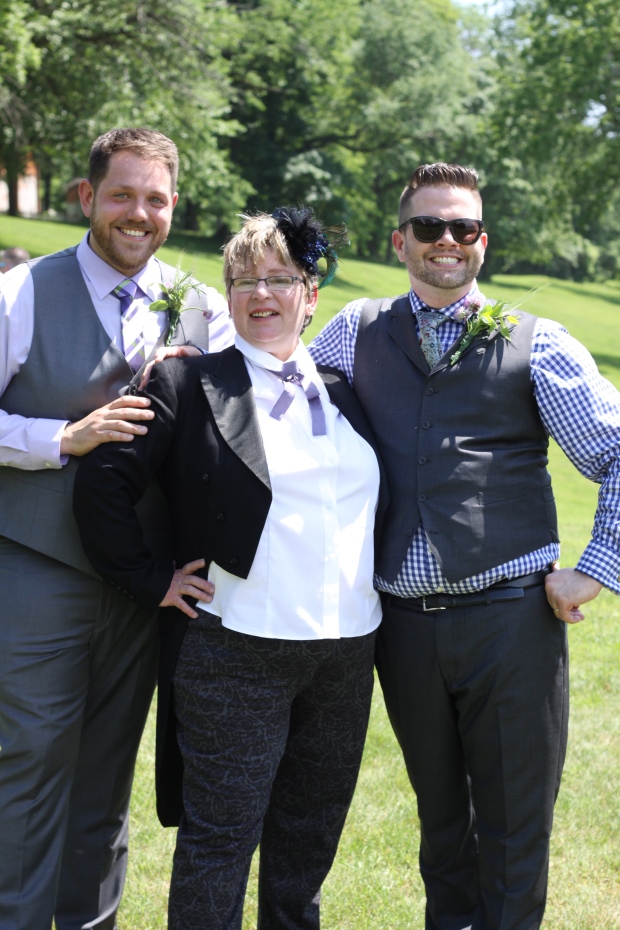
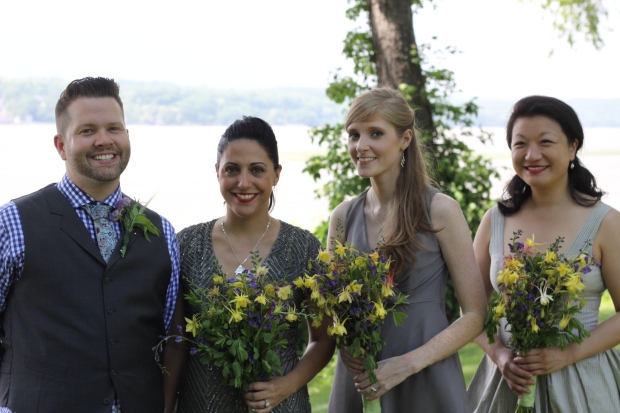
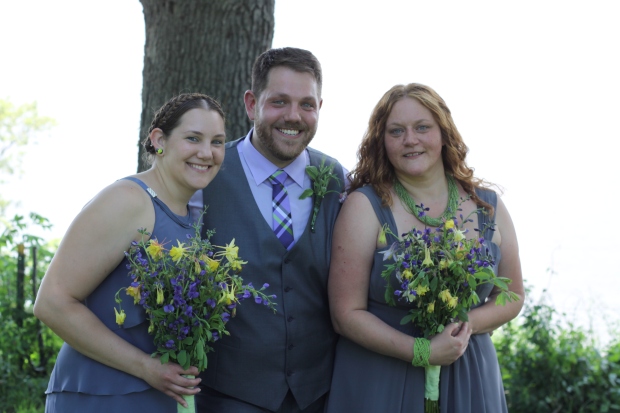
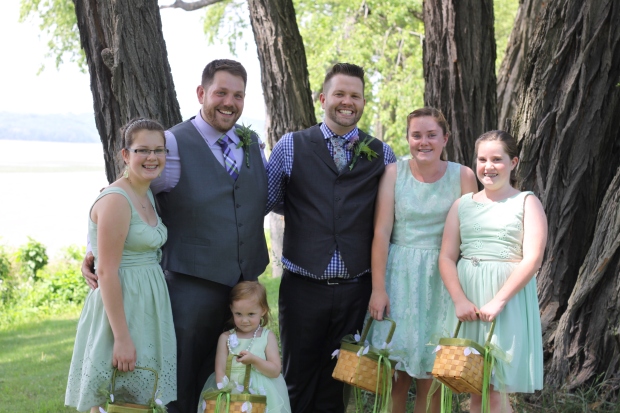
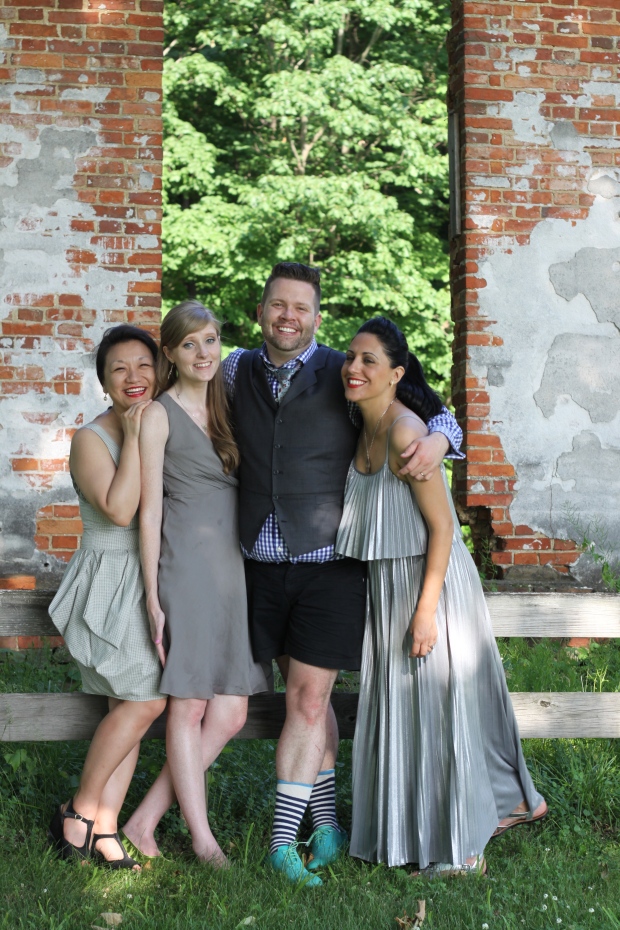
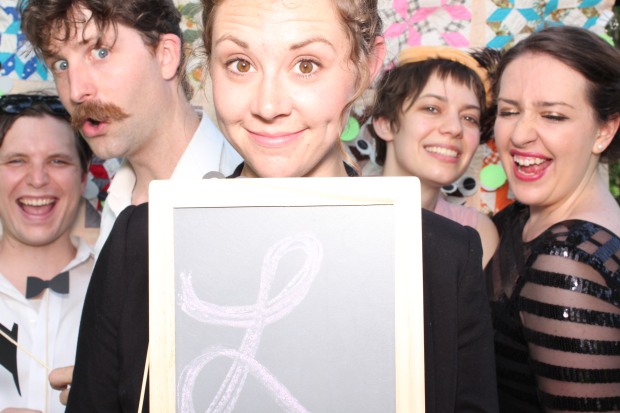
Russell’s Aunt Mimi officiated the wedding, and our wedding party was full of our sisters, their children and our best girlfriends. Even Doris joined in on the fun and walked down the aisle with the flower girls. (this was before Betty joined our family)

baby flower girl in painted wagon | Tuxedo & Russell's Hudson Valley June Wedding | Brooklyn Homemakerbaby flower girl in painted wagon | Tuxedo & Russell's Hudson Valley June Wedding | Brooklyn Homemaker puppy flower girl | Tuxedo & Russell's Hudson Valley June Wedding | Brooklyn Homemaker

We came on the scene to the sound of The Cure’s, “To the Sky”, and had a gorgeous, moving ceremony with the river and mountains right behind us. Our photographer, Jordan of Jordan Jankun Photography did such a beautiful job capturing our wedding along with all the beautiful scenery. All (or most) of the photos in this post were taken by Jordan, and I couldn’t be more grateful.

Tuxedo & Russell's Hudson Valley June Wedding | Brooklyn HomemakerTuxedo & Russell's Hudson Valley June Wedding | Brooklyn Homemaker Tuxedo & Russell's Hudson Valley June Wedding | Brooklyn Homemaker Tuxedo & Russell's Hudson Valley June Wedding | Brooklyn Homemaker Tuxedo & Russell's Hudson Valley June Wedding | Brooklyn HomemakerTuxedo & Russell's Hudson Valley June Wedding | Brooklyn Homemaker Tuxedo & Russell's Hudson Valley June Wedding | marriage equality | Brooklyn Homemaker

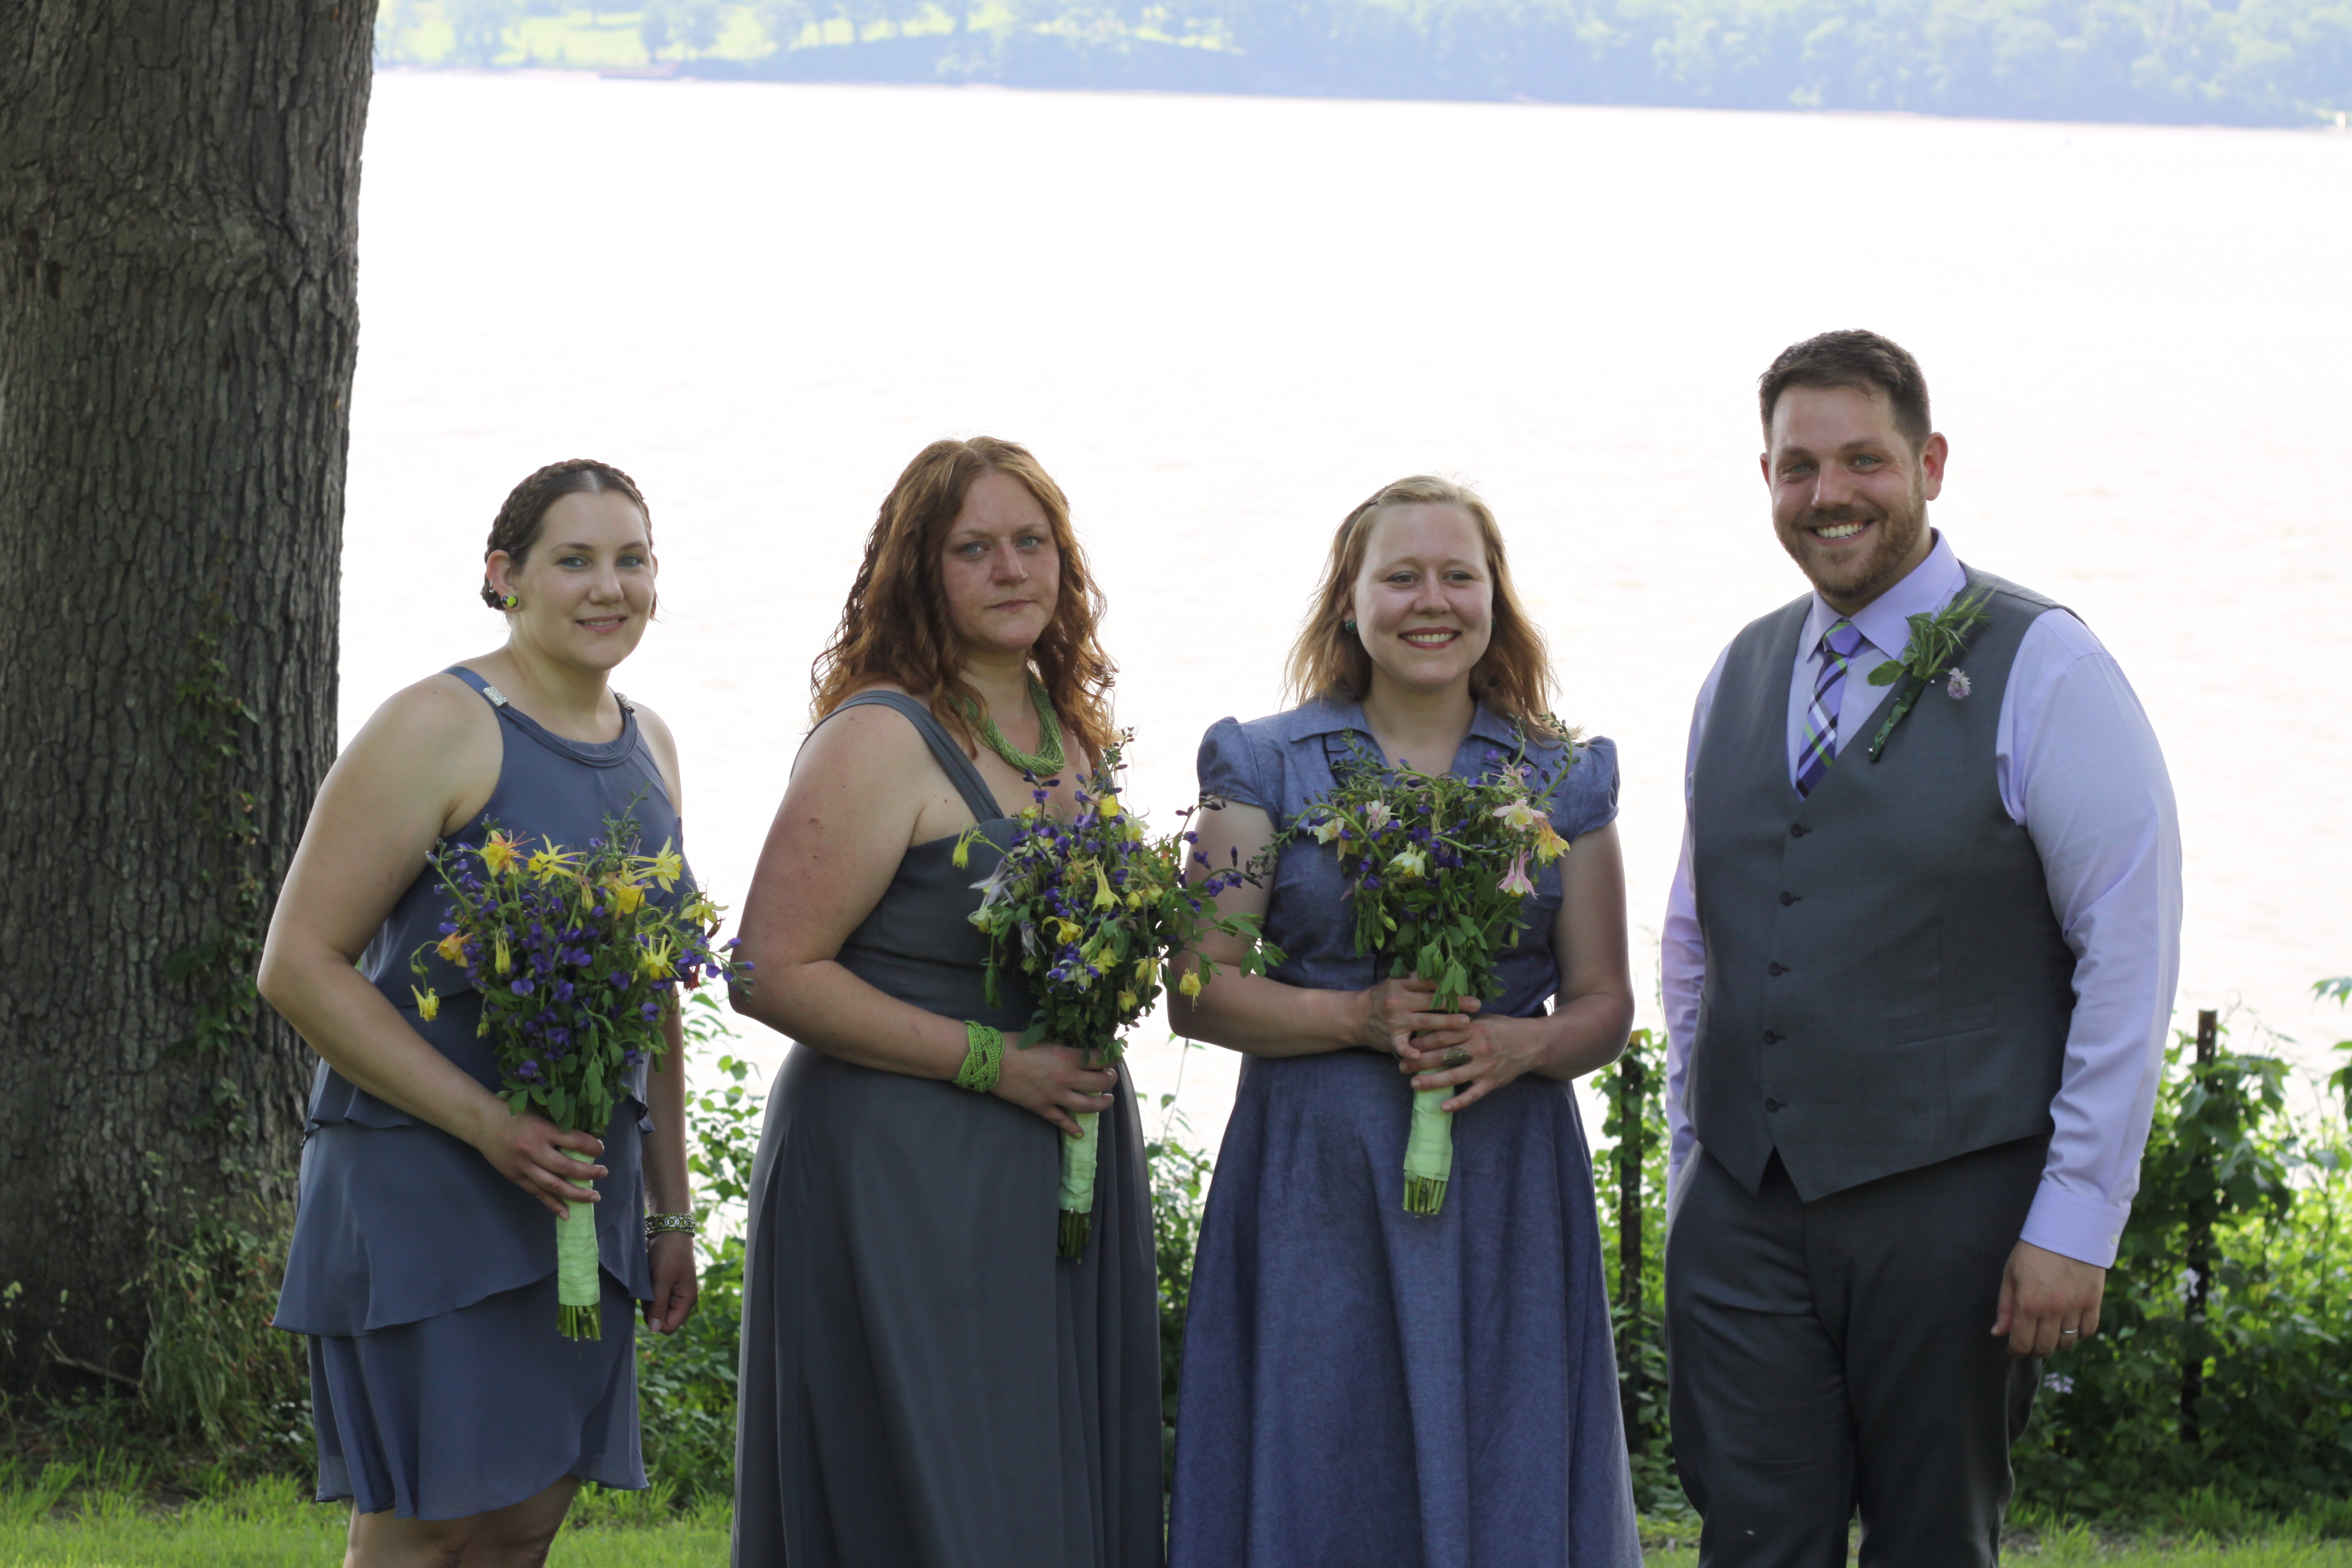
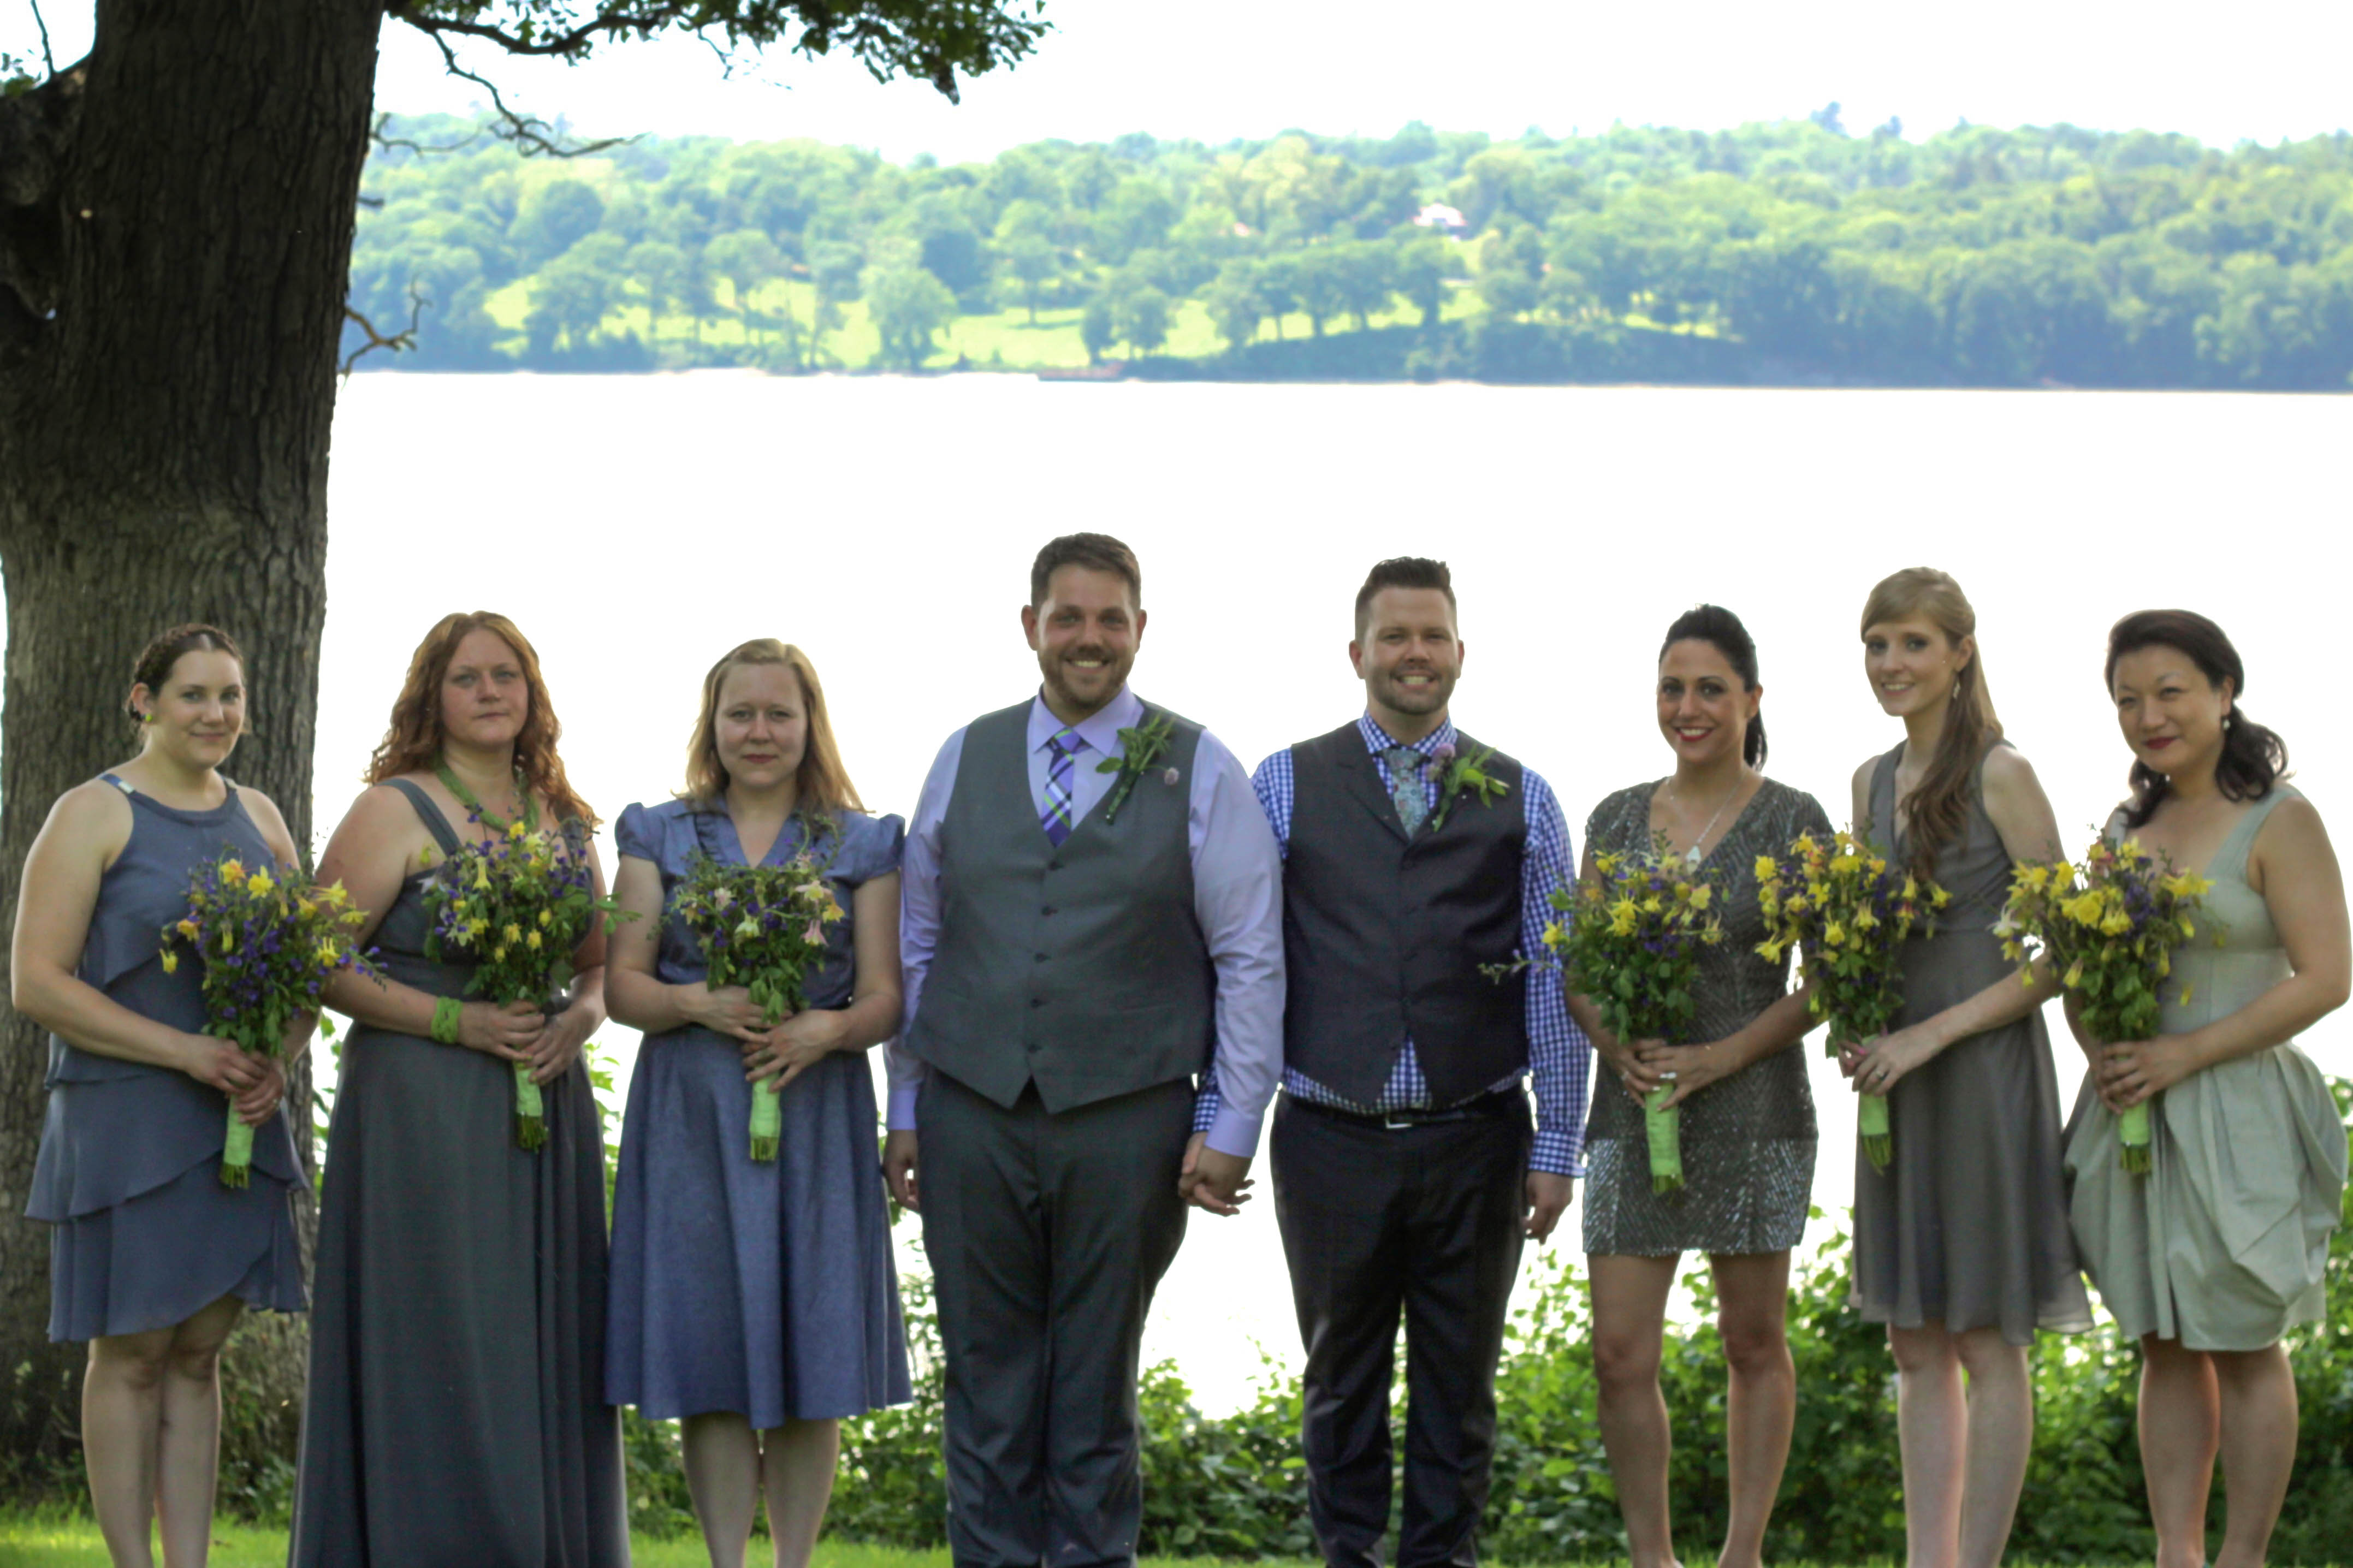
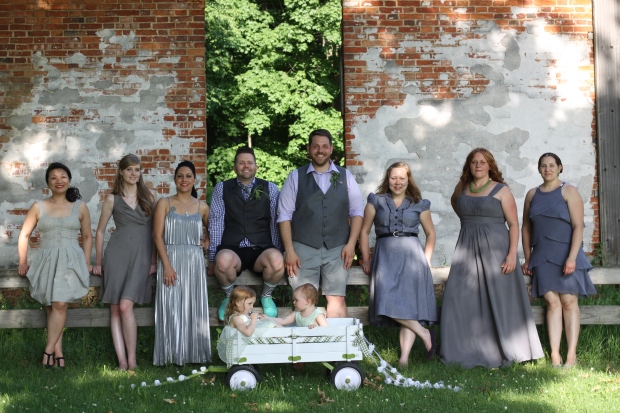
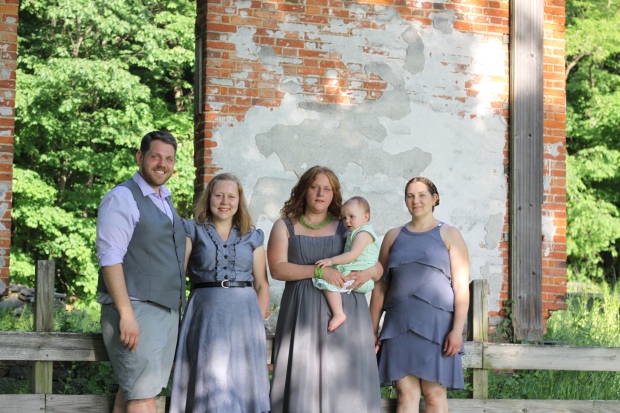
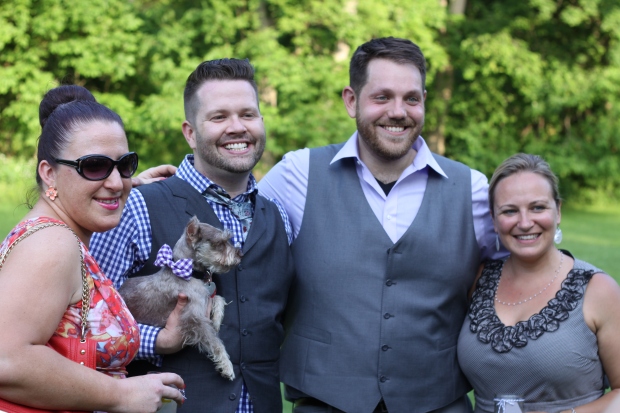
It was important to us that our wedding party would feel comfortable and confident, so we asked them to choose their own dresses. Our wedding colors were grey with hints of green and white, so we just asked that they choose dresses in a shade of grey with green and white accessories. This way everyone was able to find something flattering that reflected their personality rather than feeling forced into an ill-fitting uniform.

 mismatched grey bridesmaids dresses | Tuxedo & Russell's Hudson Valley June Wedding | Brooklyn Homemaker mismatched grey bridesmaids dresses | Tuxedo & Russell's Hudson Valley June Wedding | Brooklyn Homemakermismatched grey bridesmaids dresses | Tuxedo & Russell's Hudson Valley June Wedding | Brooklyn HomemakerTuxedo & Russell's Hudson Valley June Wedding | Brooklyn Homemaker

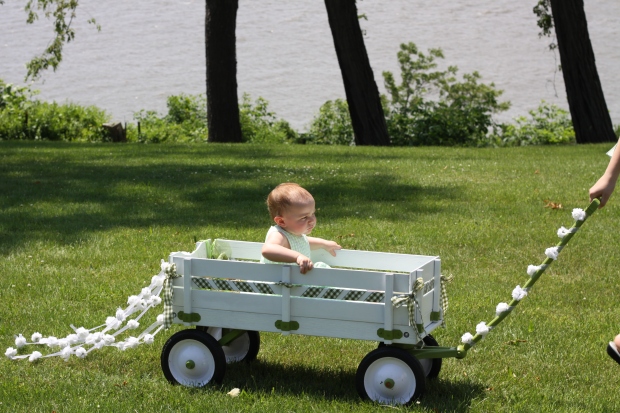
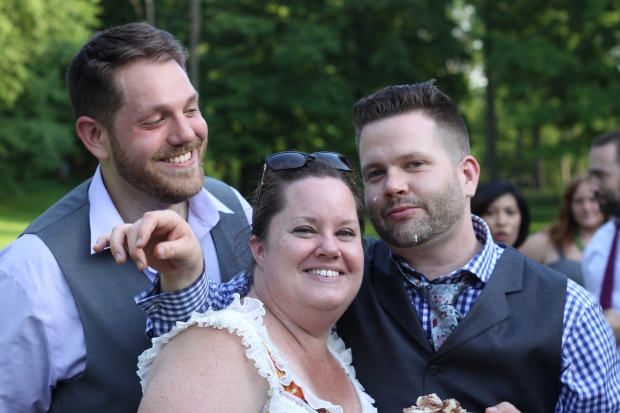
Even my mom wore grey! She was a total rock star throughout the whole process, and spent countless hours wrapping bottles with ribbon, decorating baskets and a wagon for the flower girls, organizing comfort baskets for the bathrooms, transporting truckloads of decorations and beer and mixers, and helping to make sure every last detail was perfect on our big day.

Tuxedo & Russell's Hudson Valley June Wedding | Brooklyn Homemaker

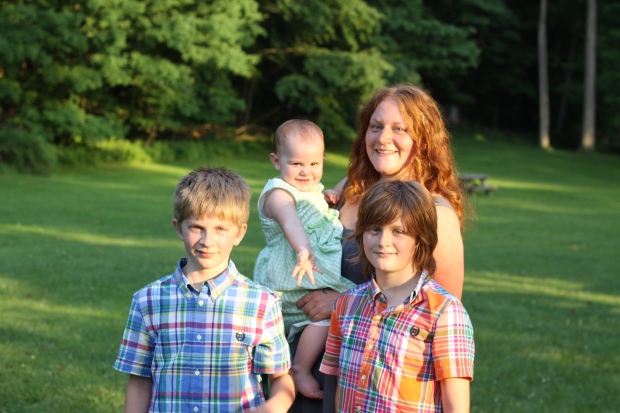
Much like the grooms maids, the flower girls chose their own dresses, these in a pretty shade of mint green.

rustic grey and green wedding | Tuxedo & Russell's Hudson Valley June Wedding | Brooklyn Homemaker rustic grey and green wedding | Tuxedo & Russell's Hudson Valley June Wedding | Brooklyn Homemaker

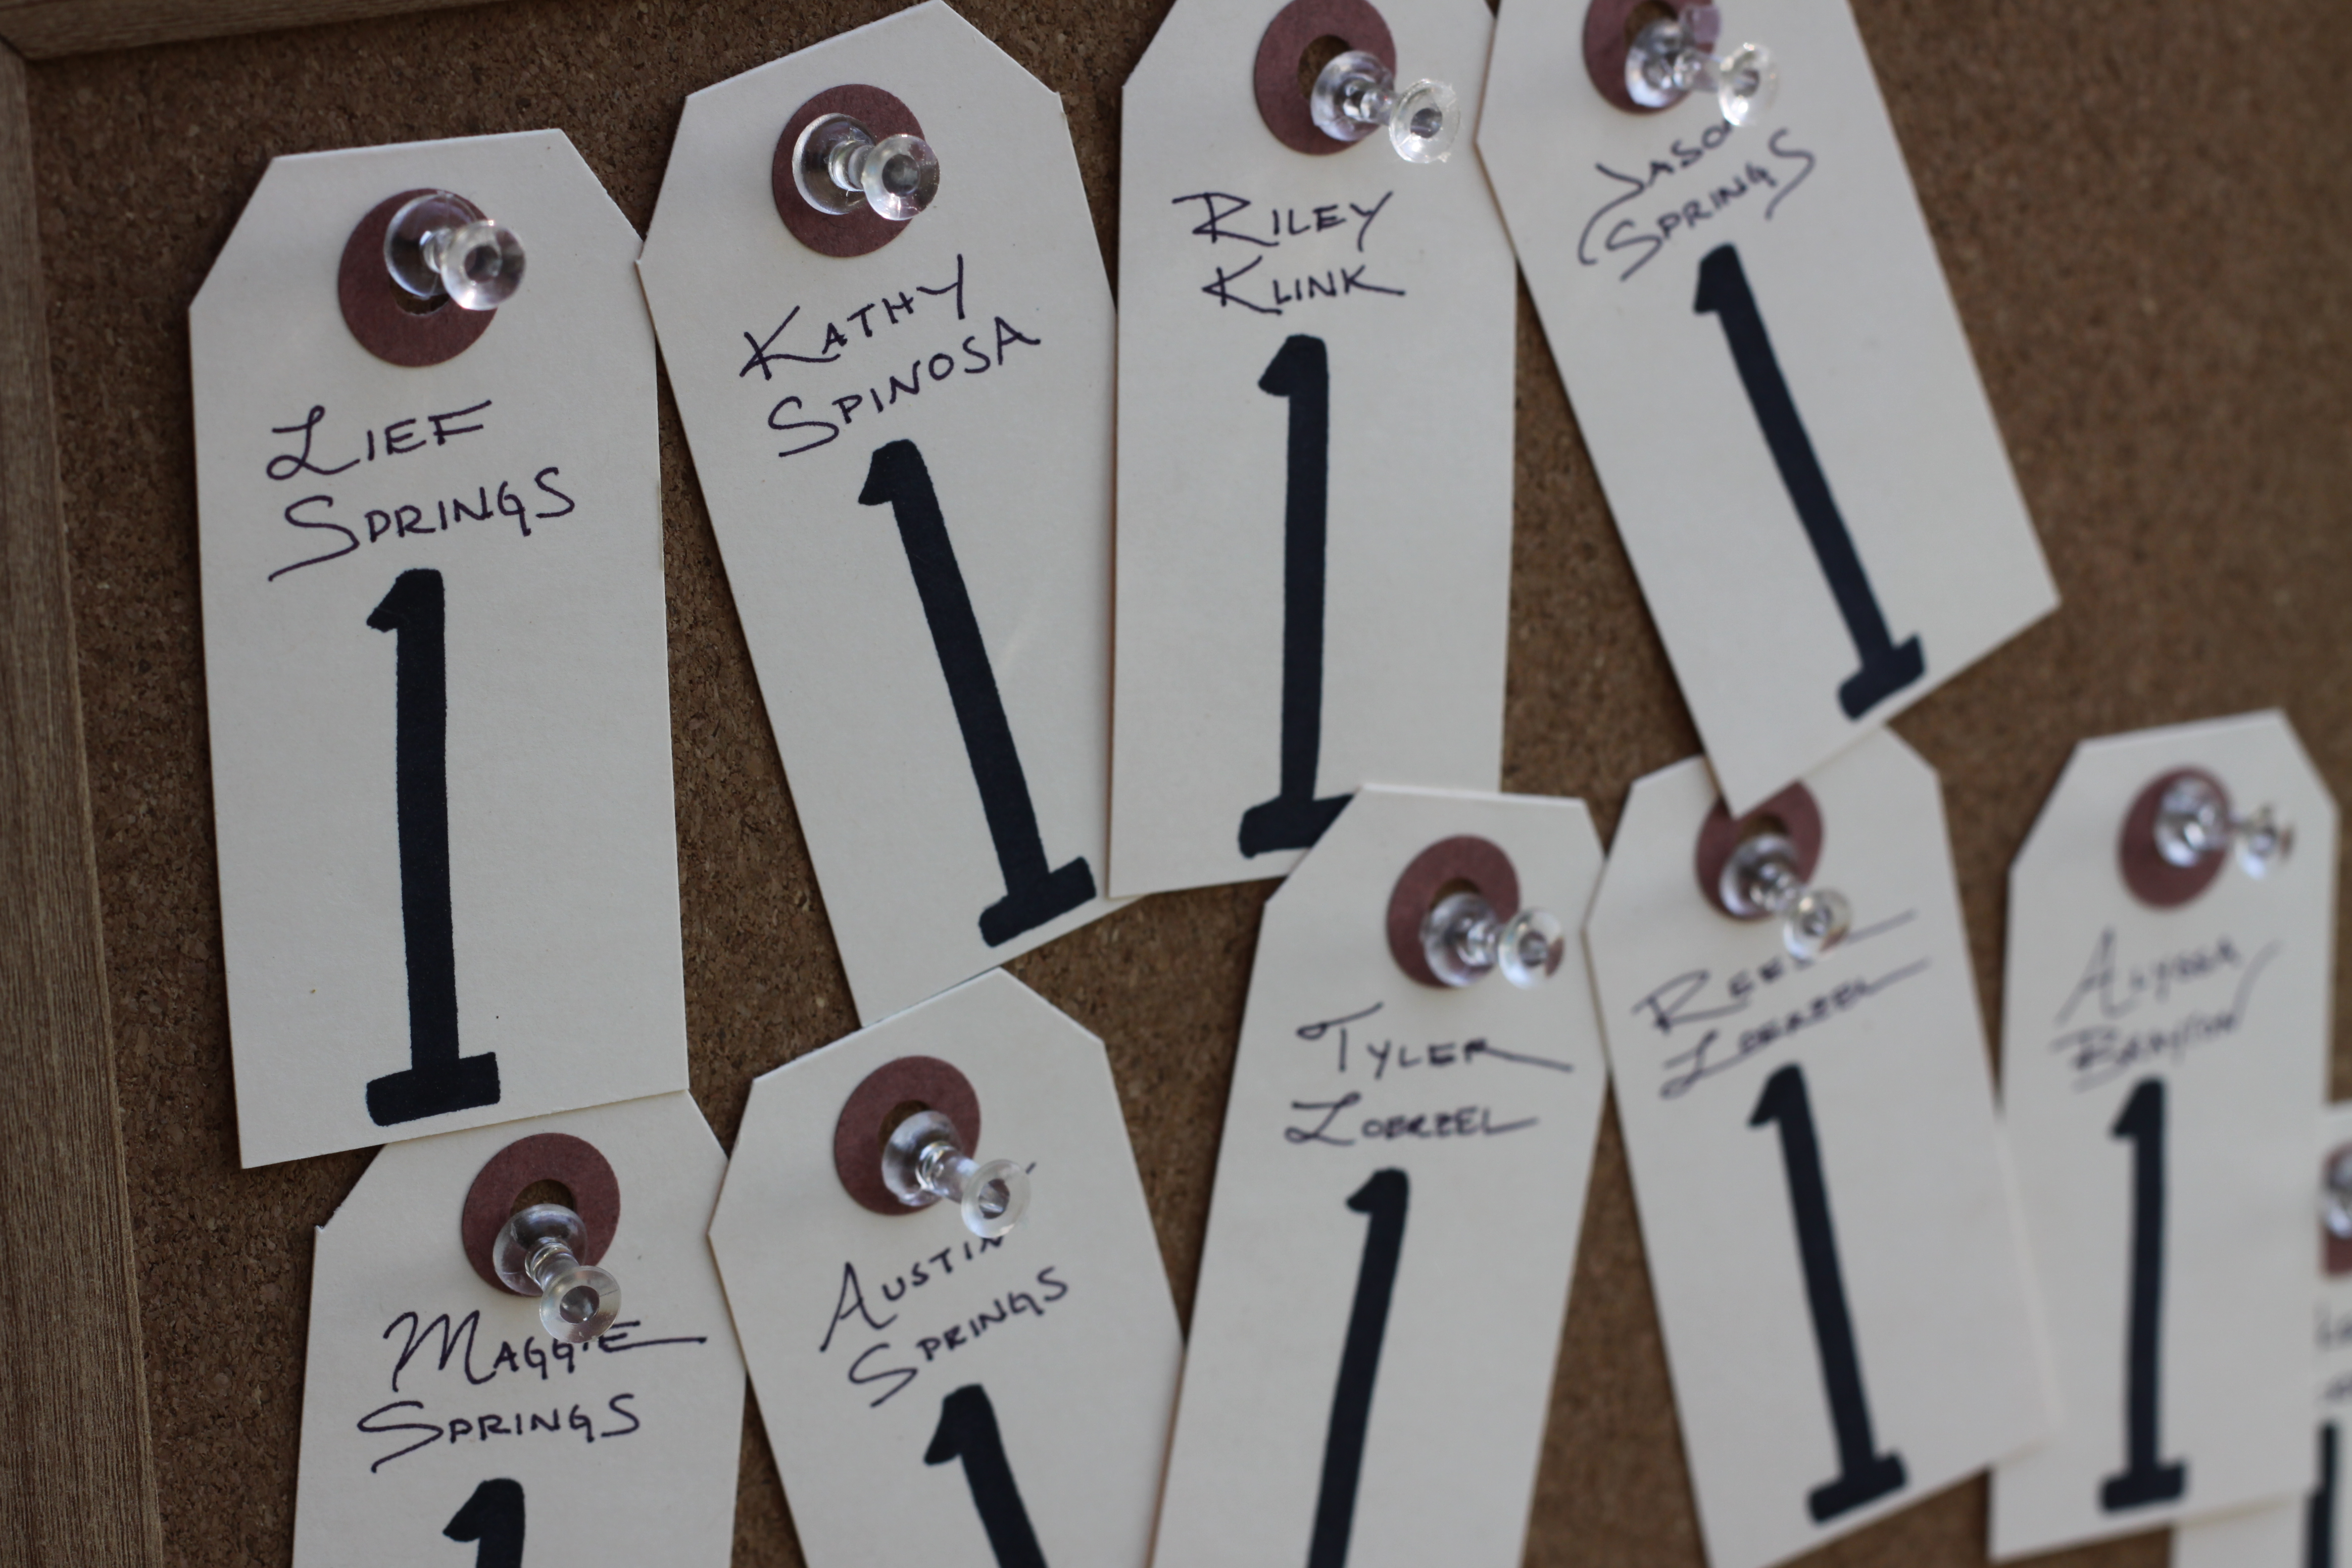
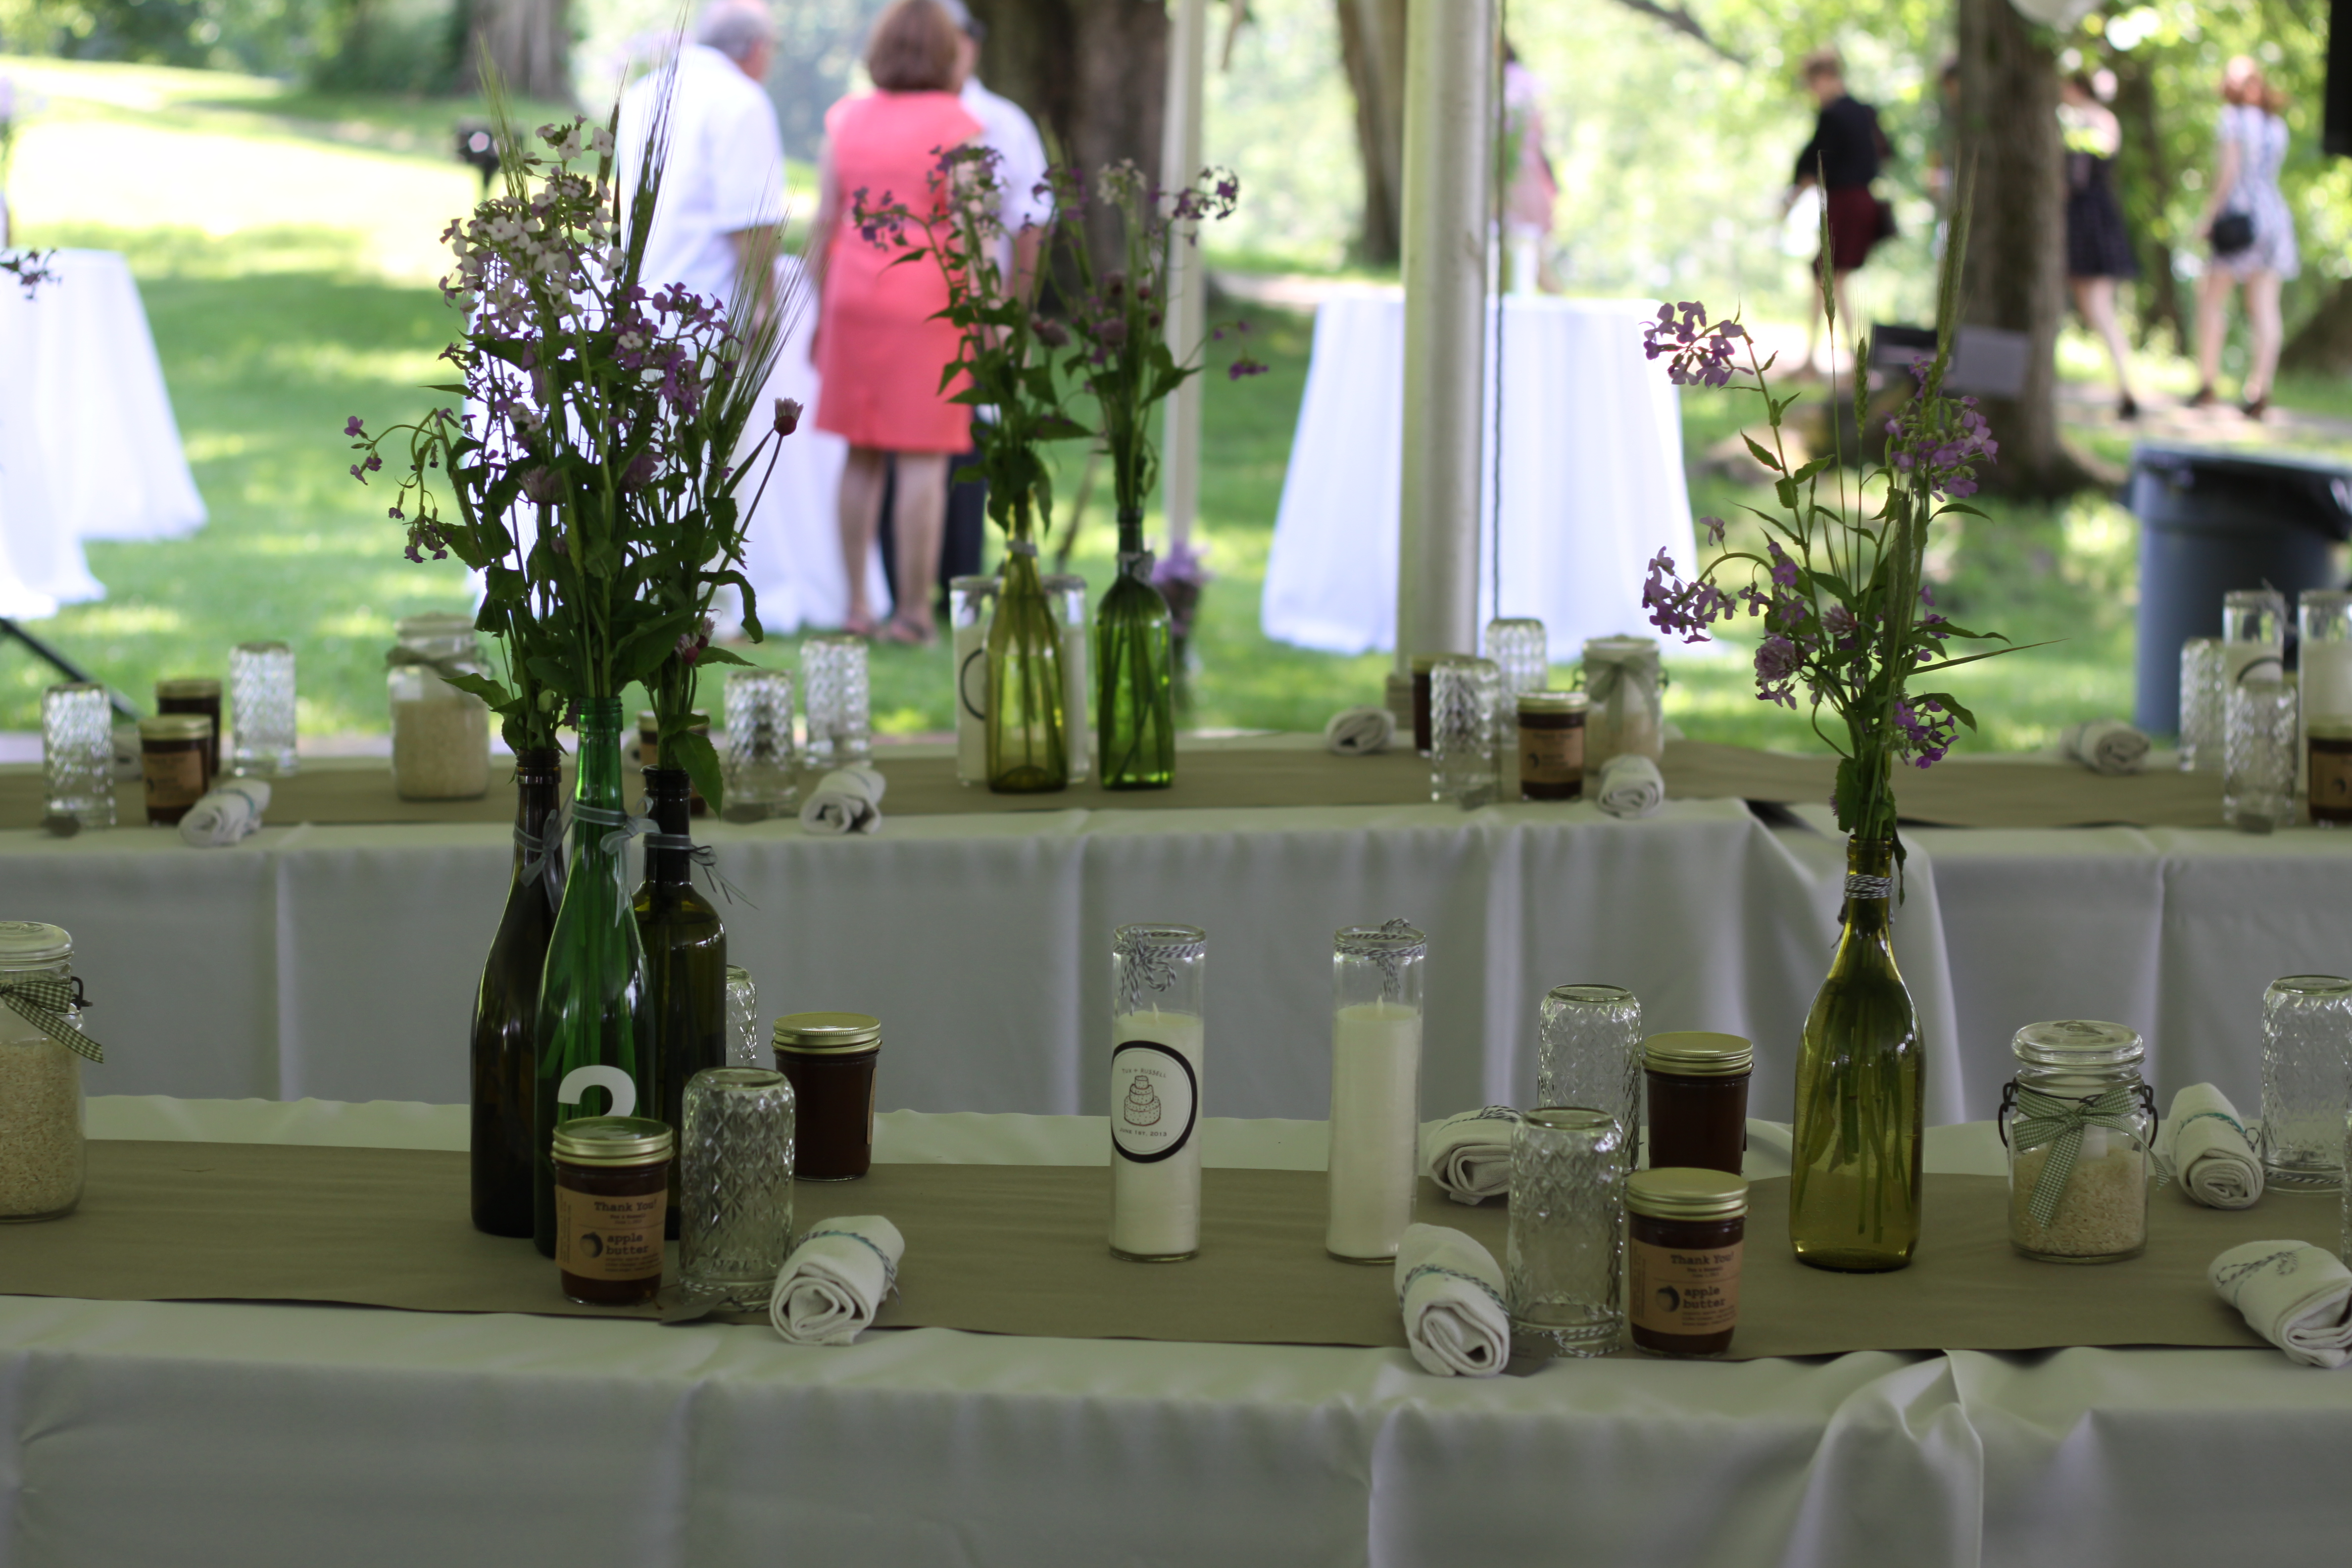
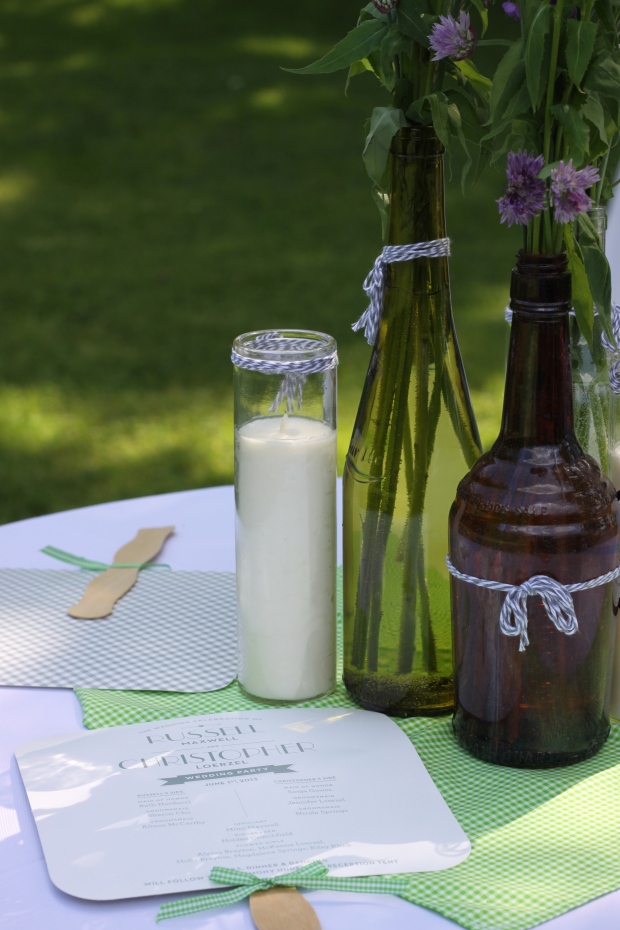
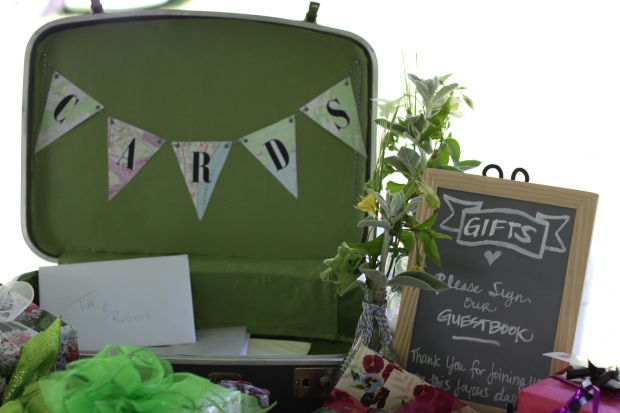
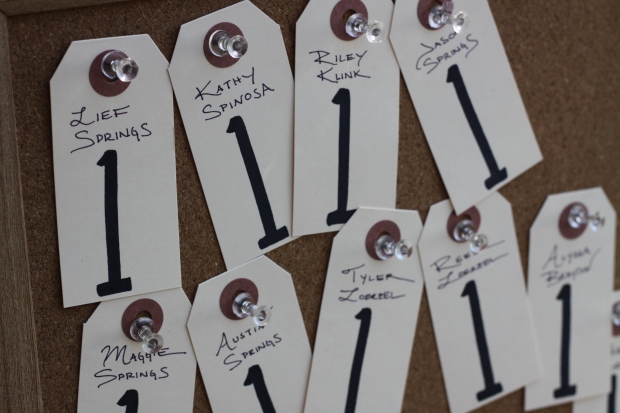
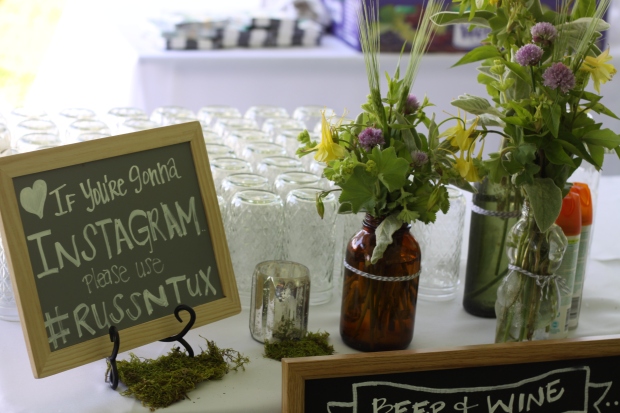
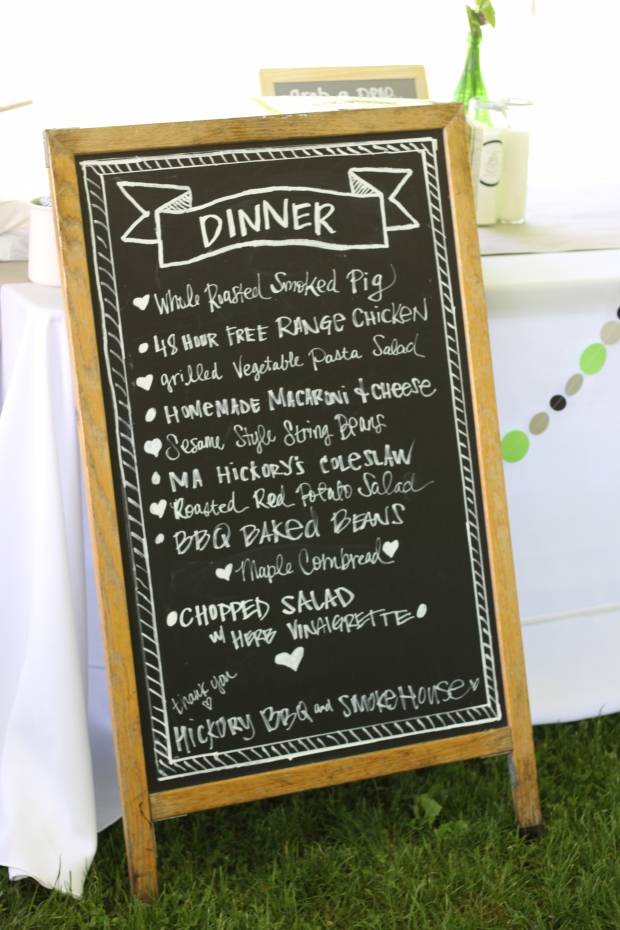
The day before the wedding we got to Clermont just after Columbia Tent Rental finished setting up our big white tent and laying our dance floor. The rest of the setup was up to us. With our wedding party and some family and friends, we spent the rest of the day setting up tables and chairs, hanging strings of lights and paper lanterns, setting tables with white cloths and grey paper runners, topping them with candles and rolled napkins, organizing the bar, decorating the buffet and cake table, finding homes for chalkboard menus, and pinning escort cards to the cork board.

Tuxedo & Russell's Hudson Valley June Wedding | Brooklyn HomemakerTuxedo & Russell's Hudson Valley June Wedding | Brooklyn Homemaker antique bottle wedding centerpieces | Tuxedo & Russell's Hudson Valley June Wedding | Brooklyn Homemaker

We didn’t even think to take this into consideration when planning our date, but the 17-year East Coast cicada was out during the time of our wedding. They weren’t really a nuisance, but they were definitely present and added a natural “hum” to the soundtrack of our day. All the kids at the wedding had so much fun with them!

cicadas at wedding | Tuxedo & Russell's Hudson Valley June Wedding | Brooklyn Homemaker

green suitcase card box | Tuxedo & Russell's Hudson Valley June Wedding | Brooklyn Homemakergreen suitcase card box | Tuxedo & Russell's Hudson Valley June Wedding | Brooklyn Homemakershipping tag escort cards on cork board | Tuxedo & Russell's Hudson Valley June Wedding | Brooklyn Homemaker

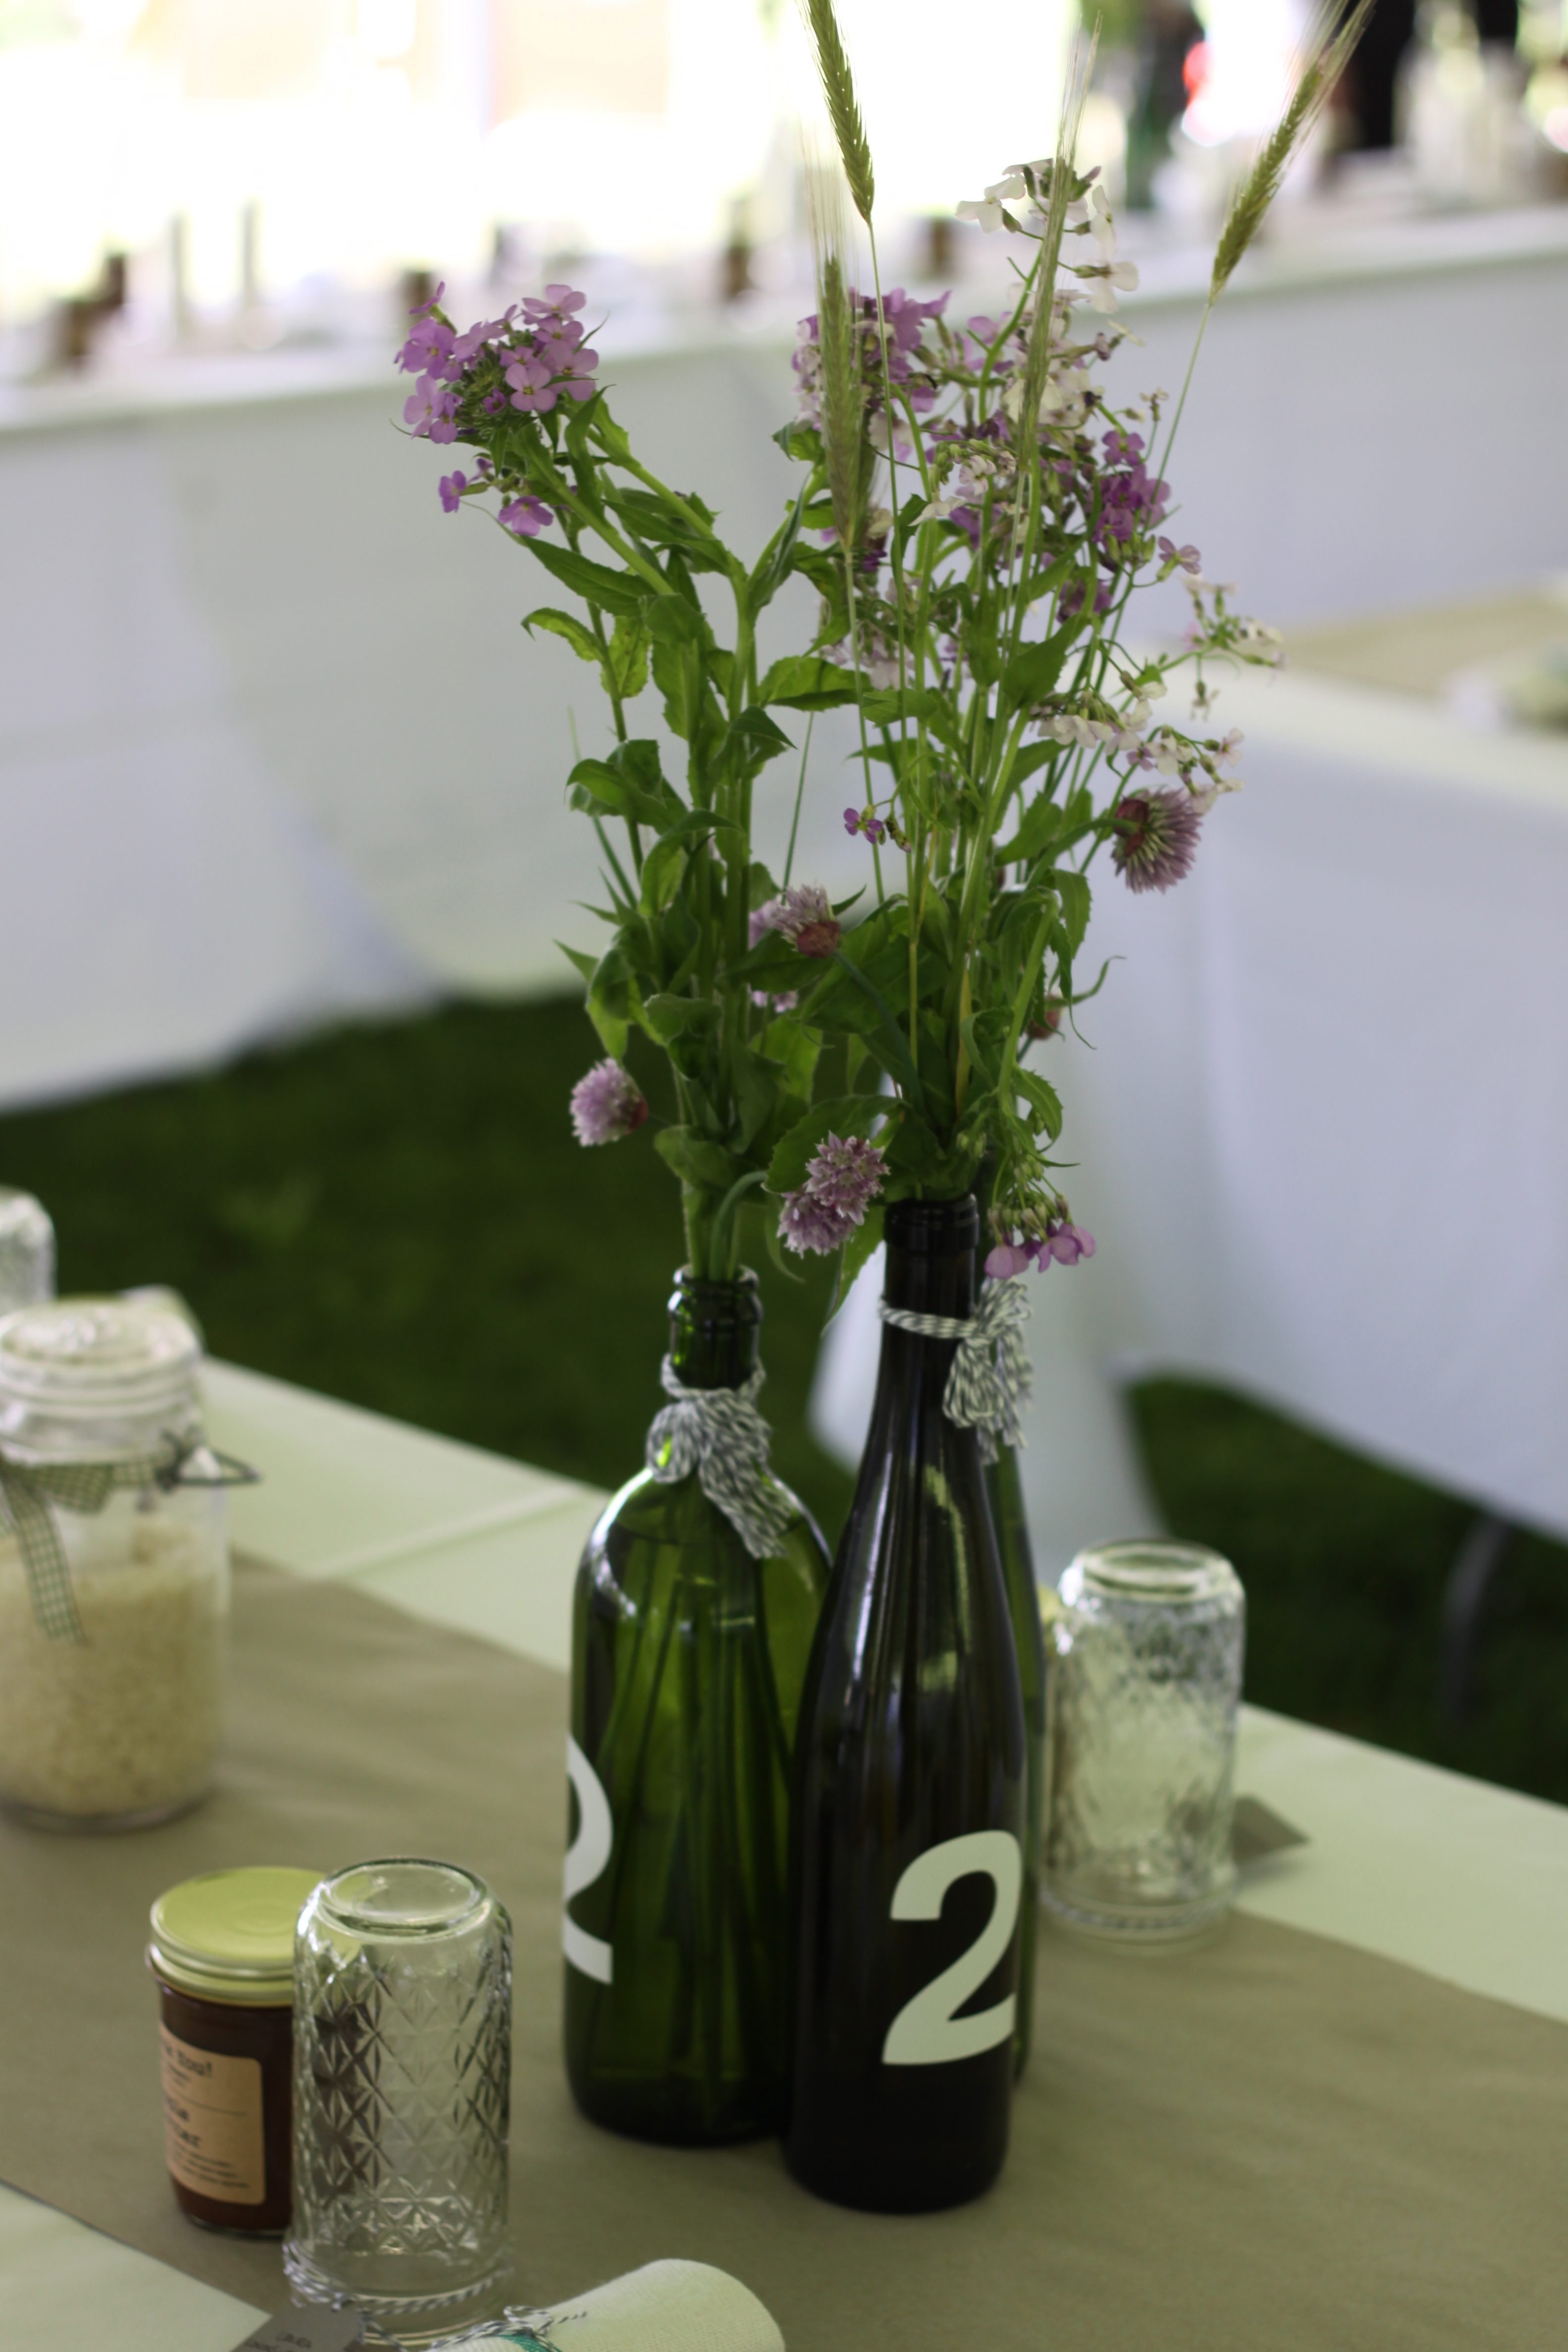
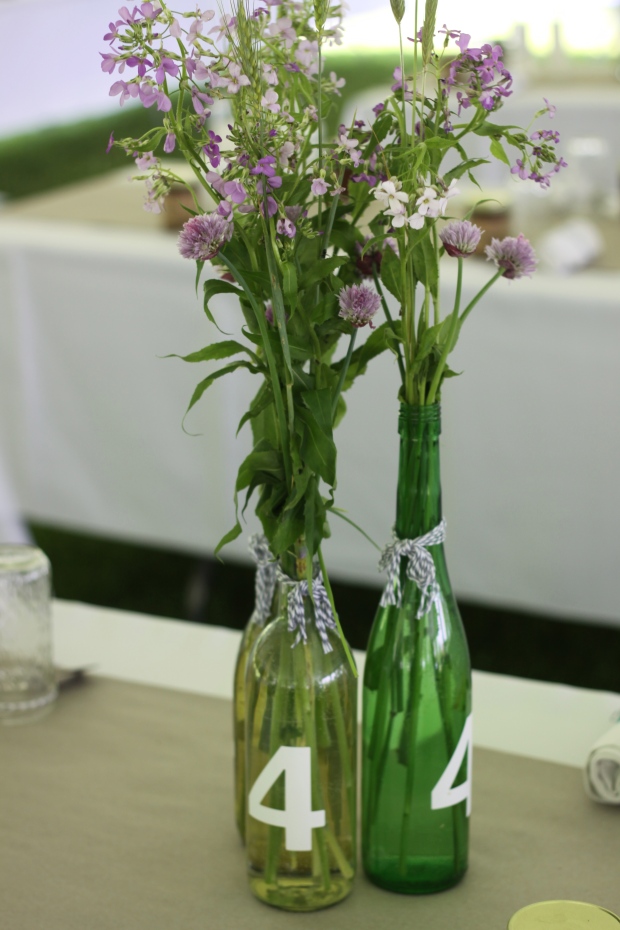
The morning of the wedding we went to the farmers market in Kingston, NY with our maids of honor to pick out flowers. We’d been in touch with a vendor called The River Garden beforehand to ask what they thought would be in season, and to let them know we’d probably clean them out. We chose a selection of purple phlox, green wheat and barley, and purple chive flowers. Along with some amazing and generous volunteers, we arranged the flowers in antique glass bottles and recycled wine bottles, many of which were used as table markers, with white house number stickers on them. Everything was so beautiful, and we couldn’t believe how affordable they were. They even had pre-arranged bouquets of yellow columbine and purple sweet pea that we just wrapped in floral tape and ribbon for our girls to carry down the aisle.

wine bottle wedding centerpieces | Tuxedo & Russell's Hudson Valley June Wedding | Brooklyn Homemaker wine bottle table markers and centerpiece | Tuxedo & Russell's Hudson Valley June Wedding | Brooklyn Homemaker wedding tables with wine bottle centerpieces | Tuxedo & Russell's Hudson Valley June Wedding | Brooklyn Homemaker

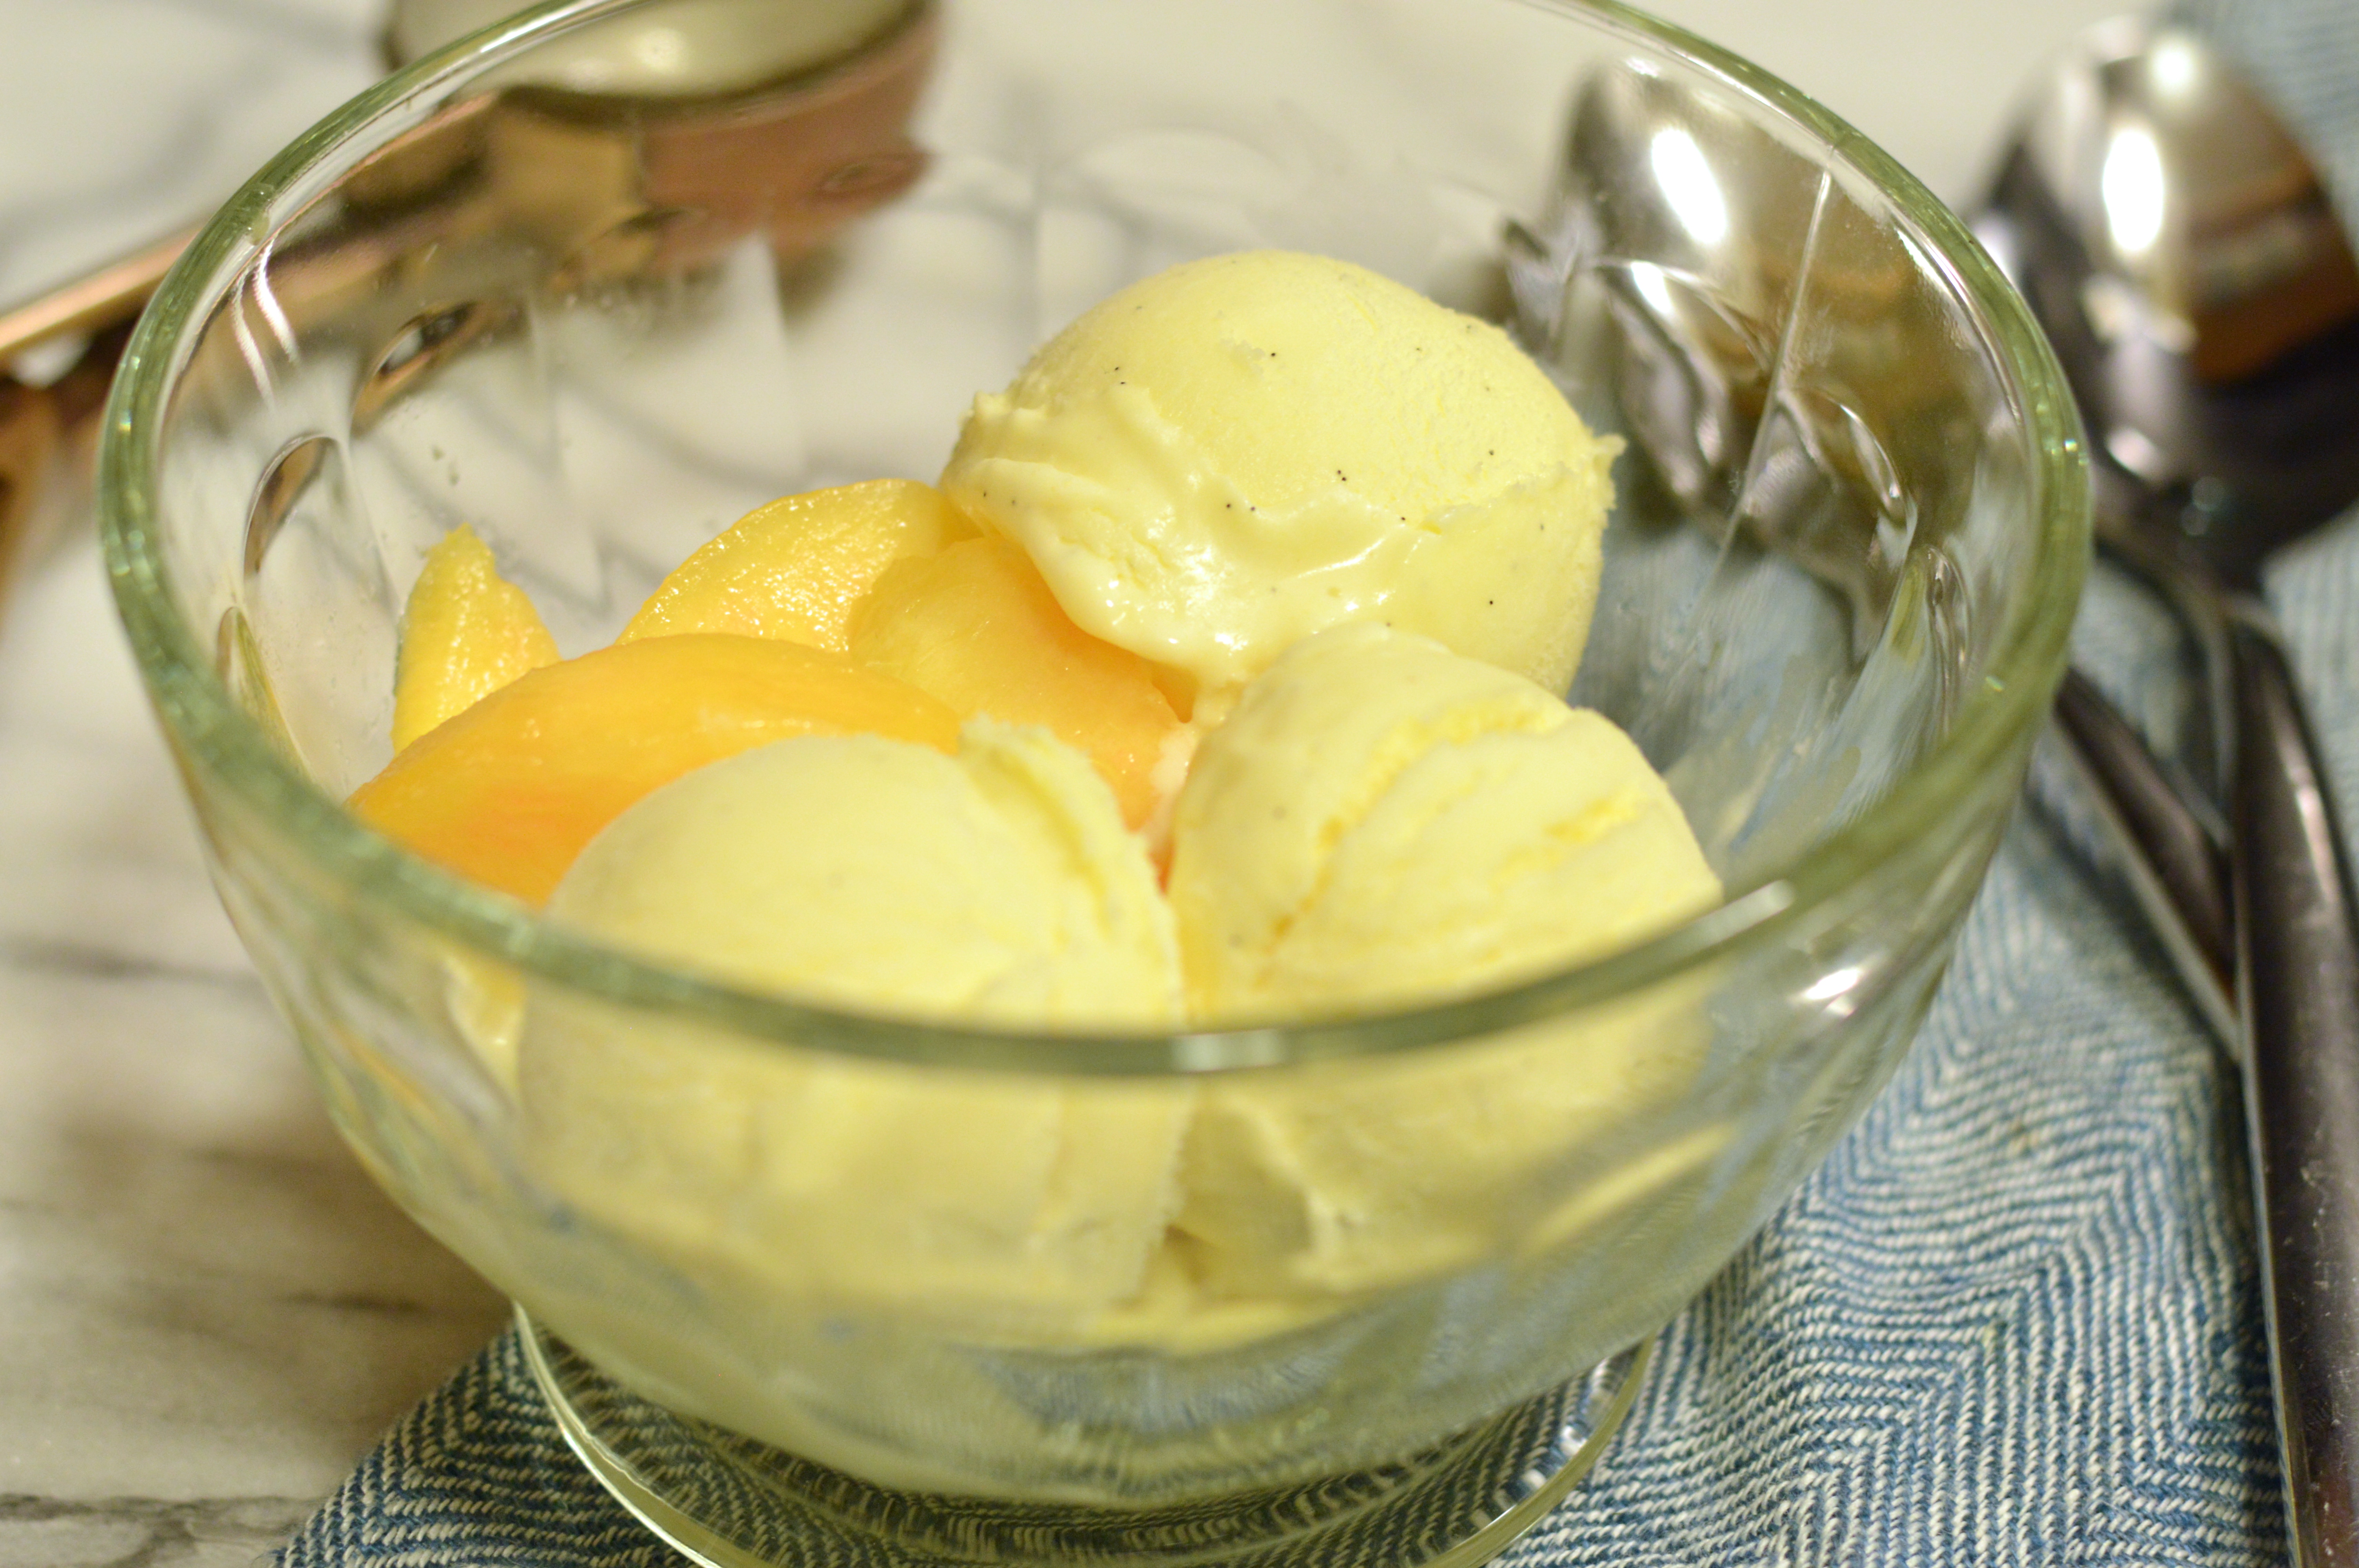
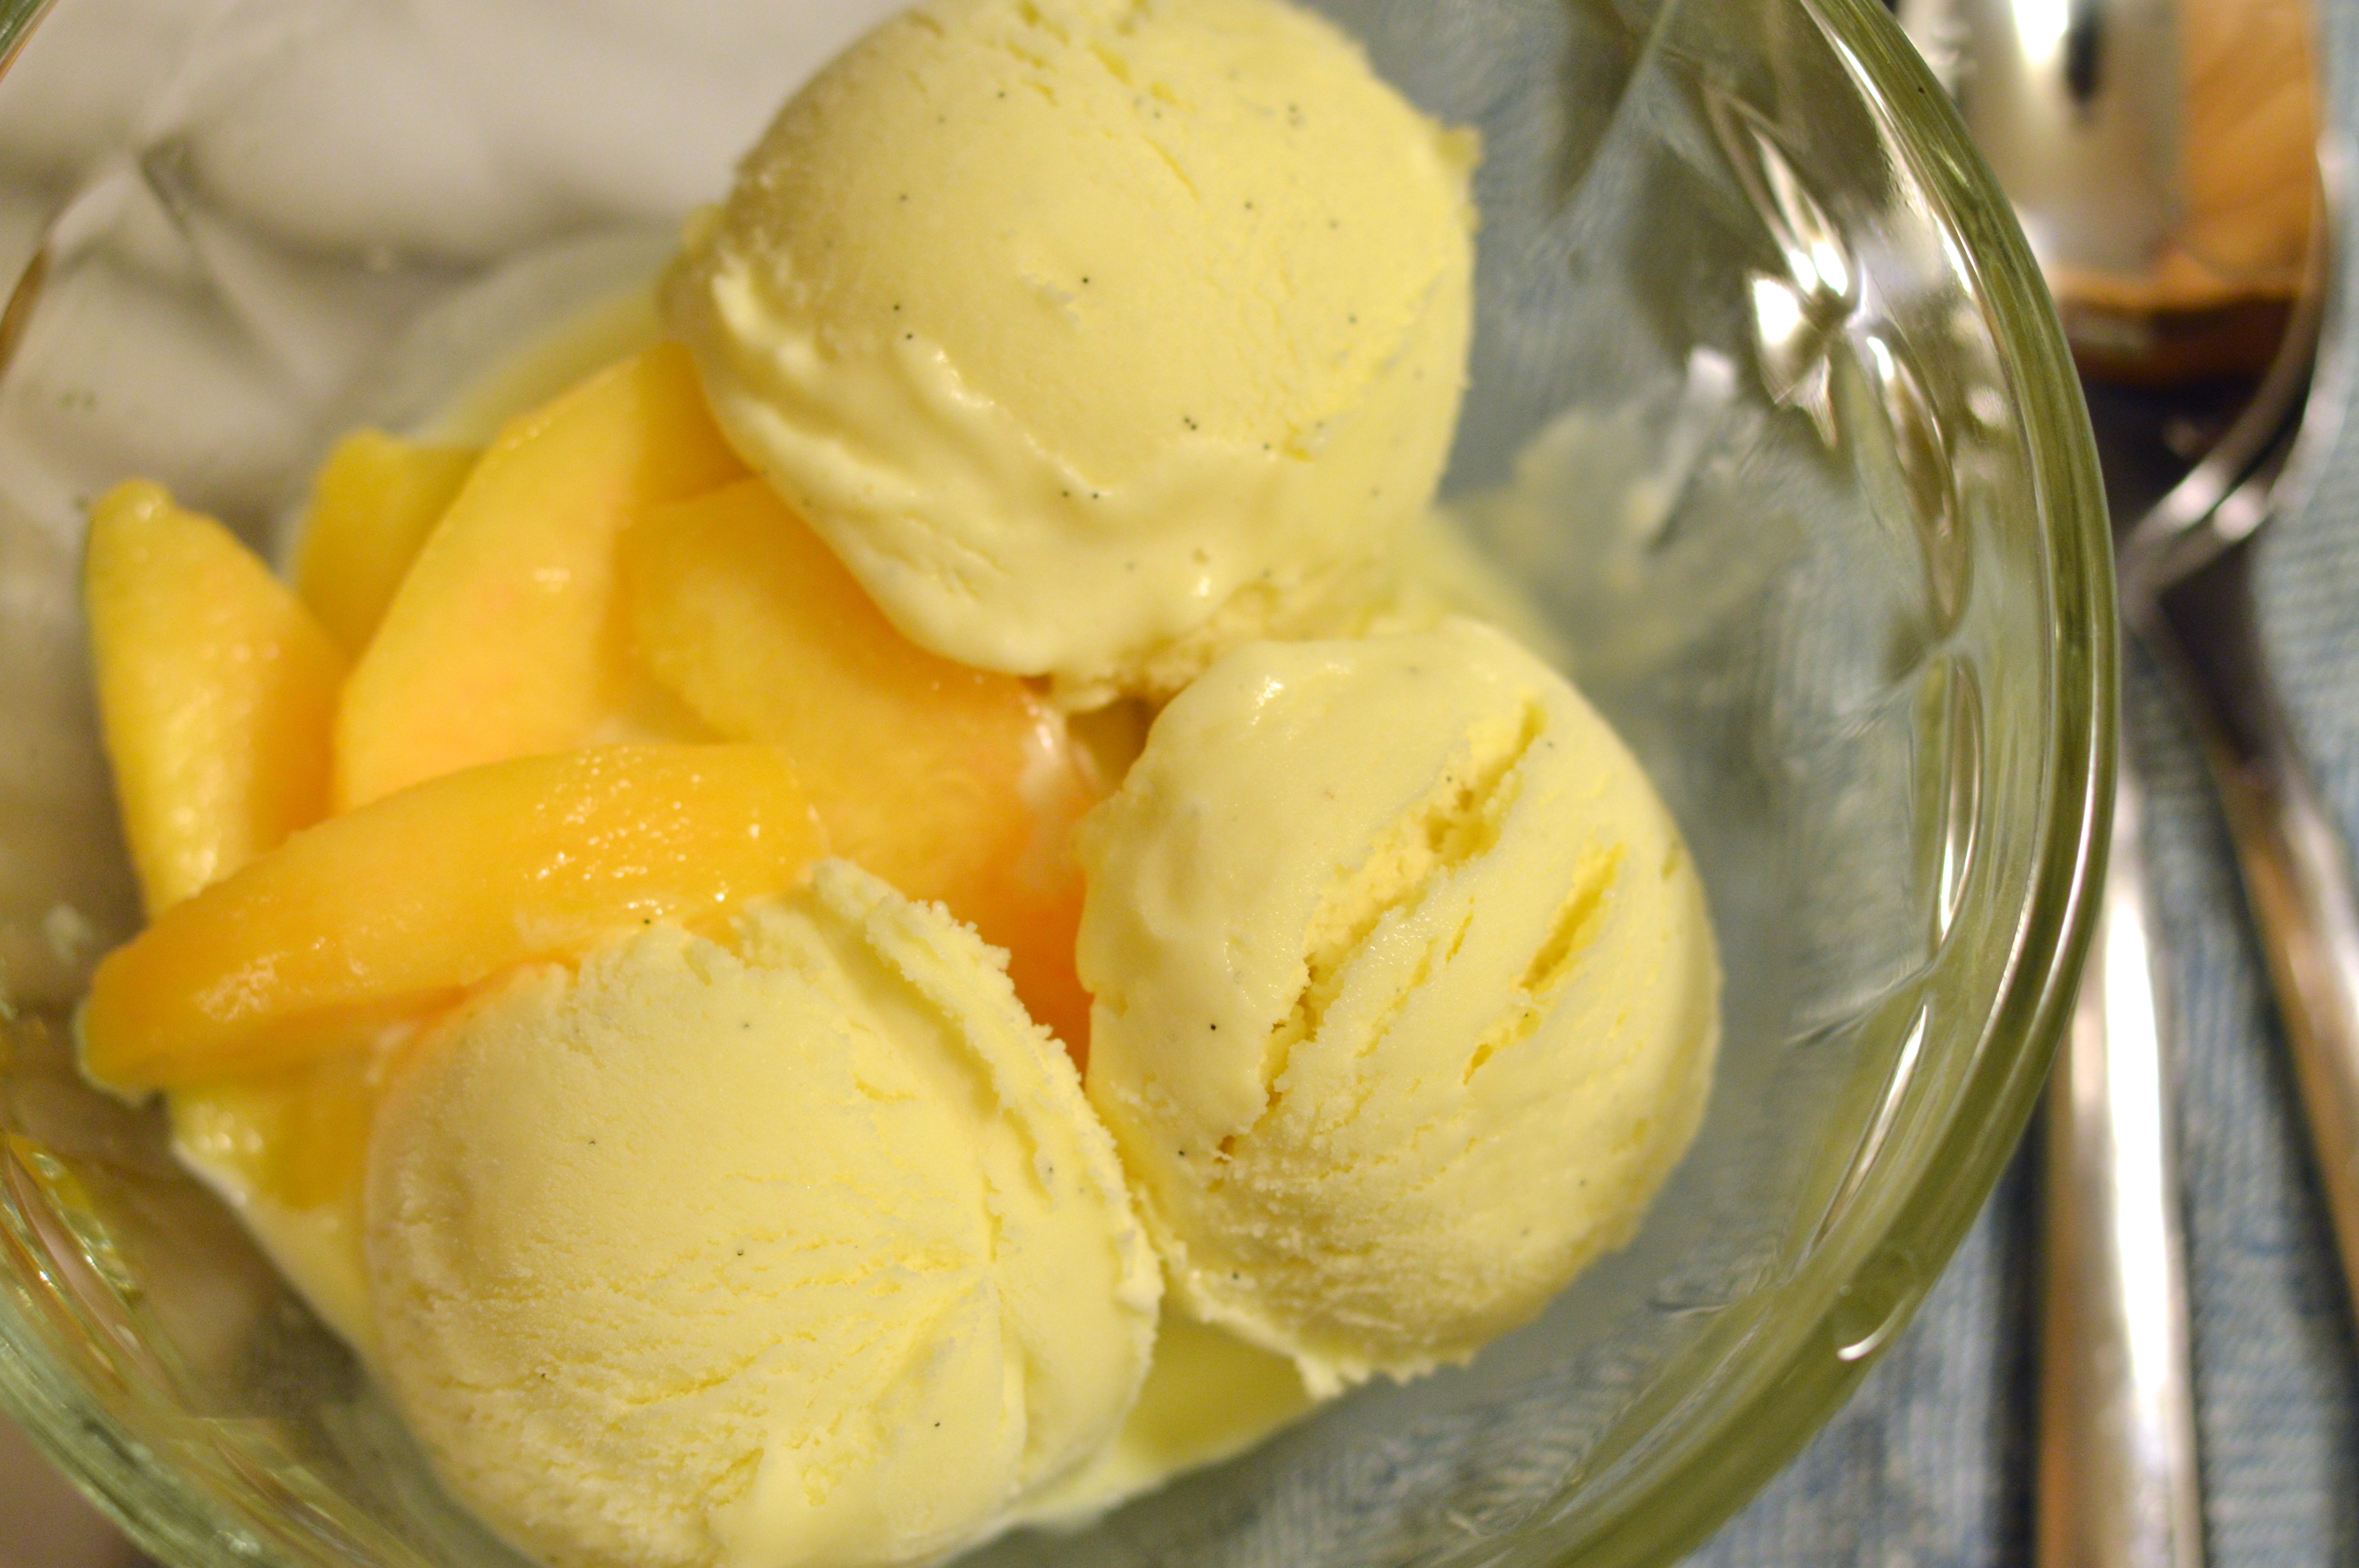
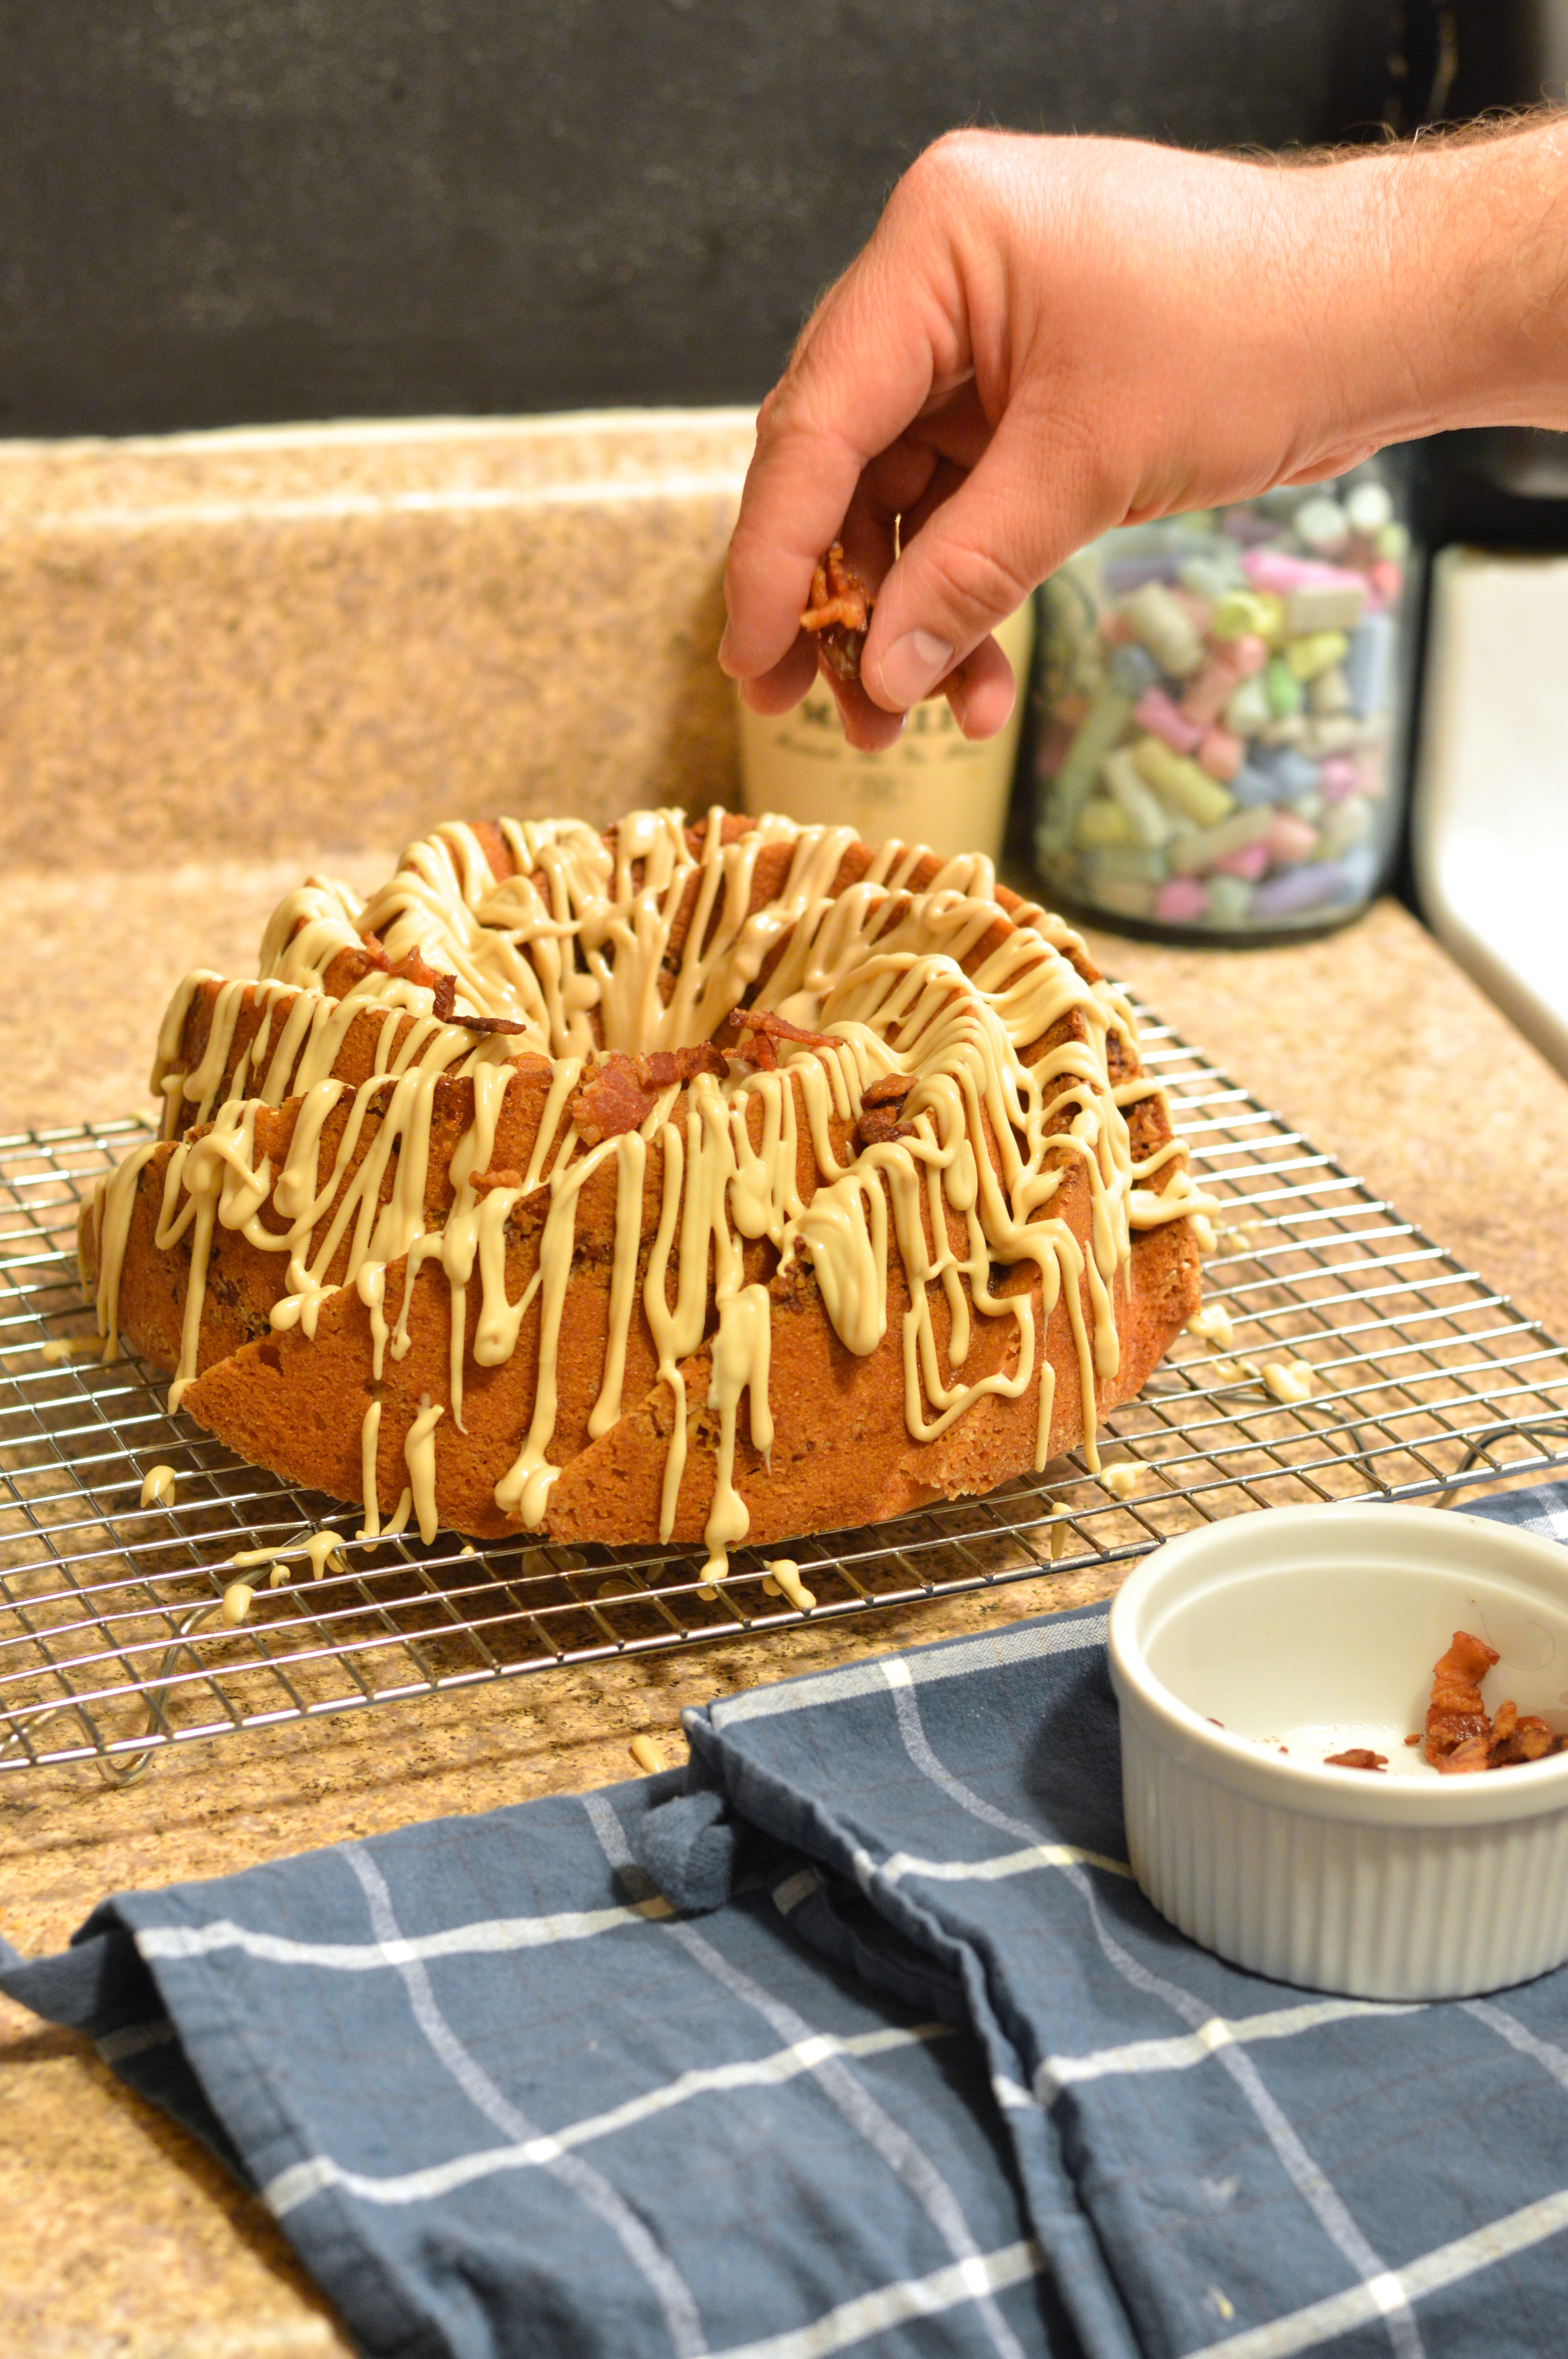
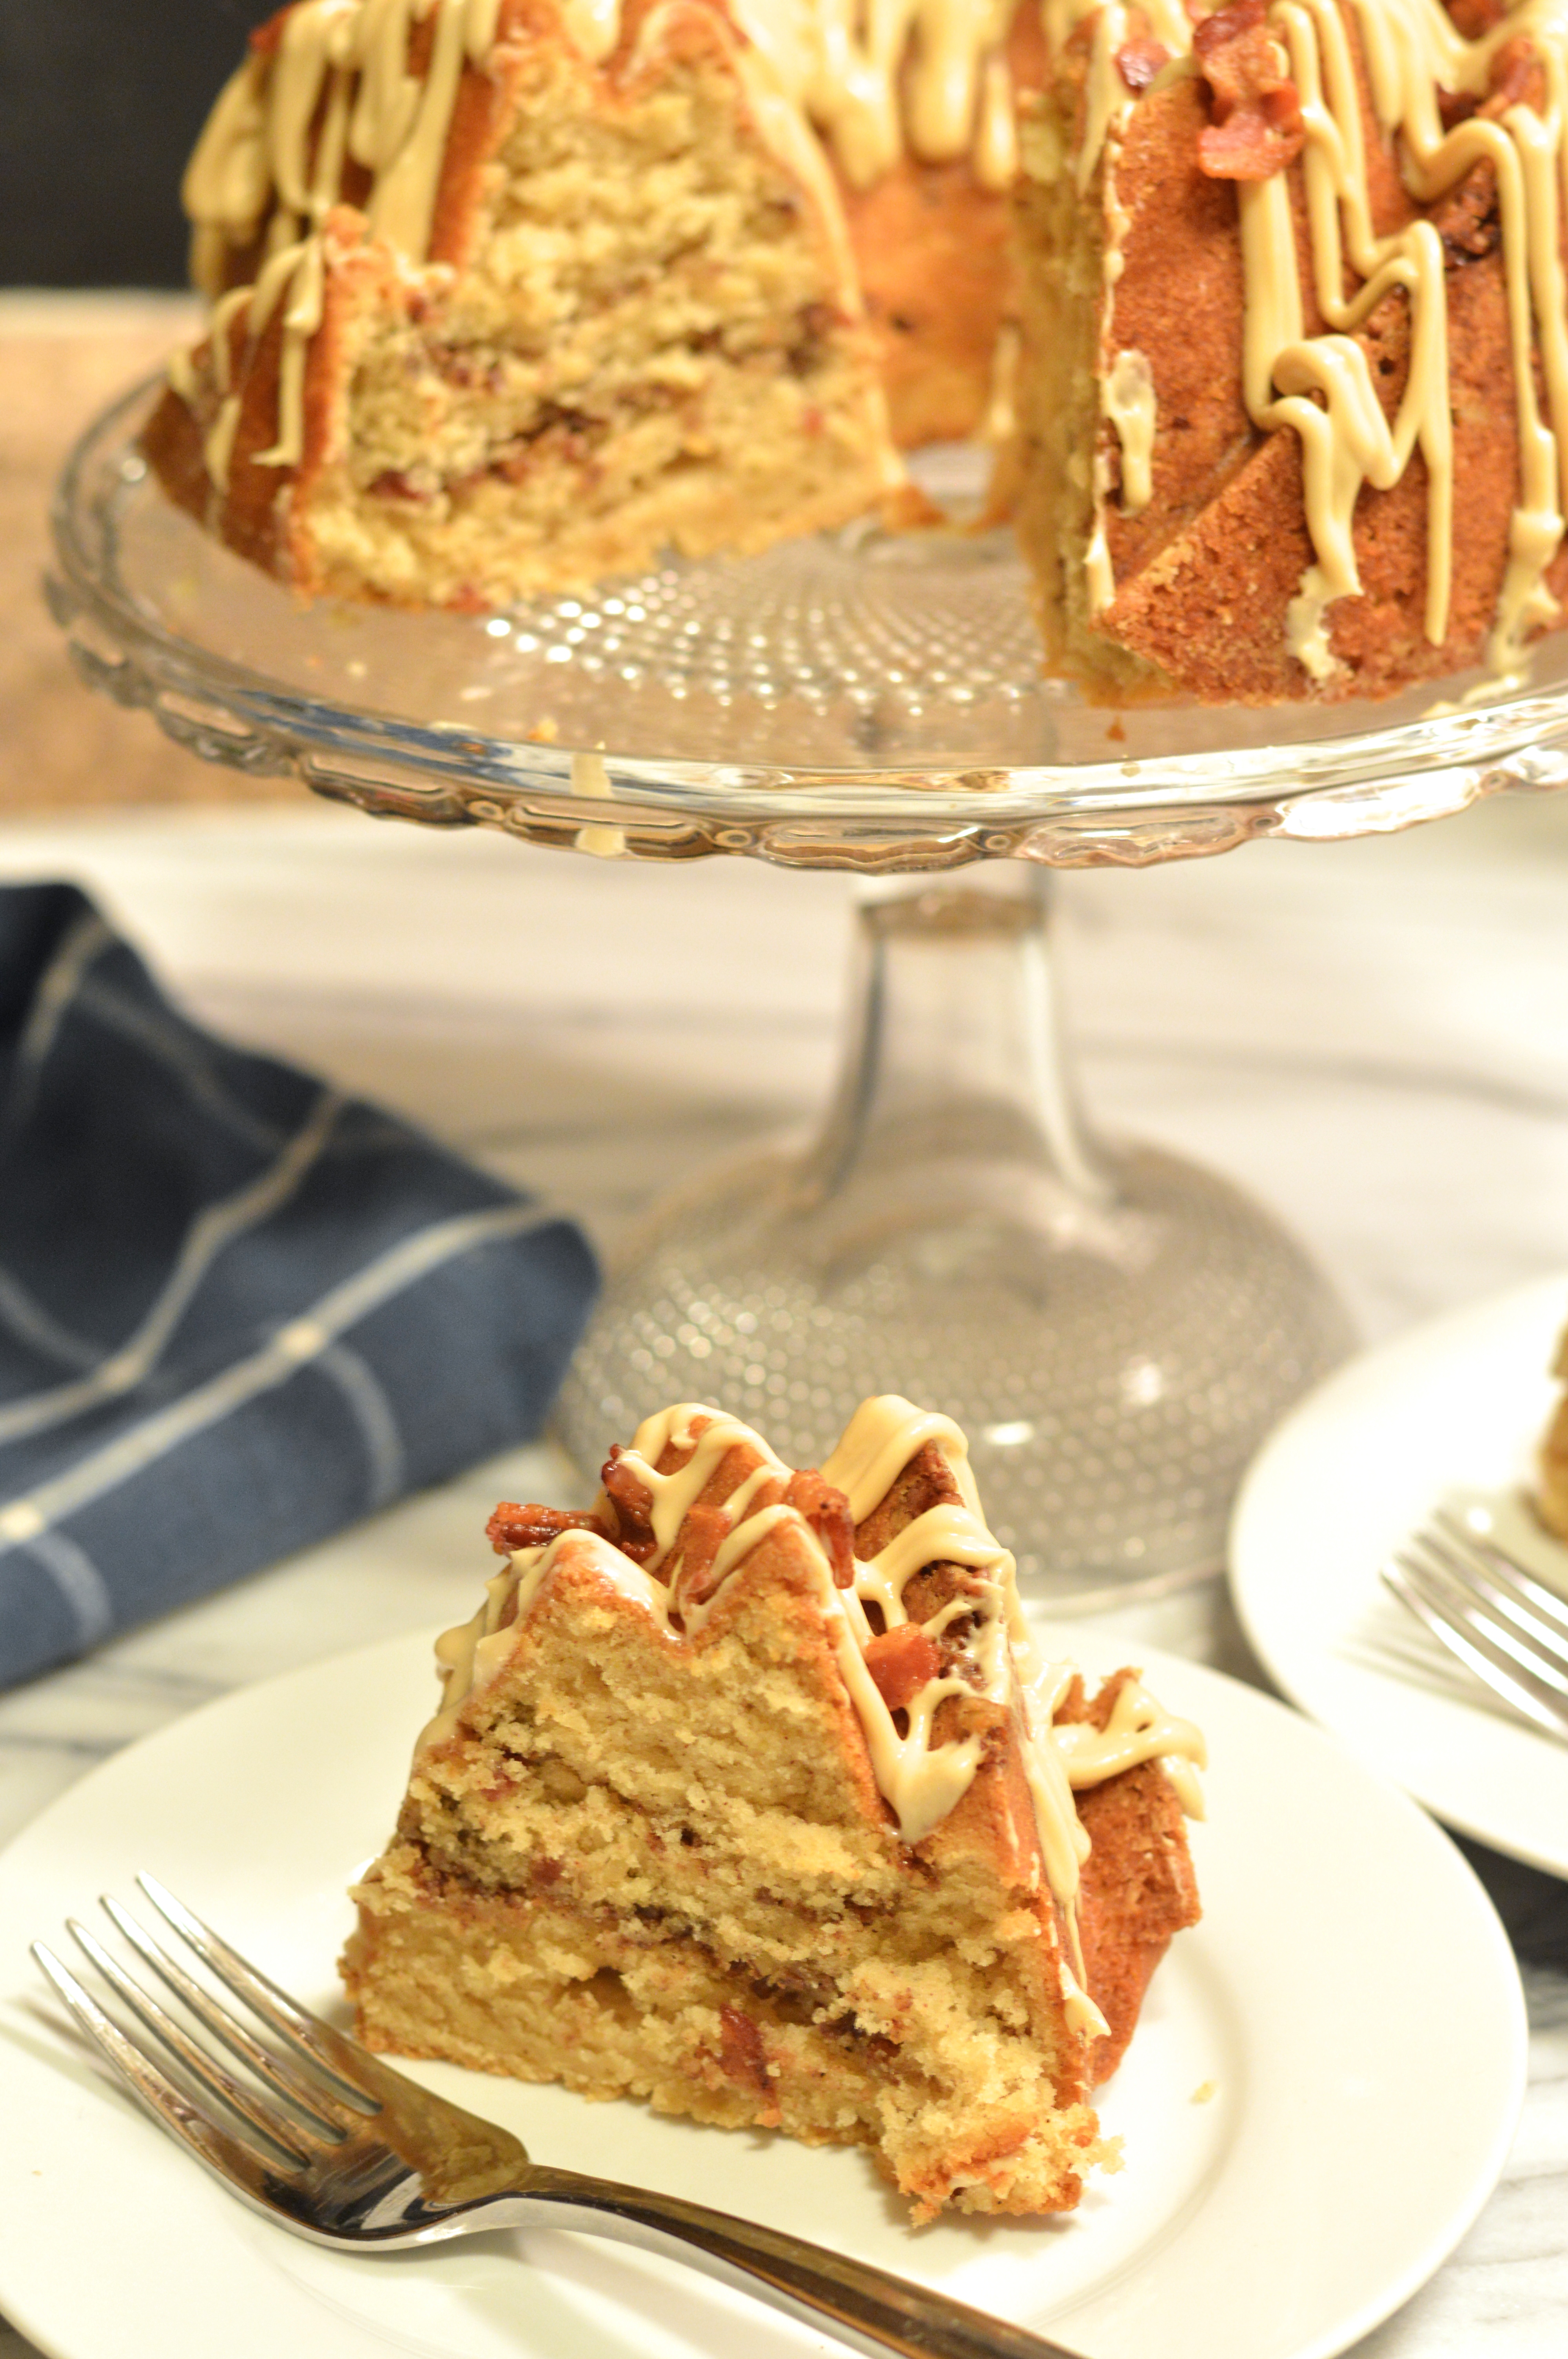
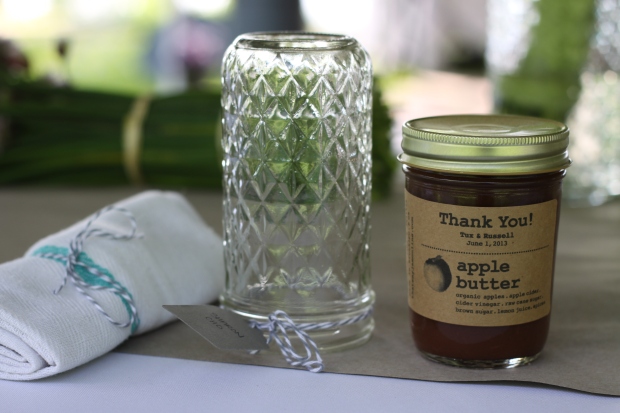
The DIY didn’t stop at the decor either. I also made my own slow baked apple butter using Hudson Valley apples to give to our guests as a thank you for making the trip.

homemade apple butter wedding favors | Tuxedo & Russell's Hudson Valley June Wedding | Brooklyn Homemaker

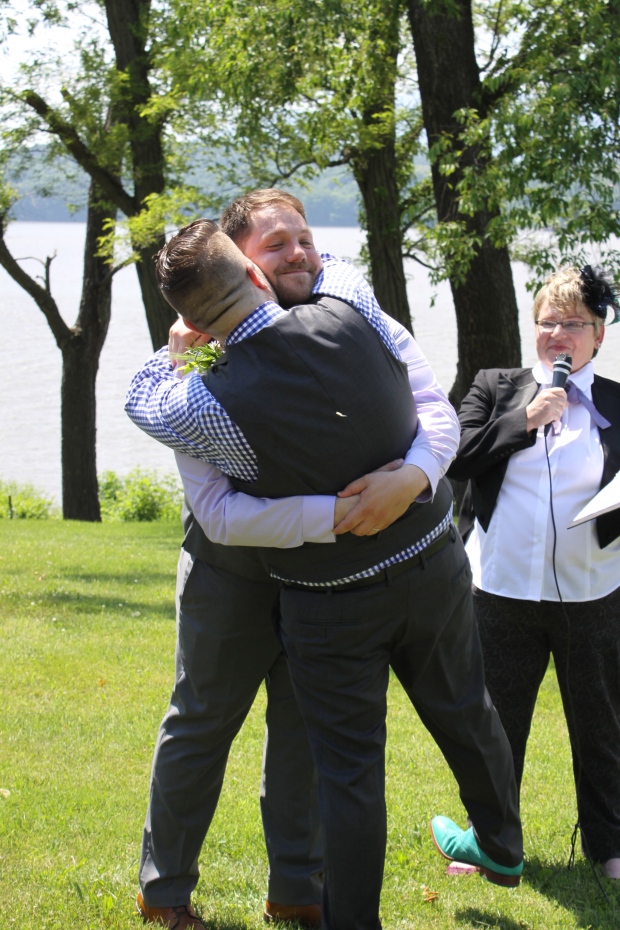
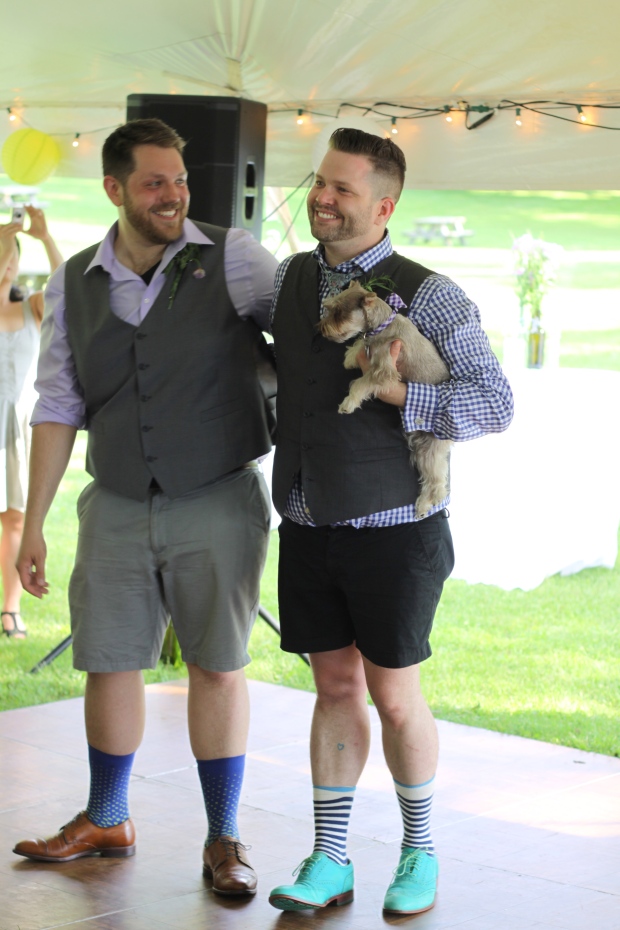
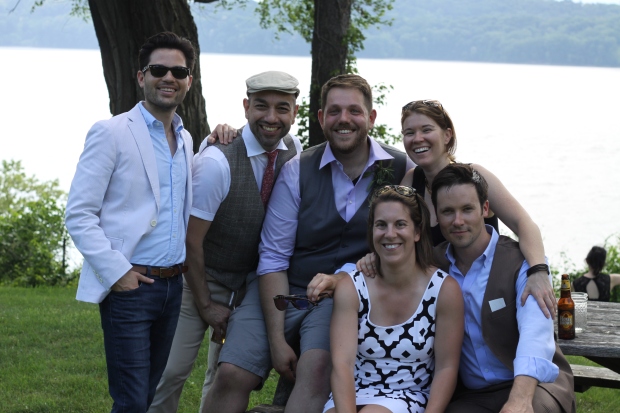
We chose the 1st of June as our date thinking that the weather would be mild and pleasant, but instead it ended up being over 90 degrees that day, so after our ceremony we both changed into shorts to be more comfortable throughout the day.

Tuxedo & Russell's Hudson Valley June Wedding | Brooklyn Homemakermismatched grey bridesmaids dresses | Tuxedo & Russell's Hudson Valley June Wedding | Brooklyn Homemakermismatched grey bridesmaids dresses | Tuxedo & Russell's Hudson Valley June Wedding | Brooklyn Homemakermismatched grey bridesmaids dresses | Tuxedo & Russell's Hudson Valley June Wedding | Brooklyn Homemaker

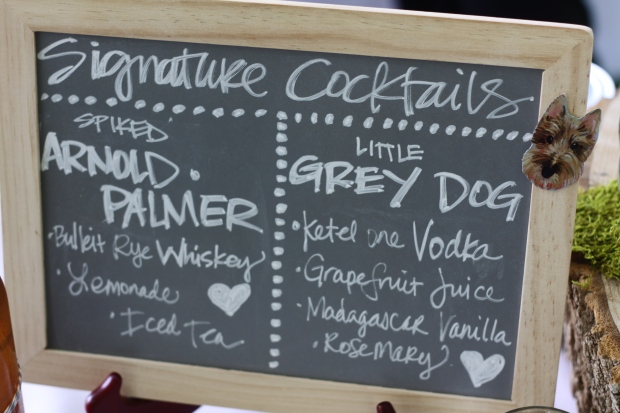
We really wanted people to feel relaxed and have fun, so booze was something we didn’t want to skimp on. Some of our family told us to cut corners by not serving alcohol, or just serving wine and beer, but we weren’t budging. The one thing we did do to save money was buy our own alcohol and have the caterer provide bartenders.  We also chose to offer only vodka and bourbon rather than a full bar, along with two signature cocktails served in drink dispensers, wines from the finger lakes region, and a selection of beers.

chalkboard wedding menu with summer signature cocktails | Tuxedo & Russell's Hudson Valley June Wedding | Brooklyn HomemakerTuxedo & Russell's Hudson Valley June Wedding | Brooklyn Homemaker

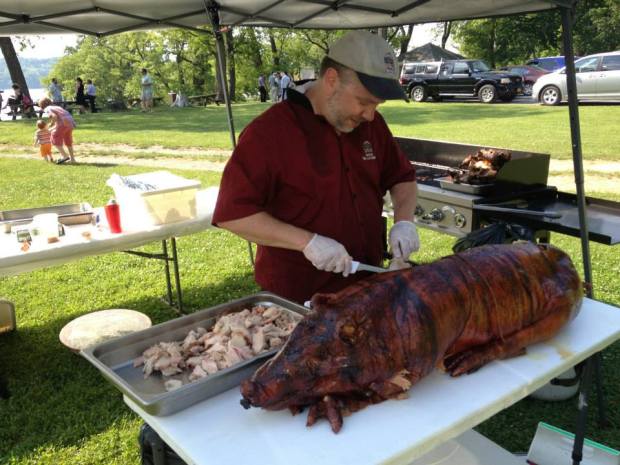
Food is kind of a big deal to us, as you can probably imagine since I write a blog on the subject. We weighed several options when we started thinking about what we’d want to serve, but we knew that we didn’t want the same old “fish or chicken” wedding food. At first we were thinking about going for a Southern picnic menu, with cold fried chicken and sweet tea, but ultimately we decided on barbecue. Our budget sort of pushed us in this direction because whole hog barbecue is usually a cheaper option, but what we ended up with was much more than just a pig roast. We found an amazing family run restaurant called Hickory BBQ Smokehouse a short drive from our venue, and after one meal there we were ready to sign the contract.

pig roast chalkboard wedding menu | Tuxedo & Russell's Hudson Valley June Wedding | Brooklyn Homemakerpig roast | Tuxedo & Russell's Hudson Valley June Wedding | Brooklyn Homemakerpig roast wedding | Tuxedo & Russell's Hudson Valley June Wedding | Brooklyn Homemaker

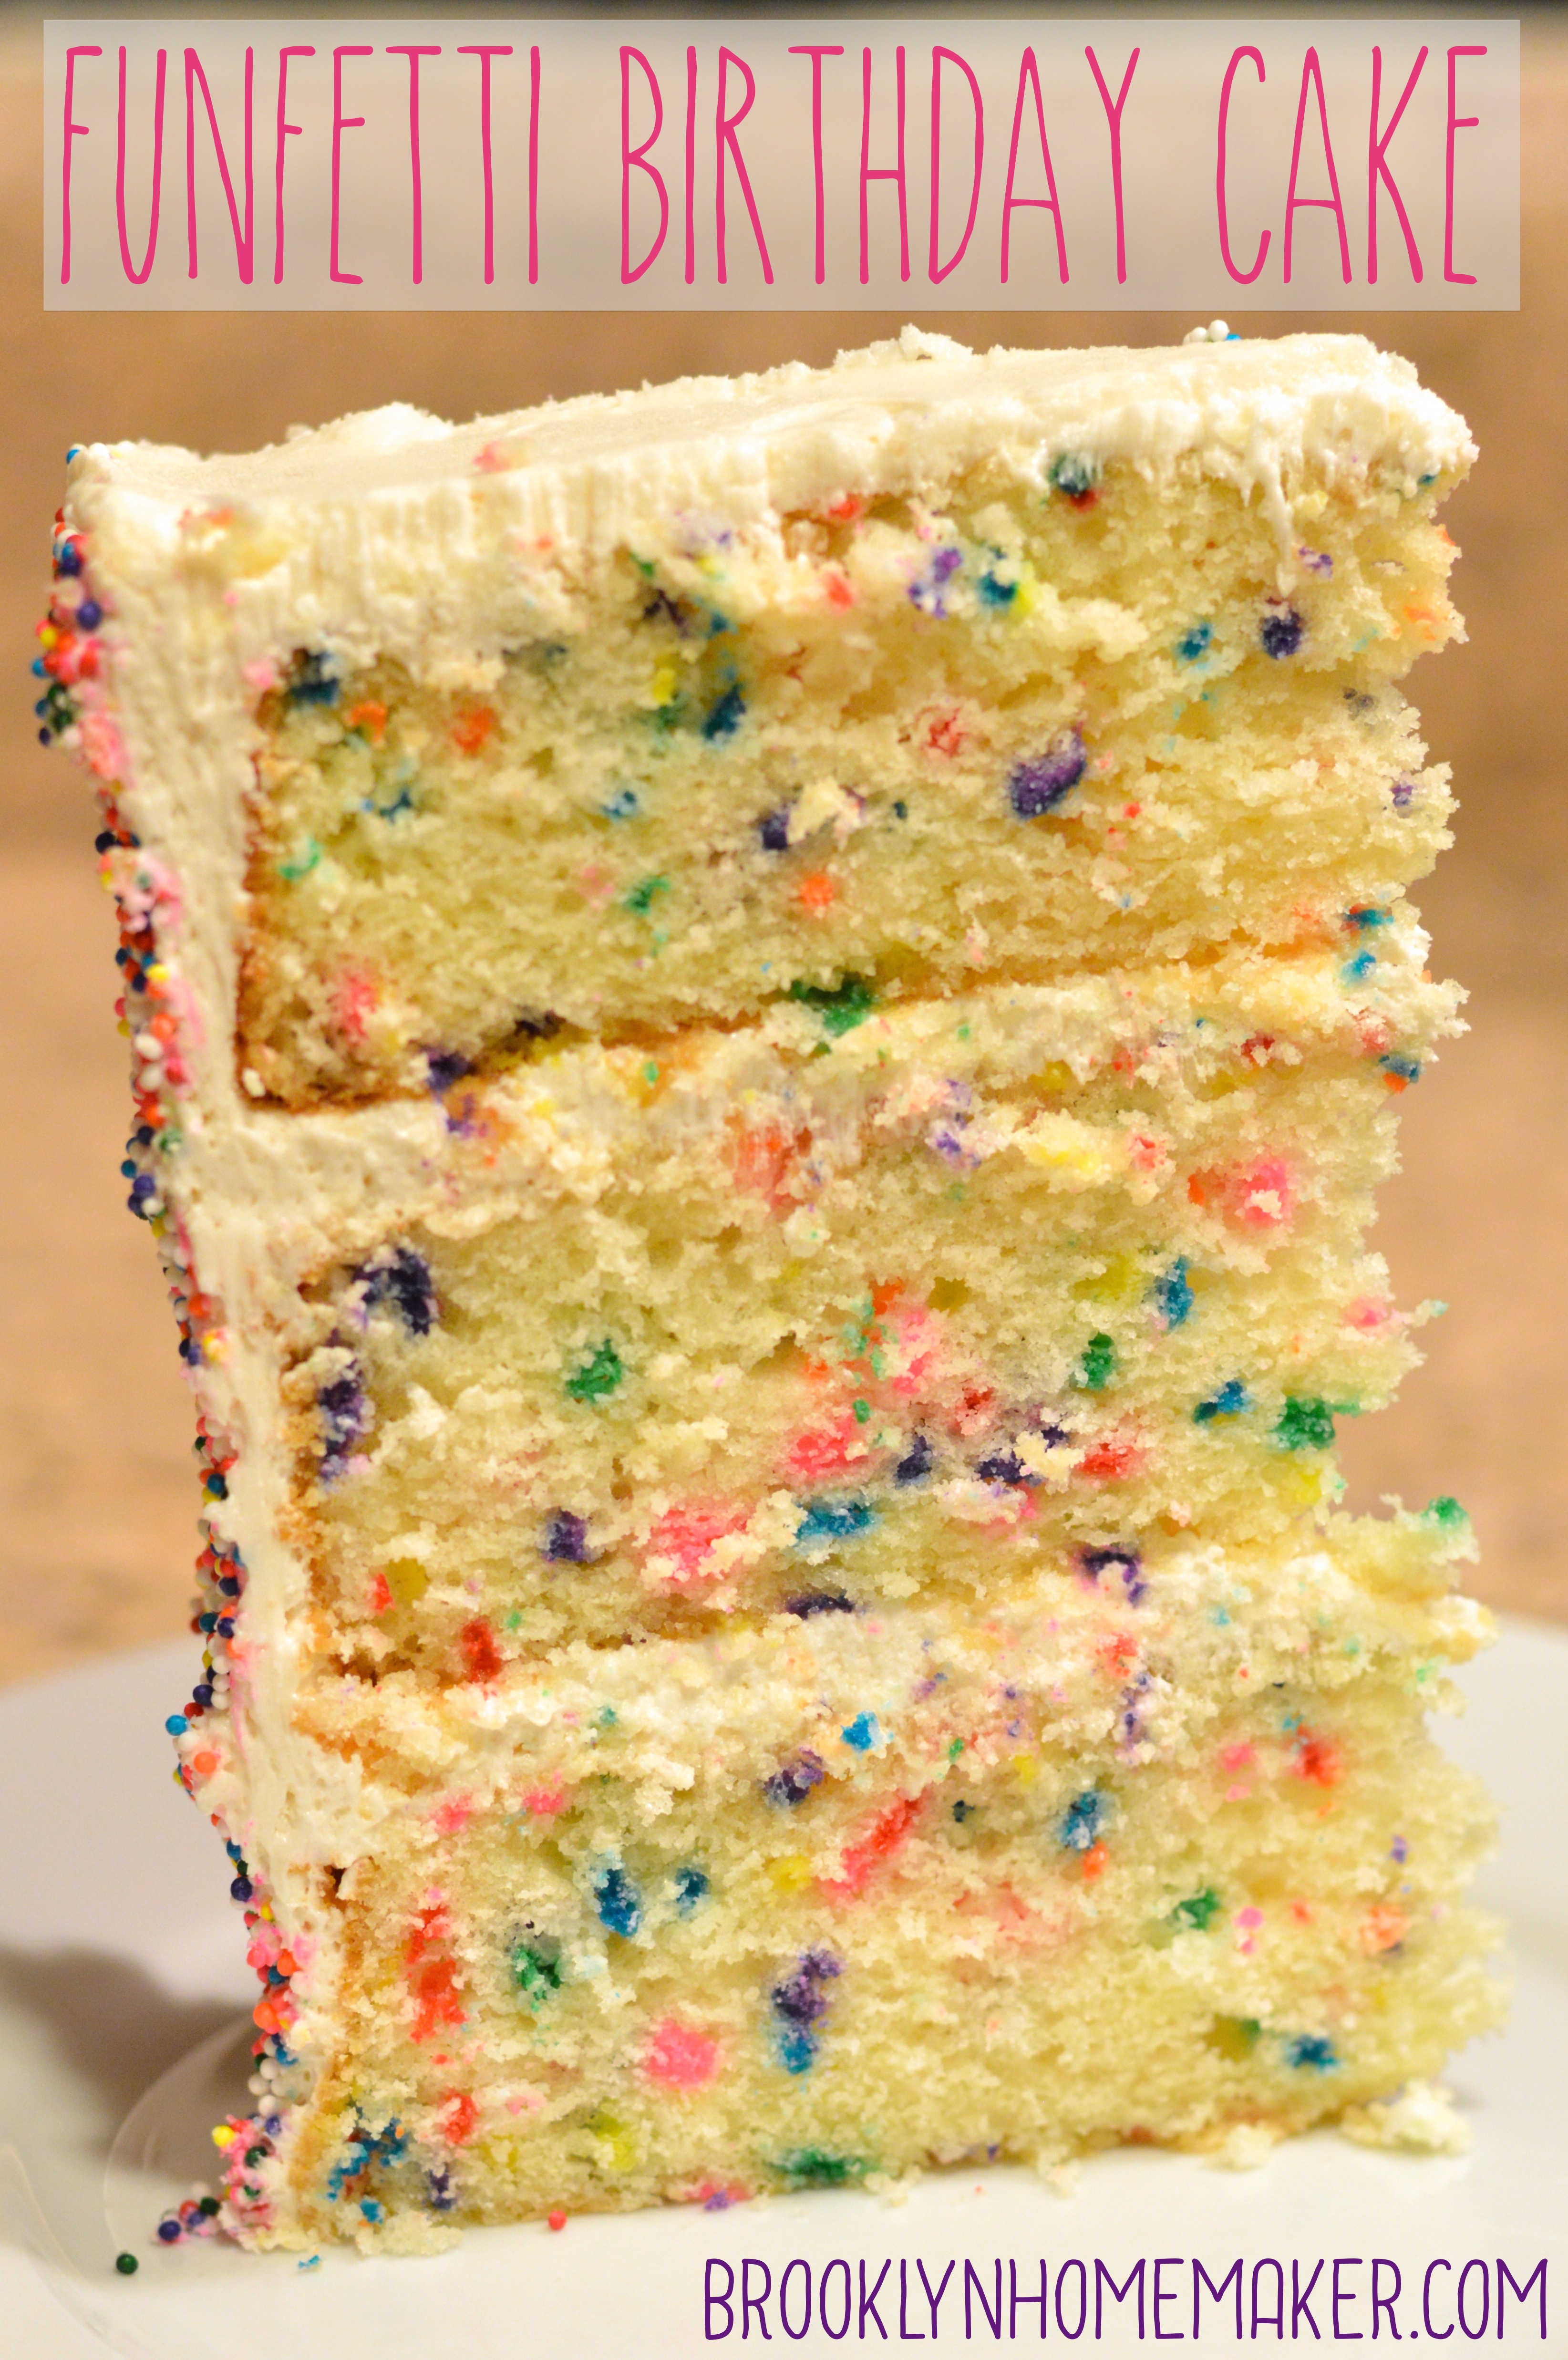
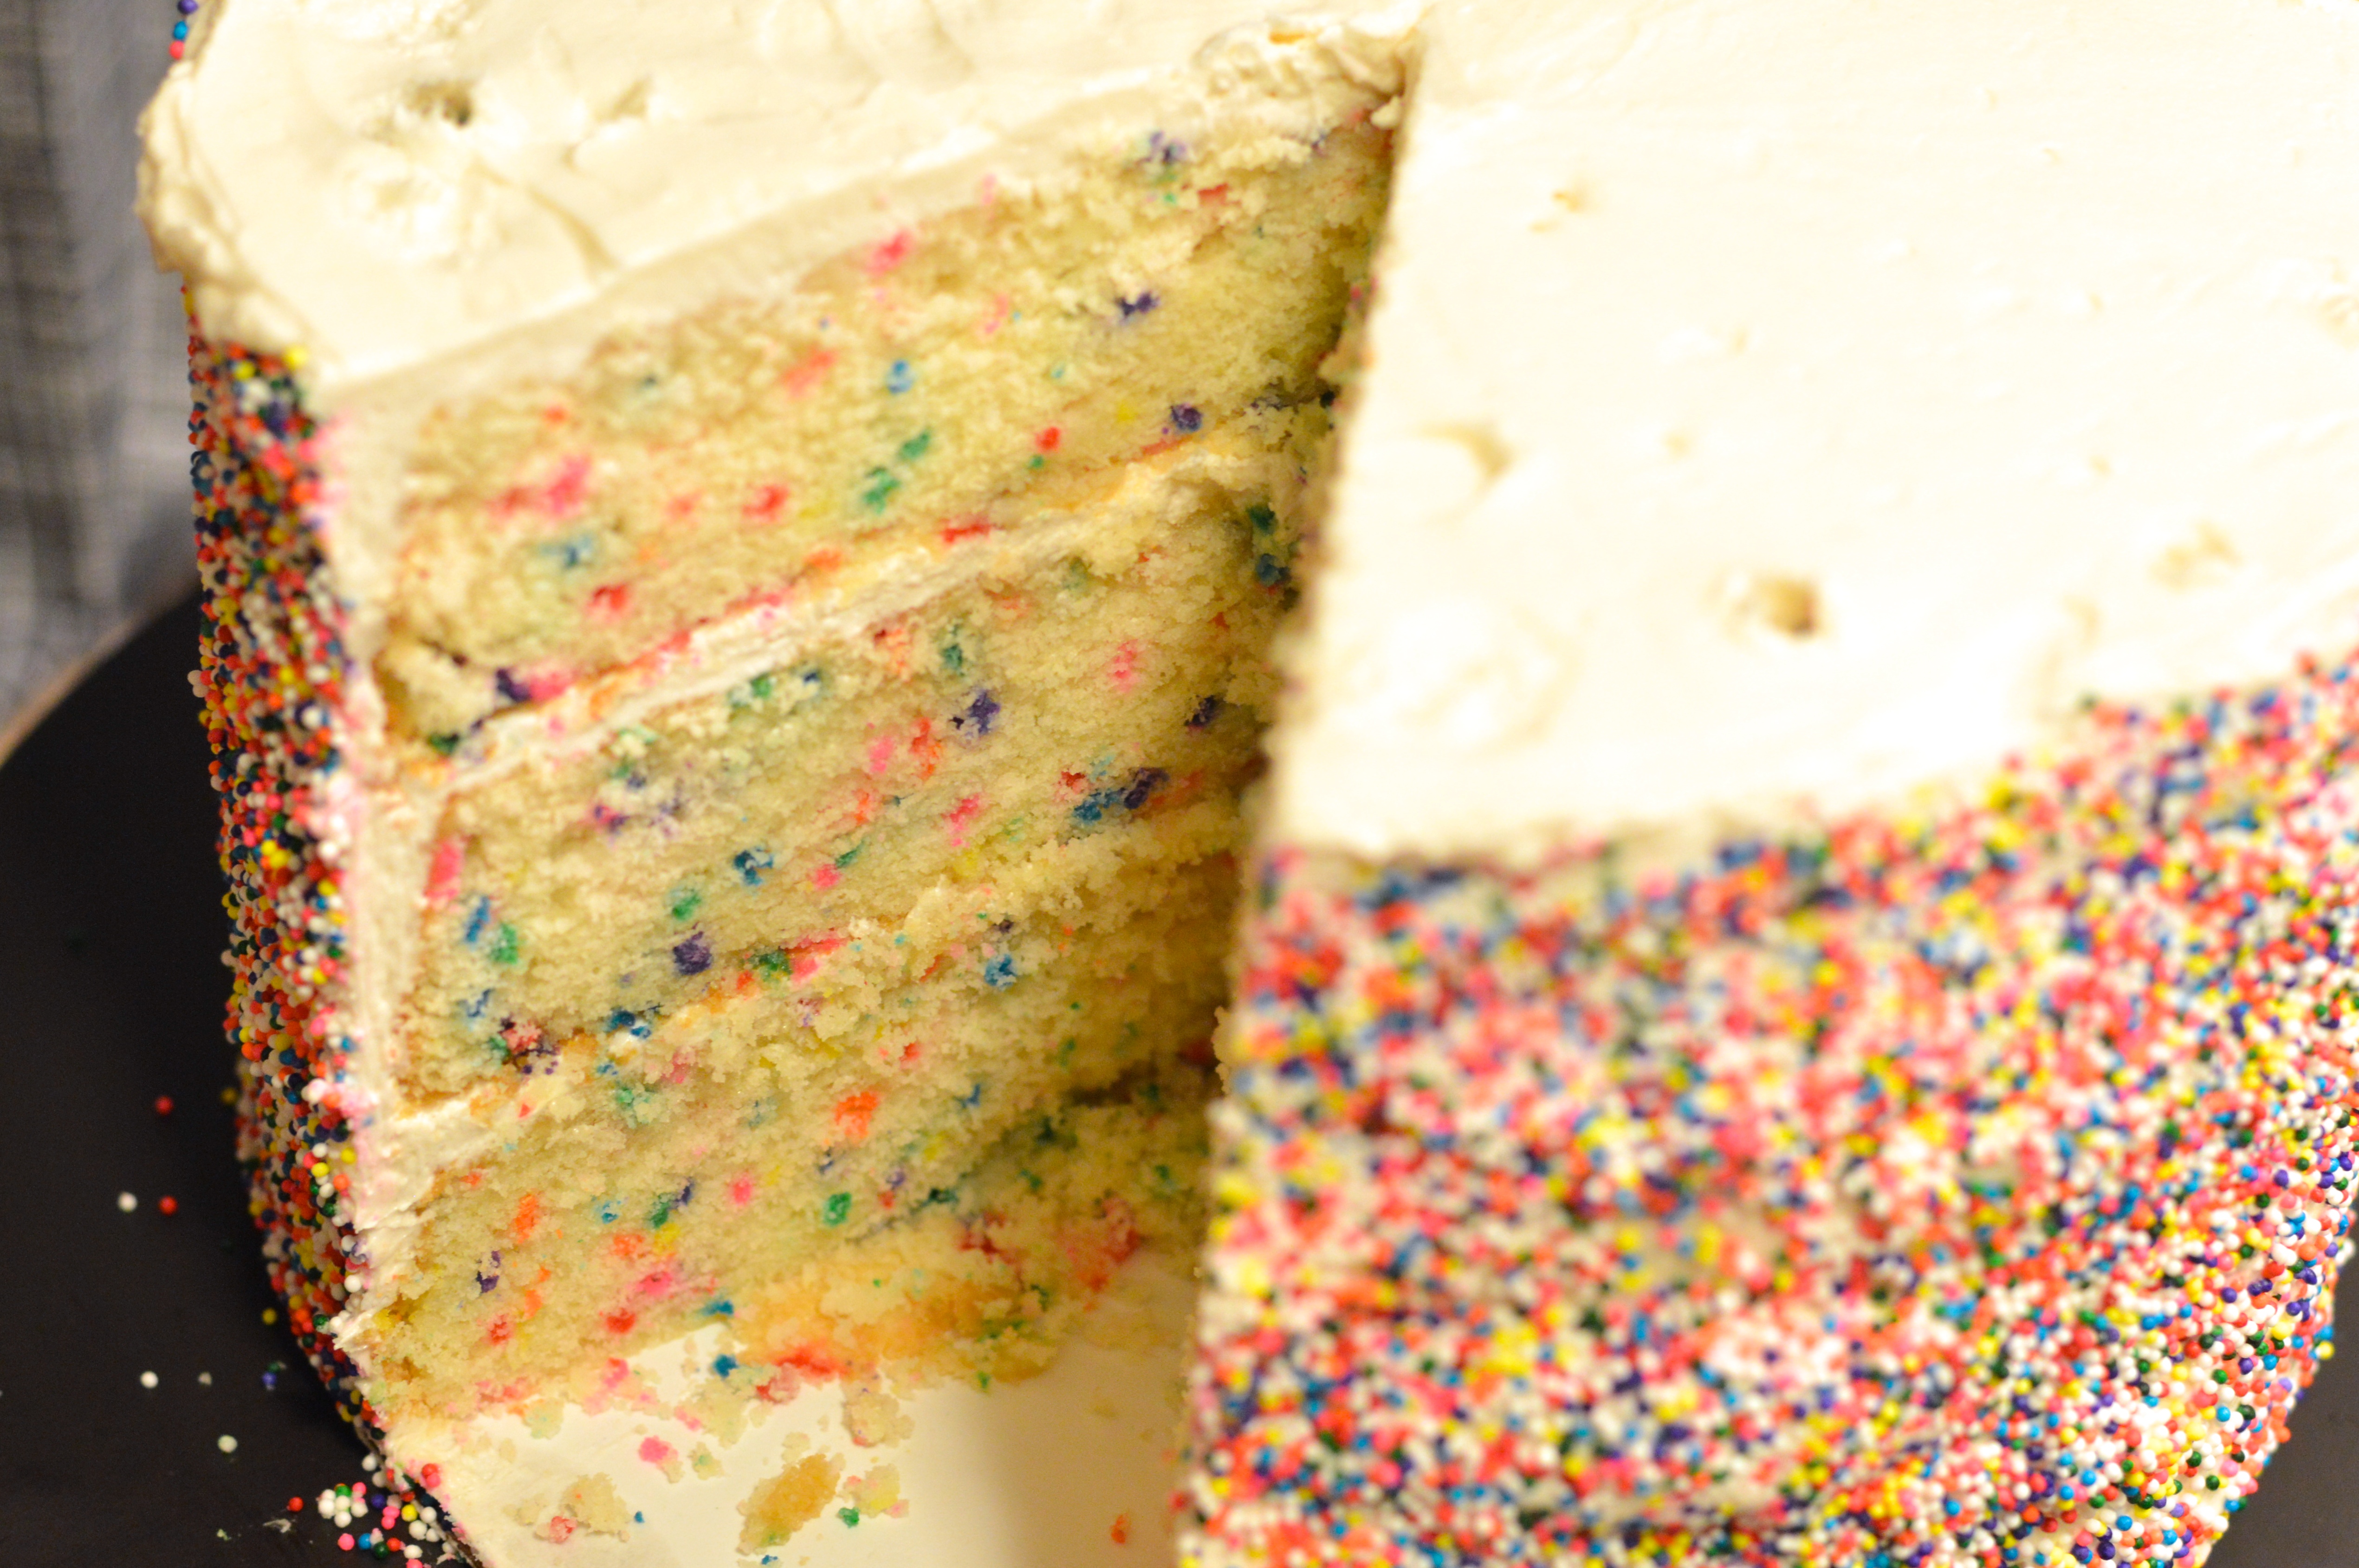
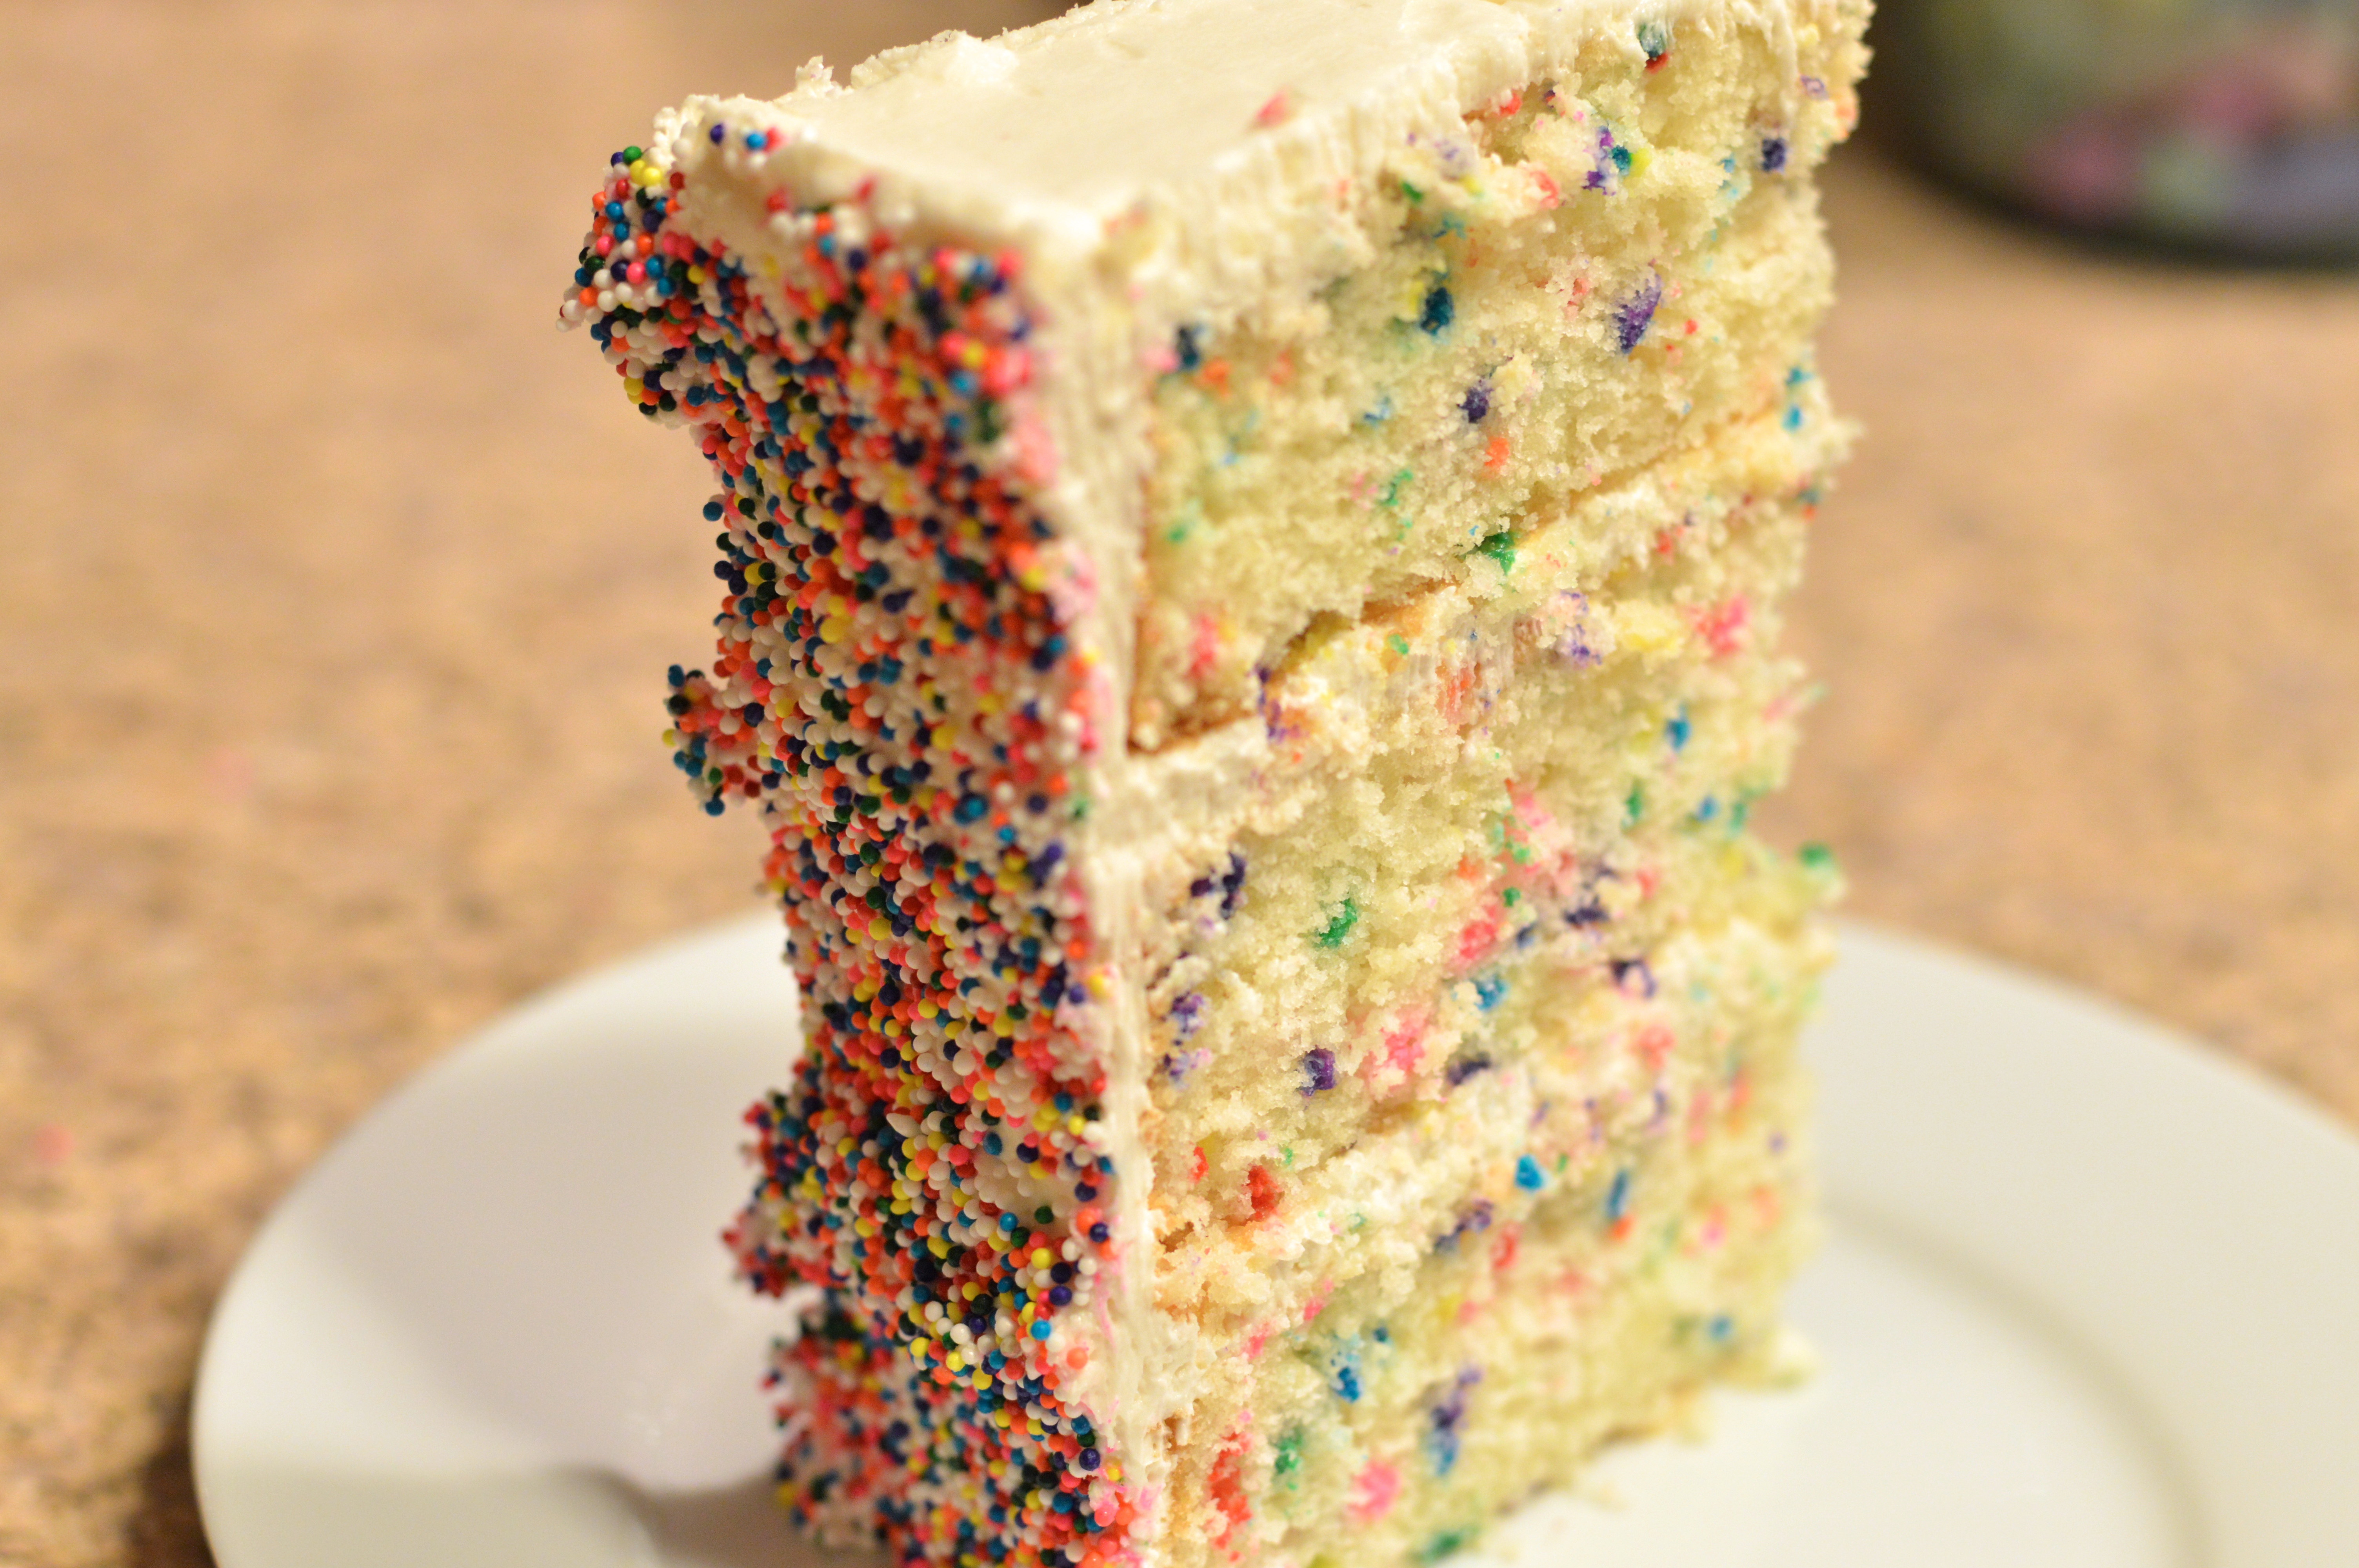
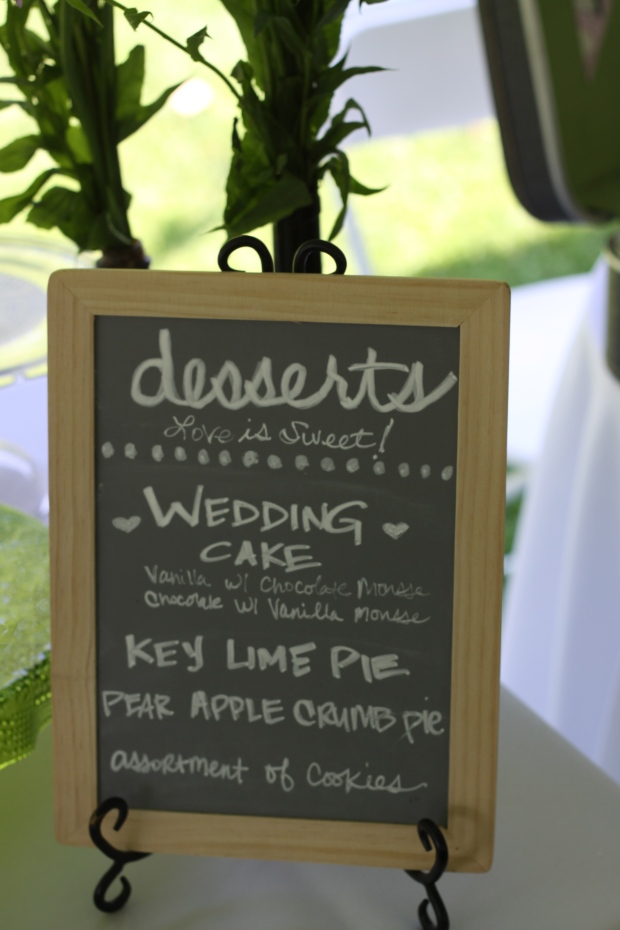
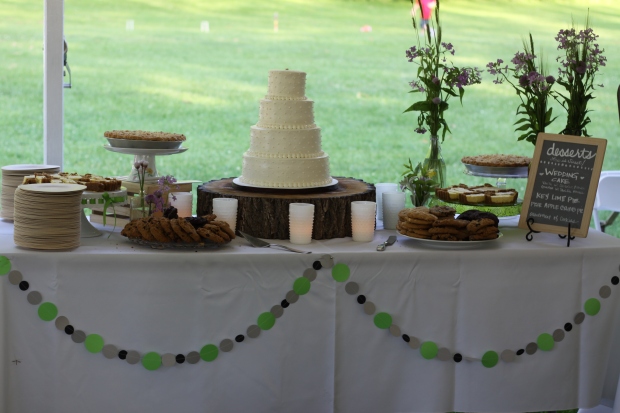
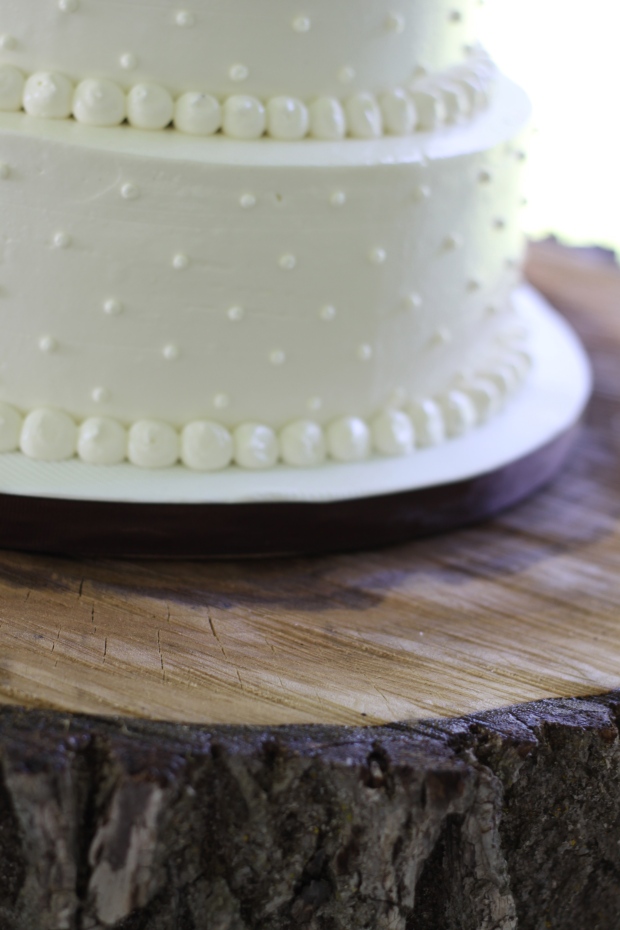
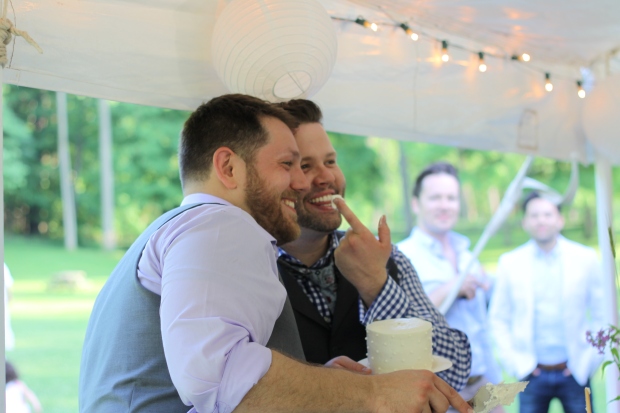
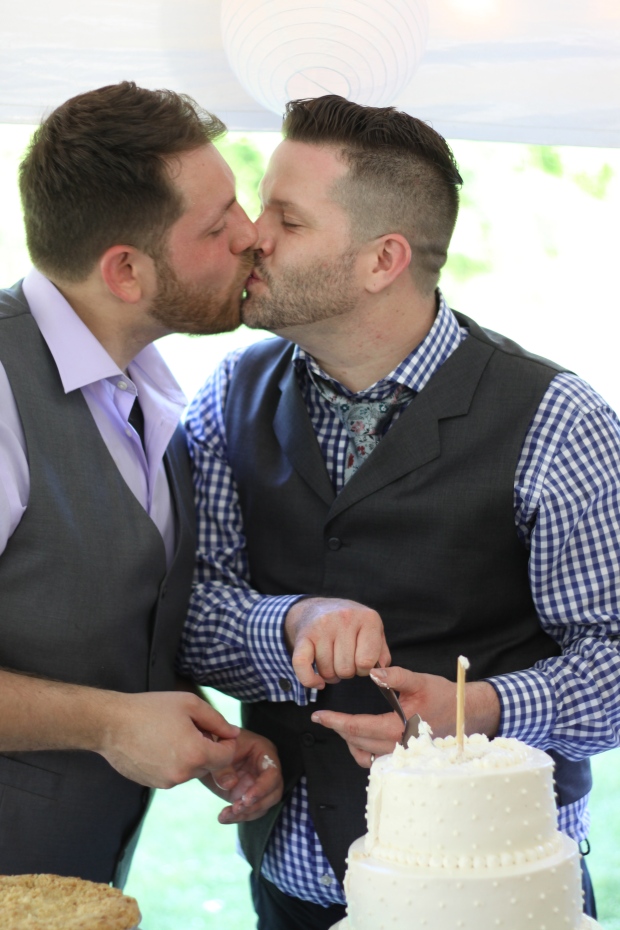
When choosing a wedding cake, we wanted to keep it simple. We went for an elegant (and delicious) 4-tiered swiss dot patterned cake with classic white Swiss meringue buttercream. The cake itself was vanilla cake with chocolate mousse and chocolate cake with vanilla mousse. Then, to gussy up the dessert table and offer some variety, we served some pies (homemade by our caterers mother!) and a selection of cookies.

 chalkboard dessert menu | Tuxedo & Russell's Hudson Valley June Wedding | Brooklyn Homemaker rustic dessert table & white swiss dot wedding cake | Tuxedo & Russell's Hudson Valley June Wedding | Brooklyn Homemakerwhite swiss dot wedding cake on rustic wood cake stand | Tuxedo & Russell's Hudson Valley June Wedding | Brooklyn Homemaker white swiss dot wedding cake on rustic wood cake stand | Tuxedo & Russell's Hudson Valley June Wedding | Brooklyn Homemakercake cutting at same sex wedding | Tuxedo & Russell's Hudson Valley June Wedding | Brooklyn Homemakercake cutting at same sex wedding | Tuxedo & Russell's Hudson Valley June Wedding | Brooklyn HomemakerTuxedo & Russell's Hudson Valley June Wedding | Brooklyn Homemaker

Russell chose most of the music for the day with our DJ, Russell’s good friend Cody, but he let me help choose “Islands in the Stream” with Dolly Parton and Kenny Rogers as our first dance.

first dance at same sex wedding | Tuxedo & Russell's Hudson Valley June Wedding | Brooklyn Homemaker

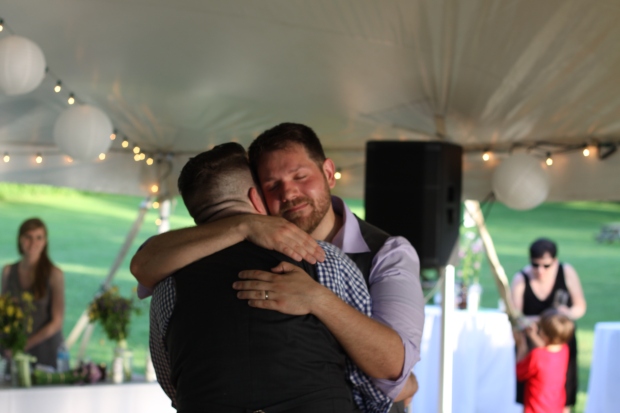
Words cannot express, and photos cannot do justice to, what a beautiful, perfect, wonderful day our wedding was. We’re so glad that we were able to share it with so many of our friends and family.

Tuxedo & Russell's Hudson Valley June Wedding | Brooklyn HomemakerTuxedo & Russell's Hudson Valley June Wedding | Brooklyn HomemakerTuxedo & Russell's Hudson Valley June Wedding | Brooklyn HomemakerTuxedo & Russell's Hudson Valley June Wedding | Brooklyn HomemakerTuxedo & Russell's Hudson Valley June Wedding | Brooklyn HomemakerTuxedo & Russell's Hudson Valley June Wedding | Brooklyn HomemakerTuxedo & Russell's Hudson Valley June Wedding | Brooklyn HomemakerTuxedo & Russell's Hudson Valley June Wedding | Brooklyn HomemakerTuxedo & Russell's Hudson Valley June Wedding | Brooklyn Homemaker

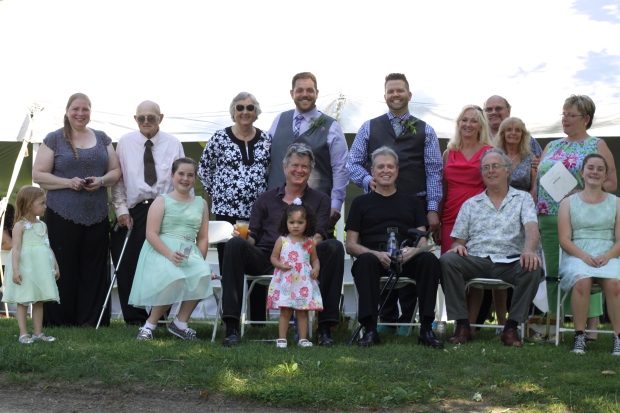
Thank you everyone who helped make our wedding day the most beautiful and special day of our lives. Friends and family alike joined in to help make sure every last detail was perfect. Big thank yous go out to our DJs Cody and Catonia, to Zach for helping us get all our supplies upstate, and to Aunt Mimi for officiating. Extra big thank yous go out to our wedding party; Sonja, Beth, Jenn, Sharon, Nicole, & Alison; for helping us SO MUCH and putting up with my endless emails. The biggest thank you of all though, goes to my mom.

Thank you so much mom! Without your help we never could have had the perfect beautiful day that we did.

Tuxedo & Russell's Hudson Valley June Wedding | Brooklyn HomemakerTuxedo & Russell's Hudson Valley June Wedding | Brooklyn Homemaker

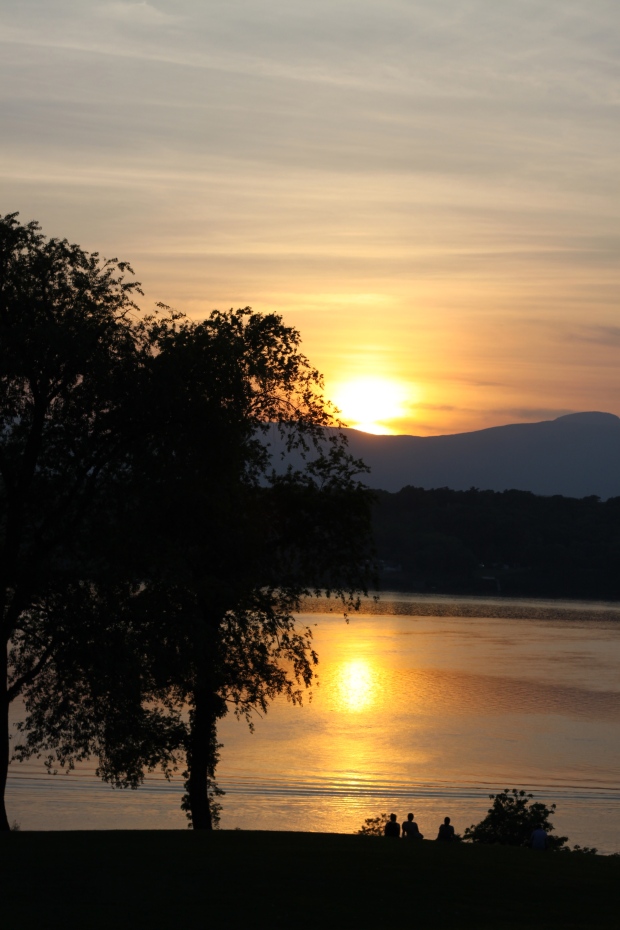
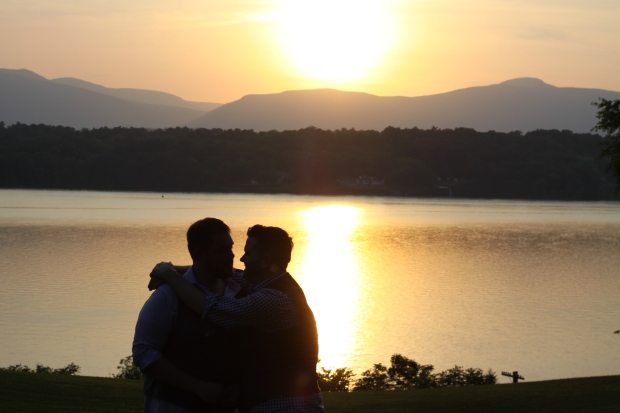
Photo credit for this post goes to our awesome photographer Jordan- Jordan Jankun Photography

funfetti birthday cake

So, I guess May is cake month here at Brooklyn Homemaker.

funfetti birthday cake | cake construction tips | Brooklyn Homemaker

Sunday was my birthday. We had a cookout in the yarden with a bunch of friends and copious amounts of food and booze. Russell offered to buy me a cake, but I insisted on making my own. I know that you’re, like, “not supposed to” make your own birthday cake, but I love to bake, and I’m pretty good at it. Any cake he could find locally wouldn’t be half as good as what I could make myself, and anything he ordered from a fancy specialty bakery would cost a small fortune. So I won. I made my own birthday cake, and I went all out and did a super colorful funfetti cake with rainbow sprinkles inside and out.

funfetti birthday cake | cake construction tips | Brooklyn Homemaker

The only weird part of making my own cake was that I wanted to share it with you here, so after candles and singing I rushed the cake back into the house to cut and photograph it before reemerging 20 minutes later to ask for help carrying the sliced cake back outside. It’s a funny thing to have to stop and remove yourself from a party to stage and photograph a cake, especially when it’s your party (and you’ve had a few cocktails).

I’m committed though. What can I say? You’re welcome.

funfetti birthday cake | cake construction tips | Brooklyn Homemaker

A few friends and fans have been asking me lately about tips on constructing layer cakes, so I’m going to share some today. I’m really not a professional baker (more like a talented amateur), so I’m sure there might be easier or better ways of doing things, but these techniques have worked well for me over the years, and I think they’ll really help you up your cake baking game. If you really want even more in-depth training from a real professional, I’d suggest checking out this great “Modern Buttercream” class from Craftsy. It’s really helpful and informative, and free!

Anyway, one of my favorite things to do when baking a layer cake is to turn off the damned TV and put on some great music. I’m partial to Dolly Parton’s All I Can Do album, just in case you were wondering.

funfetti birthday cake | cake construction tips | Brooklyn Homemaker

The first step in making a layer cake is choosing the size. If you visit the site regularly, you’ve probably already noticed that I’m very partial to three layer cakes. Two layer cakes already require more effort than bundt or sheet cakes, so I think adding that third layer makes a cake much more impressive without adding much more work. I think a three layer cake looks, I don’t know, fancier, because of its impressive height and multiple layers of cake and filling when sliced.

I also tend to lean toward 8 inch cakes rather than 9 inch because, again, I think they look fancier. The same amount of batter poured into a 9 inch pan will spread thinner, where an 8 inch layer will be thicker. If your goal is height, obviously the 8 inch pan will get you closer, but there’s also an optical illusion at work that makes a skinnier cake look taller.  Obviously the difference is slight, and a 9 inch cake will still be pretty damned impressive and just as delicious, so if that’s all you have, go for it.

This may sound like a no brainer, but when you bake your layers, make sure you’re using 3 cake pans at once, not baking each layer individually. Cake batter has leavening agents in it that will weaken if they’re left sitting around too long, so if you want a 3 layer cake, you need 3 pans. If you only have 2 pans, another option would be to bake two layers and slice them in half to give you four layers. Extra fancy! Obviously baking times will need to be adjusted if you go this route.

funfetti birthday cake | cake construction tips | Brooklyn Homemaker

To make sure my cakes release easily, I always butter my pans before baking, then add a pre-cut parchment round to the bottom of the pan. Then I butter that and dust the whole pan with flour. After baking I usually place my cake pans on wire racks to cool for 20 or 30 minutes, or until I can see that the sides of the cake are pulling away from the pan. A super hot cake will fall apart if you mess with it too early.

To get the layers out once they cool a bit, you can use an offset icing spatula to loosen them, but I have this weird little trick I use. I try to gently bounce the pan on one side, almost like the motion of tossing food in a sauté pan, to see if I can feel the layer lift off the bottom. Then I rotate the pan and do it a few times until I’m sure it’s going to release easily. To remove it I firmly but gently press one hand on the top of the cake, and flip the pan upside down with my other hand. Another way of doing this would be to press your cooling rack against the top of the pan and flip the cake directly onto the rack.

Once you have your layers out of the pan, it’s important that they’re completely cool, if not cold, before moving forward. Even barely warm cake layers will begin to melt and thin out your icing, and the filling can get slippery making the layers slide around when you’re trying to put on your crumb coat. It’s annoying and unnecessary and can make it difficult to get your icing smooth and professional looking. Don’t be impatient because you’ll just end up frustrated later.

For this cake I actually baked the layers at night the day before my party, let them cool most of the way, and then wrapped them tightly in Saran wrap and refrigerated them overnight before icing the next morning.

funfetti birthday cake | cake construction tips | Brooklyn Homemaker

Another important step in building a beautiful and professional looking cake is making sure that your cake layers are flat and level. If your cake layers are each domed, and you stack three of them up, you’re going to have a big weird hump on the finished cake. I use this special cake leveling wire, which is also great for cutting layers in half for filling. If you’re careful about keeping your cuts level though, a sharp bread knife will do the trick just as well.

It’s also really helpful to use a turn table or lazy Susan to help get your cakes picture perfect. They have specialized cake decorating ones like this, but you can use any small lazy Susan if you have one. I actually have a marble lazy Susan for cheese serving that I received as a gift a while back, and it sees way more action for cake decorating than it ever has for cheese.

Before you start building your cake, you might also want to put down a cake board. This is especially helpful if you want to transport the cake or if you want to be able to pick the cake up for decorating.

funfetti birthday cake | cake construction tips | Brooklyn Homemaker

When choosing what filling to use between your cake layers, your options are limitless. The easiest option would be to fill with the same icing you’re using on the outside of your cake. For an 8 or 9 inch round cake I usually use about 3/4 of a cup to 1 cup of icing between each layer. You could also fill with another flavor of icing or a ganache, just be careful to seal it in with your crumb coat so it doesn’t show through on the outside. Another great option would be a softer filling like jam, pudding or fruit curd, but for this you’ll need to pipe a thick border or dam of icing around the outside edge of each layer to hold the filling in the center. This way it won’t smoosh out the sides when you add the next layer.

When you stack each layer of cake, try to look at if from a few different angles, just to be sure everything is level and evenly lined up before moving on. Once you have all the layers stacked up and everything looks good and level, you’ll want to spread a thin even layer of icing over the cake to seal in the crumbs or any filling that squishes out from the layers. This is referred to as the crumb coat. When I first started baking I thought this step was unnecessary and silly, but I make enough cakes now to realize it actually does make a big difference in getting a smooth professional icing job. I like to start at the top, pile up some icing and push it toward the outside edge, and pull the icing down the sides with an icing spatula, rotating the cake as I go. It doesn’t need to be a thick layer, and it’s fine if the cake shows through a little. I try to just make sure everything is coated, and then go back around and smooth it out.

funfetti birthday cake | cake construction tips | Brooklyn Homemaker

Once the crumb coat is smooth and even, you’ll want to refrigerate your cake for at least 30 minutes, or up to an hour, to firm up the icing and filling so the cake layers don’t slide and the crumb coat doesn’t mix with the next layer of icing. When you ice the cake, you basically just do the same thing you did with the crumb coat, just thicker. Then once your icing is smooth, you get to move on to the fun part.

I usually like to keep things simple and do a small border of sprinkles or nuts around the edge of the top of the cake. You could also do a piped border around the top edge and base of the cake, but you’ll obviously need to reserve some icing for that. The icing recipe below left me just enough for a piped border, but I decided to skip it and keep it simple. To do a swirled design like I did here, start in the center of the top of your cake, and slowly turn your turntable as you pull the spatula out trying to keep the swirl as evenly spaced as possible. If it doesn’t come out as pretty as you want, you can always smooth it out and try again.

funfetti birthday cake | cake construction tips | Brooklyn Homemaker

For this cake I completely covered the sides with rainbow nonpareils. Fair warning, this is a challenging technique for beginners. It’s best to use a cake board for this so you can pick the cake up, but the cake gets heavy in your hand after a while. Basically you pick the cake up with one hand and try your best to hold it over a plate and not make a mess (look closely, I still made a mess), while you gently press the decoration into the icing with the other hand. Just slowly work your way around the cake, rotating as you go, until you’re finished.  It can be done without picking the cake up if you can’t get (or don’t have) a cake board, but it’s even messier.

funfetti birthday cake | cake construction tips | Brooklyn Homemaker

You could also do this with cake crumbs as I did with the Brooklyn Blackout cake, which is actually a great way to use up any cut cake you have leftover from leveling the layers. That is, if you didn’t already eat it all.

funfetti birthday cake | cake construction tips | Brooklyn Homemaker

Look how pretty it came out though! It definitely was worth the extra effort, even if I am still finding those little nonpareils hiding behind my butter dish.

funfetti birthday cake | cake construction tips | Brooklyn Homemaker

Happy birthday to me!

funfetti birthday cake | cake construction tips | Brooklyn Homemaker

I hope you learned something new and you’re feeling brave enough to try a layer cake for yourself! You should definitely give this one a shot the next time you want to do something special for someone’s birthday. The funfetti cake is super moist and delicious, with tons of bright vibrant color, and the classic american buttercream is the perfect sweet and creamy compliment to a fun and festive birthday cake.

funfetti birthday cake | cake construction tips | Brooklyn Homemaker

funfetti birthday cake

makes one 3 layer 8 inch cake
adapted from Sweetapolita

For the Cake:

3 cups cake flour
1 tablespoon plus 1/2 teaspoon baking powder
1/2 teaspoon salt
1 cup (2 sticks) unsalted butter, at room temperature
2 cups sugar
5 whole eggs, at room temperature
2 teaspoons vanilla extract
1/4 cup peanut (or vegetable) oil
1 1/4 cups buttermilk, at room temperature
3/4 cups rainbow sprinkles (or jimmies)

Preheat the oven to 350° F. Butter the bottoms and sides of three 8-inch round cake pans, line bottoms with parchment round, butter the rounds and dust with flour.
Sift together flour, baking powder, & salt. Set aside.
In the bowl of a stand mixer, cream the butter and sugar together at high speed until light and fluffy, 3 to 5 minutes. Beat in eggs until incorporated, one at a time, scraping sides of bowl between each addition. Add vanilla and oil and mix until thoroughly incorporated.
Add 1/3 of flour, and beat on low speed until just combined. Scrape bowl, mix in 1/2 of buttermilk, and scrape again. Repeat until all flour and buttermilk is mixed in. Gently stir in sprinkles until just combined. Do not over mix.

Divide batter evenly among the 3 prepared pan (I like to use a kitchen scale to ensure even layers). Bake for 28-32 minutes, or until a cake tester or toothpick inserted into the center comes clean and the cake begins to pull away from the sides of the pan. Let the layers cool in the pans for 10 minutes, then carefully turn out onto wire racks, peel of the paper liners, and let cool completely.

Classic American Buttercream:
adapted from Savory Sweet Life

2 cups (4 sticks) unsalted butter, softened and cut into cubes
6-8 cups confectioners’ sugar, sifted
3-6 tablespoons milk
2 tablespoons pure vanilla extract
1/4 teaspoon salt
rainbow non-pareils, or any sprinkles you like for decorating

In the bowl of an electric mixer fitted with the paddle attachment, whip butter for 5 minutes on medium speed. Butter will become very pale & creamy. Add 6 cups of powdered sugar and turn your mixer on the lowest speed until the sugar has been incorporated with the butter. Increase mixer speed to medium and add vanilla extract, salt, and 3 tablespoons of milk and beat for 5-7 minutes. If your frosting needs a more stiff consistency, add more sugar 1/2 cup at a time, until desired consistency is reached. If your frosting needs to be thinned out, add remaining milk 1 tablespoons at a time.

To assemble cake, make sure cake layers are cool or cold. If necessary, remove the domed tops of the layers with a cake leveler or sharp bread knife. Place one layer on a cake plate, serving plate, or cake board. Evenly spread about 3/4 cups of icing over the first layer. Top with another cake layer and another 3/4 cups of icing. Spread evenly and top with your final layer.

With an icing spatula, spread a thin layer of icing over top and sides of cake, Be sure to fill in any gaps between layers and make the sides and top smooth and flat as possible. This thin layer of icing is referred to as the “crumb coat” and is meant to seal in any crumbs so they’re not seen in your final layer of icing. Refrigerate cake for 30 minutes. Spread most (or all) of remaining icing evenly over top and sides of cake, trying to get as smooth a surface as possible. If desired, reserve some for piped decoration, otherwise, slather it all on. Decorate as desired.

This cake is at it’s best the day it’s baked, but can be covered and refrigerated for up to 2 days. If refrigerated, it will need to come up to room temperature before serving.

maple bacon bundt cake with bacon pecan streusel swirl #bundtbakers

Do you like bacon? Of course you do.

maple bacon bundt cake with bacon pecan streusel swirl | Brooklyn Homemaker

Sorry. I guess that was a dumb question. The real question is, can you get down with the sweet and salty bacon trend? If you spend any time in Brooklyn, or probably any other urban area, I’m sure you’ve come across at least one (if not many) of these sugary bacon treats. Candied bacon, bacon cupcakes, bacon brownies, chocolate covered bacon, bacon lollipops, even bacon infused cocktails! If you can dream it up, it’s probably out there somewhere.

maple bacon bundt cake with bacon pecan streusel swirl | Brooklyn Homemaker

Up until recently, I’ve managed to resist the urge to jump on the bacon bandwagon. That all changed though last week, when I stumbled upon a group of food bloggers who share a fondness for an intense love of mine.

No, not bacon… Bundt Cakes! It’s no secret that I’m obsessed.

maple bacon bundt cake with bacon pecan streusel swirl | Brooklyn Homemaker

This bundt loving bunch call themselves, appropriately enough, the #BundtBakers, and as soon as I read about them I knew I needed to be involved.

maple bacon bundt cake with bacon pecan streusel swirl | Brooklyn Homemaker

The basic premise is this: A theme is picked in advance for each month, all the bloggers who’d like to participate bake a bundt fitting that theme, and one devoted blogger hosts the event (meaning they help compile all the information and the links to all the posts). I was very excited about getting in on the action, but didn’t think I’d have the time until next month. That was, until I saw that May’s theme was “Breakfast” and instantly decided to drop everything and get planning!

maple bacon bundt cake with bacon pecan streusel swirl | Brooklyn Homemaker

Some of the themes can be pretty wild (I mean… breakfast!?!), so these events are not just limited to sweet cakes. Anything goes, as long as it’s baked in a bundt pan. This months group came up with some pretty amazing ideas, and any one of them is sure to be a hit at your next brunch. Some made breads, others did baked egg dishes, but many kept it sweet and made a cake. I had a plan hatching and I was definitely going sweet.

maple bacon bundt cake with bacon pecan streusel swirl | Brooklyn Homemaker

Thus was born the maple bacon bundt cake. This was a bit of an experiment, but boy did it work out! I was a little afraid that I might have used too much bacon (like that’s actually a thing), but once I tasted it I knew it was perfect. I brought it in to work to share for a bacon loving co-worker’s birthday, and everyone absolutely went crazy for it! I think I had everyone a little freaked out at first because I kept referring to it as the “experimental bacon cake”, but after one bite everyone was hooked and assuring me I’d definitely done something right.

maple bacon bundt cake with bacon pecan streusel swirl | Brooklyn Homemaker

I started with a really moist buttermilk bundt recipe for the base of the cake, but substituted some bacon fat for some of the butter, and grade B maple syrup for some of the sugar. I definitely wanted pieces of bacon mixed into the cake too, rather than just crumbled on top, but I was afraid that just mixing bacon into the batter would make the bacon flabby and unappetizing. I decided to experiment with a sort of streusel to distribute between layers of batter right before baking, and it worked out really well. I crumbled some of the bacon up with a nut grinder along with some pecans for extra crunch, and added some brown sugar and spice to make it feel like a true streusel. After the cake cooled I topped the whole thing off with an amazing maple & cream cheese drizzle and even more bacon.

maple bacon bundt cake with bacon pecan streusel swirl | Brooklyn Homemaker

I’m not gonna lie. This cake is anything but traditional, and it’s definitely not for everyone. Seriously though, it’s freakin’ AMAZING! It’s kinda weird. But good weird. Like REALLY good weird. If you love bacon, especially if you love bacon in a sweet and salty platform, you gotta try this.

It’s got the perfect amount of warm sweet maple-y goodness from the syrup and just a tiny hit of spice from the cinnamon. The bacon fat adds a really faint hint smokiness to the cake, and the bacon pecan streusel gives it a wonderful texture and interest. The glaze is delicious, sweet and tangy, and the crumbled bacon on top not only gives every bite a salty touch of baconiness (that’s a word now, FYI), but also announces BACON! to anyone looking at this delicious (not to mention gorgeous) cake.

maple bacon bundt cake with bacon pecan streusel swirl | Brooklyn Homemaker

Before we get to the recipe, I really want to give a big big thank you to Kelly of Passion Kneaded, for hosting this month.  I also want to urge you to please make sure you scroll down below the recipe to check out all the amazing and beautiful breakfast themed bundts everyone came up with. Every single entry looks totally delicious and you should really take some time to explore the links. You’re probably going to need an excuse to host a brunch now, amiright?

I’m so lucky to have found this group of bundt loving kindred spirits!

maple bacon bundt cake with bacon pecan streusel swirl | Brooklyn Homemaker

Maple Bacon Bundt Cake with Bacon Pecan Streusel Swirl


8 oz thick cut bacon (to be used throughout recipe)

Cake:
2 1/2 cups all-purpose flour, plus extra for dusting pan
2 teaspoons baking powder
1/2 teaspoon fine sea salt or table salt
1 teaspoon cinnamon
3/4 cup (1 1/2 sticks) unsalted butter, at room temperature
1/4 cup cooled bacon fat
1 1/4 cups granulated sugar
1/2 teaspoon vanilla extract
1/2 cup grade B maple syrup
3 large eggs, at room temperature
3/4 cup buttermilk

Streusel:
2/3 cooked bacon
1/2 cup pecans
2 teaspoons flour
1/4 cup brown sugar
1/2 teaspoon cinnamon

Glaze:
4 oz cream cheese, softened
1 tablespoon unsalted butter, softened
1/4 cup firmly packed brown sugar
2 tablespoons maple syrup
1 tablespoon buttermilk
1/3 crumbled cooked bacon

Preheat oven to 350°F. Generously butter and flour a 10-cup Bundt pan.*see note.
Remove the bacon from the package but do not separate the slices. With a sharp knife, cut thin strips across the slices, then break up while cooking. Cook in a heavy skillet over medium heat, stirring frequently, until well browned and crispy. Remove bacon to drain on a paper towel, and reserve bacon fat and let cool. Set aside.
In a medium bowl, whisk or sift flour, 1 tsp cinnamon, baking powder and salt together and set aside.
Finely chop pecans and 2/3 of your cooked bacon and combine with brown sugar, 1/2 teaspoon cinnamon, and 2 teaspoons flour. Mix well and set aside.
In the bowl of a stand mixer, beat butter, bacon fat and sugar until light and fluffy, about 3 to 5 minutes. If you don’t have enough bacon fat, you can use more butter. You want 1 cup of fat total. Then, with the mixer on low speed, add vanilla and maple syrup and mix until combined. Then add your eggs one at a time, scraping down the bowl between each addition. Add 1/3 flour mixture to batter, beating until just combined, followed by half the buttermilk, another 1/3 of the flour mixture, the remaining buttermilk and remaining flour. Scrape down from time to time and don’t mix any more than you need to.
Spread 1/3 cake batter in the pan and spread the top smooth. Add 1/2 streusel mix evenly over batter. Top another 1/3 cake batter, smooth again and repeat until all streusel and batter are in the pan. Bake for 55 to 60 minutes, rotating the cake once after 30 (to make sure it browns evenly). The cake is done as soon as a tester comes out clean of batter. Set cake pan on a wire rack to cool for 30 minutes, and invert cake onto rack to cool the rest of the way.

When the cake is completely cool, prepare the glaze. In the bowl of a stand mixer, combine cream cheese, butter, sugar, maple syrup and buttermilk. Beat vigorously until completely smooth with no visibly specks of cream cheese left in the glaze. If glaze is too thick, add more buttermilk, 1 teaspoon at a time.
Place cooling rack and cake into a clean jelly roll pan or baking sheet to catch any glaze that drips off the sides. Pour or pipe glaze over cake, letting it trickle and drip down the sides. I used a squeeze bottle to help distribute glaze evenly. Sprinkle remaining bacon over the cake making sure it sticks in the glaze.
Cake can be stored, covered, at room temperature for 3 to 4 days.

*To prevent sticking, make sure every little nook and cranny is well-coated with butter, and then dust the inside with flour. If you’re really nervous, refrigerating your pan while you prepare the cake will help firm the butter for extra insurance.

BundtBakers

This month, the Bundt Bakers are baking up breakfast. We have 15 beautiful Bundts (both sweet and savory) that would be perfect for your breakfast or brunch table.

#BundtBakers is a group of Bundt loving bakers who get together once a month to bake Bundts with a common ingredient or theme. We take turns hosting each month and choosing the theme/ingredient. You can see all our of lovely Bundts by following our Pinterest board right here. Links are also updated after each event on the BundtBaker home page here.

If you are a food blogger and would like to join us, just send an email with your blog URL to foodlustpeoplelove@gmail.comIf you are just a lover of Bundt baking, you can find all of our recipe links by clicking our badge above or on our group Pinterest board.