cake

honey glazed blackberry cornmeal bundt cake #bundtbakers

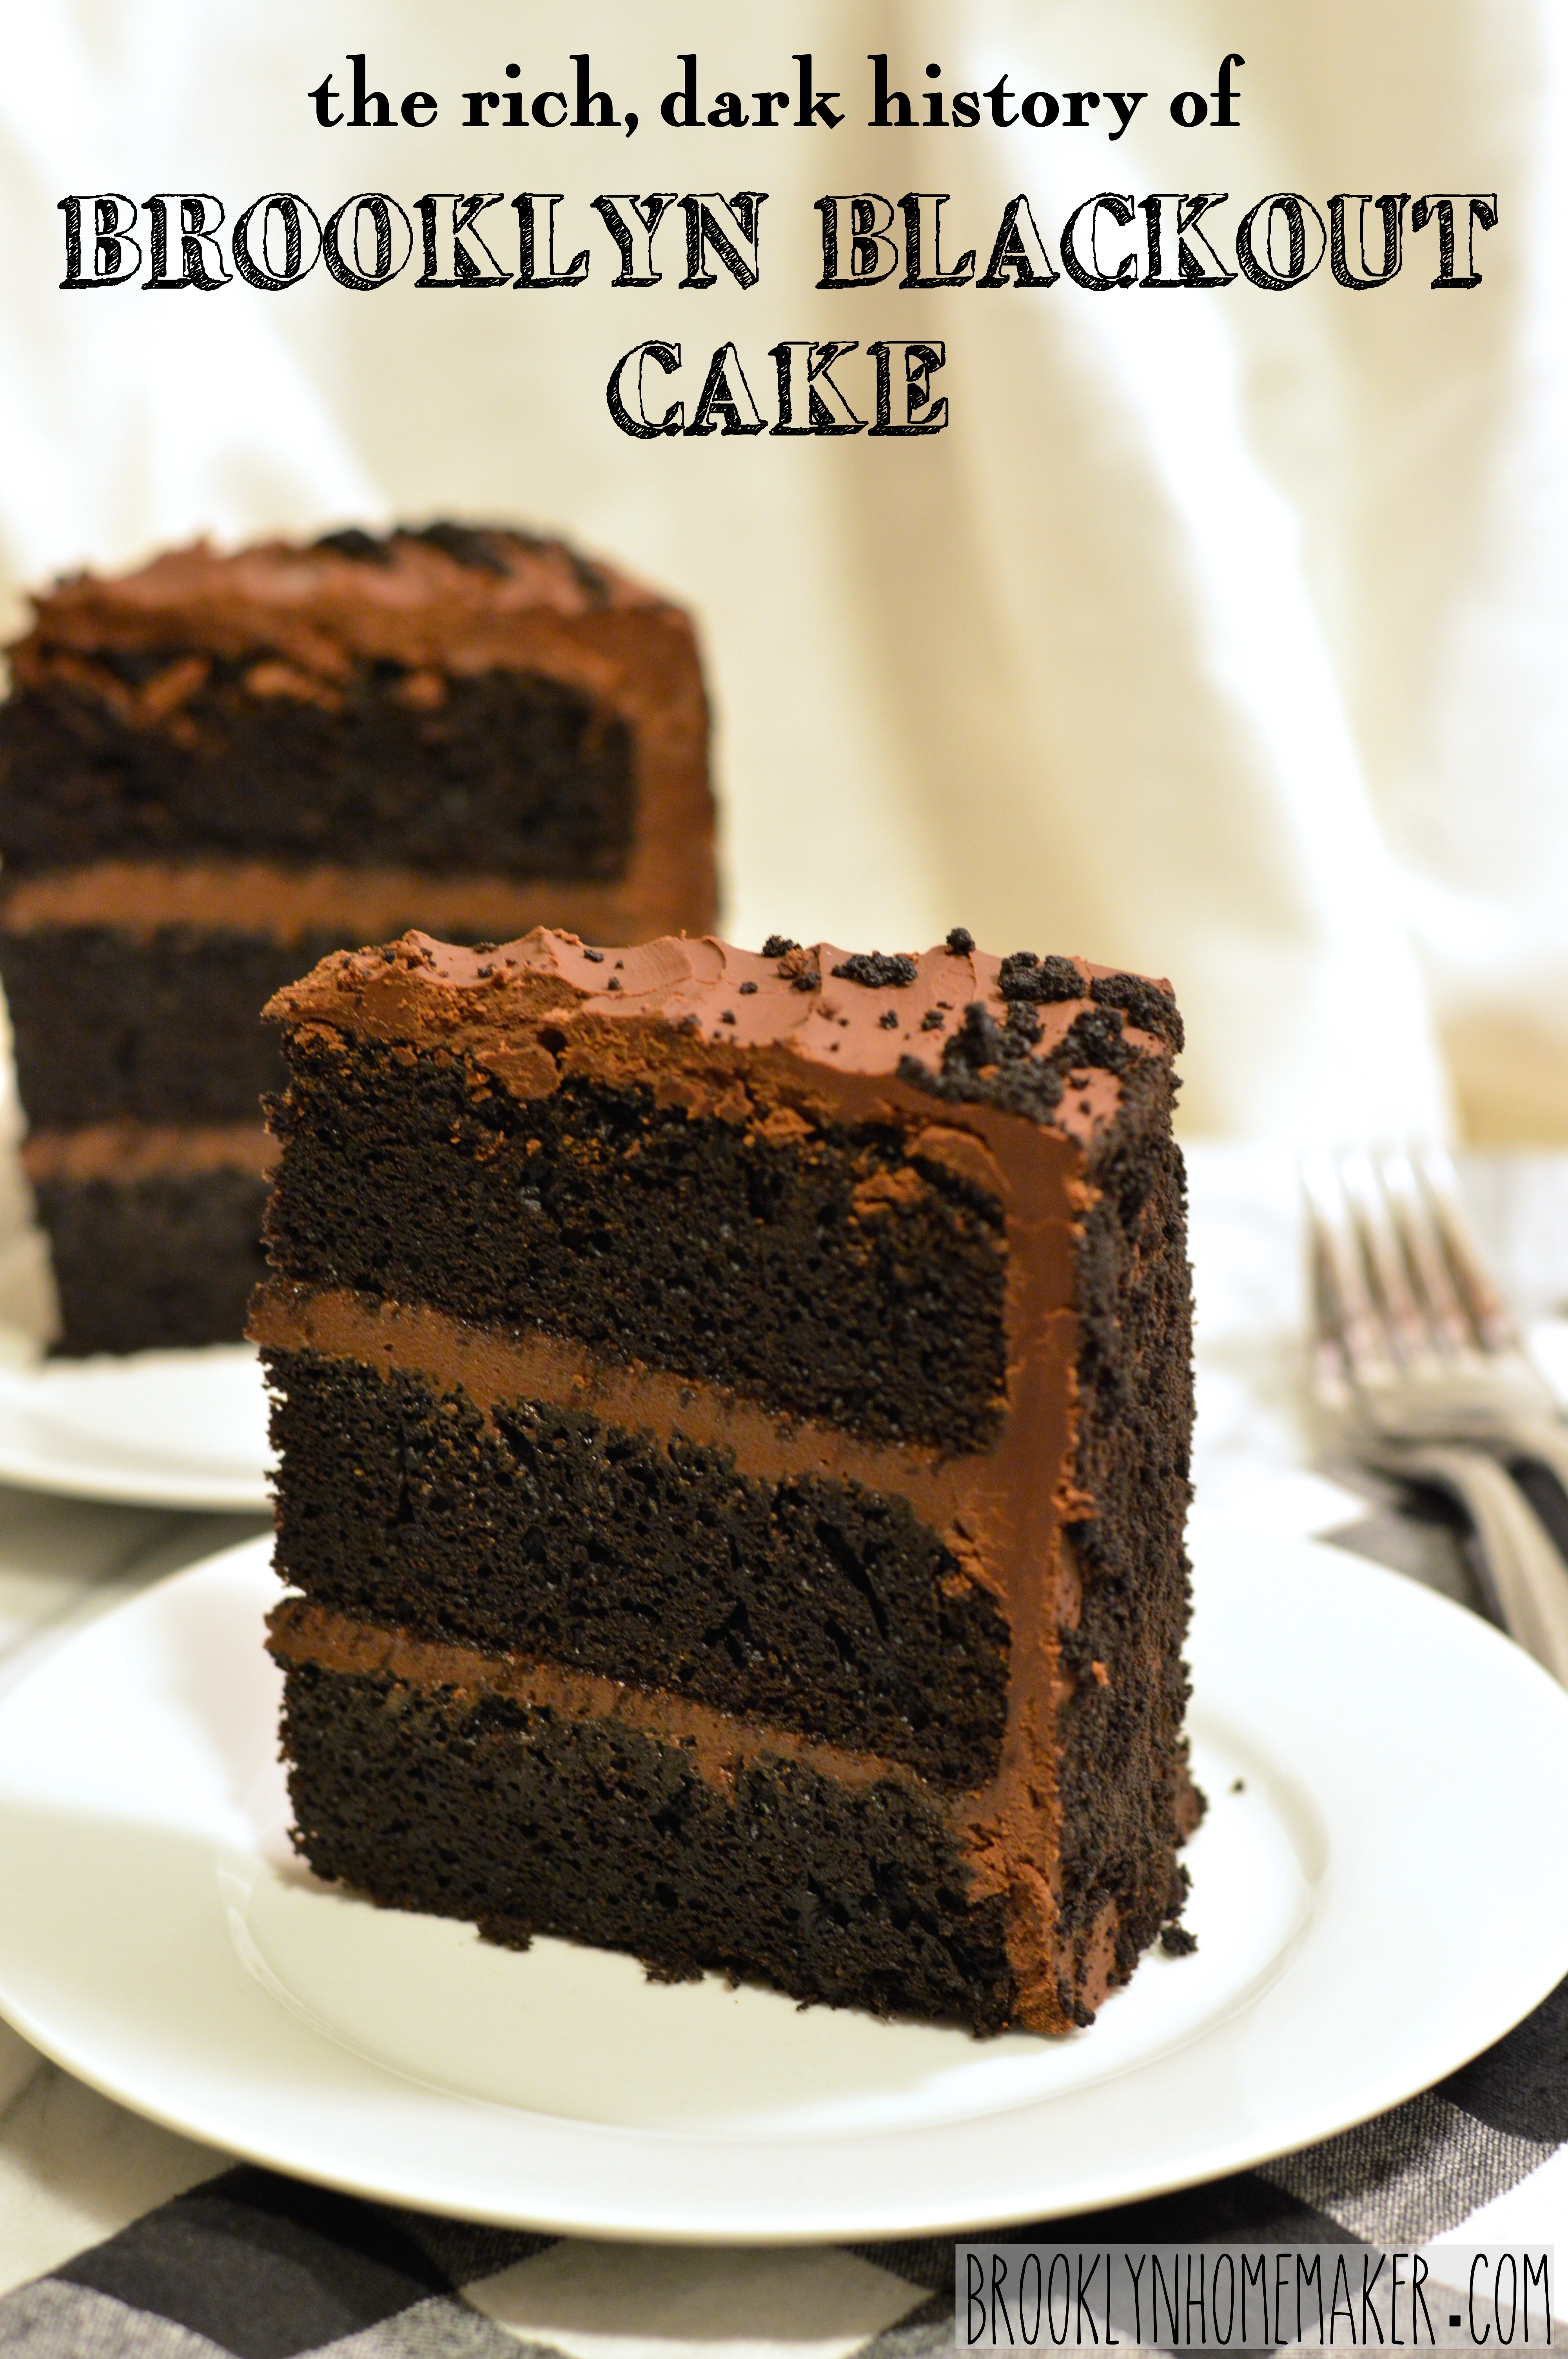
Well guys, another month, another bundt cake!

honey glazed blackberry cornmeal bundt cake | Brooklyn Homemaker

This month’s theme, chosen by our amazing host Laura of Baking in Pyjamas, is “Honey”! I could not have chosen a more perfect flavor to pair with the last bundt cake of the summer if I’d tried. Thanks Laura!

I’m really excited to see what everyone comes up with to pair with this amazing ingredient. Make sure you keep reading past the recipe for all the drool-inducing cakes the #bundtbakers are sharing this month.

honey glazed blackberry cornmeal bundt cake | Brooklyn Homemaker

I’m fortunate enough to have locally produced raw honey at my disposal, so I was thrilled to have a good way to put it to use. At Whisk We sell honey that comes from Brooklyn rooftop hives, and the flavor is amazingly fresh. Each batch of honey produced by the bees has a slightly different color and flavor because they collect nectar from different flowers in different areas depending on the time of year. An unexpected benefit of buying locally produced honey is that since it’s unpasteurized it can help fight against seasonal allergies. The nectar contains traces of seasonal pollens and ingesting them with the honey helps your body build up a sort of immunity to these airborne irritants.

honey glazed blackberry cornmeal bundt cake | Brooklyn Homemaker

Buying raw unpasteurized honey that comes from a single bee keeper means that you can also be confident that it’s 100% pure honey, with no fillers or added flavors or syrups. The absolute best part of local honey though, is the flavor! It’s bright, light, and summery with subtle hints of herbs and green plants, and smells super floral, clean and fresh.

honey glazed blackberry cornmeal bundt cake | Brooklyn Homemaker

I could go on and on about raw single hive honey and how it will ruin grocery store honey for you for the rest of your days, but I won’t. Today is about cake, lest we forget. Sweet glorious bundt cake.

honey glazed blackberry cornmeal bundt cake | Brooklyn Homemaker

I recently made a cornmeal skillet cake that was so simple and homey and unfussy that I couldn’t get it out of my head. When it came time to think of a recipe that would highlight and compliment honey in all of it’s glory, I knew I had to revisit and re-imagine a combination of cornmeal and cake. Since cornmeal has such an earthy rustic flavor I thought it would marry really well with honey, and I was sure that the addition of fresh summer blackberries wouldn’t be unwelcome.  Don’t fret if you cant find local honey though. While I’d highly recommend looking for some, I’m sure any honey you have will be completely delicious.

honey glazed blackberry cornmeal bundt cake | Brooklyn Homemaker

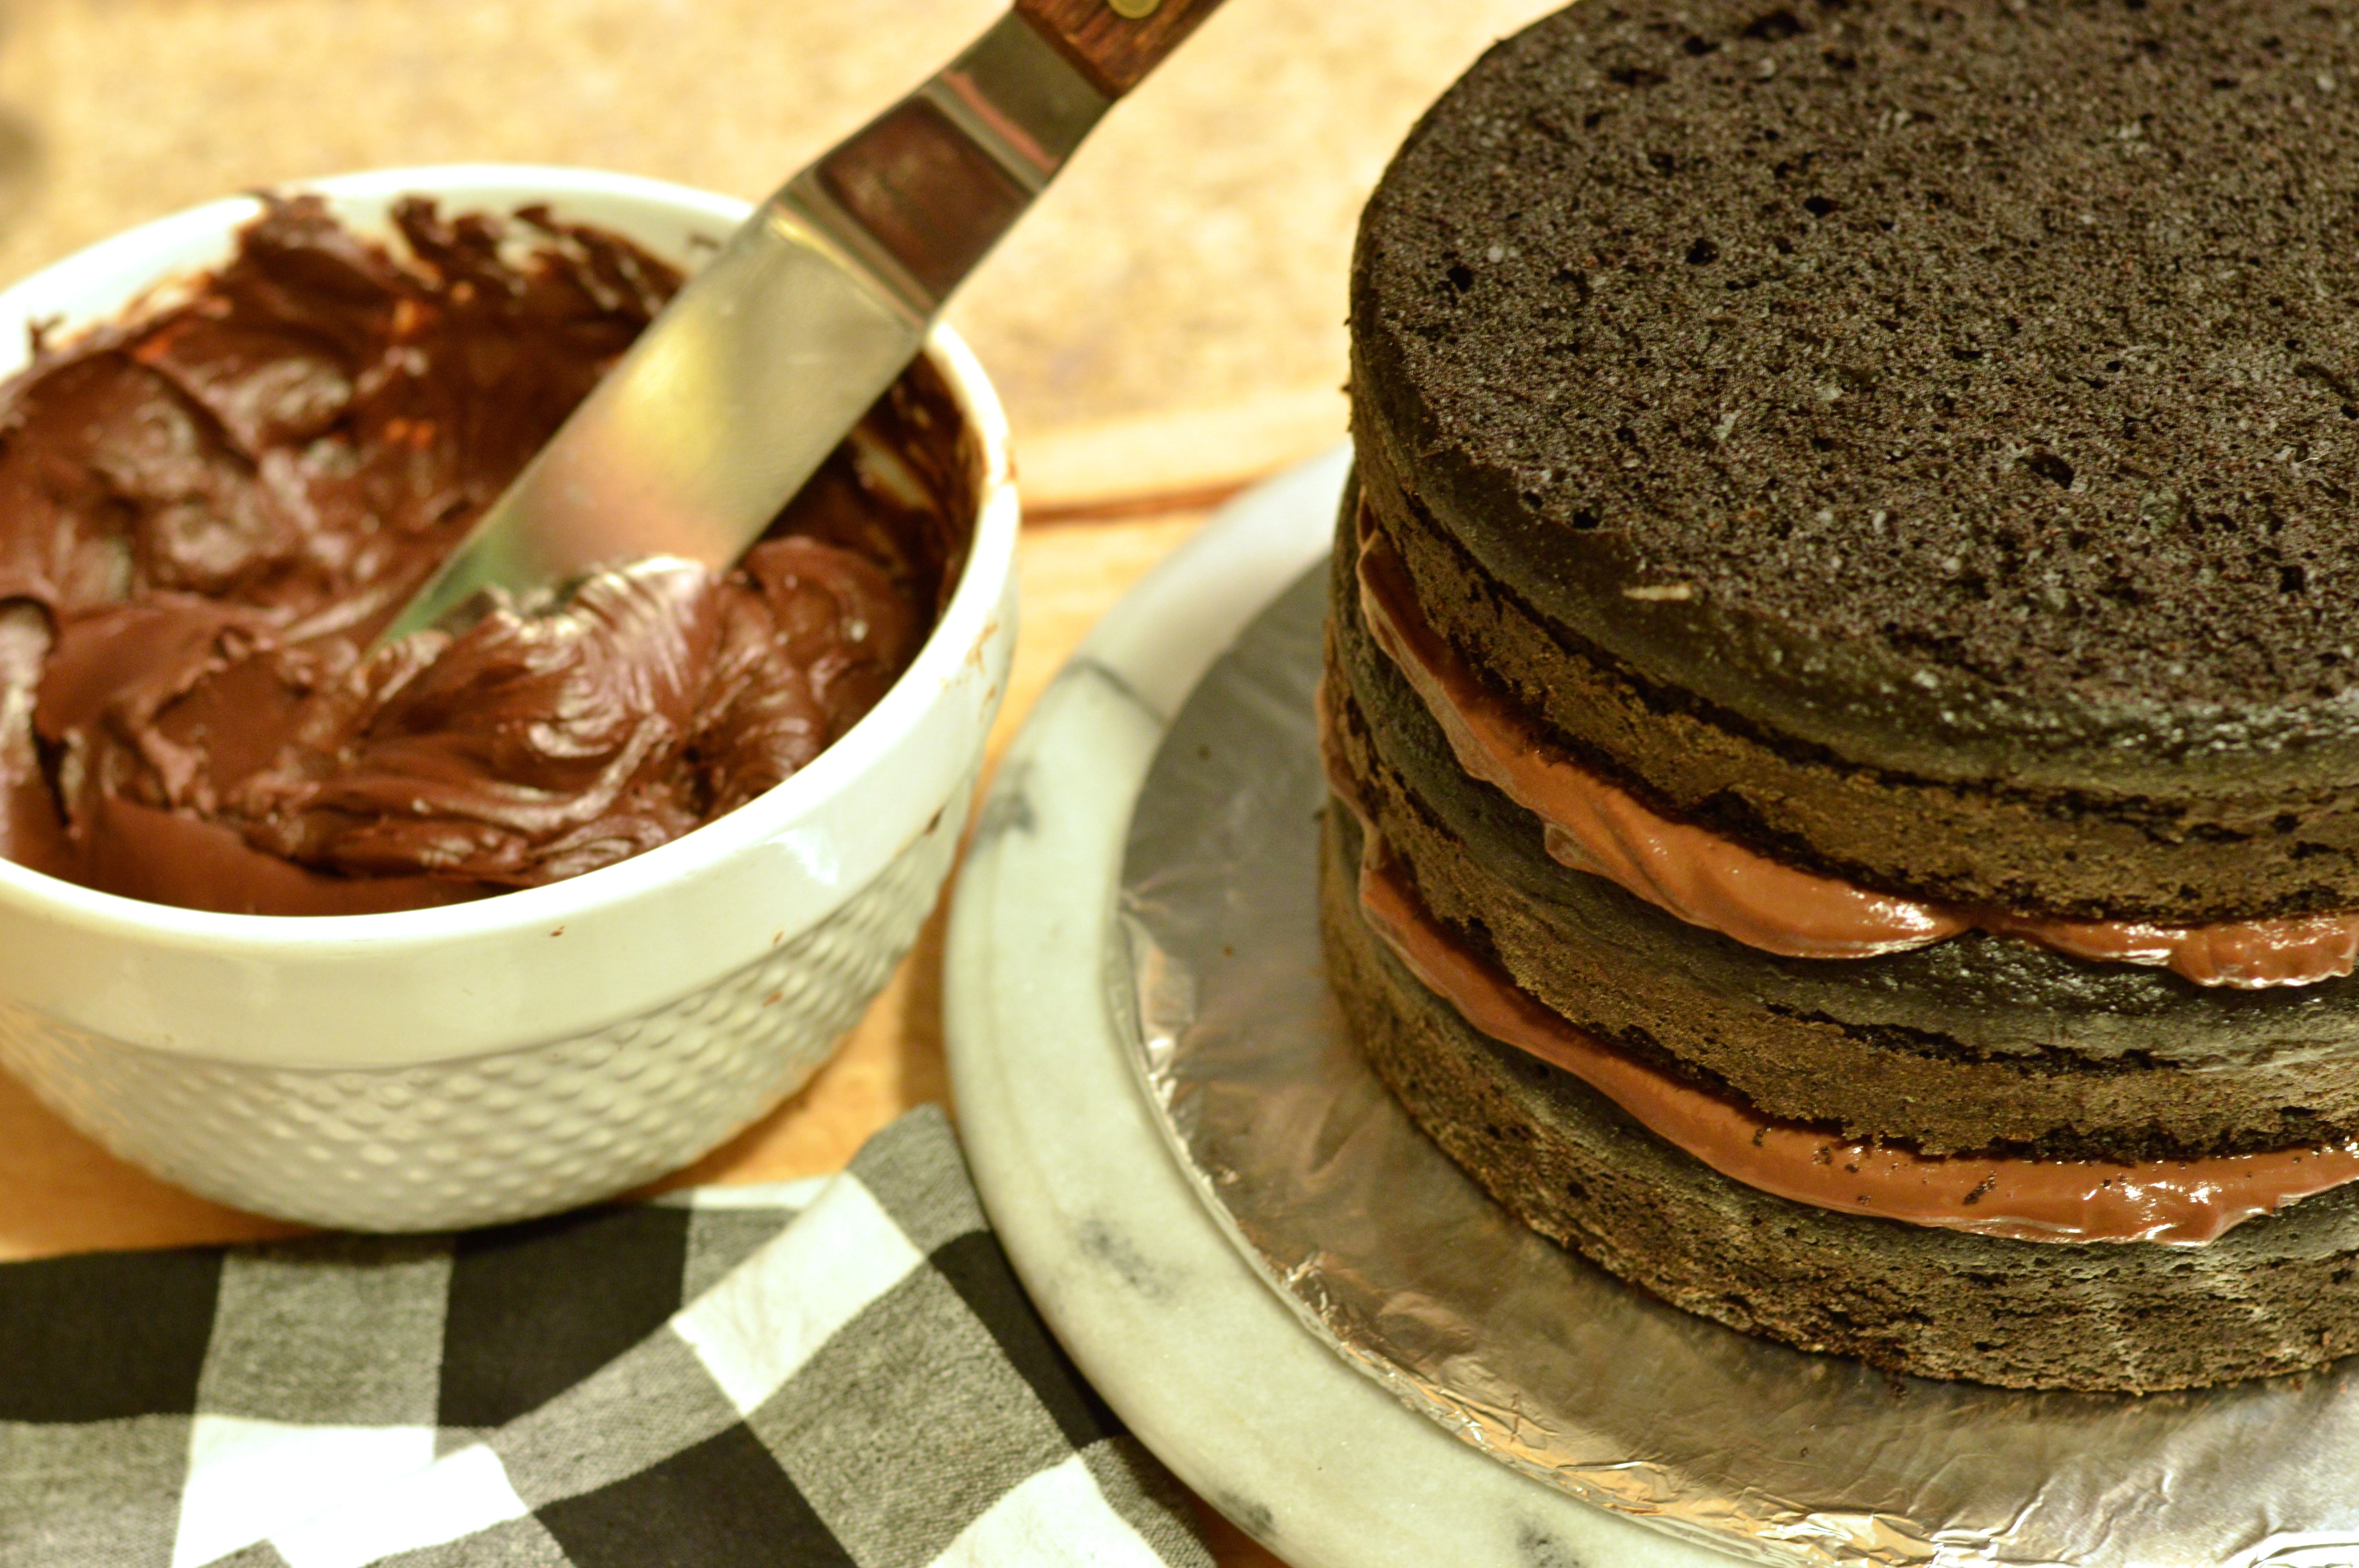
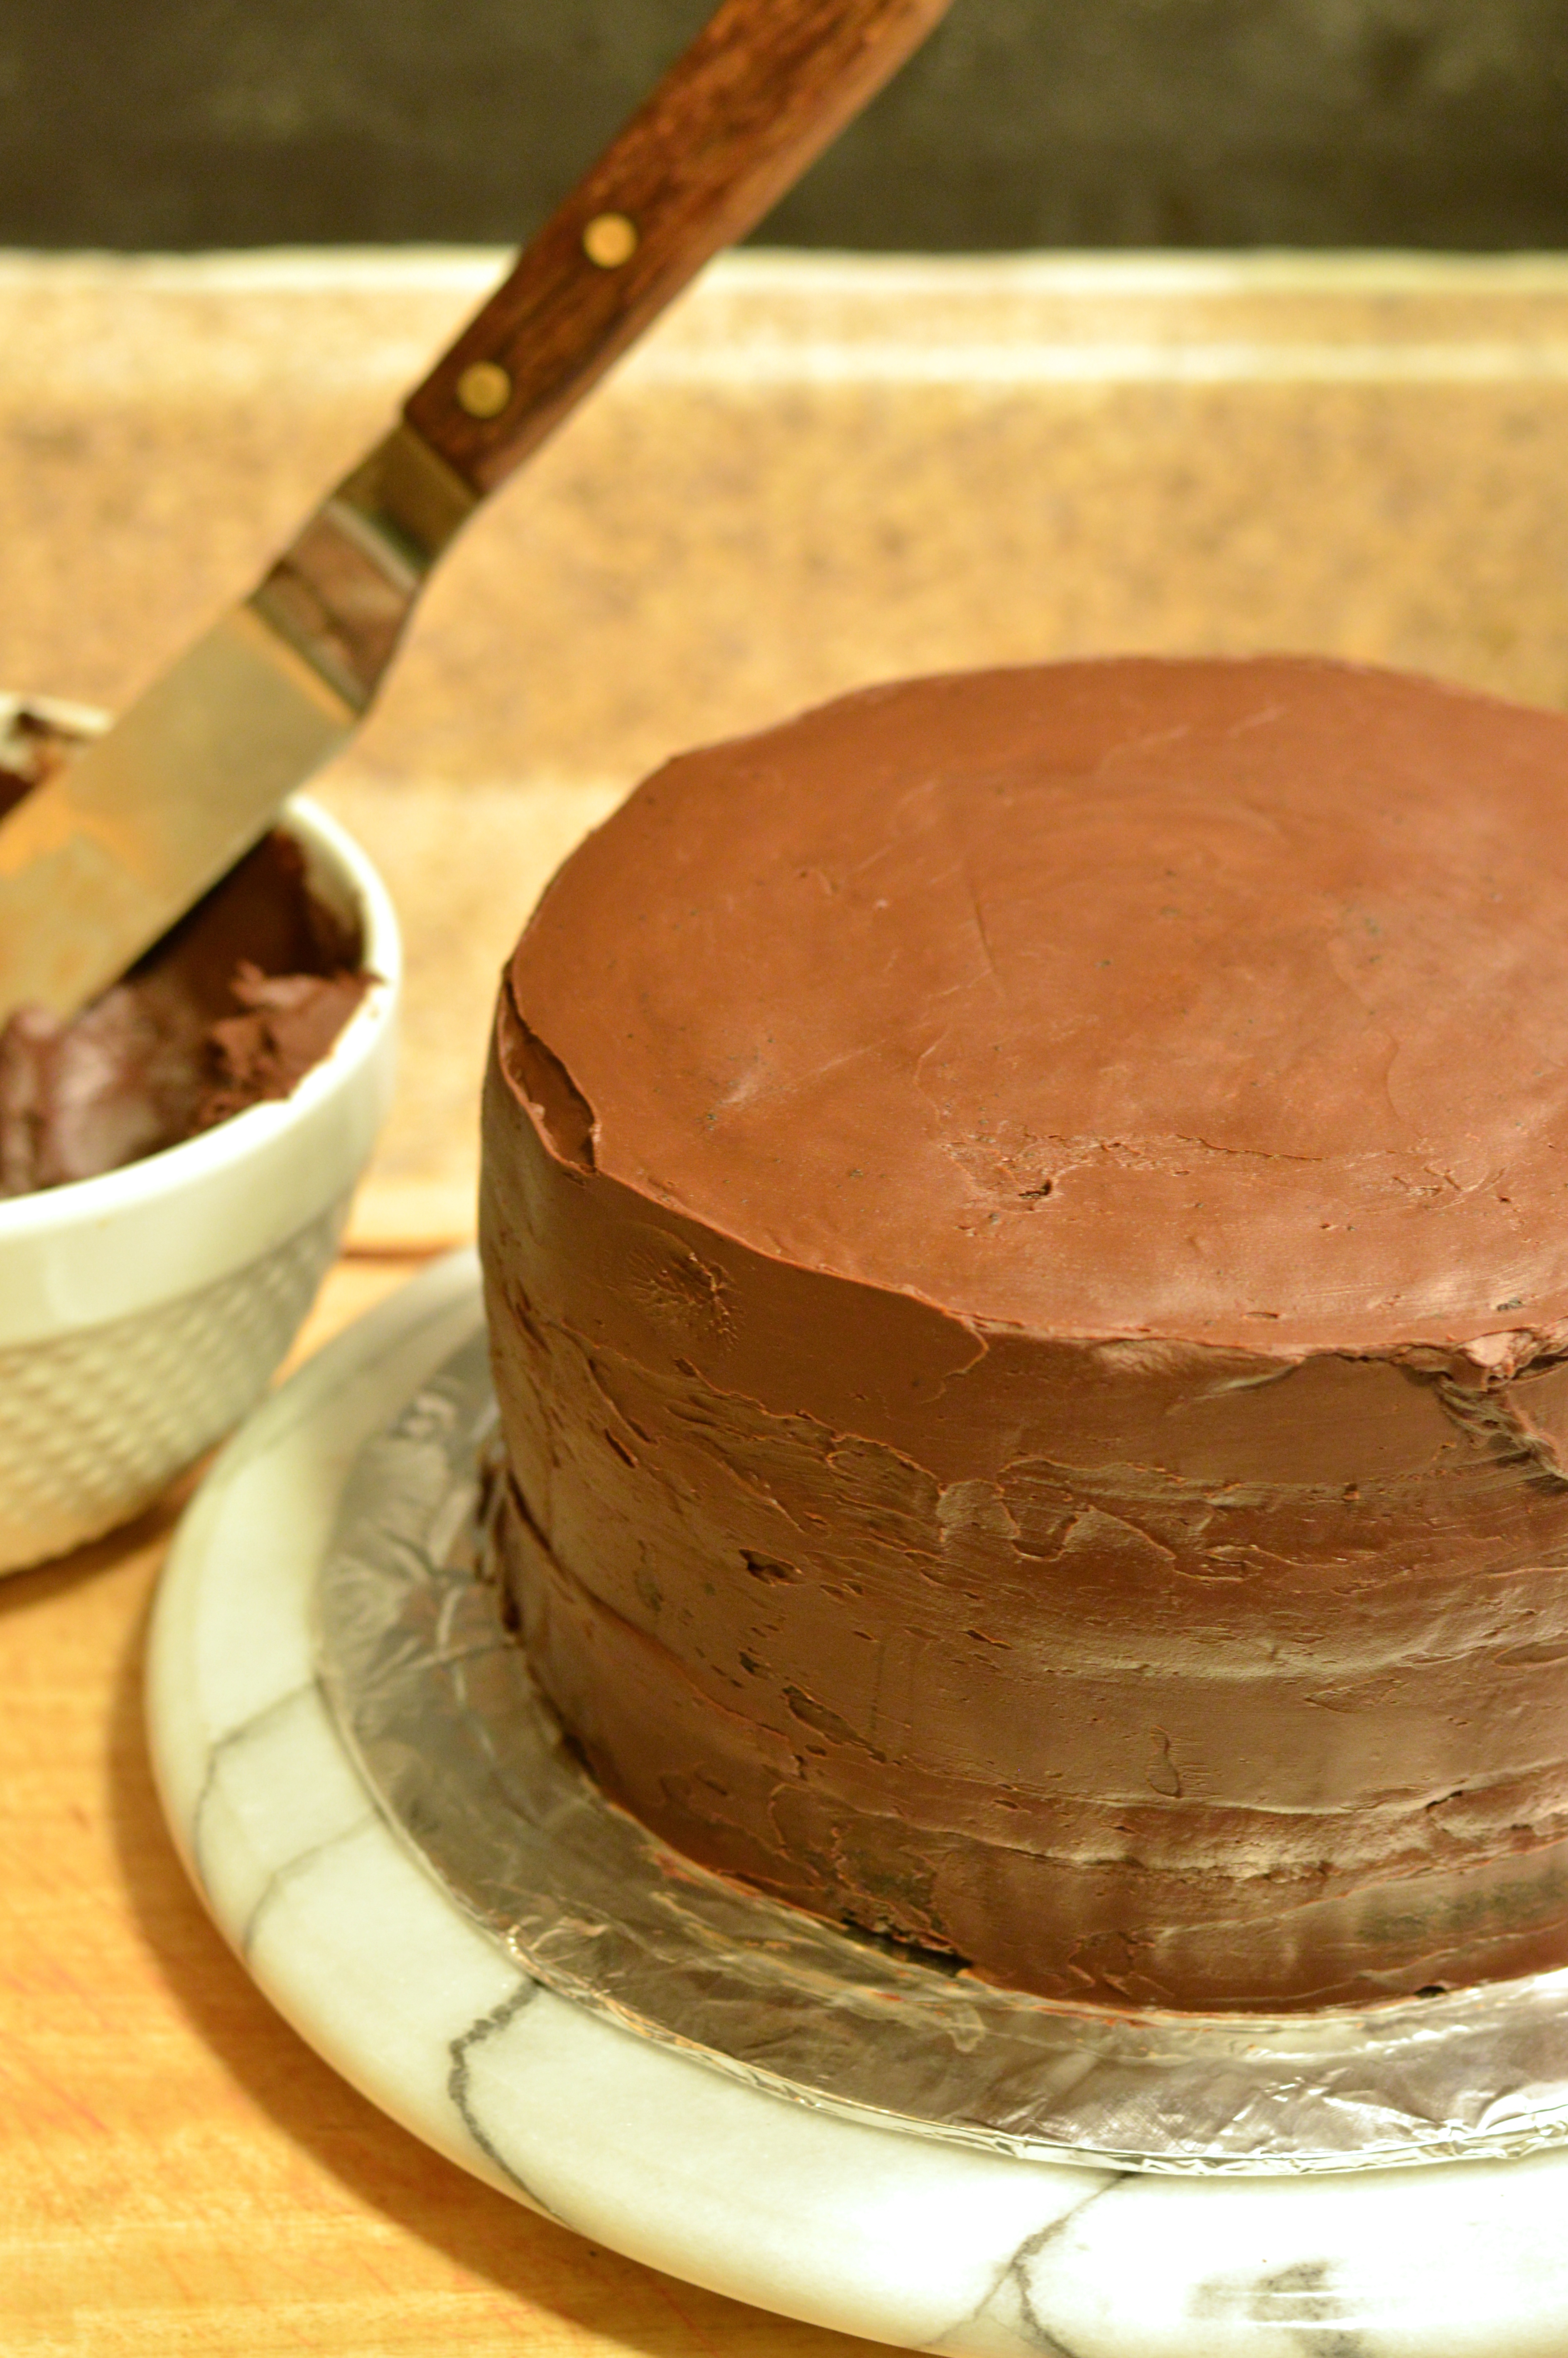
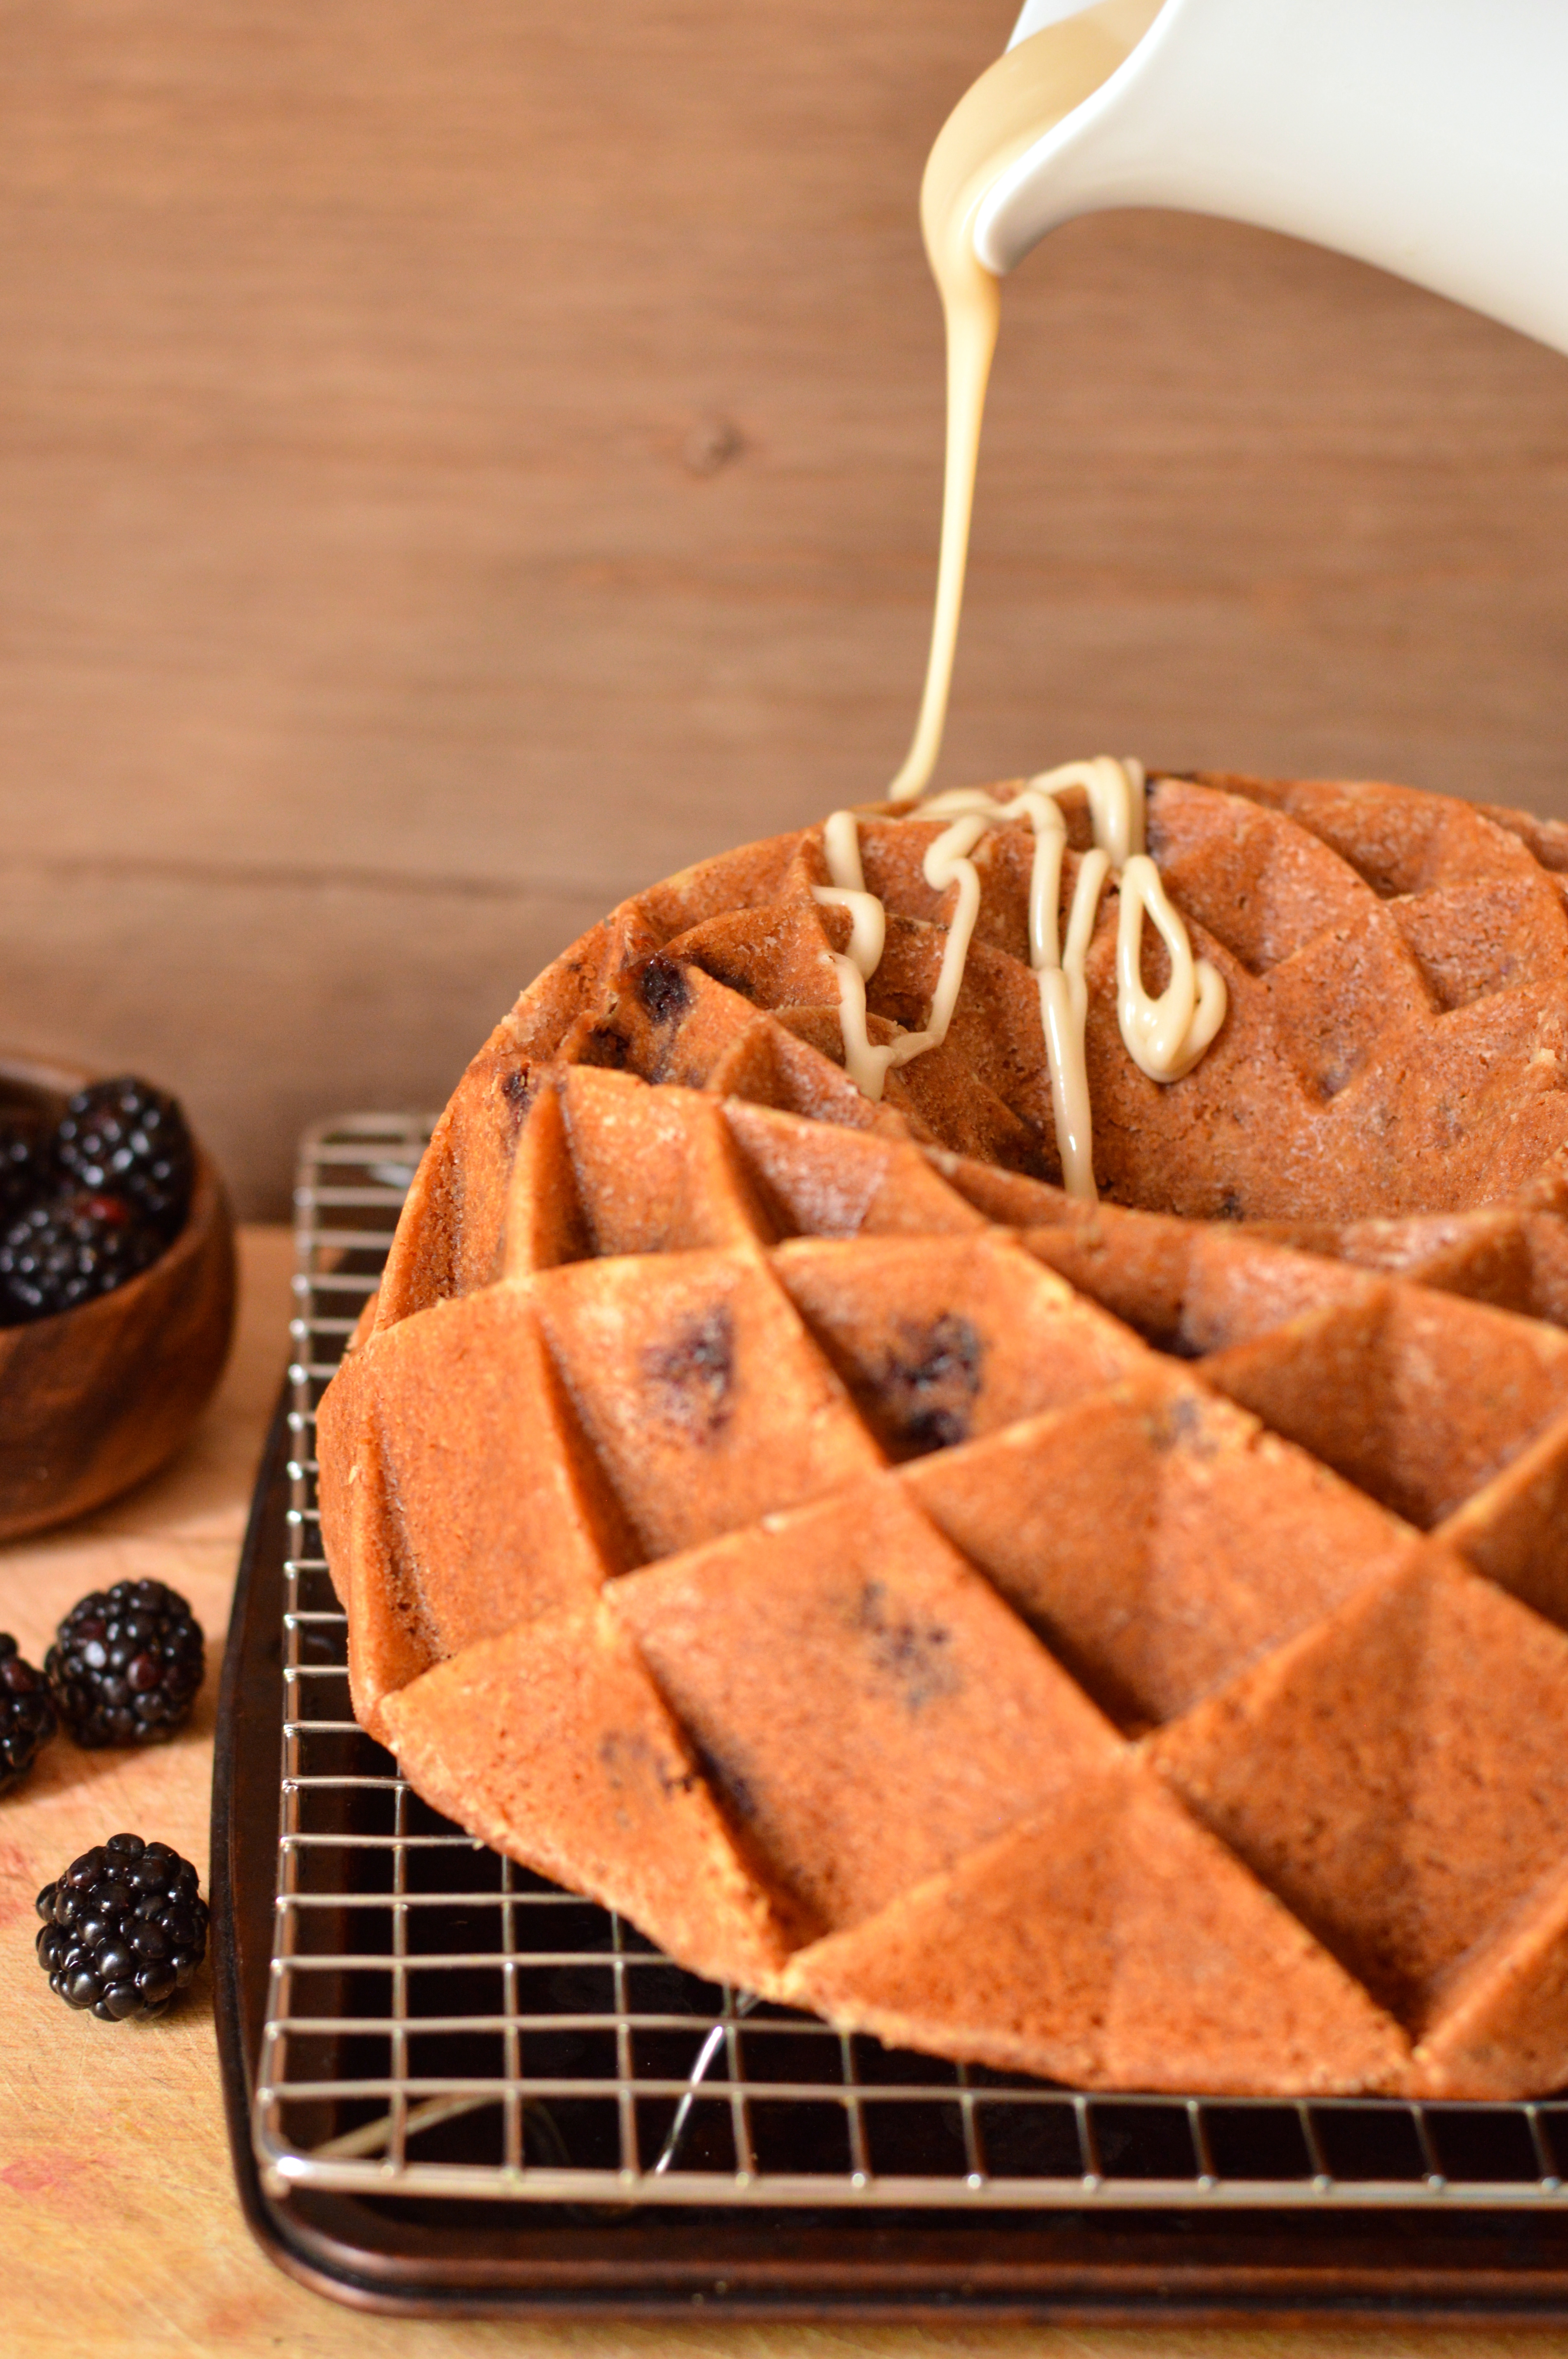
This cake has a double dose of honey, as it’s mixed into the batter and then used to make a glaze that’s poured over after baking. Blackberries and cornmeal are both assertive enough to stand up to the honey so that, while you can certainly taste it, it doesn’t overpower the cake or bring it into the realm of cloying or syrupy.

The cornmeal gives this cake an earthy, rustic flavor and a bite thats somehow both delicate and firm, with just a hint of folksy coarseness. A combination of unsalted butter and cultured buttermilk make sure that the cake is perfectly moist and tender, but I’d recommend serving this the day it’s baked or keeping it well covered for no more than two or three days. The blackberries pair really well with these homey rustic flavors and do their part to make this the perfect dessert for late summer. If you wanted to make this in the spring you could easily substitute tart wild strawberries or fresh blueberries, and in the fall I think diced pears or apples would be amazing.

honey glazed blackberry cornmeal bundt cake | Brooklyn Homemaker

Honey Glazed Blackberry Cornmeal Bundt Cake

  • Servings: 12 to 16-ish
  • Print
2  cups + 2 tablespoons all-purpose flour, divided (plus more for the pan)
1 cup fine cornmeal
2 tsp. baking powder
½ tsp. baking soda
1  tsp. salt
1 cup (2 sticks) unsalted butter, softened (plus more for the pan)
1  cup sugar
1/3 cup honey
1 Tbs. vanilla extract
3 large eggs
1 cup buttermilk
12 oz fresh blackberries

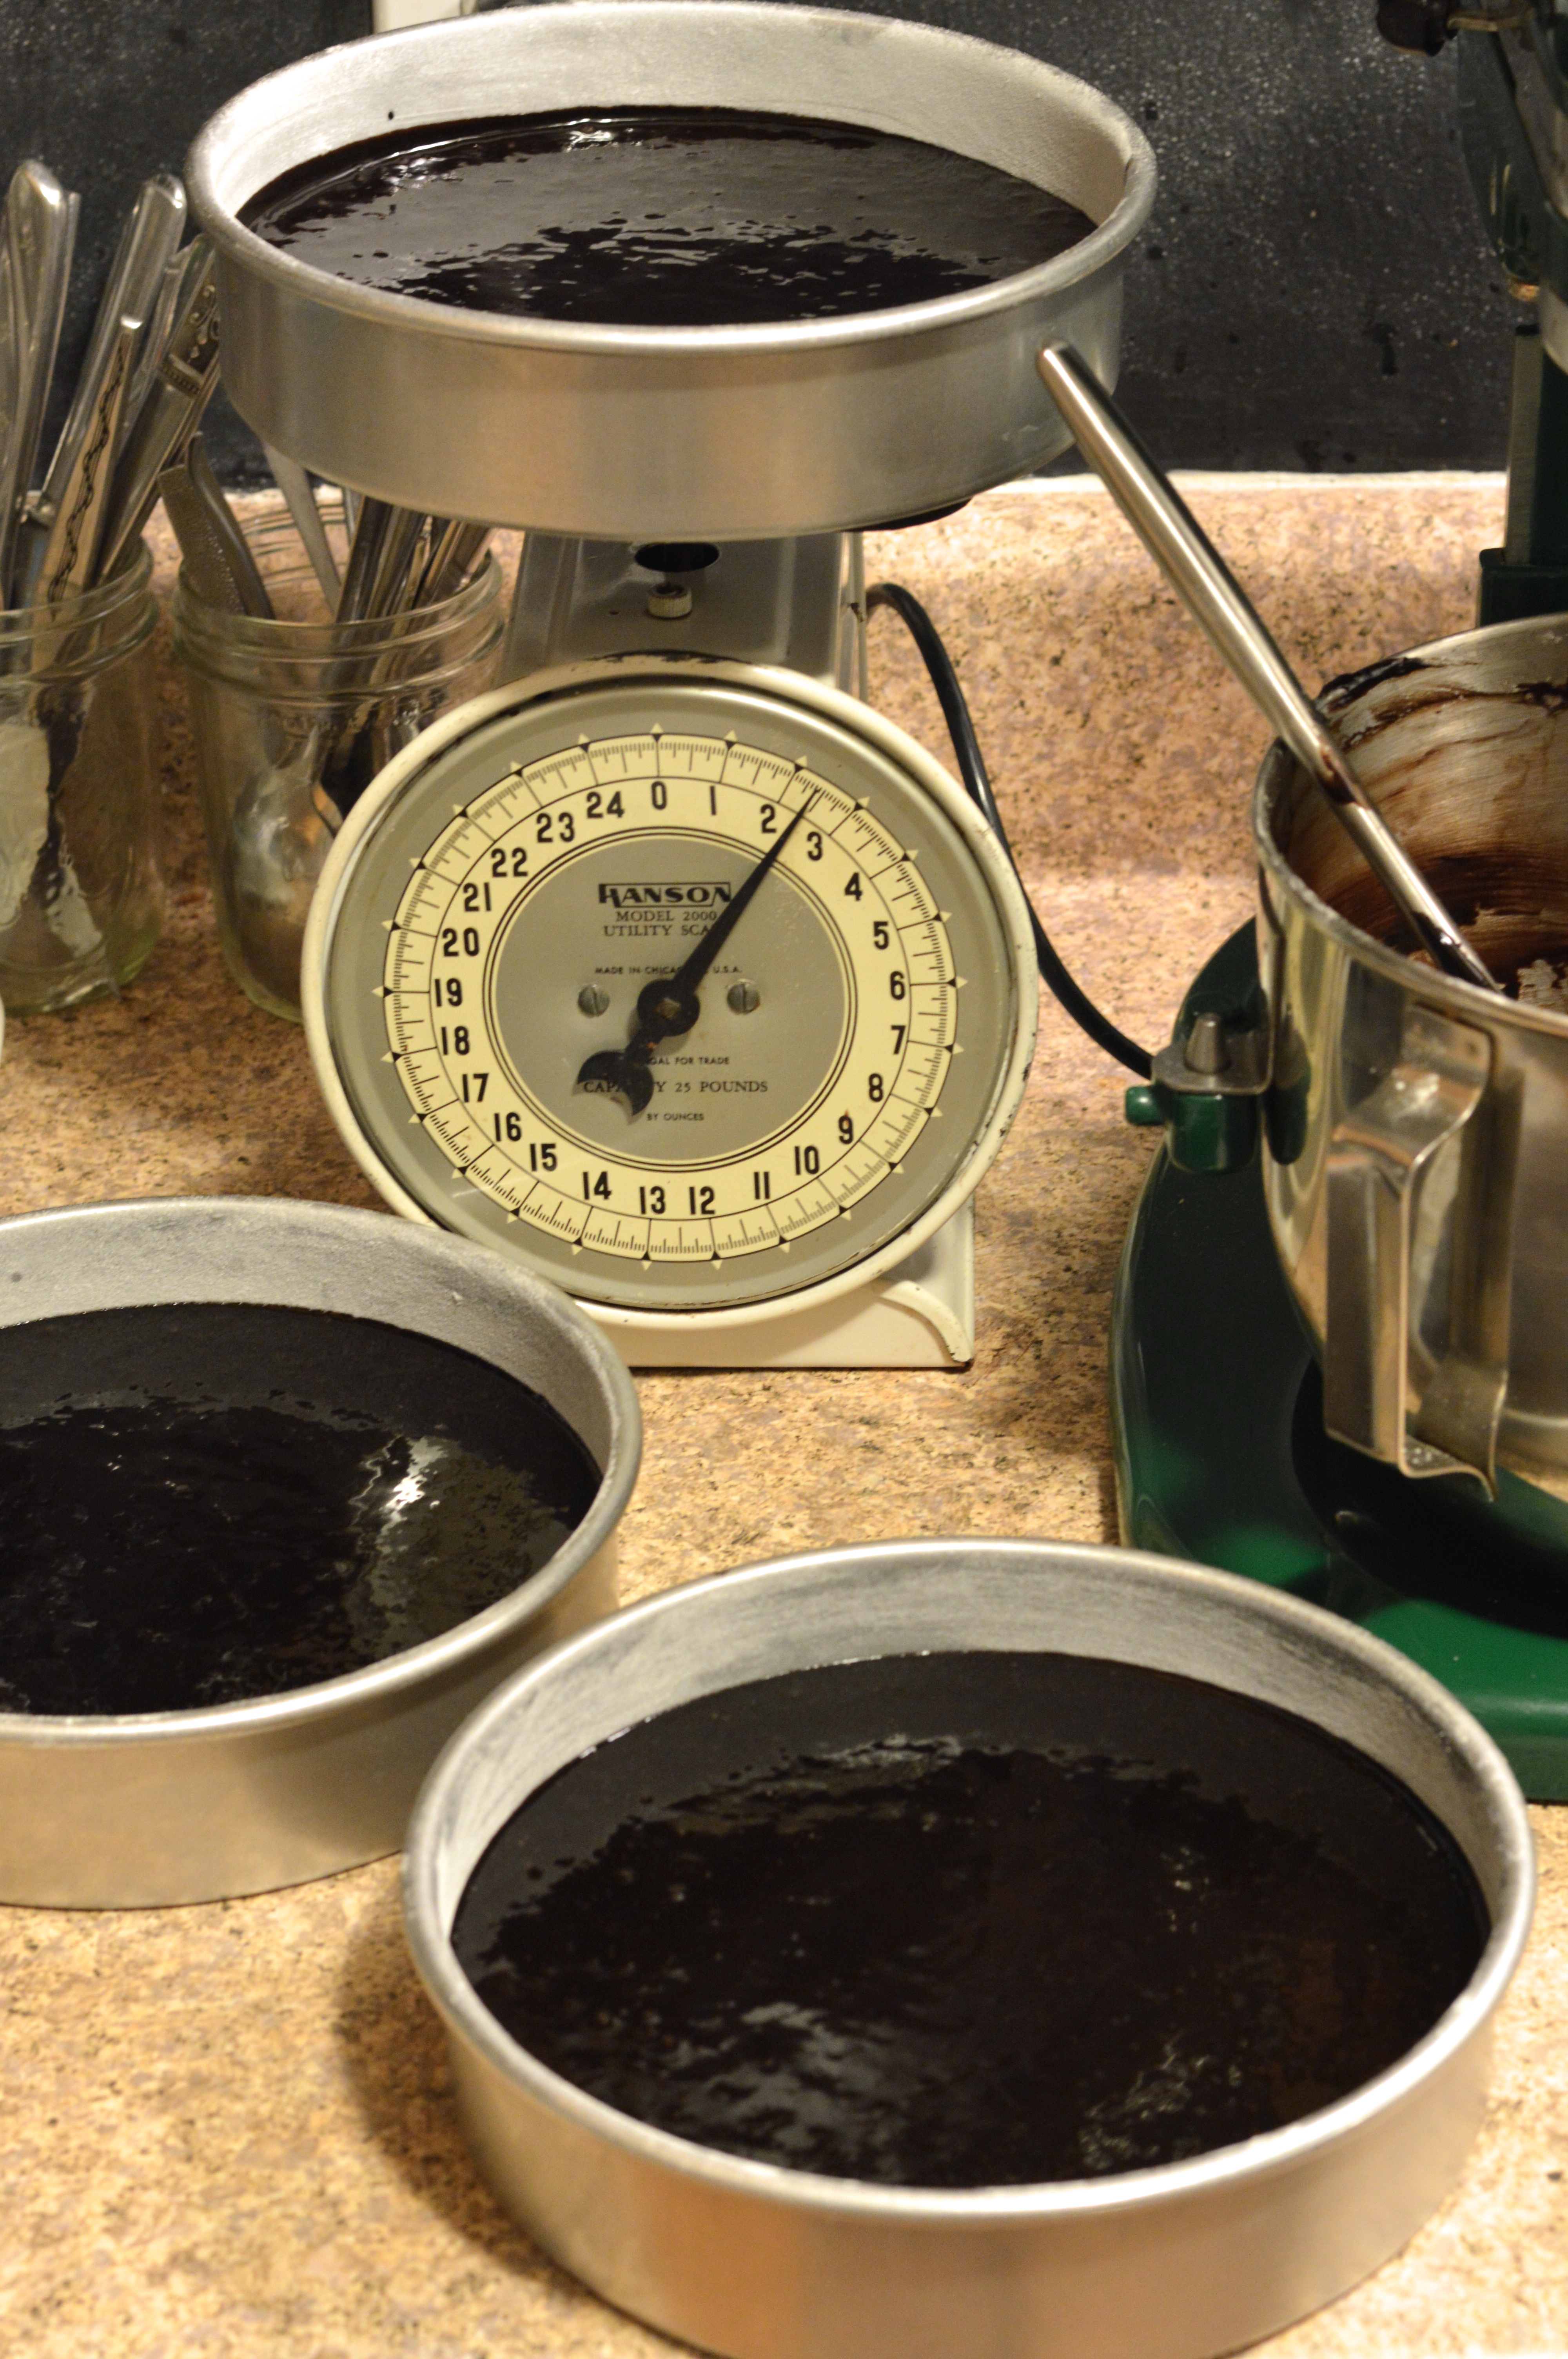
Preheat oven to 350. Generously flour and butter a 10 cup (+) non-stick bundt pan.
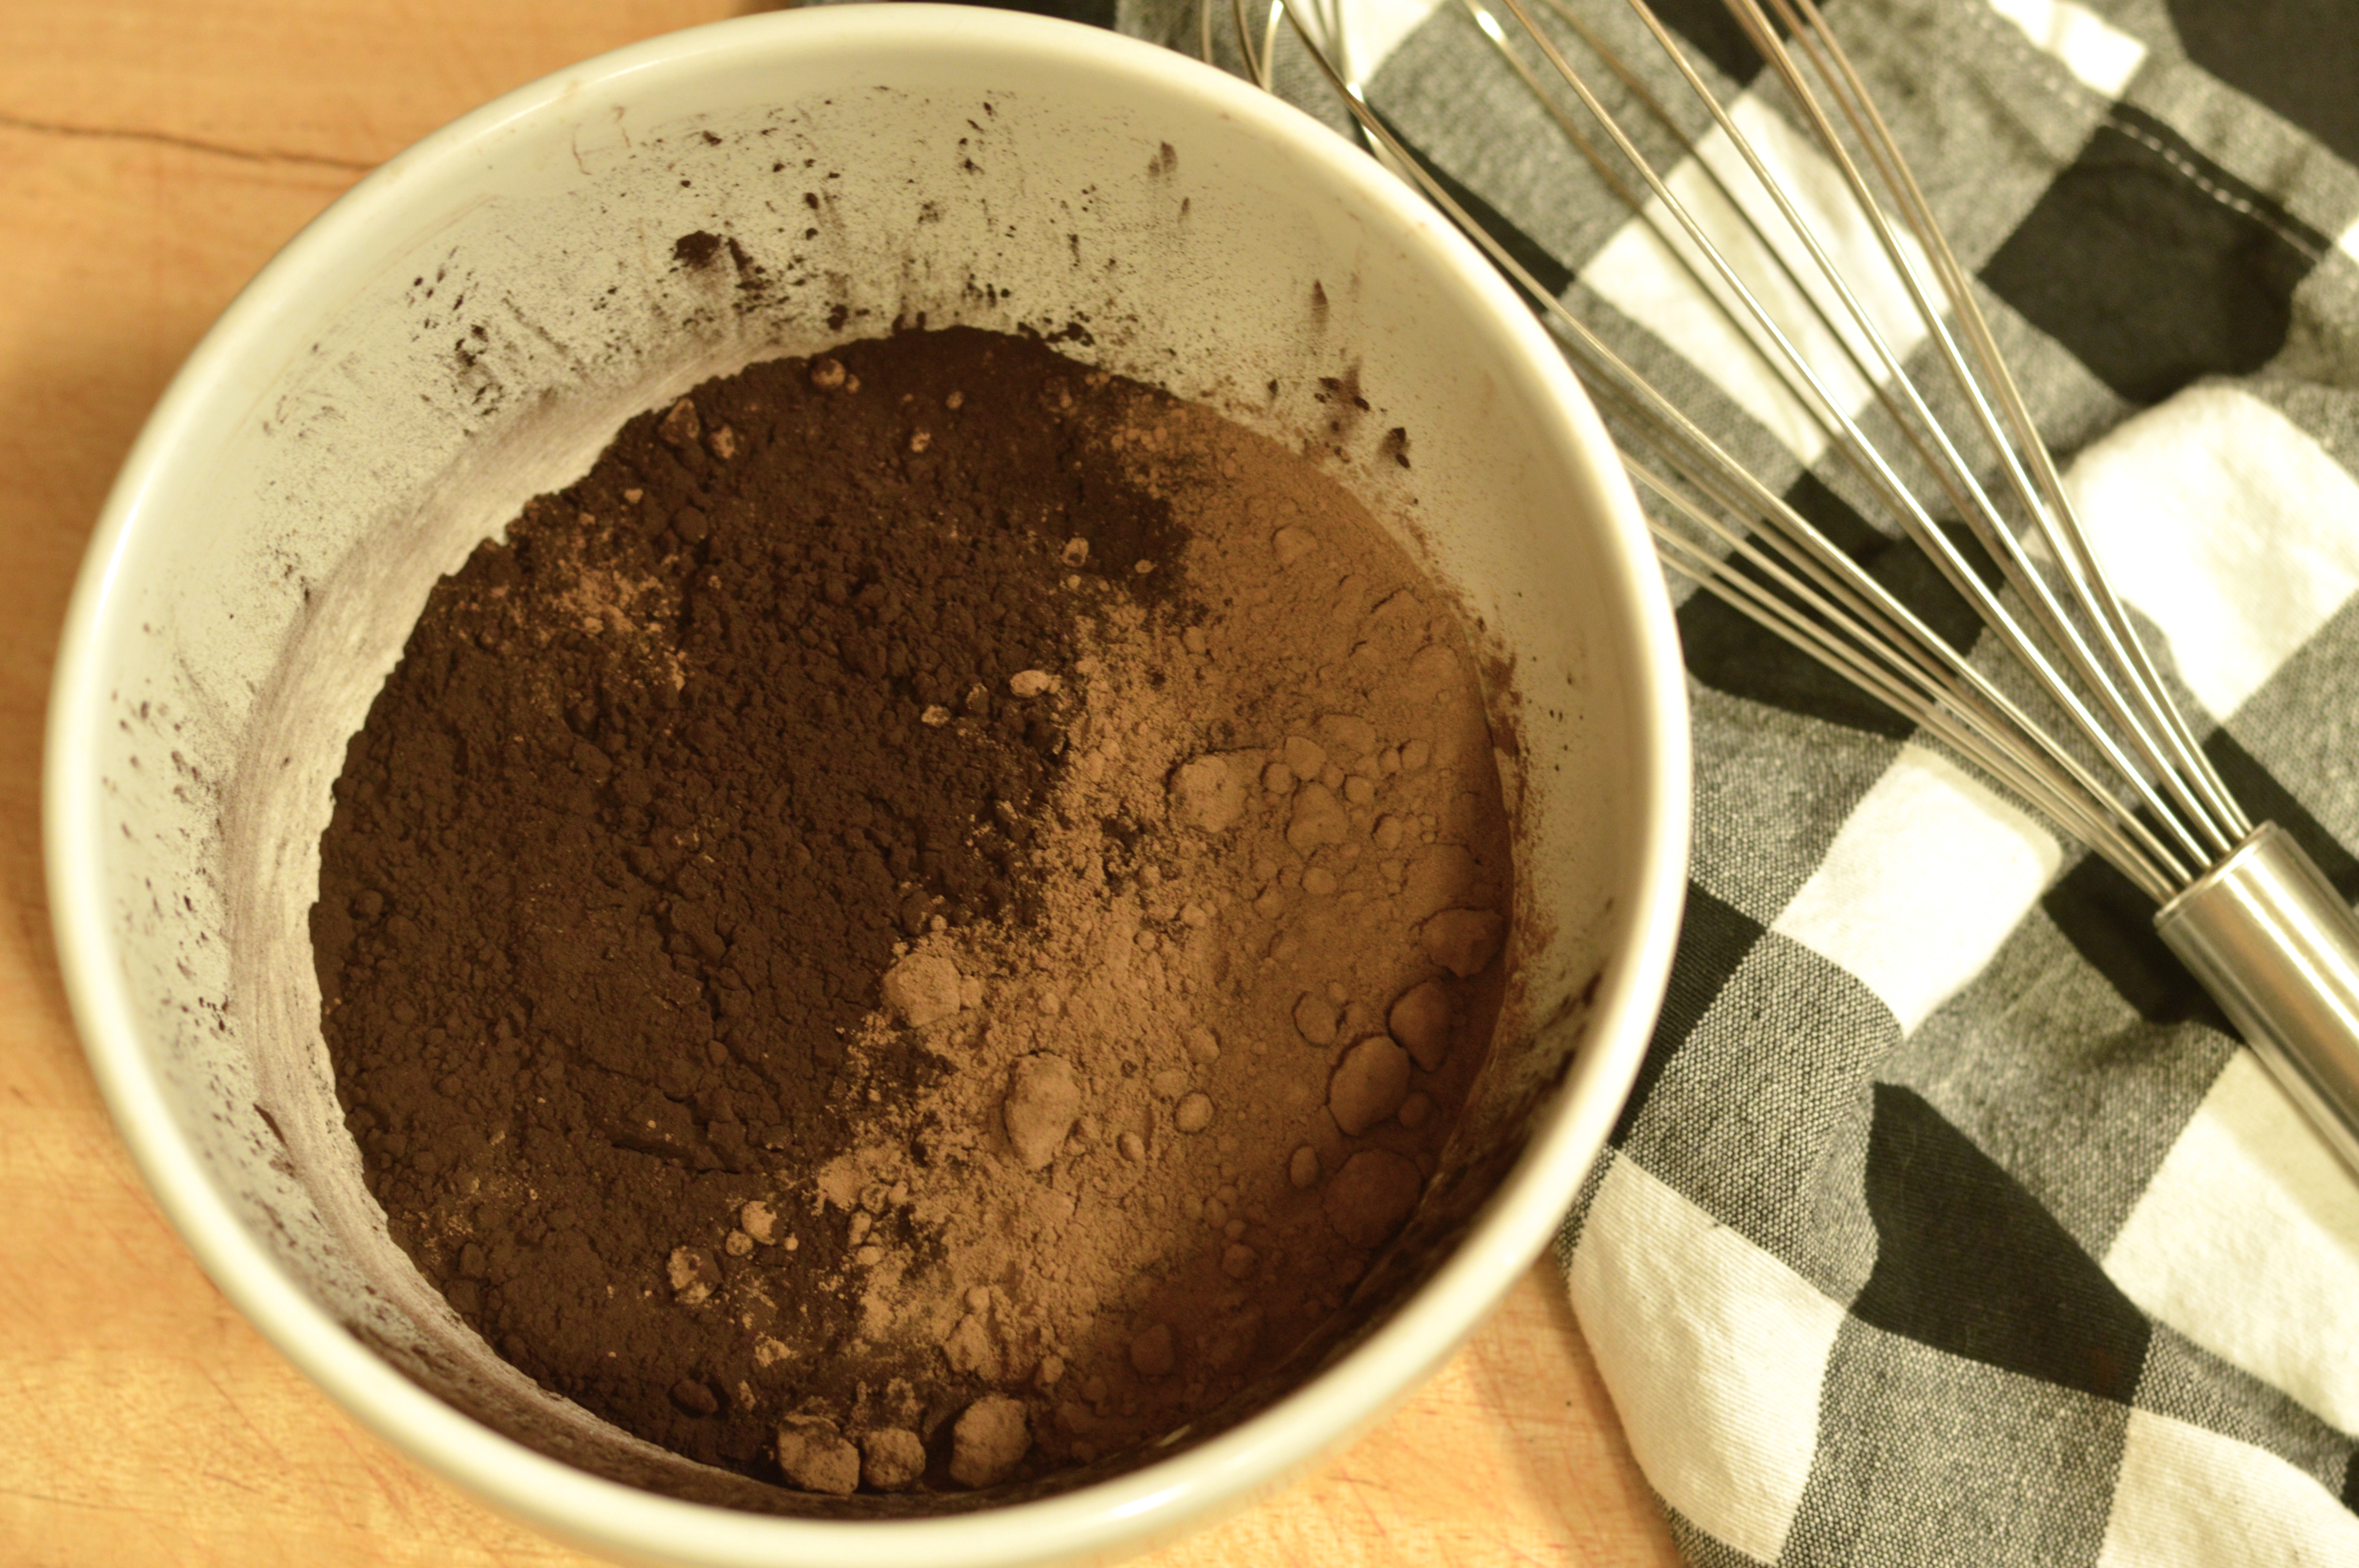
In a medium bowl, whisk together 2 cups flour, cornmeal, baking powder, baking soda, & salt. Set aside.

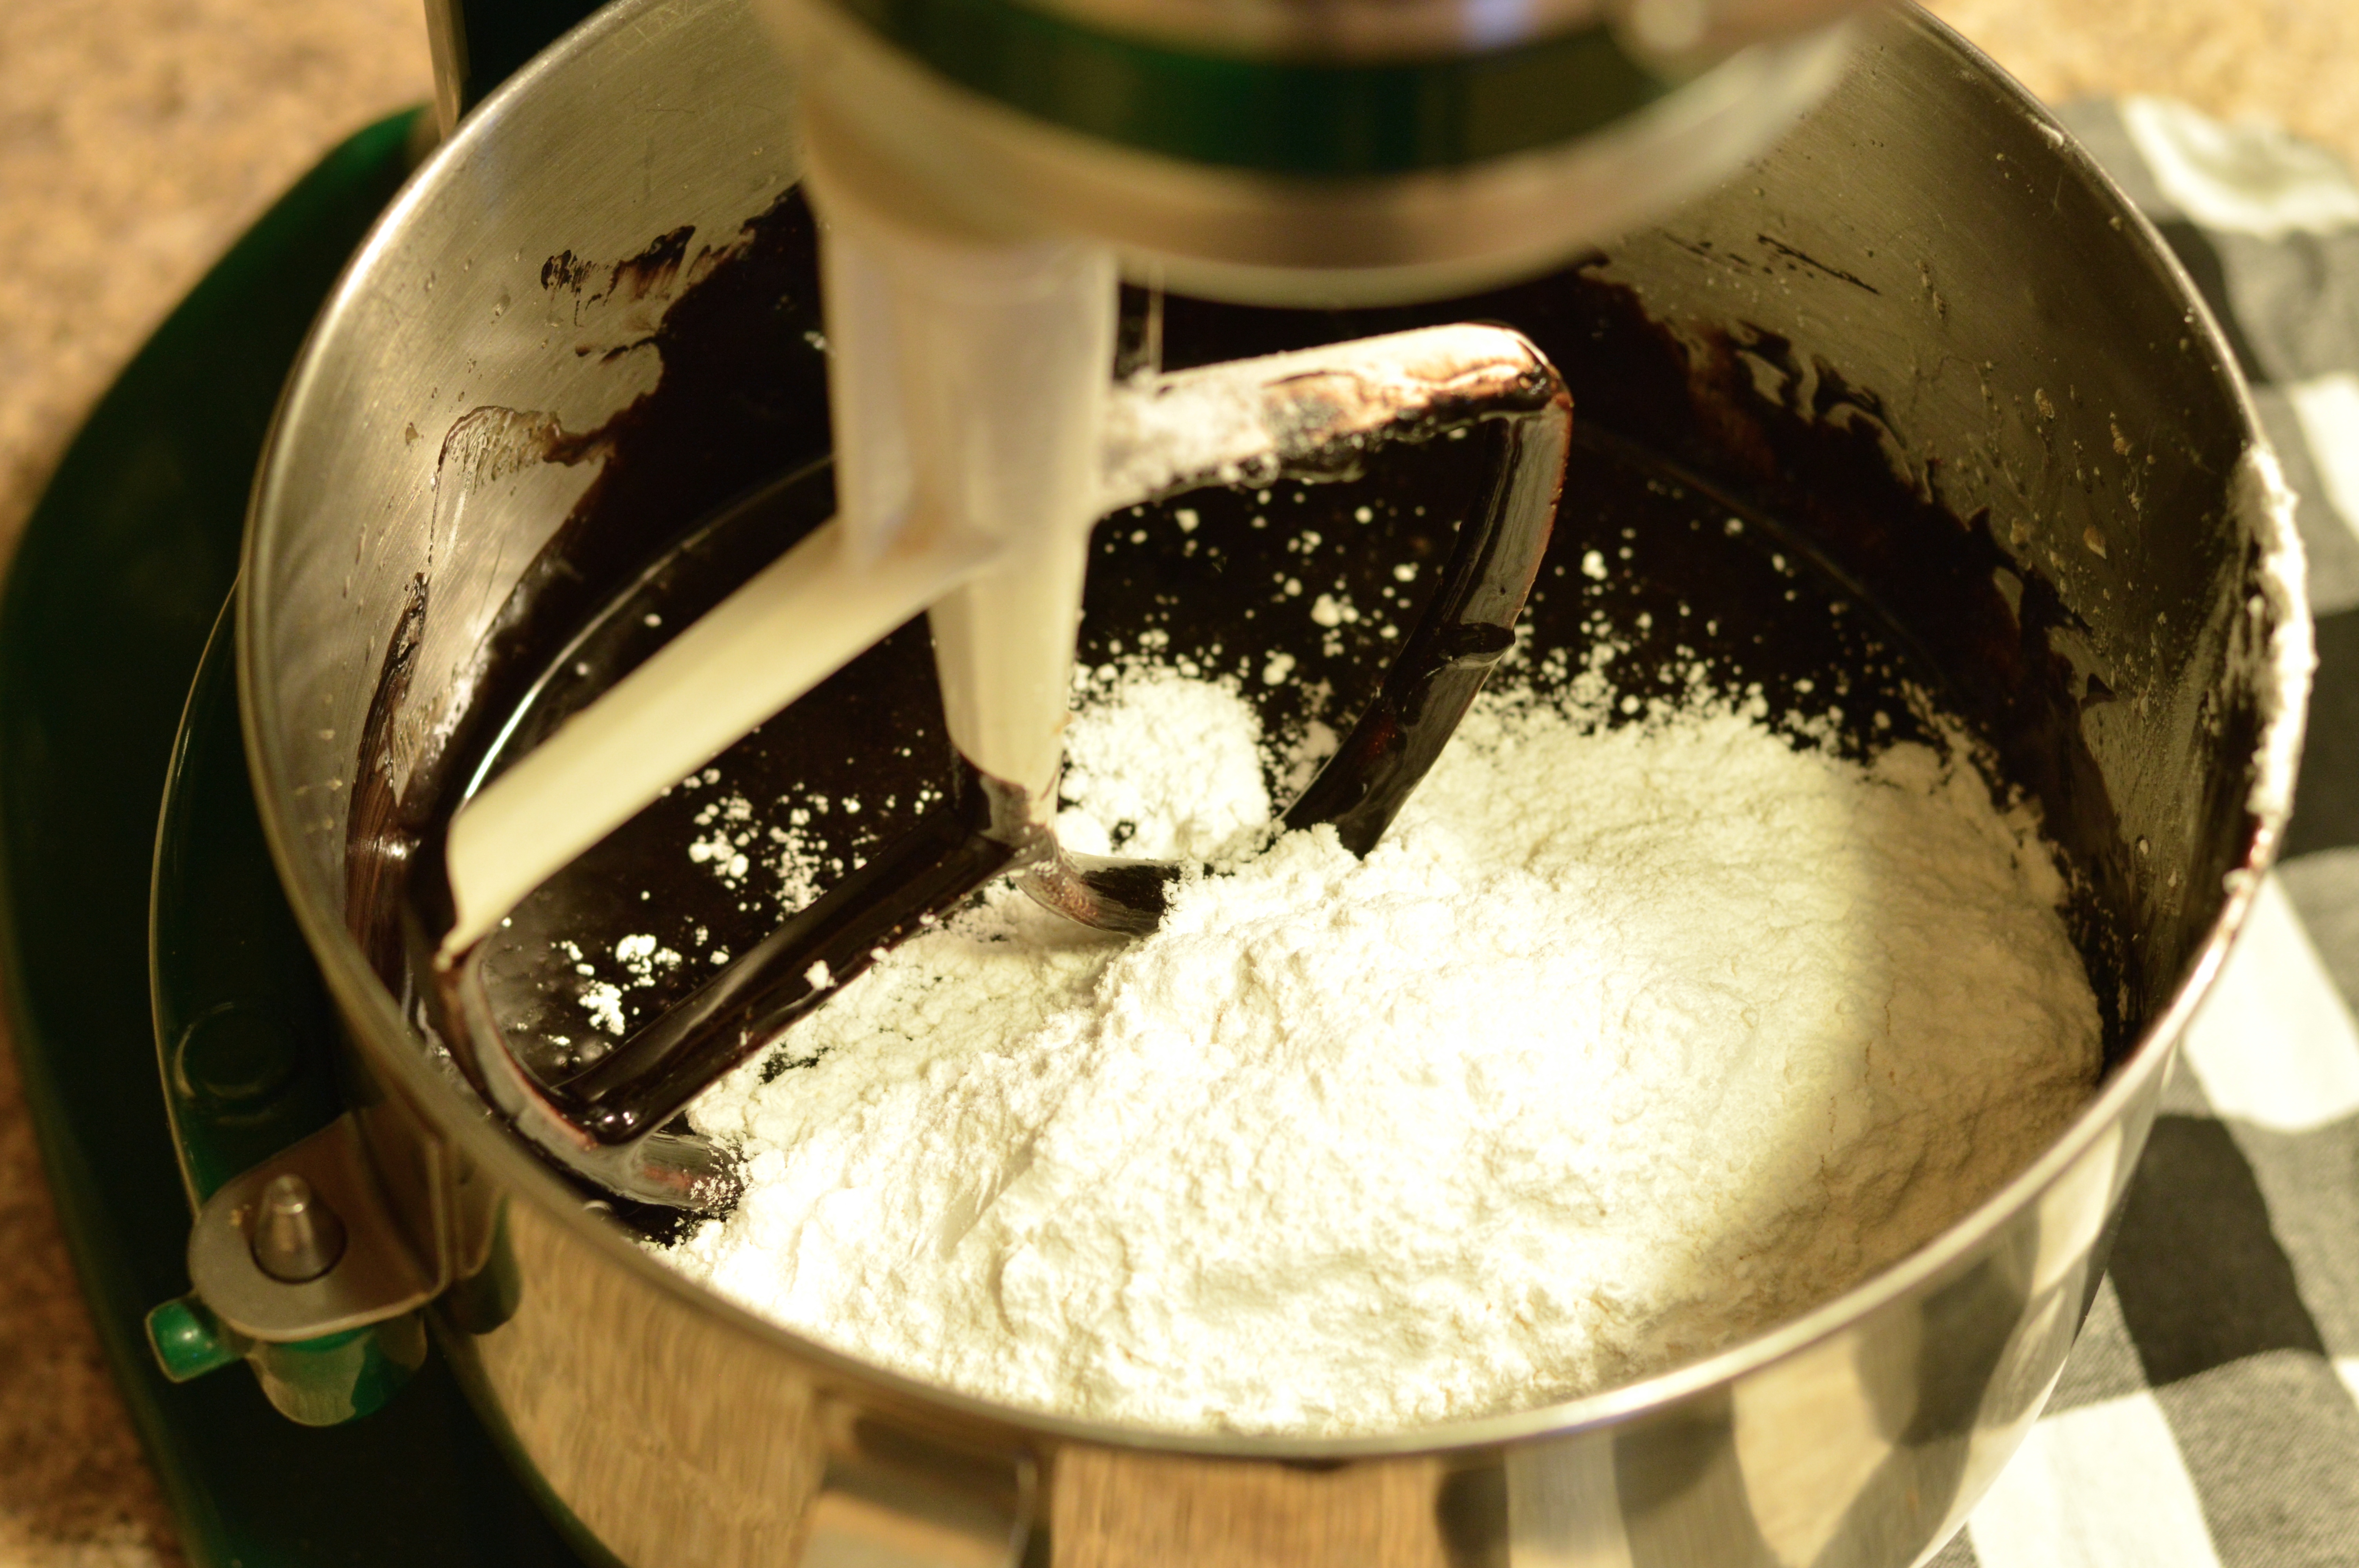
In the bowl of a standing mixer beat butter, sugar and honey together until light and fluffy, 3 to 5 minutes. Add vanilla, and then the eggs, one at a time, until well combined. Slowly stir in 1/3 flour mixture until just combined, followed by 1/2 of the buttermilk, scraping down sides of bowl after each addition. Continue until all flour and buttermilk is combined. Do not over mix.

In a small bowl toss blackberries in remaining 2 tablespoons of flour. Gently fold berries into batter by hand. Pour into prepared bundt pan and bake for 55 to 60 minutes or until a cake tester inserted into the center of the cake comes out clean. Cool for 20 minutes before inverting onto a wire rack to cool completely.

Glaze:

1/4 cup Honey
1 cup confectioners sugar
2 tablespoons unsalted butter, softened
1 to 2 tablespoons milk

Combine honey, confectioners sugar, and butter in a medium bowl. Whisk to combine and thin out to desired texture with milk, 1 tsp at a time. Drizzle evenly over cooled bundt.

honey glazed blackberry cornmeal bundt cake | Brooklyn Homemaker

Check out all of these delicious honey bundts! What a perfect theme to celebrate the final sunny days of summer.

BundtBakers


Interested in learning more about us??  #BundtBakers is a group of Bundt loving bakers who get together once a month to bake Bundts with a common ingredient or theme. We take turns hosting each month and choosing the theme/ingredient. You can see all our of lovely Bundts by following our Pinterest board right here. Links are also updated after each event on the BundtBaker home page here.

If you are a food blogger and would like to join us, just send an email with your blog URL to foodlustpeoplelove@gmail.com. If you are just a lover of Bundt baking, you can find all of our recipe links by clicking our badge above or on our group Pinterest board.

brooklyn blackout cake

I recently went upstate to help my mom out with her new house, and while I was home I took a break to go visit my grandparents.

the rich, dark history of brooklyn blackout cake | Brooklyn Homemaker

My grandfather is a man of few words, and usually contributes little more to dinner table chats than some talk about his vegetable garden. One topic that always gets him talking a blue streak though, is World War II. I don’t know about you, but I think war-time stories are actually pretty fascinating, so when the conversation turned to what life was like for he and his family back then, I was thrilled.

My grandfather was born in Germany in a farming community where he and his family worked building homes and barns for the neighboring farmers. During the war when food was rationed, items like sugar, chocolate, & coffee became rare luxuries that were extremely hard to come by for civilians. Fortunately, my grandfather had family living in the US who would send care packages with items they could trade with their neighbors to help them get by. When my grandfather was fourteen years old his father refused to join the nazi party and was sent away to work in a ball bearing factory in Schweinfurt. This left my grandfather, the oldest child in a large family, in charge. He told me that real coffee was so hard to come by, and in such high demand, that their local butcher once traded them 150 lbs of beef for just one pound of coffee! They grew a lot of their own vegetables, but didn’t usually get to eat much meat, so those coffee care packages meant more to their family than most of us can even understand. After the war my grandfather and many of his siblings moved to the US and settled in upstate New York, where I grew up.

When I heard Grandpa’s story, it reminded me of another story from World War II that I recently read about, the story of the Brooklyn Blackout Cake. I’ve actually been thinking about making this cake and sharing the story with you for a while now, but until my visit home I hadn’t had the inspiration I needed to take on this iconic cake.

the rich, dark history of brooklyn blackout cake | Brooklyn Homemaker

A mix of dutch-process and ultra-dutch black cocoa

In the U.S., just as in Germany, food was being rationed during the war and items like sugar, coffee, & chocolate were hard to come by. Chocolate was especially in short supply because much of what was produced at that time was reserved for the war effort and sent to the front. In Brooklyn, the Rockwood chocolate factory was so busy making chocolate for the war that they became the second-largest chocolate maker in the country, second only to Hershey’s. Rockwood’s government contracts made up so much of their business in fact, that about a decade or so after the war ended and the contracts expired, the company went out of business.

the rich, dark history of brooklyn blackout cake | Brooklyn Homemaker

Workers in the Brooklyn Navy Yard, only a few blocks from the chocolate factory, were surrounded by the constant smell of chocolate drifting over from Rockwood, which was a huge tease since they had such limited access to chocolate bars. At the peak of the war, the Brooklyn Navy Yard was one of the most important naval warship building yards in the U.S., and employed over 70,000 people working in shifts 24 hours a day. The navy yard was so important to the war effort that enemy U-boats would sneak through the waters around New York hoping to sink some of the completed ships as they sailed out.

Battleships usually left the yard at night under the cover of darkness, but New York’s bright lights served as an accidental backdrop to the black silhouette of moving ships. After a few tankers were sunk in New York Harbor in January of 1942, the Civilian Defense Corps decided action needed to be taken to protect the ships. Temporary blackout drills were common in European cities to protect them from air raids, but in June 1942 much of New York, especially Brooklyn, went through a permanent ‘dim-out’ that lasted through to the end of the war. City lights were turned off, windows were covered with heavy material, and vehicles drove at night without headlights or street lamps, all to make sure no light could be seen from enemy U-boats. Even the lights of Time’s Square and the Coney Island amusement park went dark through the war. 

the rich, dark history of brooklyn blackout cake | Brooklyn Homemaker

During Brooklyn’s blackout era, there was another chocolate confection maker near the Navy Yard, and this one was open to the public. Ebinger’s Bakery opened their first store in 1898 and soon swelled to a baking institution with 54 locations throughout Brooklyn and Queens. They made all of their treats from scratch daily, and gave their shops an air of authenticity by hiring shop girls with German accents. Before the war they were selling a pudding-filled three-tiered dark chocolate cake, but when the Civilian Defense Corps instituted their lights out policy, Ebinger’s decided to name their cake the “Brooklyn Blackout Cake” to show their support for the city they called home. Whether it was the deep dark chocolate-on-chocolate flavor, or their close proximity to the Navy Yard where workers were constantly smelling chocolate they couldn’t have, the cake was a huge hit. The name stuck well after the war and the cake became an iconic confection, well-known all over the country even though the Ebinger’s chain never left New York. 

the rich, dark history of brooklyn blackout cake | Brooklyn Homemaker

Unfortunately, a few decades later, Ebinger’s fell victim to a consumer obsession with diets and health, poor business management, and the country’s fascination with convenient supermarket shopping. The short shelf life and unhealthy ingredients in their home-baked treats couldn’t compete, and Ebinger’s went out of business on August 27, 1972. Their secret family recipes were never released, and though many have tried to replicate them, no one knows the exact details of those original recipes.

the rich, dark history of brooklyn blackout cake | Brooklyn Homemaker

Since they went bust more than a decade before I was born, I’ve never actually tasted a genuine Ebinger’s Brooklyn Blackout Cake. If you’re looking for the real, true, authentic recipe, you’ve come to the wrong place. Many bakeries and blogs have tried their best to come up with a close approximation, but since I’ve never tasted the real thing, I decided I was within my rights to take some liberties.
According to food historian Molly O’Neill, a true Brooklyn Blackout Cake consists of “…three layers of devil’s food cake sandwiching a dark chocolate pudding with chocolate frosting and sprinkled with chocolate cake crumbs.” I followed her guideline, but went ahead and used my own recipes for the three components.

the rich, dark history of brooklyn blackout cake | Brooklyn Homemaker

I used my favorite recipe for Devil’s Food Cake but, in place of natural cocoa, I substituted a mix of dutch-process cocoa and ultra-dutched black cocoa to give the cake a deep dark “blackout” flavor. If you’re not familiar with black cocoa, it’s what’s used in Oreos to give them their iconic dark chocolate flavor. It can sometimes be a bit overpowering in a cake though, so I mixed it with dutch-process cocoa to mellow it out a bit. The end result is an impossibly chocolatey cake that is literally black in color. If you don’t have or can’t find black cocoa (available here), feel free to just use dutch-process cocoa. I’m positive you’ll have amazing results either way. 

the rich, dark history of brooklyn blackout cake | Brooklyn Homemaker

For the pudding filling, I decided to add some espresso powder to deepen the chocolate flavor, and to bring a bit of coffee into the cake that I was inspired to bake by my grandfather’s story. If you’re not a coffee fan you could leave it out, but together with the other components, you get just a subtle hint of coffee that backs up the dark chocolatiness of the rest of the cake. To top it all off, I iced the cake with a thick, rich dark chocolate ganache. Then I covered the sides of the cake with crumbs while leaving most of the top clean to show off a swirled design in the icing.

the rich, dark history of brooklyn blackout cake | Brooklyn Homemaker

When making a layer cake, especially one consisting of more than two layers, I think it’s really important to level each layer of cake before assembly. I think it makes for a much more professional looking, impressive, and beautiful cake. I also like that you get an opportunity to taste the cake before serving to be certain no mistakes were made. Luckily, in this recipe, the excess cake gets put to good use too.

the rich, dark history of brooklyn blackout cake | Brooklyn Homemaker

To be perfectly honest, this cake is a LOT of work. Ebinger’s was making this in commercial production bakeries with lots of help, but making this yourself is a bit of an undertaking. If you’re up for the challenge though, the end result is unbelievably delicious, incredibly moist, and outrageously chocolatey. If you are as big of a fan of chocolate as I am, you’ll go crazy for this cake.

the rich, dark history of brooklyn blackout cake | Brooklyn Homemaker

Brooklyn Blackout Cake


Black Devil’s Food Cake
makes three 8-inch layers

butter and flour for pans
3/4 cups dutch process cocoa powder
3/4 cups ultra-dutched black cocoa powder *see note
1 1/2 cups hot water
3 1/4 cups cake flour
1 1/4 teaspoons coarse salt
1 teaspoon baking powder
1 teaspoon baking soda
2 cups peanut oil or vegetable oil
1 cup granulated sugar
1 1/4 cup packed brown sugar
4 large eggs
4 teaspoons vanilla extract
1 cup buttermilk

Preheat oven to 350 degrees. Butter three 8 inch round cake pans, line bottoms with parchment paper, butter paper, and dust pans with flour. Whisk together cocoa powders and hot water until smooth.

Sift together flour, salt, baking powder, and baking soda; set aside. Beat oil and sugars together on medium-low speed until combined.
Add eggs, one at a time, beating after each addition. Beat in vanilla and cocoa mixture. Reduce speed to low. Add flour mixture in two batches, alternating with buttermilk and beginning and ending with flour. Beat until just combined.
Divide batter between pans, and bake until a cake tester inserted into centers comes out clean, 40 to 45 minutes. Transfer pans to a wire rack to cool for 15 minutes. Invert cakes onto rack, peel off parchment, and let cool completely.

*if you don’t have (or can’t find) black cocoa, you can just use all dutch-process instead (for a total of 1 1/2 cups cocoa)

Chocolate Pudding Filling

1/2 cup sugar
2 tablespoons cornstarch
1/4 teaspoon salt
2 teaspoons espresso powder
1-1/2 cups whole milk
3 ounces good dark chocolate, chopped
1 teaspoon vanilla extract

In a small heavy saucepan, mix sugar, cornstarch, espresso powder and salt. Whisk in milk. Cook and stir over medium heat until thickened and bubbly. Reduce heat to low; cook and stir 2 minutes longer. Remove from heat and stir in chocolate until melted. Transfer to a bowl; stir in vanilla. Cool slightly, stirring occasionally. Press plastic wrap onto surface of pudding. Refrigerate, covered, at least 2 hours or until cold.

Chocolate Ganache Icing

1 1/2 cup heavy cream
1/4 cup sugar
1/4 teaspoon kosher salt
12 oz good dark chocolate, chopped
2 teaspoons vanilla

Heat cream, sugar, and salt over medium heat until just on the verge of boiling. Place chopped chocolate in a heat proof bowl and pour hot cream over it making sure all chocolate is submerged. Let sit for 2 or 3 minutes, and whisk until completely smooth and incorporated. Add vanilla and whisk well. Cover and cool until thick and spreadable. You can try to speed this up in the refrigerator, but check it frequently and be careful not to let it get too cold or it won’t be spreadable.

To assemble cake, make sure all layers, filling & icing are cool or cold. Remove the domed tops of the cake layers with a cake leveler or sharp bread knife. With clean hands, crumble up reserved cake domes into fine, relatively even crumbs, and reserve for decorating use. Place one layer on a cake plate, serving plate, or cake board. Evenly spread half of the pudding over the first layer. Top with another layer and remaining pudding. Top with third layer.

With an icing spatula, spread a thin layer of ganache over top and sides of cake, trying not to squish the pudding out from between the layers. This should take about 1/3 of your ganache. Be sure to fill in any gaps between layers and make the sides and top smooth and flat as possible. This thin layer of icing is referred to as the “crumb coat” and is meant to seal in any crumbs so they’re not seen in your final layer of icing. Refrigerate cake for 15 minutes. Spread most (or all) of remaining ganache evenly over top and sides of cake, trying to get as smooth a surface as possible. If desired, reserve some ganache for piped decoration, otherwise, slather it all on. Press the crumbs against sides of the cake until the sides are well covered. You can decorate the top with a swirl design using a small icing spatula, leave it flat and smooth, pipe a border or design, or cover the top with more crumbs.

This cake is at it’s best the day it’s baked, but can be covered and refrigerated for up to 2 days. If refrigerated, it will need to come up to room temperature before serving.

conversation heart mini cakes

Valentine’s Day is one of those holidays that most people either love or hate. Usually you hate it when you’re single, and suddenly appreciate it when you’re in a relationship. Growing up gay in a small town in upstate New York, for most of my life I was on the team against this holiday. Once I started dating I began to like it, but even then usually thought of Valentine’s Day as an excuse for restaurants to pack as many couples as possible into a tight space and charge a small fortune for a “prix fixe” menu. After a bottle (or two) of cheap champagne and several courses of dinner, I was usually done for the night, and that was that. Now that I’m married and don’t have to try so hard to impress my dates or seal the deal or whatever it is people do on Valentine’s day, I finally have a new appreciation for it. My husband Russell and I usually skip the over-priced meals and crowds and try to re-create the date experience at home. We like to use this holiday as an excuse to brighten our home with fresh-cut flowers, cook a nice meal, drink some wine and, of course, buy some chocolates. My favorite part of this holiday was, is, and always will be the chocolates.

conversation heart mini cakes | Brooklyn Homemaker

This day hasn’t always been all about chocolates and flowers though. Valentine’s Day has its roots in ancient Rome, and the holiday’s two namesakes were Roman saints who both shared the name Valentine. Though there are some rumors, there is no evidence linking either saint to the romantic ideas people have about the holiday today. Back then this holiday was strictly about martyrdom and religious beliefs. It wasn’t until the medieval era, when the tradition of courtly love flourished in the spring, that people started tying Saint Valentine’s Day to romance and love.  Men would pick spring flowers and write love songs to try to woo their fair maidens, but even then sugar was a precious commodity in Europe, so candy wasn’t yet a part of the experience.

conversation heart mini cakes | Brooklyn Homemaker

It wasn’t until the 1800s that the British chocolate manufacturer Cadbury started marketing chocolate candies for Valentine’s Day. Before then, chocolate was usually consumed as a hot beverage. When Cadbury made some improvements to its chocolate manufacturing technique they were left with an excess of cocoa butter. It was then that they started to produce a wide array of their “eating chocolate” and recognized Valentine’s Day as a marketing opportunity. Richard Cadbury started designing and selling ornate decorated boxes filled with an assortment of his new chocolate candies.  Victorians were already in the practice of showering each other with cards and gifts for Valentine’s Day, and Cadbury’s chocolate boxes were a wild hit. Within a few decades these elaborately decorated boxes were everywhere, and their popularity continued to grow until governments started rationing sugar during World War II. By then the idea of candy, chocolate, and heart-shaped everything was deeply tied to Valentine’s day, and continues to be today.

conversation heart mini cakes | Brooklyn Homemaker

Another Valentine’s Day confection that roots back to Victorian England is the conversation heart. The English had a tradition of writing phrases and sayings on small pieces of paper embeded inside of small colored sugar candies. The Victorians took this fashion even further by creating “conversation lozenges”, which came in various sizes and shapes, and were common all year round. Some of the more common phrases on them included “Can you Polka?” and “How do you flirt?”, but they were even sometimes used as marketing tools with the names of businesses written on them. In 1866 a device was invented to imprint the phrases into the candies rather than hand writing them, and in 1901 the Necco company, makers of Necco wafers, starting cutting their conversation lozenges into heart shapes and marketing them as Valentine’s Day “Sweethearts”. For decades some of the most popular phrases on conversation hearts were “Be mine”, “Kiss Me”, and “I’m Yours”. In the 1990s the company decided to update some of their phrases and retire others, introducing new phrases like “Email Me”, “Hot Stuff”, and Russell’s favorite, “Fax Me”.

conversation heart mini cakes | Brooklyn Homemakerconversation heart mini cakes | Brooklyn Homemaker

When I was trying to decide on a dessert to make for Russell on Valentine’s Day, I thought it would be really fun to try combining these two traditions. I’m not really a fan of real conversation hearts, but I am a big fan of chocolate! So, prepare to have your mind blown, I decided to make conversation hearts made of chocolate! Boom. Rather than trying to make tiny hearts out of real chocolate I decided that little chocolate cakes were where it’s at.

conversation heart mini cakes | Brooklyn Homemakerconversation heart mini cakes | Brooklyn Homemaker

I started with my favorite recipe for Devil’s Food Cake from Russell’s birthday, but decided to ice them with a traditional American buttercream. For fancy layer cakes I’m usually a bigger fan of meringue buttercream because American buttercream tends to be too sweet and have a slightly gritty texture, but I thought it was the clear choice for these cakes. Since they’re so cutesy and retro, and since they’re the size of large cupcakes, I thought this old school classic would be the perfect complement. I baked three 9-inch layers of Devil’s Food Cake and used a 4-inch heart-shaped cookie cutter to cut out twelve Devil’s Food hearts. Then I filled, stacked, and iced the hearts to make 6 mini heart layer cakes. To make the cakes look just like traditional conversation hearts, I chose pastel tones for my icing and piped on phrases in red.

conversation heart mini cakes | Brooklyn Homemaker

Not only are they completely adorable, they’re totally delicious. Super moist, tender & chocolatey cakes covered with rich sweet & creamy icing. Heaven. The recipe below makes 6 cakes, which each feed 2 people at least, so they’re perfect for a party. If you wanted to just make 2 heart cakes you could cut hearts from one layer and freeze the other two layers of cake for another use. If wrapped good and tight in plastic, these cake layers should keep for up to a month in the freezer.

I really hope you give these a try. They might be a little advanced for beginners, but if you are a confident crumb-coater and can pipe a straight line, I promise you can handle it.

conversation heart mini cakes | Brooklyn Homemaker

Conversation Heart Mini Cakes

  • Servings: makes six 2-layer 4-inch heart cakes, serves 12ish
  • Print
Devil’s Food Cake

butter and flour for pans
2 cups peanut oil or vegetable oil
1 1/2 cups unsweetened natural cocoa powder
1 1/2 cups hot water
3 1/4 cups cake flour
1 1/4 teaspoons coarse salt
1 teaspoon baking powder
1 teaspoon baking soda
1 cup granulated sugar
1 1/4 cup packed brown sugar
4 large eggs
4 teaspoons vanilla extract
1 cup buttermilk

Preheat oven to 350 degrees. Butter three 9 inch round cake pans, line bottoms with parchment paper, butter paper, and dust pans with flour. Whisk together cocoa powder and hot water until smooth.

Sift together flour, salt, baking powder, and baking soda; set aside. Beat oil and sugar together on medium-low speed until combined.
Add eggs, one at a time, beating after each addition. Beat in vanilla and cocoa mixture. Reduce speed to low. Add flour mixture in two batches, alternating with buttermilk and beginning and ending with flour. Beat until just combined.
Divide batter between pans, and bake until a cake tester inserted into centers comes out clean, 35 to 40 minutes. Transfer pans to a wire rack to cool for 15 minutes. Invert cakes onto rack, peel off parchment, and let cool completely.

Classic American Buttercream
just enough for six 4″ heart cakes

2 cups unsalted butter (4 sticks or 1 pound), room temperature
6-8 cups confectioners sugar, SIFTED
1/2 teaspoon table salt
2 tablespoons vanilla extract
4-6 tablespoons milk

Beat butter for a few minutes with a mixer with the paddle attachment on medium speed. Add first six cups of confectioners sugar, one cup at a time, with your mixer on the lowest speed until the sugar has been incorporated. Increase mixer speed to medium and add vanilla extract, salt, and 4 tablespoons of milk and beat on high for 3 minutes. If your frosting needs a more stiff consistency, add remaining sugar, a cup at a time. If your frosting needs to be thinned out, add remaining milk 1 tablespoons at a time. For these hearts you want the icing fairly stiff.

Assemble the heart cakes

Wrap each 9″ cake layer in plastic wrap and refrigerate for at least an hour, or over night. Level each layer with a sharp bread knife or cake leveler, and using a 4″ heart-shaped cookie cutter, cut four hearts out of each layer, giving you 12 hearts. Keep the heart cut-outs cold in the refrigerator while you’re working on each cake.

Divide your icing into 7 bowls. You’ll need about a cup of icing for each of the six cakes, and about 1/2 a cup of icing for the seventh bowl which you’ll use for the writing. Color the writing icing bright red, and then color each of the 6 remaining bowls whichever colors you prefer. Keep in mind that conversation hearts come in pastels so go easy on the food coloring. Fit a piping bag with a medium writing tip, I used a Wilton #7 , and fill the bag with your 1/2 cup of red icing. I used CK Products gel colors (available here) to avoid thinning out the icing. A little goes a long way, so use sparingly.

Working with one color at a time, spread about 1/4 cup of icing on the top of one heart cut-out and layer with another cut-out. Using another 1/4 cup of icing spread a thin layer to cover sides and top of the cake. This is called the crumb coat, and since these cakes are cut-outs they produce a lot of crumbs. This step is very important if you don’t want visible crumbs in your icing. Once your cake is completely crumb coated, refrigerate while you work on remaining five cakes. Repeat until all 6 cakes are crumb coated and each has refrigerated for a minimum of 30 minutes or more.

Working with the same color the cake was crumb coated with, ice each cake with remaining 1/2 cup of icing. Use a small offset icing spatula to get a nice smooth finished surface. Once iced, write your favorite conversation heart phrase on top with red icing. Repeat with remaining five cakes. Take pictures and show your friends, family, co-workers, first grade teachers, and college RAs.

Devil’s Food Cake with Heavenly Marshmallow Icing

I mentioned in my last post that we recently celebrated Russell’s birthday with a night out on the town with friends. We did dinner, drinks and merriment over the weekend, but his actual birthday was on a Monday so that night we stayed in and made dinner. Later in the evening we invited a friend over to help us eat some cake and drink champagne.

devil's food cake with heavenly marshmallow icing | Brooklyn Homemaker

Russell loves all things 80s. The tackier and more out-there, the better. He appreciates 80s music, pop culture, art, celebrities, you name it, so for his birthday I wanted to go all out and bring that era back for him. I went crazy with hot pink animal print wrapping paper, black satin ribbon, expensive champagne, and hot pink candles. Of course I had to have a cake to put those candles into, and there’s something about Devil’s Food Cake that just screams 80s to me. To be honest, I’m not even really sure why. I was 7 years old when the 80s came to a close, so I don’t really remember all that much of it, but the 80s were all about excess and Devils’s Food Cake is certainly a more-is-more kind of cake.

devil's food cake with heavenly marshmallow icing | Brooklyn Homemaker

This cake calls for natural cocoa instead of dutch process. Dutch process cocoa has a deep dark intensely chocolatey flavor, but natural cocoa has a subtler, warmer taste that reads more “cocoa” than chocolate. I don’t know if that makes sense, but try to think of the difference between a dark chocolate bar or flourless chocolate cake and the taste of hot cocoa or plain chocolate ice cream. So, while this type of cocoa is warmer and less in-your-face, a full cup and a half of it goes into the mix to make sure this cake is supremely chocolatey and really screams “Devil’s Food Cake!”

Much like the red velvet cake I made a while ago, this recipe also calls for cake flour to ensure a light and tender crumb, and uses buttermilk to help add moisture and give the cake a very subtle tanginess that really helps the cocoa feel richer and more complex. There’s also a bit of brown sugar that helps the cake keep moist and adds just a bit of dark caramel-y depth. Yum.

devil's food cake with heavenly marshmallow icing | Brooklyn Homemaker

I decided to pair this cake with a fluffy marshmallow icing, which was not only delicious, but also absolutely gorgeous. This beautiful tall cake covered in white marshmallowy roses was a real stunner. It was just as impressive when sliced with the perfect white icing in sharp contrast against the dark interior of the cake.  The recipe provided below will make enough icing to fill the cake and cover it with a generous layer of icing, but if you want to decorate it in the rosette design I used, you’ll need to multiply the recipe by 1.5.  I used an Ateco 824 tip, but any large open star tip will work. If you are using a stiffer icing, you could also use a closed star tip.

I am absolutely no pro when it comes to working with piping bags and tips, but this design was quite easy to do. I have shaky hands so small delicate piping is difficult for me, but this design is little more than large swirls repeated over and over. After filling and crumb coating the cake, I basically started with one swirl in the center of the top of the cake, with two rows of swirls wrapping around the one in the center. Any small spaces that weren’t covered by the swirls were filled by a dab with the piping bag. The top of the cake is easier to do than the sides, so I think starting there lets you get the hang of it before you try to do the design vertically. On the sides I did three rows, starting at the top and working my way down. Having a lazy susan or turntable really makes this job a gazillion times easier.

devil's food cake with heavenly marshmallow icing | Brooklyn Homemaker

I’ve already said this, but this cake has such a great chocolatey cocoa flavor. It’s spongy and light and airy and moist and amazing. I’m gushing. Traditionally Devil’s Food Cake is paired with a rich chocolate buttercream, but I really think that the cake is already so chocolatey that chocolate icing would be overkill. This marshmallow icing is perfectly light and fluffy and not at all heavy and it pairs perfectly with this cake. Instead of competing with the cake or weighing it down and making it too rich, it lets the cake take center stage. Since it’s made with little more than egg whites and sugar, the icing is also fat-free, so you know, bonus.

I will admit that the icing is a bit fussy to make but I think it is totally worth it. I wouldn’t recommend trying this without a stand mixer, I think a hand-held mixer would make a mess. I also think a candy thermometer would help a lot, but I actually didn’t use one.
If you don’t want all the fuss of the marshmallow icing, but don’t want chocolate on chocolate overkill, I’d suggest a nice traditional vanilla buttercream.

Now, go butter those cake pans and preheat that oven!

devil's food cake with heavenly marshmallow icing | Brooklyn Homemaker

Devil's Food Cake with Heavenly Marshmallow Icing

Devil’s Food Cake
makes three 8-inch layers

butter and flour for pans
1 1/2 cups unsweetened natural cocoa powder
1 1/2 cups hot water
3 1/4 cups cake flour
1 1/4 teaspoons coarse salt
1 teaspoon baking powder
1 teaspoon baking soda
2 cups peanut oil or vegetable oil
1 cup granulated sugar
1 1/4 cup packed brown sugar
4 large eggs
4 teaspoons vanilla extract
1 cup buttermilk

Preheat oven to 350 degrees. Butter three 8 inch round cake pans, line bottoms with parchment paper, butter paper, and dust pans with flour. Whisk together cocoa powder and hot water until smooth.

Sift together flour, salt, baking powder, and baking soda; set aside. Beat oil and sugars together on medium-low speed until combined.
Add eggs, one at a time, beating after each addition. Beat in vanilla and cocoa mixture. Reduce speed to low. Add flour mixture in two batches, alternating with buttermilk and beginning and ending with flour. Beat until just combined.
Divide batter between pans, and bake until a cake tester inserted into centers comes out clean, 40 to 45 minutes. Transfer pans to a wire rack to cool for 15 minutes. Invert cakes onto rack, peel off parchment, and let cool completely.

Heavenly Marshmallow Icing:
recipe from Cake Duchess

1 cup of granulated sugar (not confectioners sugar)
4 egg whites, room temperature
1/3 cup of water
1/2 teaspoon cream of tartar
1 teaspoon vanilla

In a medium saucepan, bring the 1/3 cup of water, sugar, cream of tartar to a boil. Do not stir the sugar mixture as it will cause the sugar to crystallize. Boil until you have thick clear bubbles ( should only take about 5 minutes and reads a temperature of 245 F). Be very careful not to let the mixture caramelize.
Meanwhile, in the bowl of a stand mixer, beat the egg whites to soft peaks. With the mixer on medium high, slowly and very carefully add the sugar syrup in a thin steady stream, beating for a total of 7 minutes.  Be careful not to burn yourself with the hot sugar syrup, and be careful not to add too much at once. At the last minute, mix in the vanilla.
To assemble the cake, level the layers with a sharp serrated knife or cake leveler. Spread a layer of icing between each layer of cake, and then spread a thin layer of icing on top and sides of cake to seal in crumbs. Finish by spreading (or piping) another layer of icing on top and sides and decorate as desired. For the rosette design I made on this cake I multiplied the icing recipe by 1.5, but 1 recipe is plenty for icing regularly.