food history

Harvest Cake with Cream Cheese Icing

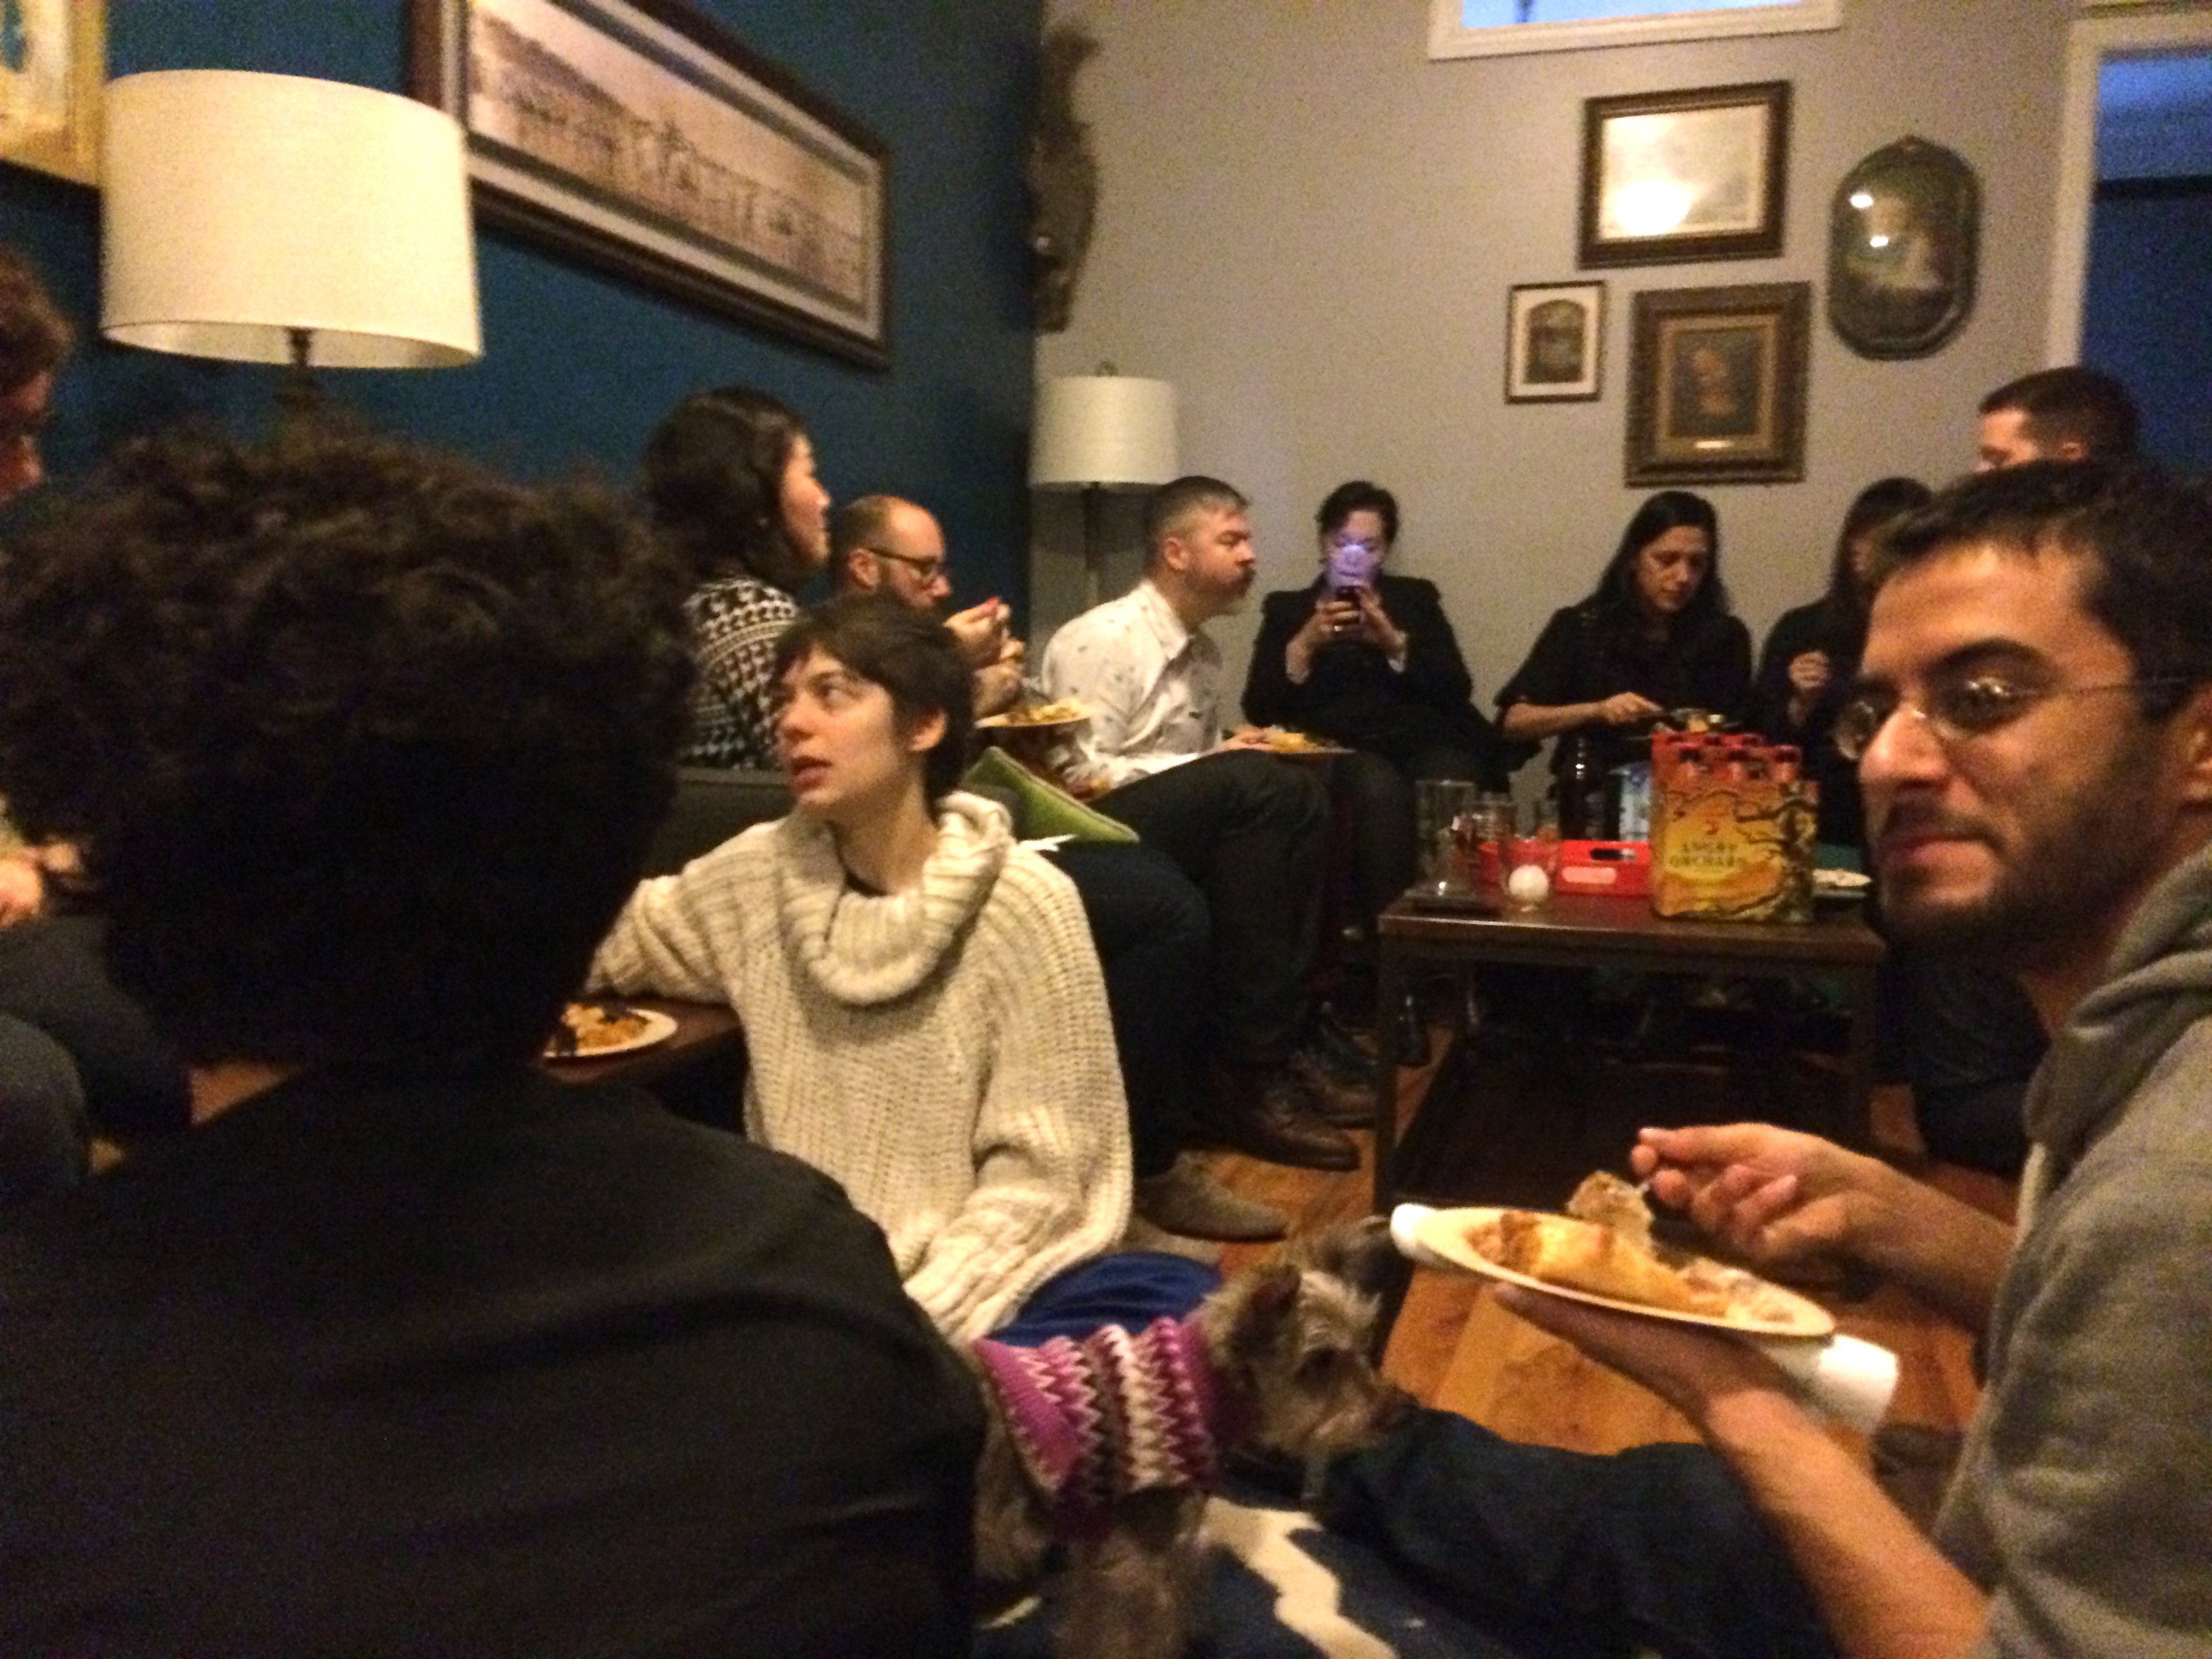
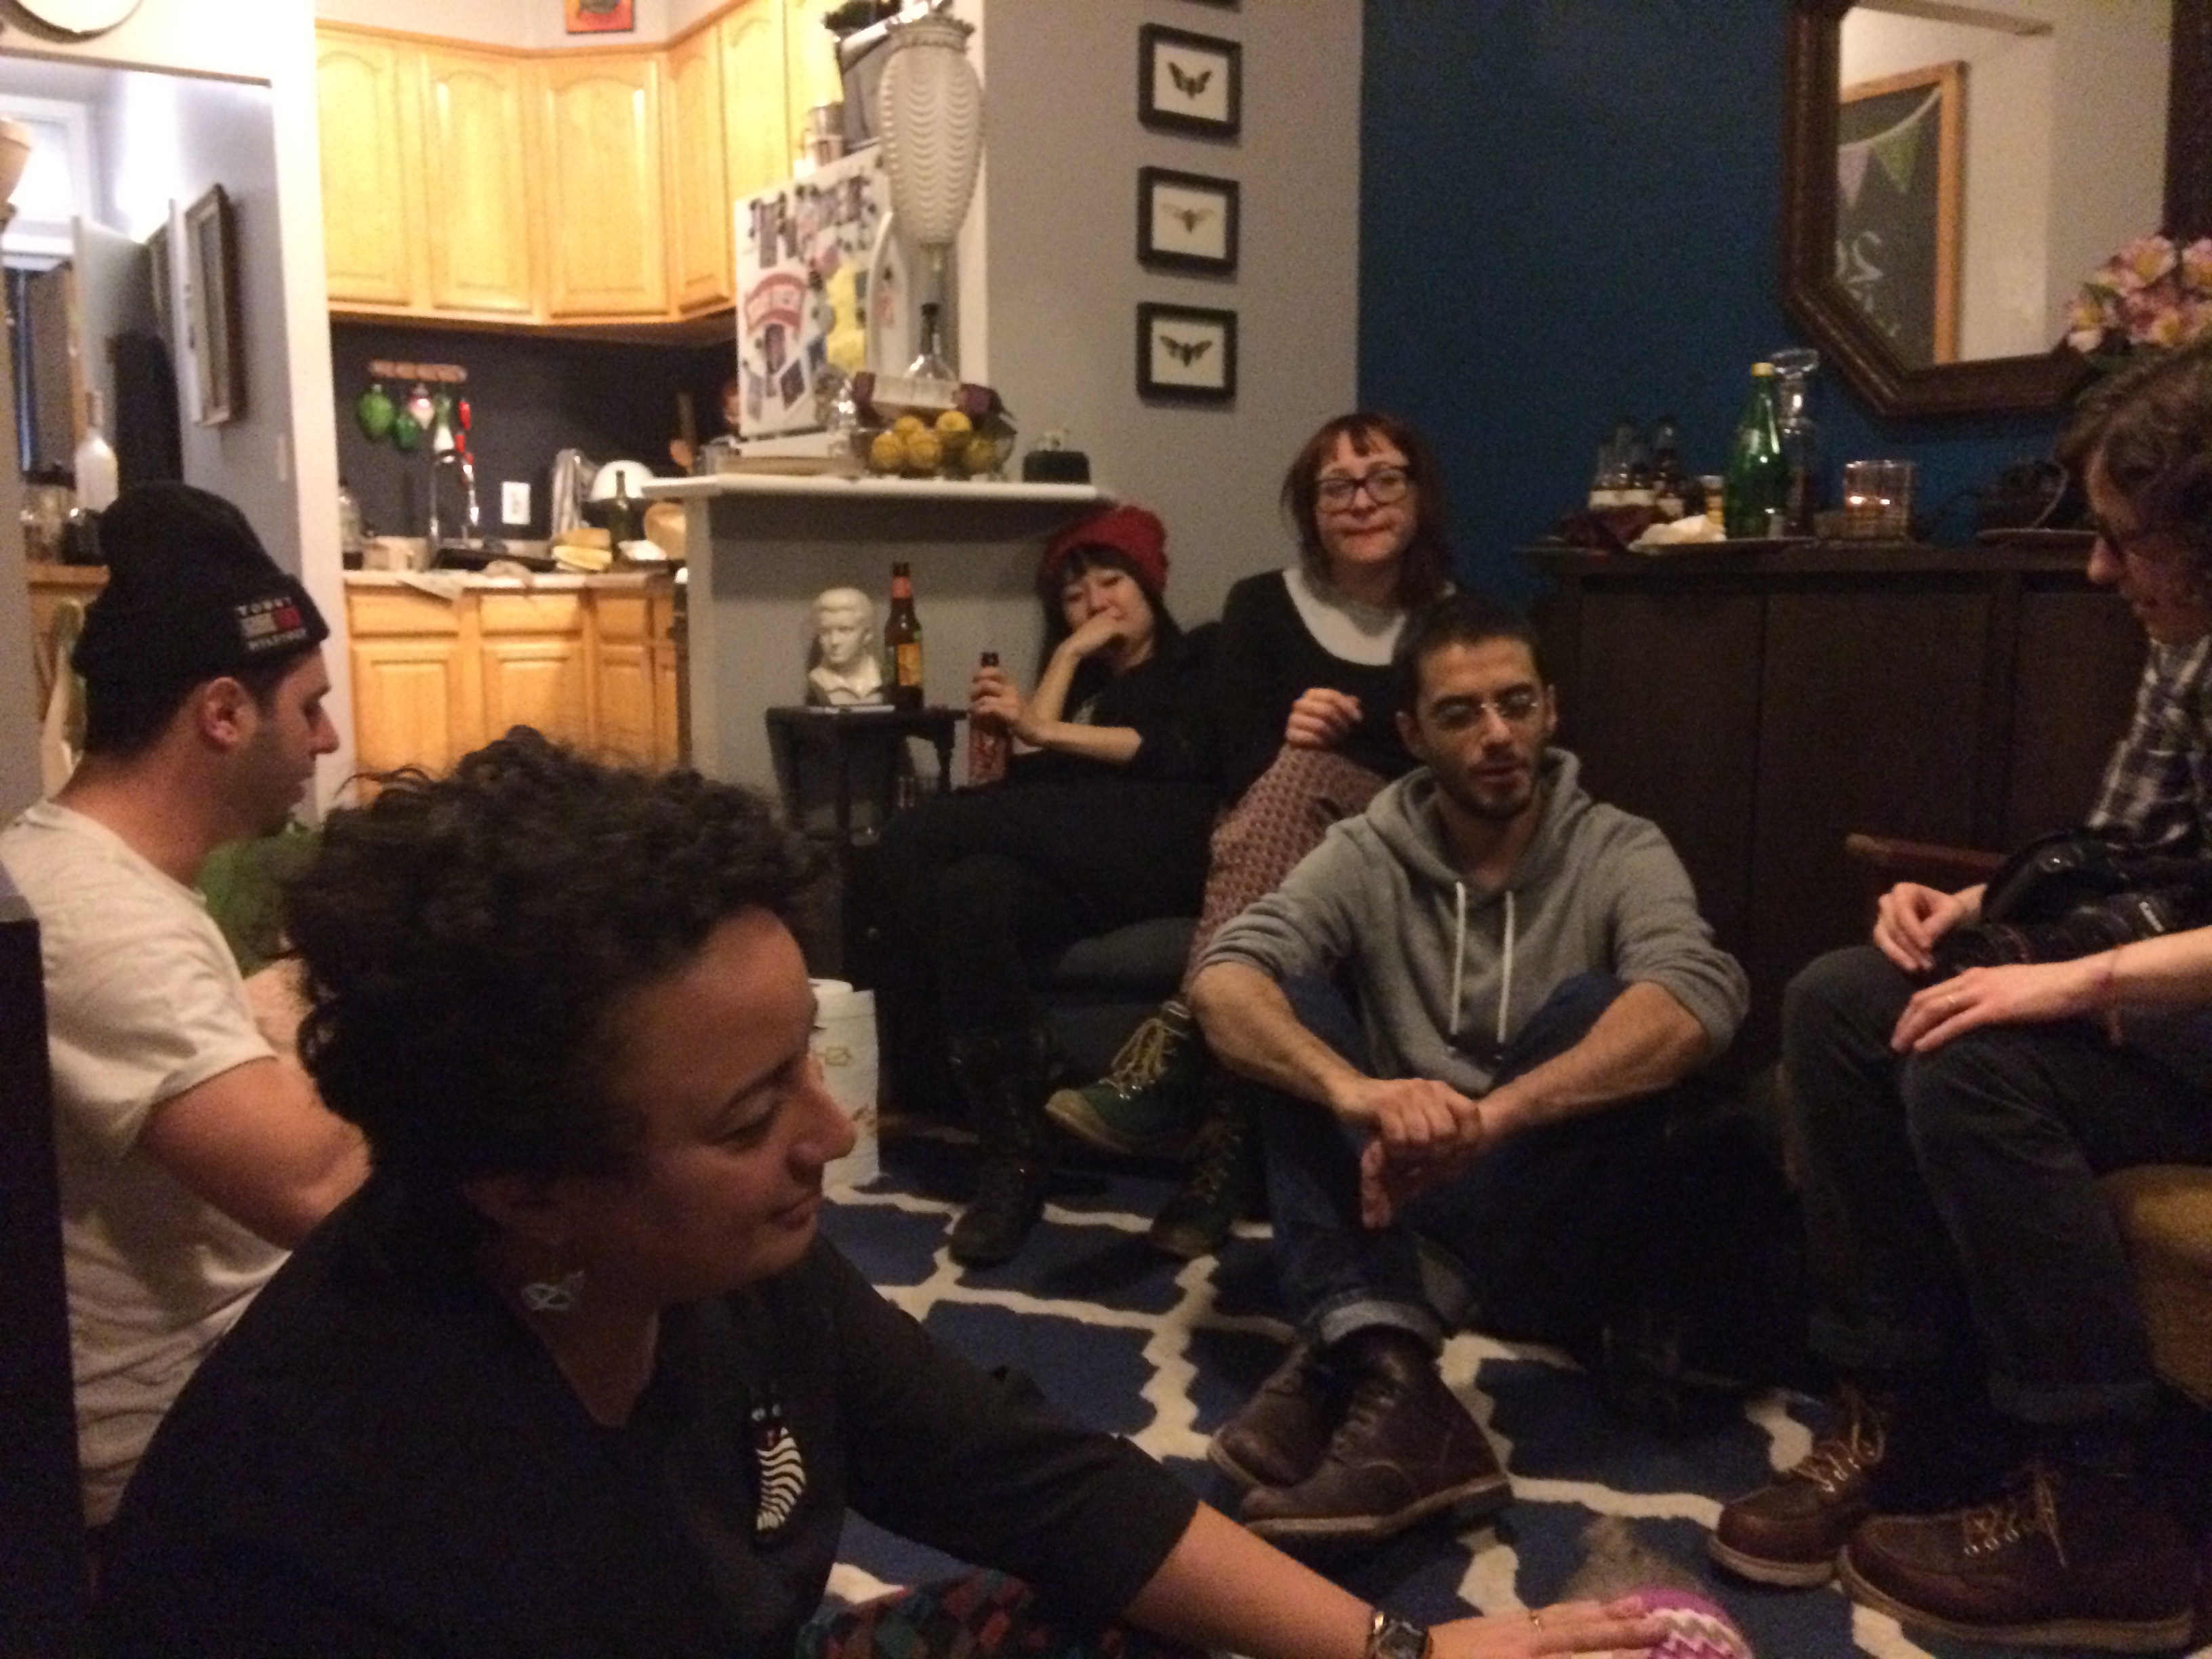
This year, instead of starting a diet on New Year’s Day, we had friends over for brunch. The only thing I resolved to do in the new year is the learn to be a better photographer, and to continue cooking and baking tasty and interesting things to share with you.

harvest cake with cream cheese icing | Brooklyn Homemaker

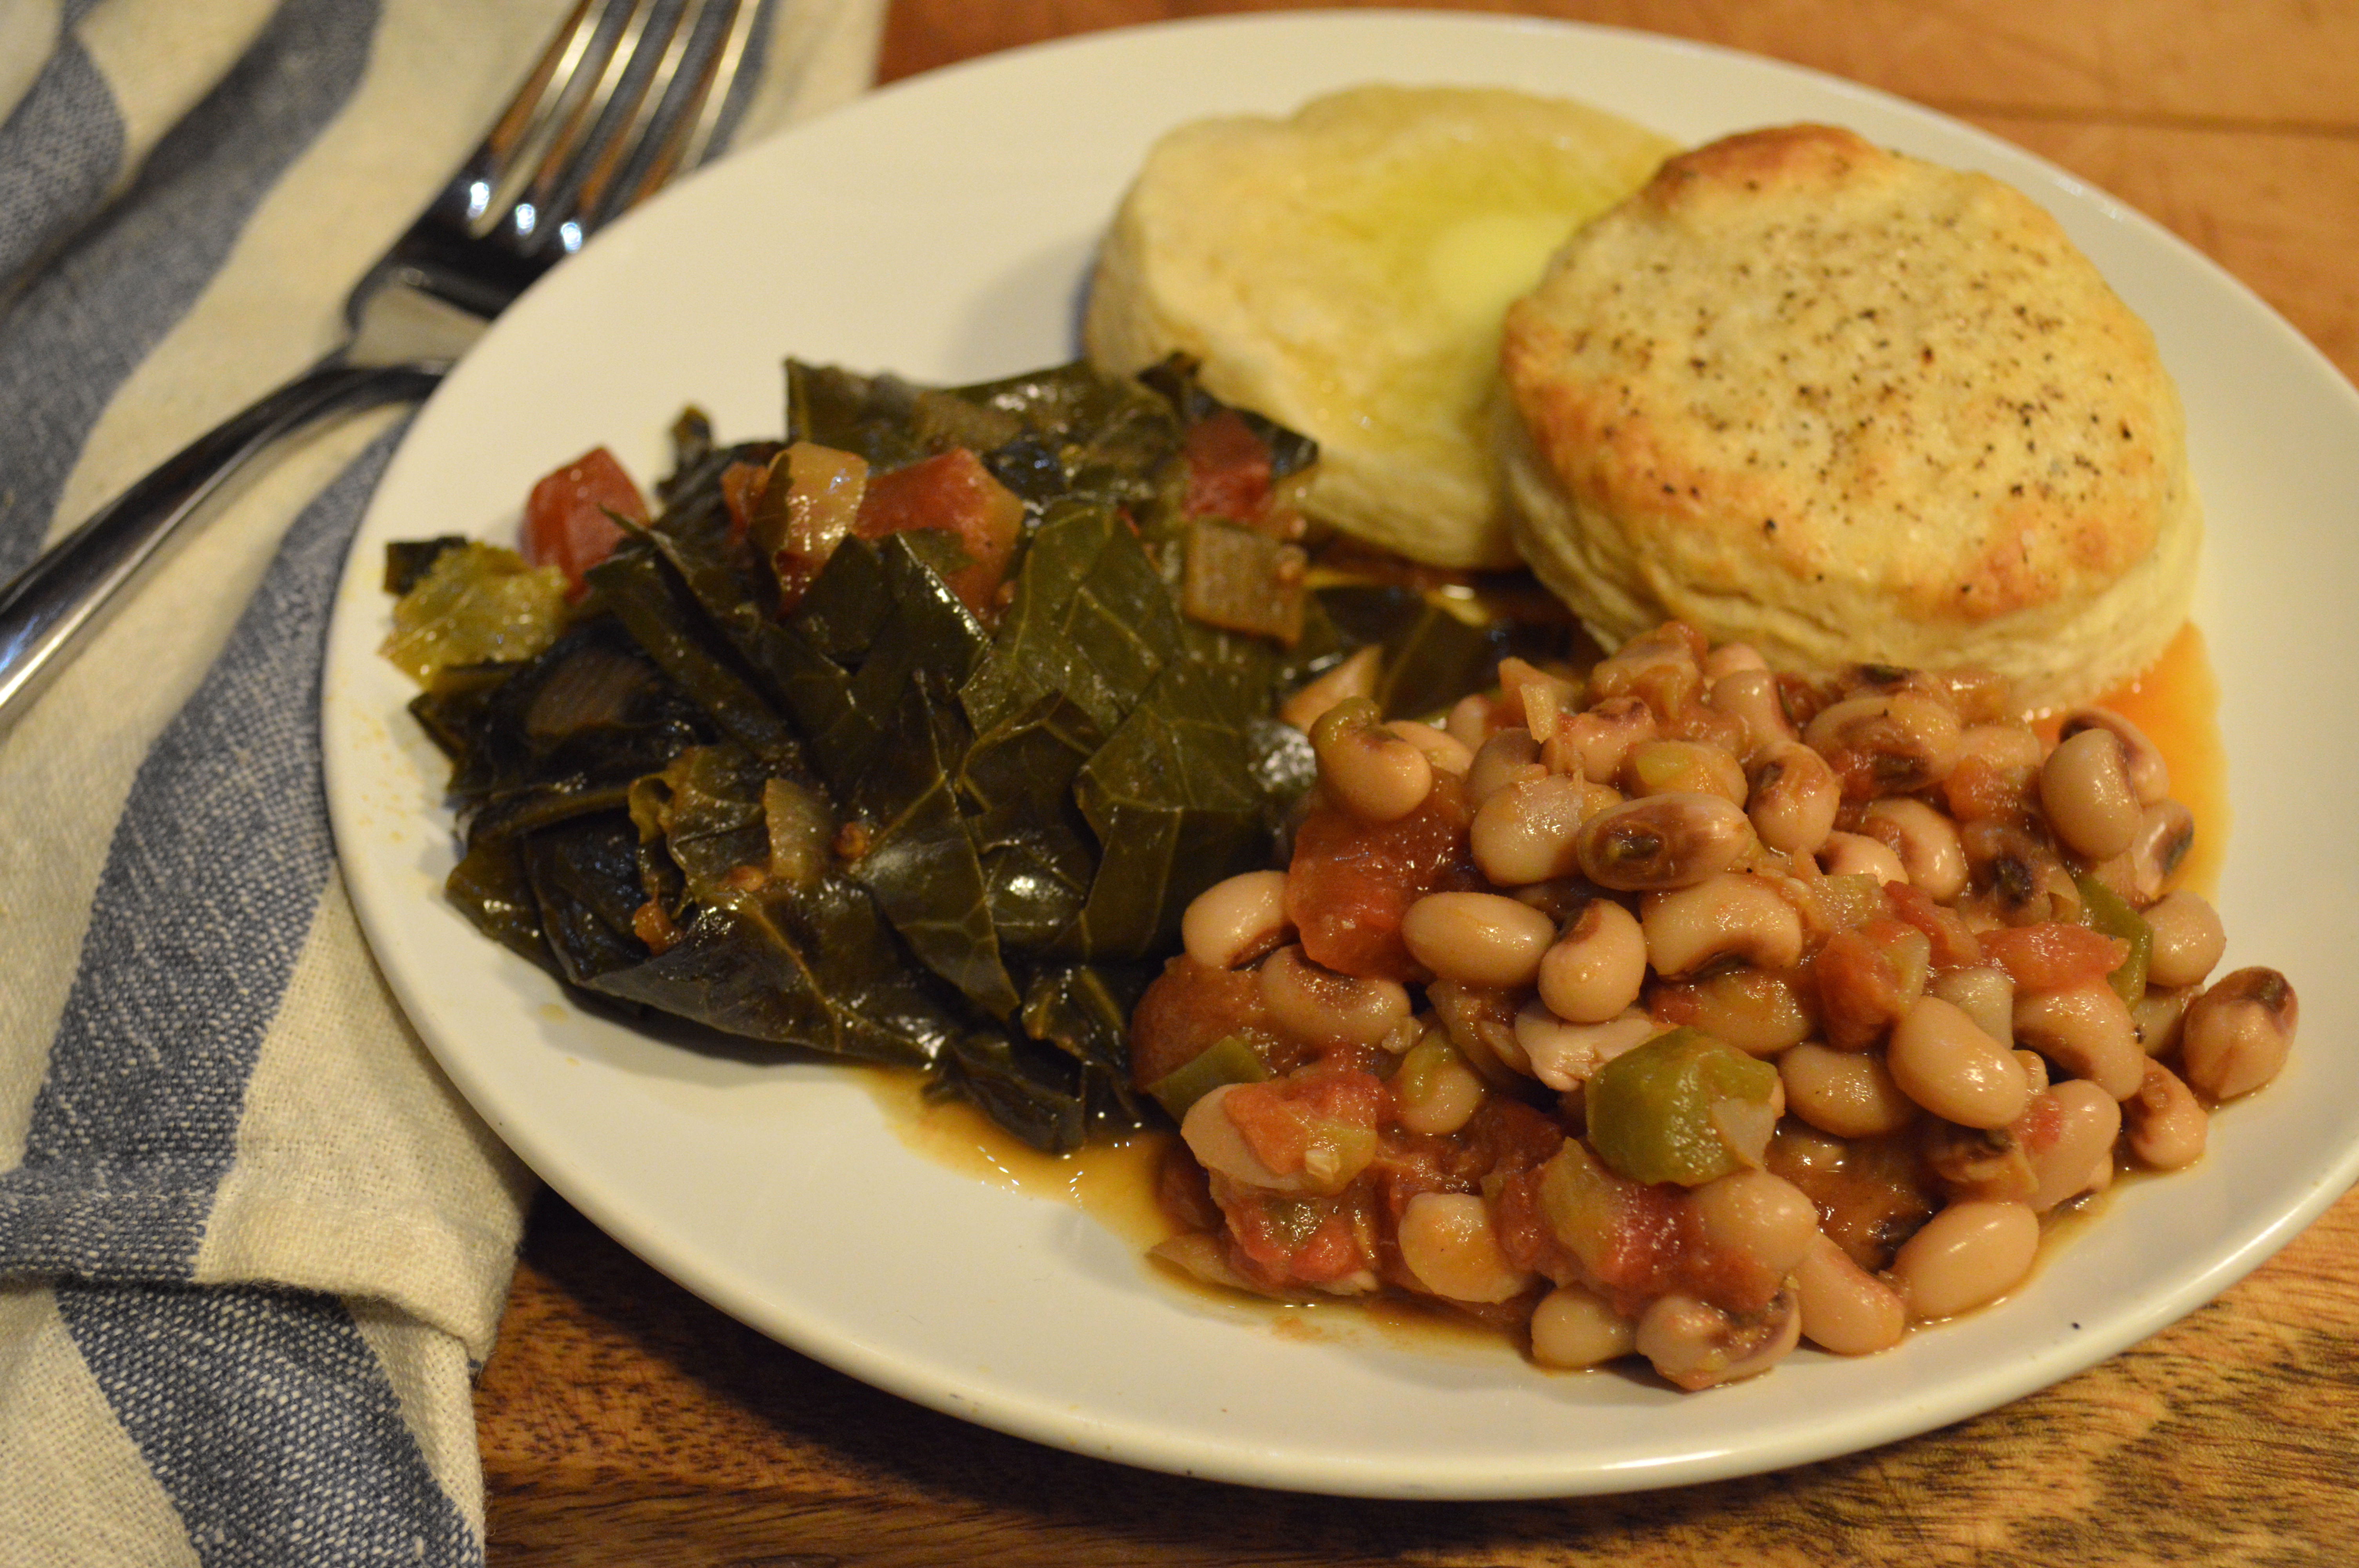
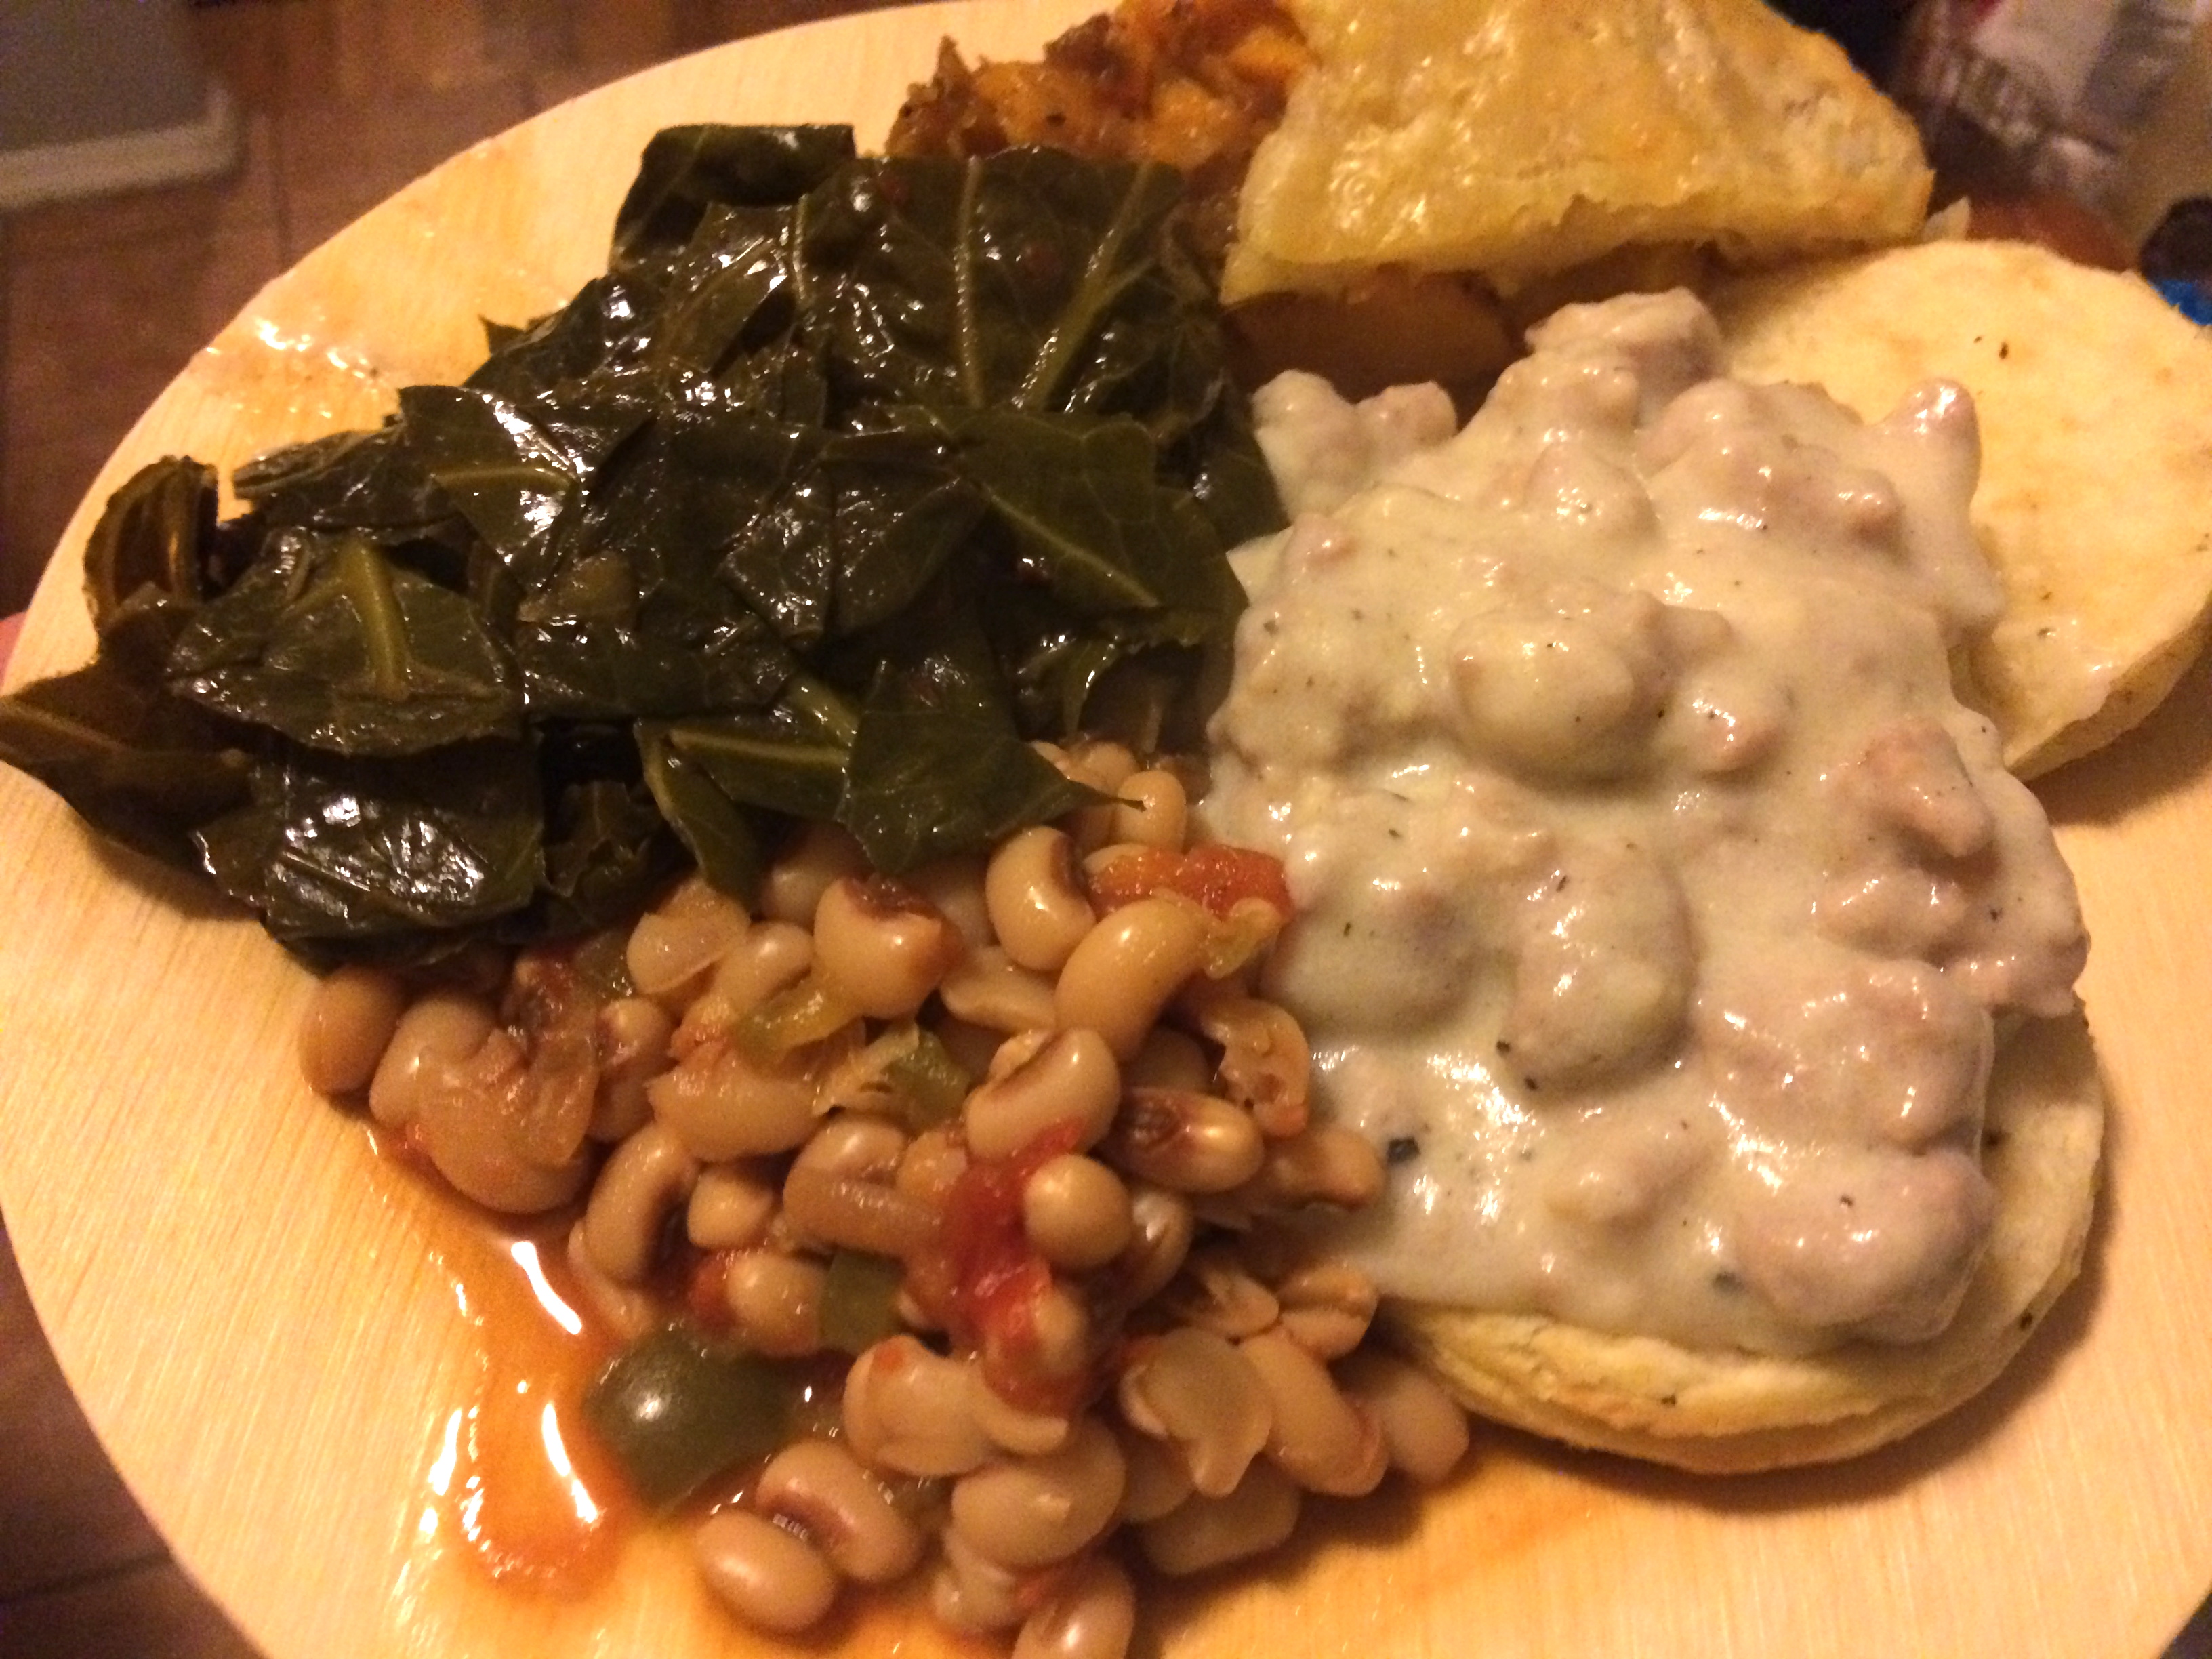
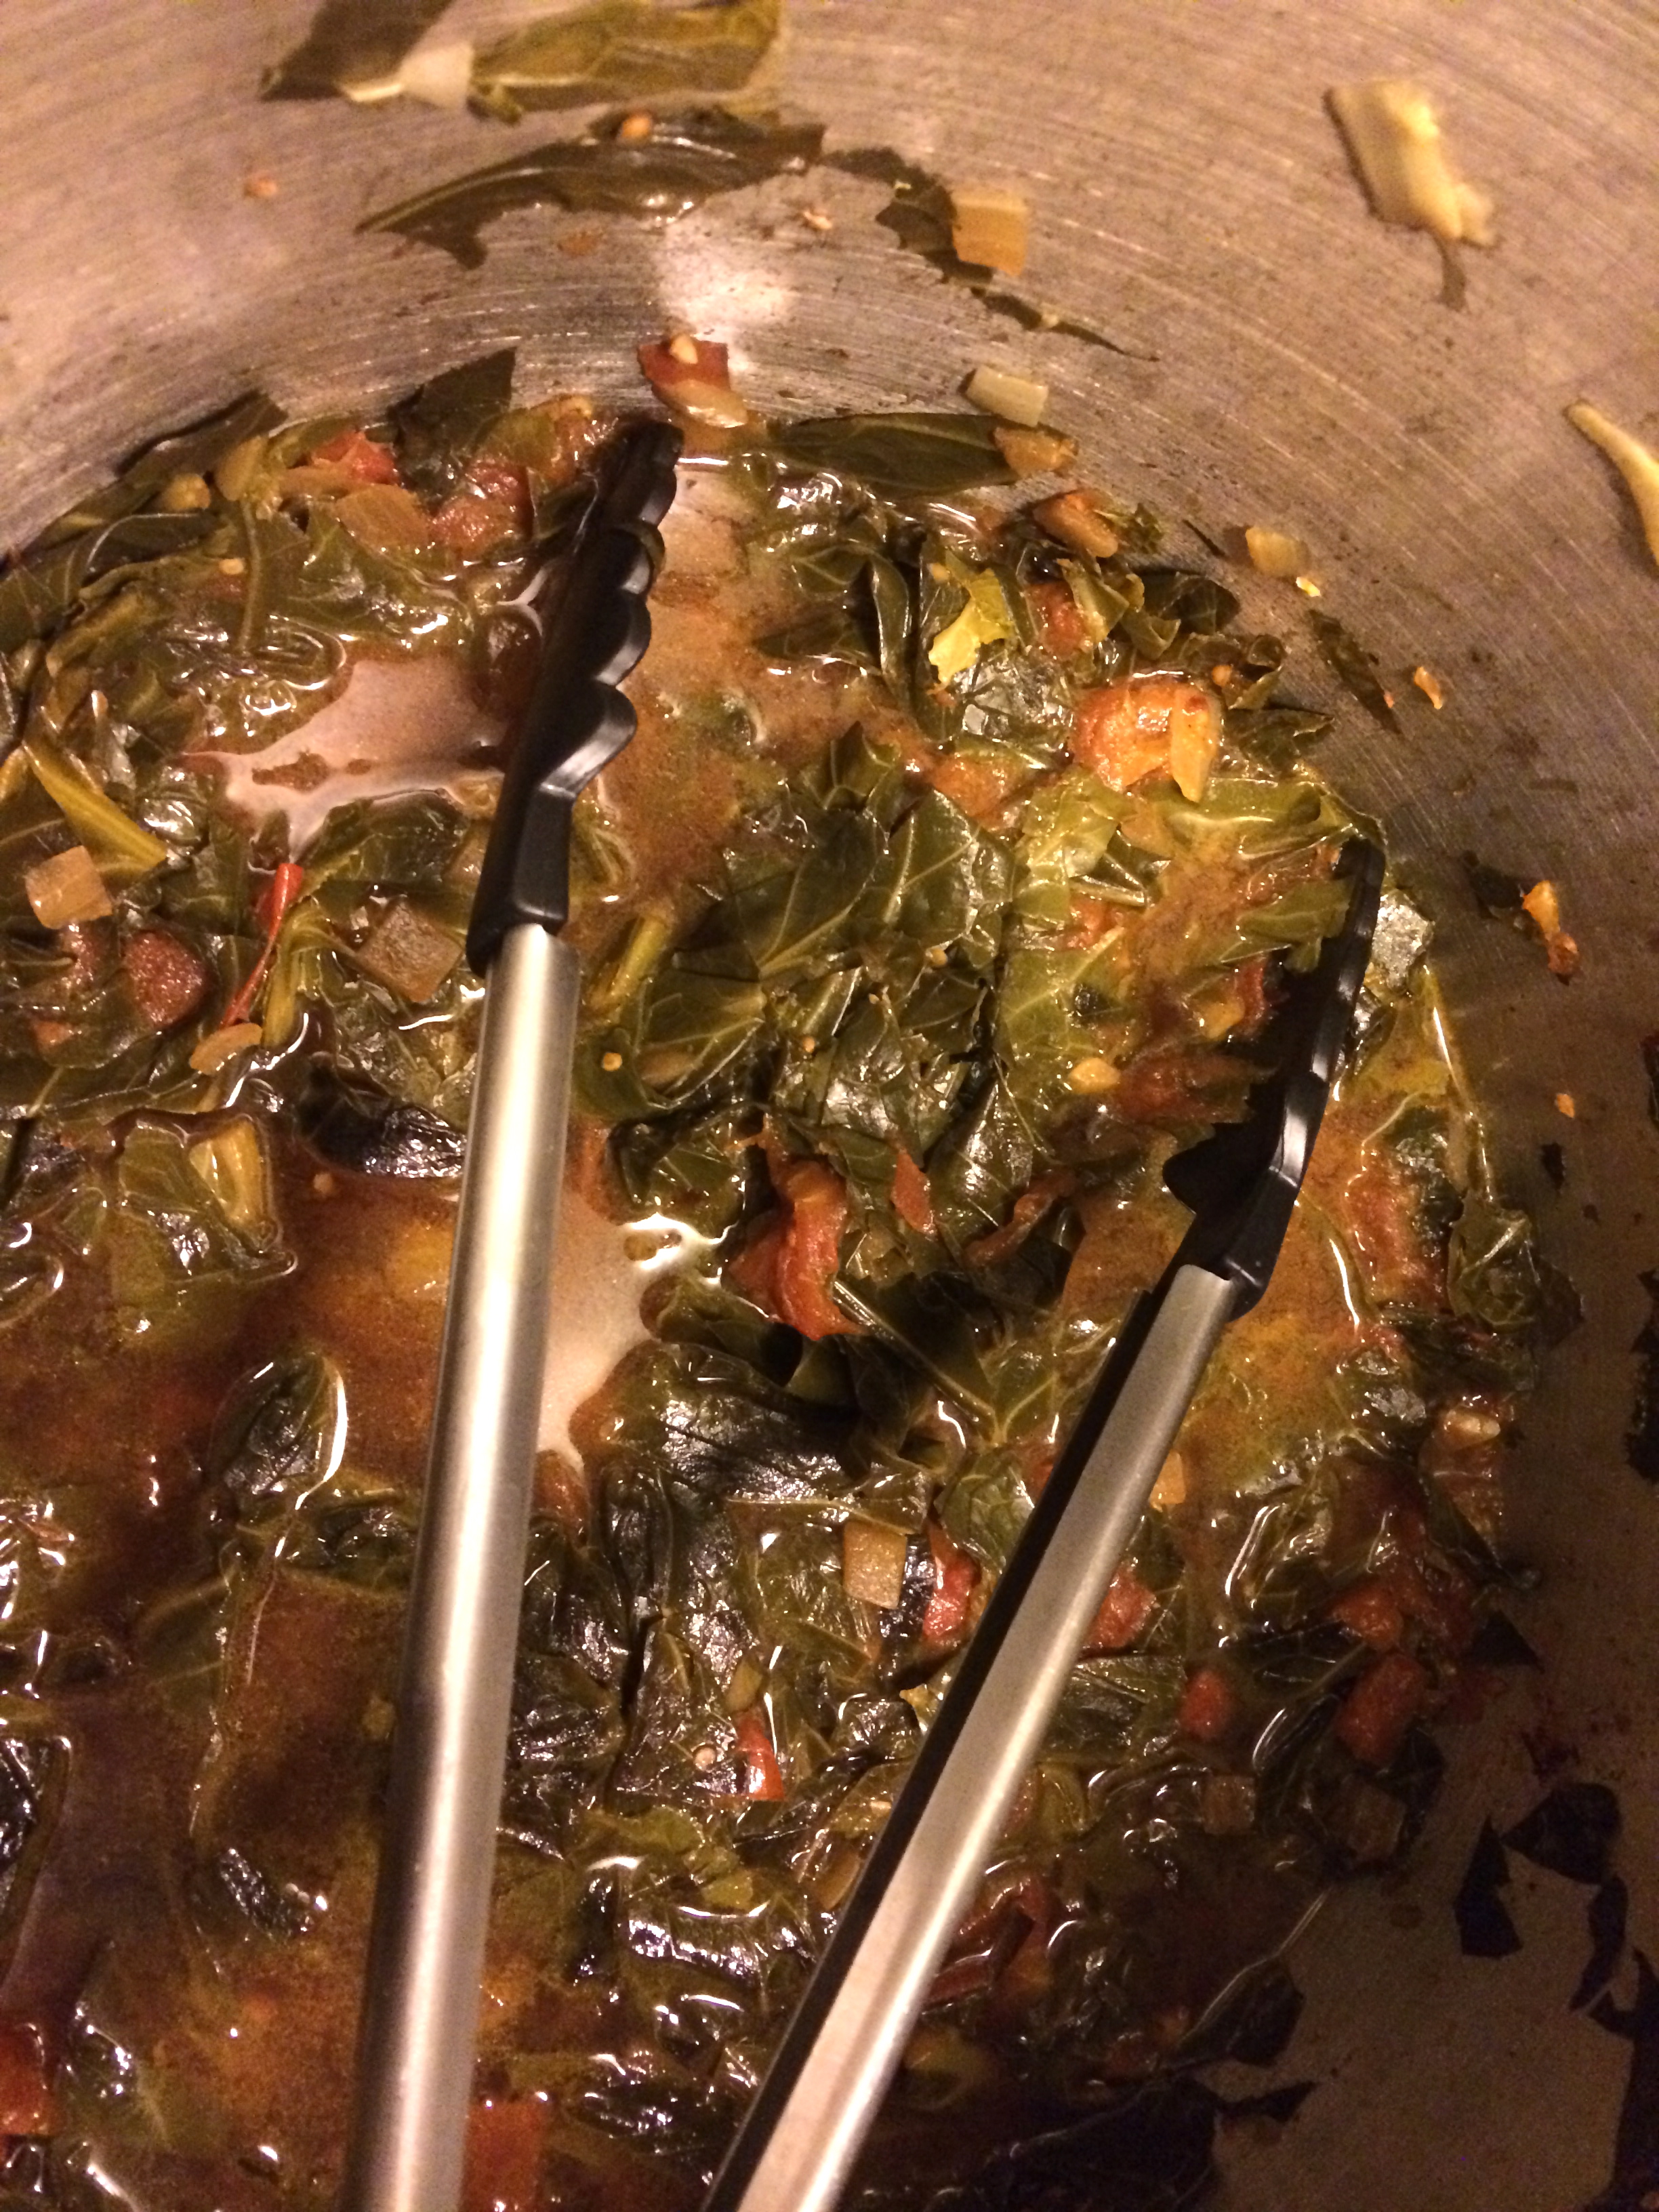
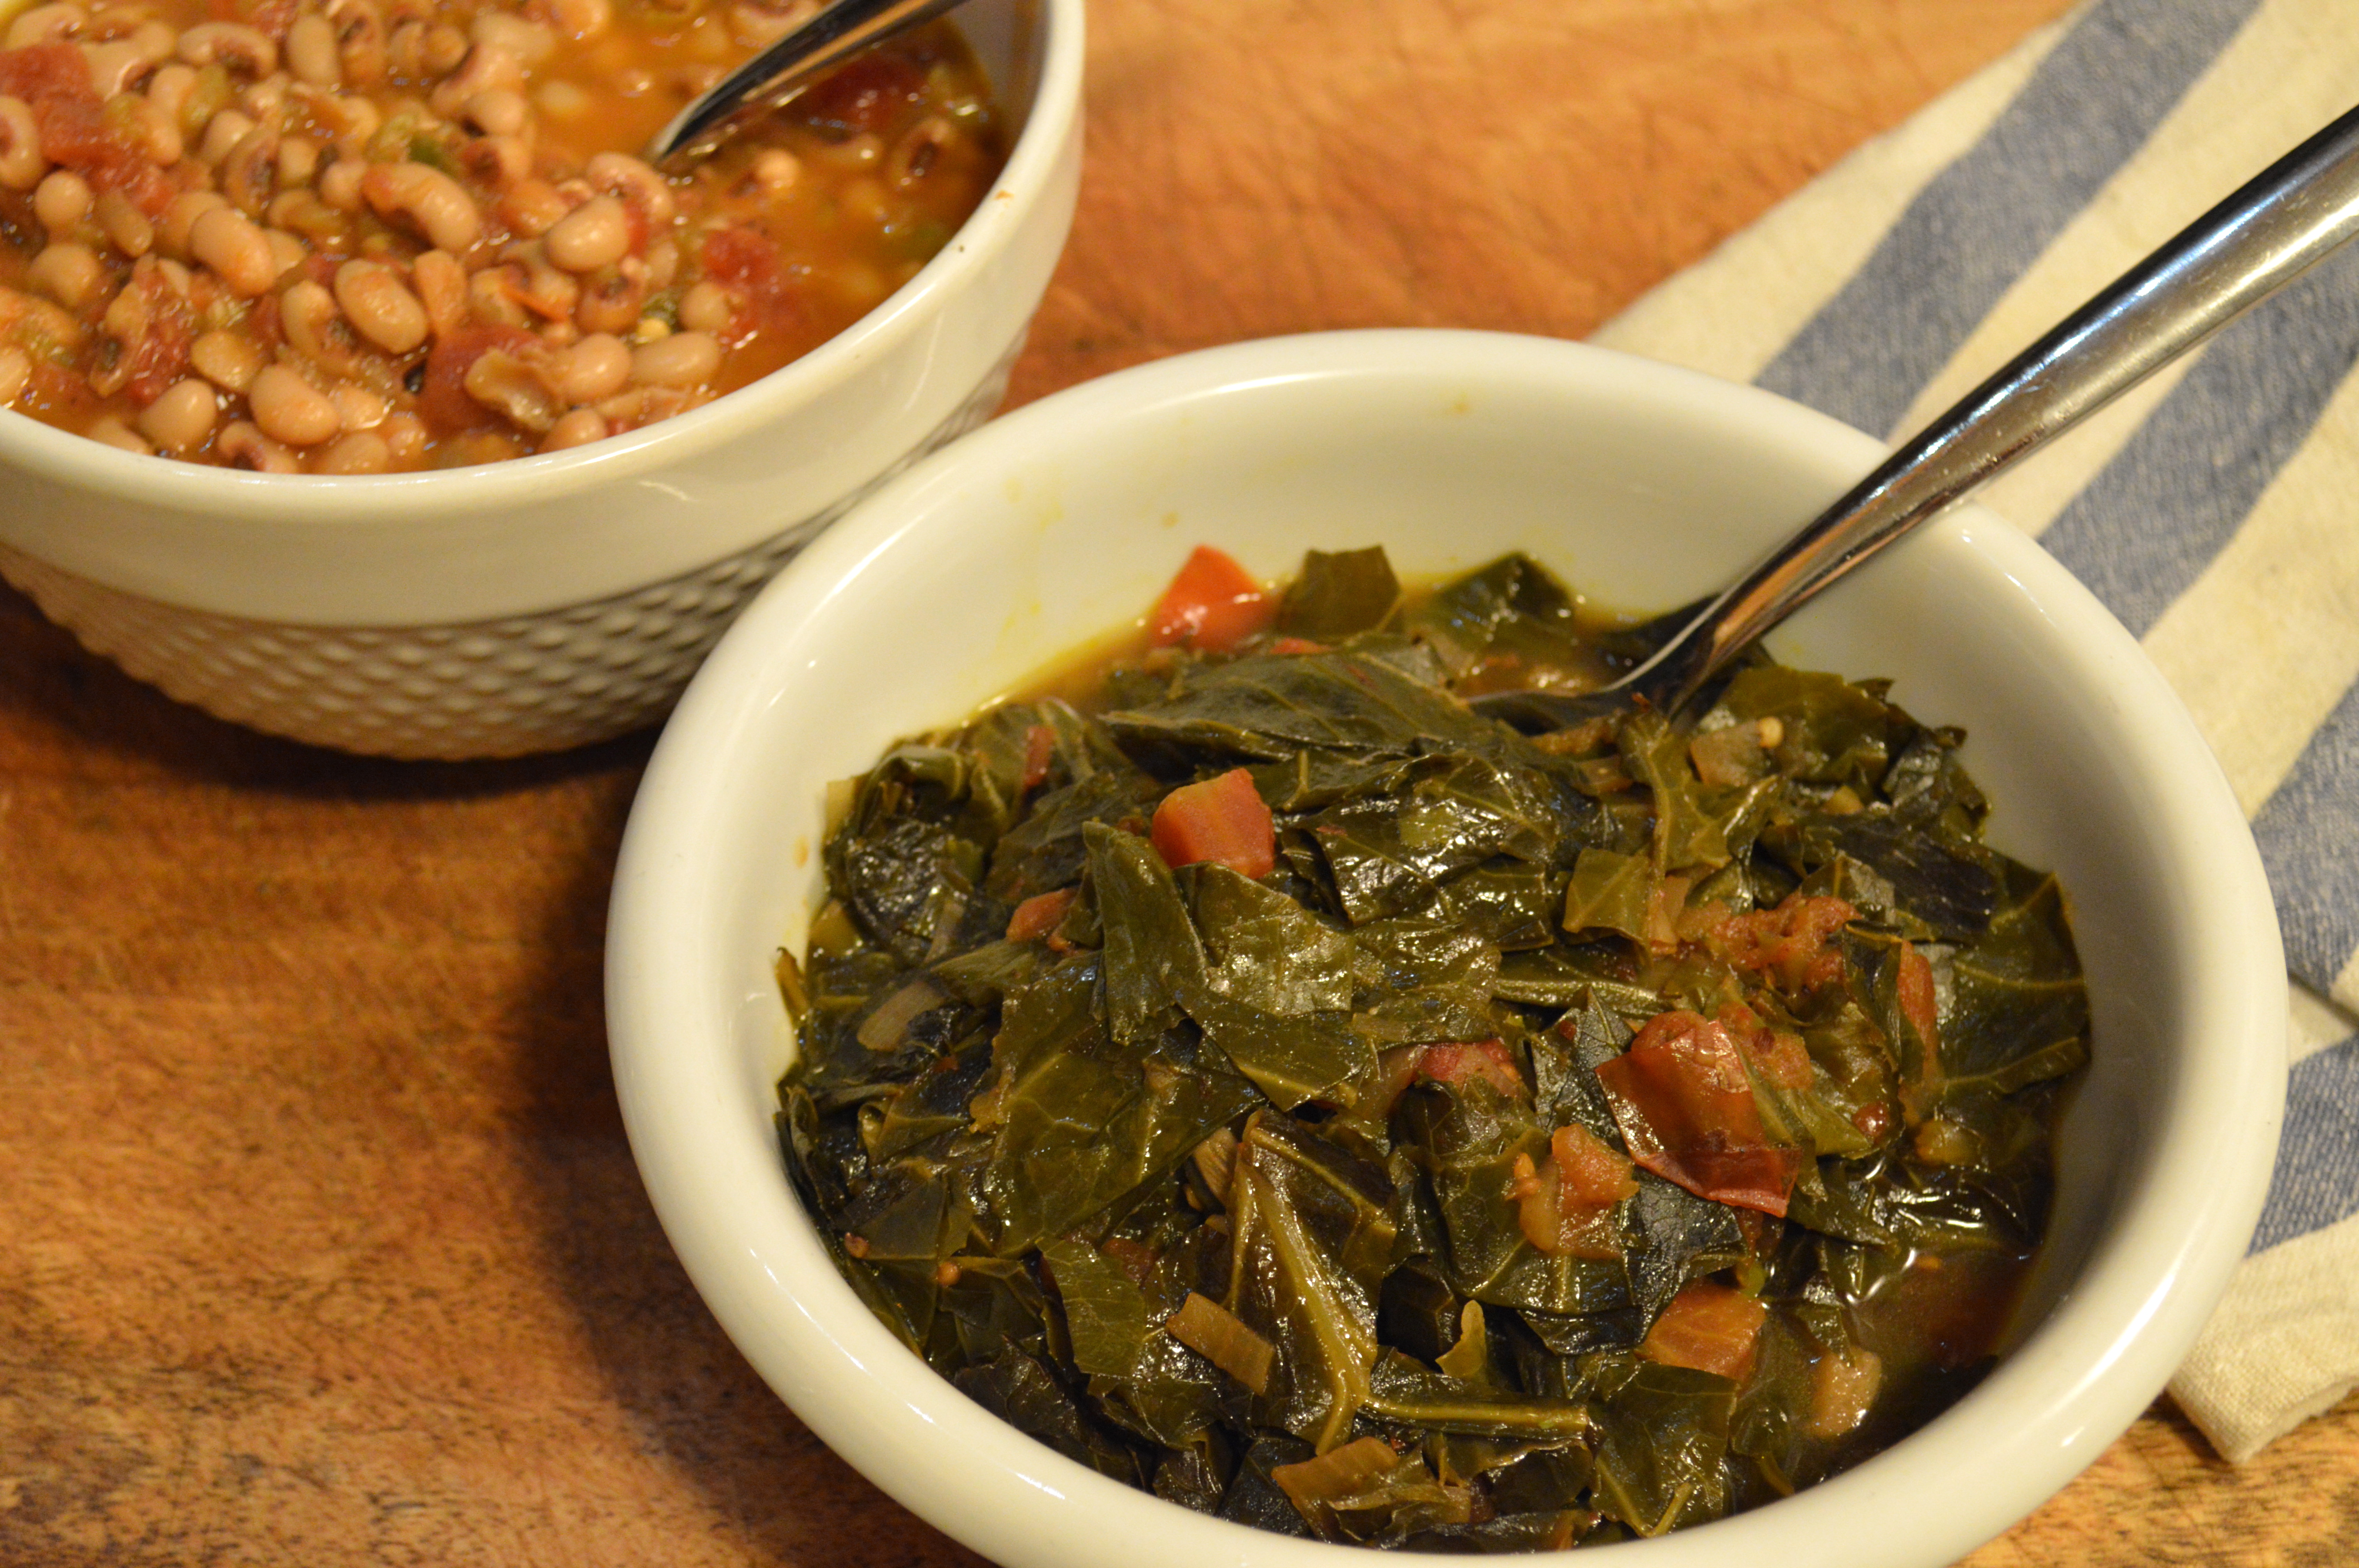
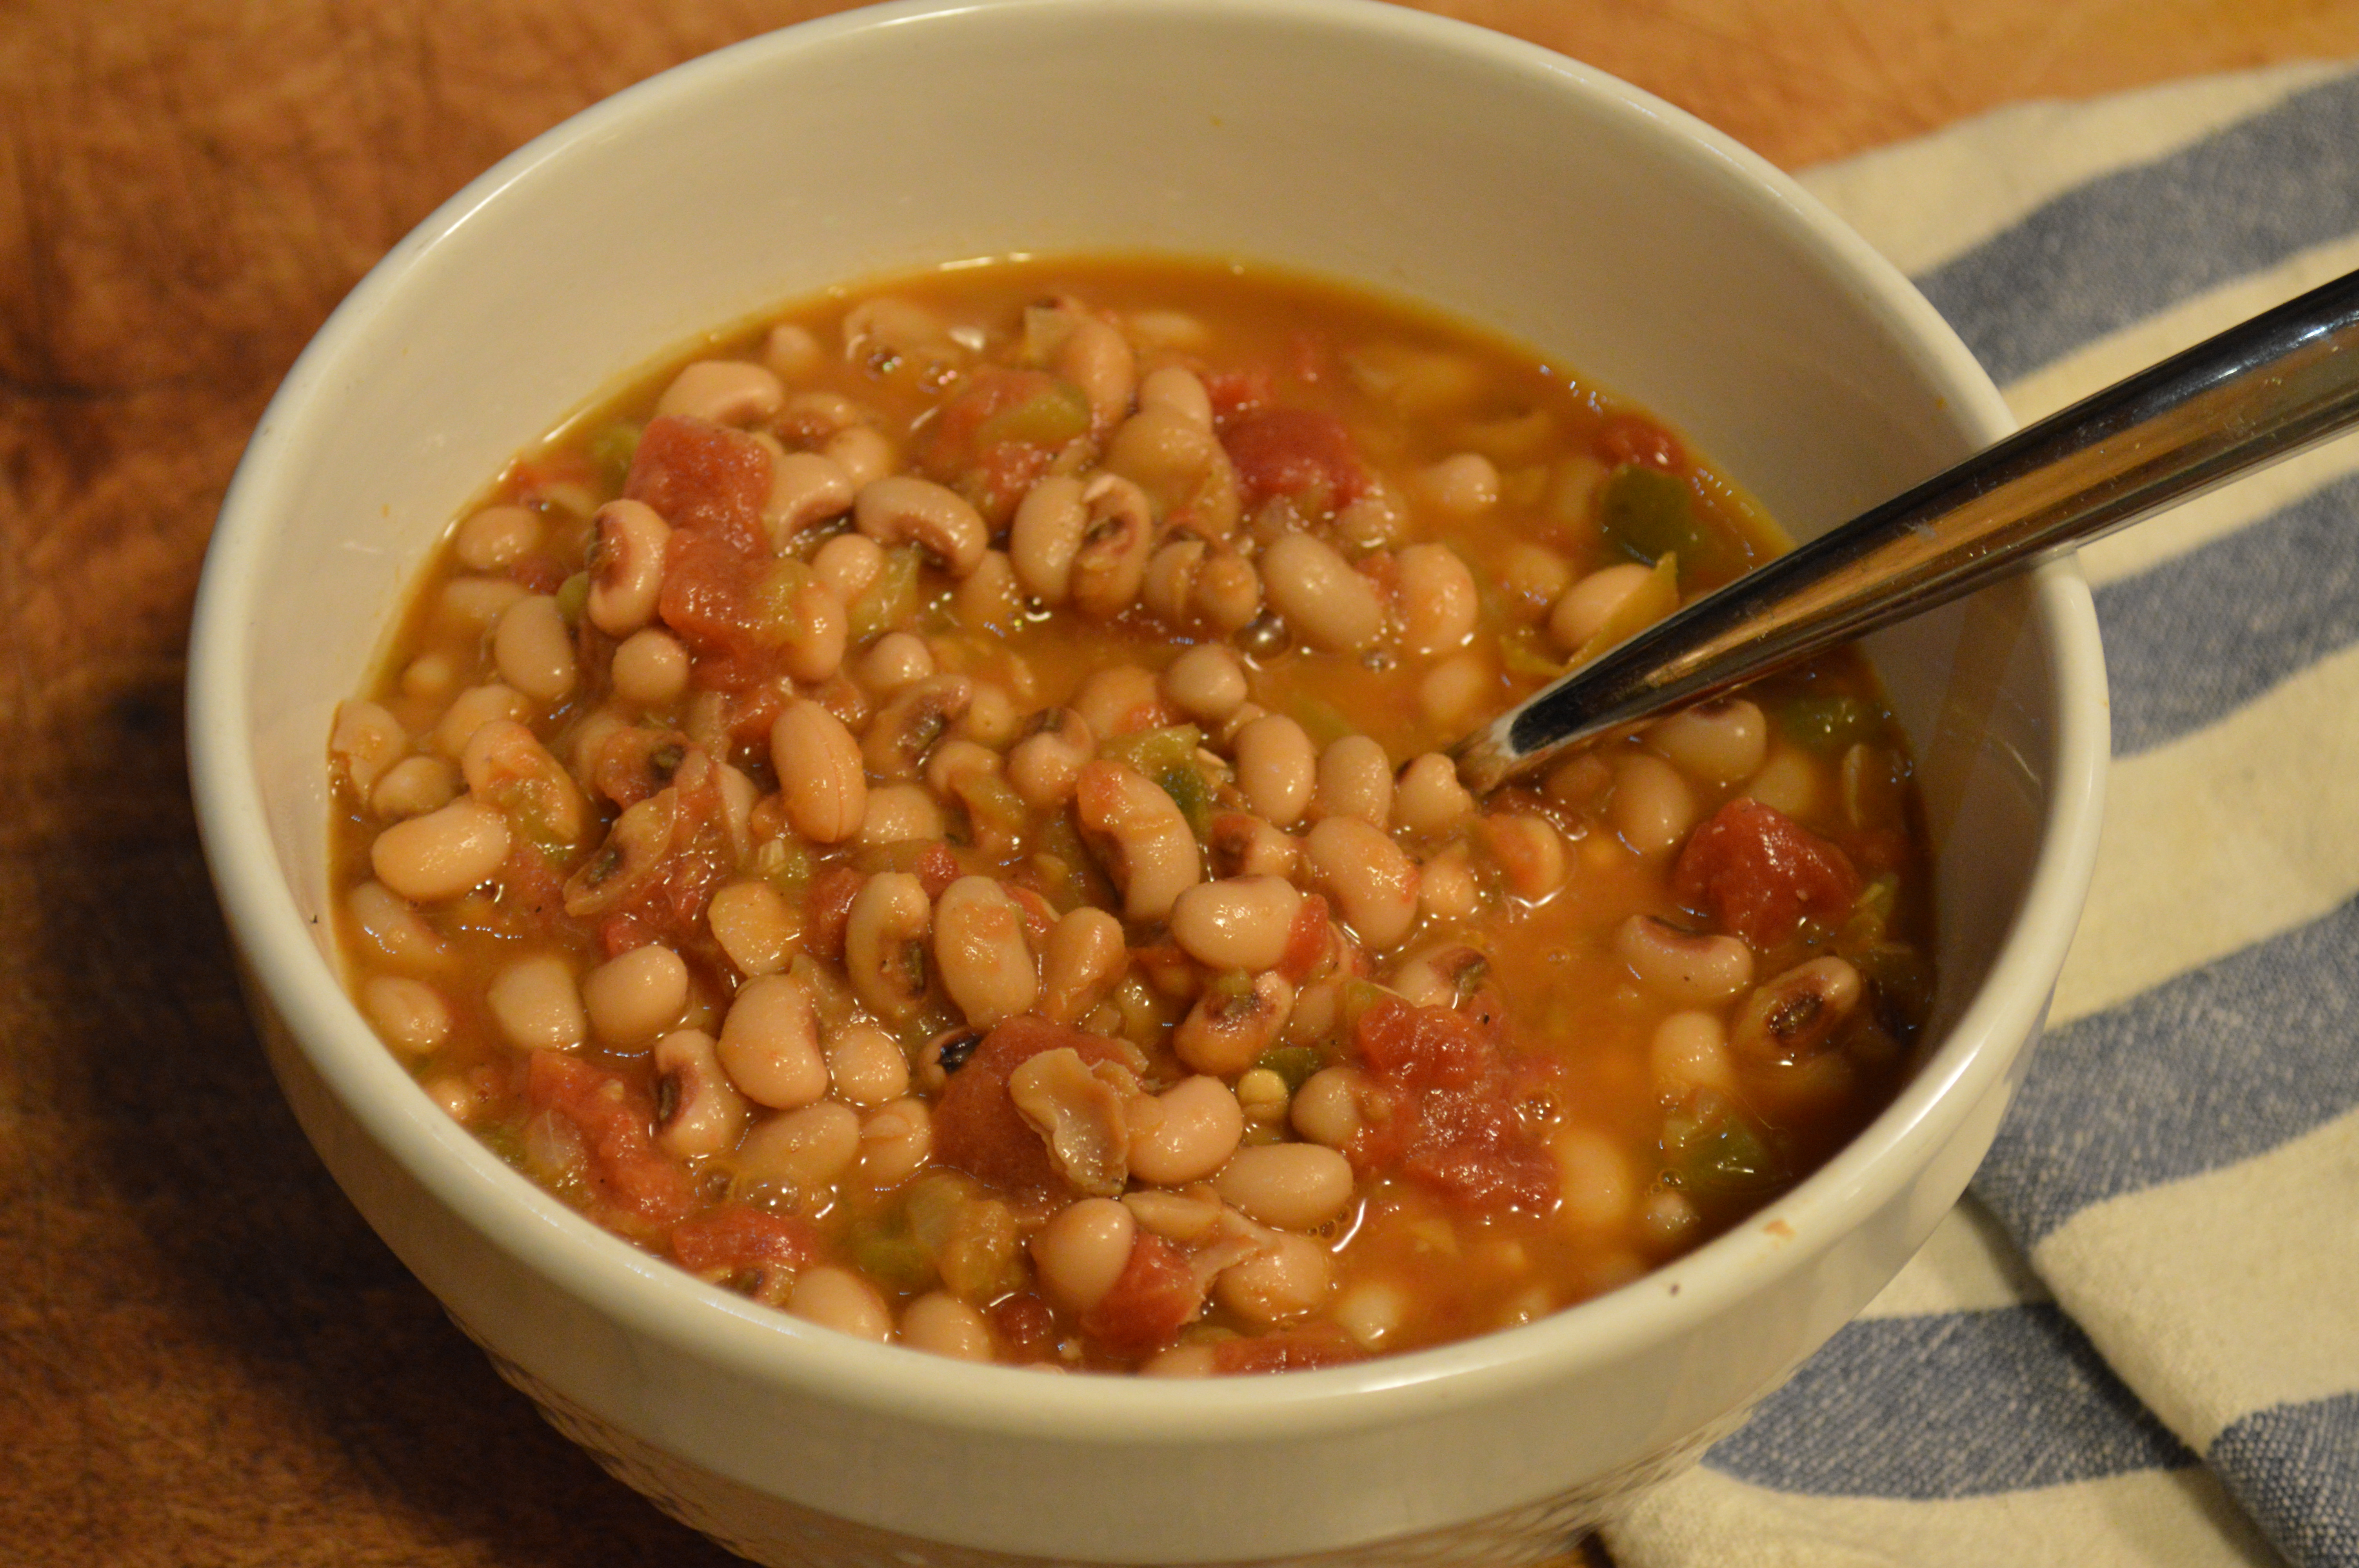
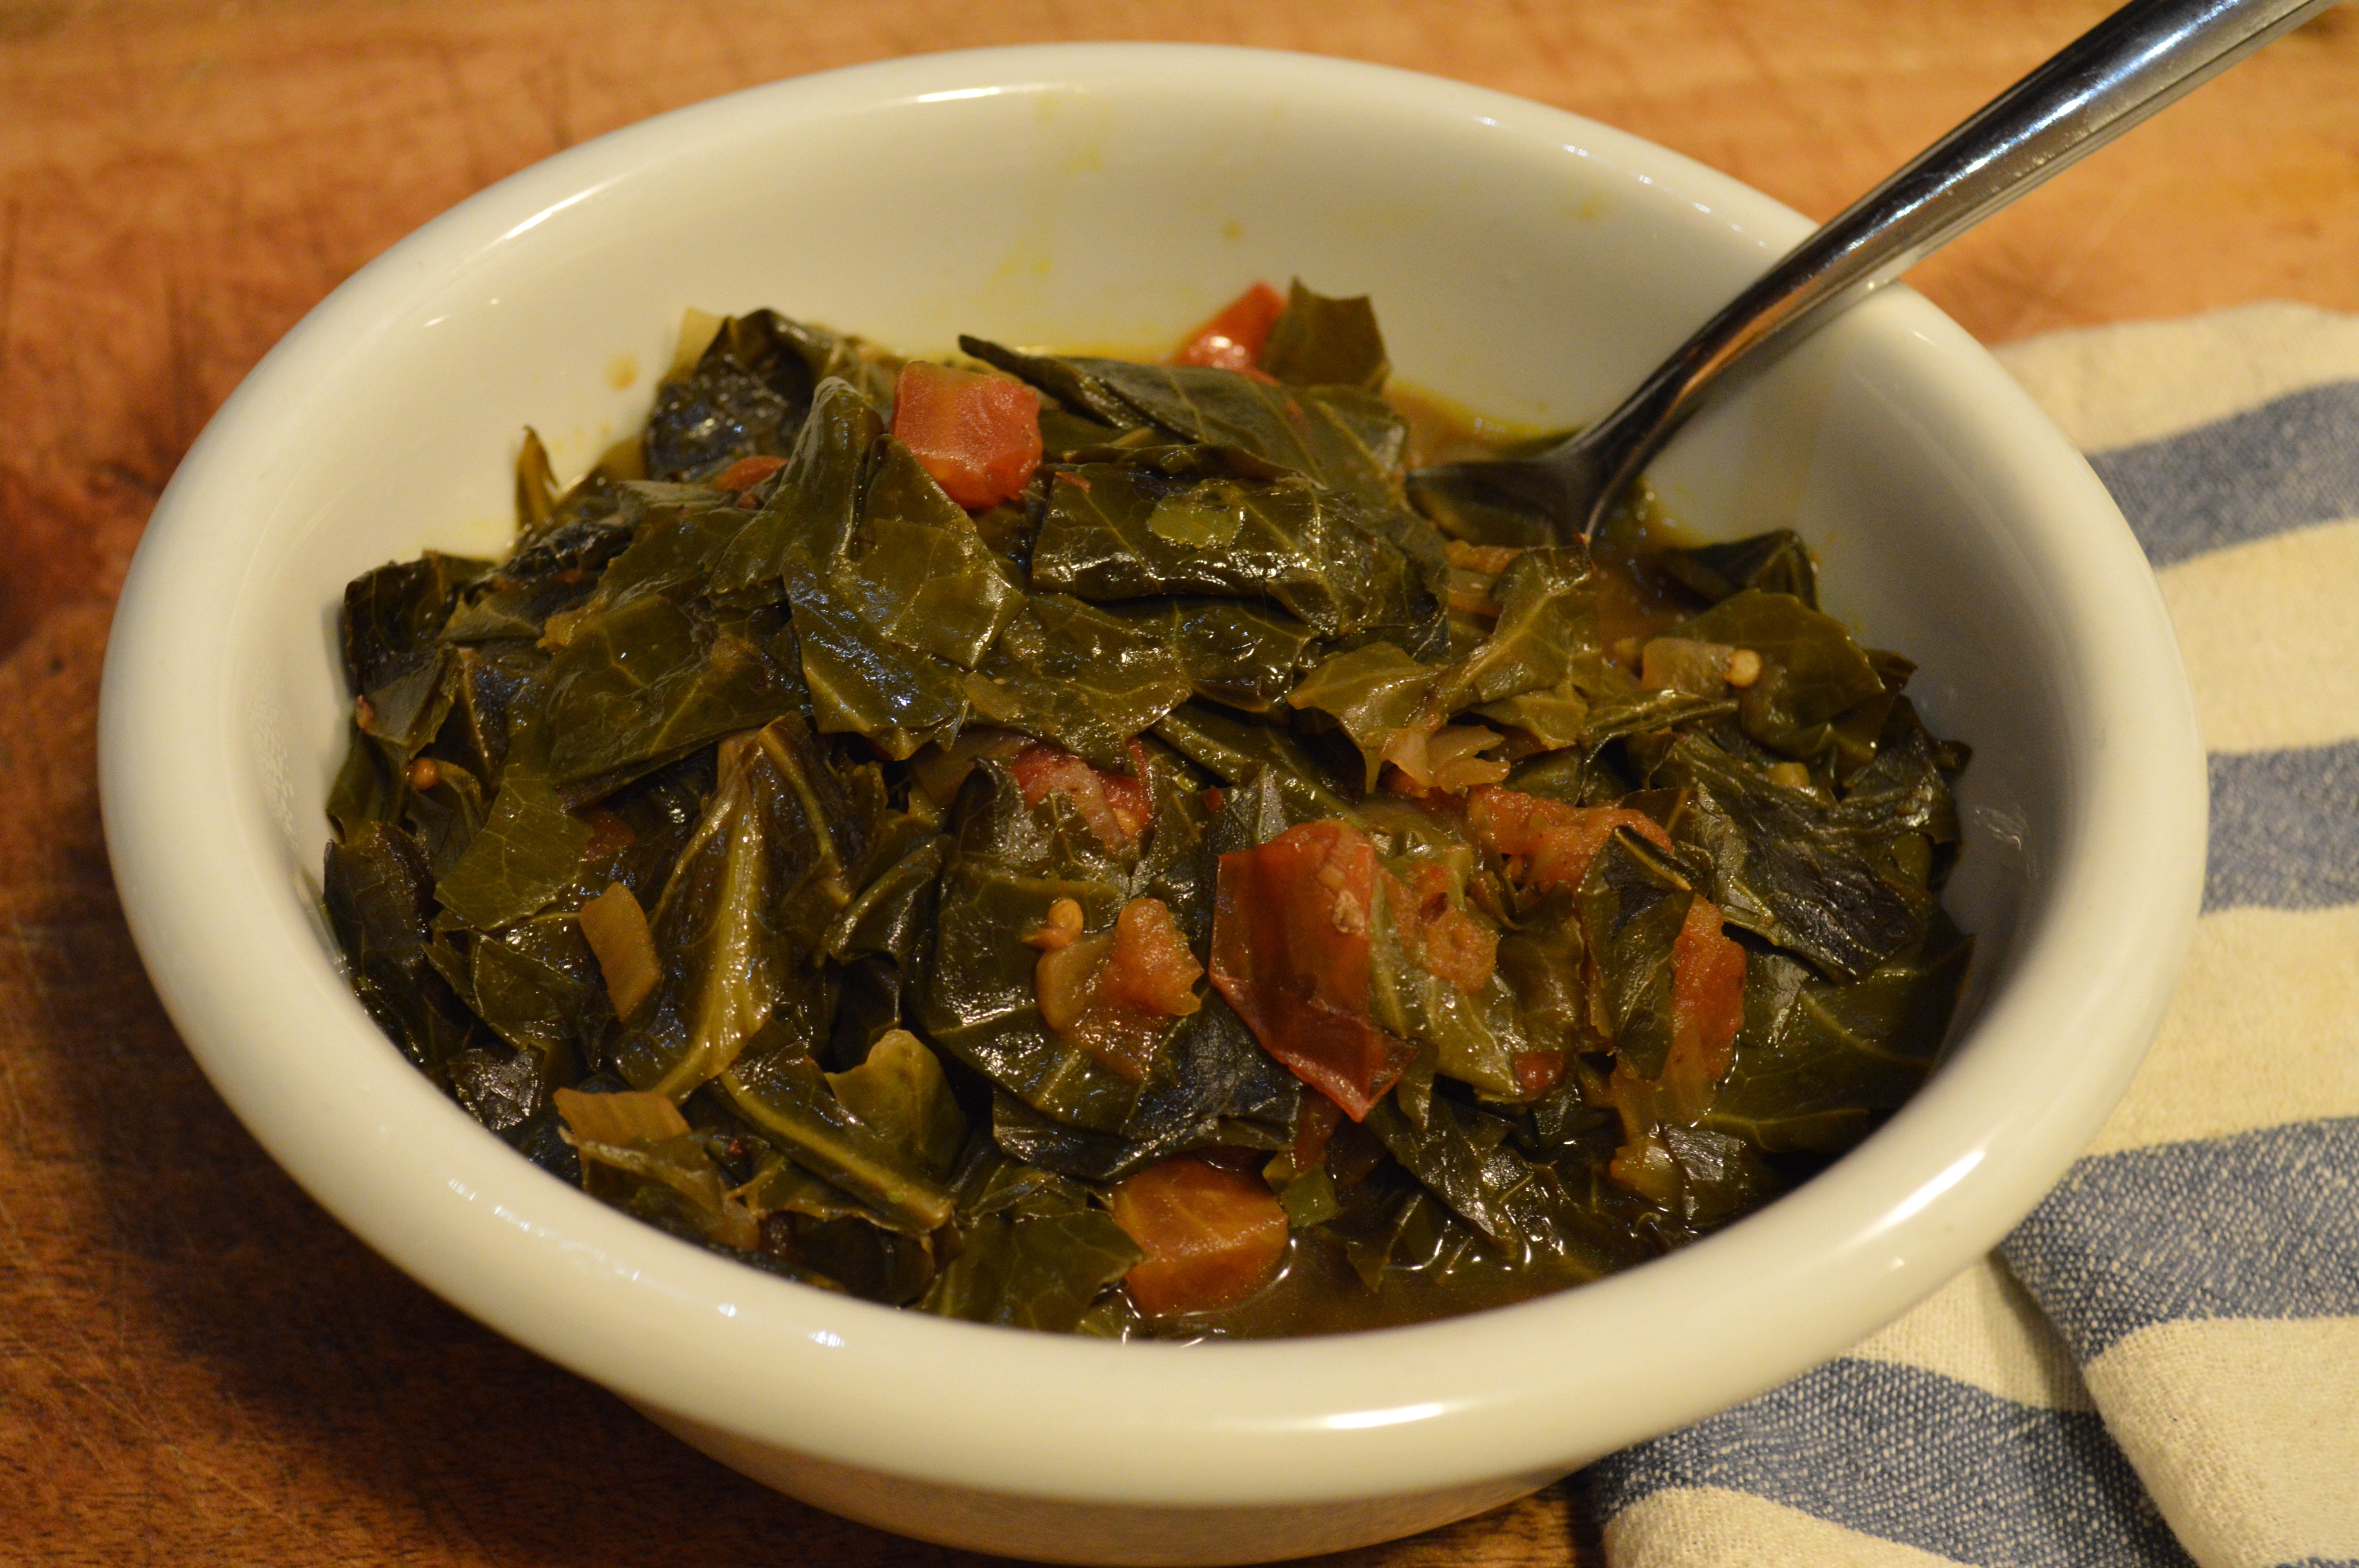
When it comes to New Year’s Day menu planning, Southern food is king. Most people know that collard greens and black eyed peas are a traditional staple for getting your year started out on the right foot. When it comes to planning a brunch for New Year’s day, most people might stop with the collards and peas, but not me. If I’m going to the trouble of hosting a brunch for 15 or 20 people, you better believe I’m going to make a big fancy dessert to go along with the meal. I’m a sucker for a show stopper, and love the ooohs and aaahs when a multi-layer cake comes out after a big meal.


harvest cake with cream cheese icing | Brooklyn Homemaker

When I was trying to think of a cake to fit with my southern themed menu, carrot cake immediately came to mind. I’ve always thought of carrot cake as one of those desserts that Southern homemakers would make to bring to a ladies garden party, church picnic, or social club. What better way to round out a big Southern brunch at the beginning of a brand new year? As it turns out though, carrot cake, or at least carrot based desserts, have been around much longer than the American south. People have been using carrots in desserts to help sweeten them since medieval times, and carrot cake as we know it today was likely adapted from earlier recipes brought by immigrants from Eastern Europe. Whatever the real origins, the wide popularity and availability of carrot cake in the American South still makes it feel “Southern” to me.

harvest cake with cream cheese icing | Brooklyn Homemaker

The thing is, when it came time to start baking, I decided not to do a standard carrot cake.  I wanted to make a carrot cake with a little something extra. Something that still kept that traditional and comfortable feel, but with a new and modern twist. I once saw a recipe on Pinterest for a cake with grated zucchini & apples along with the carrots. I thought the concept for this cake was amazing, and could be really delicious, but that particular recipe didn’t really appeal to me. I think they were trying to make something super healthy, subbing dates for sugar, ground nuts for flour, and goat cheese for cream cheese. I suppose it could be tasty, but I worried that it could come out gummy and bland. I love the idea of adding fresh, good-for-you elements into a dessert, but I would be really upset if “healthy” was the first word that came to mind while eating a cake I’d made.

harvest cake with cream cheese icing | Brooklyn Homemaker

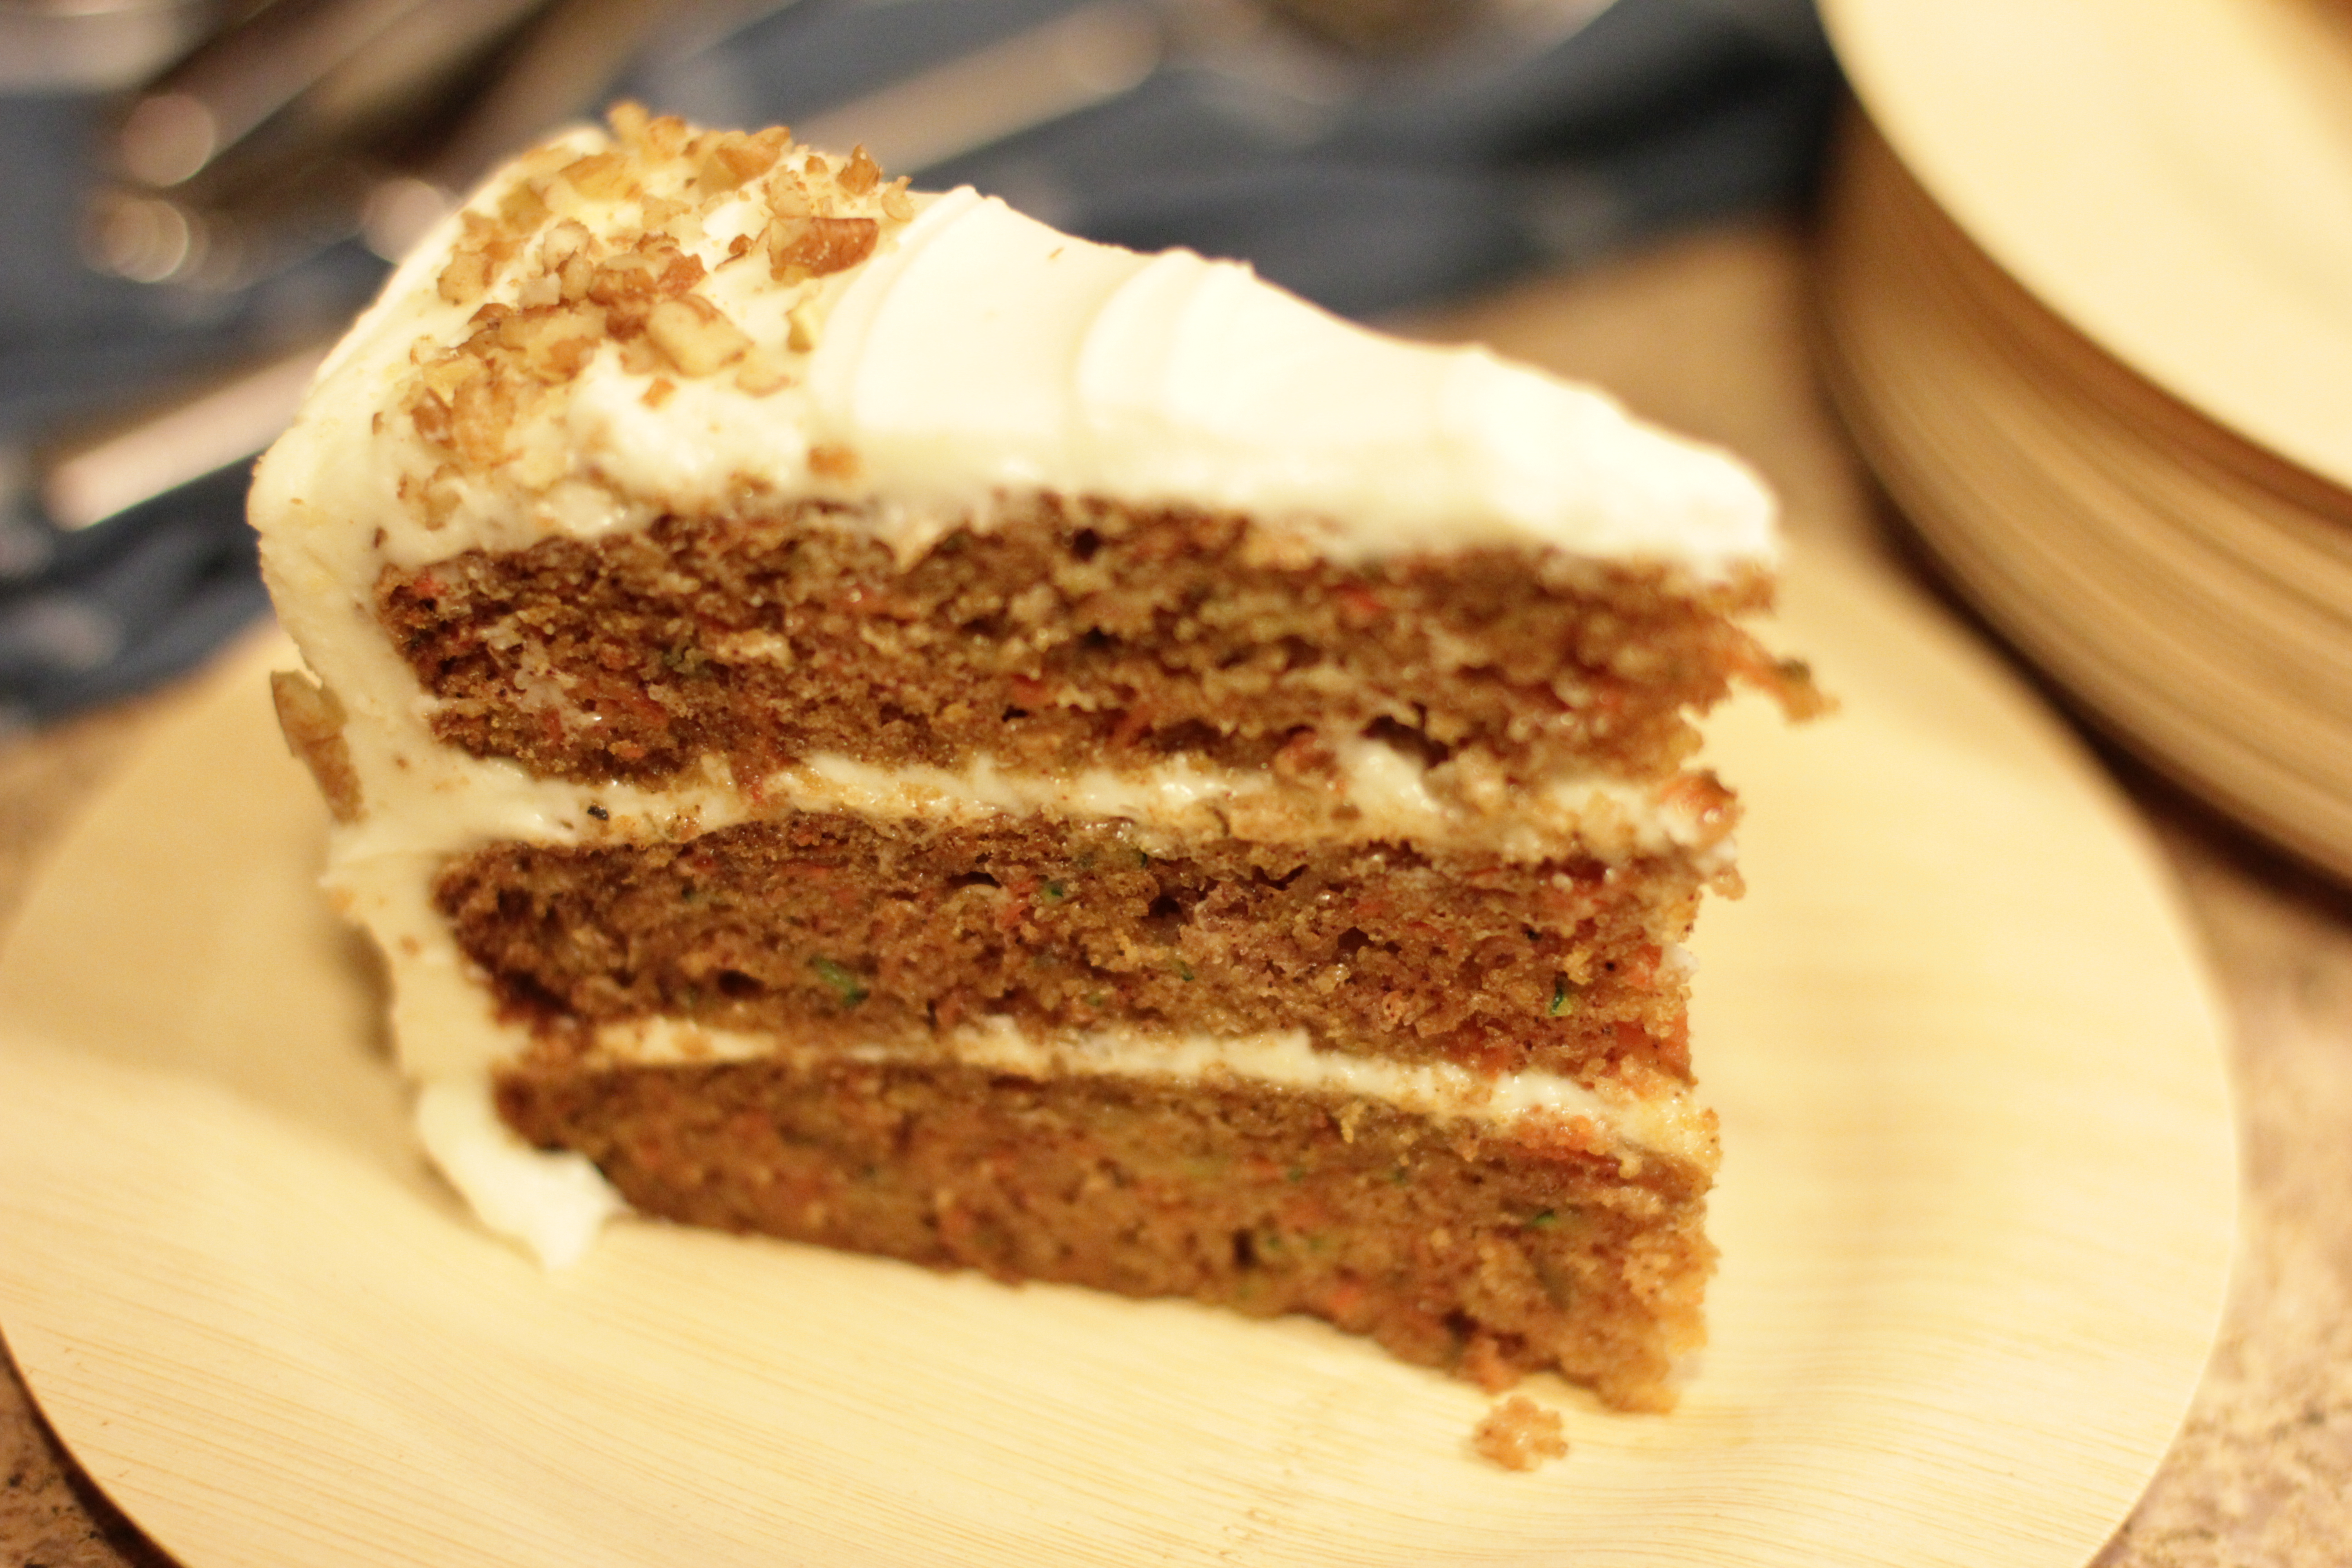
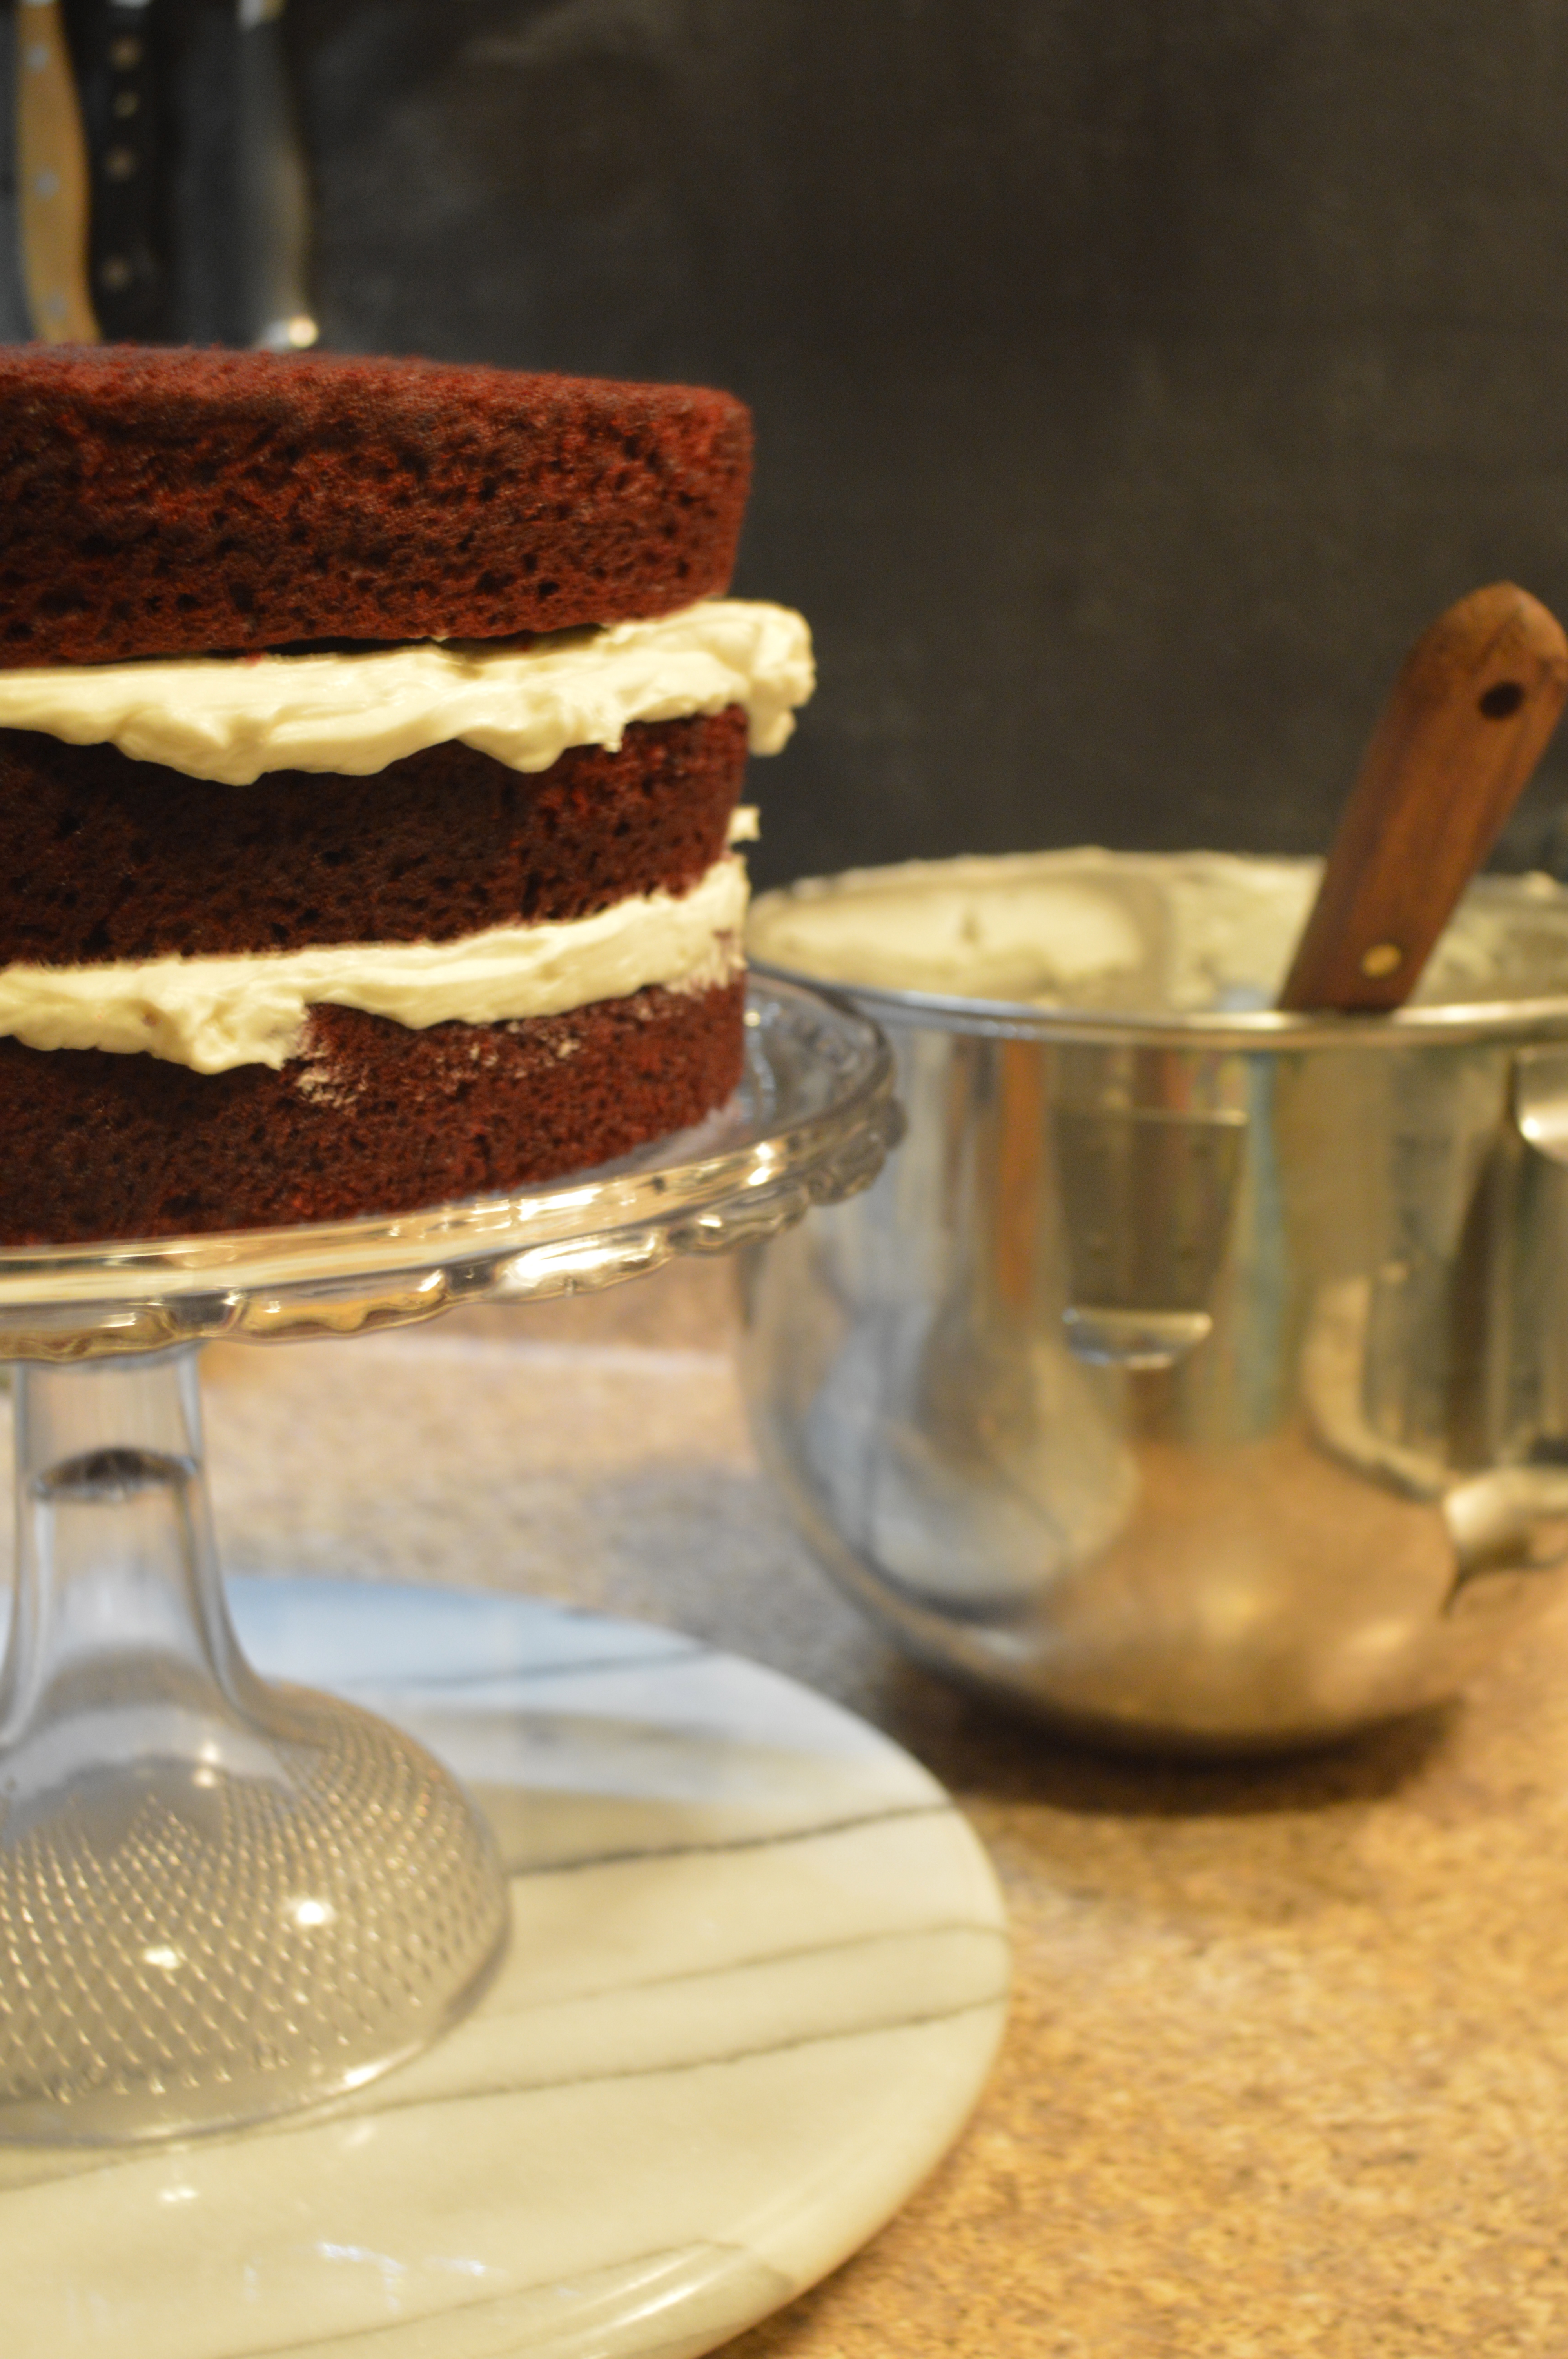
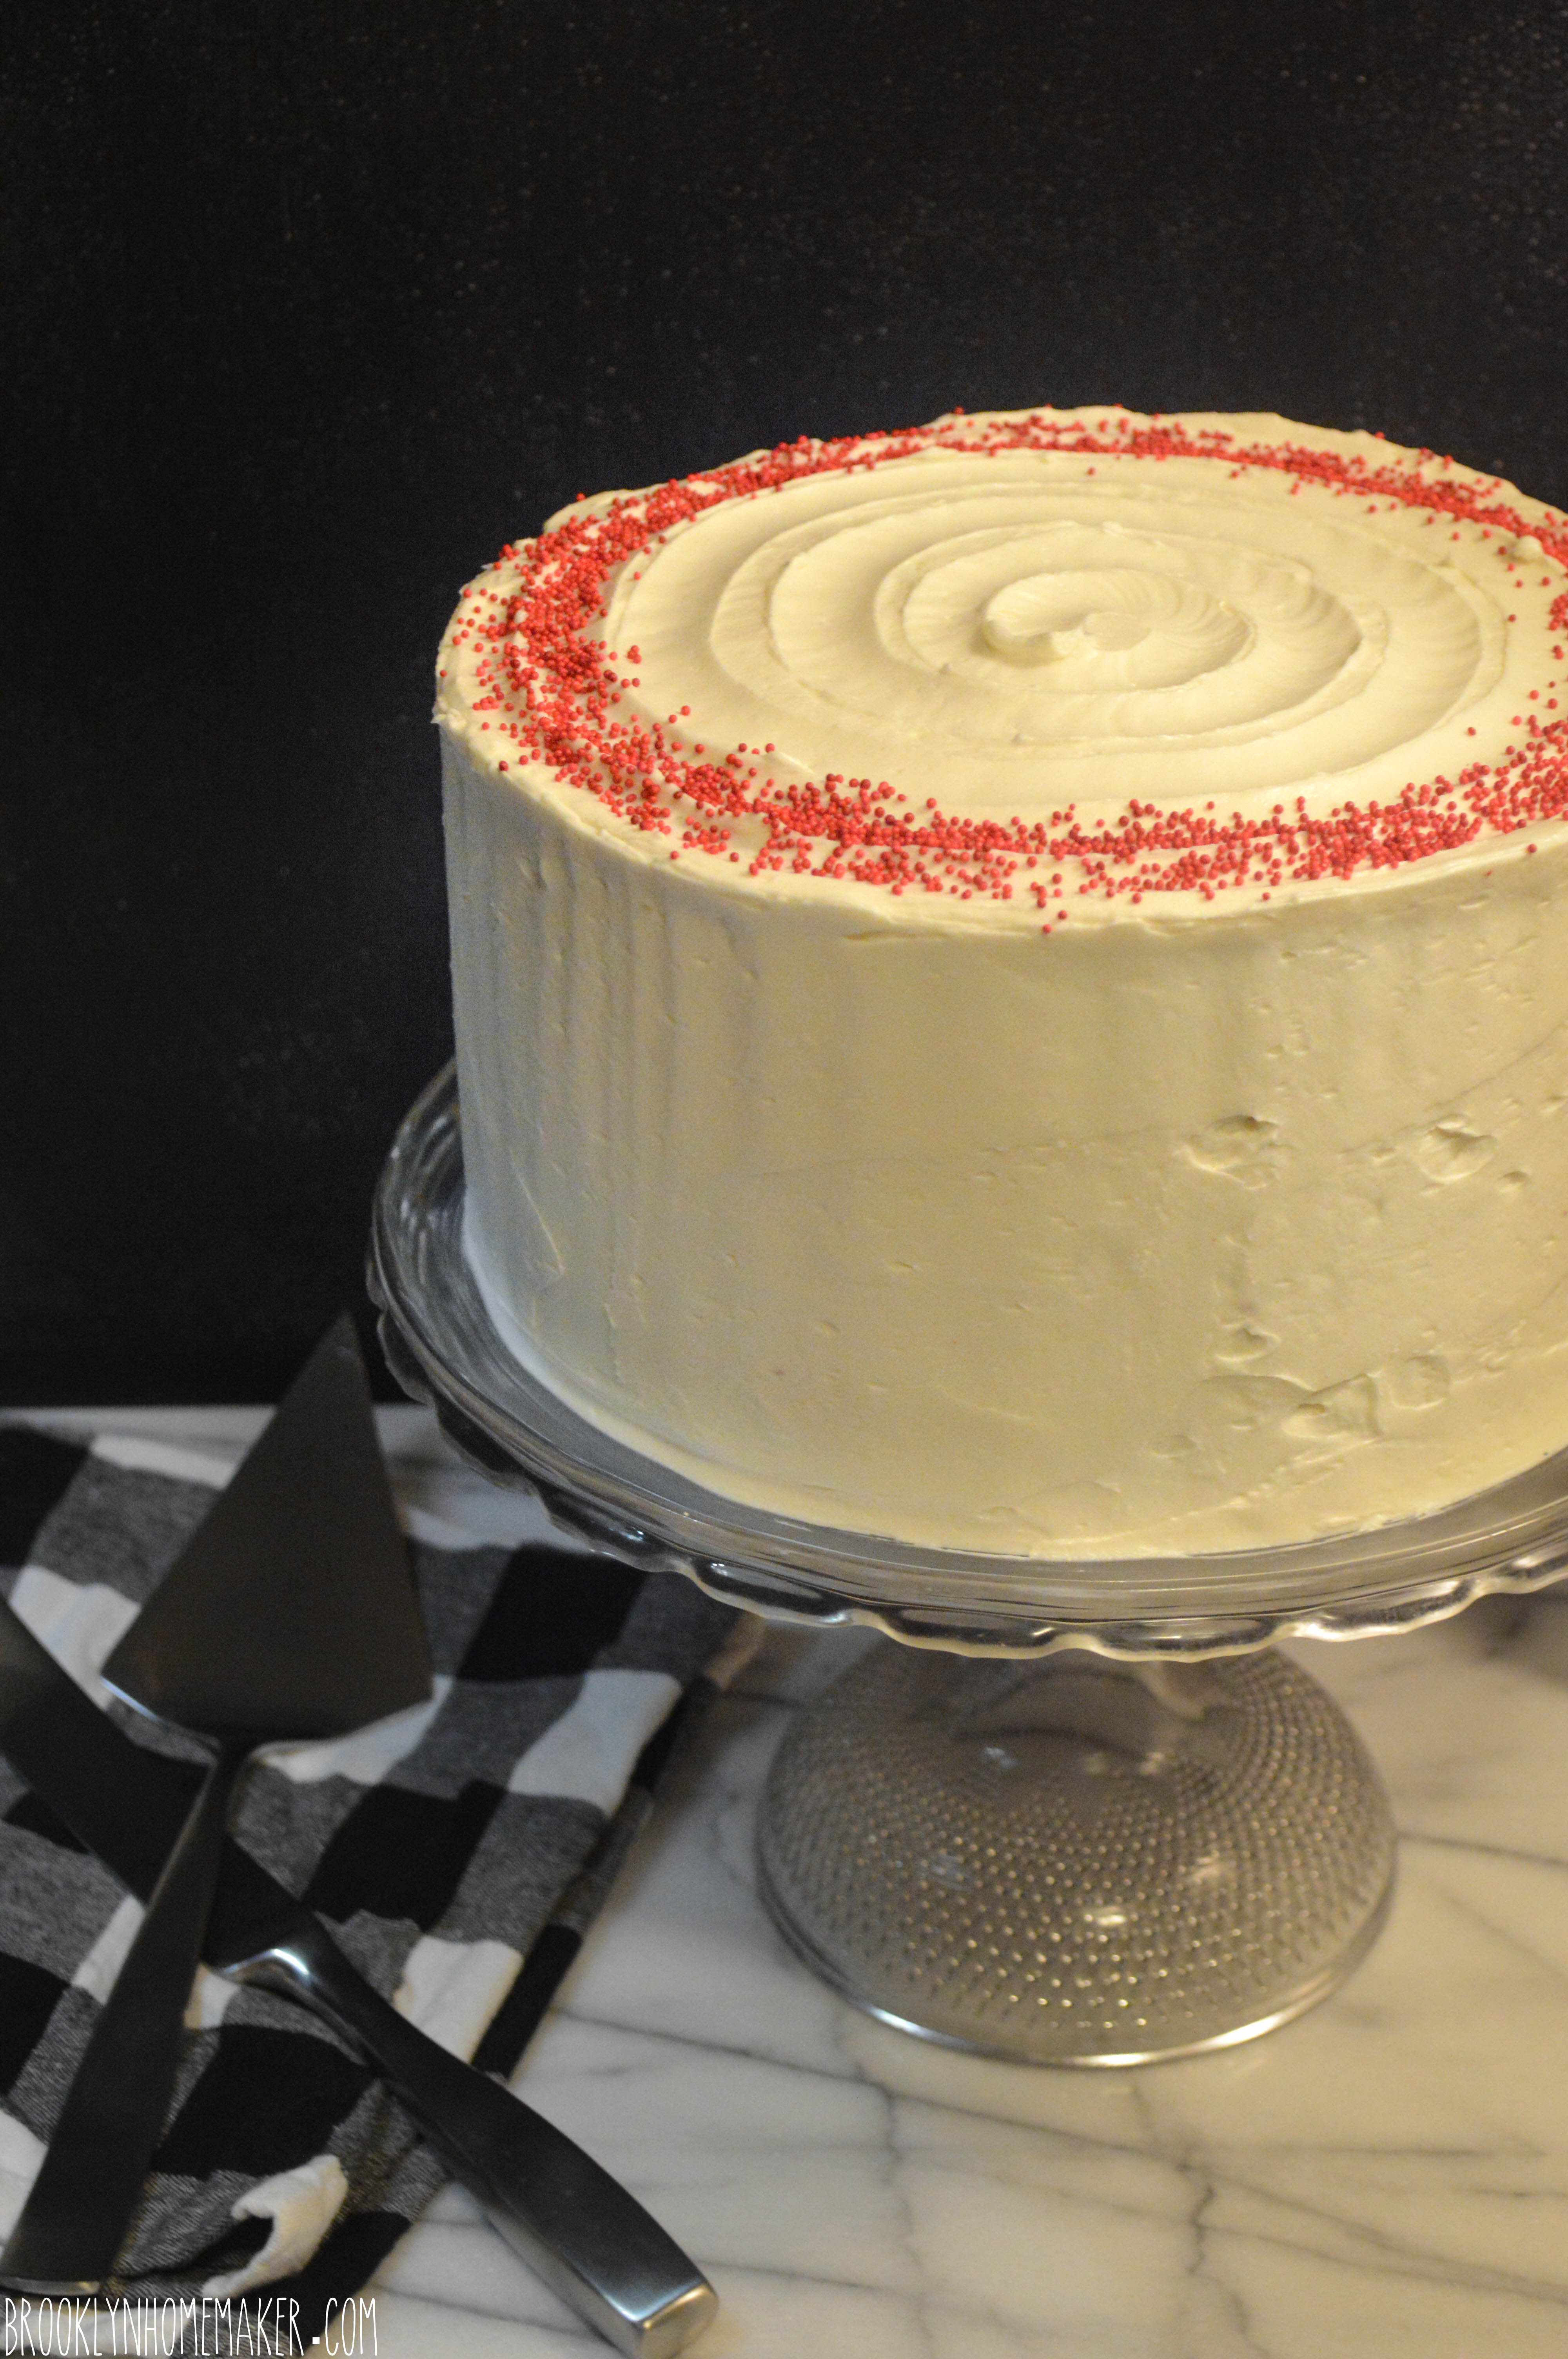
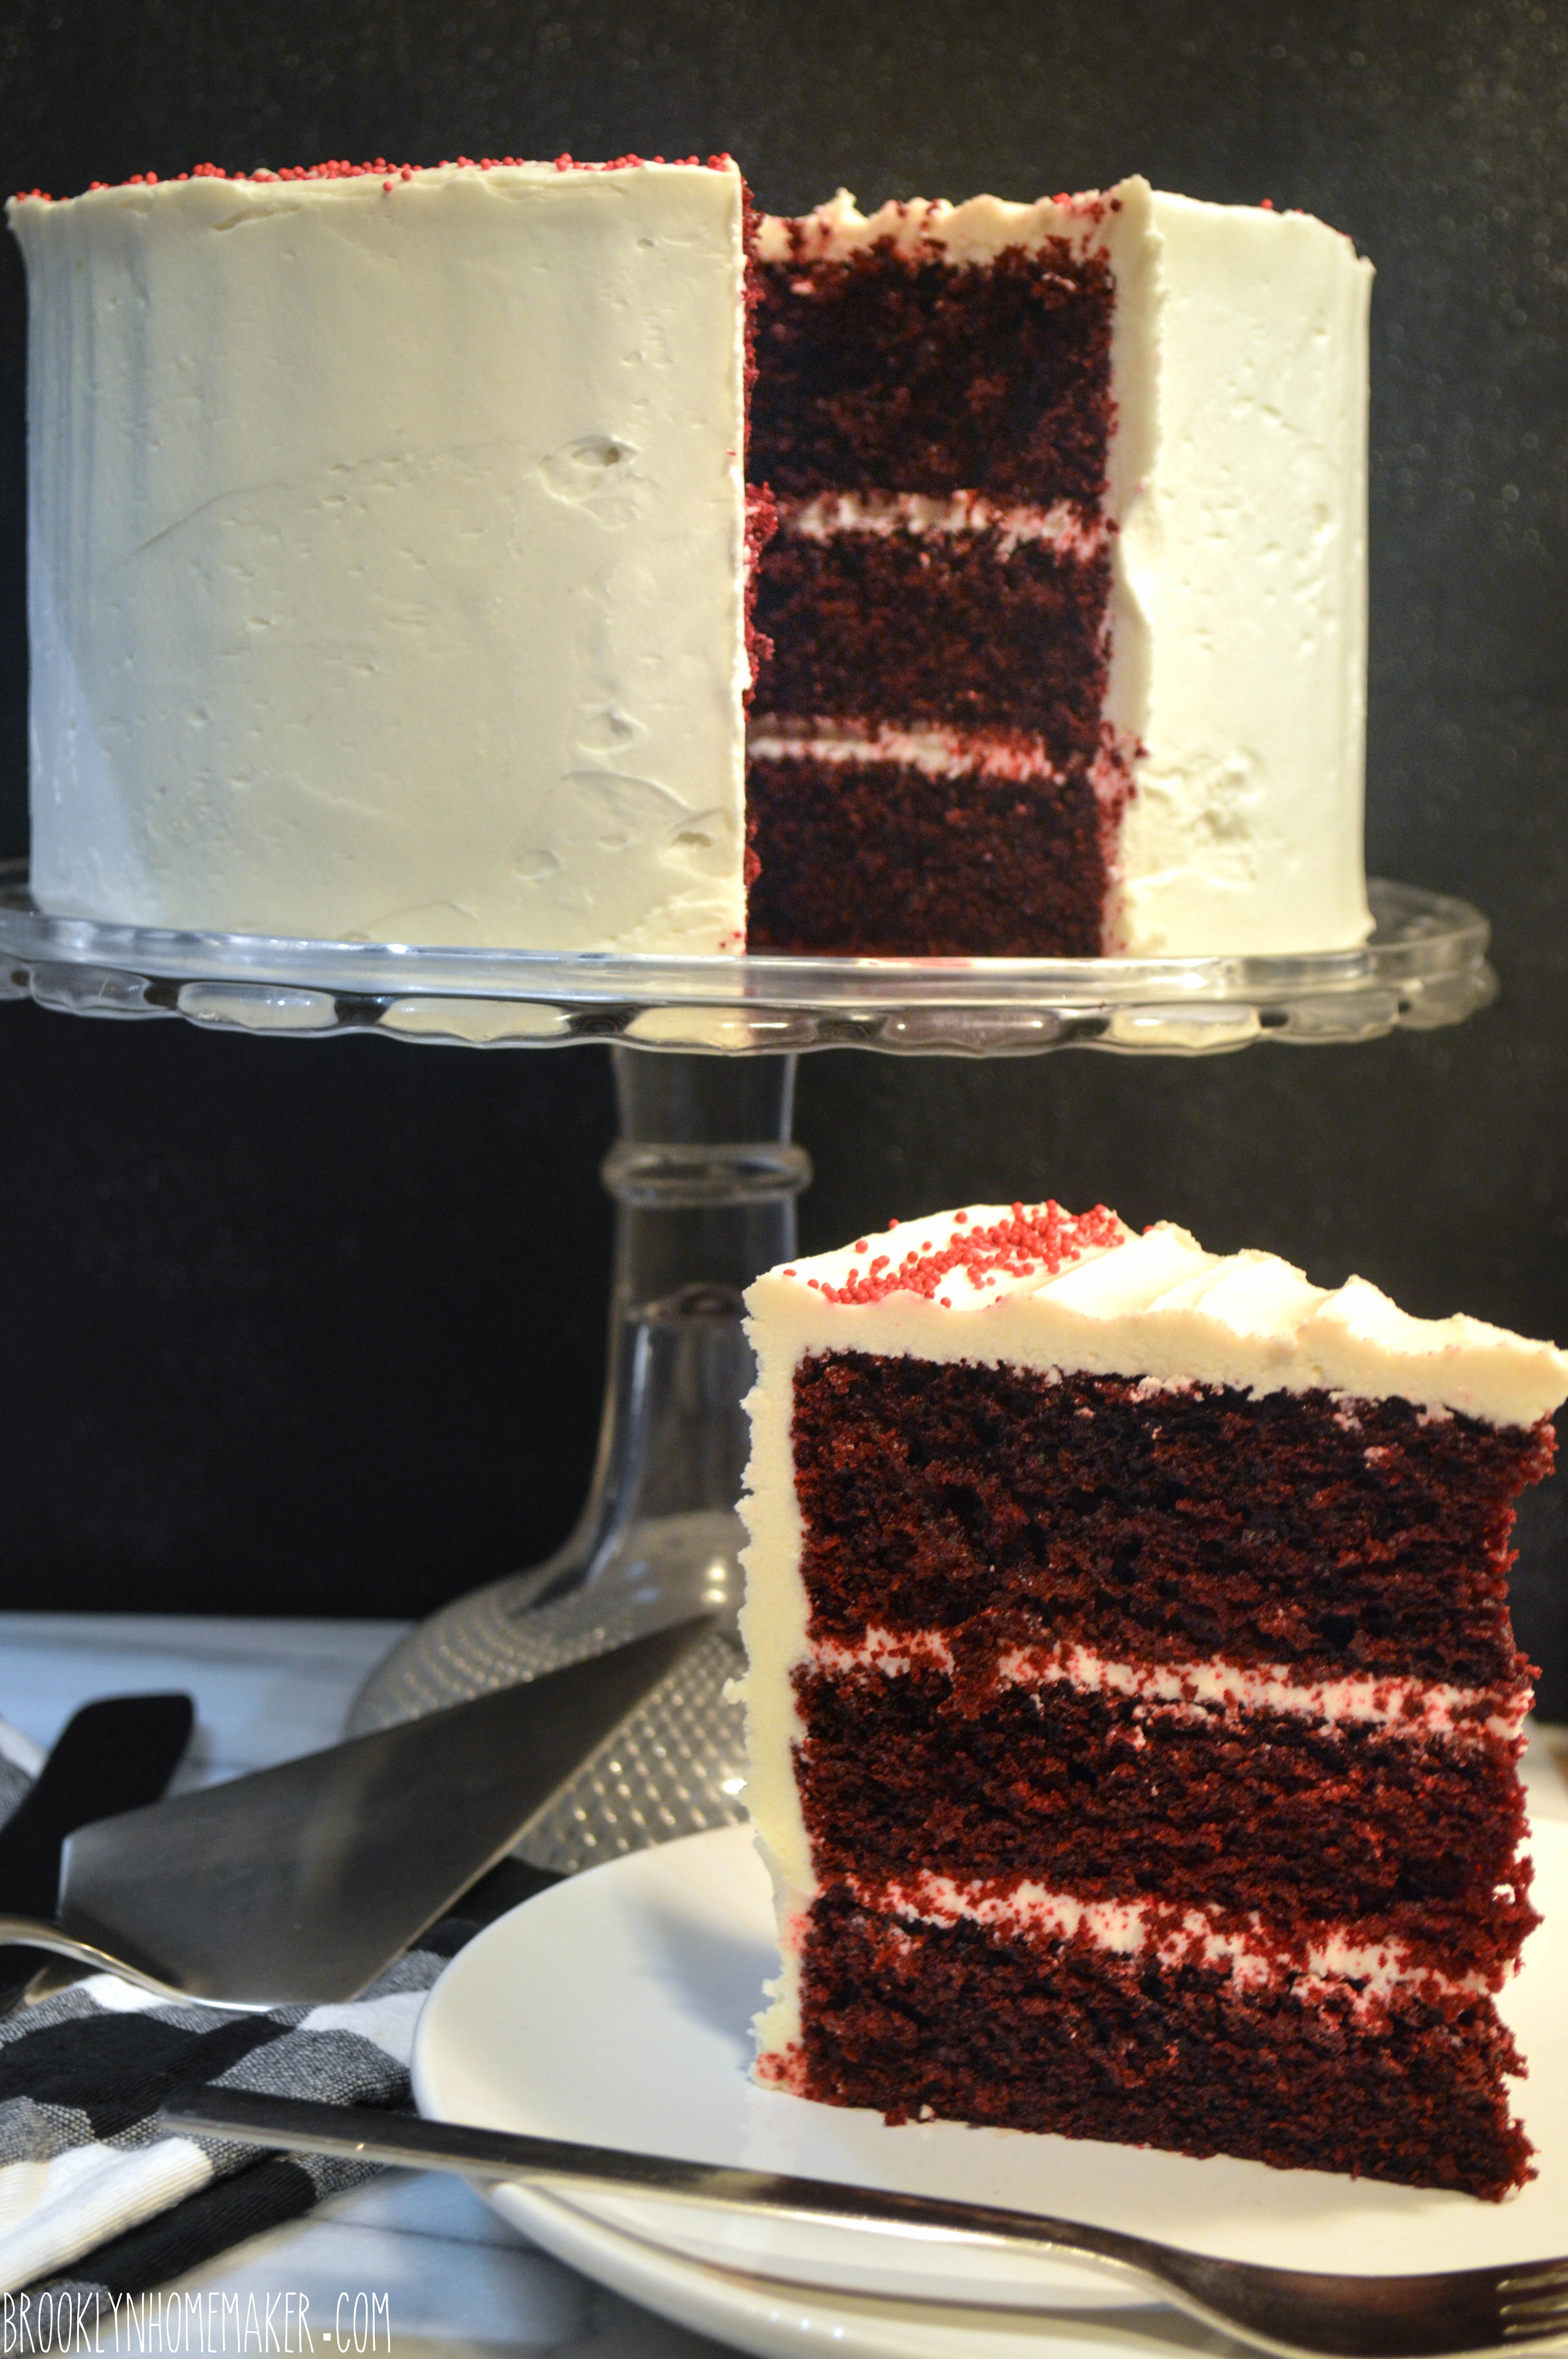
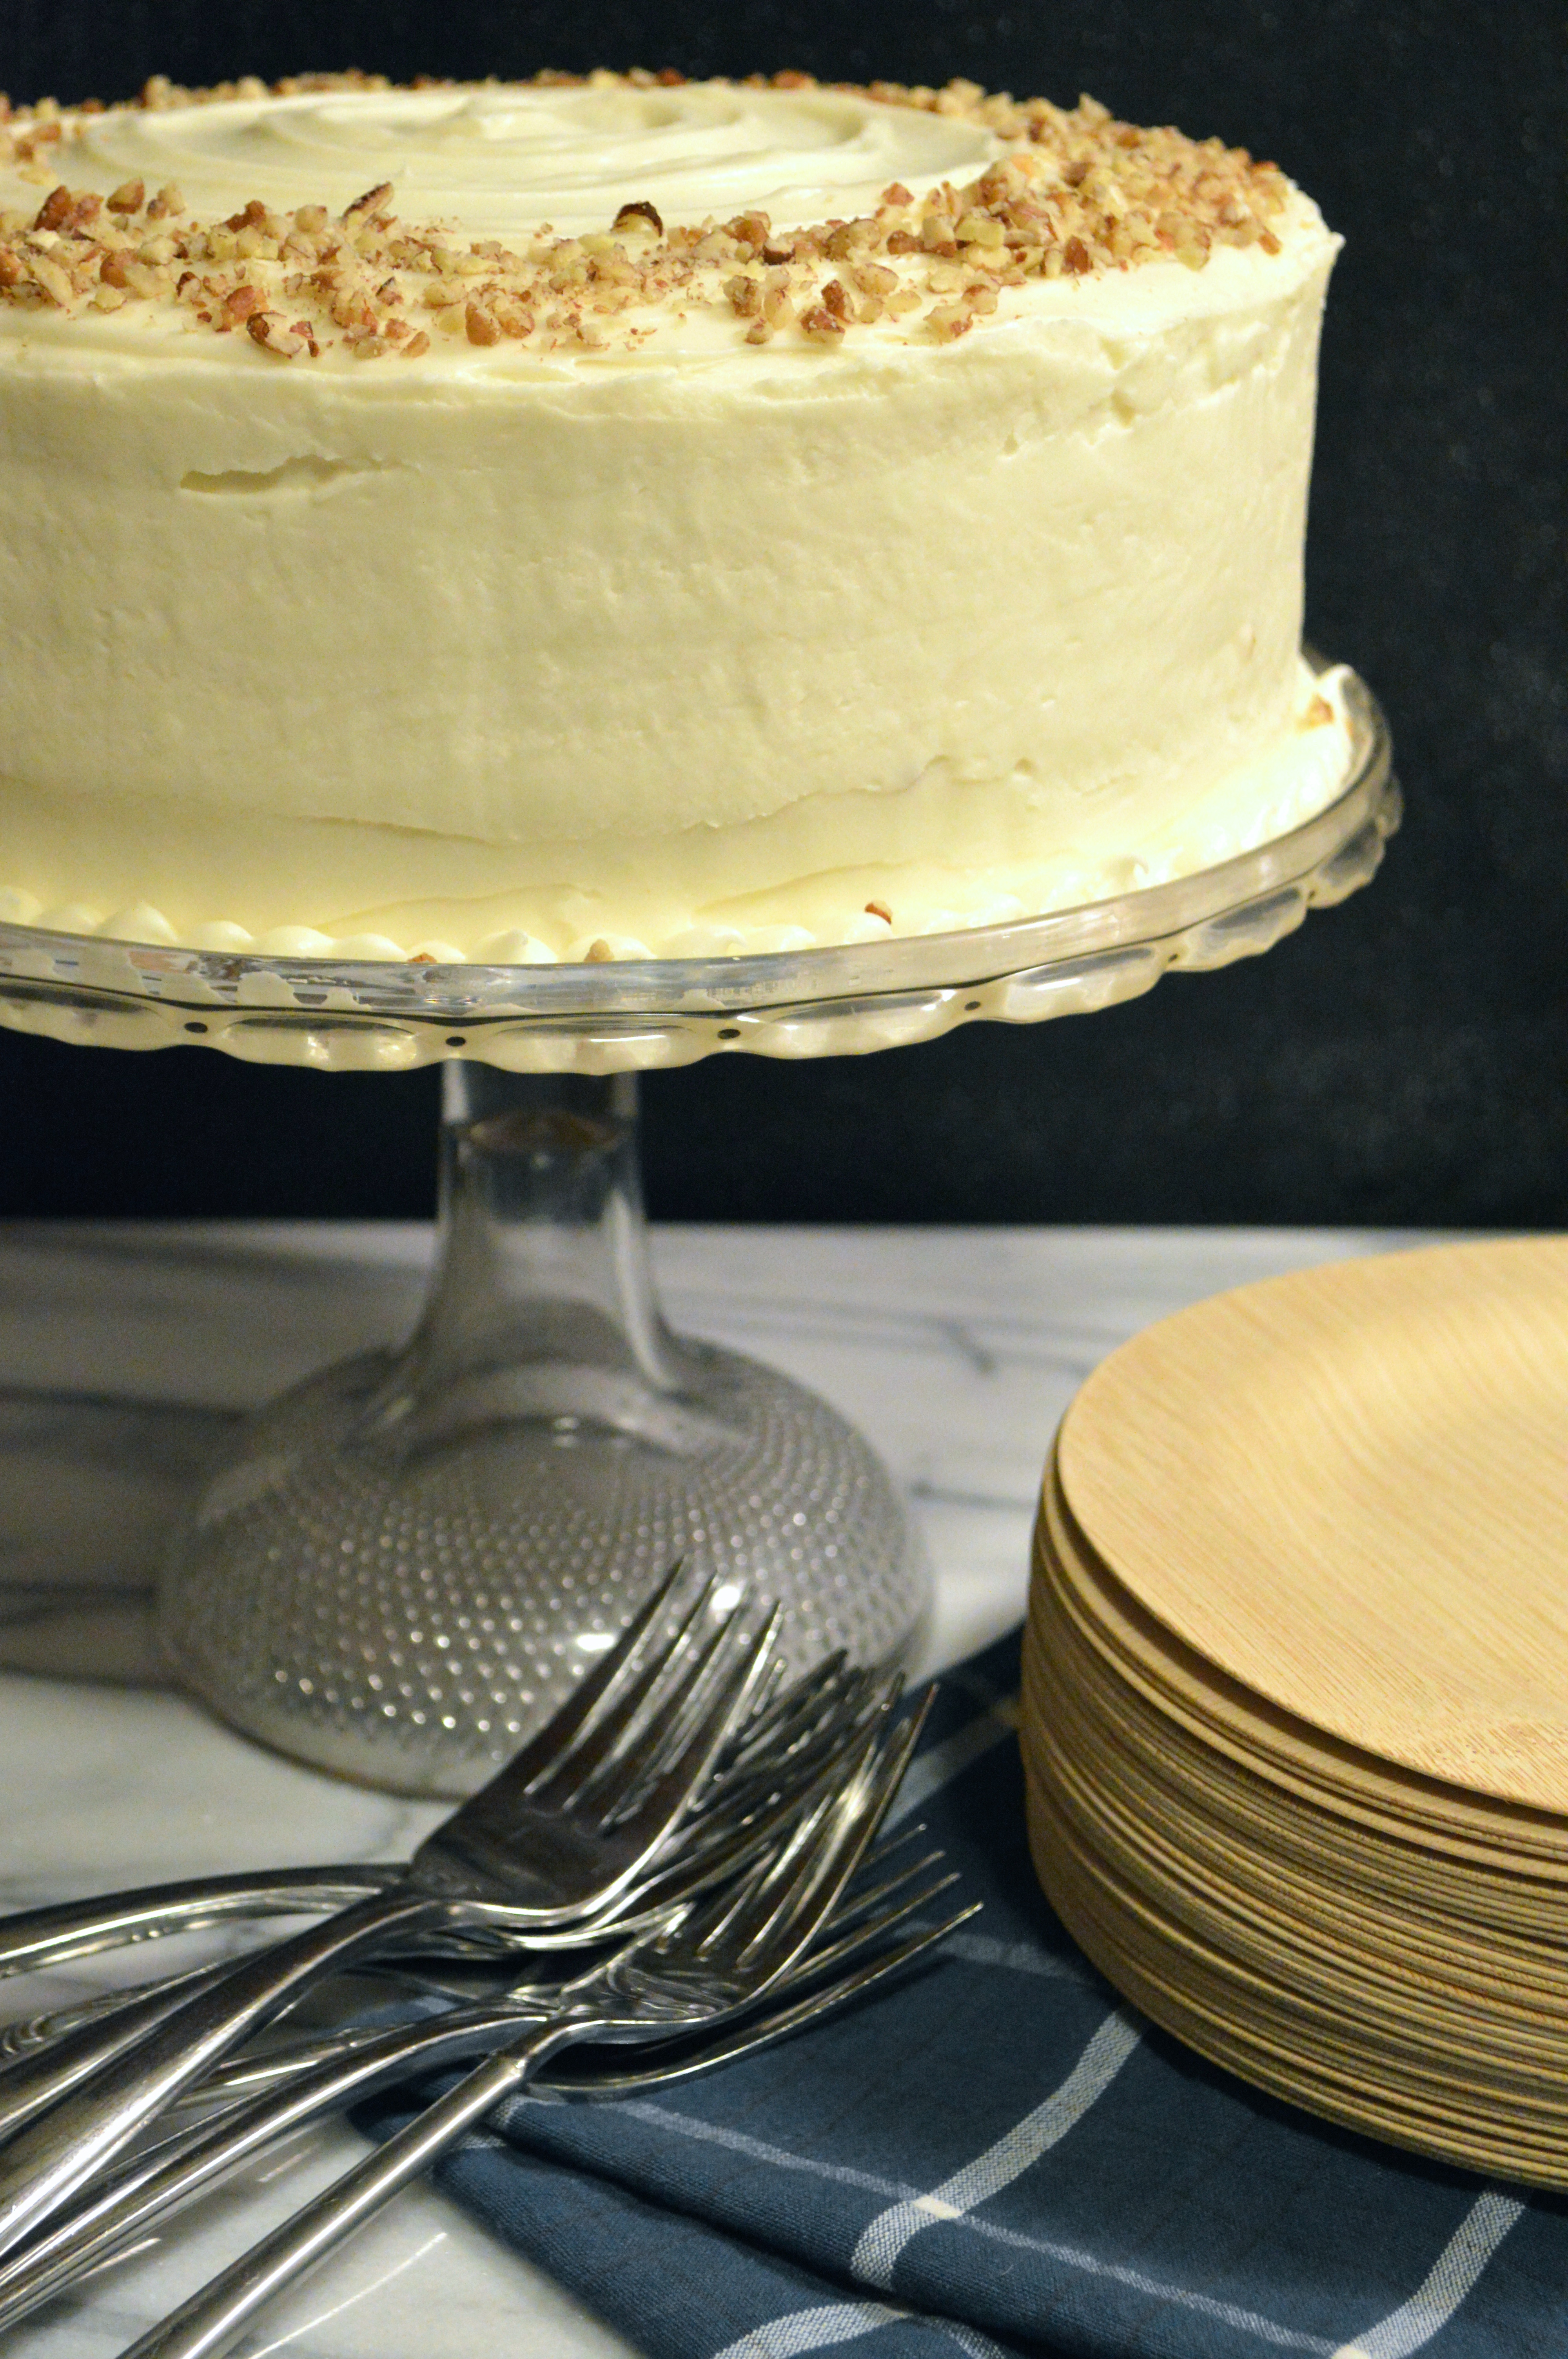
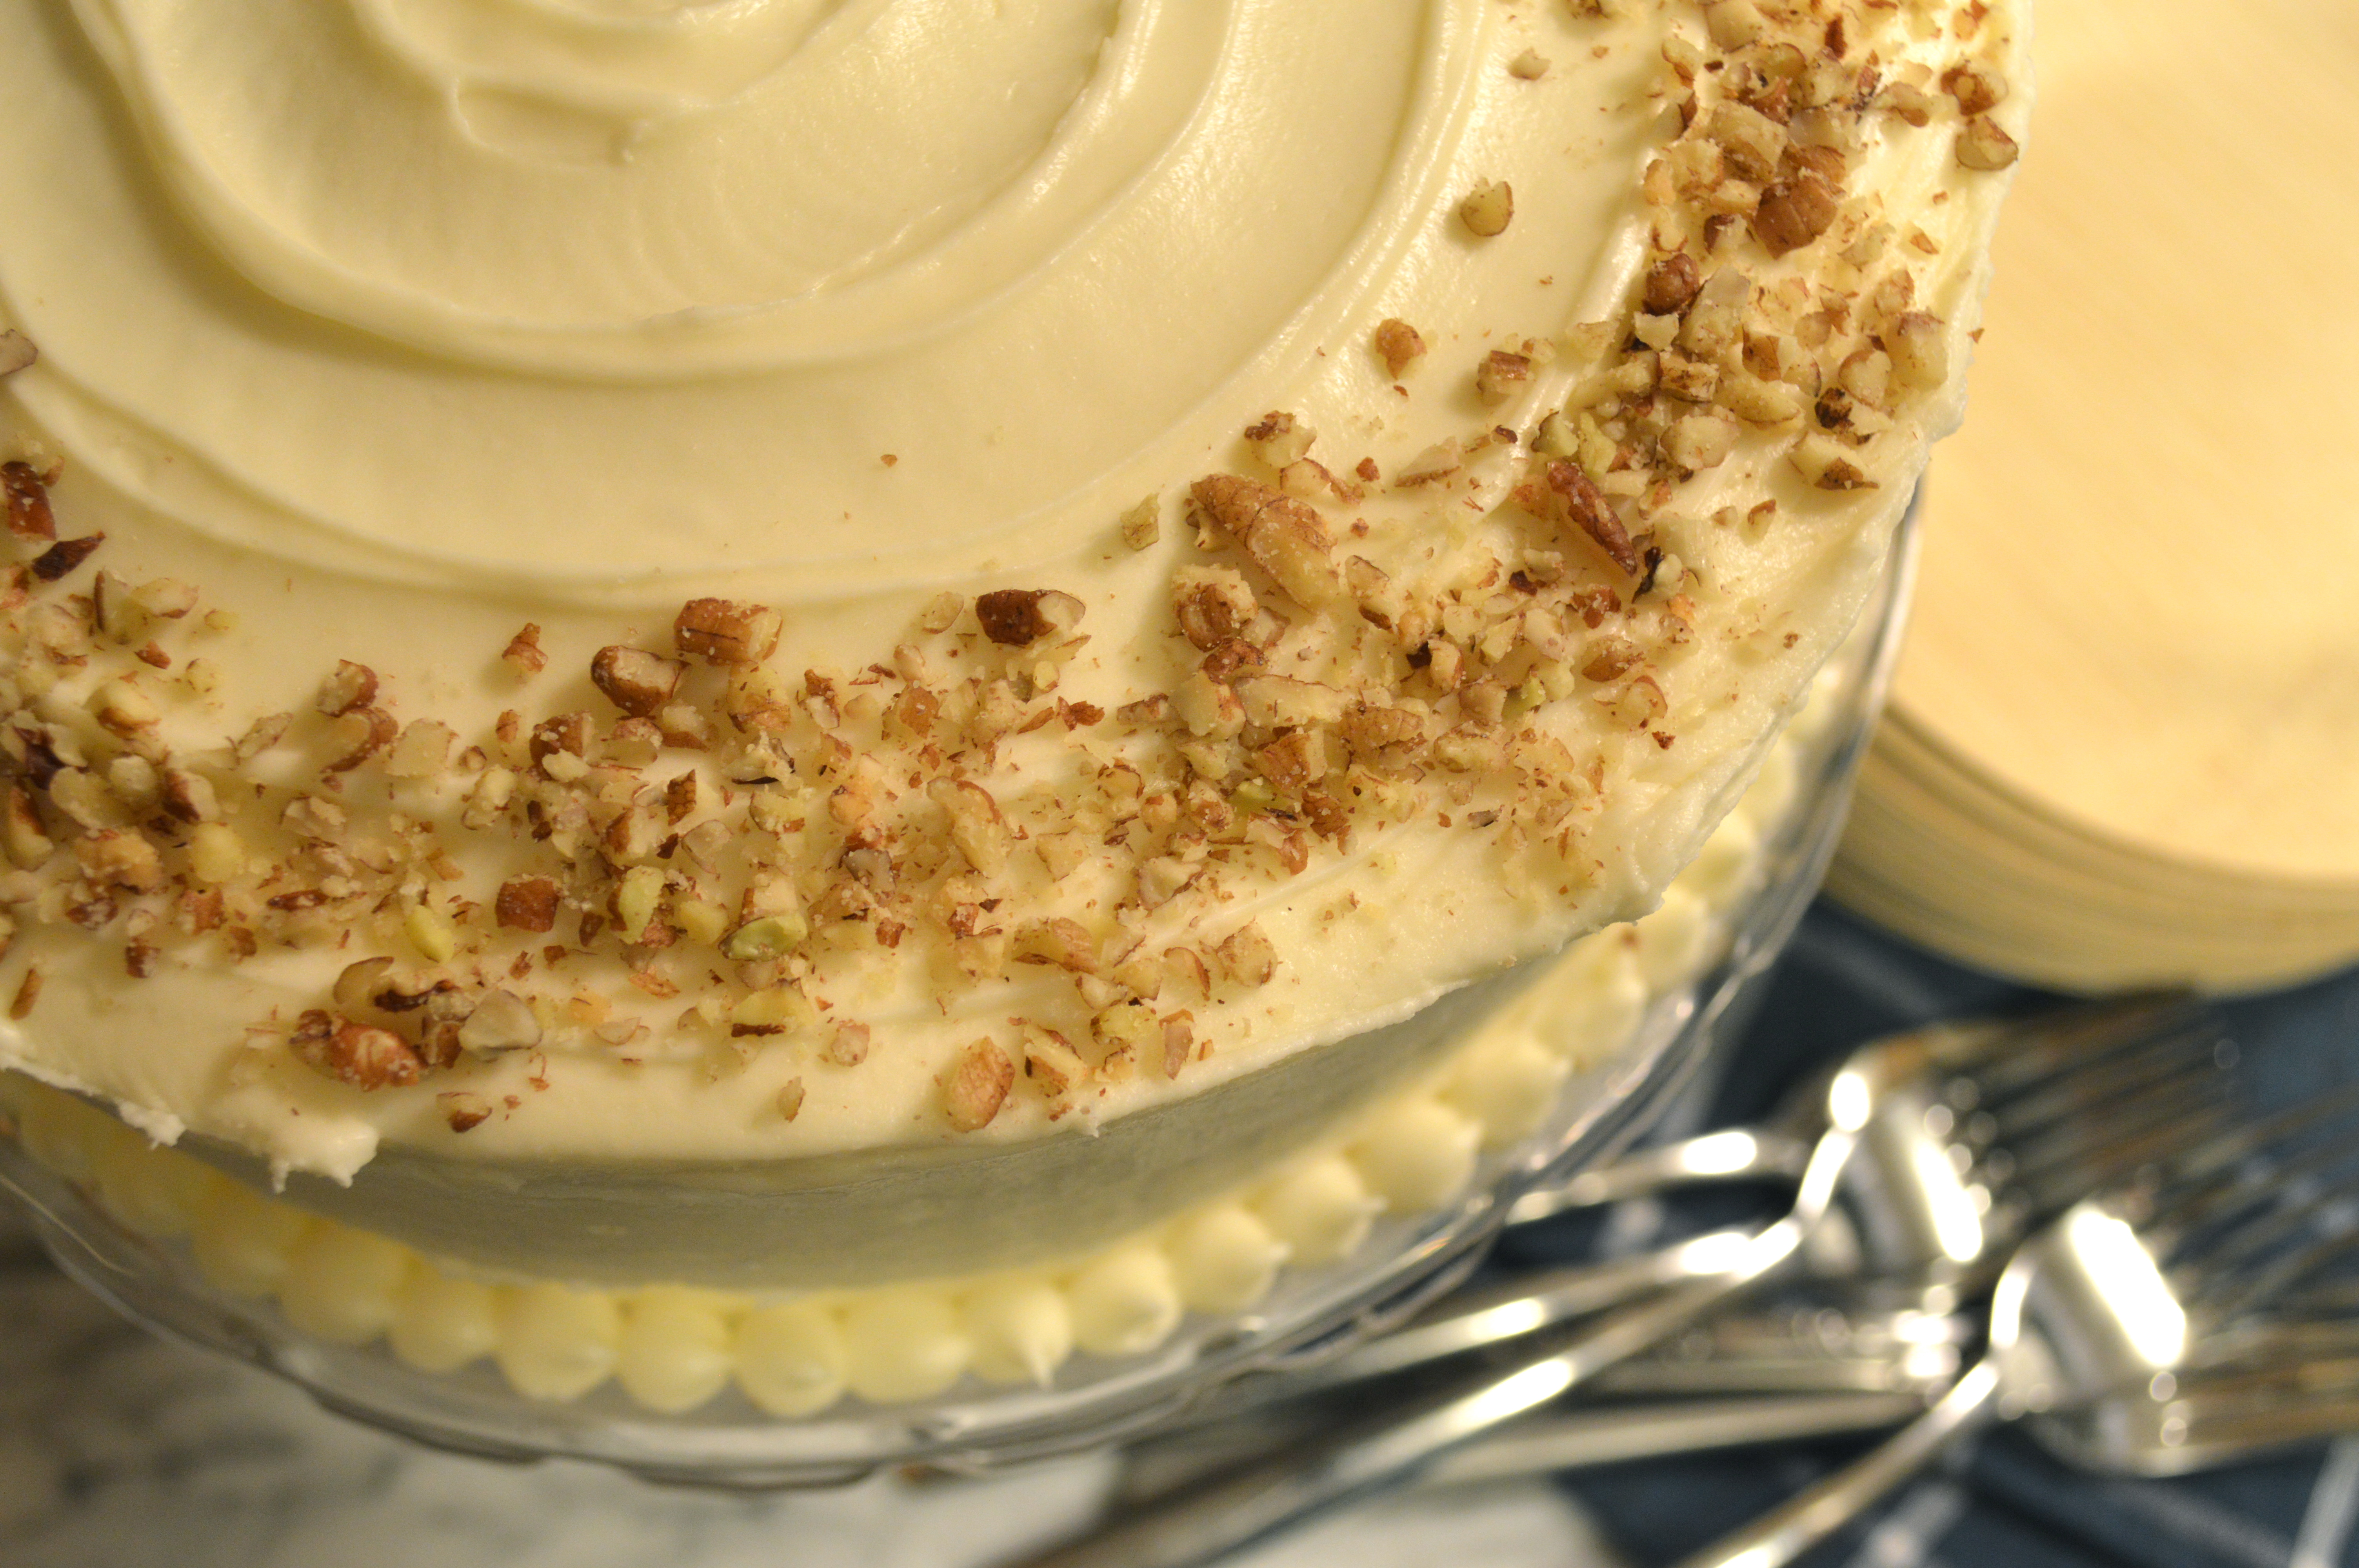
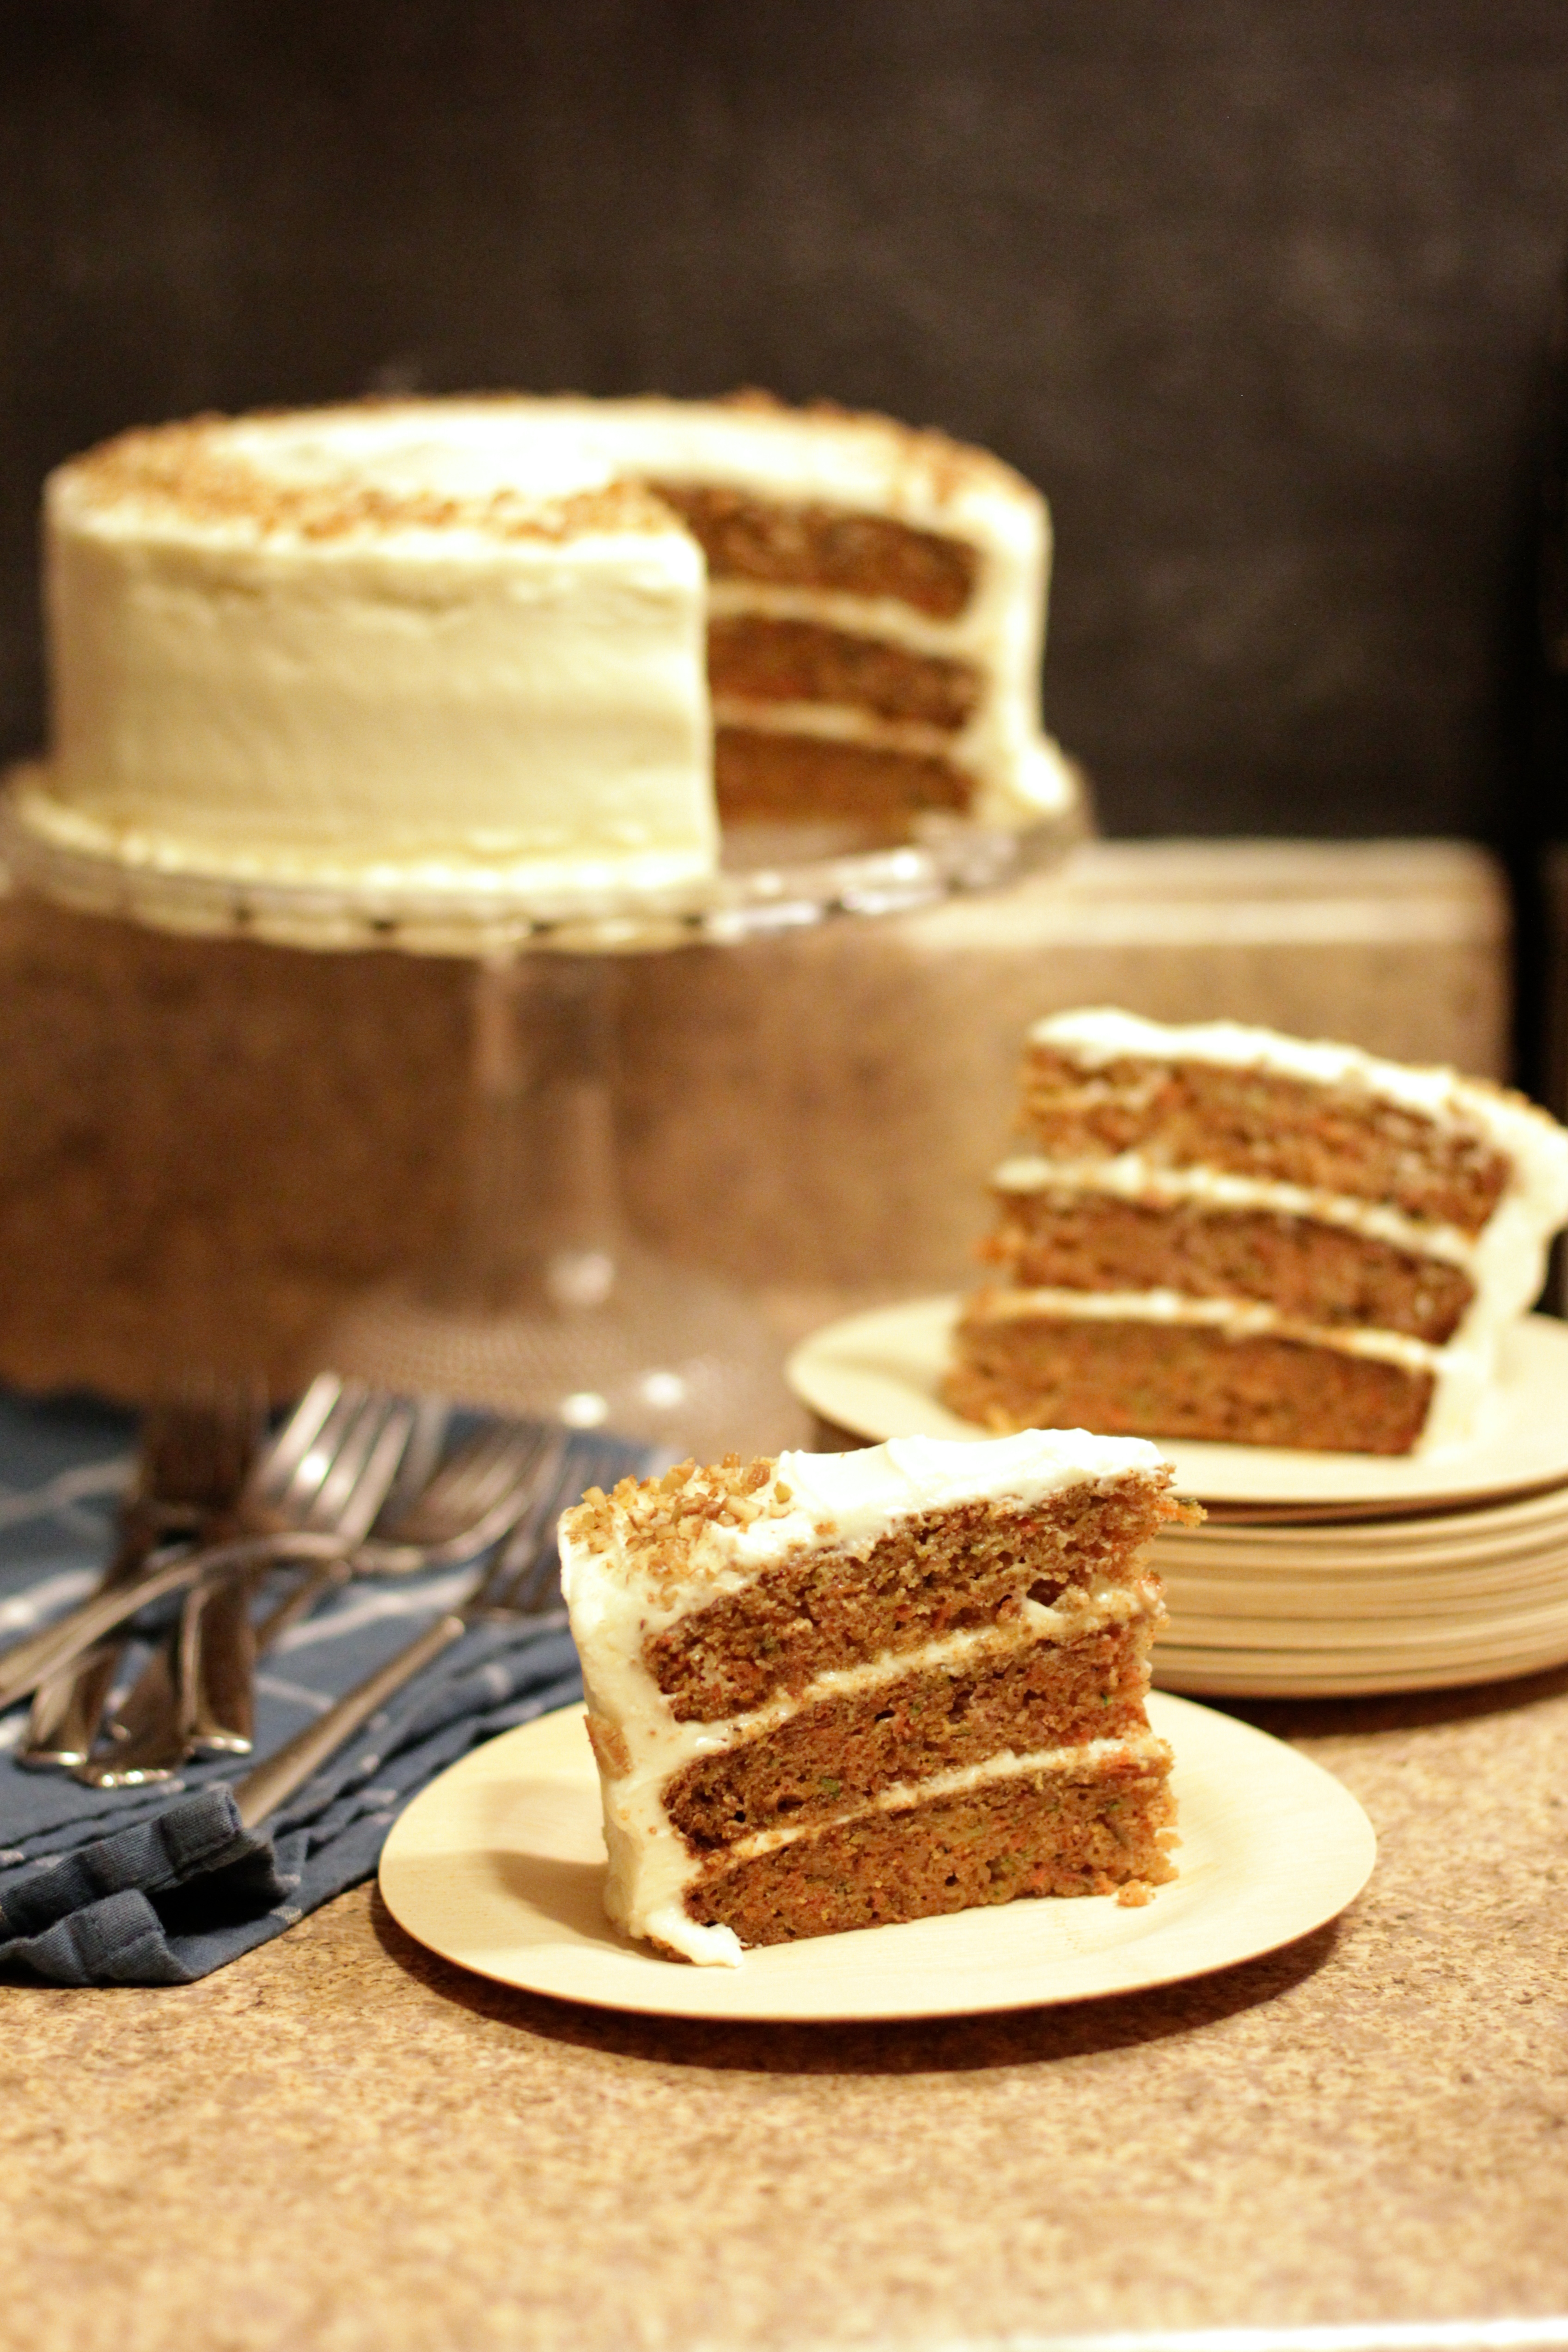
To make this cake I took a standard carrot cake recipe and tweaked it a bit. I added more spice, and subbed in fresh grated granny smith apples and zucchini in for some the carrots. I ended up with a ratio of about 1 part zucchini and 1 part apple to 2 parts carrots. I didn’t want to mess with perfection though, so I stuck with the traditional cream cheese icing. Since I wanted this cake to be as picture perfect as possible, I decided to make it with 3 layers, with the cream cheese icing as the filling and the icing.

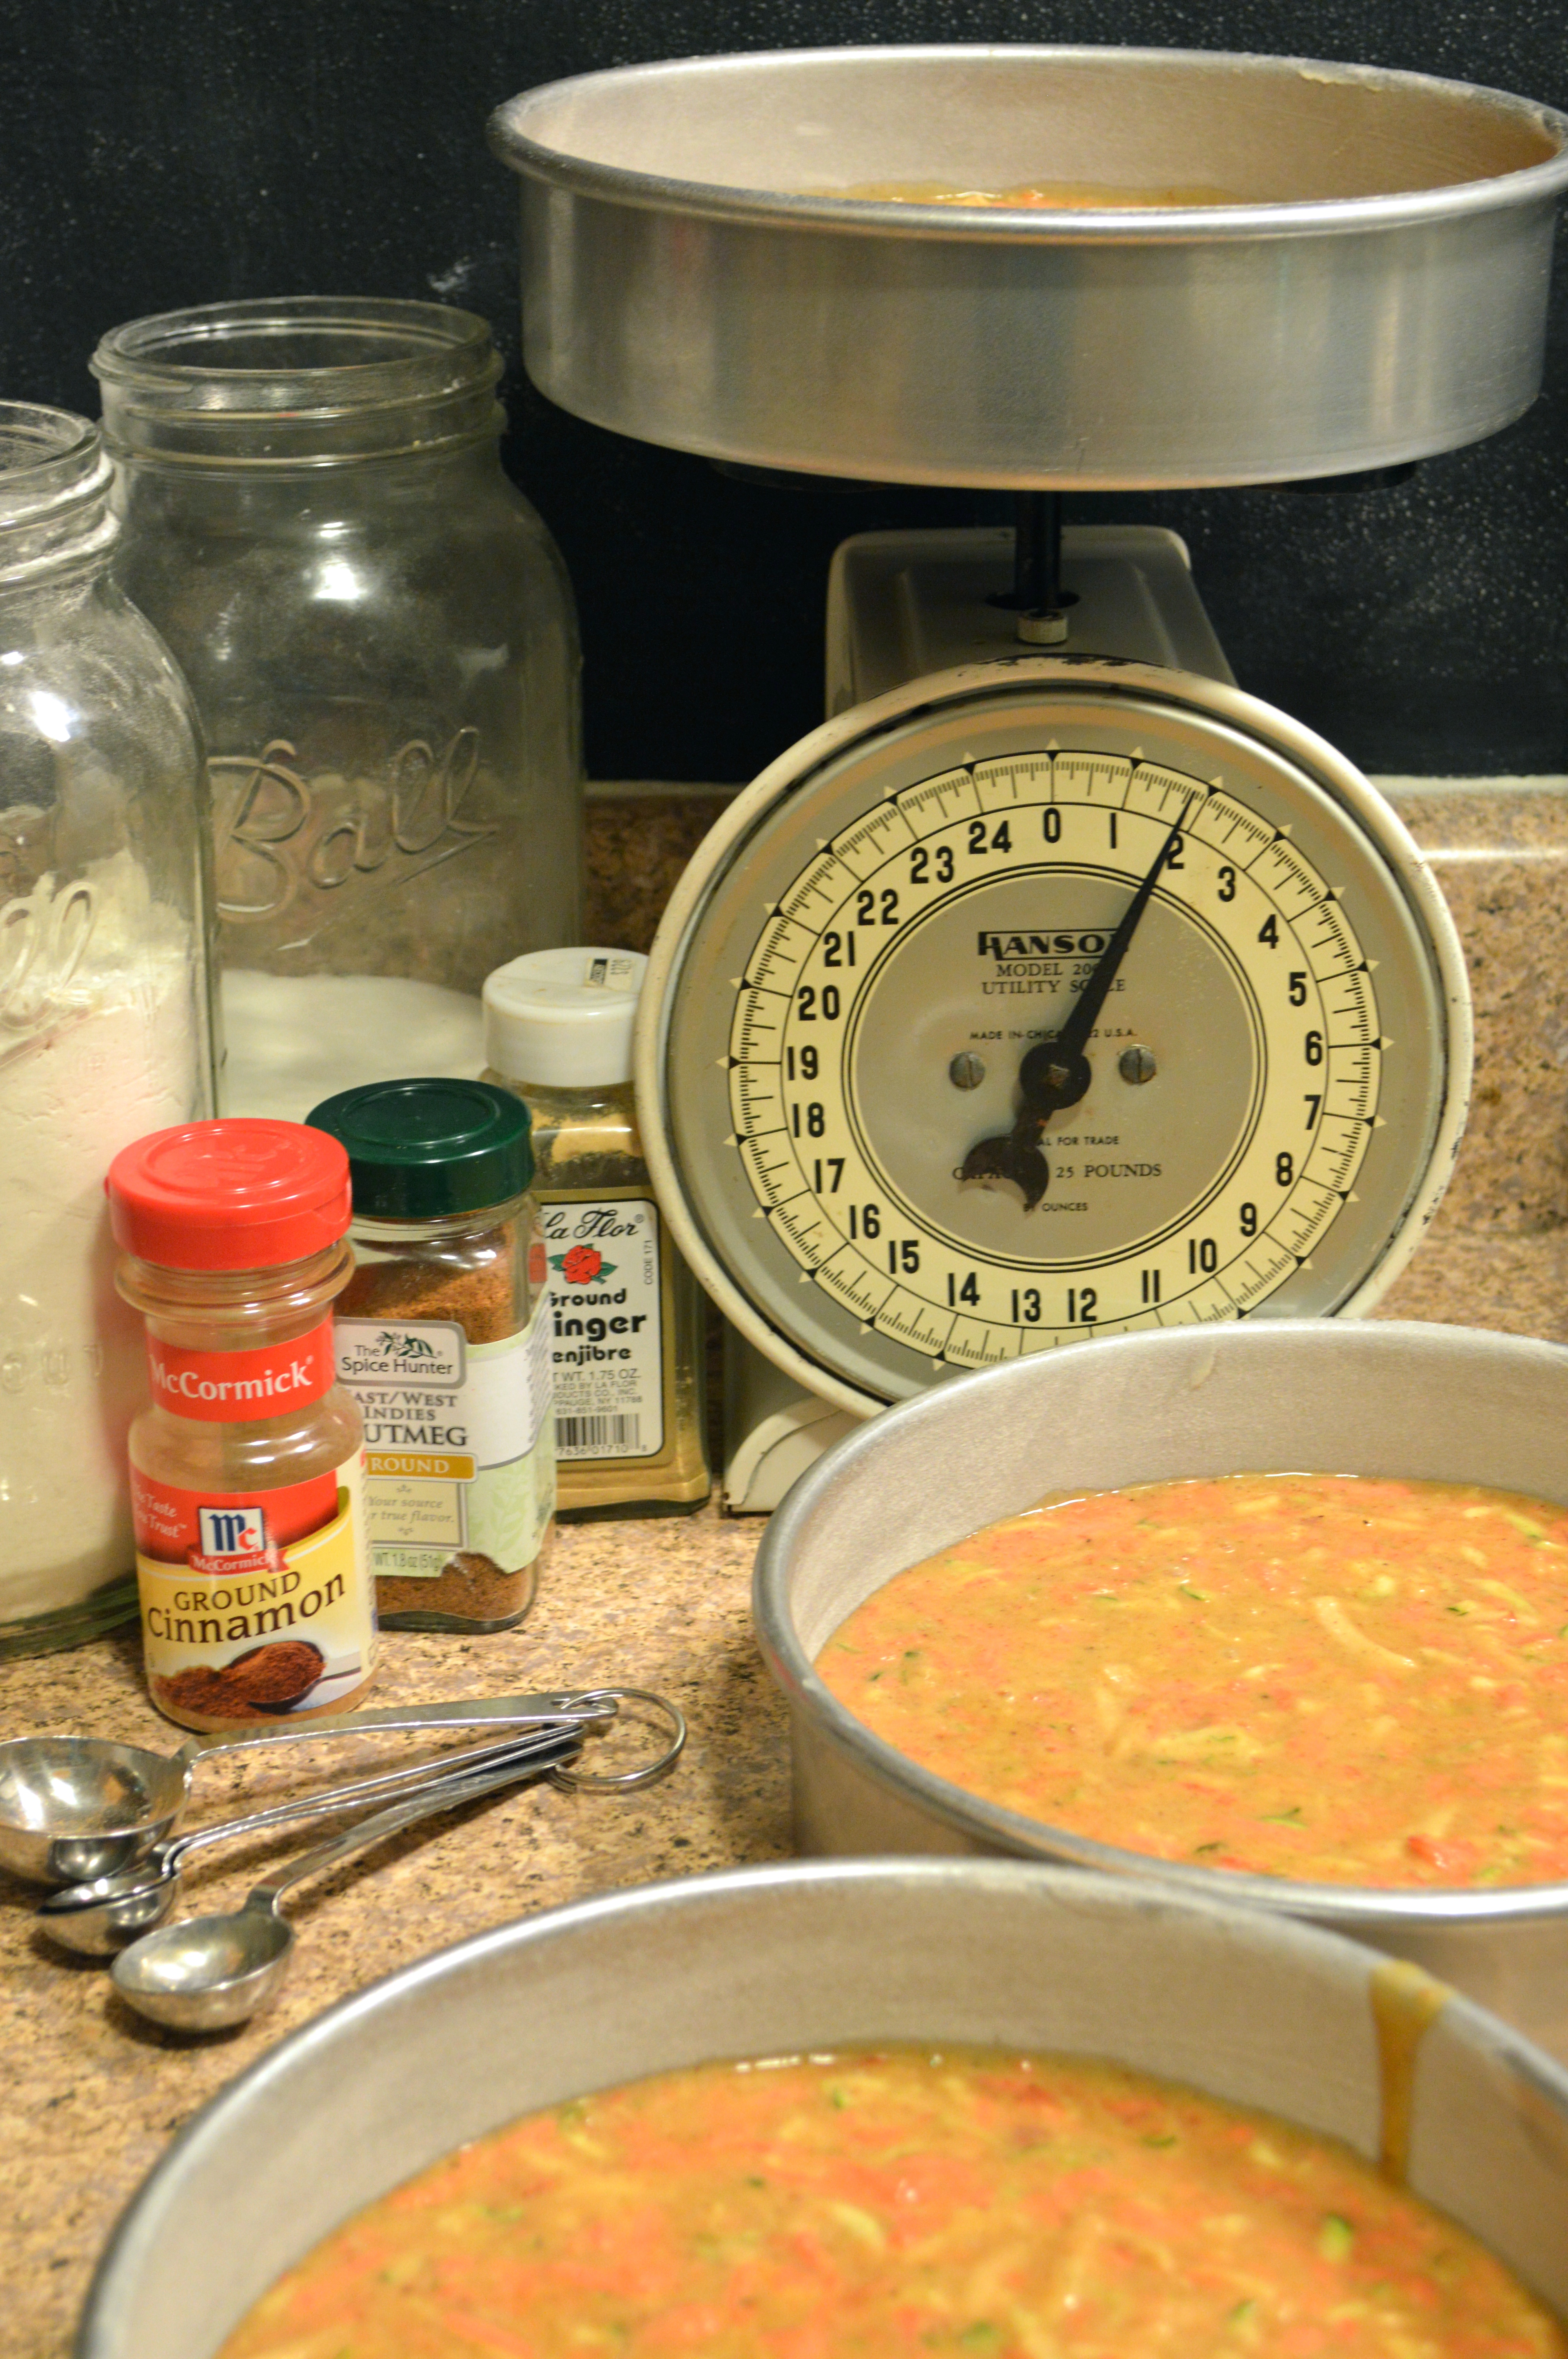
When you’re making a multi-layered cake I think it’s important that all three layers are the same size. Not only will this make for a more professional presentation, but it will also help make sure your layers all bake at the same time instead of one drying out while the other is still underdone. To ensure even layers, I like to use a kitchen scale to make sure the batter is evenly distributed between the pans.

When I first announced my plans for this cake, Russell was skeptical, thinking that carrot cake was just something that shouldn’t be messed with, but I’ve converted him. In the end, this cake was divine and everyone loved it. Although it has a few different fruits and vegetables in it, healthy is the last word that comes to mind when you take a bite. The cream cheese icing is wonderfully creamy, and perfectly sweet & tangy. The cake itself is super moist and delicious, with a hearty hint of spice and a traditional carrot cake flavor. There’s just a hint of tanginess from the tart apples and a nice summery freshness from the green zucchini and fresh carrot. If you love carrot cake, you will surely love this cake too. Go preheat the oven. It’s cold outside, it’ll help you warm up.

harvest cake with cream cheese icing | Brooklyn Homemaker


Harvest Cake with Cream Cheese Icing

makes one 8 inch 3 layer cake

Cake:
2 1/4 cups all purpose flour
1 3/4 cups granulated sugar
2 teaspoons baking soda
1 teaspoon salt
2 teaspoons ground cinnamon
1 teaspoon ground nutmeg
1 teaspoon ground ginger
1 1/4 cups peanut oil (or any neutral vegetable oil)
4 large eggs
2 cups grated carrots (approximately 3-4 carrots)
1 cup grated zucchini (approximately 1 small zucchini)
1 cup peeled, cored & grated granny smith apple (approximately 1 large apple)
4 ounces finely chopped walnuts (optional)

Icing:
1 1/2 pounds powdered sugar
16 ounces room temperature cream cheese
1 tablespoon vanilla extract
1 stick (8 tablespoons) room temperature unsalted butter

Preheat oven to 350 degrees F. With cheesecloth or paper towels, squeeze excess moisture out of grated zucchini and set aside. Butter 3 (8-inch) round pans and line bottoms with parchment. Butter and lightly coat with flour.

In a large bowl, sift together flour, sugar, baking soda, spices, and salt and make a well in the center.  In a small bowl beat together eggs and vegetable oil until combined, and pour into flour mixture. Using a mixer or wooden spoon, blend until combined. Stir in grated carrots, zucchini & apple.

Divide batter evenly between pans. Bake for 35 to 40 minutes, or until a cake tester inserted in the center of the cake comes out clean. Remove from oven and cool for 15 minutes. Remove from pans, turn over onto parchment paper and allow to cool completely before assembling.

In the bowl of an electric mixer, beat cream cheese and butter until completely smooth, about 5 minutes. Add sugar and vanilla and stir in very slowly until incorporated. Once the sugar is mixed in, turn mixer up to high and beat until smooth, about 5 minutes more.

To assemble your cake, level your layers with a sharp serrated knife or cake leveler. Spread about 3/4 cup of icing between each layer of cake, and cover the top and sides of the cake with a thin layer of icing to seal in the crumbs. Refrigerate the cake for about 30 minutes before finishing with another layer of icing. Decorate with swirls, piped details, chopped pecans, or however desired.

Advertisement

New Years Day Brunch

Happy 2014! I hope everyone had an amazing New Year’s!

new year's day brunch | vegetarian collard greens and black eyed peas | Brooklyn Homemaker

In New York City people tend to make a BIG deal of New Year’s Eve. Since the town we call home sets the precedent for what a New Year’s celebration is supposed to be, New Yorkers tend to go big. Usually a little too big.

Russell and I however usually stay home, cook a big meal, and watch Dick Clark’s New Year’s Rockin’ Eve. I proposed on New Year’s Eve a few years ago, so we tend to think of that night as a night for each other. A night to be alone together. Rather than go out and party like lunatics, we prefer to stay at home with each other and our pups. Our little family is a motley crew but we’re happy being with each other.

This year however a good friend invited us to a party directly across the street from our apartment, so we decided we should probably put some pants on and go be social. Of course, like the rest of New York, we let the mood of the evening get the best of us and we got carried away. We had an amazing evening having a blast with our friends and we’re so glad we went, but considering out plans for the next morning, maybe we should have stuck with tradition and stayed home. We had a little bit of a hard time getting moving the next morning, but in the end we pulled it together and had a pretty wonderful New Year’s day too.

new year's day brunch | vegetarian collard greens and black eyed peas | Brooklyn Homemaker new year's day brunch | vegetarian collard greens and black eyed peas | Brooklyn Homemakernew year's day brunch | Brooklyn Homemaker new year's day brunch | vegetarian collard greens and black eyed peas | Brooklyn Homemaker

This year we decided to host a brunch for New Year’s Day and bring together the people we love in New York and get the new year started right. 2013 was an amazing year for us and we thought a brunch with our favorite people would be a great way to make sure 2014 would be just as great.  In 2013 we were married, we got our second schnauzer Betty, I celebrated my 30th birthday, we visited Europe, and I started Brooklyn Homemaker. It’s going to be a tough year to beat, but we’re sure going to try!

Planning a menu for New Year’s day is pretty much a no brainer. Southern food is super traditional for New Year’s day so I didn’t really have to put any thought into other options. There is a lot of symbolism behind the foods we eat on New Year’s day, and everything on the plate is supposed to help bring something great into your life in the coming year.

new year's day brunch | vegetarian collard greens and black eyed peas | Brooklyn Homemaker

Black eyed peas are one of the most important foods on the New Year’s plate, and for good reason. Black eyed peas have been a symbol of good luck in Jewish culture for centuries, but in Southern cooking, the tradition dates back to the Civil War. The story goes that when Union troops rolled through the southern countryside they stripped large areas of all stored food and livestock and destroyed many crops and farms. At the time, black eyed peas weren’t really eaten in the north and usually went overlooked or ignored, leaving that crop to be what helped feed Southerners while they rebuilt. Since black eyed peas swell when you cook them, they’re also supposed to symbolize prosperity and growth in the new year.

Other Southern traditional foods include braised greens, usually collard, turnip, or mustard greens; along with pork or ham of some kind. Greens are meant to symbolize money since they’re, well, green; and since pigs can’t look backward without turning around, they’re meant to symbolize forward motion and moving on from the past.

new year's day brunch | vegetarian collard greens and black eyed peas | Brooklyn Homemaker

I decided to go all out traditional Southern with black eyed peas, braised collard greens, buttermilk biscuits, and pork sausage gravy. When making these foods, ham is usually used to help flavor your peas and greens, but of course, I don’t live in the south. I live in Brooklyn, so I had dietary restrictions to keep in mind and had to find vegetarian alternatives to add flavor to my peas and greens, and had to thicken my sausage gravy with rice flour for my friends who simply will not tolerate gluten. In the end though, our plates were packed with flavor and I wouldn’t have changed a thing! To accompany our meal I served up a big pitcher of Southern sweet tea, and those of us that wanted some hair of the dog spiked it with lemon vodka. Afterward we dug into a harvest cake, similar to carrot cake, complete with cream cheese icing and pecans.

new year's day brunch | vegetarian collard greens and black eyed peas | Brooklyn Homemaker

Below I’ve shared my recipes for vegetarian black eyed peas and collards. There’s a bit of spice to both recipes to help build flavor, but of course you could skip that if you’re not up for it. Come back soon for a special post on making biscuits and my recipe for gluten free (or not) sausage gravy. I suspect that you’ll probably want to know more about my harvest cake too, so keep checking in and you won’t be disappointed!

new year's day brunch | vegetarian collard greens and black eyed peas | Brooklyn Homemaker

Vegetarian Black Eye Peas

1 lb dried black eyed peas
2 tablespoons butter
1 green bell pepper, diced
1 medium onion, diced
2 cloves garlic, minced
1 teaspoon sugar
1 teaspoon ground black pepper
1 26 oz can diced tomatoes
1 4 oz can diced green chilies
1/4 cup cider vinegar
water
1 teaspoon salt

Rinse your dried black eyed peas with water, and then soak them in water overnight. You want the water to be a few inches above the dried beans because they’ll expand.

In the bottom of a heavy bottomed stockpot or dutch oven, combine the onions and peppers and cook over medium high heat until tender and beginning to brown. Add garlic and cook 2 minutes more, stirring frequently. Drain and rinse the soaked beans, and add to pot. Add canned tomatoes and chilies, including liquid, along with sugar, pepper, and vinegar. Top off with enough water to come to the top of the beans.

Bring pot to a boil and reduce heat to a simmer. Simmer, covered, for 1 1/2 to 2 hours or until beans are tender. Add salt, taste and adjust seasoning if necessary.

new year's day brunch | vegetarian collard greens and black eyed peas | Brooklyn Homemaker

Vegetarian Collard Greens

2 tablespoons butter
1 small onion
1 teaspoon red pepper flakes, optional
2 cloves garlic, minced
1 lb (or large bunch) collard greens, stems removed and leaves roughly chopped or torn
2 cups vegetable stock
2 tomatoes, diced
1/4 cup cider vinegar
salt & pepper to taste

In a heavy bottomed stockpot or dutch oven over medium high heat, melt butter and cook onions until tender and translucent. Add red pepper flakes and garlic and cook 2 minutes more, stirring frequently. Add collard greens, stir well and cook another minute or two. Add vegetable stock, tomatoes, and vinegar, and season with salt and pepper.

Bring to a simmer, cover, & cook for about 45 minutes. Taste and adjust seasoning if needed.

Red Velvet Cake with Ermine Icing

Okay so here’s the thing about red velvet… I don’t get it.

I used to work at a cupcake shop for a while, and our red velvet cupcakes were probably the best selling item on the menu. People went nuts for those cupcakes. Every day just as many red velvet cupcakes were baked as were all the other flavors combined, and on most days the red velvets were sold out before anything else. I thought most of the cupcakes there were phenomenal, but the red velvet was probably my least favorite. It was kind of bland, with no distinct flavor beside the cream cheese icing swirled on top. Not enough vanilla to be vanilla cake, so little cocoa flavor that I’m not convinced any was actually used. There were plenty of tastier and more interesting flavors to choose from, and I could never figure out why people always went for the red velvets. Are people really just into red velvet because it’s red? There has to be more to it than just the color right?

red velvet cake with ermine icing | Brooklyn Homemaker

Curiosity got the best of me and I started doing some digging on the internet. It turns out that the history of red velvet, the roots of it’s popularity and the original recipe, are pretty tough to nail down. There are almost as many stories about the origins of red velvet as there are recipes for “real” red velvet. “Real” red velvet means very different things to different people.

I’d always heard that red velvet cake originally turned “red” because of a chemical reaction between acid in buttermilk or vinegar and natural cocoa powder. This wouldn’t actually turn a cake RED, but it would, supposedly, produce a very slight reddish hue in a cocoa cake. The same is supposed to be true of the origins of devil’s food cake, but with a lot more cocoa. This sounded believable-ish to me, so in my mind the real “original” red velvet cake was supposed to be deep reddish brown, with a slight cocoa flavor, and of course, topped with cream cheese icing.

red velvet cake with ermine icing | Brooklyn Homemaker

Once I started digging though, I started running into some problems. First there were the various origin stories. Some people think the cake was invented in Canada by the wife of a wealthy department store president, others convinced that this quintessential southern cake was invented in the south, and others still are certain that it was invented at the Waldorf Astoria Hotel in New York City.

Then there were the recipes. Everyone believes that their red velvet recipe is the one true way it should be done. Google “real red velvet” and you’re going to come up with some wildly varied recipes. There are also a lot of “rules” about red velvet out there, many of them conflicting with the rules of the next guy. Most of the rules dictate something about the color, flavor, or icing of this iconic cake.

red velvet cake with ermine icing | Brooklyn Homemaker

According to the internets, the color of red velvet should always come from artificial color. If you don’t pour in the red food color, it’s not red velvet. Also, red velvet cake should never contain artificial color. If you’re using red food color, you’re doing it wrong. The color should come from cocoa powder and buttermilk, or vinegar, or both. The truth is that the red in red velvet cake needs a boost, but not from food color. Along with the cocoa and acid reaction, an additional boost of red should come from red wine. Actually it should come from beet juice.

Red velvet cake should have a very specific flavor profile that should not be messed with. It seems that red velvet cake is supposed to be a mildly chocolatey cocoa cake, since the red color comes mostly from natural cocoa’s reaction with acidic ingredients. Also, red velvet cake should have only a very slight, almost indistinguishable, cocoa flavor, since the color of this cake should be the star and too much cocoa would muddy the color. At the same time, recipes for red velvet cake should never contain any cocoa powder. Red velvet cake is a bright red buttermilk cake and cocoa would ruin both the color and flavor of this beloved cake.

The one thing I thought everyone agreed on was the icing. Everyone knows that red velvet cake calls for tangy cream cheese icing, always. Well, yeah. It turns out that some people think that the OG icing for red velvet was ermine icing, also known as butter roux icing, or boiled milk icing.

red velvet cake with ermine icing | Brooklyn Homemaker

Once I started weeding through the conflicting stories and varied rules and recipes, I started to uncover some facts. It seems that the name most likely evolved as the public’s tastes in sweets were changing at the turn of the last century. At first the name was mostly symbolic and never really had anything to do with the color of the cake.

In the late 1800s what we know as brown sugar used to be commonly known as red sugar. Any cake that used finely ground cake flour and had a fine crumb was referred to as a “Velvet” cake. So, at that time any cake with “red sugar” and fine cake flour could be referred to as a red velvet, but no one was really going crazy for red velvet yet, and there is little evidence of any printed recipes for anything like what we have today. At that time natural cocoa was the most commonly available cocoa on the market. Unlike today’s more common dutch process cocoa, the PH of natural cocoa does cause a chemical reaction with acid causing a very slight reddish hue. Devil’s food cake made with natural cocoa would have a slight reddish hue to the deep dark chocolate cake, and that is most likely the origin of that name. Red velvet cake is devil’s food’s less chocolatey cousin, but again, the cake was never really RED. At the time, these cocoa cakes were often referred to as “mahogany cakes”.

It wasn’t until the depression that red velvet cake turned truly red. Food additive and extract companies were struggling at the time because most Americans were cutting back on such luxury items. As a way to boost sales, the Adams Extract Company started marketing their food coloring and flavorings by giving out recipes for a truly red red velvet cake, complete with color photo, in grocery stores. That was when red velvet started taking off, especially in the south. The popularity waxed and waned for generations, and then there was the groom’s cake in Steel Magnolias. Boom. Everyone knew and wanted red velvet. And then a decade or so later, the cupcakes shops started popping up and pushing the red velvet on us.

red velvet cake with ermine icing | Brooklyn Homemaker

I’m no historian, and I don’t claim to know that any of what I’ve read is the absolute truth, but this seems like the most likely story. Unfortunately I haven’t been able to dig up the depression era recipe that made red velvet the popular cake that it is today. So, the “real” recipe still seems to be something of a mystery, but based on the history I think that natural cocoa is as important to the recipe as the red food color.

red velvet cake with ermine icing | Brooklyn Homemaker

Another point of contention is the icing. I’d always heard, and believed, that cream cheese was king when it came to red velvet cakes, and I was shocked to find out that this wasn’t always so. Cream cheese icing wasn’t really common with red velvet until the mid-twentieth century. Before that the traditional topping for red velvet was a creamy and light icing made by cooking milk and flour together, and whipping into creamed sugar and butter. It can be called Butter Roux frosting or Ermine frosting. In the south this icing was very popular because it’s whipped texture is similar to whipped cream, but it’s much more heat stable and keeps better.

red velvet cake with ermine icing | Brooklyn Homemaker

When I set out to bake my first red velvet cake, I knew I had plenty of recipes to choose from but had to decide which one would produce the cake that I wanted to end up with. I kept going back to natural cocoa and buttermilk but decided that adding red color was just fine with me. So, I checked in with my favorite food blog, Smitten Kitchen, and guess what, she had a recipe that sounded like exactly what I was looking for. I also decided I wanted to ditch the cream cheese icing and go back to the traditional ermine icing.

This recipe calls for a LOT of red food color. At first I thought it might be a typo. It’s not. Since there is more cocoa in this recipe than most, a lot of food color is needed to bring the red forward over the brown. Well. This cake is red alright. The batter before baking is literally beet red. It gets a bit darker in the oven, but even still, the finished cake is a deep dark RED. Pretty much the color you’d see if you sliced into an armadillo. Just sayin’.

red velvet cake with ermine icing | Brooklyn Homemaker

As a former red velvet naysayer, I have to admit that this cake is pretty amazing. The texture is perfect, super moist, with a very delicate light & fluffy crumb from the cake flour. You can definitely taste the cocoa, even though it doesn’t really scream chocolate. It also has a really pleasant delicate tang from the buttermilk and vinegar, which I think would be completely lost if I’d gone with the modern traditional cream cheese icing instead of the ermine. I totally love this icing, btw. It’s much easier to make than a meringue buttercream, but has a very similar stability, mouth feel and texture. It is easy to work with, frosts smoothly and tastes whipped, creamy, light and just sweet enough.

To be perfectly honest, if I’m going to make a cocoa cake I’d like even more chocolate flavor, and even though it’s kind of fun, the amount of food color that goes into this recipe makes me ever-so-slightly uncomfortable. If I’m baking a cake for me, I think I’d rather go for a devil’s food cake, which I think would be delicious (and beautiful) with this same icing. But for special occasions, or for people who love red velvet, this cake is a force to be reckoned with. Perfectly moist & fluffy, with just enough cocoa and buttermilk, and red red RED!

red velvet cake with ermine icing | Brooklyn Homemaker

Red Velvet Cake

  • Servings: makes one 3 layer 8 inch cake, feeds 12-16ish
  • Print
adapted from Smitten Kitchen

2 tablespoons butter
3 1/2 cups cake flour
1/2 cup unsweetened natural cocoa (not Dutch process)
1 1/2 teaspoons salt
2 cups peanut or canola oil
2 1/4 cups granulated sugar
3 large eggs
6 tablespoons (3 ounces) red food coloring (or 1 teaspoon red gel food coloring dissolved in 6 tablespoons of water)
1 1/2 teaspoons vanilla
1 1/4 cup buttermilk
2 teaspoons baking soda
1 tablespoon white vinegar

Preheat oven to 350 degrees. Place teaspoon of butter in each of 3 round 8-inch layer cake pans and place pans in oven for a few minutes until butter melts. Remove pans from oven, brush interior bottom and sides of each with butter and line bottoms with parchment.

Whisk cake flour, cocoa and salt in a bowl.

Place oil and sugar in bowl of an electric mixer and beat at medium speed until well-blended. Beat in eggs one at a time. With machine on low, very slowly add red food coloring, being careful it doesn’t splash. Add vanilla. Add flour mixture alternately with buttermilk in two batches. Scrape down bowl and beat just long enough to combine.

Place baking soda in a small dish, stir in vinegar and add to batter with machine running. Beat for 10 seconds.

Divide batter among pans, place in oven and bake until a cake tester comes out clean, 40 to 45 minutes. Let cool in pans 20 minutes. Then remove from pans, flip layers over and peel off parchment. Cool completely, and level layers with a cake leveler or sharp bread knife. Fill and crumb coat with ermine icing, and place in refrigerator for 30 minutes or more. Then ice and decorate as desired with remaining icing.

Ermine Icing
adapted from Tasty Kitchen 

7  tablespoons flour
1 1/2 cups milk
2  teaspoons vanilla
1 1/2 cup softened unsalted butter
1 1/2 cup Granulated Sugar

In a small saucepan, whisk flour into milk and heat, stirring constantly, until it thickens. You want it to be very thick, almost like brownie batter. Remove from heat and let it cool to room temperature. It must be completely cool before you use it in the next step. Stir in vanilla.

While the mixture is cooling, cream the butter and sugar together until light and fluffy. You don’t want any sugar graininess left. Then add the completely cooled milk/flour/vanilla mixture and beat the living daylights out of it. If it looks separated, you haven’t beaten it enough! Beat it until it all combines and resembles whipped cream.