Author: Tux | Brooklyn Homemaker

A food and lifestyle blog focused on gussied up american classics, baked goods with a history, and schnauzer babies.

cowboy cookies

You probably don’t know this, but there’s a big sports thing happening tomorrow. It’s called the Super Bowl.

cowboy cookies | Brooklyn Homemaker

I’m not at all a sports fan, especially when it comes to football, but I sure as hell am a food fan. The Super Bowl is an event that manages to combine food and sports in a big way. Actually, it’s the only sporting event I can think of that inspires people to go completely crazy when it comes to food. Some people put more effort into their Super Bowl spread than they do Thanksgiving dinner, and for the past week or more there have been recipes for chicken wings and dips and sandwiches and all kinds of indulgences coming at me from all angles. The 7 layer dip has turned into a 40 layer dip, and the cold cut tray has been replaced by the “snackadium.” If you’re not already in the know, a snackadium is a football-stadium-shaped buffet with sandwiches, chips, pretzels, chicken wings, et al as the stands, guacamole as the playing field, and other dips as the end zones. I mean, I love buffalo wings as much as the next guy, but the idea of spending that much time, money and effort on a sandwich platter is ludicrous to me. Especially since I don’t even care about watching the game. I’ll save that effort for Thanksgiving, thankyouverymuch.

cowboy cookies | Brooklyn Homemaker

The one and only time I’ve tried to get involved in the chaos was when I was really young. So young in fact, that I can’t even remember who was playing that year. I think it must have been 1994, the second year in a row that the Buffalo Bills played, and lost, against the Dallas Cowboys. Since I grew up in upstate New York, the Bills playing in the Super Bowl was a big deal. I remember though, that that that year I was rooting for the Cowboys because they had prettier cheerleaders. That’s how my gay little head worked back then (and still does). The one thing I definitely can remember about that year is that all the men in my family were really excited and I wanted to participate in any way that I could. So, instead of learning more about football and getting excited about the actual game, I decided to make a cake with my grandmother. In the spirit of the snackadium that wouldn’t even be invented for at least another decade, I wanted my cake to look like a football field. We colored the icing green, used a squeeze tube of white icing gel to make lines on the field, and used appropriately colored m&ms as the players.

cowboy cookies | Brooklyn Homemaker

I was beaming with pride when we piled into the truck, cake in hand, to go to dad’s friend’s house to watch the game. As you can probably imagine, my dad’s friends were not half as interested in my cake as they were the snoozefest happening on the TV. Try as I might, I couldn’t get into the game itself, and was bored to tears. There are too many weird rules in football for me to be able grasp what was supposed to be going on, and trying to make sense of this game made me sleepy. The evening wasn’t a total loss for me though, there was cake to eat after all.

cowboy cookies | Brooklyn Homemaker

Fast forward twenty years, and all the hype is getting to me again. Every day on TV we’re inundated with game day recipes and snackadium how-to’s. Even the food section of Pinterest is getting in on the action. So, even though I have no intention of watching the game (There are SVU and Sex in the City marathons on), I decided to give in and make something salty, indulgent, and decidedly unhealthy. Russell is out of his mind and doesn’t like chicken wings, so I figured I’d go for something sweet. I found exactly what I was looking for in one of my favorite cookbooks, Baked Explorations, written by the owners of Baked in Red Hook.
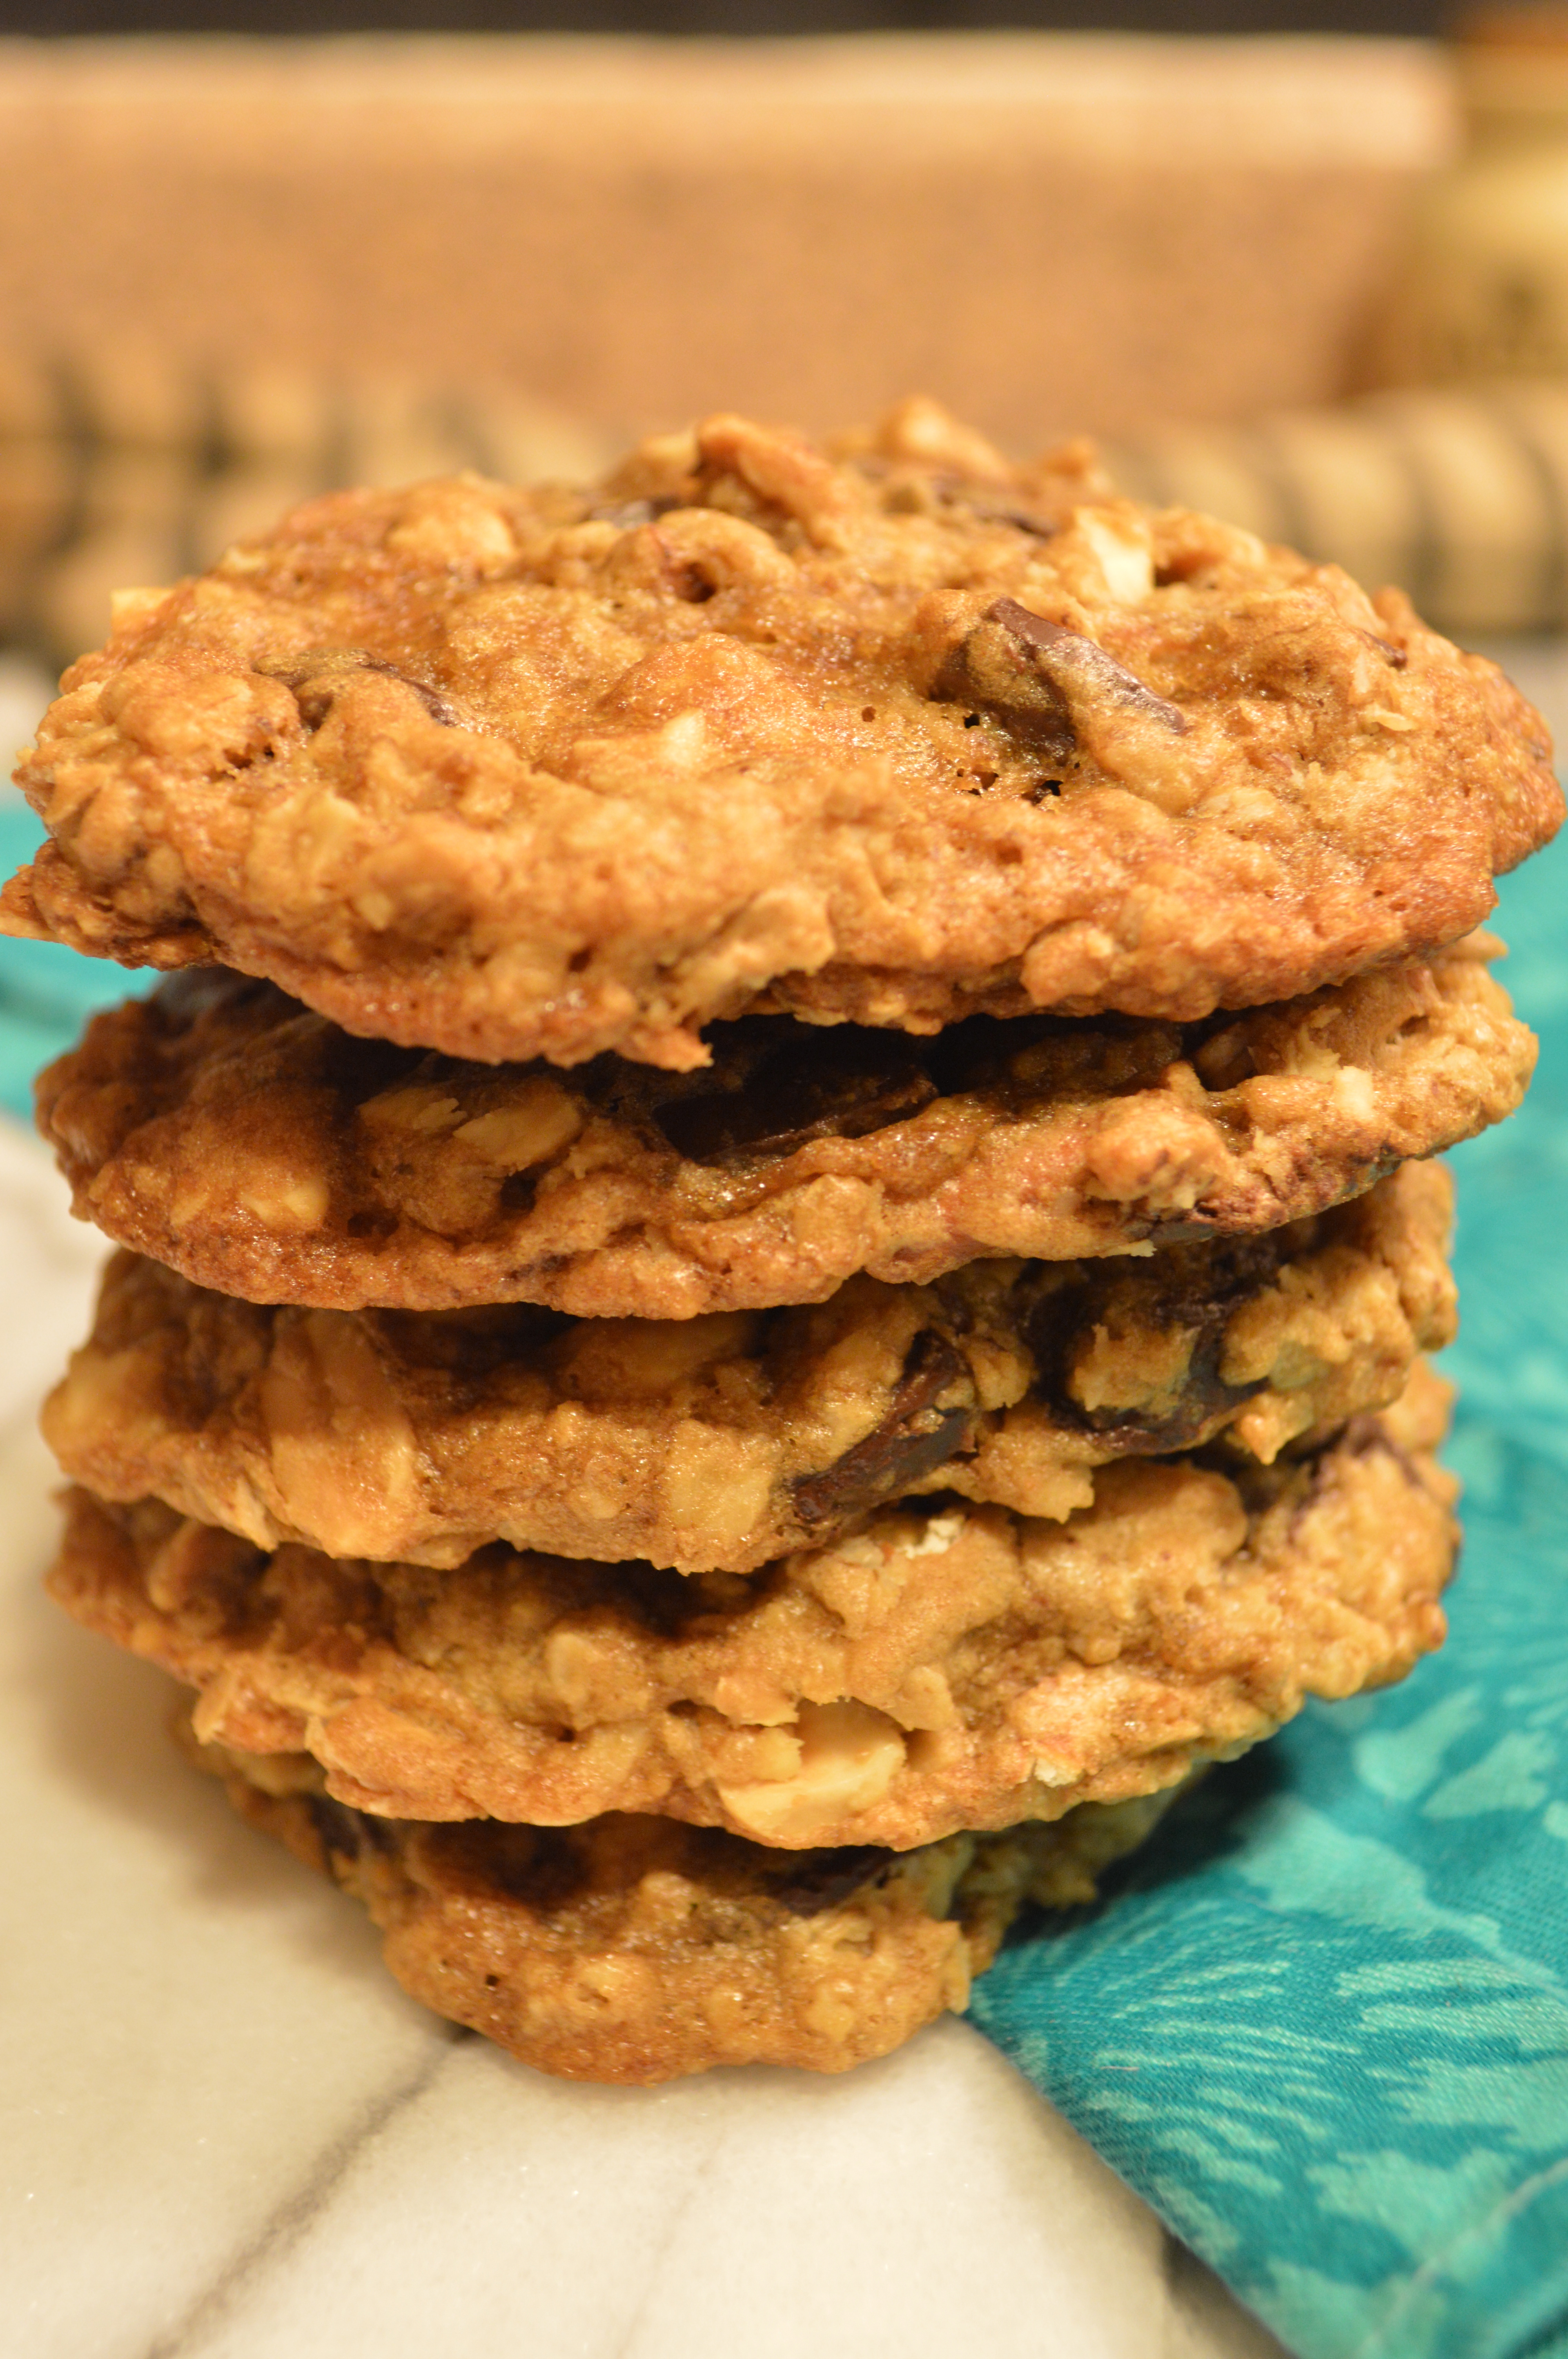
Cowboy cookies!

DSC_0095

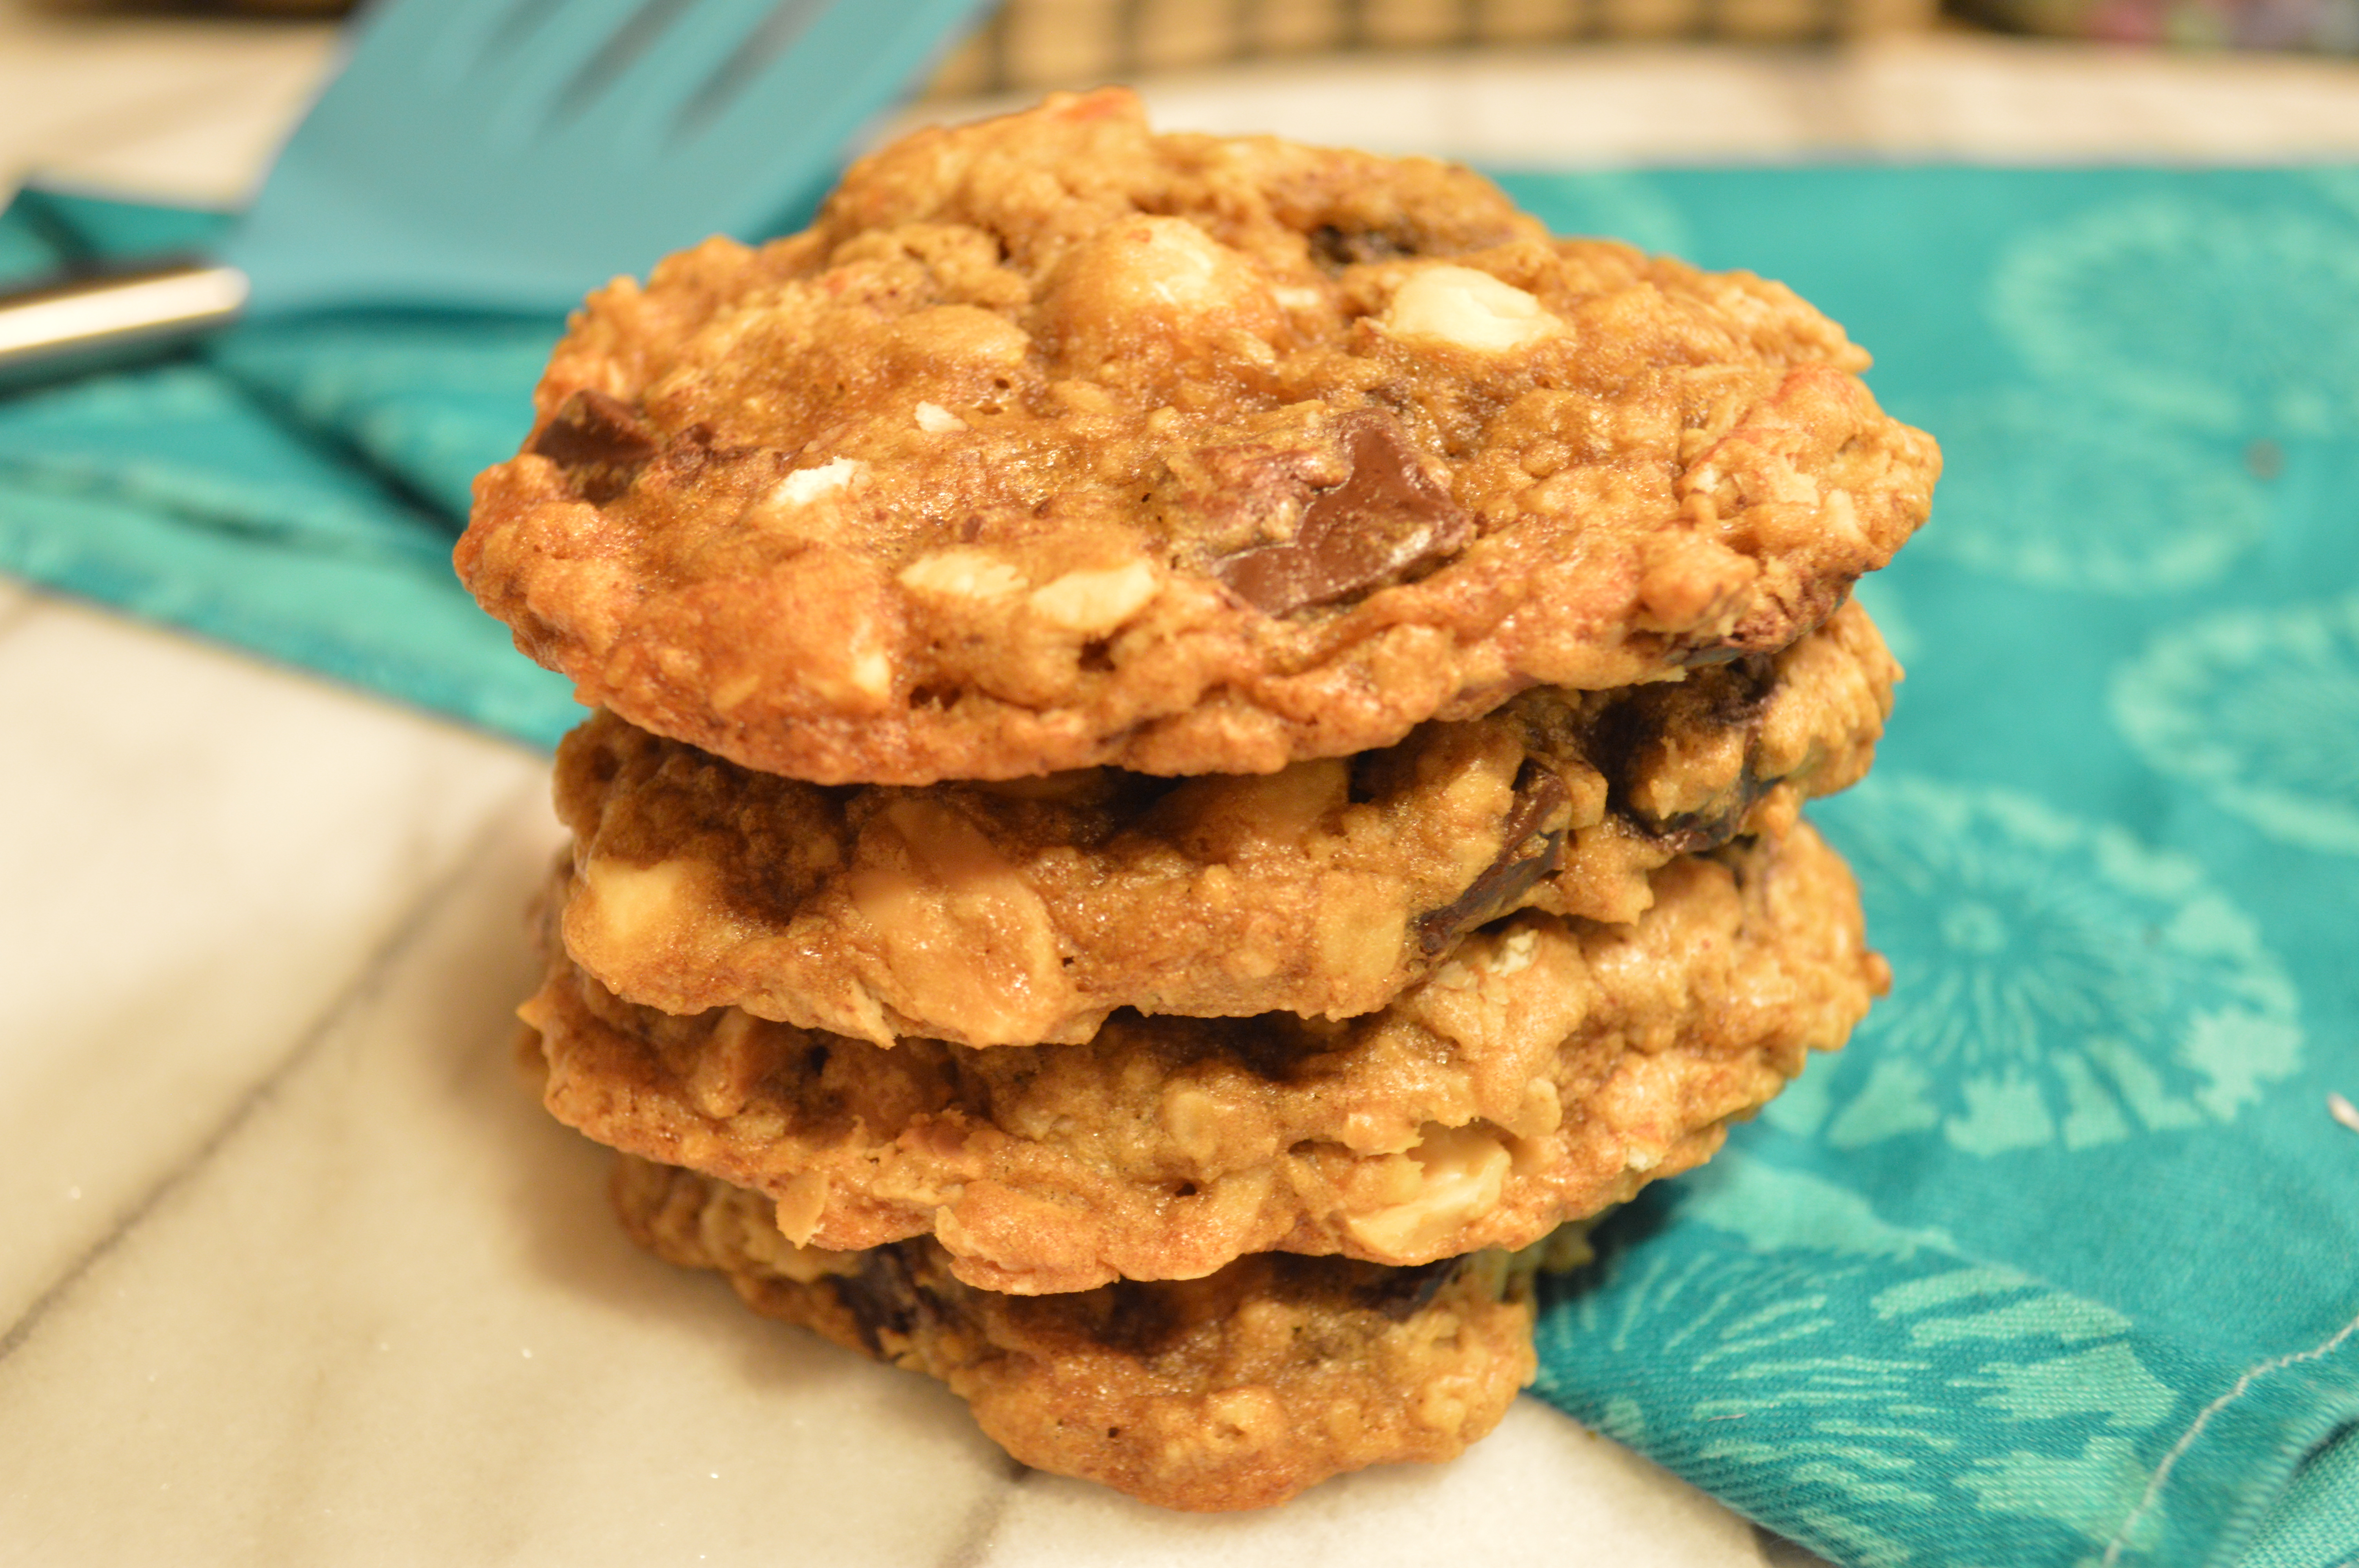
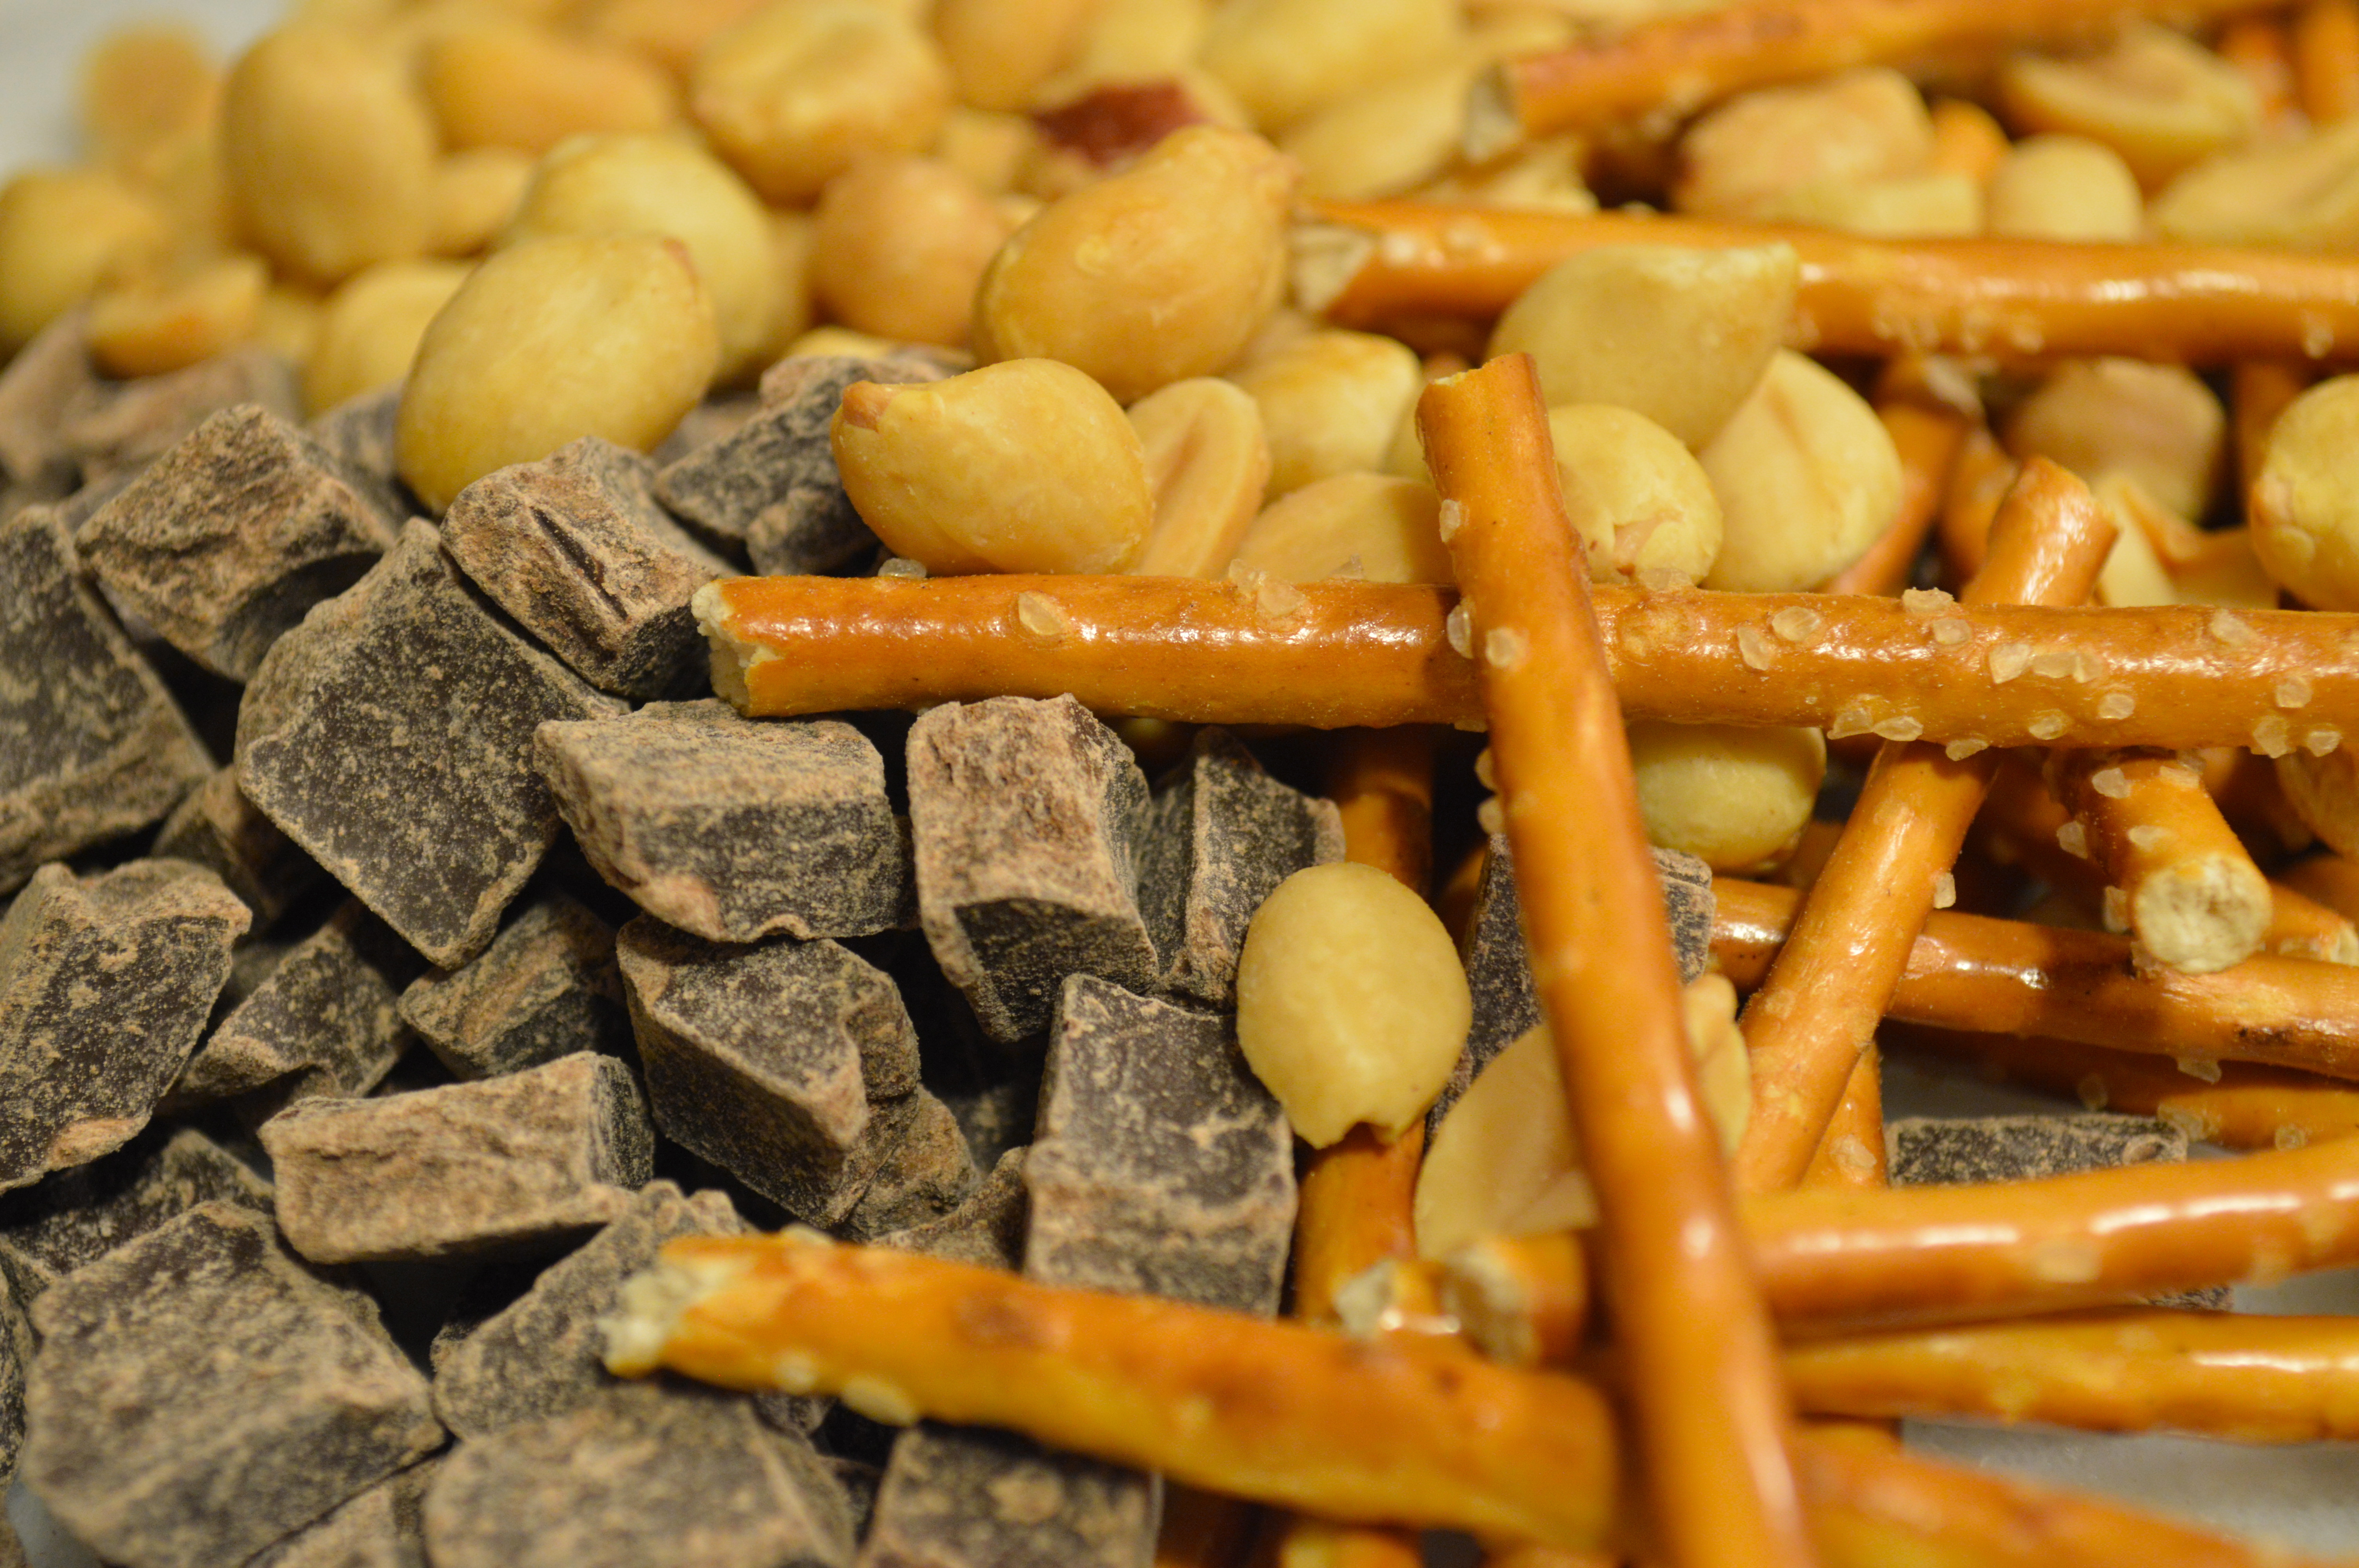
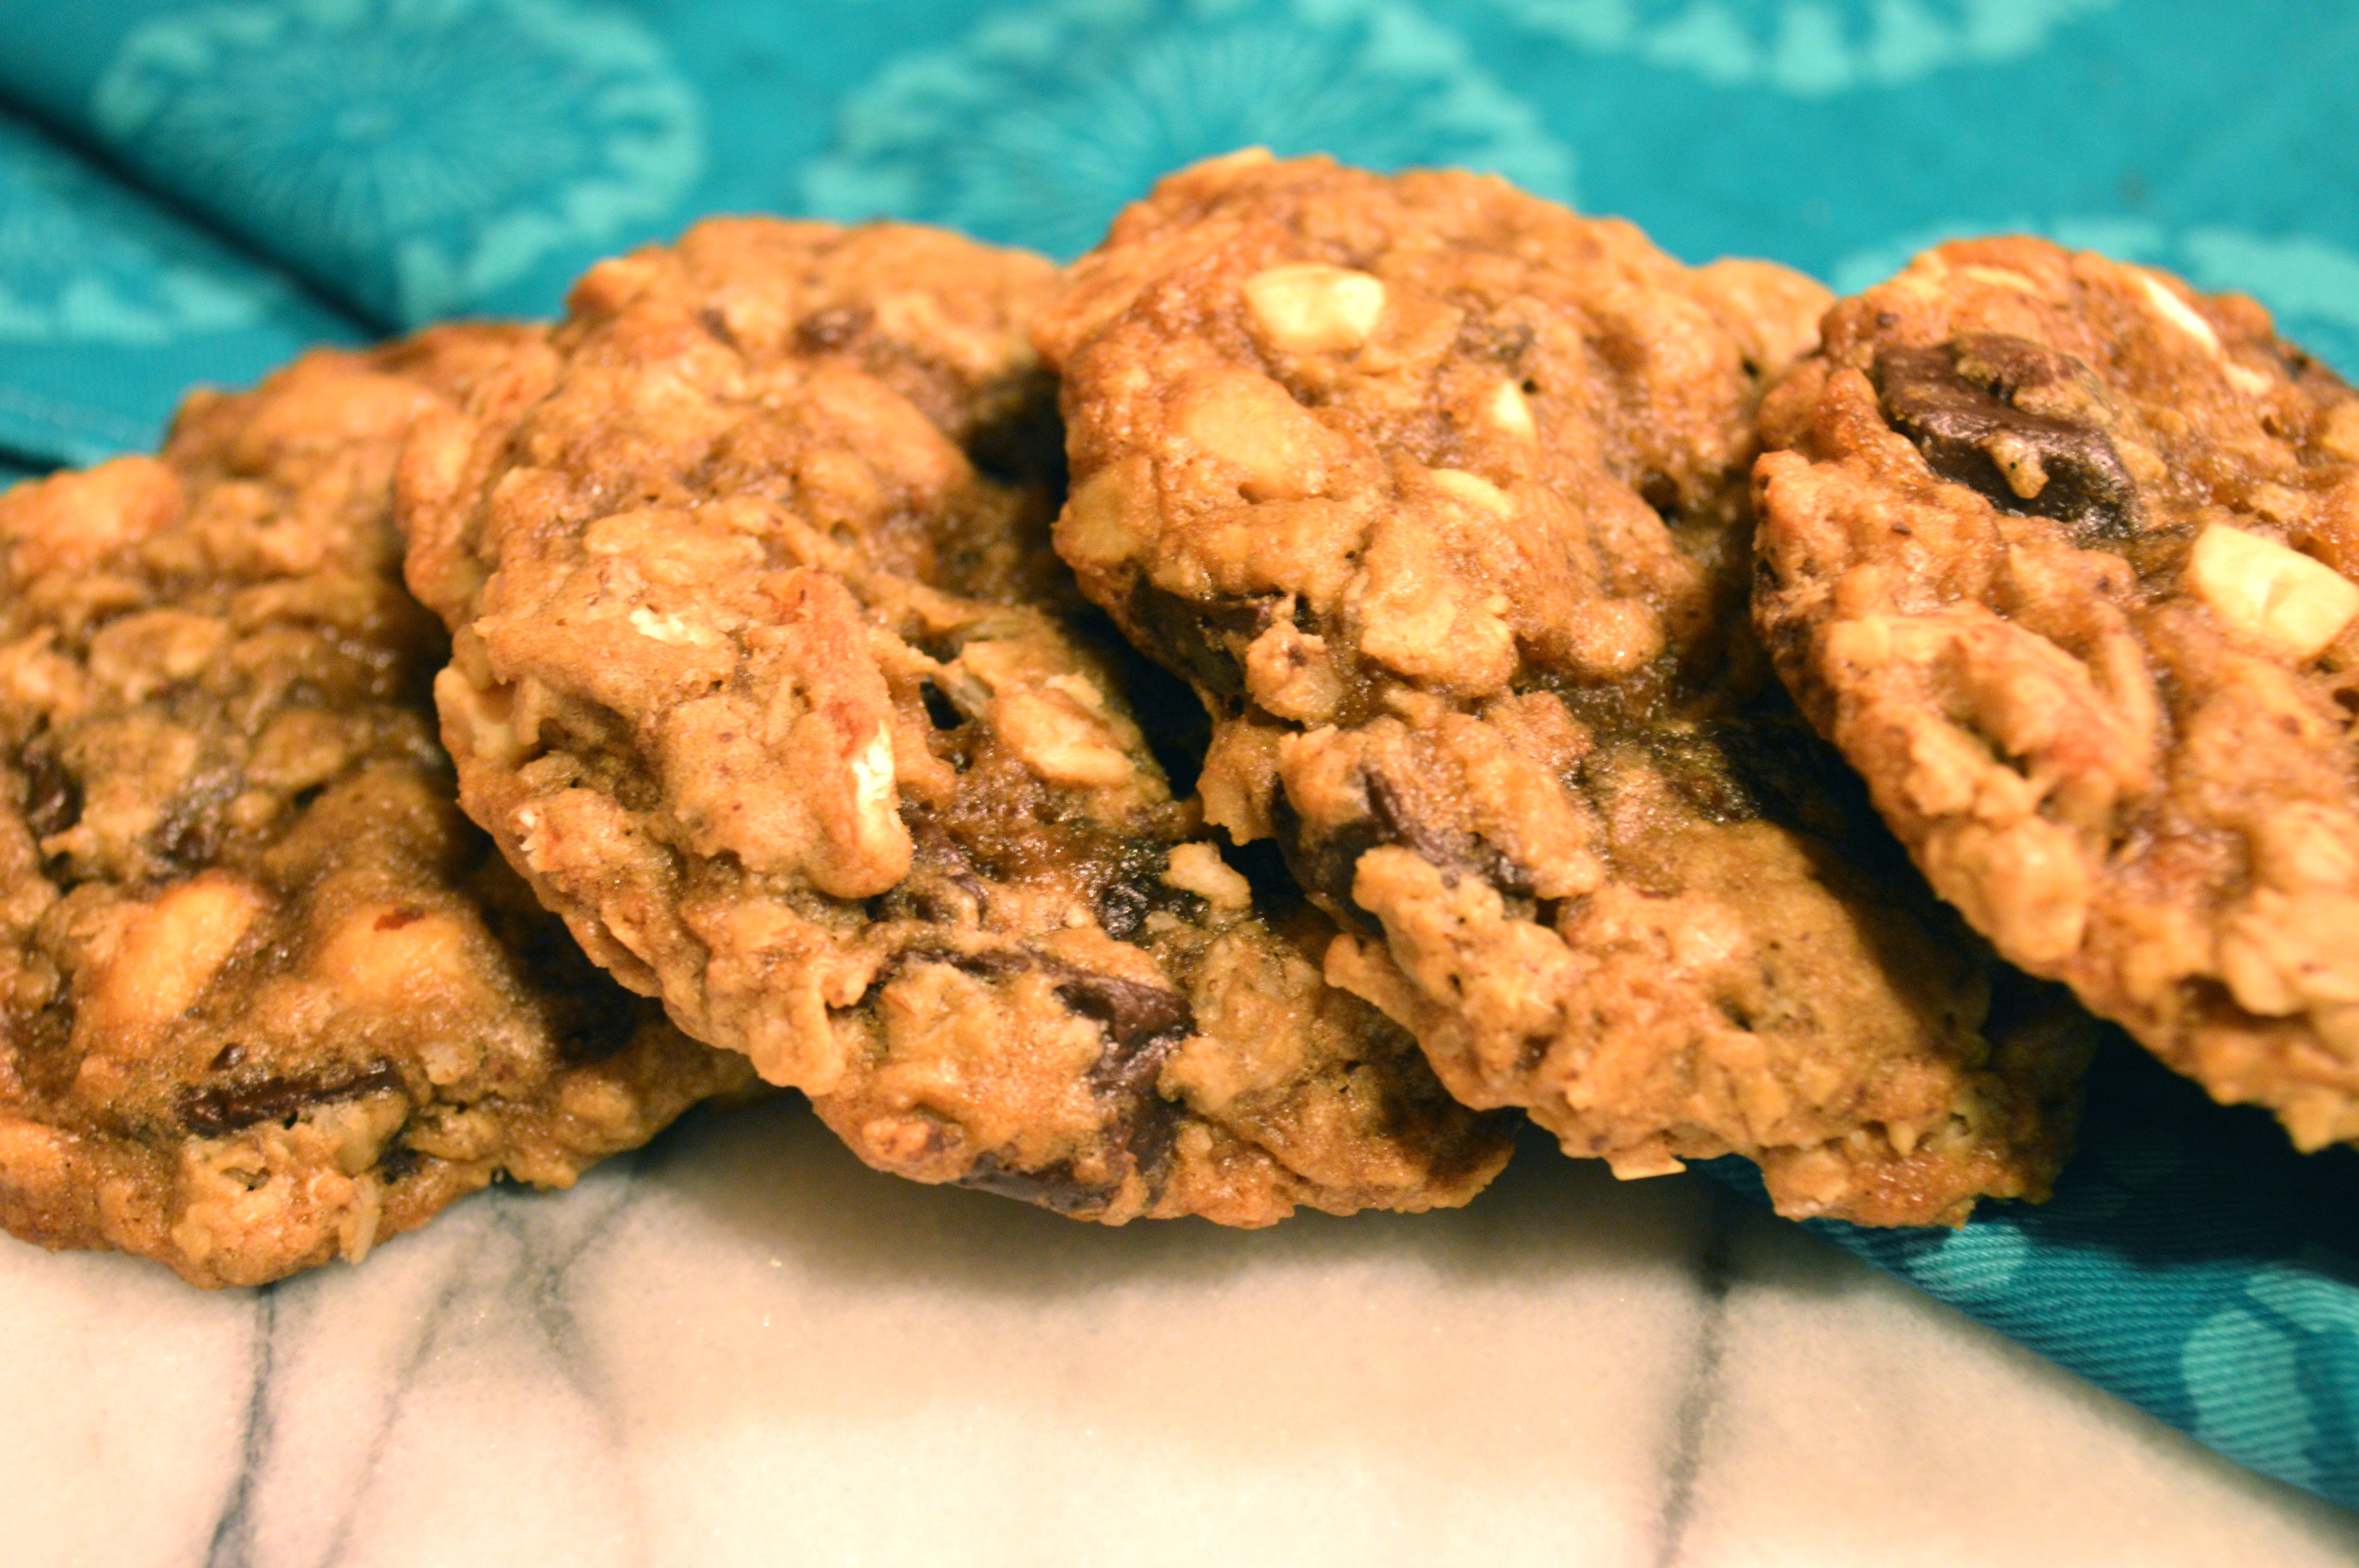
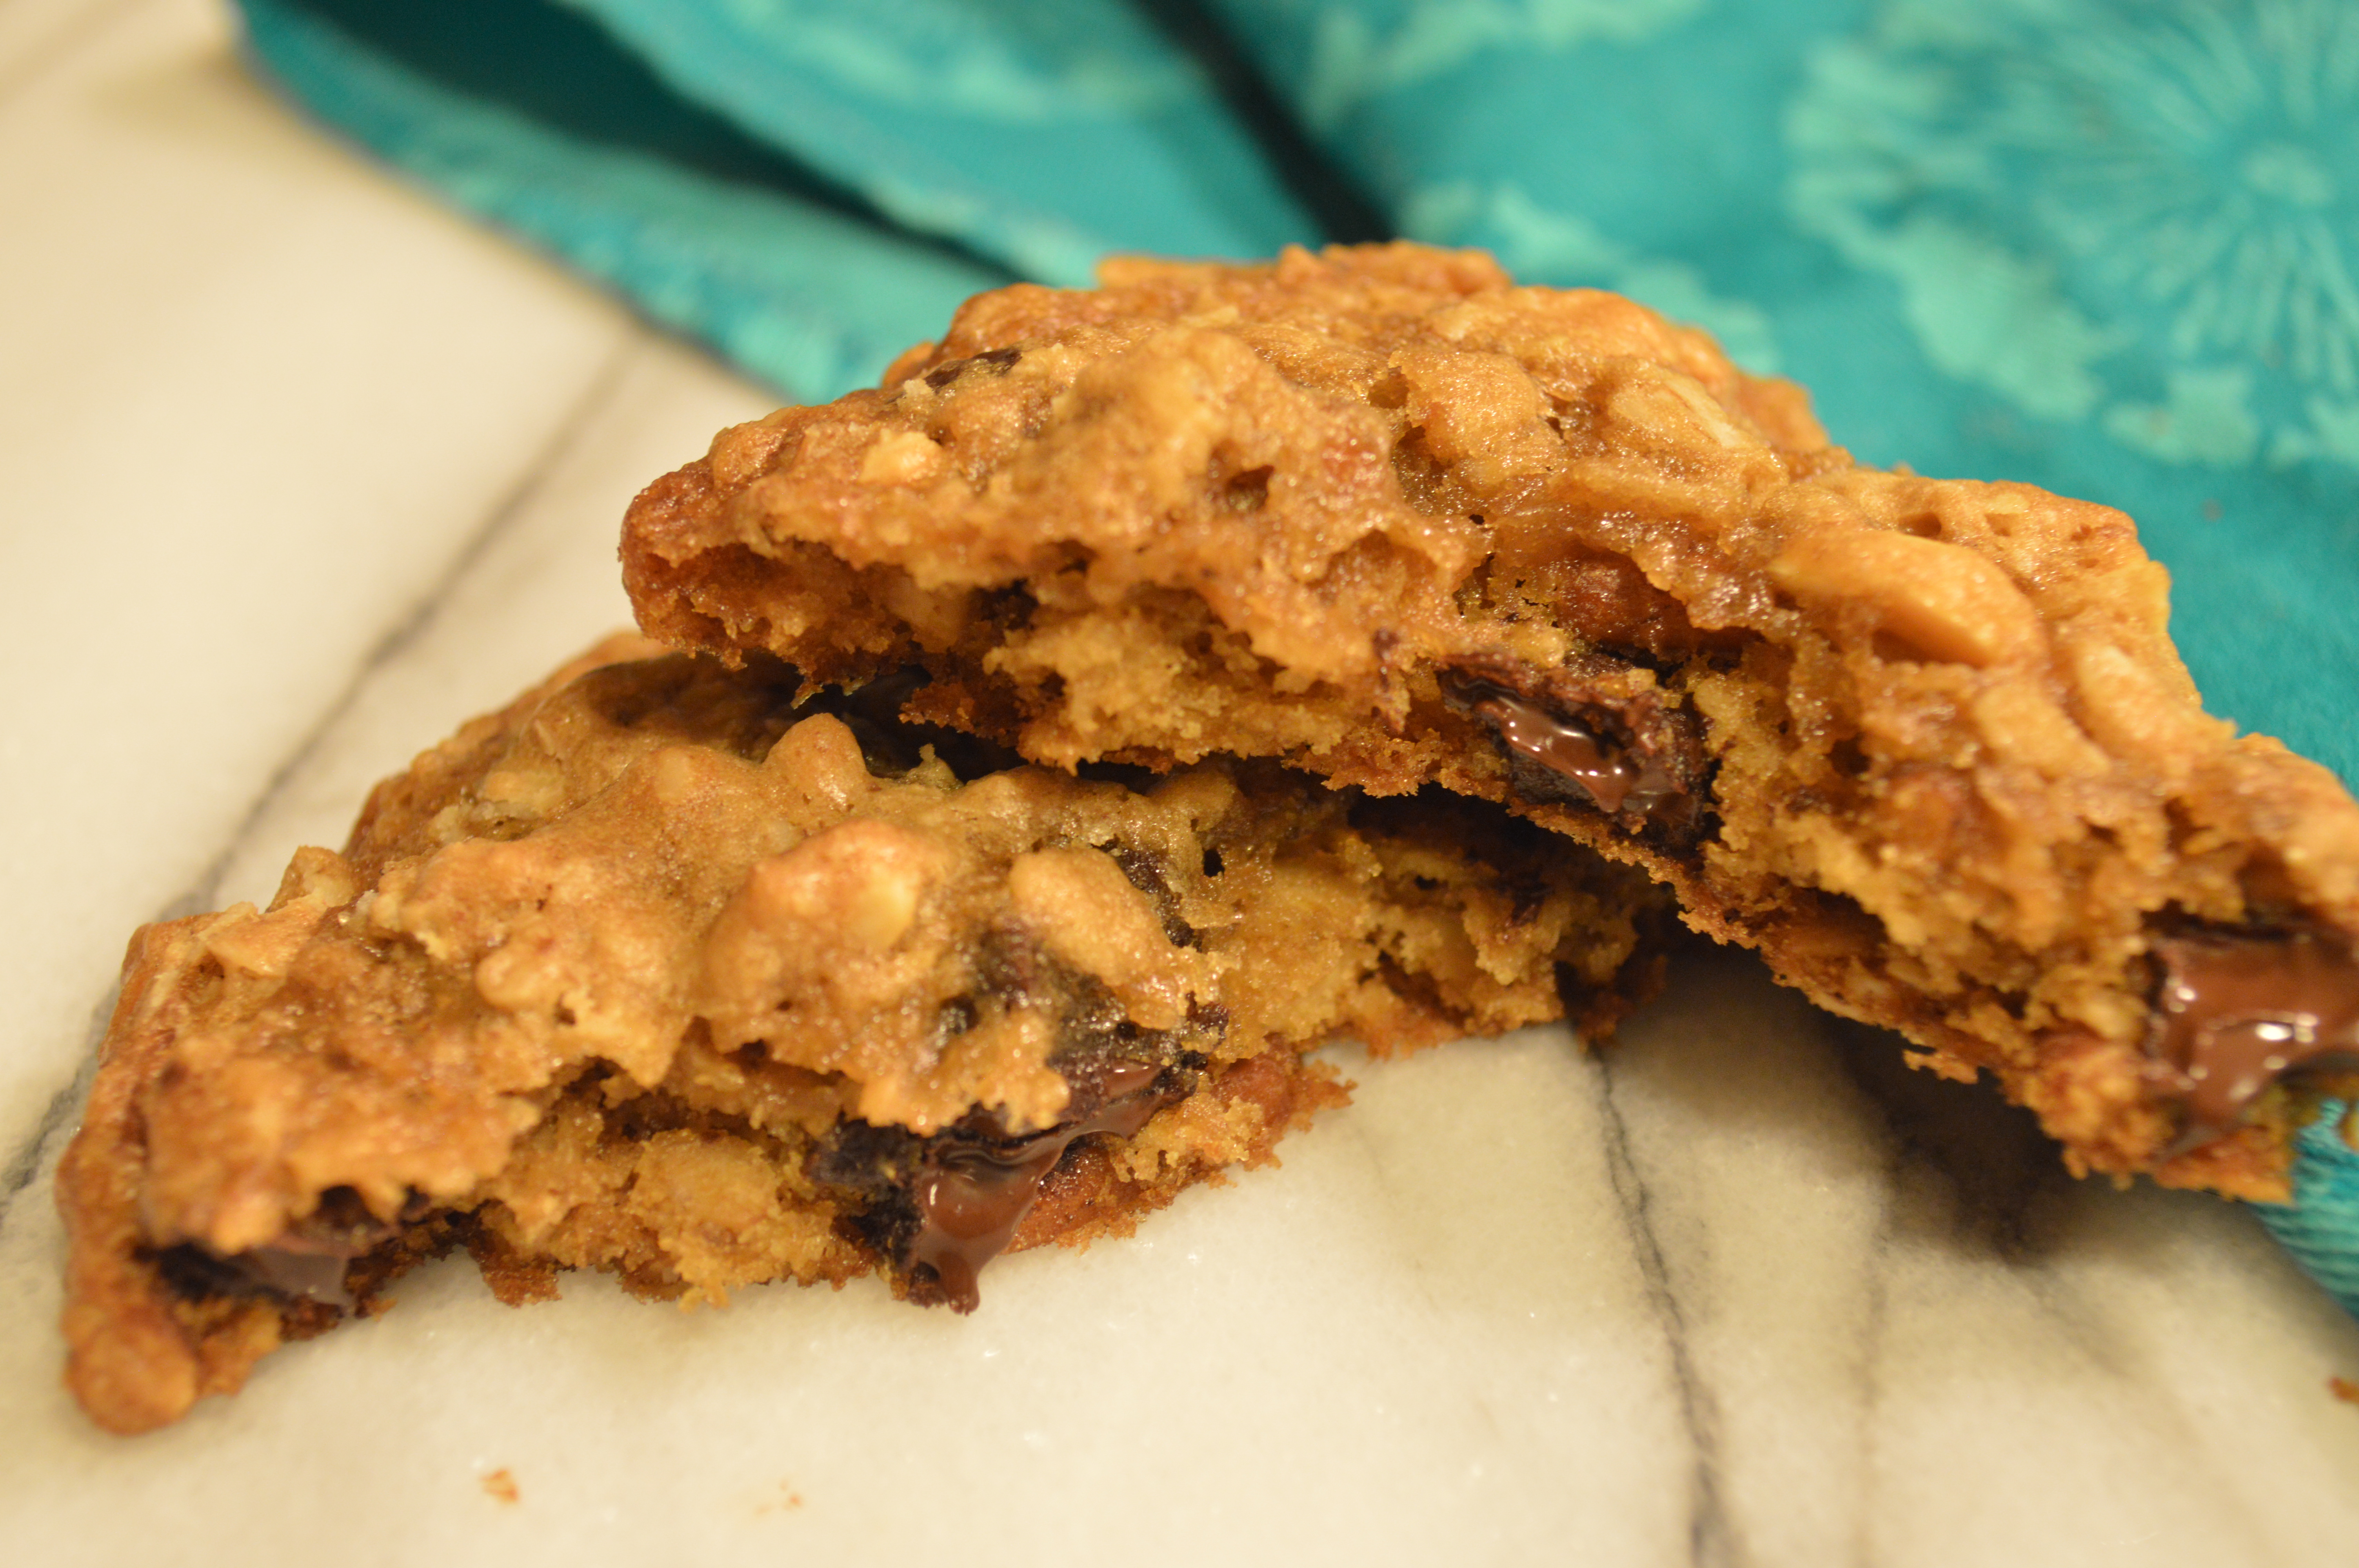
These cookies have it all! Chocolate, sweet, salty, crunchy, chewy. They’re pretty darned amazing. These are basically gussied up oatmeal cookies, but they’re crazy good and chock full of all kinds of fun stuff. I understand that there are a lot of different versions of this cookie, some with peanut butter, some with coconut, some with pecans or walnuts. To be honest though, I’ve never had any of those versions. This is my first crack at a cowboy cookie, but I think this recipe is perfect without being over the top. These cookies have chocolate chunks, salty pretzels, crunchy roasted peanuts, and even coffee!!!  I added the peanuts to the recipe myself because I recently had some “cowboy bark” that encased chocolate cookies, peanuts and pretzels together in chocolate. Wowzah. So I thought they’d be welcome addition to this crazy mix.

cowboy cookies | Brooklyn Homemaker

I was kind of wondering exactly why they were called “cowboy cookies” and I tried to find the origins of this cookie, but wasn’t really able to find any history. The one thing I was able to turn up is the idea that they’re basically a cookie version of trail mix. Whatever the origins are, I’m glad that someone thought this cookie up.

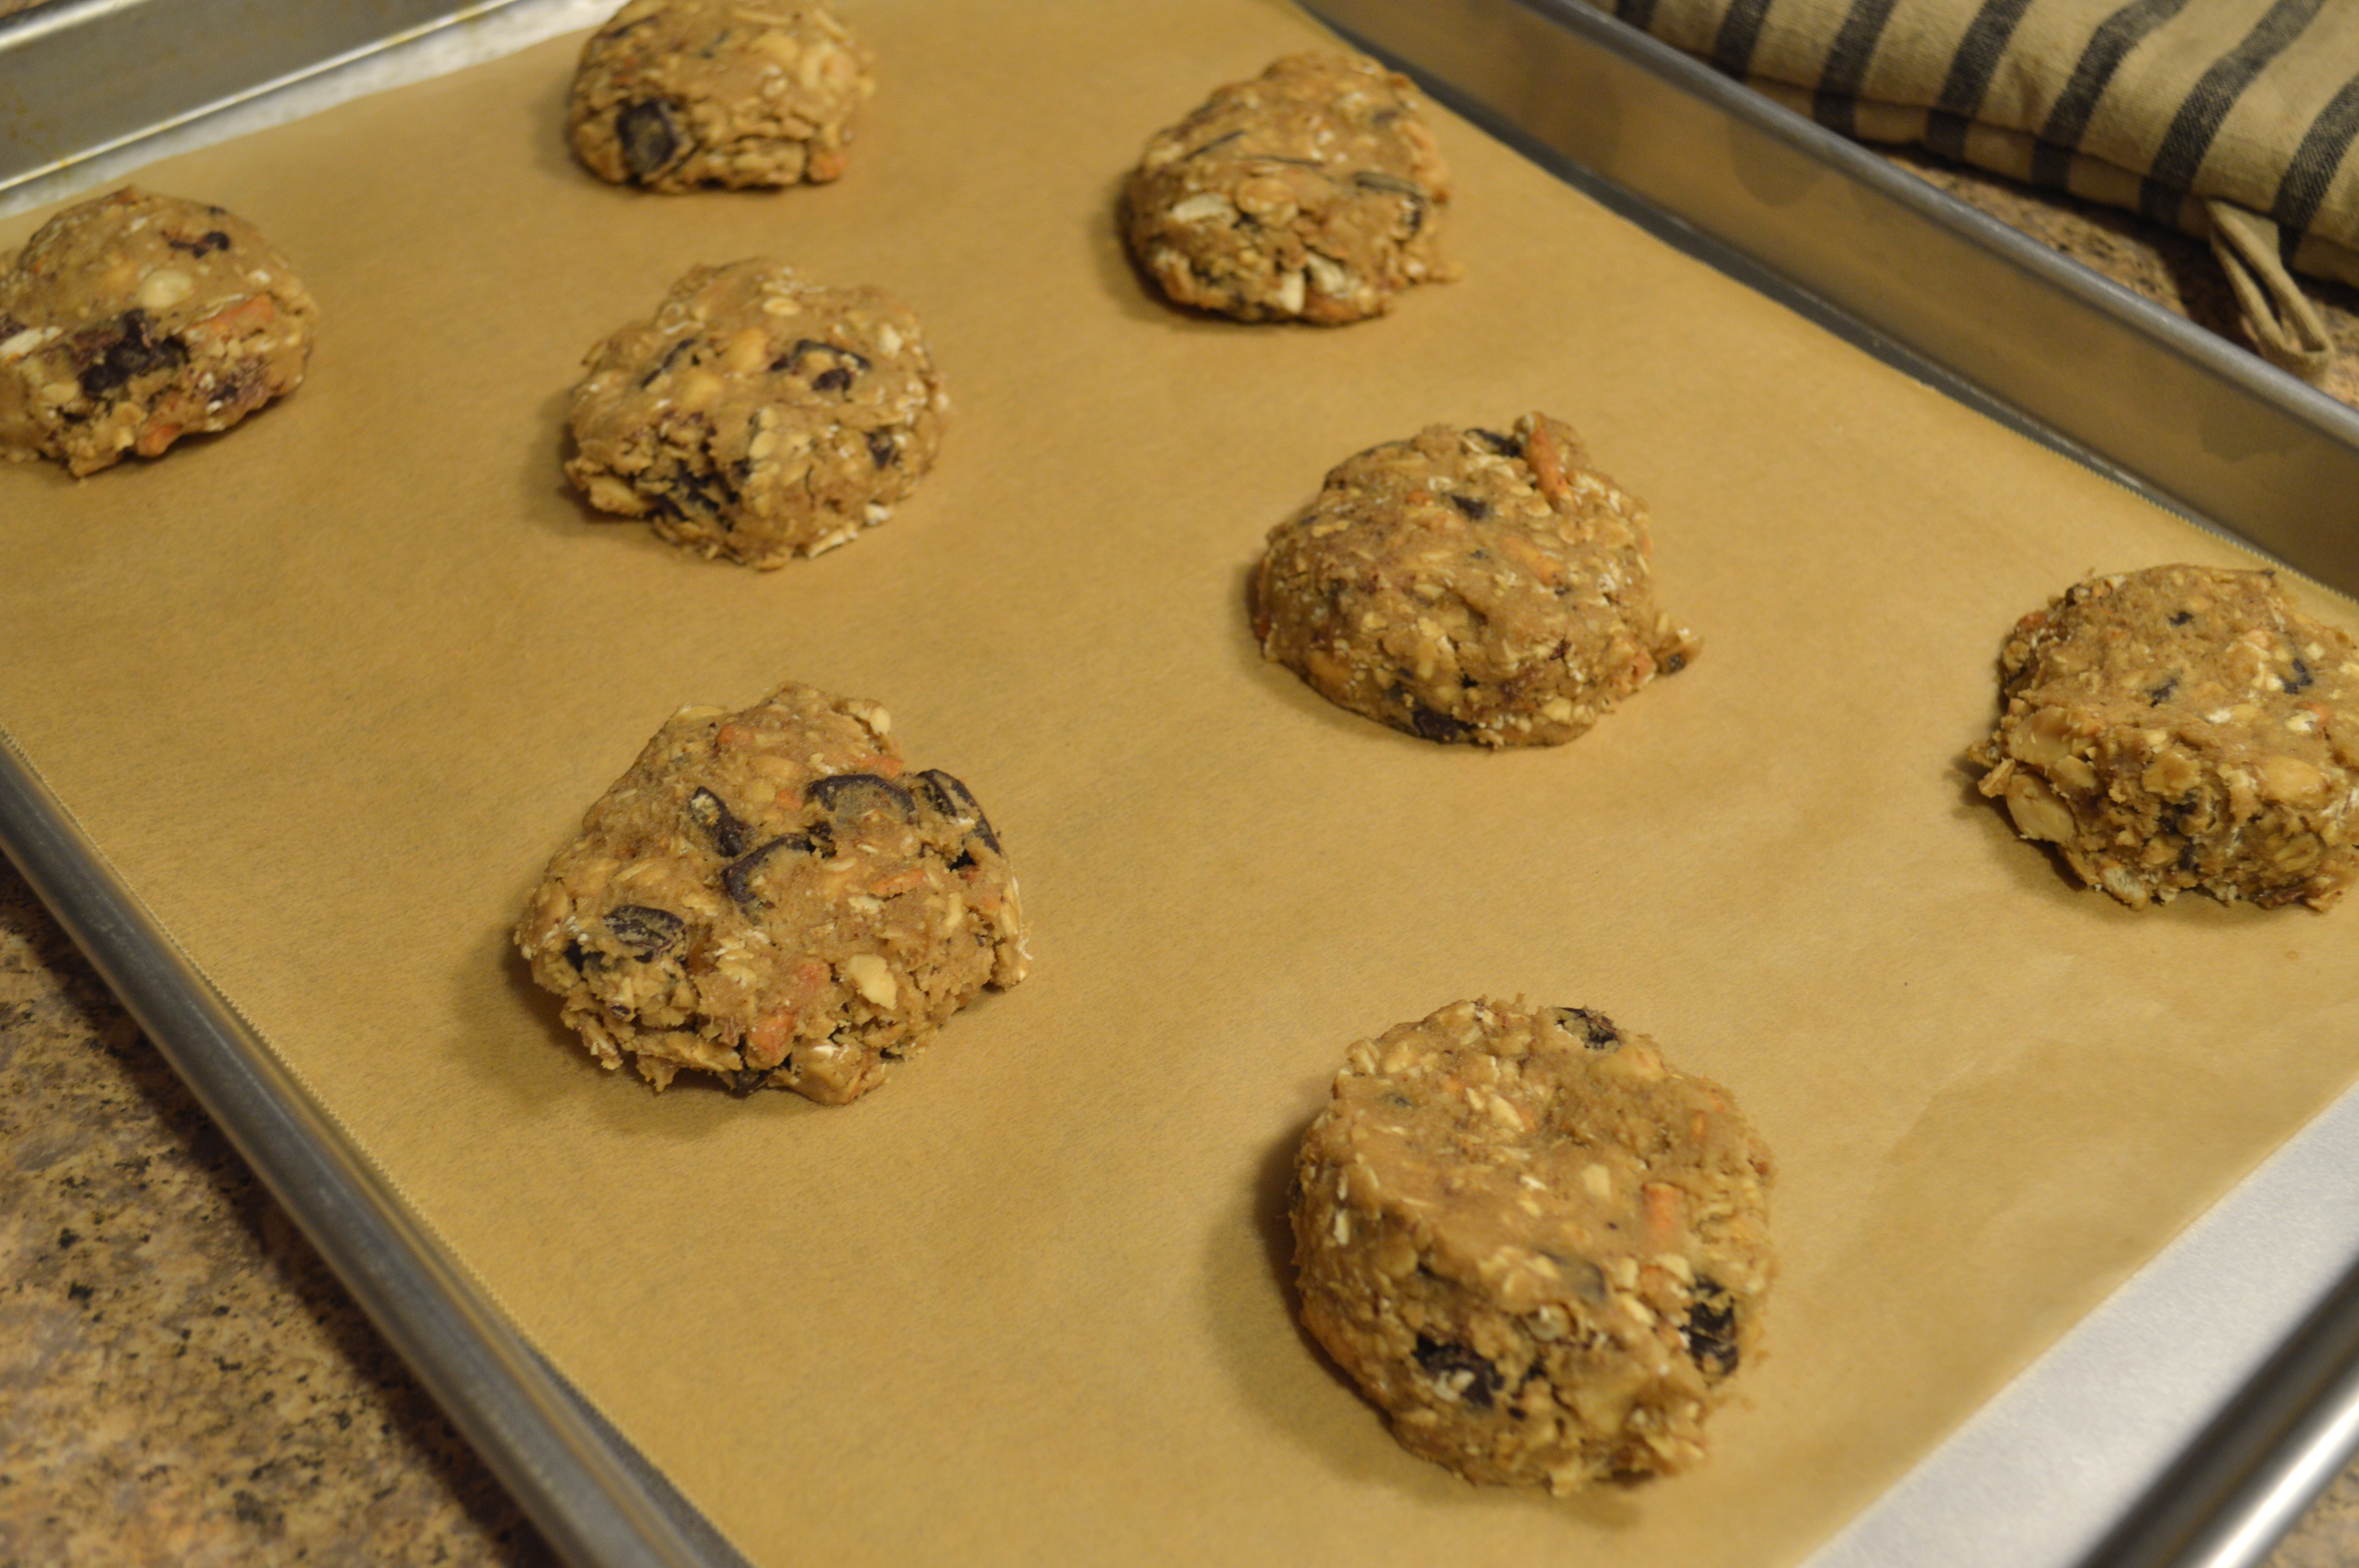
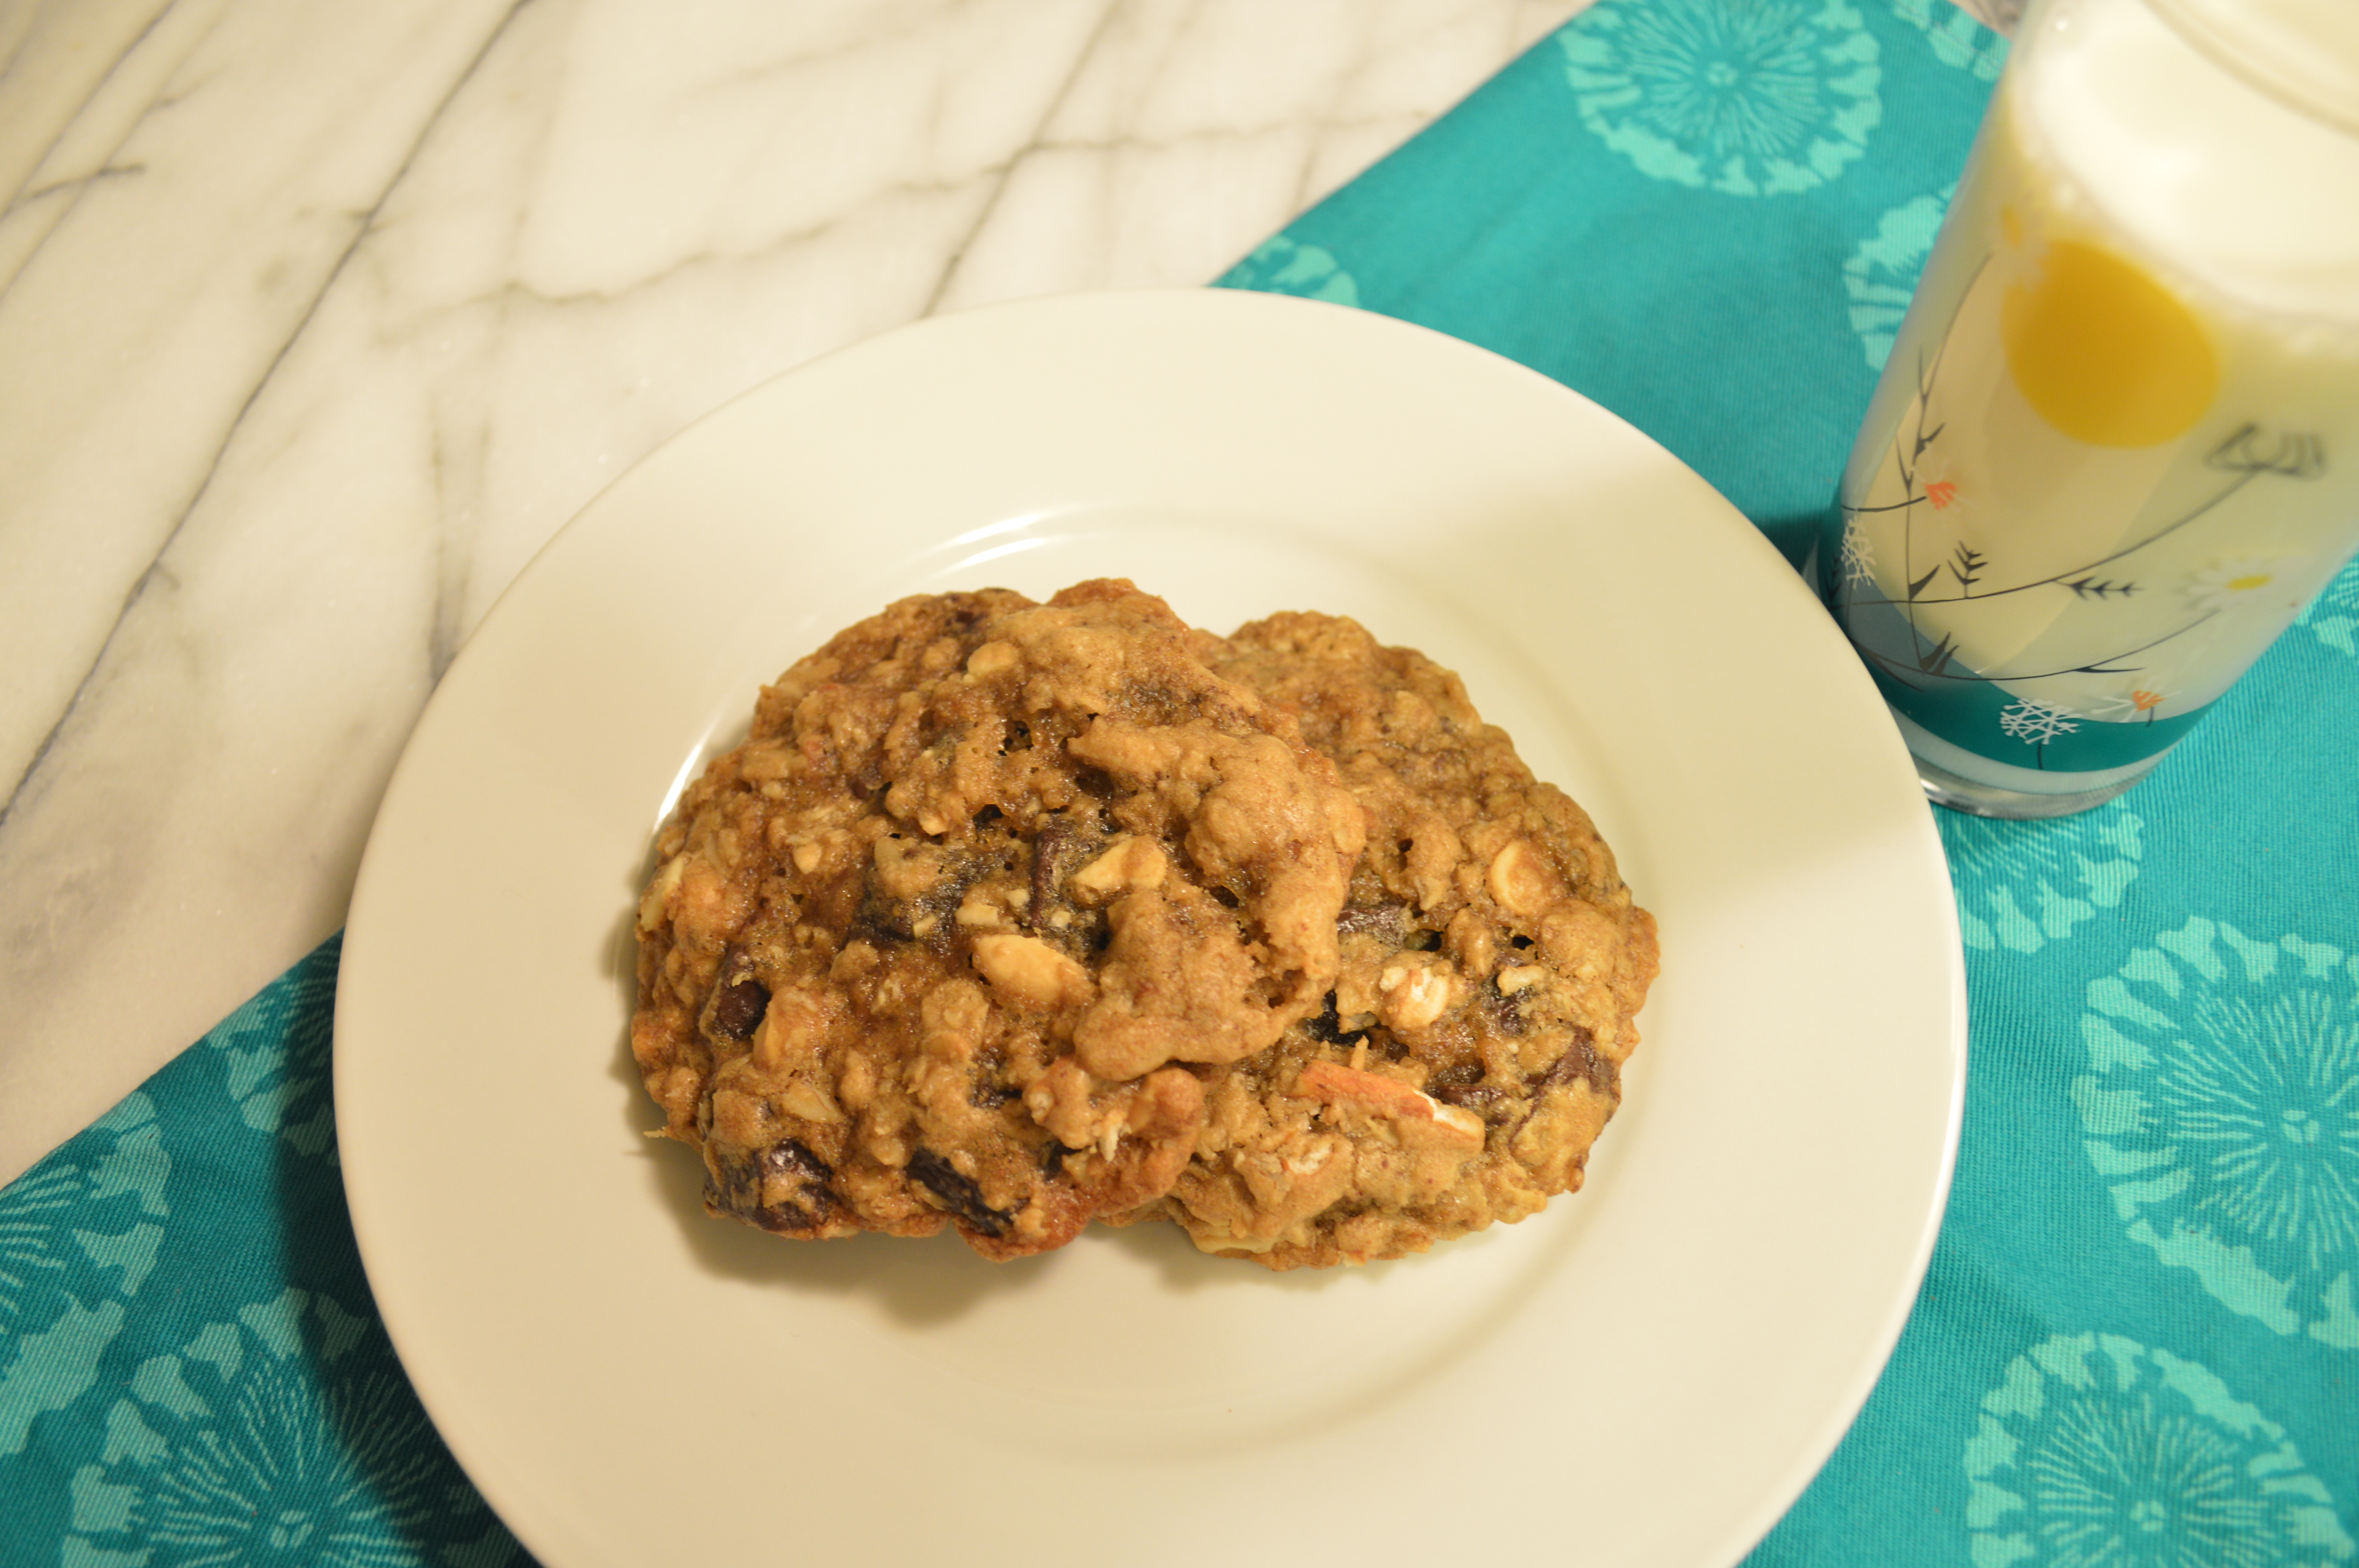
If you’re making these cookies for a crowd, you can make them ahead, but be careful. You’re going to want to eat them all before anyone shows up. I’ve said this before, but using a cookie scoops makes baking cookies so much easier. It makes your cookies look more professional because they’ll be perfectly round and will all be the same size, and they’ll also bake more evenly. I used a #24 scoop for this recipe, which works out to be about 3 tablespoons of dough per cookie.

DSC_0031

Cowboy Cookies

  • Servings: makes about 32 cookies
  • Print
Adapted from Baked Explorations

1 3/4 cups all-purpose flour
1 tsp baking soda
1 tsp baking powder
1/2 tsp salt
2 cups rolled oats
14 tbsp (1 3/4 sticks) unsalted butter, softened
3/4 cup granulated sugar
1 cup dark brown sugar, firmly packed
1 large egg
1 large egg yolk
1 tsp vanilla extract
1 tsp instant Espresso powder
2 cups semi-sweet chocolate chips
1 cup roasted peanuts
1 cup salted pretzel sticks, broken into tiny pieces but not crushed into dust.

In a medium bowl, whisk together the flour, baking soda, baking powder, and salt. Add the oats and stir to combine.
In the bowl of a standing mixer fitted with the paddle attachment , beat the butter and sugars together until smooth and creamy. Add the egg and egg yolk, beating until the mixture looks light and fluffy. Scrape down the sides and the bottom of the bowl, add the vanilla, and beat for 5 seconds. Dissolve the espresso powder  in 1/4 cup hot water and add it to the bowl, mixing until combined.
Add half of the dry ingredients and mix for 15 seconds. Add the remaining dry ingredients and beat until just incorporated. Scrape down the sides and bottom of the bowl and fold in the chocolate chips, peanuts and pretzel pieces. Cover the bowl tightly and refrigerate the dough for at least 4 hours.

Preheat the oven to 350˚F. Line two baking sheets with parchment paper.
Use a cookie scoop to get 3 tablespoon-size balls (I used a #24 portion scoop) and place the dough balls onto the prepared baking sheet about 1 inch apart. Use the palm of your hand to press the dough down lightly; don’t smash the cookie-you just want to slightly flatten the ball.
Bake for 11 to 13 minutes, rotating the pans halfway through the baking time, until the edges of the cookies are golden brown or just start to darken.
Set the pan on a wire rack for 10 minutes to cool. Use a spatula to transfer the cookies on the rack to cool completely. They can be stored in an airtight container for up to 3 days.

at home with Brooklyn Homemaker

I’ve been saying since the beginning that Brooklyn Homemaker is not a food blog, but a blog highlighting all of my interests and activities. As much as I love cooking (and eating) I also want to share my interests and abilities beyond my skills in the kitchen. Looking back, I realize that about 95% of what I’ve posted so far have been recipes and stories about food and how it relates to my life, but I promise that every once in a while you’ll see something else from me.

The truth is that unless we move to a new apartment, I will probably always post more recipes than other topics. I cook every day, but after three plus years in this apartment I’ve done most of what needs doing here. It’s (mostly) at a point where we’re happy with it and don’t need or plan to change much. I am the kind of person who doesn’t stop at perfection though, so odds are that there will continue to be the occasional changes and updates to our humble little palace and the decor and furnishings within.

Today though, I thought it might be a fun departure to let you into my home and give you the grand tour.

First, the before photos:

apartment before | Brooklyn Homemaker

Our apartment is what’s referred to in New York, and most large old cities, as a “converted railroad.” For those of you non-New Yorkers, a railroad apartment is long and narrow, like a train car, with windows on either end. There are no interior windows because the building is sandwiched up against other buildings, so the only exterior walls face the front and back of the building. When most railroad apartments were built over a century ago they usually had two bedrooms at one end, with a living space in the interior, and the kitchens and bathrooms on the other end. They were built as tenement housing for low-income families, and the bedrooms were set up so that you had to walk through one to access the other. Today though, most of these apartments are rented to young people with roommates that don’t want to have to walk through one another’s bedrooms to access the rest of the apartment. Many have been renovated to move the bedrooms to either end, with the living space moving into the interior. Hence the term “converted railroad”. Our apartment was most likely converted in the mid 90s, based on the materials used for flooring and fixtures.

apartment before | Brooklyn Homemaker

When we moved into this place it was a real mess. These photos are terrible and don’t do the level of UGLY justice at all. I’m really really sorry about these photos, btw. We never planned to share them with anyone other than each other, but here we are. It never occurred to us that I might someday want to share them on the internets, but at this point I’m just glad we thought to take any before photos at all.

apartment before | Brooklyn Homemaker

We signed the lease after the first of the month and negotiated to not start our lease until the 15th. Our lease at our previous apartment didn’t end until the end of the month so that gave us 15 days to get in and do what we could before moving in. We painted practically every surface; walls, ceilings, baseboards, you name it, in every room but the guest room. Sorry, but you won’t be seeing the guest room today, but if we ever do decide to paint in there you’ll get very familiar with that space.

Before we moved in the place had been “freshly painted” with the cheapest ugliest white paint money can buy, with no effort to take tacks or nails out of walls or patch any holes before breaking out the rollers. They also didn’t bother to put down drop-cloth before painting and we spent plenty of time on our knees trying to clean off all the paint splattered on our hardwood floors. The kitchen was especially disgusting and took two full days of scrubbing and bleaching and scouring and crying to get it to a place that didn’t make us want to vom. Don’t even get me started on the backyard. Words can’t describe the level of gross that was happening back there, but I’m going to save that for another post.

apartment before | Brooklyn Homemaker

The thing is, we knew this apartment was going to be a project when we took it. The part of Brooklyn we live in is still (relatively) affordable but we knew that any place we were going to find in our price range was going to be a project. We knew we wanted a first floor apartment with access to a backyard because we knew a puppy was in our future, and even with all the work this place needed, it was worth it to us. If this place were in a different neighborhood or was in the state it’s in currently, it easily could have gone for twice what it did when we signed the lease. And, let’s be honest, I actually love a project. As much as I love complaining about it now, I enjoyed every minute of the torture involved in making our apartment what it is today. I only wish I were putting this sweat equity into my own home instead of improving someone else’s property.

So, without further ado, our apartment:

living room | at home with Brooklyn Homemaker | Brooklyn Homemakerliving room | at home with Brooklyn Homemaker | Brooklyn Homemaker

This is our living room. We chose a pale grey paint for three of our walls, and decided to break it up with a dark turquoise, if that’s a thing. It reads as navy in photos, but I promise it’s a dark blue/green. We also painted a black faux picture rail about a foot below our ceiling to visually break up the space and add interest to the walls. We did the same thing in our bedroom, btw.

Our sofa was the first piece of furniture we bought for this apartment. We picked it out and arranged for delivery from Macy’s before we even moved in. Down the line we might want a sectional, but I like the style of it and it looks nice in the room.

living room | at home with Brooklyn Homemaker | Brooklyn Homemaker

The mid-century end tables were found at Junk in Williamsburg. They were in kind of rough shape when we found them but were cheap so we didn’t mind giving them a little love to bring them back to life. Refurbishing them could have been another post, but this happened before Brooklyn Homemaker and I didn’t think to get any good photos of that process. I basically followed the steps as laid out over at Manhattan Nest, and once I had the materials it was actually fairly easy and made such a difference in making those old tables shine. The one decent photo I did manage to get was of the brass handles, and what they looked like before and after cleaning them with Brasso. It turns out that the main ingredient in Brasso is magic. Behold:

mid century brass hardware| before and after Brasso | Brooklyn Homemaker

While I was cleaning the tables I noticed they were made by the Lane furniture company and, after some research on their serial numbers, I discovered they were made in 1960. They’re in such great shape for their age and they were such an amazing score for the price.

living room | photo gallery wall |Brooklyn Homemakerliving room | photo gallery wall |Brooklyn Homemaker

This gallery wall is made up of old black and white photos of our families and it continues to grow as we find cool new frames and ask our parents and grandparents for more photos.

bar cabinet and seating | living room | Brooklyn Homemakerbar cabinet and seating | living room | Brooklyn Homemaker

We used to have a dining table and chairs in this space but we never used it and it usually wound up as a place to collect coats and bags and mail and crap. We probably sat and ate at the table once or twice in the whole time we had it, and the rest of the time it was just a placeholder that always looked like hell. The seating area that’s there now is so much more comfortable and attractive and wonderful. It’s really wonderful. Really.

The yellow chair on the right is a vintage mid-century platform rocker we bought at a yard sale upstate, and the blue chair was a wedding gift we bought each other from West Elm. Also from West Elm is the bar cabinet between the chairs. We just got this and we totally love it. It fits perfectly in the space and ties the room together in a way we’ve never been able to do before we found it. It also houses all our wine and cocktail glassware and gave us an excuse to start hoarding bottles of fancy booze. Woot woot.

ball jar dry storage in the kitchen | Brooklyn Homemakershelving and storage cart in the kitchen | Brooklyn Homemaker

Since moving in we’ve added this storage cart and metal Ikea shelving in the kitchen. This kitchen has a serious lack of counter space and storage for anyone who cooks regularly, and especially for someone who likes to cook the way I do. The shelving and cart have helped alleviate both those issues, but haven’t cured the storage problem completely. A lot of our serving ware and specialty gadgets have ended up hiding in our guest room.

chalkboard backsplash in kitchen | Brooklyn Homemakerchalkboard backsplash in kitchen | Brooklyn Homemaker chalkboard backsplash in kitchen | Brooklyn Homemaker

You’re already familiar with the chalkboard backsplash, but I thought you’d be happy to see it again.

kitchen and living room view | Brooklyn Homemakervintage spring scales on fridge | Brooklyn Homemaker

I like to collect vintage kitchen spring scales. The most recent addition is this beautiful rusty old egg scale Russell gave me for Christmas. It was used to weigh eggs to determine their size for sale. So cool.

Bedroom and schnauzers | at home with Brooklyn Homemaker | Brooklyn Homemaker

Here’s our boudoir. Oooooh.

Hunting is big in my family and, while I’m not a hunter myself, I do enjoy some taxidermy. Say hello to Barnard. Doris and Betty also wanted to say hi, so say hello to them too. The chandelier was painted white when I bought it but I thought our bedroom could use some color so I picked up a can of spray paint and went to town. Hot pink town.

bedding, side tables and lamps | Brooklyn Homemaker
bedroom side table lamp | Brooklyn Homemaker|

Those lamps by the way, here’s what they used to look like:

bedside lamps before | at home with Brooklyn Homemaker | Brooklyn Homemaker

When Russell saw them at the Salvation Army we actually had an argument about whether he could take them home or not. I refused to let him buy them, and we left without them, but about an hour later he won and made me go back. I refused to let them into our bedroom until he let me paint them, and he was reluctant but eventually agreed. He took a trip to see family in LA one weekend and one can of glossy white spray paint with primer later, they look like fancy white porcelain and we get compliments on them all the time.
God they used to be ugly though. Russell still insists they looked better before. He’s out of his mind. So ug.

taxidermy over bed | Brooklyn Homemaker
at home with Brooklyn Homemaker | Brooklyn Homemaker

That black skull is actually a piggie bank, and I love it more that you’ll ever know. The dresser was given to us by a friend when we moved in. It was painted white by someone who gave it to her, but when it came to us it was looking a bit too chabby chic for our taste. I painted it with some black lacquer oil paint and I think it makes our room look really chic.

antique dresser painted black | Brooklyn Homemaker

So, that’s our place. Thanks for visiting!

I’d like to invite you into our bathroom soon too, but I’m saving that for another post. You’ll just have to wait to find out why.

best chunky beef chili

Guess what everyone. It’s winter. Surprise!

best chunky beef chili | winter in brooklyn | Brooklyn Homemaker

We just made our way through a bitter cold front here in New York City, and though it was a bit warmer for a few days, today we’re supposed to be hit with another, along with several more inches of snow. I’m no stranger to harsh winters.  I’ve lived in New York for my entire life and went to school in upstate’s Adirondacks, where I lived in the coldest town in the entire state. Winters in Saranac Lake often saw night-time temperatures dipping 20, 30, even 40 degrees below zero. The lakes would freeze so solid that people used them as extra parking during winter games, packing dozens of cars and trucks onto the ice when the parking lots filled up.
There were nights that were so frosty that the three block walk home after work would cause the condensation in my breath to freeze into my facial hair and turn my upper lip into a mustache-sicle. Winters in Brooklyn are nothing in comparison to the extremes upstate, but that doesn’t stop me from being affected by the seemingly unending frigid days and nights.

best chunky beef chili | Brooklyn Homemaker

If there’s one thing that I’m consistently inspired to do by cold weather, it’s to cook. And to eat. I love making soups, stews, braises and any number of hearty slow-cooked meals during the winter, and one of my favorite cold weather meals is chili. Traditionally chili is thought of as a warm weather meal, something eaten in Texas and the Southwest, but maybe that’s what draws me to it in winter. Cranking the heat and sitting down in flannel pajamas to a big steamy bowl of thick spicy chili helps me forget that outside the wind is whipping snowflakes through the streets of Brooklyn.

best chunky beef chili | Brooklyn Homemakerbest chunky beef chili | Brooklyn Homemakerbest chunky beef chili | Brooklyn Homemaker

Chili is a dish that people take very seriously. Web searches will turn up thousands of pages on the subject. The legendary outlaw Jesse James is said to have declined to rob a bank in McKinney, Texas because the town was home to his favorite chili parlor. The American mystery writer Rex Stout once said that, “Chili is one of the great peasant foods. It is one of the few contributions America has made to world cuisine. Eaten with corn bread, sweet onion, sour cream, it contains all five of the elements deemed essential by the sages of the Orient: sweet, sour, salty, pungent, and bitter.” That is a big reputation to live up to for such a simple, unfussy food.

Chili has a long history in the United States and there are a great many opinions about how this dish should be prepared. I’ve even seen people go so far as to say that adding beans to chili is sacrilegious. The thing is though, that I don’t really care what the chili experts say. I’m not from Texas. I don’t live in the old wild west. I like chili how I like it, and if some “purists” think I’m doing it wrong, so be it. It doesn’t change the fact that this recipe is friggin delicious.

best chunky beef chili | Brooklyn Homemaker

In my defense, not that I  believe I really need defending, not everyone takes chili so seriously. Texas native Carroll Shelby had ideas about chili that were closer to my own and said, “The beauty of chili to me is that it’s really a state of mind.”  “It’s what you want when you make it. You can put anything in there you want, make it hot or mild, any blend of spices you feel like at the time. You make it up to suit your mood.”

I was a vegetarian when I lived in the Adirondacks, and chili with lots and lots of beans was one of my favorite ways to warm myself up on cold days. When I lived in Ithaca, New York, I worked at a restaurant that won a chili cook-off with a recipe that used chunks of stew meat instead of ground beef. My love of spice has grown since I’ve moved to a part of Brooklyn that is heavily dominated by Mexican and Puerto Rican culture. All of my past experiences have helped guide me to the recipe we have here today. Chunky beef chili made with stew meat instead of ground beef, with a variety of beans, and a healthy dose of heat and spice.

When I was growing up, chili was only ever made with ground beef, so when I first saw it made another way and started trying it myself, the idea of using stew meat was completely novel to me. Later I realize that it’s not really so uncommon, and that it’s probably how the dish originated. The idea used to be so foreign to me that I wanted to try to change the name to reflect its unconventional ingredients. The problem was that there’s no delicate way to combine the names chili and stew. No one wants to belly up to a steaming bowl of “Stewli”, no matter how delicious.

No thank you.

best chunky beef chili | Brooklyn Homemaker

So. Chunky chili it is!

This recipe is thickened with corn flour, but if you don’t have corn flour feel free to use all-purpose flour. I used stew meat that was already cut into chunks at the grocery store, but ended up needing to do some cutting of my own to bring the chunks down to the right size. Most stew meat bought in grocery stores comes in pieces about two or three inches in size. This recipe works much better with smaller pieces and I cut them all down to about one inch cubes. I made this recipe with beef this time around, but I’ve made it with venison before and it’s delicious. If you love venison, by all means, knock yourself out.

I think this chili translates to a slow cooker recipe really well too.  I would suggest that you brown all your veggies and meat ahead as stated in the recipe, and follow the steps through to where you scrape up the browned bits from the pot with half a cup of beef stock. Then you would transfer the browned meat and onions to the crock pot, add the remaining ingredients, and cook on high for four hours, or low for eight. The only thing that might be tricky is to get the chili to the correct consistency, so you may need to add more corn flour to help thicken it.

Since I’m usually just feeding myself and Russell, this recipe made plenty of leftovers for us, and I have to say, I think this chili improves with age. The second day the flavors seemed to have really married perfectly and the meat was even more tender and delicious. I suppose this is what he meant when John Steele Gordon said that “Chili is much improved by having had a day to contemplate its fate.”

best chunky beef chili | Brooklyn Homemaker

Best Chunky Chili

adapted from Emeril Lagasse for Food Network

2 tablespoons olive oil
2 medium onions, chopped
1 to 2 jalapenos, seeded and finely diced
Salt
Cayenne
2 pounds stew meat, cut into 1″ cubes
2 tablespoons corn flour (or all-purpose)
1 tablespoon chili powder
2 teaspoons ground cumin
3 cloves garlic, minced
2 cups beef stock
28 oz  can crushed tomatoes
1/4 cup tomato paste
15 oz can red kidney beans
15 oz can black beans

Directions
In a large heavy bottom stockpot of dutch oven, heat the vegetable oil. When the oil is hot, add the onions and saute for 3 to 5 minutes, or until the vegetables start to wilt. Add jalapenos and garlic and cook 1 to 2 minutes more. Season with salt and cayenne. In a large bowl, stir together corn flour, chili powder, & cumin, and toss and coat meat in the mixture. Brown the meat for 5 to 6 minutes. Add about 1/2 cup of the beef stock and use a wooden spoon to scrape up any brown bits of beef and corn flour stuck to the bottom of the pan. Stir in remaining stock, tomatoes, tomato paste, and beans. Bring the liquid up to a boil and reduce to a simmer. Simmer the liquid uncovered for the first hour, stirring occasionally. Cover the pot and simmer for another hour or until the beef is fork tender.
Taste and re-season with salt and cayenne if necessary. If the chili is too thin, simmer uncovered until it’s thick enough. If too thick, thin it out, a tablespoon at a time, with beef stock. Garnish the chili with the grated cheese, sour cream and avocado. Serve with cornbread.

Devil’s Food Cake with Heavenly Marshmallow Icing

I mentioned in my last post that we recently celebrated Russell’s birthday with a night out on the town with friends. We did dinner, drinks and merriment over the weekend, but his actual birthday was on a Monday so that night we stayed in and made dinner. Later in the evening we invited a friend over to help us eat some cake and drink champagne.

devil's food cake with heavenly marshmallow icing | Brooklyn Homemaker

Russell loves all things 80s. The tackier and more out-there, the better. He appreciates 80s music, pop culture, art, celebrities, you name it, so for his birthday I wanted to go all out and bring that era back for him. I went crazy with hot pink animal print wrapping paper, black satin ribbon, expensive champagne, and hot pink candles. Of course I had to have a cake to put those candles into, and there’s something about Devil’s Food Cake that just screams 80s to me. To be honest, I’m not even really sure why. I was 7 years old when the 80s came to a close, so I don’t really remember all that much of it, but the 80s were all about excess and Devils’s Food Cake is certainly a more-is-more kind of cake.

devil's food cake with heavenly marshmallow icing | Brooklyn Homemaker

This cake calls for natural cocoa instead of dutch process. Dutch process cocoa has a deep dark intensely chocolatey flavor, but natural cocoa has a subtler, warmer taste that reads more “cocoa” than chocolate. I don’t know if that makes sense, but try to think of the difference between a dark chocolate bar or flourless chocolate cake and the taste of hot cocoa or plain chocolate ice cream. So, while this type of cocoa is warmer and less in-your-face, a full cup and a half of it goes into the mix to make sure this cake is supremely chocolatey and really screams “Devil’s Food Cake!”

Much like the red velvet cake I made a while ago, this recipe also calls for cake flour to ensure a light and tender crumb, and uses buttermilk to help add moisture and give the cake a very subtle tanginess that really helps the cocoa feel richer and more complex. There’s also a bit of brown sugar that helps the cake keep moist and adds just a bit of dark caramel-y depth. Yum.

devil's food cake with heavenly marshmallow icing | Brooklyn Homemaker

I decided to pair this cake with a fluffy marshmallow icing, which was not only delicious, but also absolutely gorgeous. This beautiful tall cake covered in white marshmallowy roses was a real stunner. It was just as impressive when sliced with the perfect white icing in sharp contrast against the dark interior of the cake.  The recipe provided below will make enough icing to fill the cake and cover it with a generous layer of icing, but if you want to decorate it in the rosette design I used, you’ll need to multiply the recipe by 1.5.  I used an Ateco 824 tip, but any large open star tip will work. If you are using a stiffer icing, you could also use a closed star tip.

I am absolutely no pro when it comes to working with piping bags and tips, but this design was quite easy to do. I have shaky hands so small delicate piping is difficult for me, but this design is little more than large swirls repeated over and over. After filling and crumb coating the cake, I basically started with one swirl in the center of the top of the cake, with two rows of swirls wrapping around the one in the center. Any small spaces that weren’t covered by the swirls were filled by a dab with the piping bag. The top of the cake is easier to do than the sides, so I think starting there lets you get the hang of it before you try to do the design vertically. On the sides I did three rows, starting at the top and working my way down. Having a lazy susan or turntable really makes this job a gazillion times easier.

devil's food cake with heavenly marshmallow icing | Brooklyn Homemaker

I’ve already said this, but this cake has such a great chocolatey cocoa flavor. It’s spongy and light and airy and moist and amazing. I’m gushing. Traditionally Devil’s Food Cake is paired with a rich chocolate buttercream, but I really think that the cake is already so chocolatey that chocolate icing would be overkill. This marshmallow icing is perfectly light and fluffy and not at all heavy and it pairs perfectly with this cake. Instead of competing with the cake or weighing it down and making it too rich, it lets the cake take center stage. Since it’s made with little more than egg whites and sugar, the icing is also fat-free, so you know, bonus.

I will admit that the icing is a bit fussy to make but I think it is totally worth it. I wouldn’t recommend trying this without a stand mixer, I think a hand-held mixer would make a mess. I also think a candy thermometer would help a lot, but I actually didn’t use one.
If you don’t want all the fuss of the marshmallow icing, but don’t want chocolate on chocolate overkill, I’d suggest a nice traditional vanilla buttercream.

Now, go butter those cake pans and preheat that oven!

devil's food cake with heavenly marshmallow icing | Brooklyn Homemaker

Devil's Food Cake with Heavenly Marshmallow Icing

Devil’s Food Cake
makes three 8-inch layers

butter and flour for pans
1 1/2 cups unsweetened natural cocoa powder
1 1/2 cups hot water
3 1/4 cups cake flour
1 1/4 teaspoons coarse salt
1 teaspoon baking powder
1 teaspoon baking soda
2 cups peanut oil or vegetable oil
1 cup granulated sugar
1 1/4 cup packed brown sugar
4 large eggs
4 teaspoons vanilla extract
1 cup buttermilk

Preheat oven to 350 degrees. Butter three 8 inch round cake pans, line bottoms with parchment paper, butter paper, and dust pans with flour. Whisk together cocoa powder and hot water until smooth.

Sift together flour, salt, baking powder, and baking soda; set aside. Beat oil and sugars together on medium-low speed until combined.
Add eggs, one at a time, beating after each addition. Beat in vanilla and cocoa mixture. Reduce speed to low. Add flour mixture in two batches, alternating with buttermilk and beginning and ending with flour. Beat until just combined.
Divide batter between pans, and bake until a cake tester inserted into centers comes out clean, 40 to 45 minutes. Transfer pans to a wire rack to cool for 15 minutes. Invert cakes onto rack, peel off parchment, and let cool completely.

Heavenly Marshmallow Icing:
recipe from Cake Duchess

1 cup of granulated sugar (not confectioners sugar)
4 egg whites, room temperature
1/3 cup of water
1/2 teaspoon cream of tartar
1 teaspoon vanilla

In a medium saucepan, bring the 1/3 cup of water, sugar, cream of tartar to a boil. Do not stir the sugar mixture as it will cause the sugar to crystallize. Boil until you have thick clear bubbles ( should only take about 5 minutes and reads a temperature of 245 F). Be very careful not to let the mixture caramelize.
Meanwhile, in the bowl of a stand mixer, beat the egg whites to soft peaks. With the mixer on medium high, slowly and very carefully add the sugar syrup in a thin steady stream, beating for a total of 7 minutes.  Be careful not to burn yourself with the hot sugar syrup, and be careful not to add too much at once. At the last minute, mix in the vanilla.
To assemble the cake, level the layers with a sharp serrated knife or cake leveler. Spread a layer of icing between each layer of cake, and then spread a thin layer of icing on top and sides of cake to seal in crumbs. Finish by spreading (or piping) another layer of icing on top and sides and decorate as desired. For the rosette design I made on this cake I multiplied the icing recipe by 1.5, but 1 recipe is plenty for icing regularly.